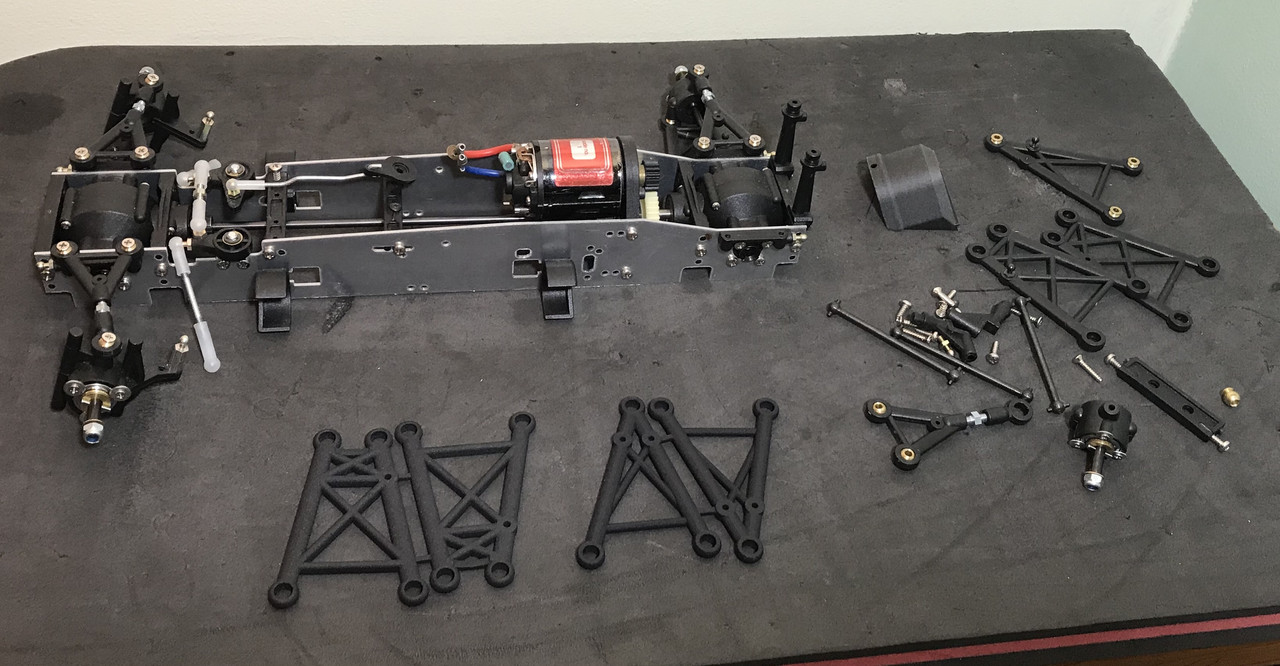
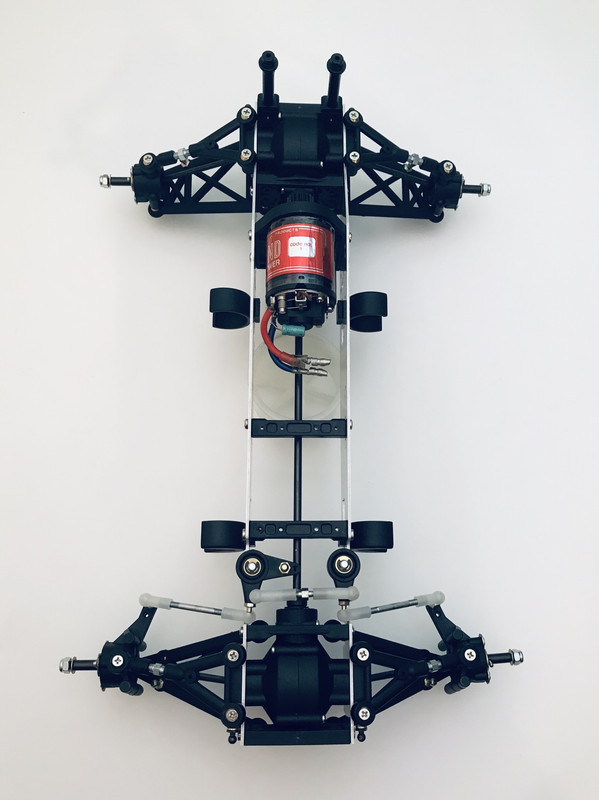
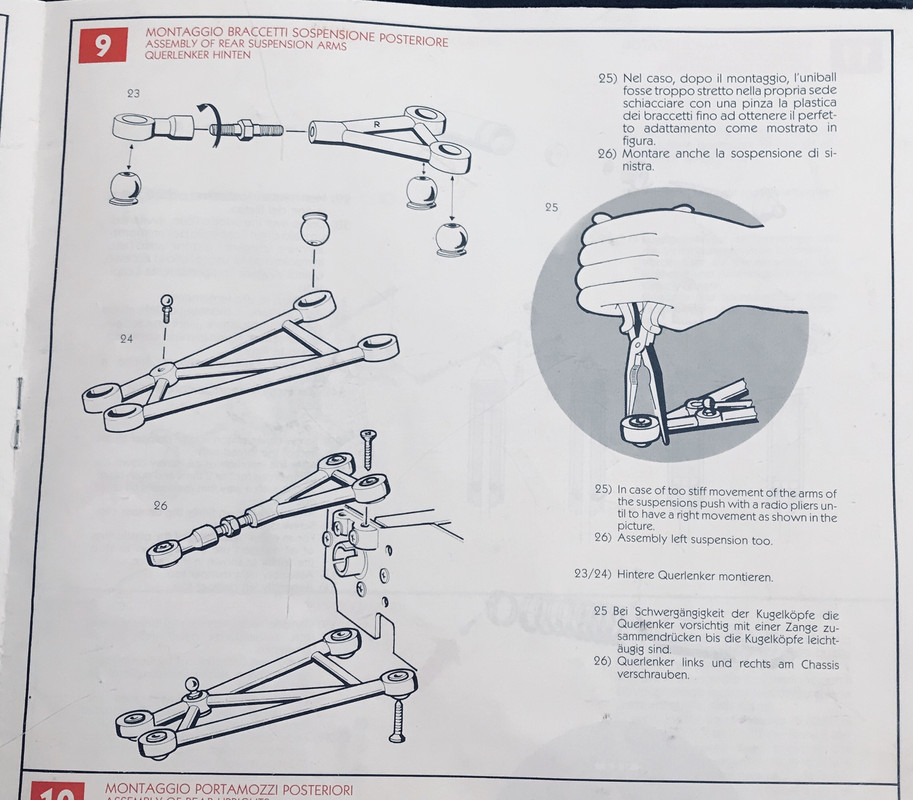
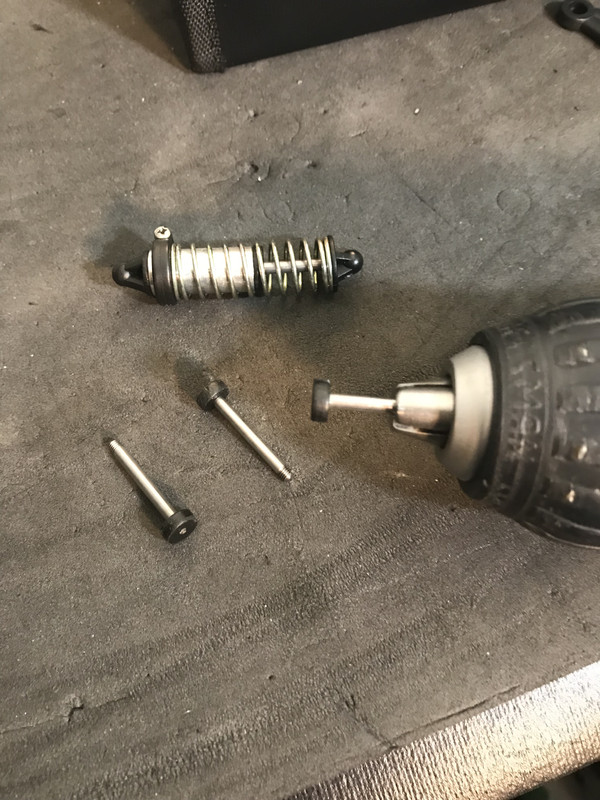
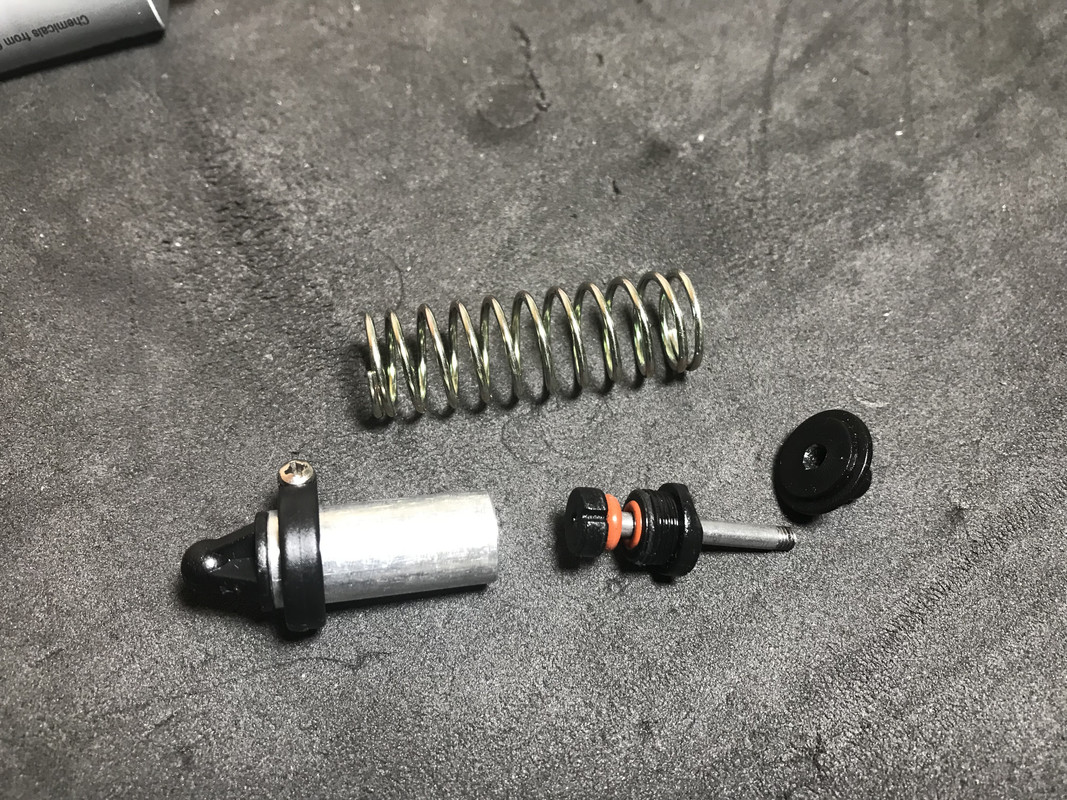
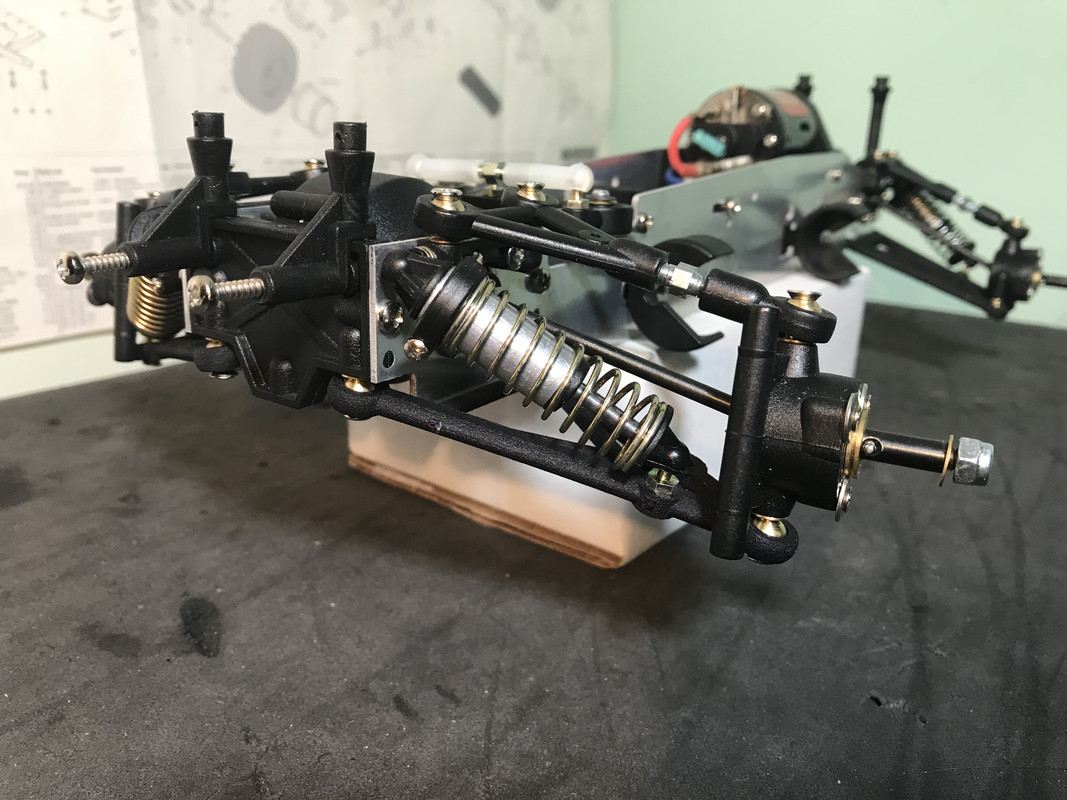
Sorting out the suspension..
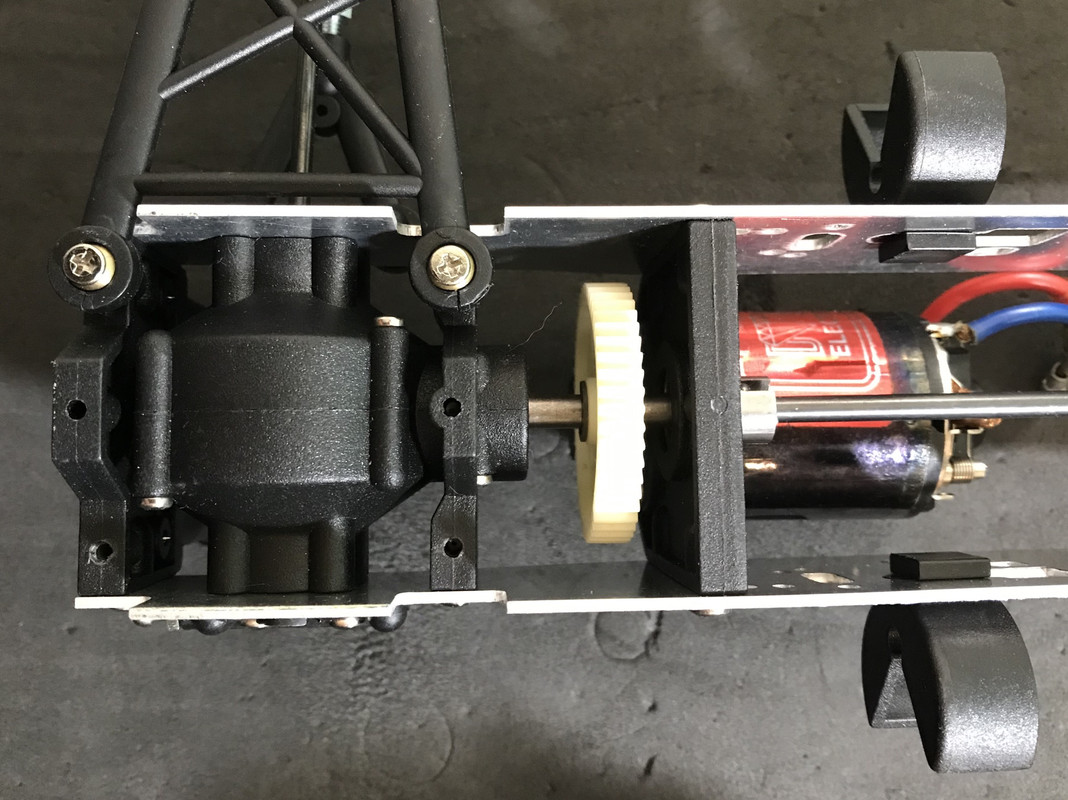
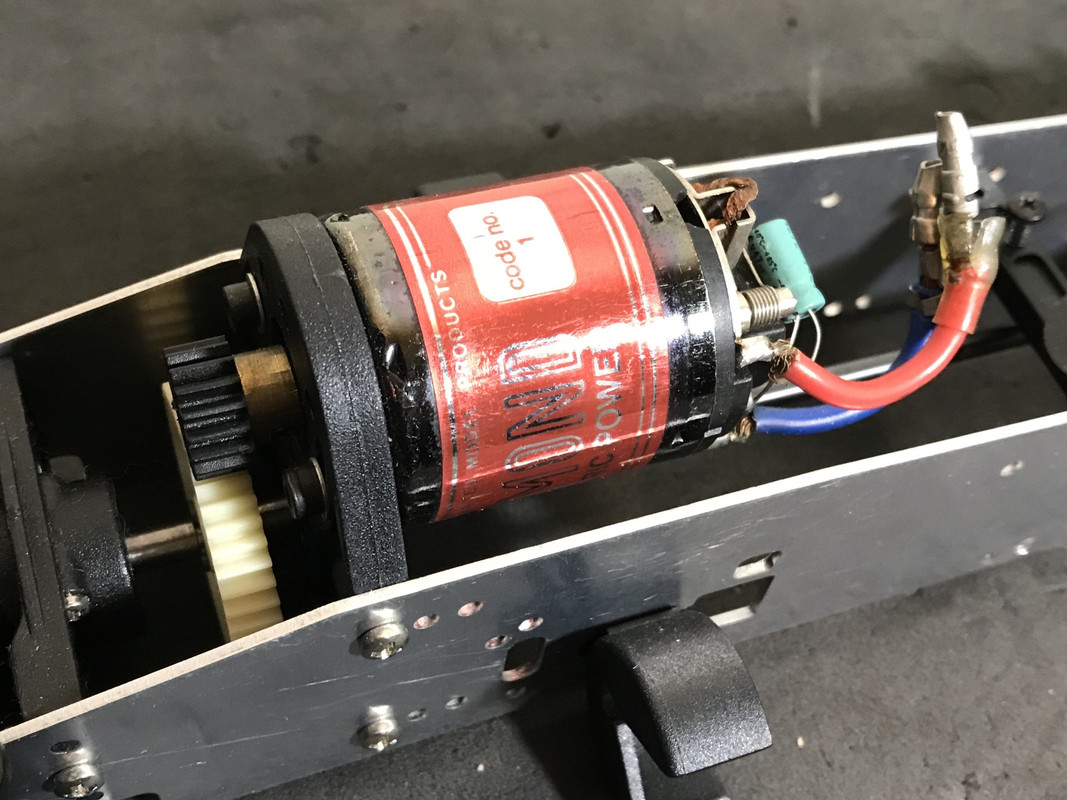
Anyone who has tried to build the Coyote knows how terrible and confusing the instructions are! And looking at other builds online may not help because you see a lot of different setups. I have built this every conceivable way to try and figure out what is going on and hopefully I can help some future builders.
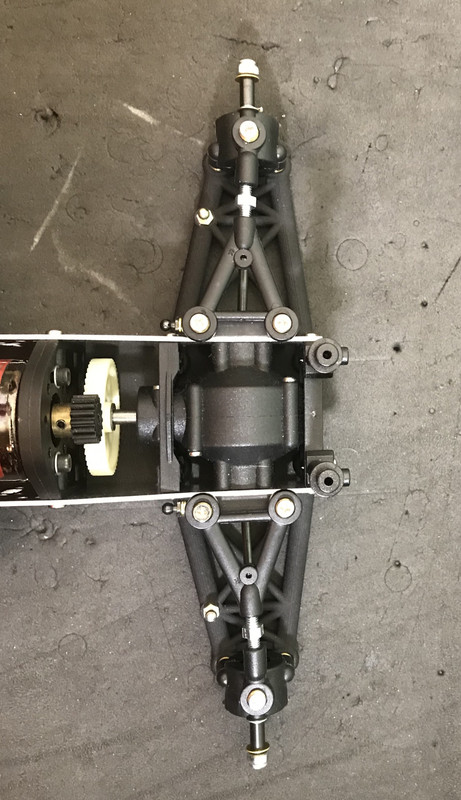
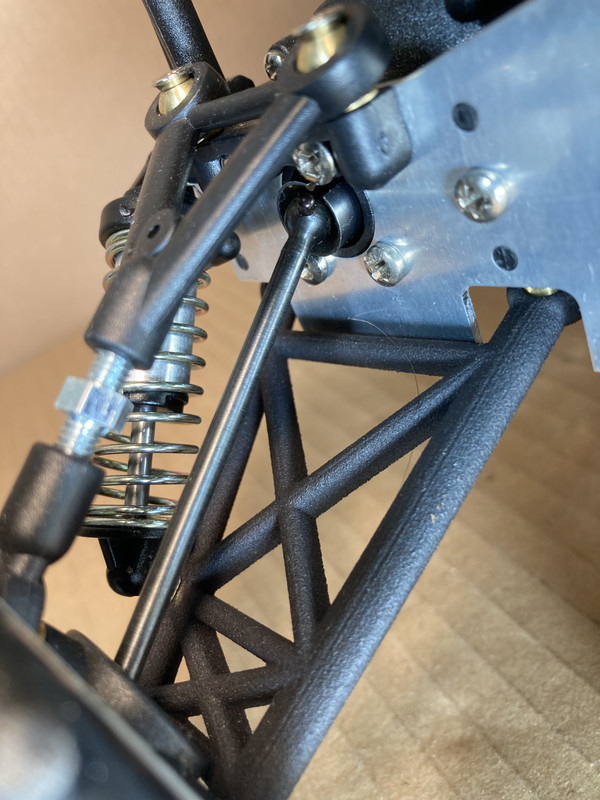
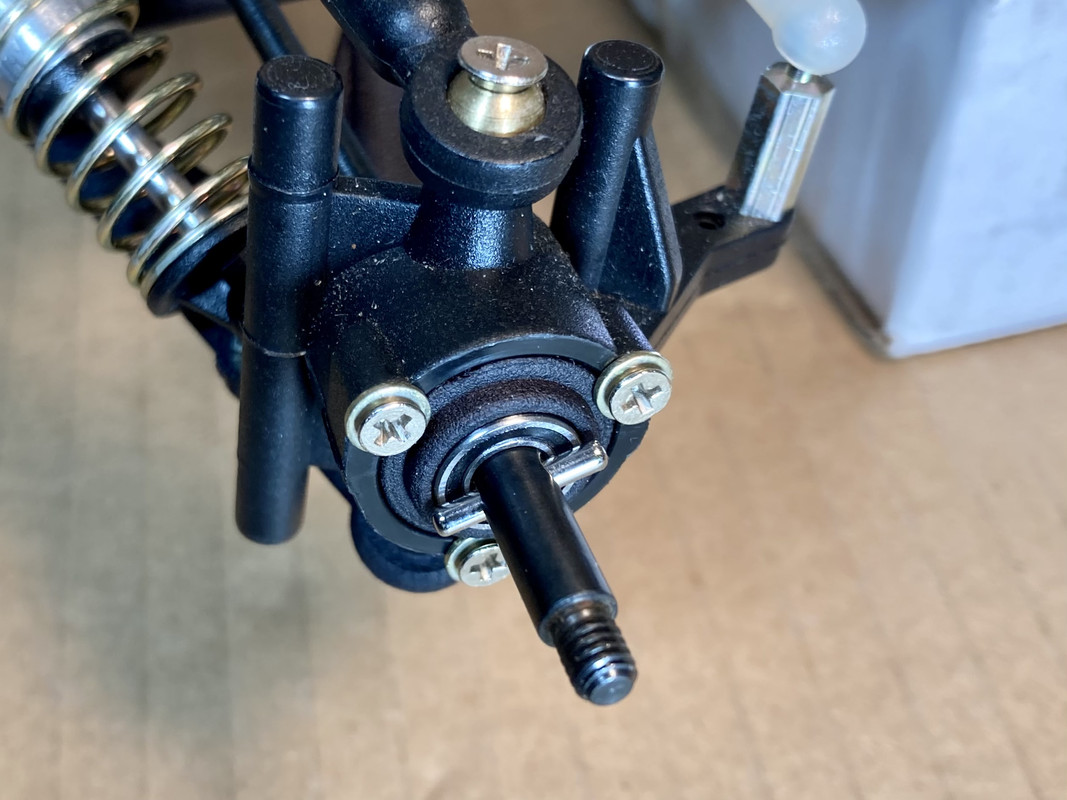
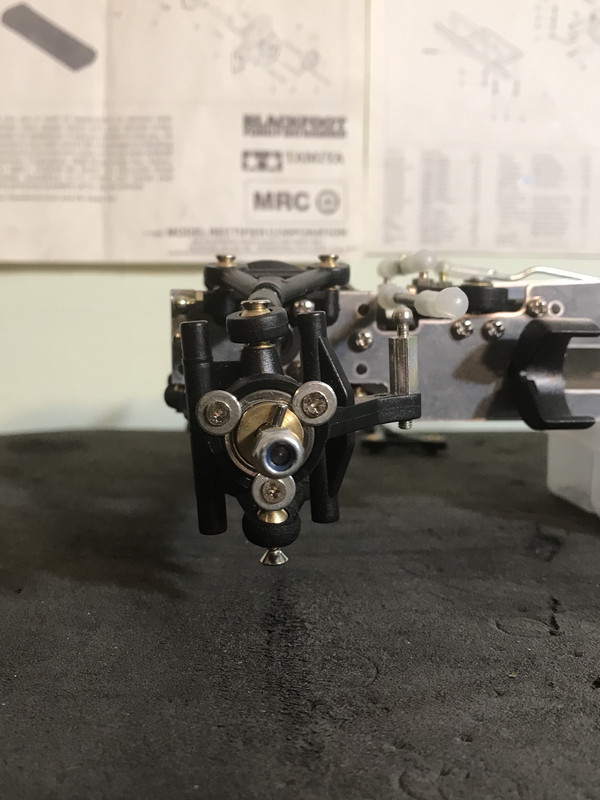
The front suspension. This is where the confusion begins because of a huge mistake in the instructions. It tells you to install the upper arms with the “F” towards the rear..which is wrong! If you install it this way, you end up with negative caster angles, that is not desirable in any vehicle. Interesting though is if you ignore the text and follow the pics..it is correct.
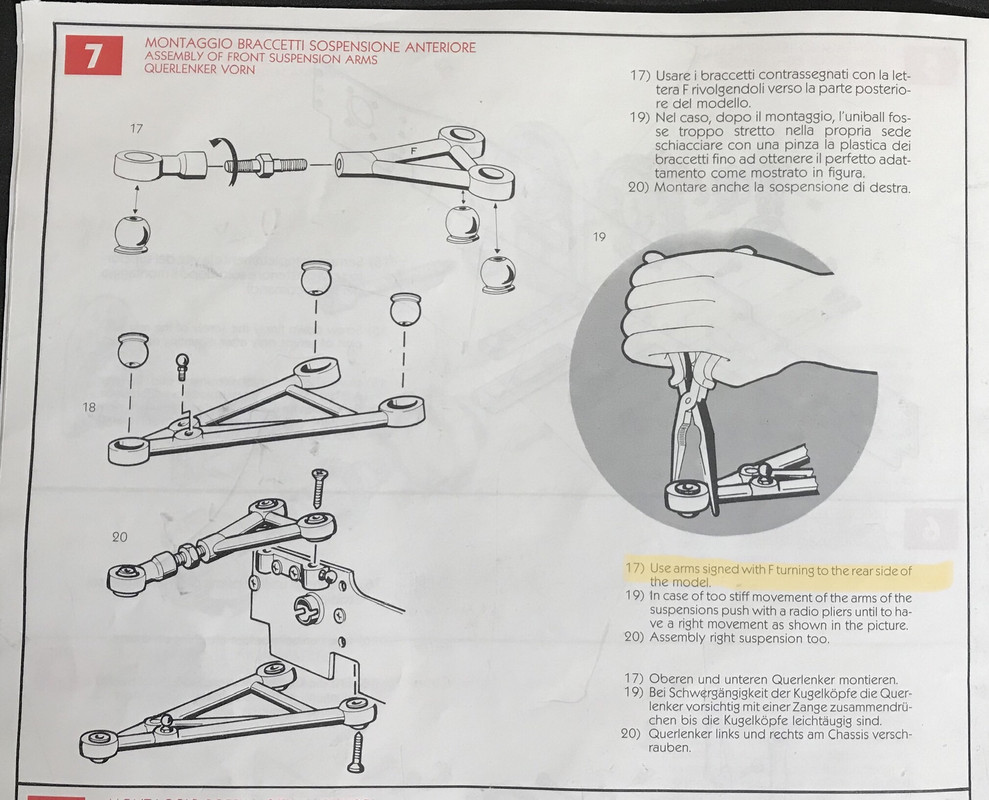
The wrong way..
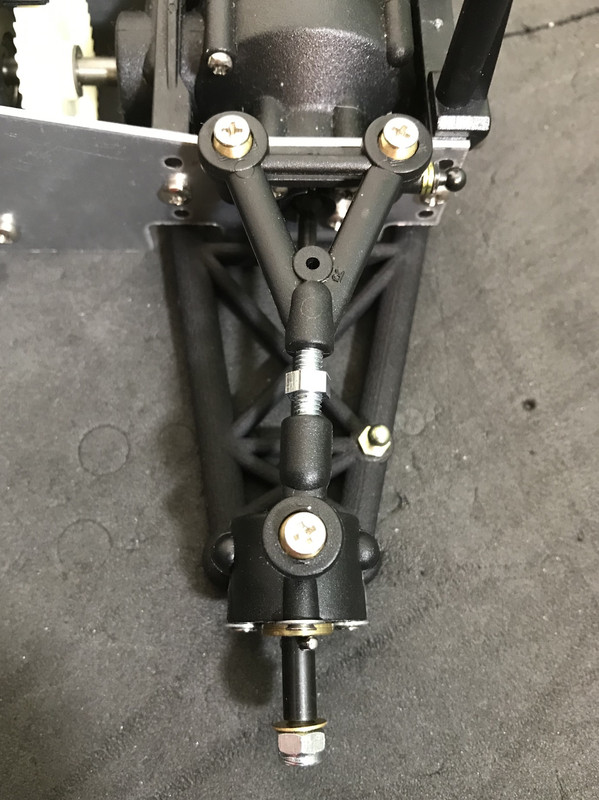
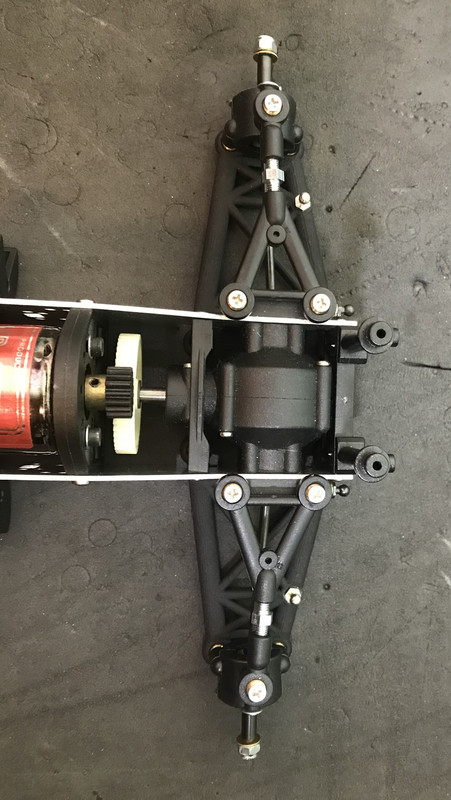
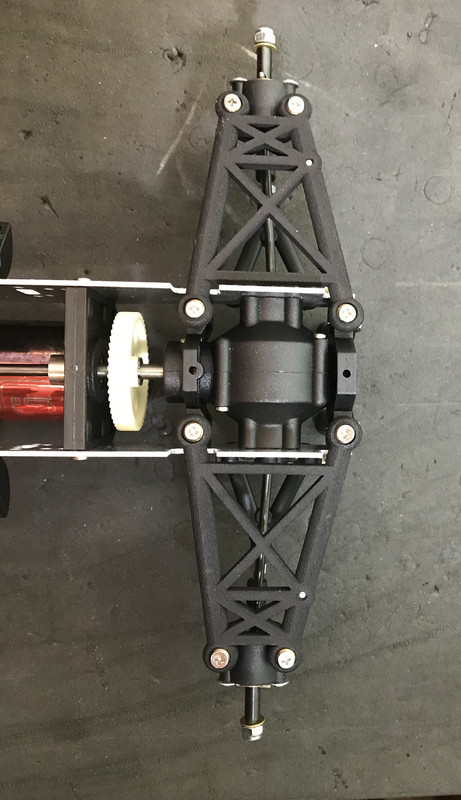
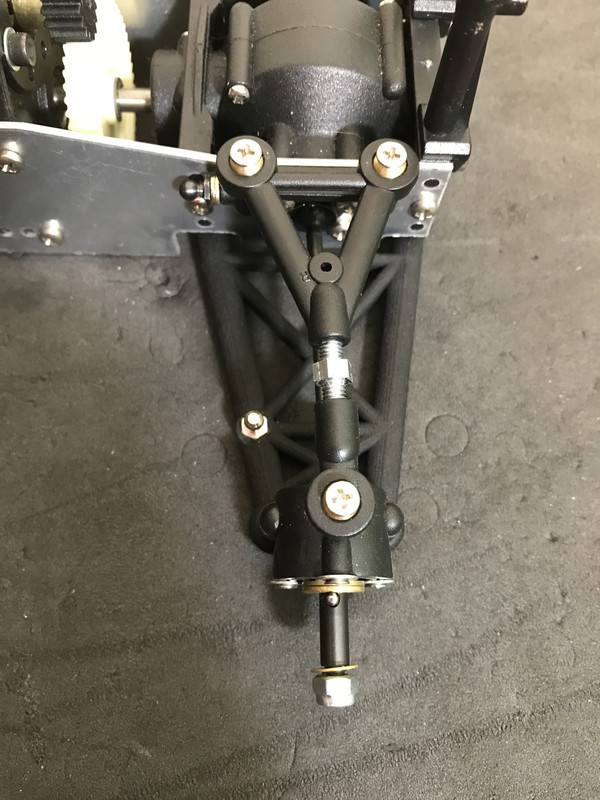
The correct way is to install the upper arms is with the “F” towards the front..makes sense, right? Then the lower arm is installed with the shorter/straighter leg towards the middle of the vehicle. This creates a nice positive caster angle and full suspension movement.
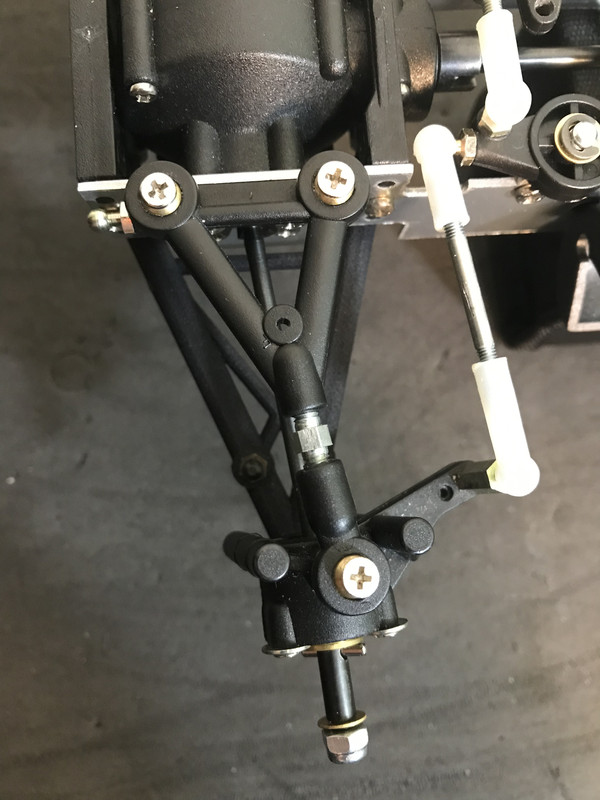
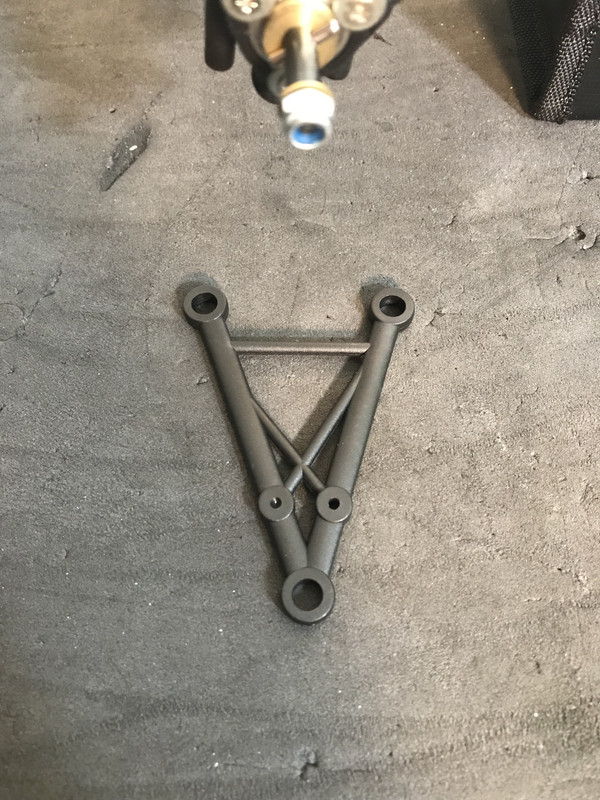
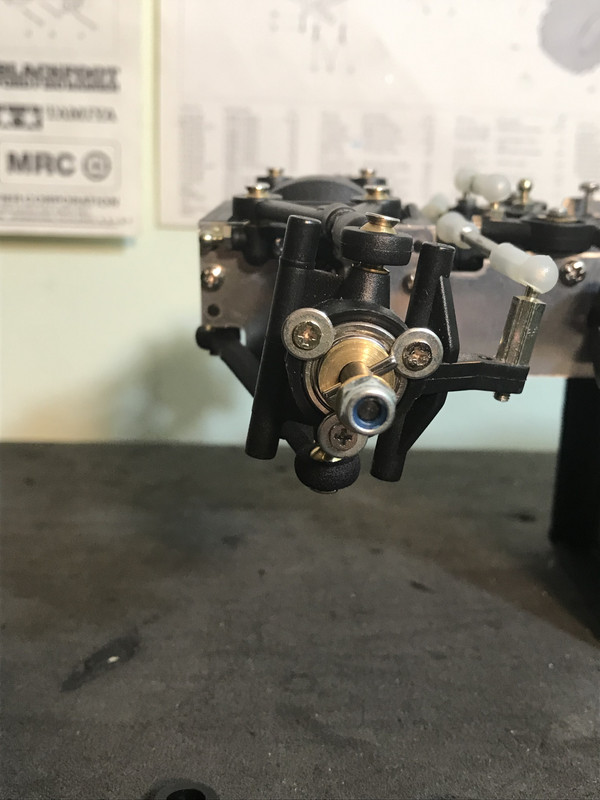
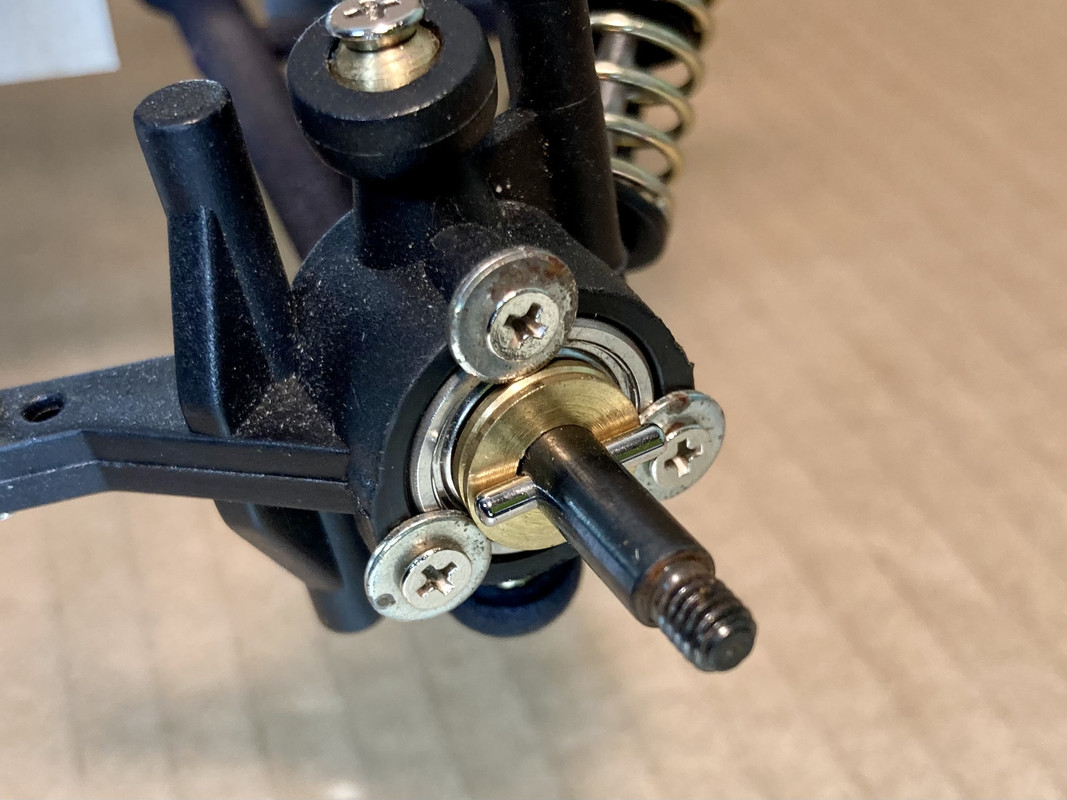
If you flip the lower arm, it makes an extreme positive caster angle and restricts suspension movement.

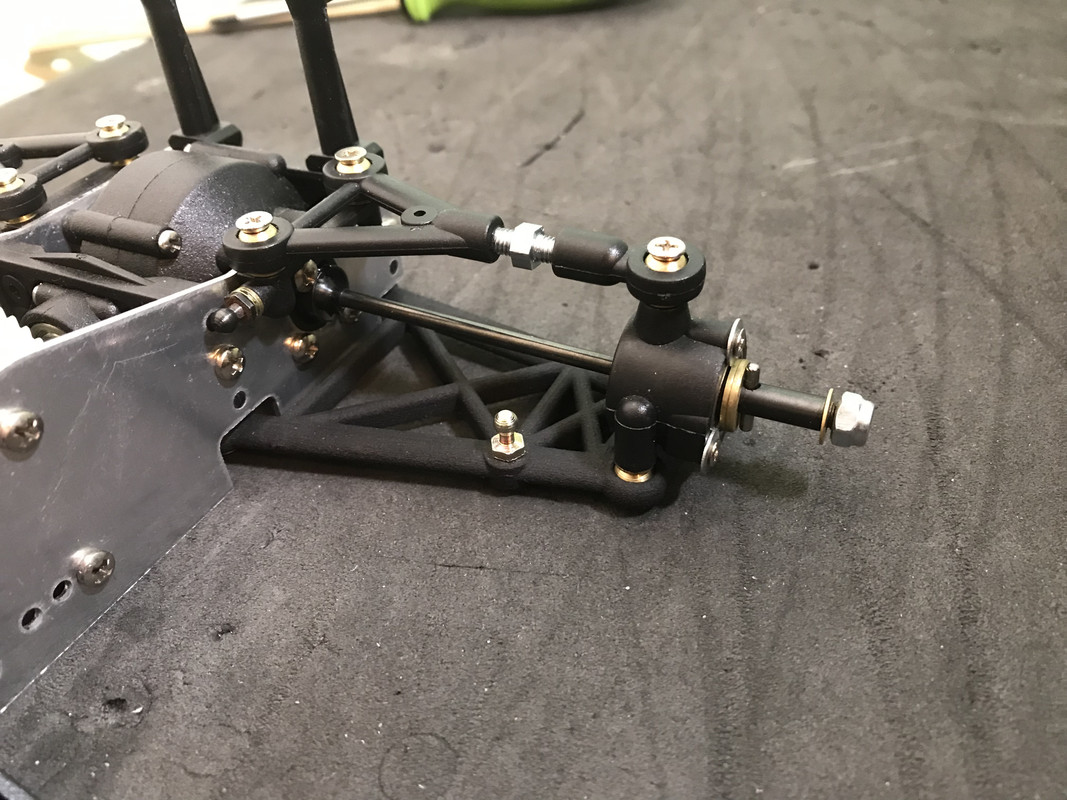
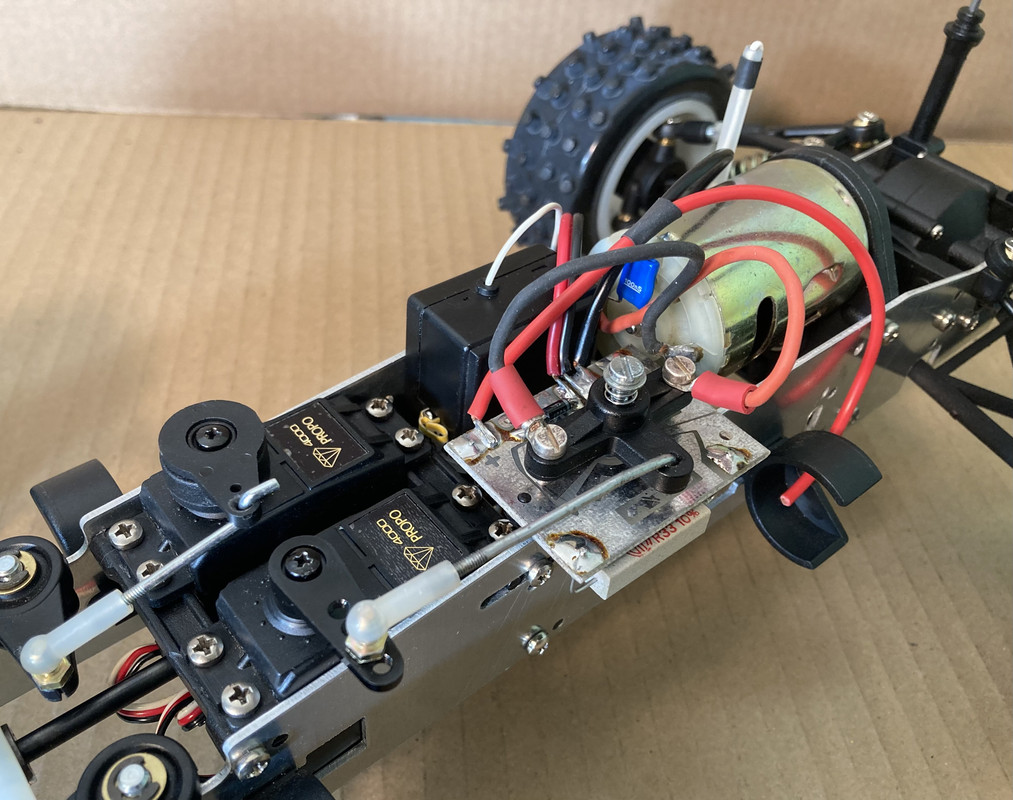
Another confusing aspect is that the shocks can be mounted in front of or behind the suspension arms. This is more of a tuning and aesthetic issue after the arms are correctly installed. I will show this later.