Poor CAT

The place for all things Schumacher.

Moderators: scr8p, klavy69

User avatar
QuackingPlums
Approved Member
Posts: 85
Joined: Mon Dec 21, 2009 8:21 am
Location: Oxfordshire, UK

Re: Poor CAT

Post by QuackingPlums »

Wow, those Cougar shocks look better than new - your restoration skills are amazing! :D

Thanks for the advice - I was wondering if sandpaper would be too harsh so I'm glad I asked. My shafts have scratches on them too, so that might explain why the seals are shot. If I can polish them out and make them look presentable then I'd be happy. It'll be a shame that I can't use them, but I remember even BITD they were quite prone to leaking - I had the gold Kyosho Option House shocks on my cat back then.

Is silver polish less harsh than Brasso/Duraglit or do you think I can get a similar finish from that?

I guess I have a job ahead of me now and no excuse!

uzzi
Approved Member
Posts: 374
Joined: Tue May 27, 2008 12:29 am
Location: Perth, Western Australia
Been thanked: 1 time

Re: Poor CAT

Post by uzzi »

The Schumacher shock bodies do polish up well but after a period of time they do go back to a dull sheen due to oxidation. As for the shafts, they were pretty ordinary and are prone to pitting. Best thing is to put them on a drill and lightly sand them down after which polish with Autosol. Rebuild with some Associated green slime, new o'rings and you would be good to go.

User avatar
CAT3K
Approved Member
Posts: 641
Joined: Mon Dec 06, 2010 7:28 am
Location: UK

Re: Poor CAT

Post by CAT3K »

QuackingPlums wrote: Is silver polish less harsh than Brasso/Duraglit or do you think I can get a similar finish from that?
To be honest i have no idea, i only used Silvo because it "was" in my wifes jewelery box and did a good job on metal RC parts :D

Paul.

User avatar
rhino1
Approved Member
Posts: 313
Joined: Mon Jul 25, 2011 11:12 am
Location: Orleans IN.

Re: Poor CAT

Post by rhino1 »

Lookin great!!!! I need to find me a new project.
Those are my toys and no I will not share!

User avatar
CAT3K
Approved Member
Posts: 641
Joined: Mon Dec 06, 2010 7:28 am
Location: UK

Re: Poor CAT

Post by CAT3K »

My new bodyset arrived on Friday so my task for today was trimming up the undertray and shell ready for painting. I'm always amazed that the shells get from Canada to the UK in just a week, whenever i send the other way things take multiple weeks :?

They shell quality is good, a little thin in places but thick enough i hope.

Image

Image

I'm probably not going to use those Trinity wing buttons in the end as i don't think i'm going to use any purple in the paint.

I'm still undecided on colours, i've been thinking of having the main colour as copper, but i'm a bit worried it will come out too orange. Also got to figure out some decals.

Paul.

User avatar
RedScampi
Approved Member
Posts: 2157
Joined: Sat Aug 30, 2008 7:35 am
Location: Bonney Lake, WA

Re: Poor CAT

Post by RedScampi »

That looks great! What a transformation! :shock:
Gary

User avatar
Coelacanth
Approved Member
Posts: 7421
Joined: Thu Jul 29, 2010 6:20 pm
Location: Alberta, Canada
Has thanked: 16 times
Been thanked: 325 times

Re: Poor CAT

Post by Coelacanth »

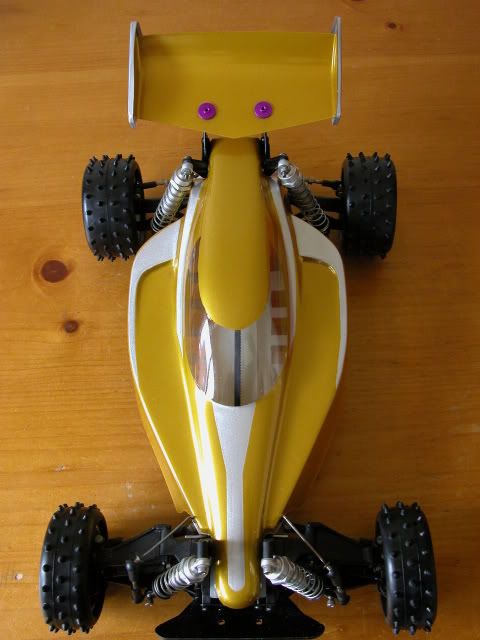
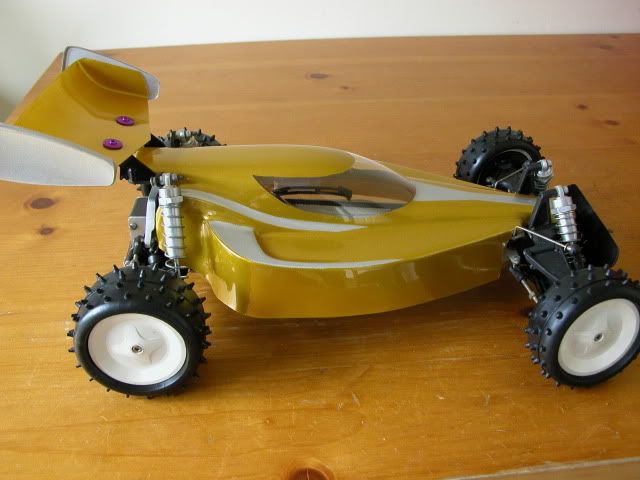
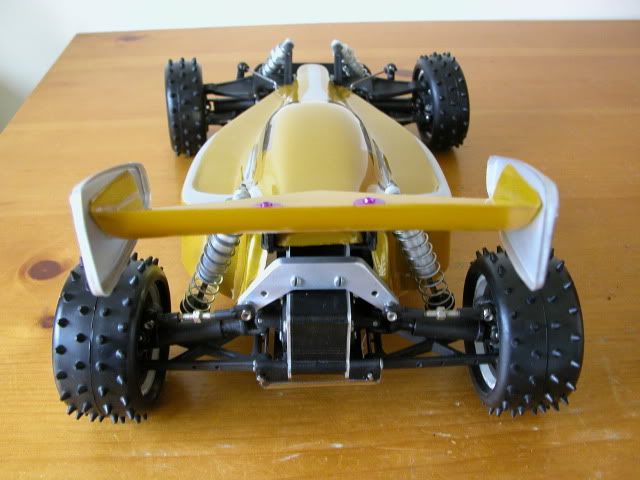
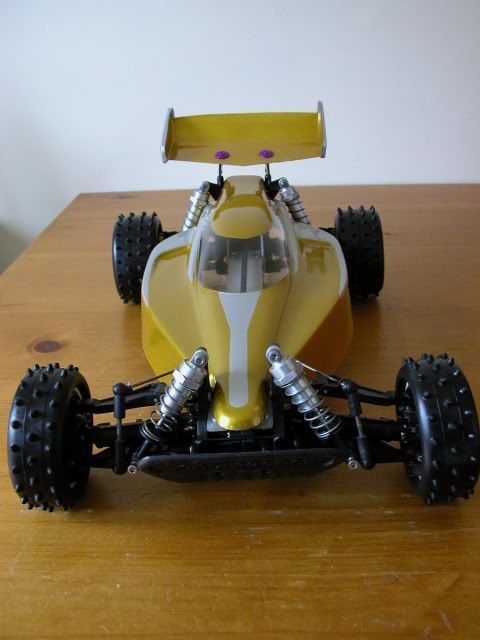
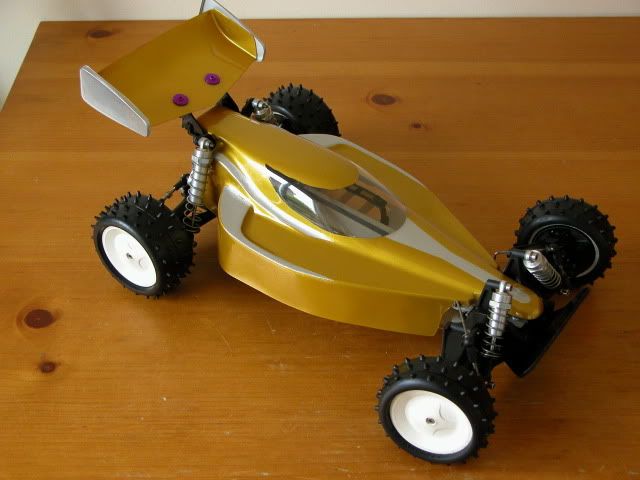
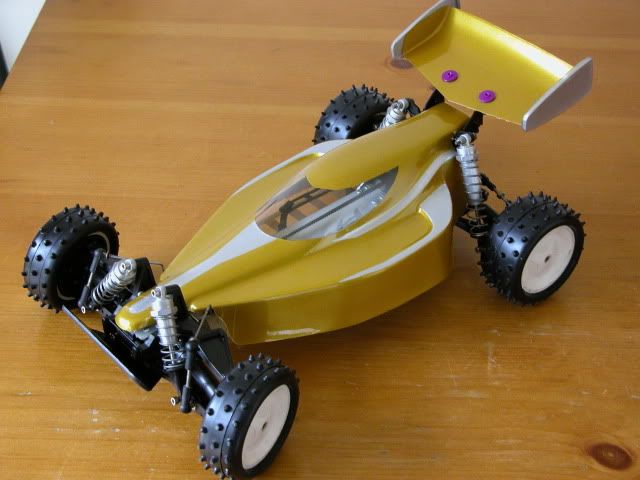
QuackingPlums wrote:I was wondering if sandpaper would be too harsh so I'm glad I asked. My shafts have scratches on them too, so that might explain why the seals are shot. If I can polish them out and make them look presentable then I'd be happy. It'll be a shame that I can't use them, but I remember even BITD they were quite prone to leaking - I had the gold Kyosho Option House shocks on my cat back then.
The *only* way to get aluminum polished to a shiny gloss finish is to use fine-grit sandpaper and lots of wet-sanding. You won't get anywhere close to that finish with any kind of polishing compound alone, it's not abrasive enough to remove all the fine pits, striations, surface flaws.

I usually begin with 400-grit, then 600, 800 and 1000. That gets you to a very nice shine (good enough for anodizing anyway), but if you want a chromey, near-mirror finish, repeat the wet-sanding with 1500 & 2000-grit, then break out some rubbing compound and rub it down, then finally the automotive polishing compound of your choice.

It's true that a glossy finish won't last. Applying an automotive wax or clear-coating it might protect it for a while but this is a shock, after all, and that spring will constantly rub it. I think the best thing you can do to a newly-polished shock body is anodize it. That'll give it some protection and if it's polished really nice before anodizing, it'll turn out really nice.
Completed projects: CYANide Onroad Optima | Zebra Gold Optima | Barney Optima | OptiMutt RWD Mid
Gallery - Coel's Stalls: Marui Galaxy & Shogun Resto-Mods | FrankenBuff AYK Buffalo | 1987 Buick GNX RC12L3

User avatar
CAT3K
Approved Member
Posts: 641
Joined: Mon Dec 06, 2010 7:28 am
Location: UK

Re: Poor CAT

Post by CAT3K »

I spent my bank holiday monday yesterday painting the Procat. I tested some bronze paint on some scrap lexan and didn't like the colour, so i decided to go for gold/silver instead.

Image

Image

Image

Image

Image

Image

Image

I really like how it turned out. I'm still not sure what to do for some decals, i've designed a custom set but i don't know if it will ruin the sleek lines. I'll probably get the decals printed and try them just to be sure, but if i decide to leave it like this, i'll still be very happy :D

Paul.

kaszal
Approved Member
Posts: 342
Joined: Wed May 12, 2010 7:04 am

Post by kaszal »

Nice restoration and those paint lines really work for that shell.

I'm still waiting to hear back from Kifopaint on my decals. Will let you know how they come out.

User avatar
Coelacanth
Approved Member
Posts: 7421
Joined: Thu Jul 29, 2010 6:20 pm
Location: Alberta, Canada
Has thanked: 16 times
Been thanked: 325 times

Re: Poor CAT

Post by Coelacanth »

I agree with kaszal, nice flowing body lines need to be enhanced by the paint job, and you've done a great job of that. I think you mentioned you're going to lose the purple wing buttons, I'd agree with you on that one. :)
Completed projects: CYANide Onroad Optima | Zebra Gold Optima | Barney Optima | OptiMutt RWD Mid
Gallery - Coel's Stalls: Marui Galaxy & Shogun Resto-Mods | FrankenBuff AYK Buffalo | 1987 Buick GNX RC12L3

moozo
Approved Member
Posts: 154
Joined: Tue Oct 20, 2009 3:30 pm
Location: Manchester, UK

Re: Poor CAT

Post by moozo »

WOW How good does this Procat look.....wish i had the time and know how to do this to just one of my vintage cars....
very nice job Paul with this restoration :D

Mick

User avatar
CAT3K
Approved Member
Posts: 641
Joined: Mon Dec 06, 2010 7:28 am
Location: UK

Re: Poor CAT

Post by CAT3K »

Thanks Mick :) This has got to be one of my favourite restorations so far. I just can't decide on decals yet.

This is the set i designed.

Image

I've decided not to use these though so i'm back to square one. I do like them, but i'd need to change the text colour to suit this buggy. And i think something more subtle would work better. I might redesign this set for use with another buggy though, i quite like the cats :D

I've got a few options with some original schumacher decals i have here (topcat/cougar/storm/cougar 2000)

Coelacanth, those wing buttons are gone now, they did look out of place..


Paul.

kaszal
Approved Member
Posts: 342
Joined: Wed May 12, 2010 7:04 am

pulley fences

Post by kaszal »

Hi Paul

What's the inner and outer diameters for the front pulley fences?

They don't look standard. Are they a Schumacher part or custom made?

Any ideas on how to make them?

Cheers

Luke
CAT3K wrote: Image

Image

User avatar
CAT3K
Approved Member
Posts: 641
Joined: Mon Dec 06, 2010 7:28 am
Location: UK

Re: pulley fences

Post by CAT3K »

kaszal wrote:Hi Paul

What's the inner and outer diameters for the front pulley fences?

They don't look standard. Are they a Schumacher part or custom made?

Any ideas on how to make them?

Cheers

Luke
I definately don't think they're a Schumacher part Luke, i'd imagine just some plastic washers that a previous owner has found fit well. They're about a 2mm larger in diameter than the pulley and about 1.5mm thickness. I can't give any more precise meaurements without taking the front end apart again.

Paul.

User avatar
Lonestar
Approved Member
Posts: 4270
Joined: Wed Dec 12, 2007 5:17 am
Location: Switzerland, yannow, in Europe (or almost)
Has thanked: 623 times
Been thanked: 170 times

Re: Poor CAT

Post by Lonestar »

wow - what a transformation from the 1st post!!! Superb work :)

Paul
AE RC10 - Made In The Eighties, Loved By The Ladies.
Blue Was Better - now, Blue Is Bankrupt.
Facebook affiliate program manager: "They go out and find the morons for me".
Life is short. Waste it wisely.

Create an account or sign in to join the discussion

You need to be a member in order to post a reply

Create an account

Not a member? register to join our community
Members can start their own topics & subscribe to topics
It’s free and only takes a minute

Register

Sign in

  • Similar Topics
    Replies
    Views
    Last post

Return to “Schumacher Forum”

Who is online

Users browsing this forum: No User AvatarYandex [Bot] and 8 guests