yes, exactly. the worlds setup uses the nuts and small white rings as shims under the bellcrank. if you need more clearance at the ball ends, you can sub in a small metal shim or two or three whatever, because the plastic ring is like 1mm tall, which is kind of a lot, but in that kit with bronze bushings, you need the extra space. with bearings you can tighten that up.
If you have a worlds bellcrank, you can check and see if those nuts will work, otherwise, I can make a set of nuts that fits that bellcrank. will need dimensions though.
another option is to also trim/mill/grind the bottom side of the bellcranks, I'm not familiar with those, so I can't determine what the dimensions are and if they are close to the worlds or rps style. they look slightly taller which is not helping the interference.
Feb'22: we're getting there (at last)... CWF (tub) and Shiny RC10
-
jwscab

- Approved Member
- Posts: 6570
- Joined: Wed Jan 28, 2009 9:42 am
- Location: Chalfont, PA
- Has thanked: 16 times
- Been thanked: 498 times
Re: It's starting now (Apr2020)... CWF (tub) and Shiny RC10
if you stack those parts like this, is there enough clearance?
Locknut
bellcrank
crush tube (wider part at top)
>>in here you might need small shim<<
Noseplate
Chassis
Screw
Locknut
bellcrank
crush tube (wider part at top)
>>in here you might need small shim<<
Noseplate
Chassis
Screw
-
Lonestar

- Approved Member
- Posts: 4270
- Joined: Wed Dec 12, 2007 5:17 am
- Location: Switzerland, yannow, in Europe (or almost)
- Has thanked: 623 times
- Been thanked: 170 times
Re: It's starting now (Apr2020)... CWF (tub) and Shiny RC10
Thanks Joe - clear now. The above stacking works - this is how it's assembled at the moment, including a small shim to still lift the assembly - so the low-profile nut that holds the ballstud into its (stripped) hole doesn't rub against the nose plate. Again, those sleeves which are slightly thicker than the whole height of the assembly (both bearings in the bellcranks), are saving the day as they allow the top nut to be cranked all the way without binding. And yes, this way, it does clear. So I guess I'm good on that front!
Let me make sure I understand though - the "sleeve " part of your custom-made nut is fully threaded inside, then? If tht's the case, that is awesome!
AE RC10 - Made In The Eighties, Loved By The Ladies.
Blue Was Better - now, Blue Is Bankrupt.
Facebook affiliate program manager: "They go out and find the morons for me".
Life is short. Waste it wisely.
Blue Was Better - now, Blue Is Bankrupt.
Facebook affiliate program manager: "They go out and find the morons for me".
Life is short. Waste it wisely.
-
jwscab
- Approved Member
- Posts: 6570
- Joined: Wed Jan 28, 2009 9:42 am
- Location: Chalfont, PA
- Has thanked: 16 times
- Been thanked: 498 times
Re: It's starting now (Apr2020)... CWF (tub) and Shiny RC10
Yes, fully threaded.
https://www.rc10talk.com/viewtopic.php?f=35&t=42314&hilit=Jwscab+woin+vonats&start=15
See a couple of pics on the lathe in this thread.
https://www.rc10talk.com/viewtopic.php?f=35&t=42314&hilit=Jwscab+woin+vonats&start=15
See a couple of pics on the lathe in this thread.
-
Lonestar
- Approved Member
- Posts: 4270
- Joined: Wed Dec 12, 2007 5:17 am
- Location: Switzerland, yannow, in Europe (or almost)
- Has thanked: 623 times
- Been thanked: 170 times
Re: It's starting now (Apr2020)... CWF (tub) and Shiny RC10
Clear now - and I remember your superb OIN thread too!jwscab wrote: ↑Tue May 12, 2020 10:19 am Yes, fully threaded.
https://www.rc10talk.com/viewtopic.php?f=35&t=42314&hilit=Jwscab+woin+vonats&start=15
See a couple of pics on the lathe in this thread.
AE RC10 - Made In The Eighties, Loved By The Ladies.
Blue Was Better - now, Blue Is Bankrupt.
Facebook affiliate program manager: "They go out and find the morons for me".
Life is short. Waste it wisely.
Blue Was Better - now, Blue Is Bankrupt.
Facebook affiliate program manager: "They go out and find the morons for me".
Life is short. Waste it wisely.
-
Lonestar
- Approved Member
- Posts: 4270
- Joined: Wed Dec 12, 2007 5:17 am
- Location: Switzerland, yannow, in Europe (or almost)
- Has thanked: 623 times
- Been thanked: 170 times
Re: It's starting now (Apr2020)... CWF (tub) and Shiny RC10
I was able to make some progress in the past few days, but not to document it that much - trying to catch up now 
I took a (short) break from problem-solving to pick a motor for this shelfer - it had to be black and silver, these were the two that got shortlisted from the stash, a TMH stocker and a Dynatech 02H.
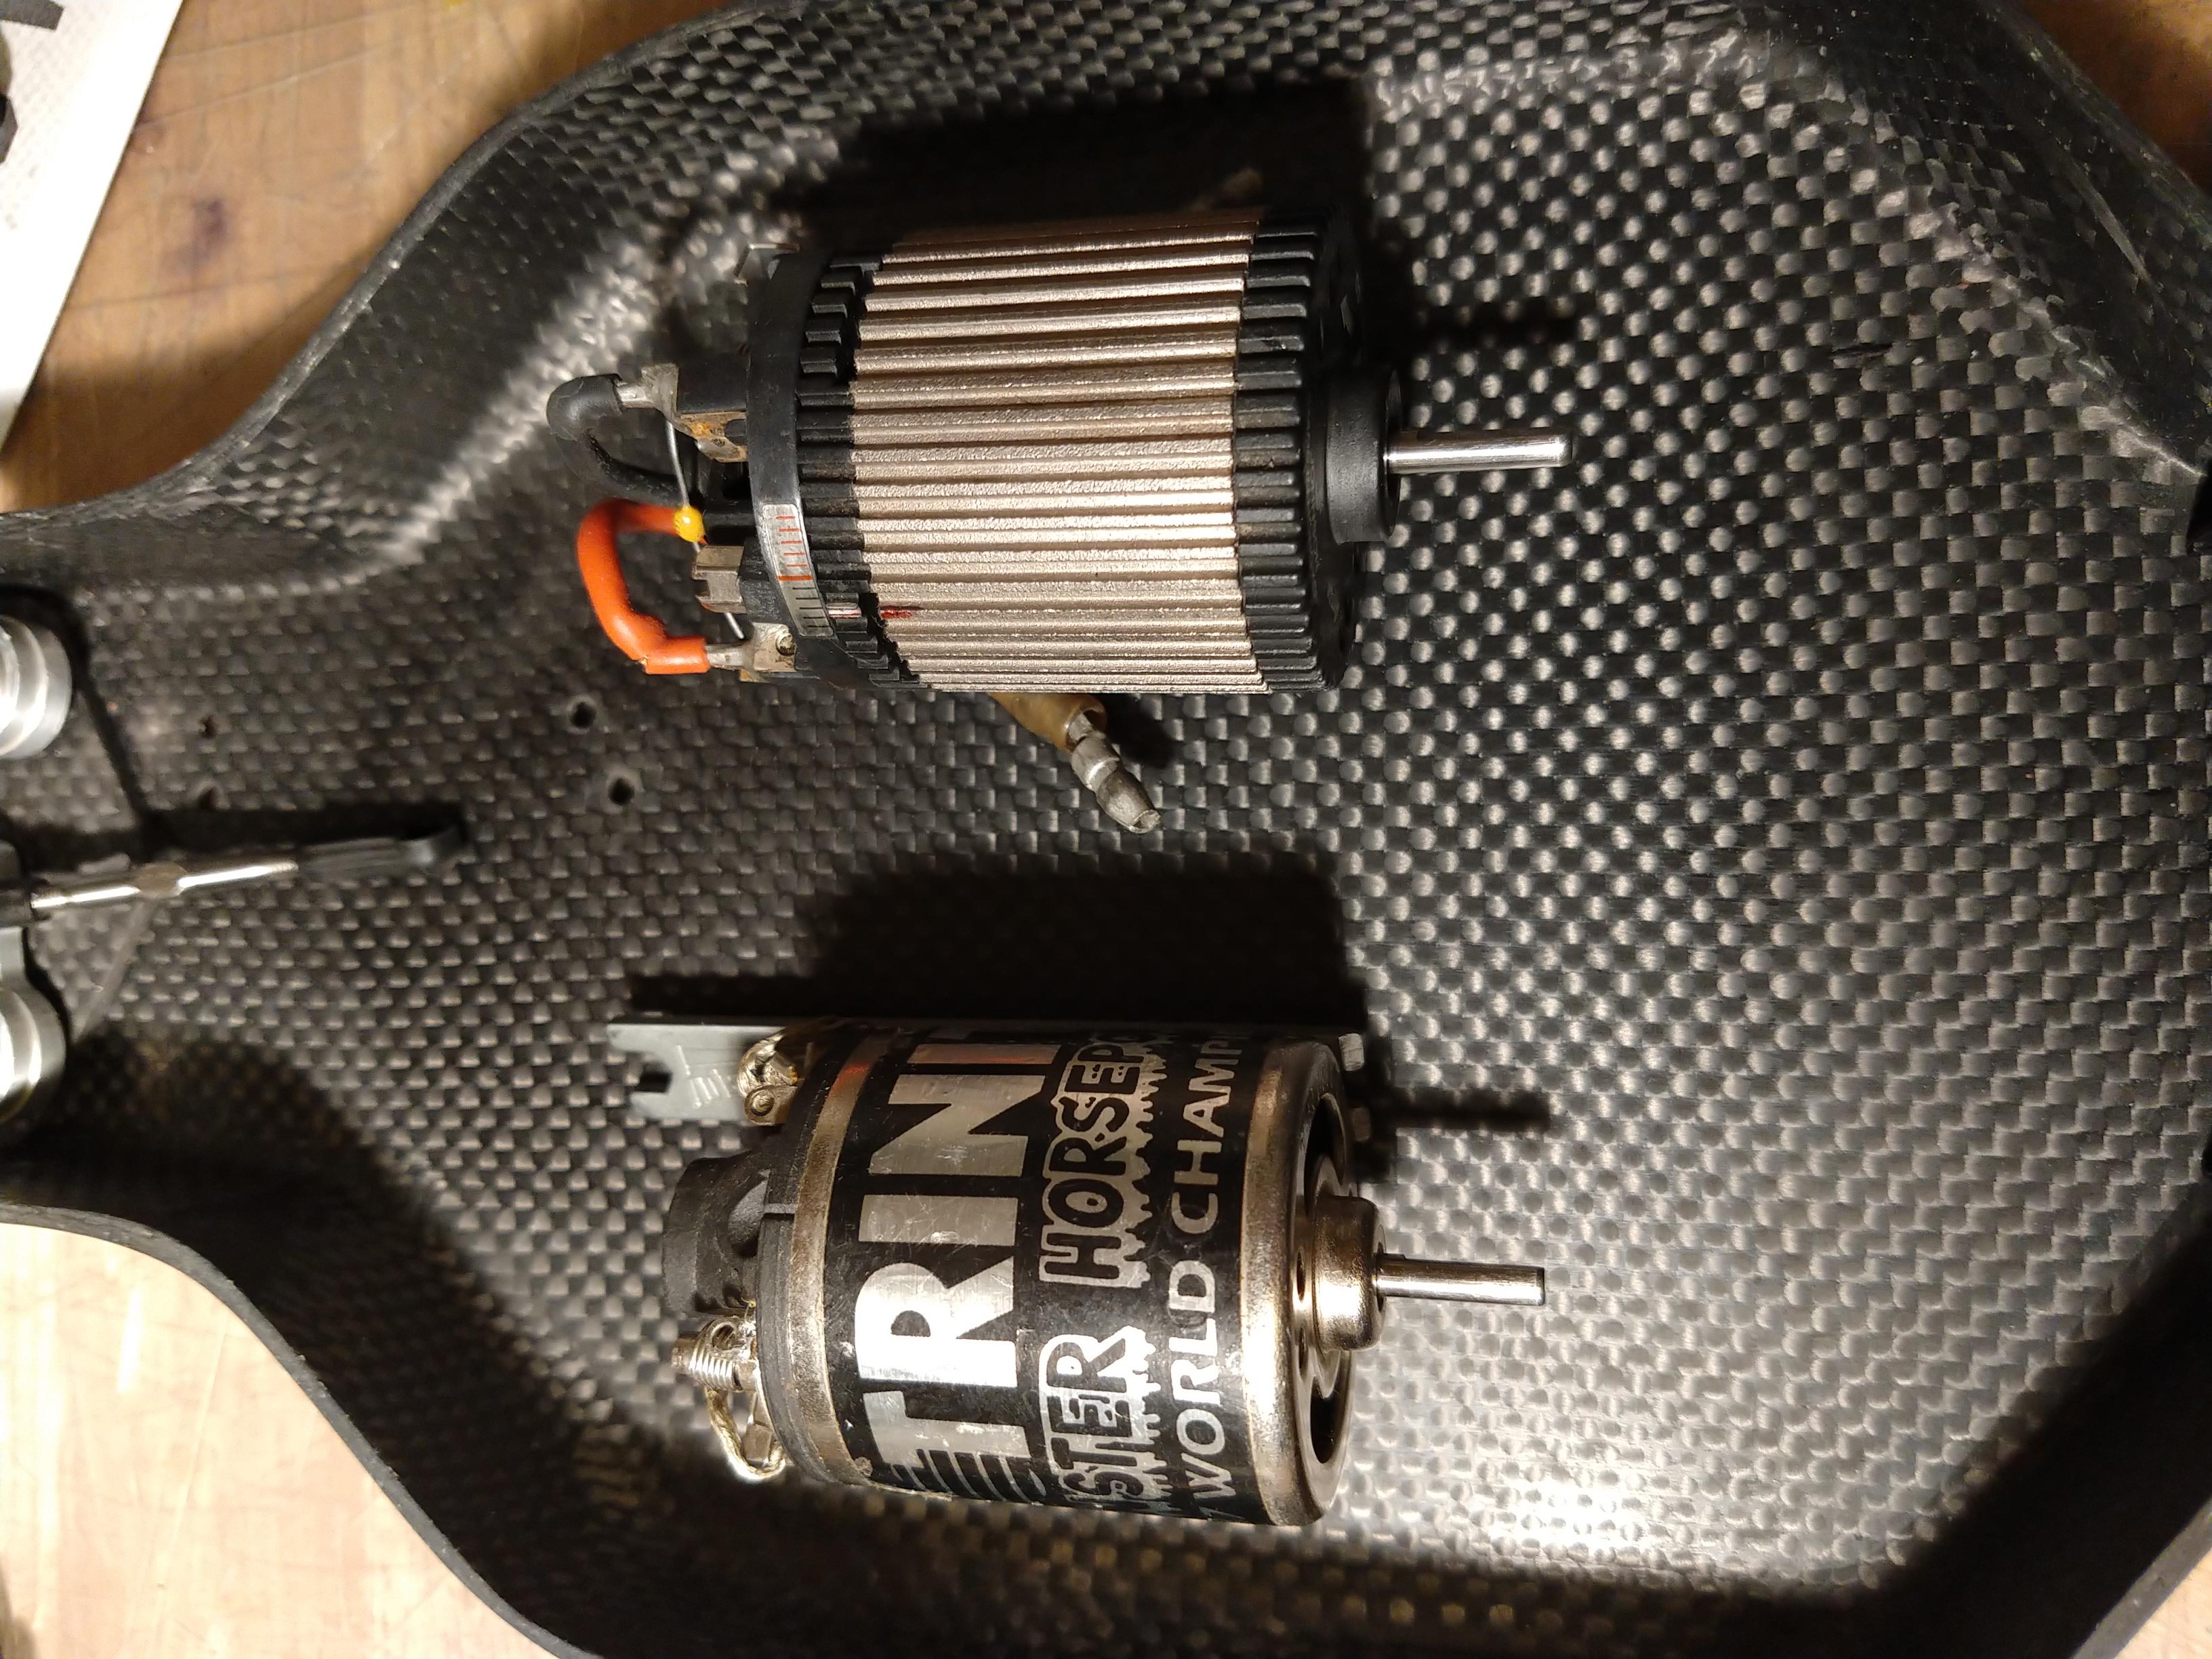
The Dynatech is quite a beast, but the matte can was a bit of a letdown on the car in the end...
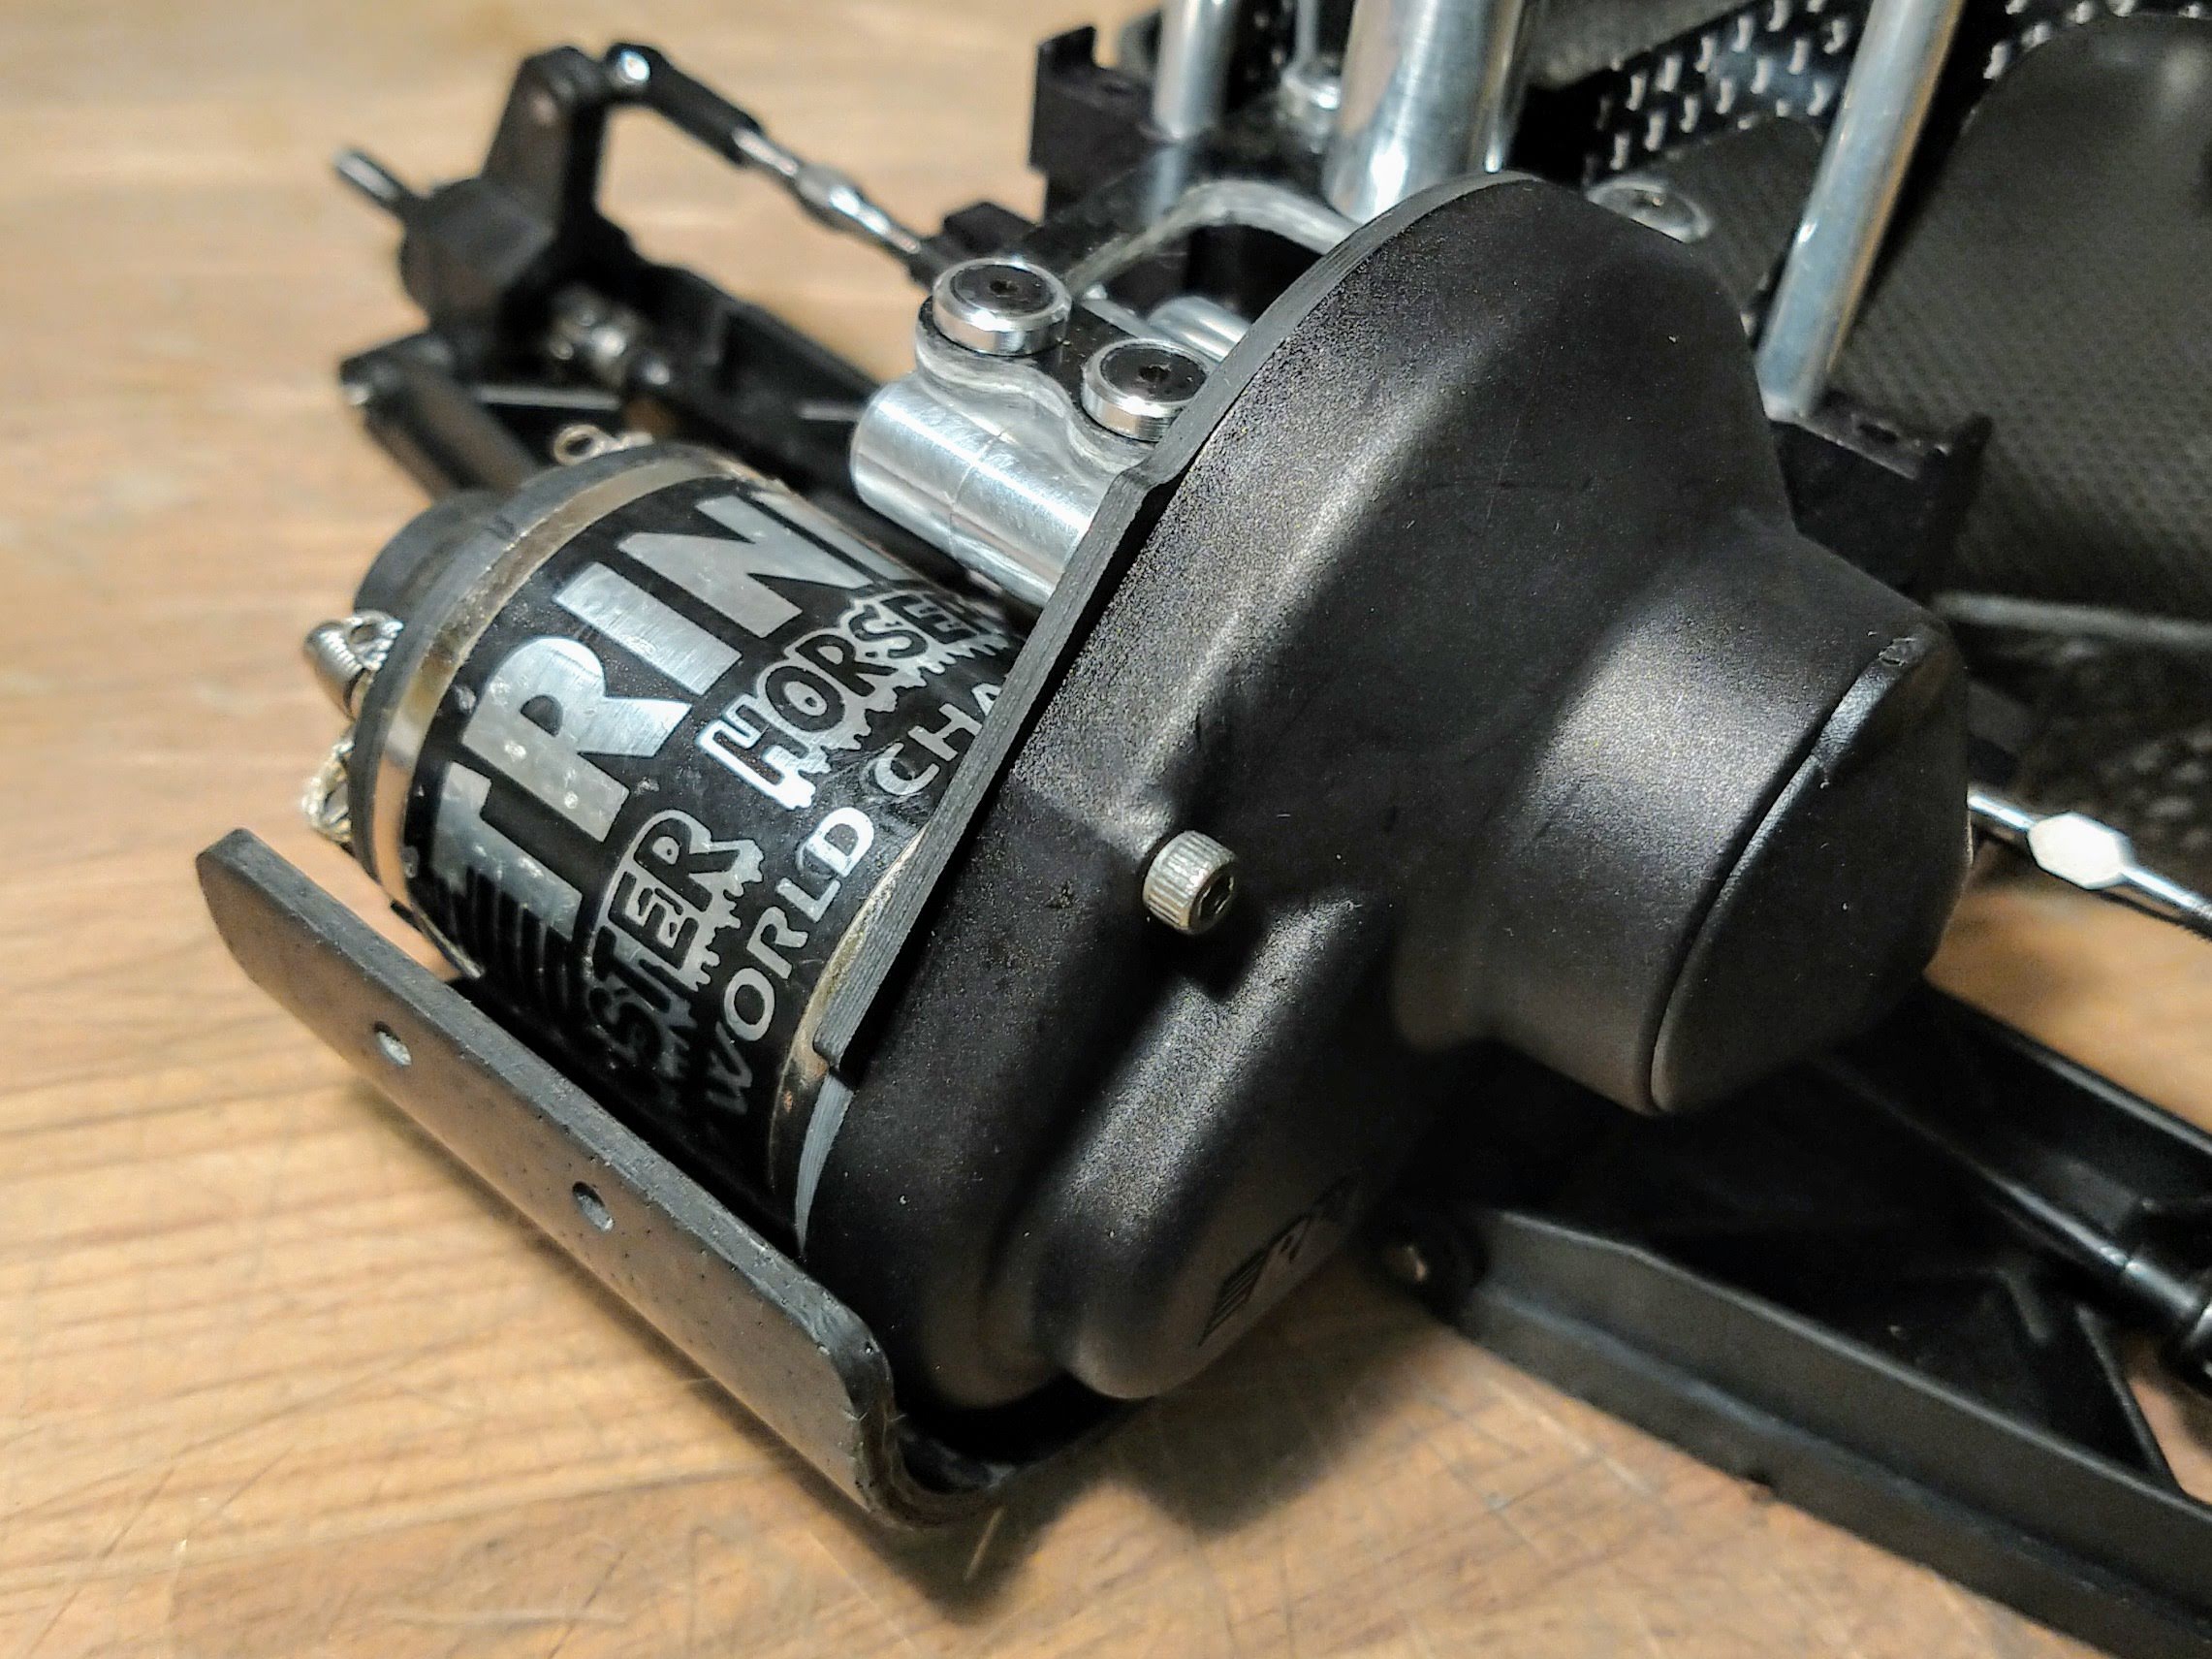
The Trinity is promising... love the stamping on the can.
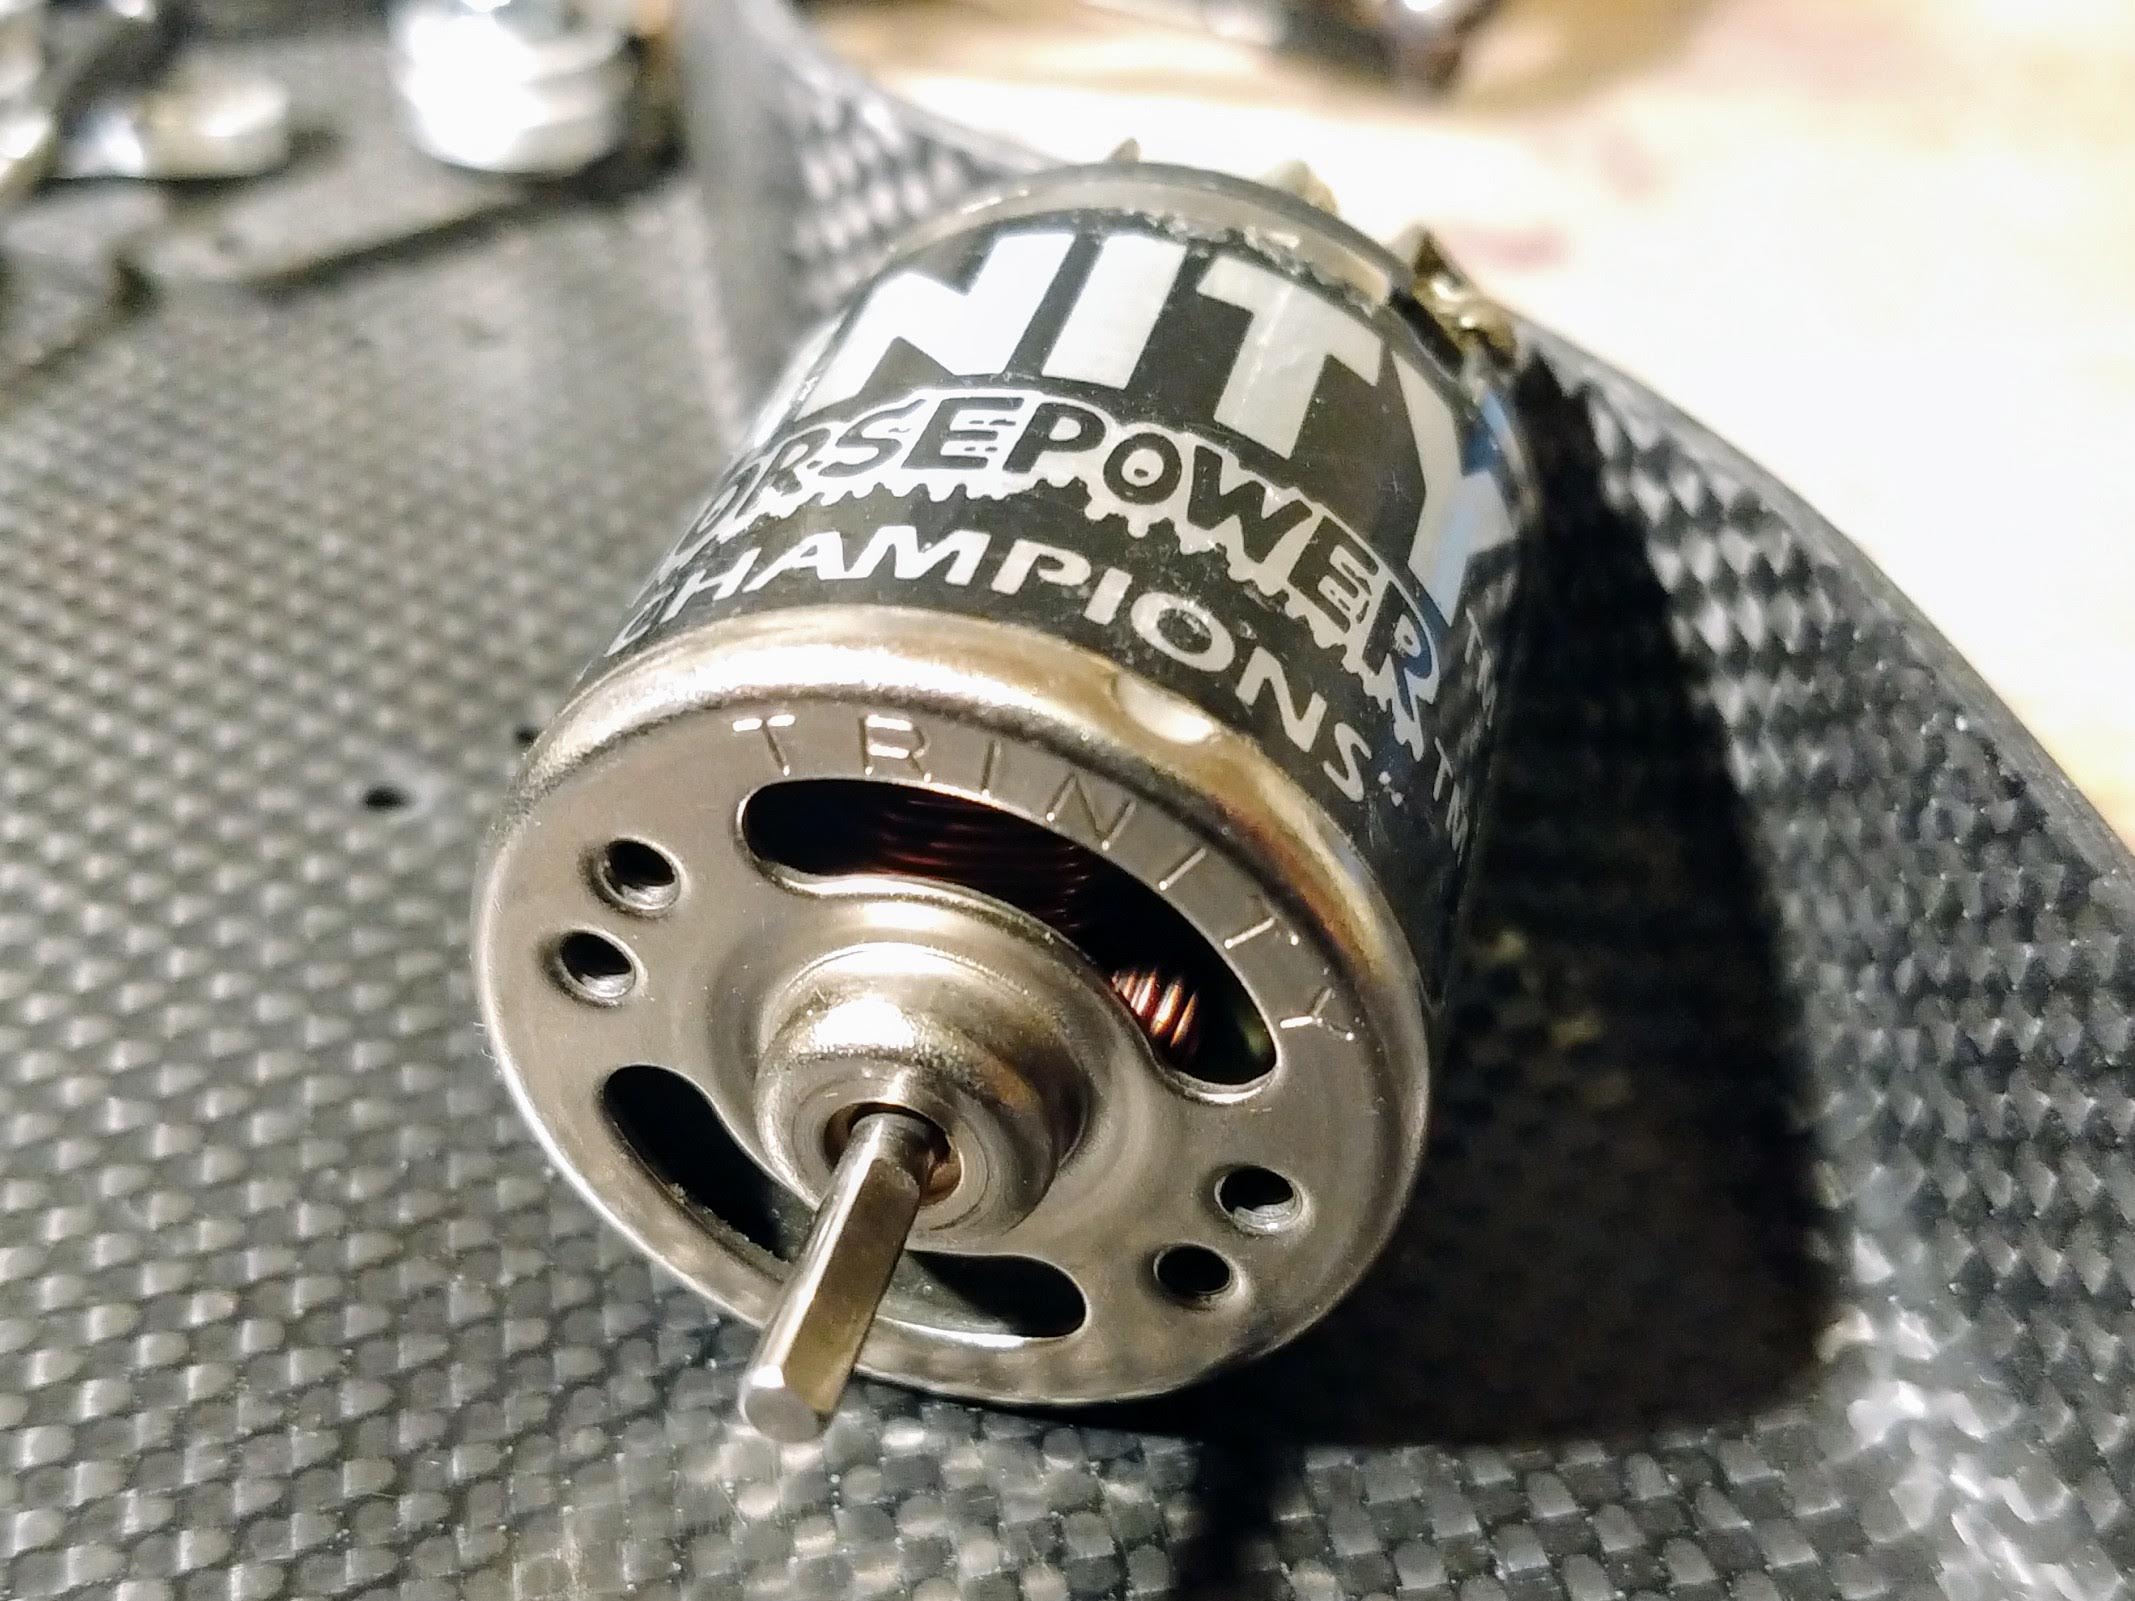
So in a great reconciliation effort between AE and Trinity, I went for the Monster Horsepower. It is not perfect unfortunately, it has been run it seems but mildly. The sticker is still in great shape... and it's fully original, so not a parts-bin ebay special
 thanks to people on this site who pointed me to NOS parts in Finland, I was able to find the correct Stealth slipper spring, unfortunately couldn't find the hardened washers though. Doesn't make a difference for the shelf, really
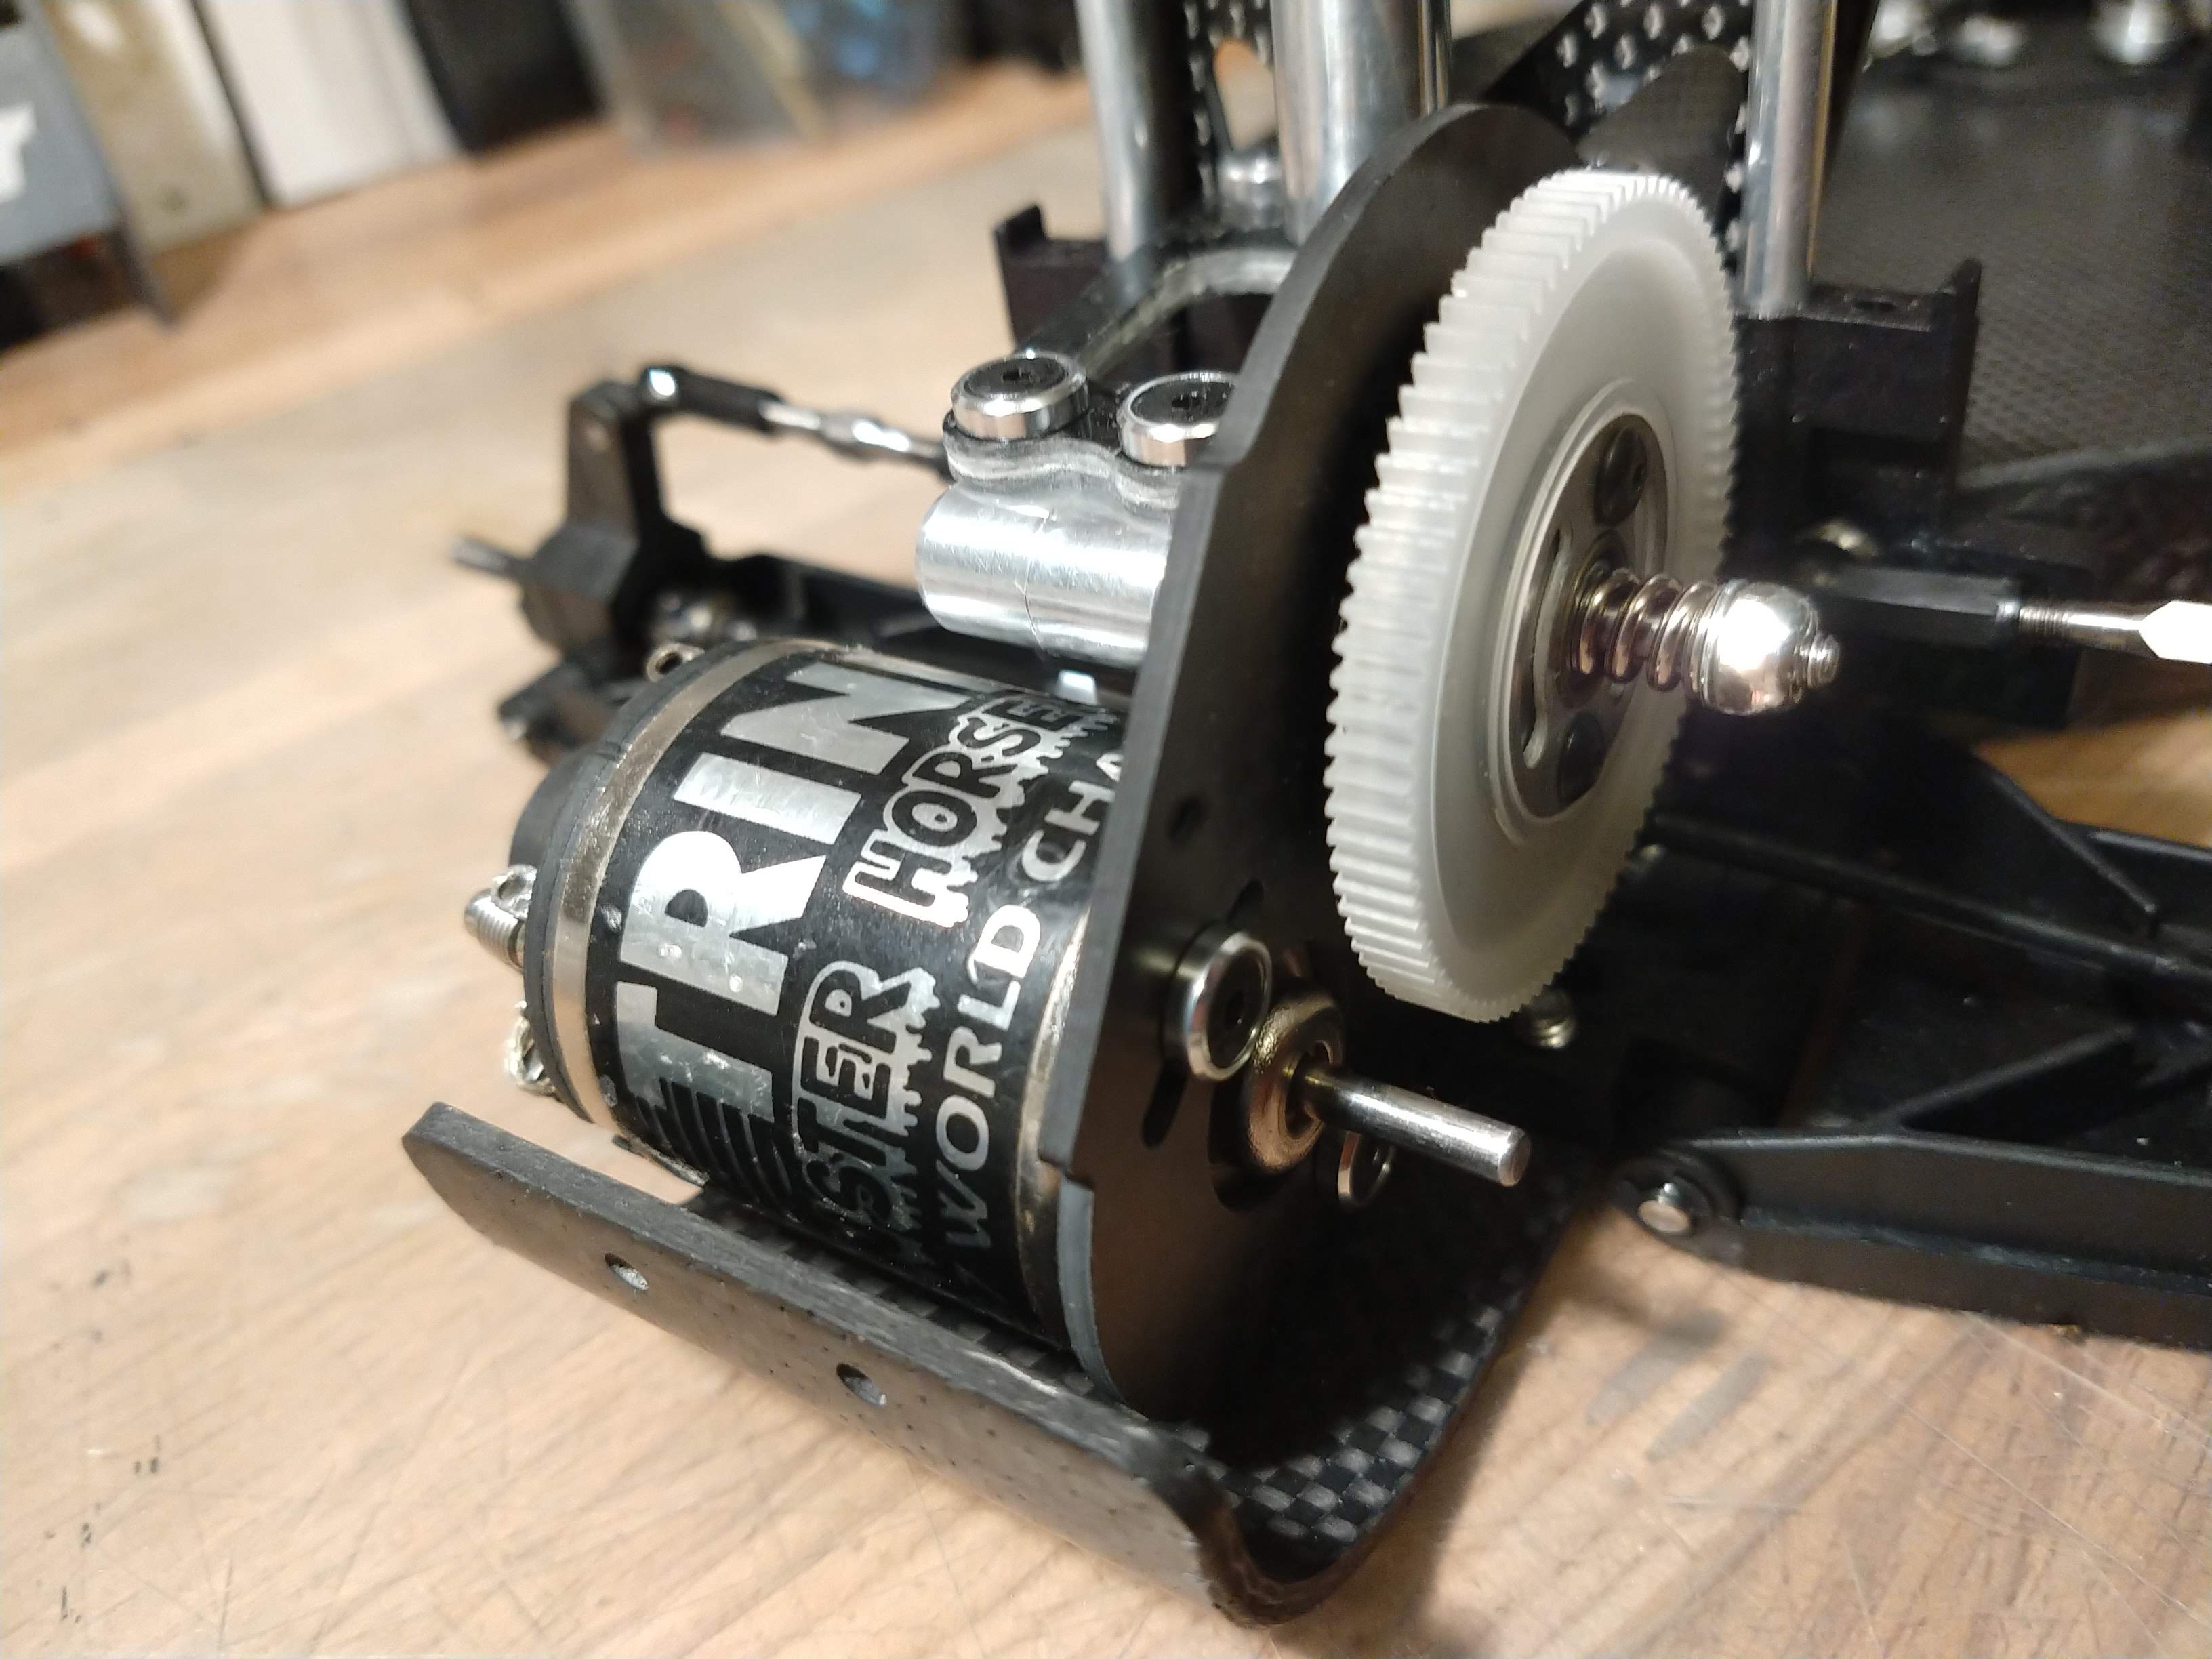
And with its RPM cover:
(TBC)
I took a (short) break from problem-solving to pick a motor for this shelfer - it had to be black and silver, these were the two that got shortlisted from the stash, a TMH stocker and a Dynatech 02H.
The Dynatech is quite a beast, but the matte can was a bit of a letdown on the car in the end...
The Trinity is promising... love the stamping on the can.
So in a great reconciliation effort between AE and Trinity, I went for the Monster Horsepower. It is not perfect unfortunately, it has been run it seems but mildly. The sticker is still in great shape... and it's fully original, so not a parts-bin ebay special
And with its RPM cover:
(TBC)
AE RC10 - Made In The Eighties, Loved By The Ladies.
Blue Was Better - now, Blue Is Bankrupt.
Facebook affiliate program manager: "They go out and find the morons for me".
Life is short. Waste it wisely.
Blue Was Better - now, Blue Is Bankrupt.
Facebook affiliate program manager: "They go out and find the morons for me".
Life is short. Waste it wisely.
-
Lonestar
- Approved Member
- Posts: 4270
- Joined: Wed Dec 12, 2007 5:17 am
- Location: Switzerland, yannow, in Europe (or almost)
- Has thanked: 623 times
- Been thanked: 170 times
Re: It's starting now (Apr2020)... CWF (tub) and Shiny RC10
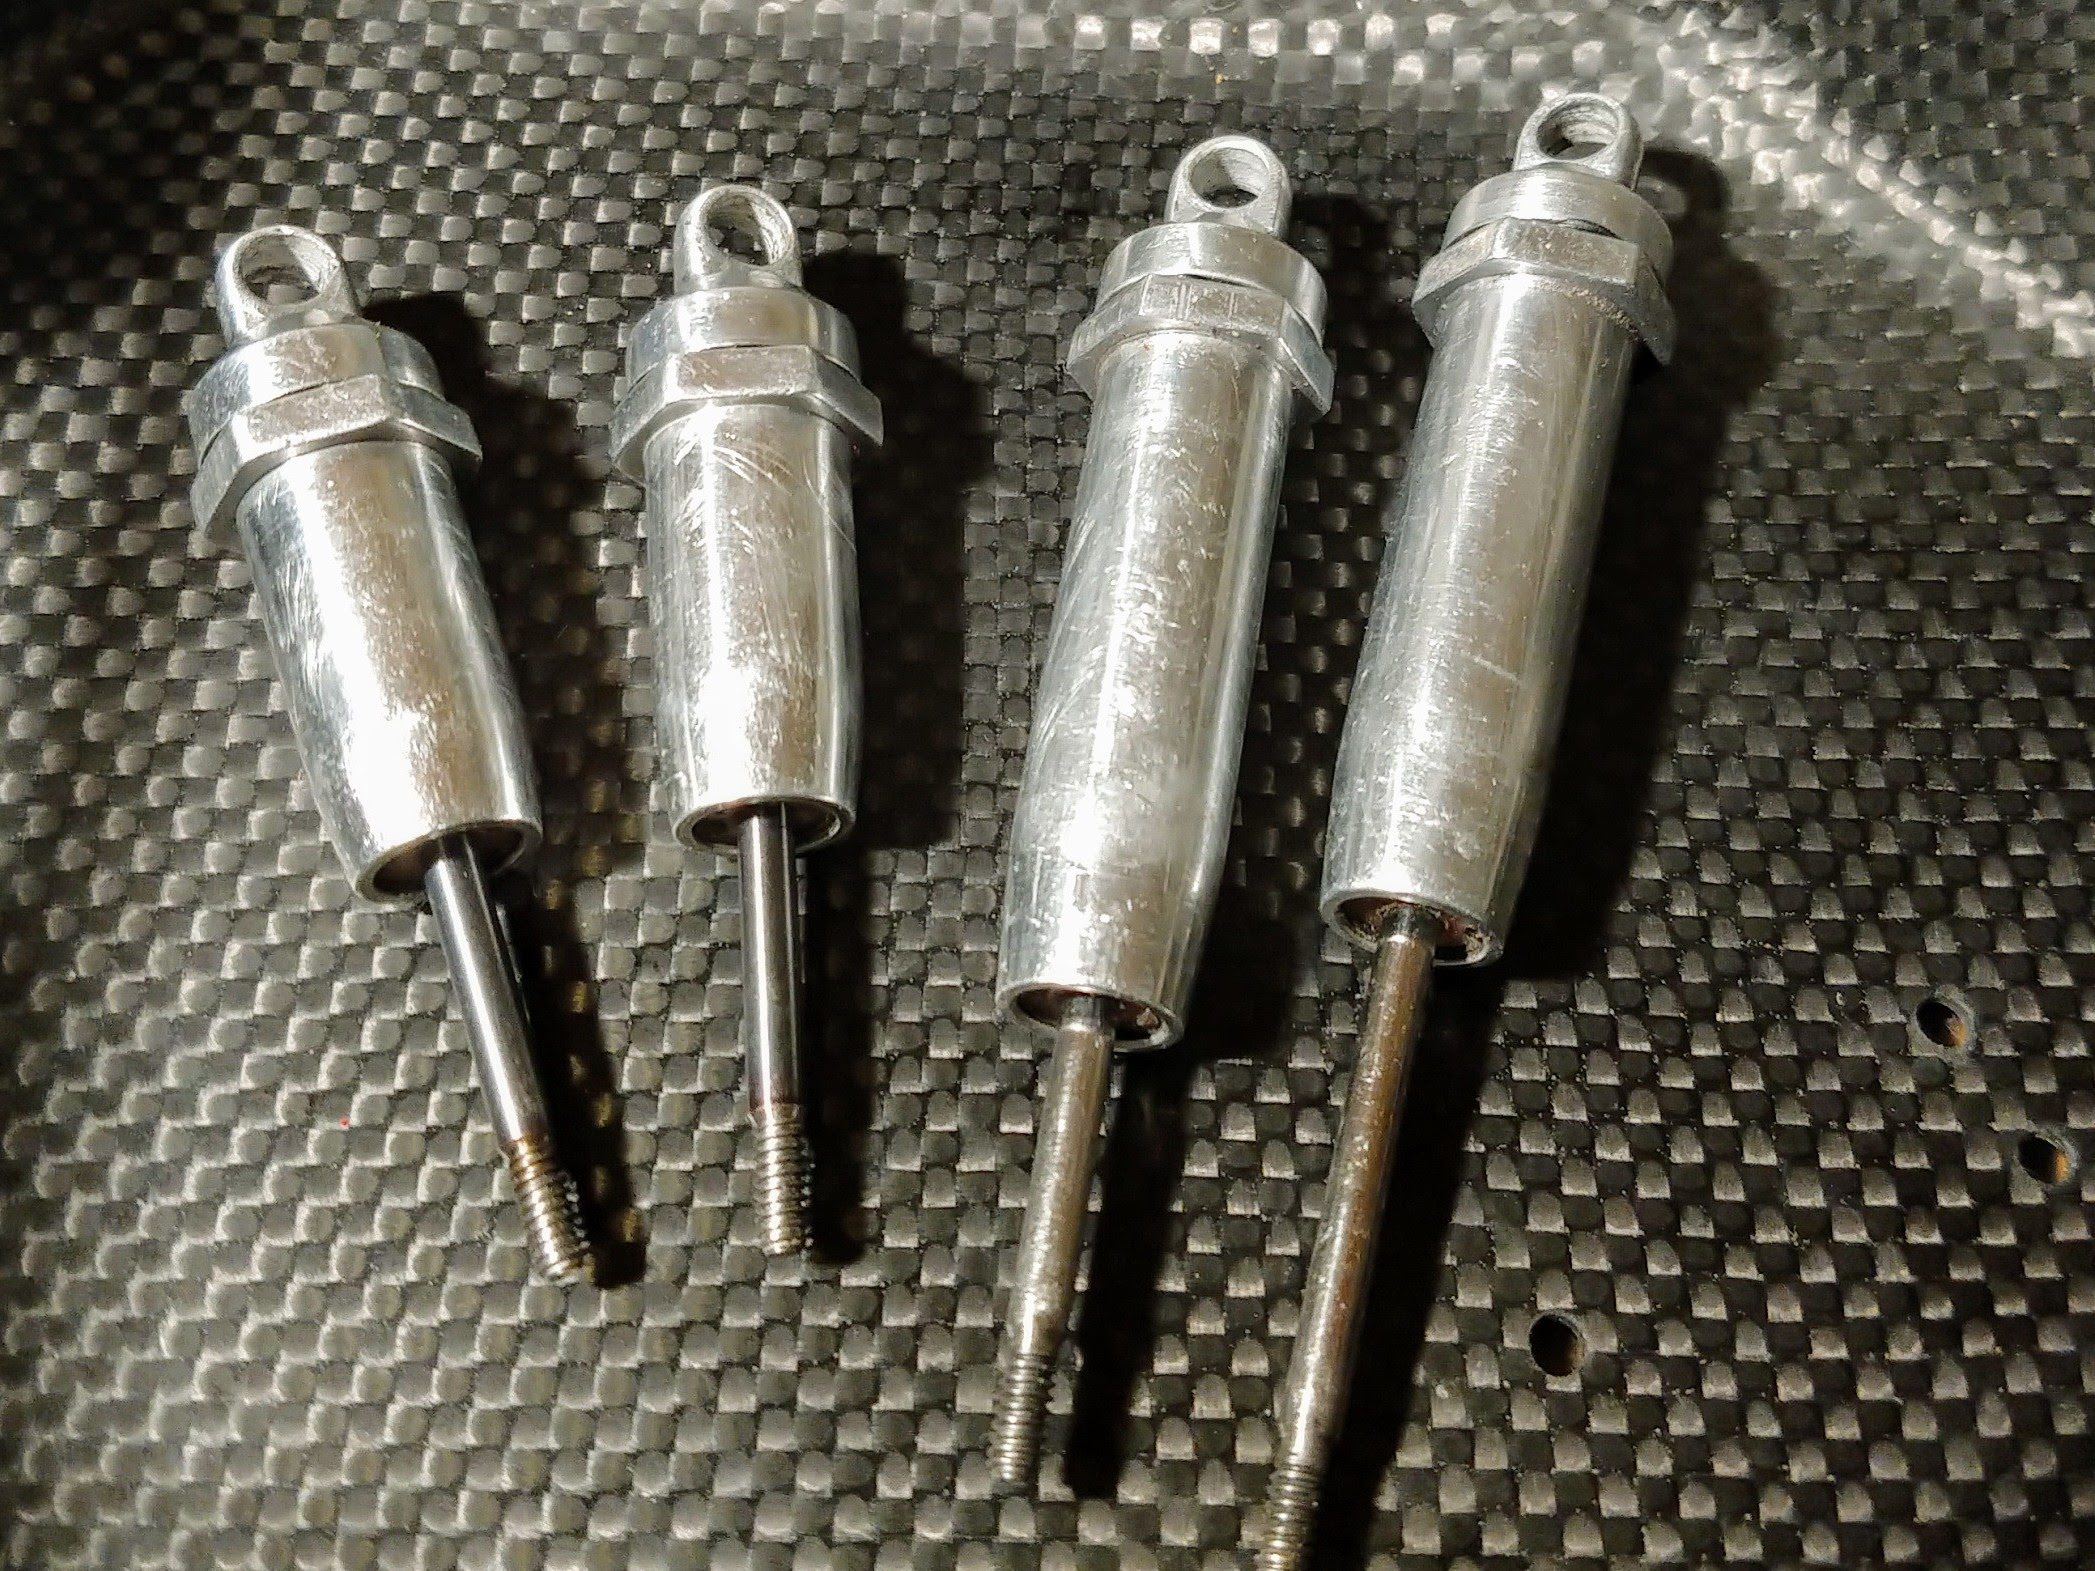
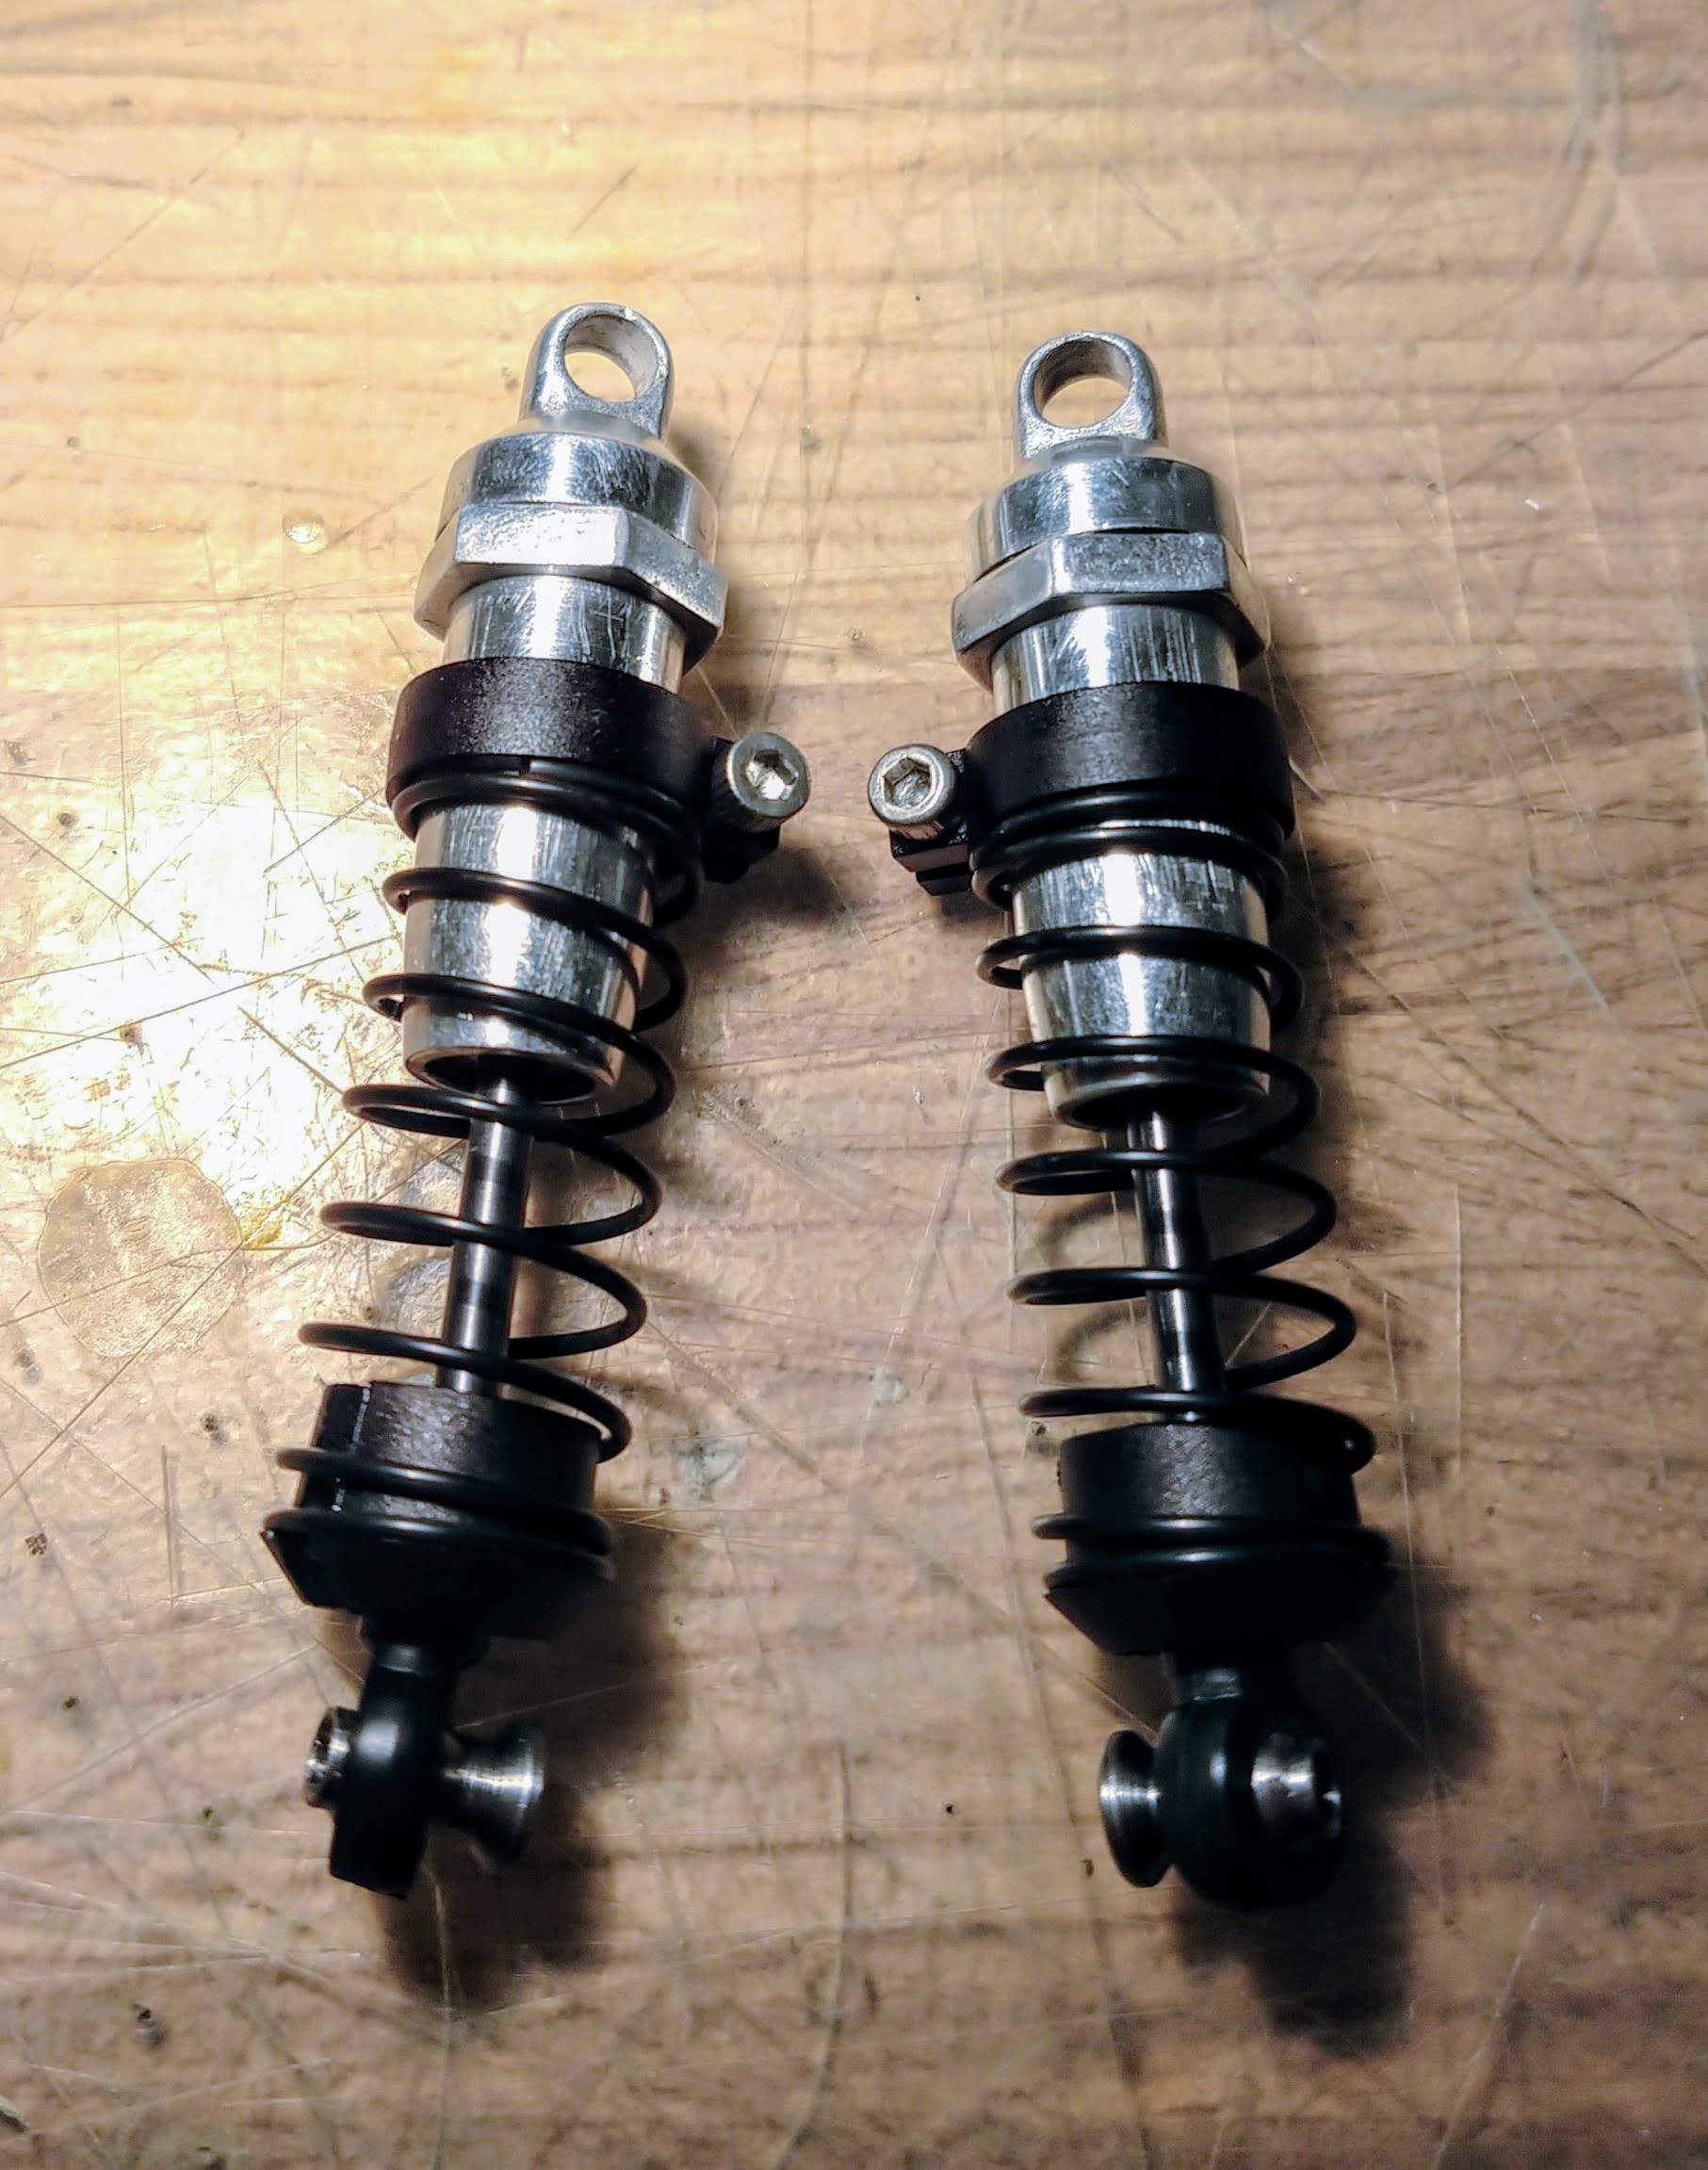
Shocks, some bottom loaders - nothing special, they just went through a rebuild - They have #3 pistons F/R, but again, for shelf duties, this will be ok 
previously polished by the previous owner - not perfect but I don't have the gear to make it better, so it's close enough and will be discreetely imperfect once installed on the car:
I had previously dyed some more re-re parts:

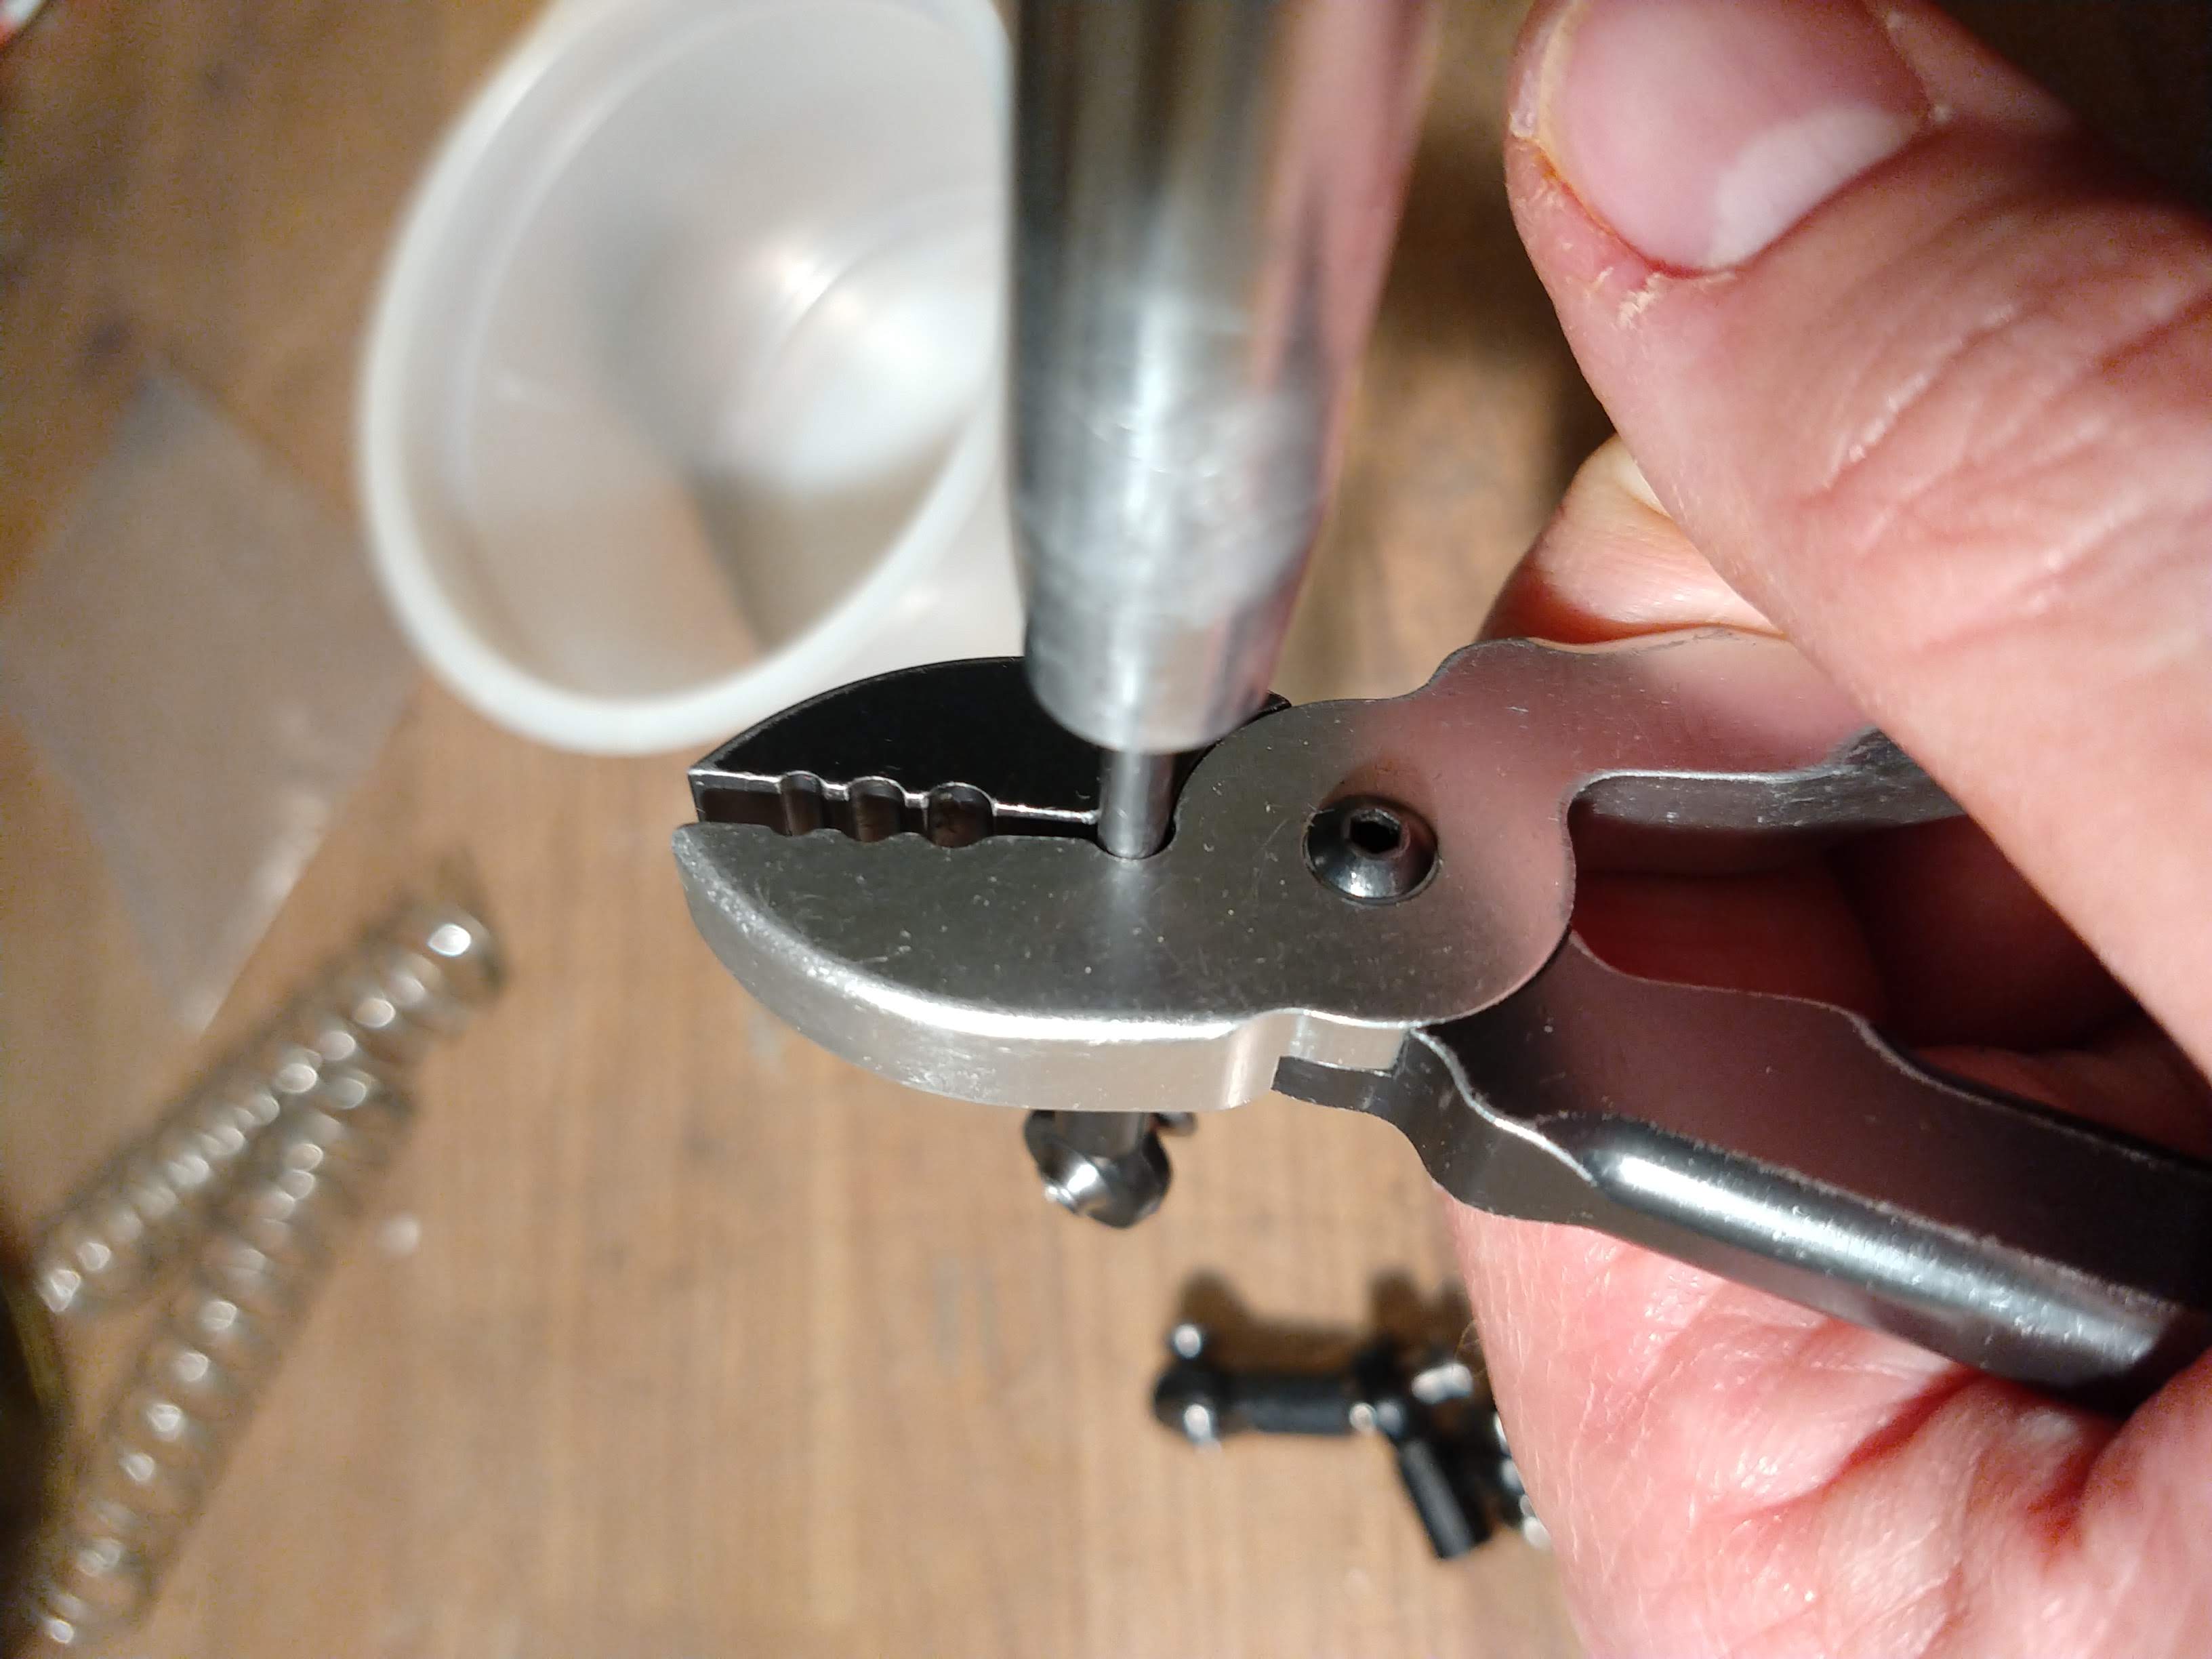
Pulled out the RPM tool for disassembly and reassembly - can't believe how many times I've used this one over the past decades... possibly the most useful tool ever for the electric racer, pre-big-bores Note the silicon o-ring from modern shocks, that is used as a seal rather than the flat washer as per original. I've never been a fan of the washer sticking out between body and cap anyway.
More NiB parts
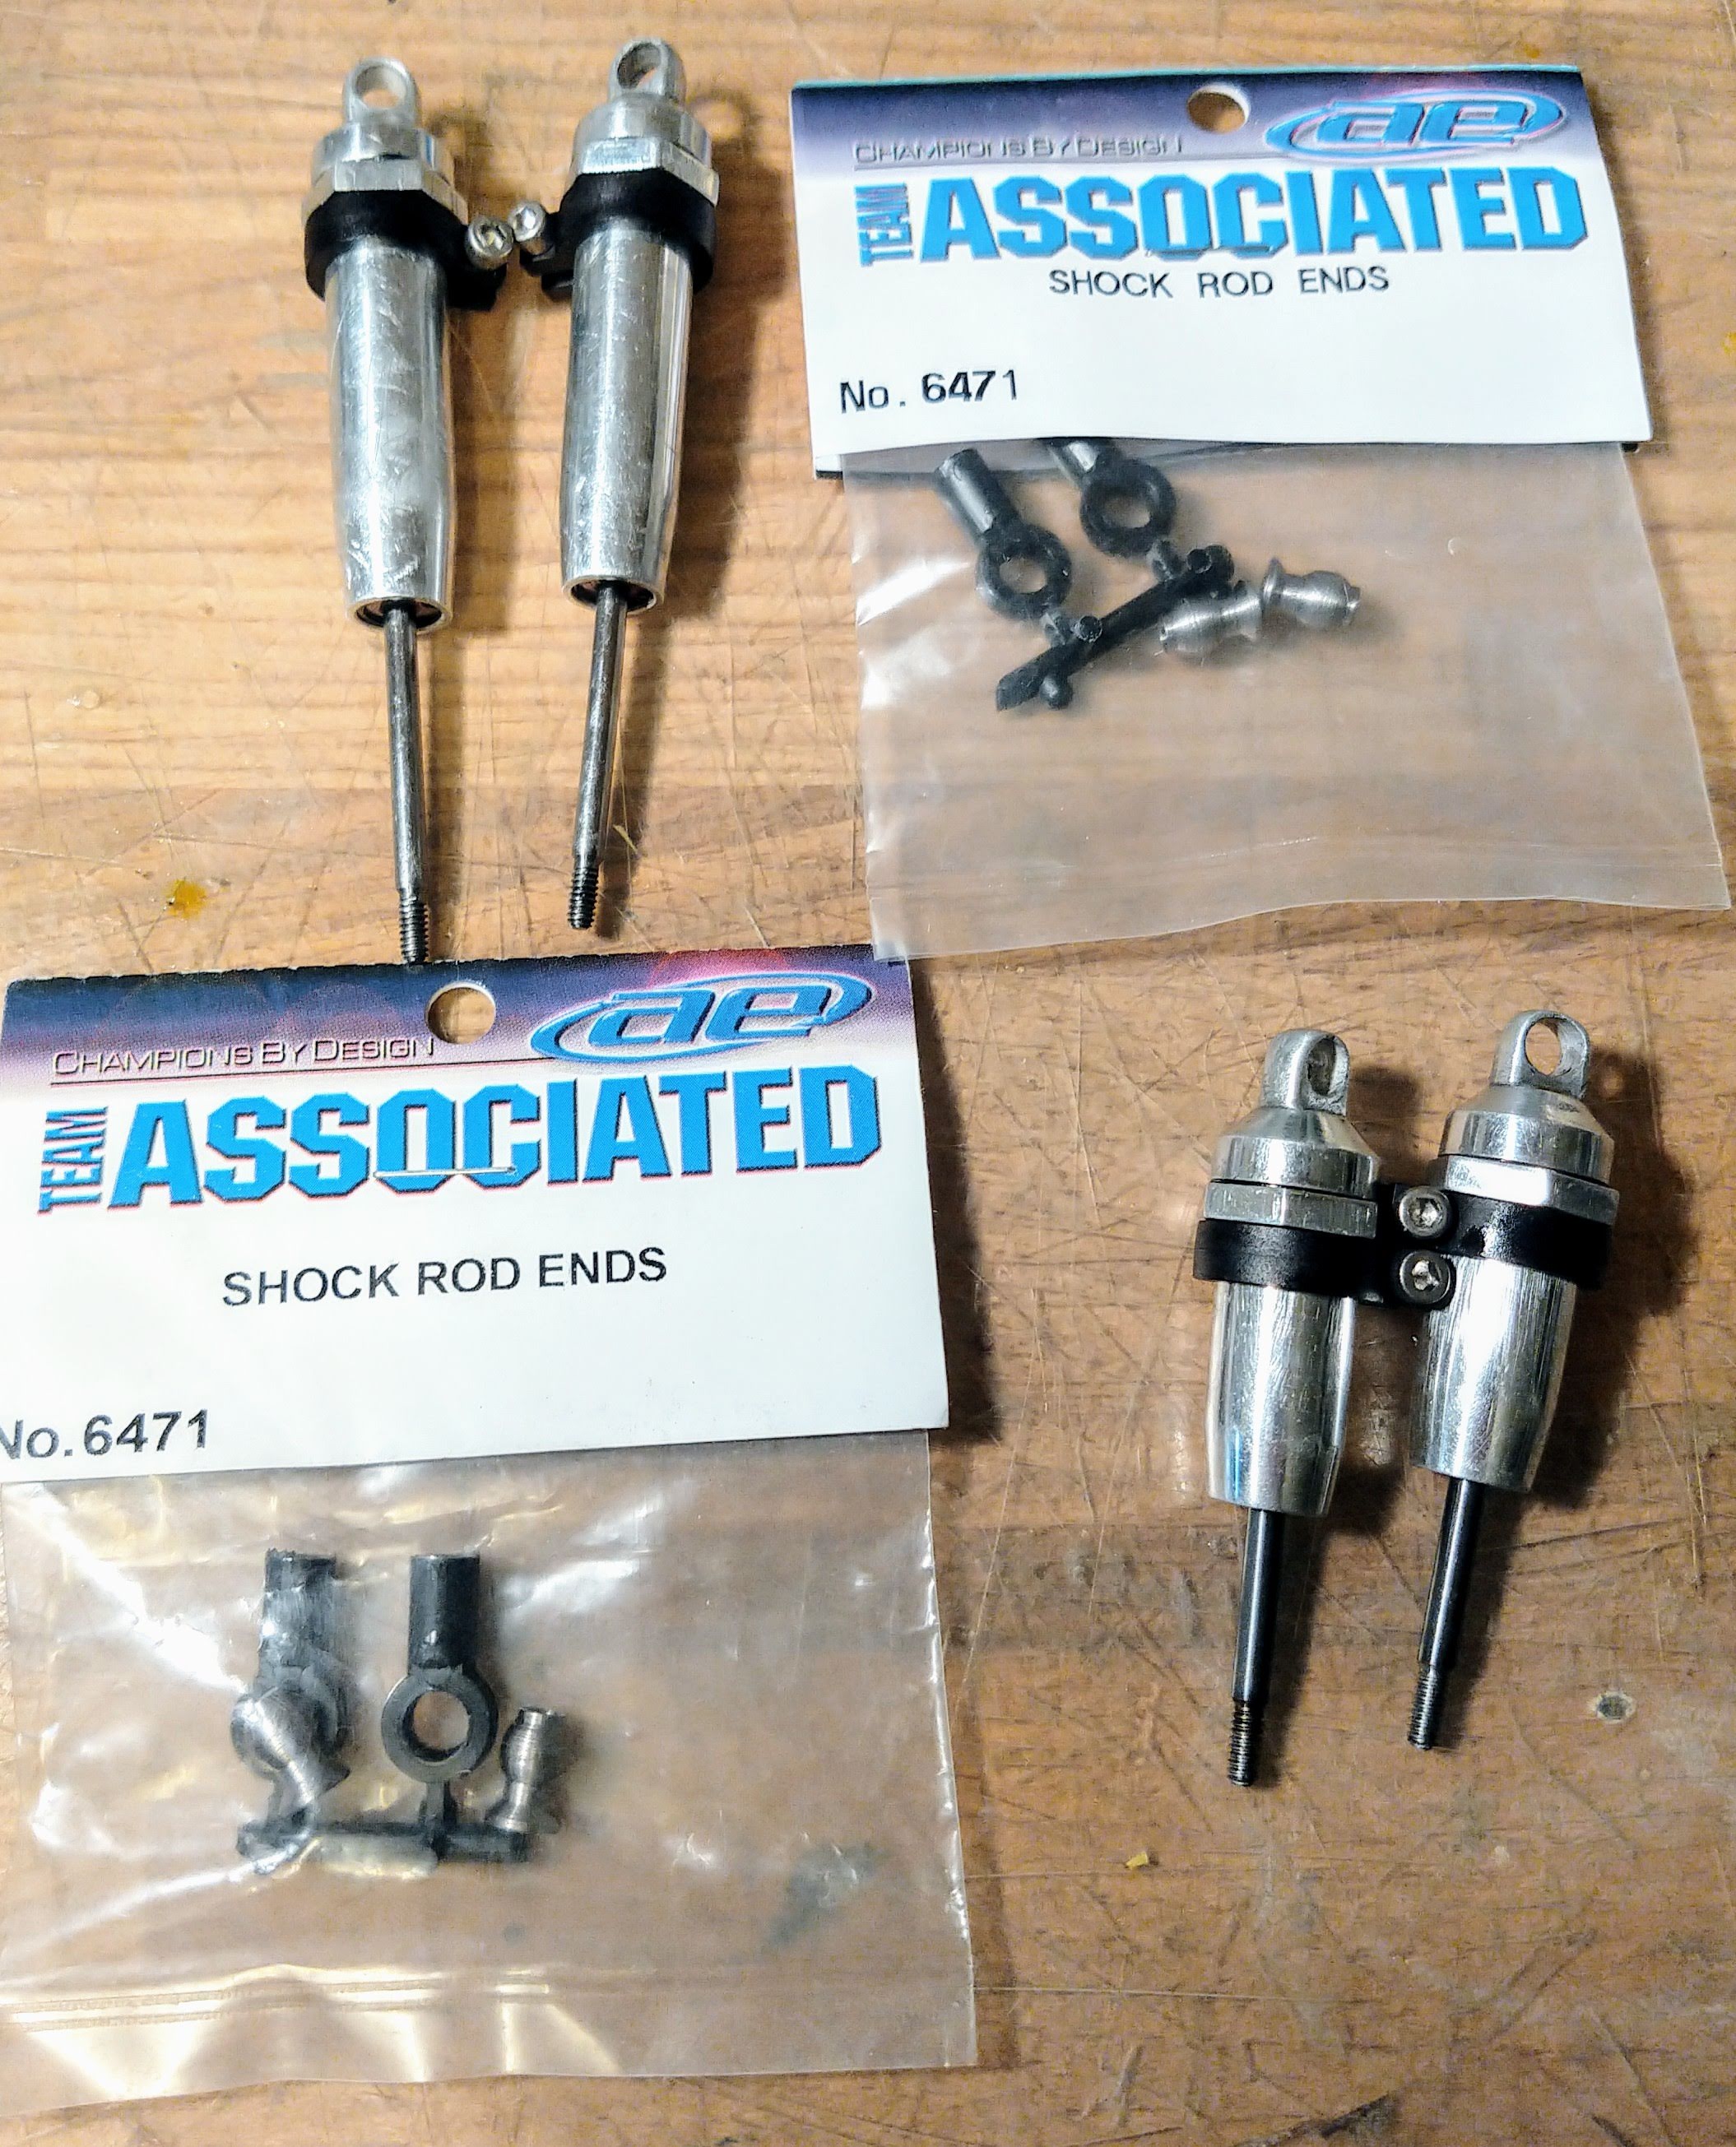
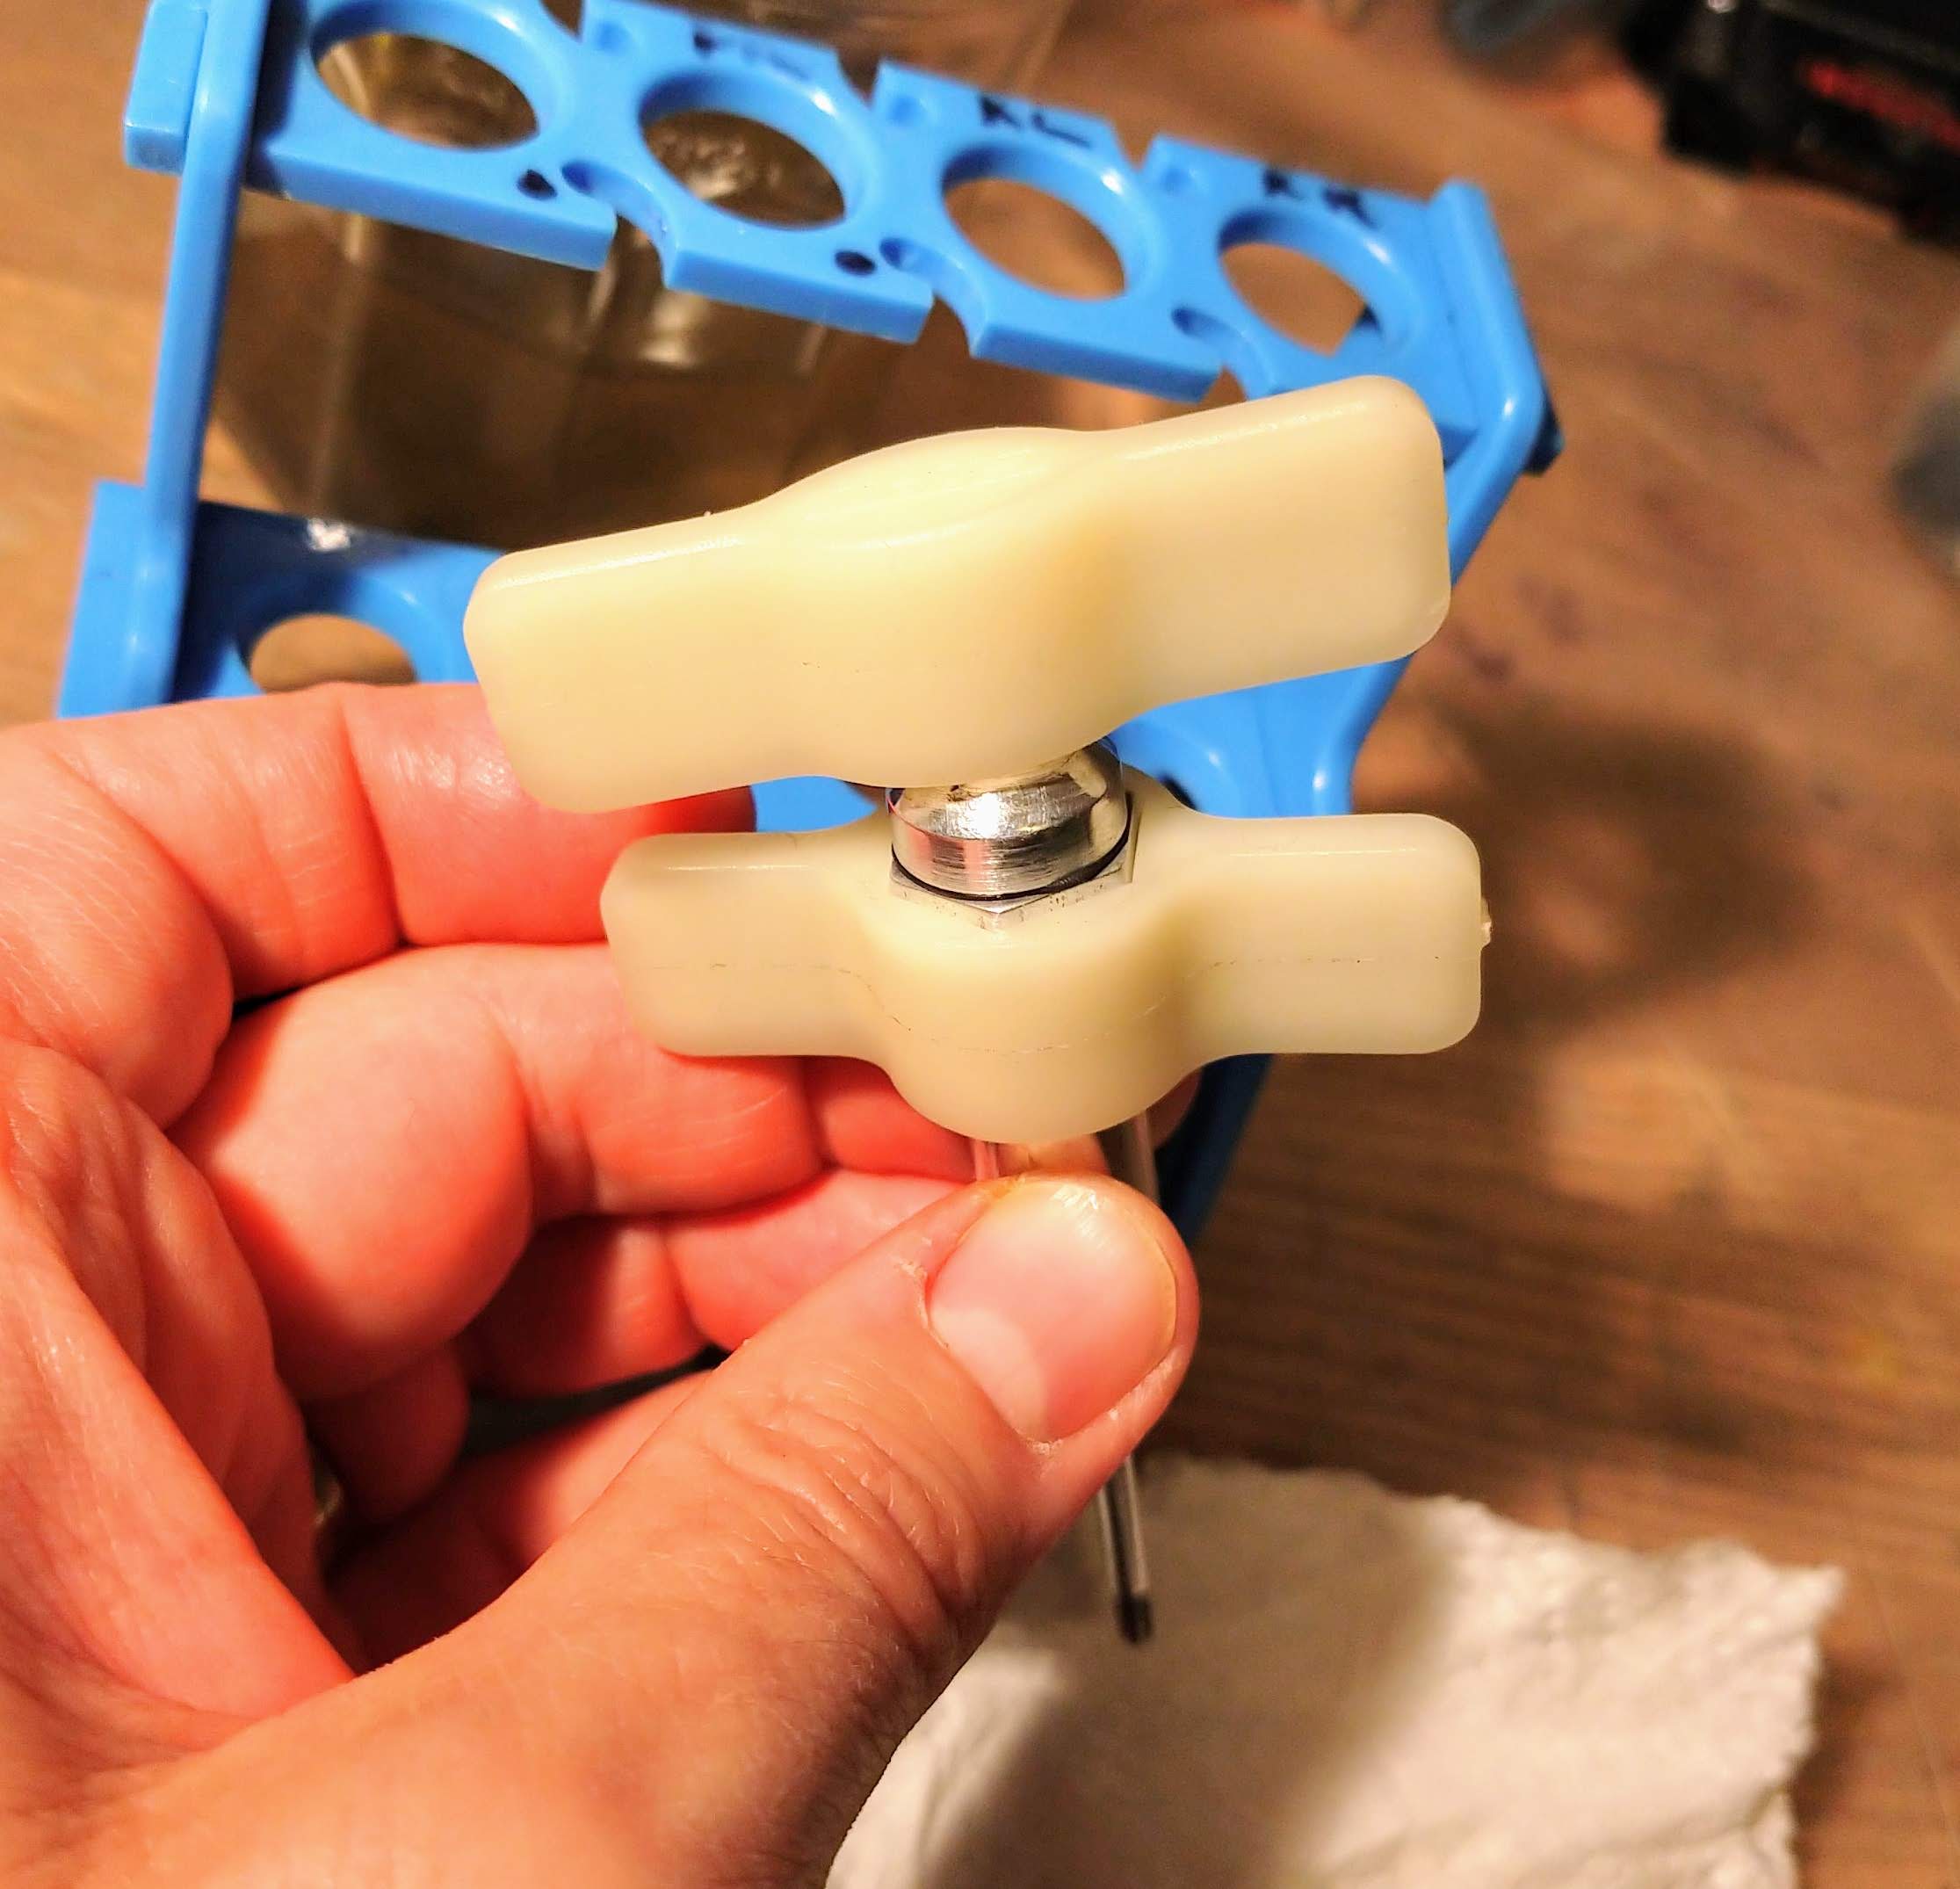
Trying not to use pliers, to protect the look of these balljoints. 5.5mm wrench is perfect.
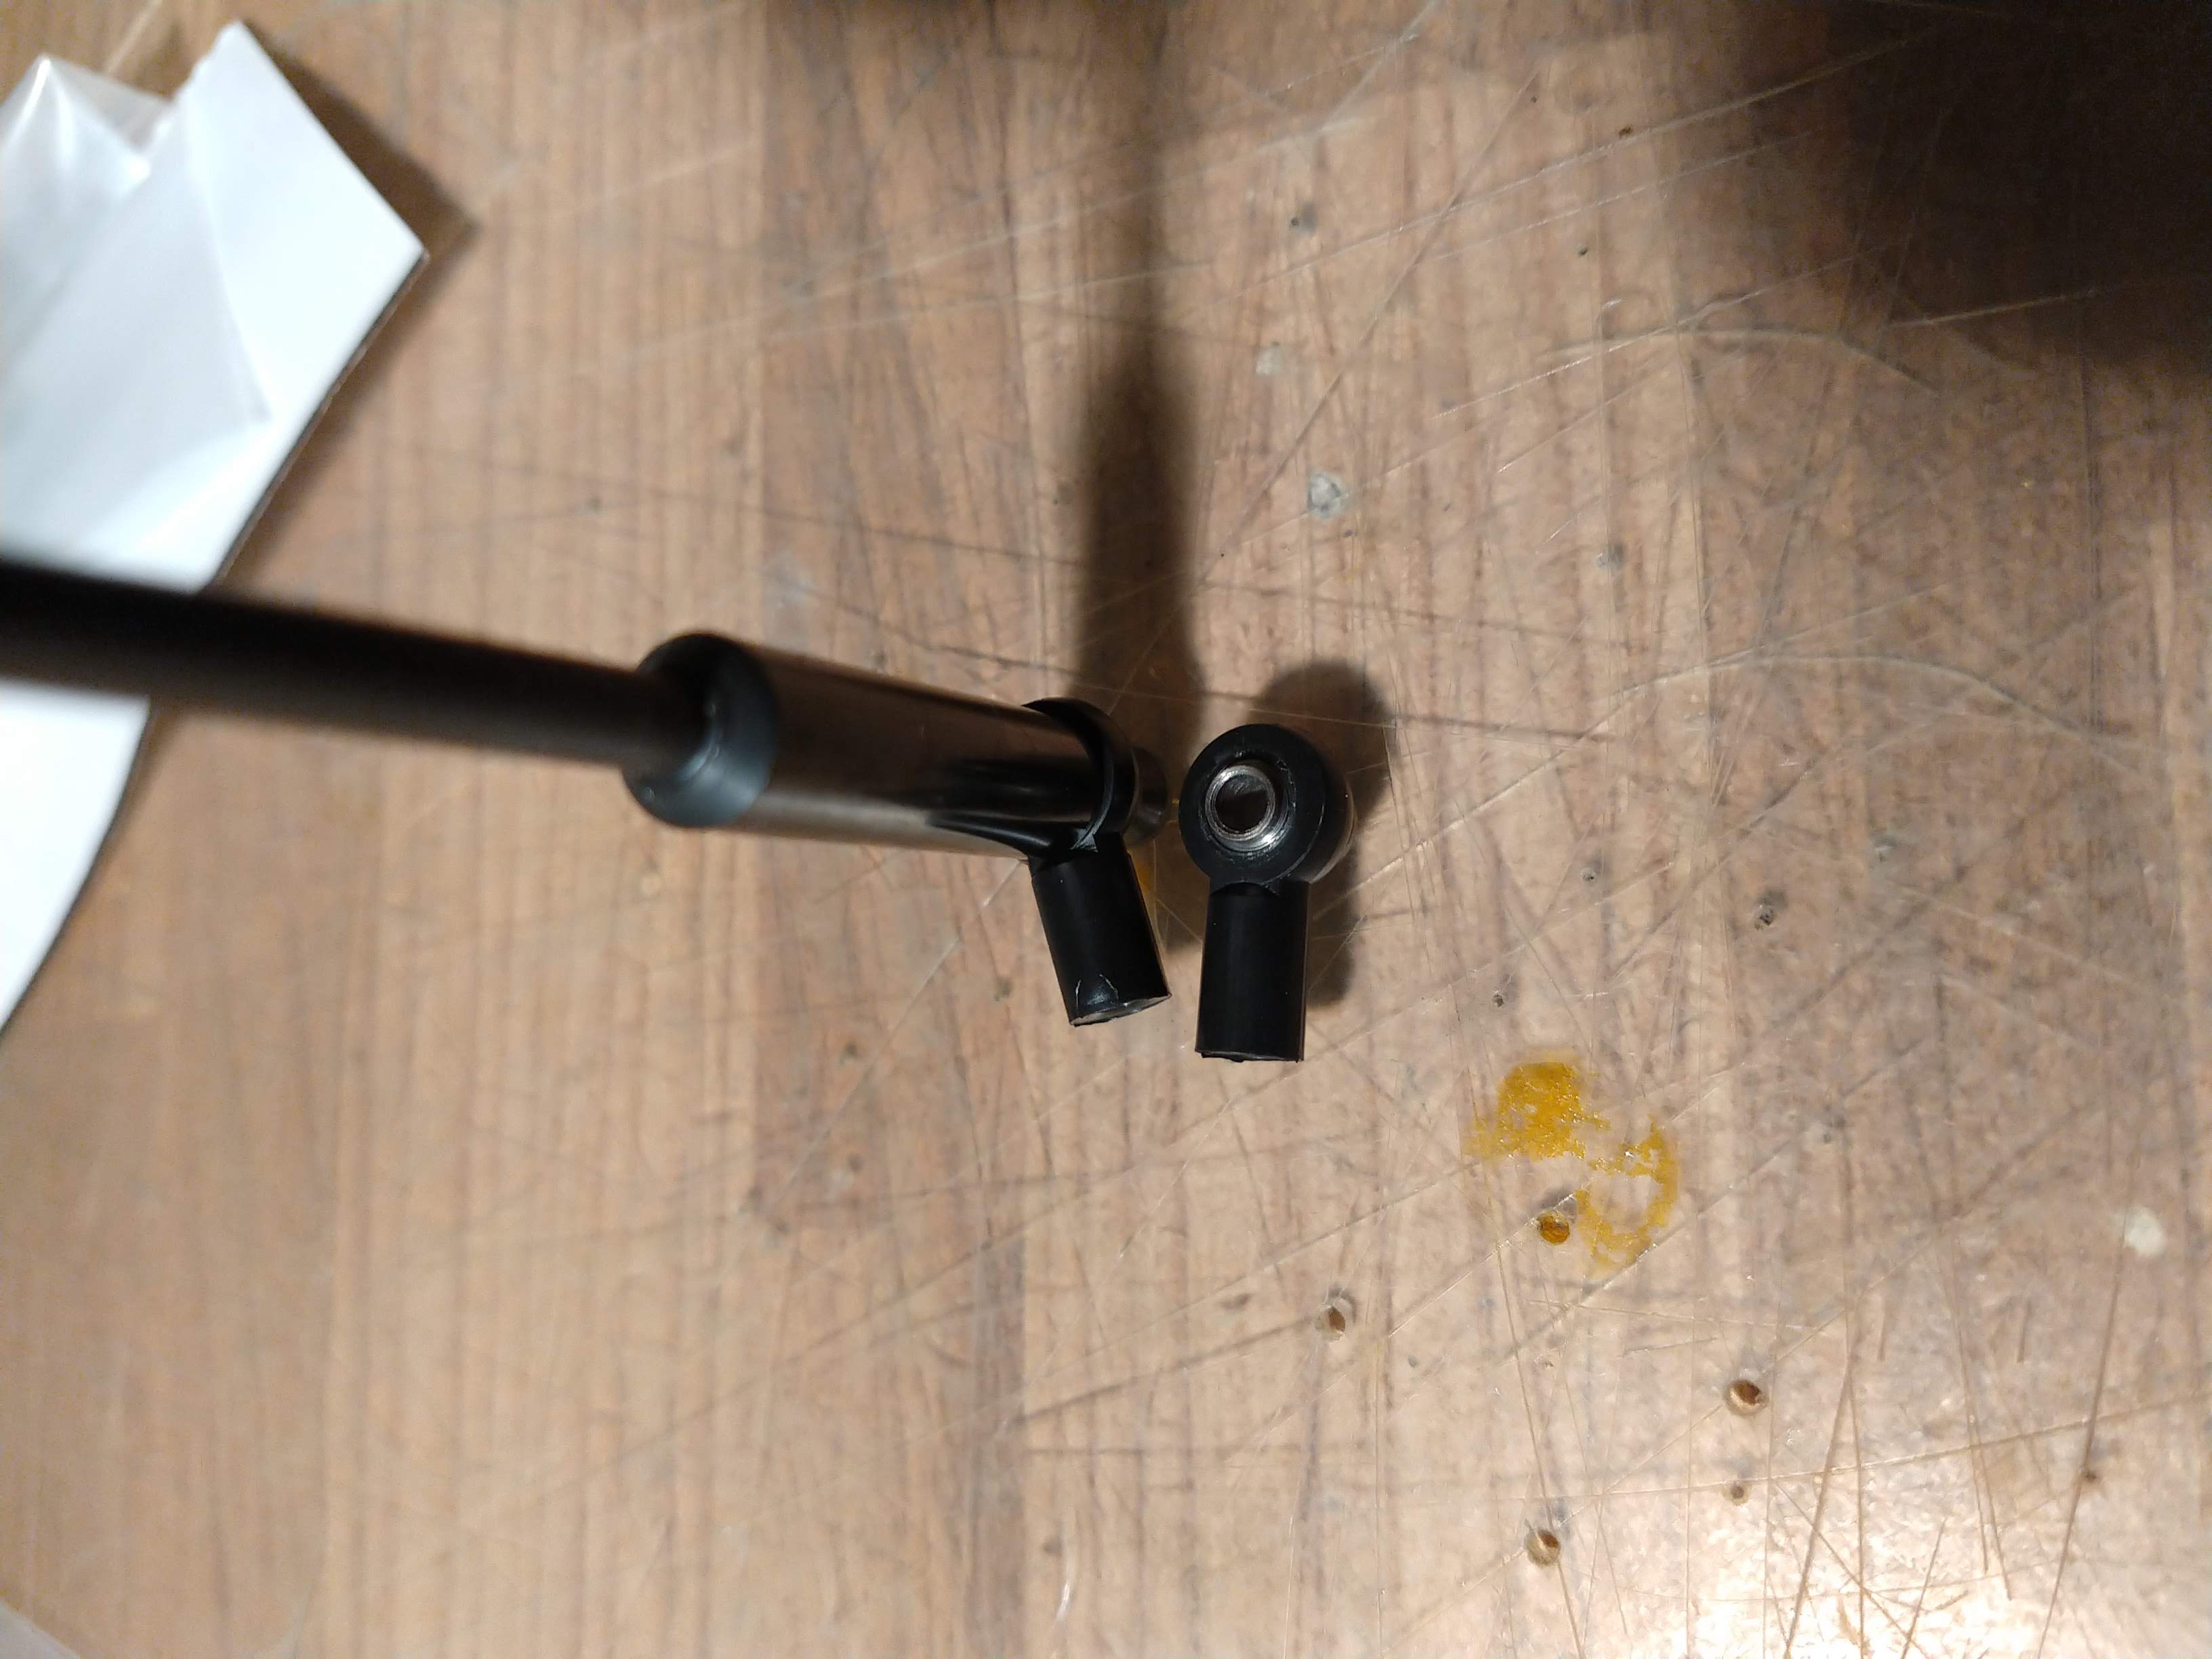
and shock shaft pliers help too
And front shocks are done!
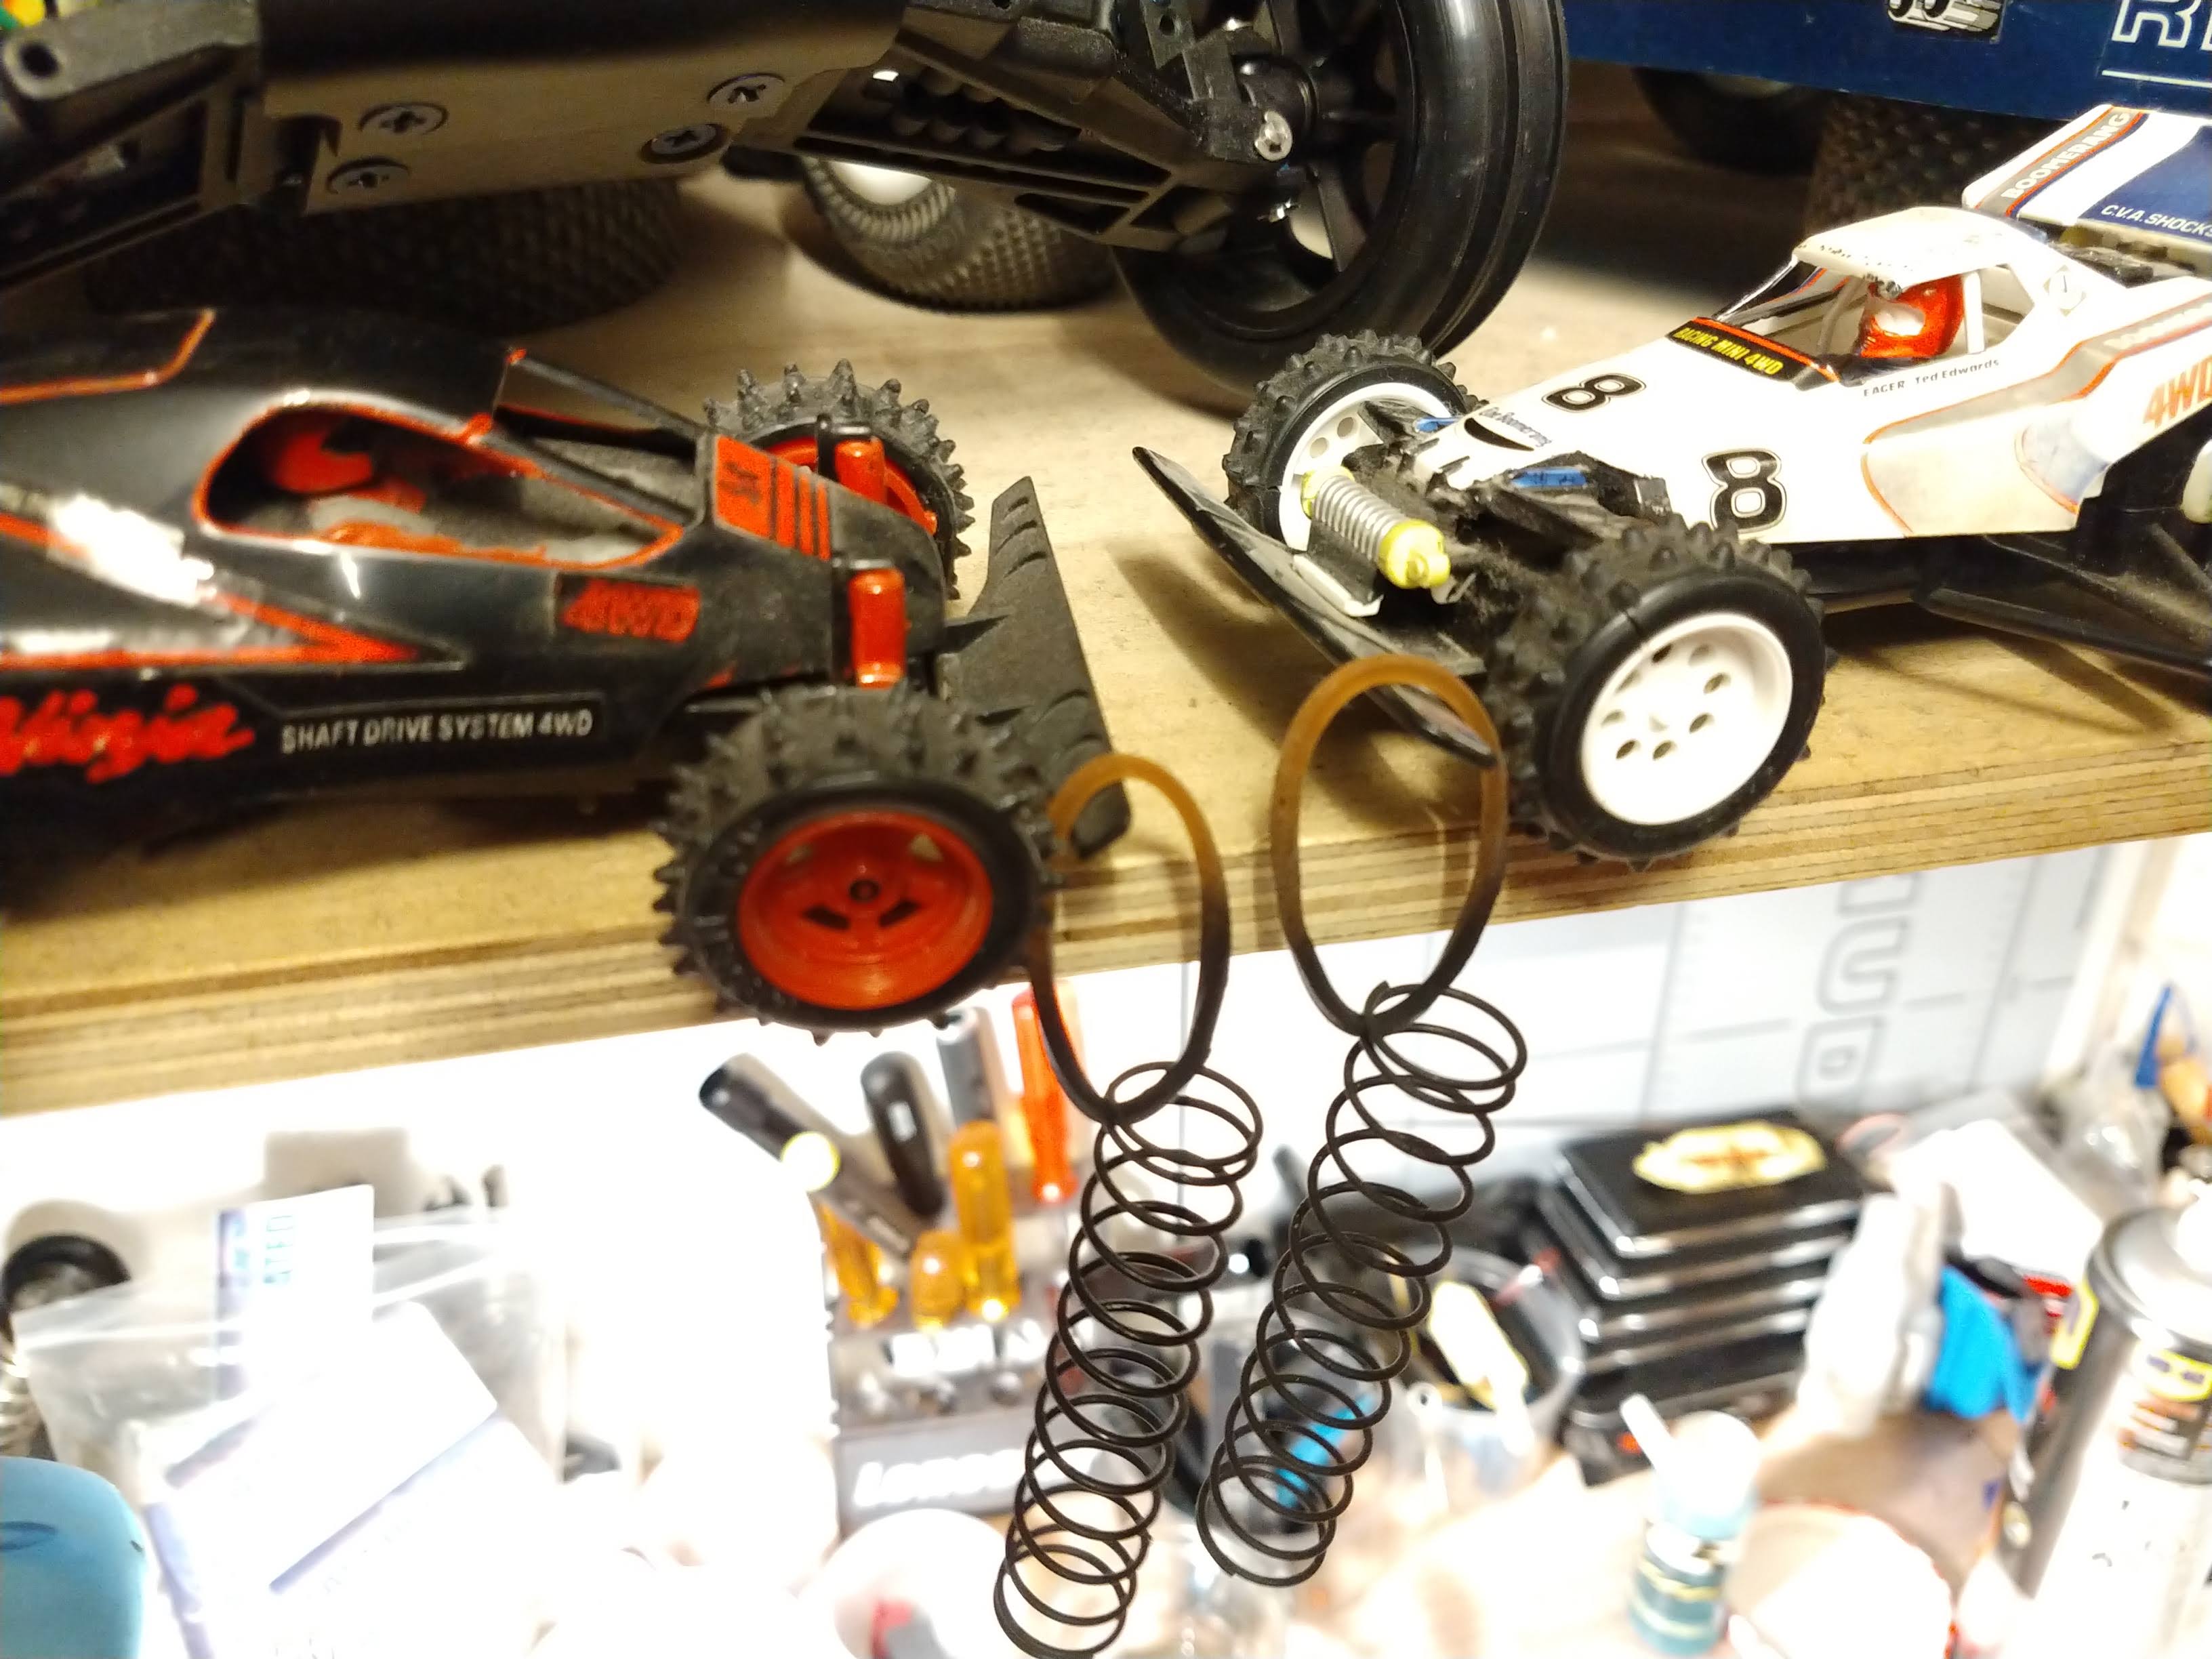
I wanted black springs on this car - unfortunately I didn't have any black rears but I had spare silvers and an almost finish black paint can! So I tried another hack, which should work for the shelf
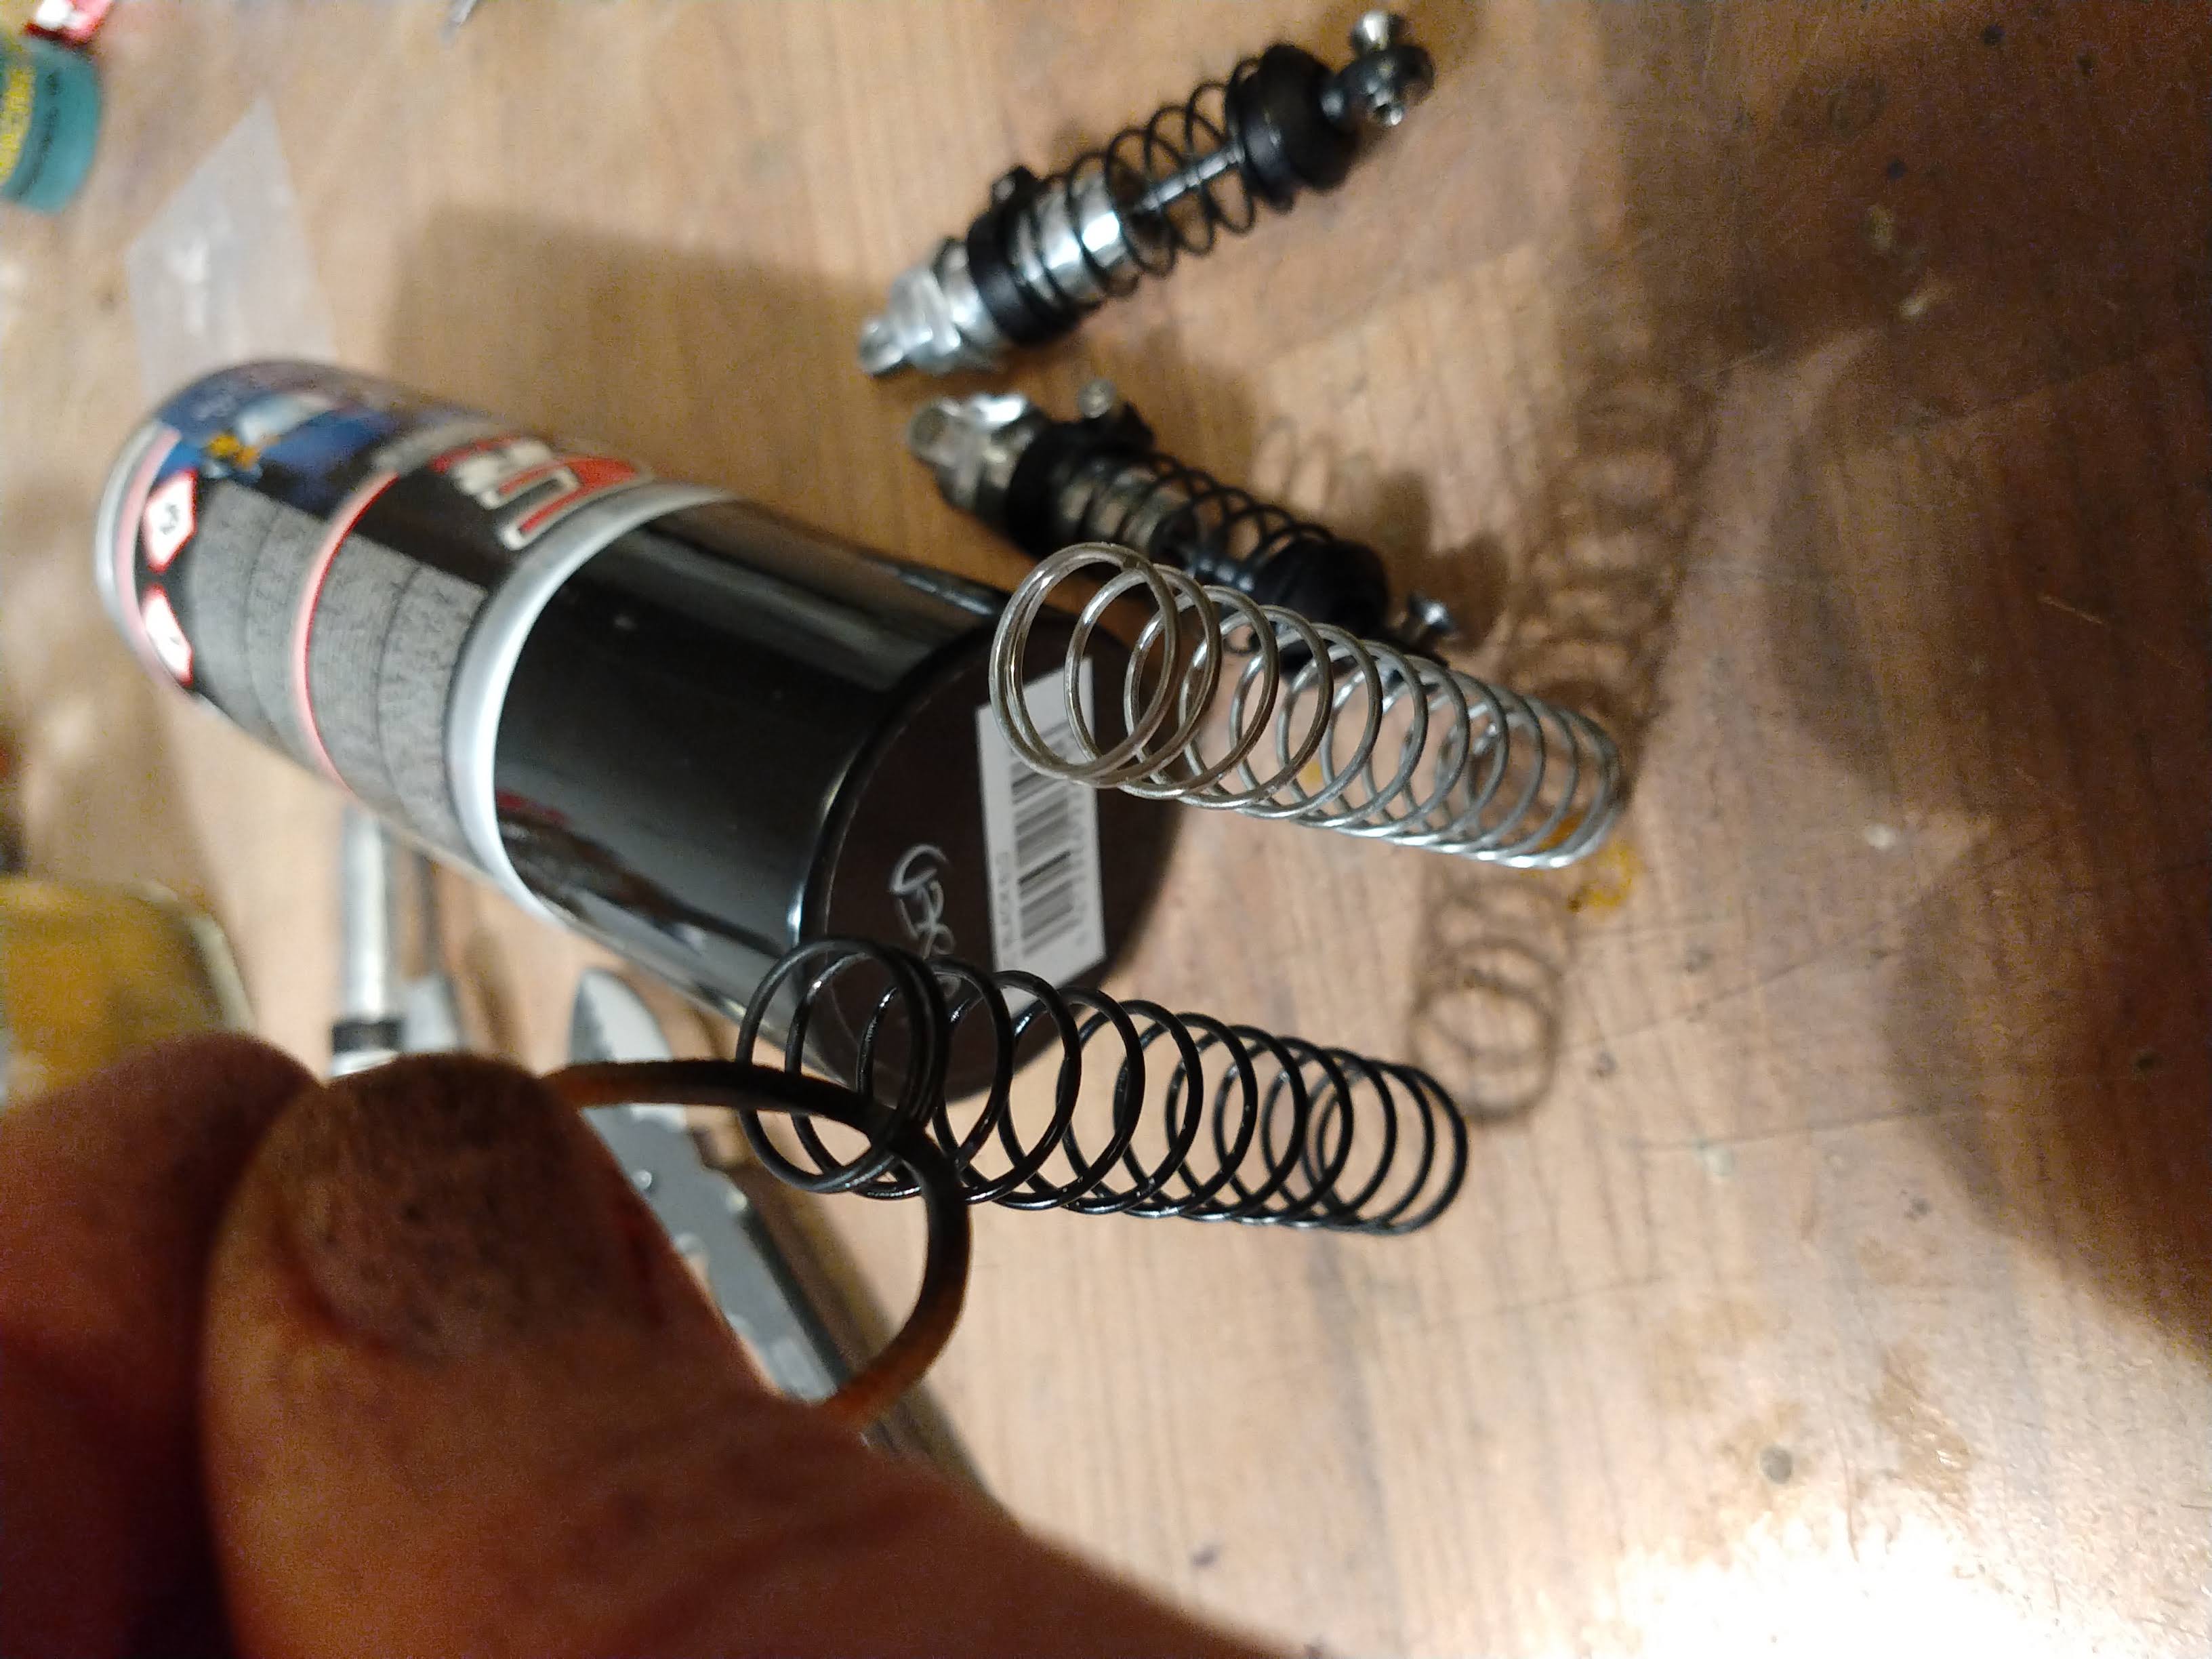
The paint doesn't stick that well to be honest even though i've degreased, but I should have primed the springs first I admit. But all it takes is to not touch the springs and that'll do I then used some fancy drying holders
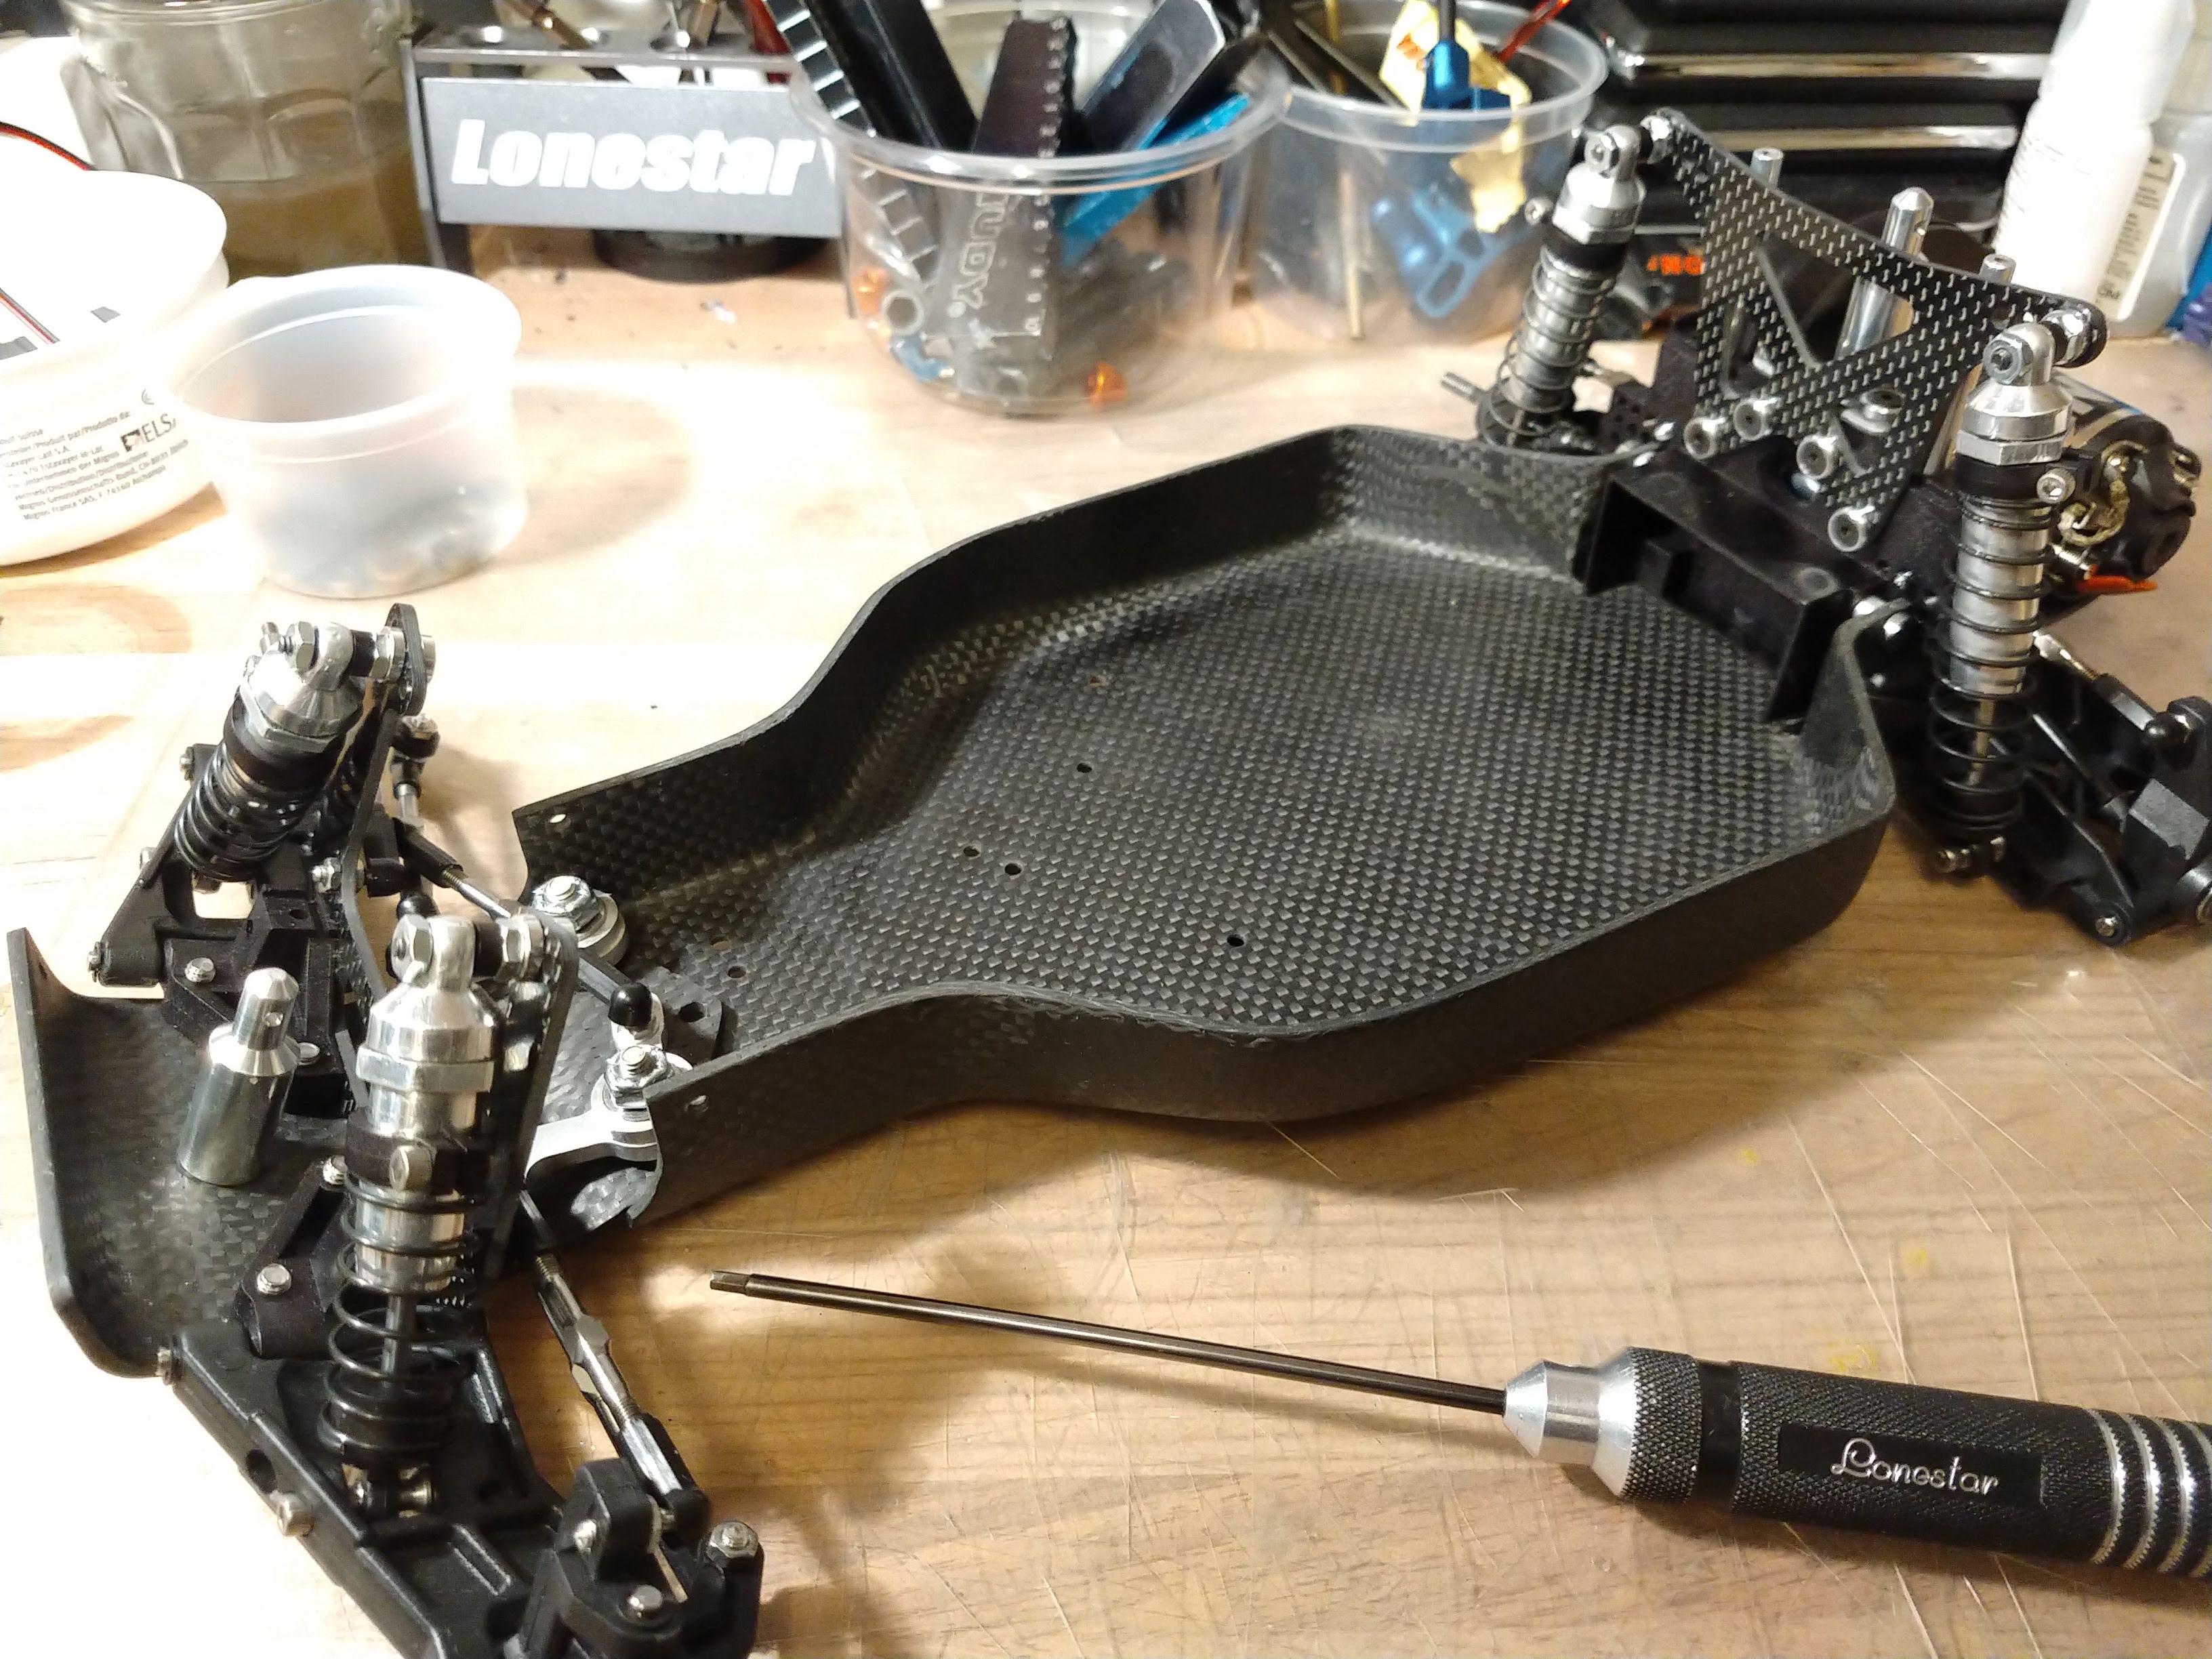
and (prior to reversing the steering block ballstuds...) this is what the car now looks like - an almost structurally complete RC10
(TBC)
previously polished by the previous owner - not perfect but I don't have the gear to make it better, so it's close enough and will be discreetely imperfect once installed on the car:
I had previously dyed some more re-re parts:
Pulled out the RPM tool for disassembly and reassembly - can't believe how many times I've used this one over the past decades... possibly the most useful tool ever for the electric racer, pre-big-bores
More NiB parts
Trying not to use pliers, to protect the look of these balljoints. 5.5mm wrench is perfect.
and shock shaft pliers help too
And front shocks are done!
I wanted black springs on this car - unfortunately I didn't have any black rears but I had spare silvers and an almost finish black paint can! So I tried another hack, which should work for the shelf
The paint doesn't stick that well to be honest even though i've degreased, but I should have primed the springs first I admit. But all it takes is to not touch the springs and that'll do
and (prior to reversing the steering block ballstuds...) this is what the car now looks like - an almost structurally complete RC10
(TBC)
AE RC10 - Made In The Eighties, Loved By The Ladies.
Blue Was Better - now, Blue Is Bankrupt.
Facebook affiliate program manager: "They go out and find the morons for me".
Life is short. Waste it wisely.
Blue Was Better - now, Blue Is Bankrupt.
Facebook affiliate program manager: "They go out and find the morons for me".
Life is short. Waste it wisely.
-
Trass
- Approved Member
- Posts: 343
- Joined: Sat Aug 08, 2015 12:02 pm
- Location: Near Limoges - France
- Has thanked: 407 times
- Been thanked: 214 times
Re: We're getting there (May2020)... CWF (tub) and Shiny RC10
Hé !!!
You can use your hand's fingers to polish those shocks
You don't need tool or gear for that ... (je suis déja loin...)
Jerome
You can use your hand's fingers to polish those shocks
You don't need tool or gear for that ... (je suis déja loin...)
Jerome
Sorry for my rusty english, i'm a kind of French farmer lost in his montain ...
-
XLR8

- Approved Member
- Posts: 3297
- Joined: Sun Feb 19, 2017 3:46 am
- Location: north/central Alabama
- Has thanked: 1641 times
- Been thanked: 1156 times
Re: We're getting there (May2020)... CWF (tub) and Shiny RC10
I think the shocks look perfect as they are -- they complement the body posts.
A few minutes with some Mothers or Nevr-Dull metal polish would have made them look like mirrors but I think they look great just as they are. Less is more.
It's also cool that you've found a matching screw driver for this build.
Awesome build Paul. I'm enjoying this very much.
It's also cool that you've found a matching screw driver for this build.
Awesome build Paul. I'm enjoying this very much.
Doug
-
Lonestar
- Approved Member
- Posts: 4270
- Joined: Wed Dec 12, 2007 5:17 am
- Location: Switzerland, yannow, in Europe (or almost)
- Has thanked: 623 times
- Been thanked: 170 times
Re: We're getting there (May2020)... CWF (tub) and Shiny RC10
Thanks for all the positive comments so far
I've had to slow down on this build due to other priorities, and also have not updated this for a few days now, but overall more progress was made. Some setbacks, too
I had kept this servo for this build. This was run on my MBX6's a few years back, some crazy beast of servos.
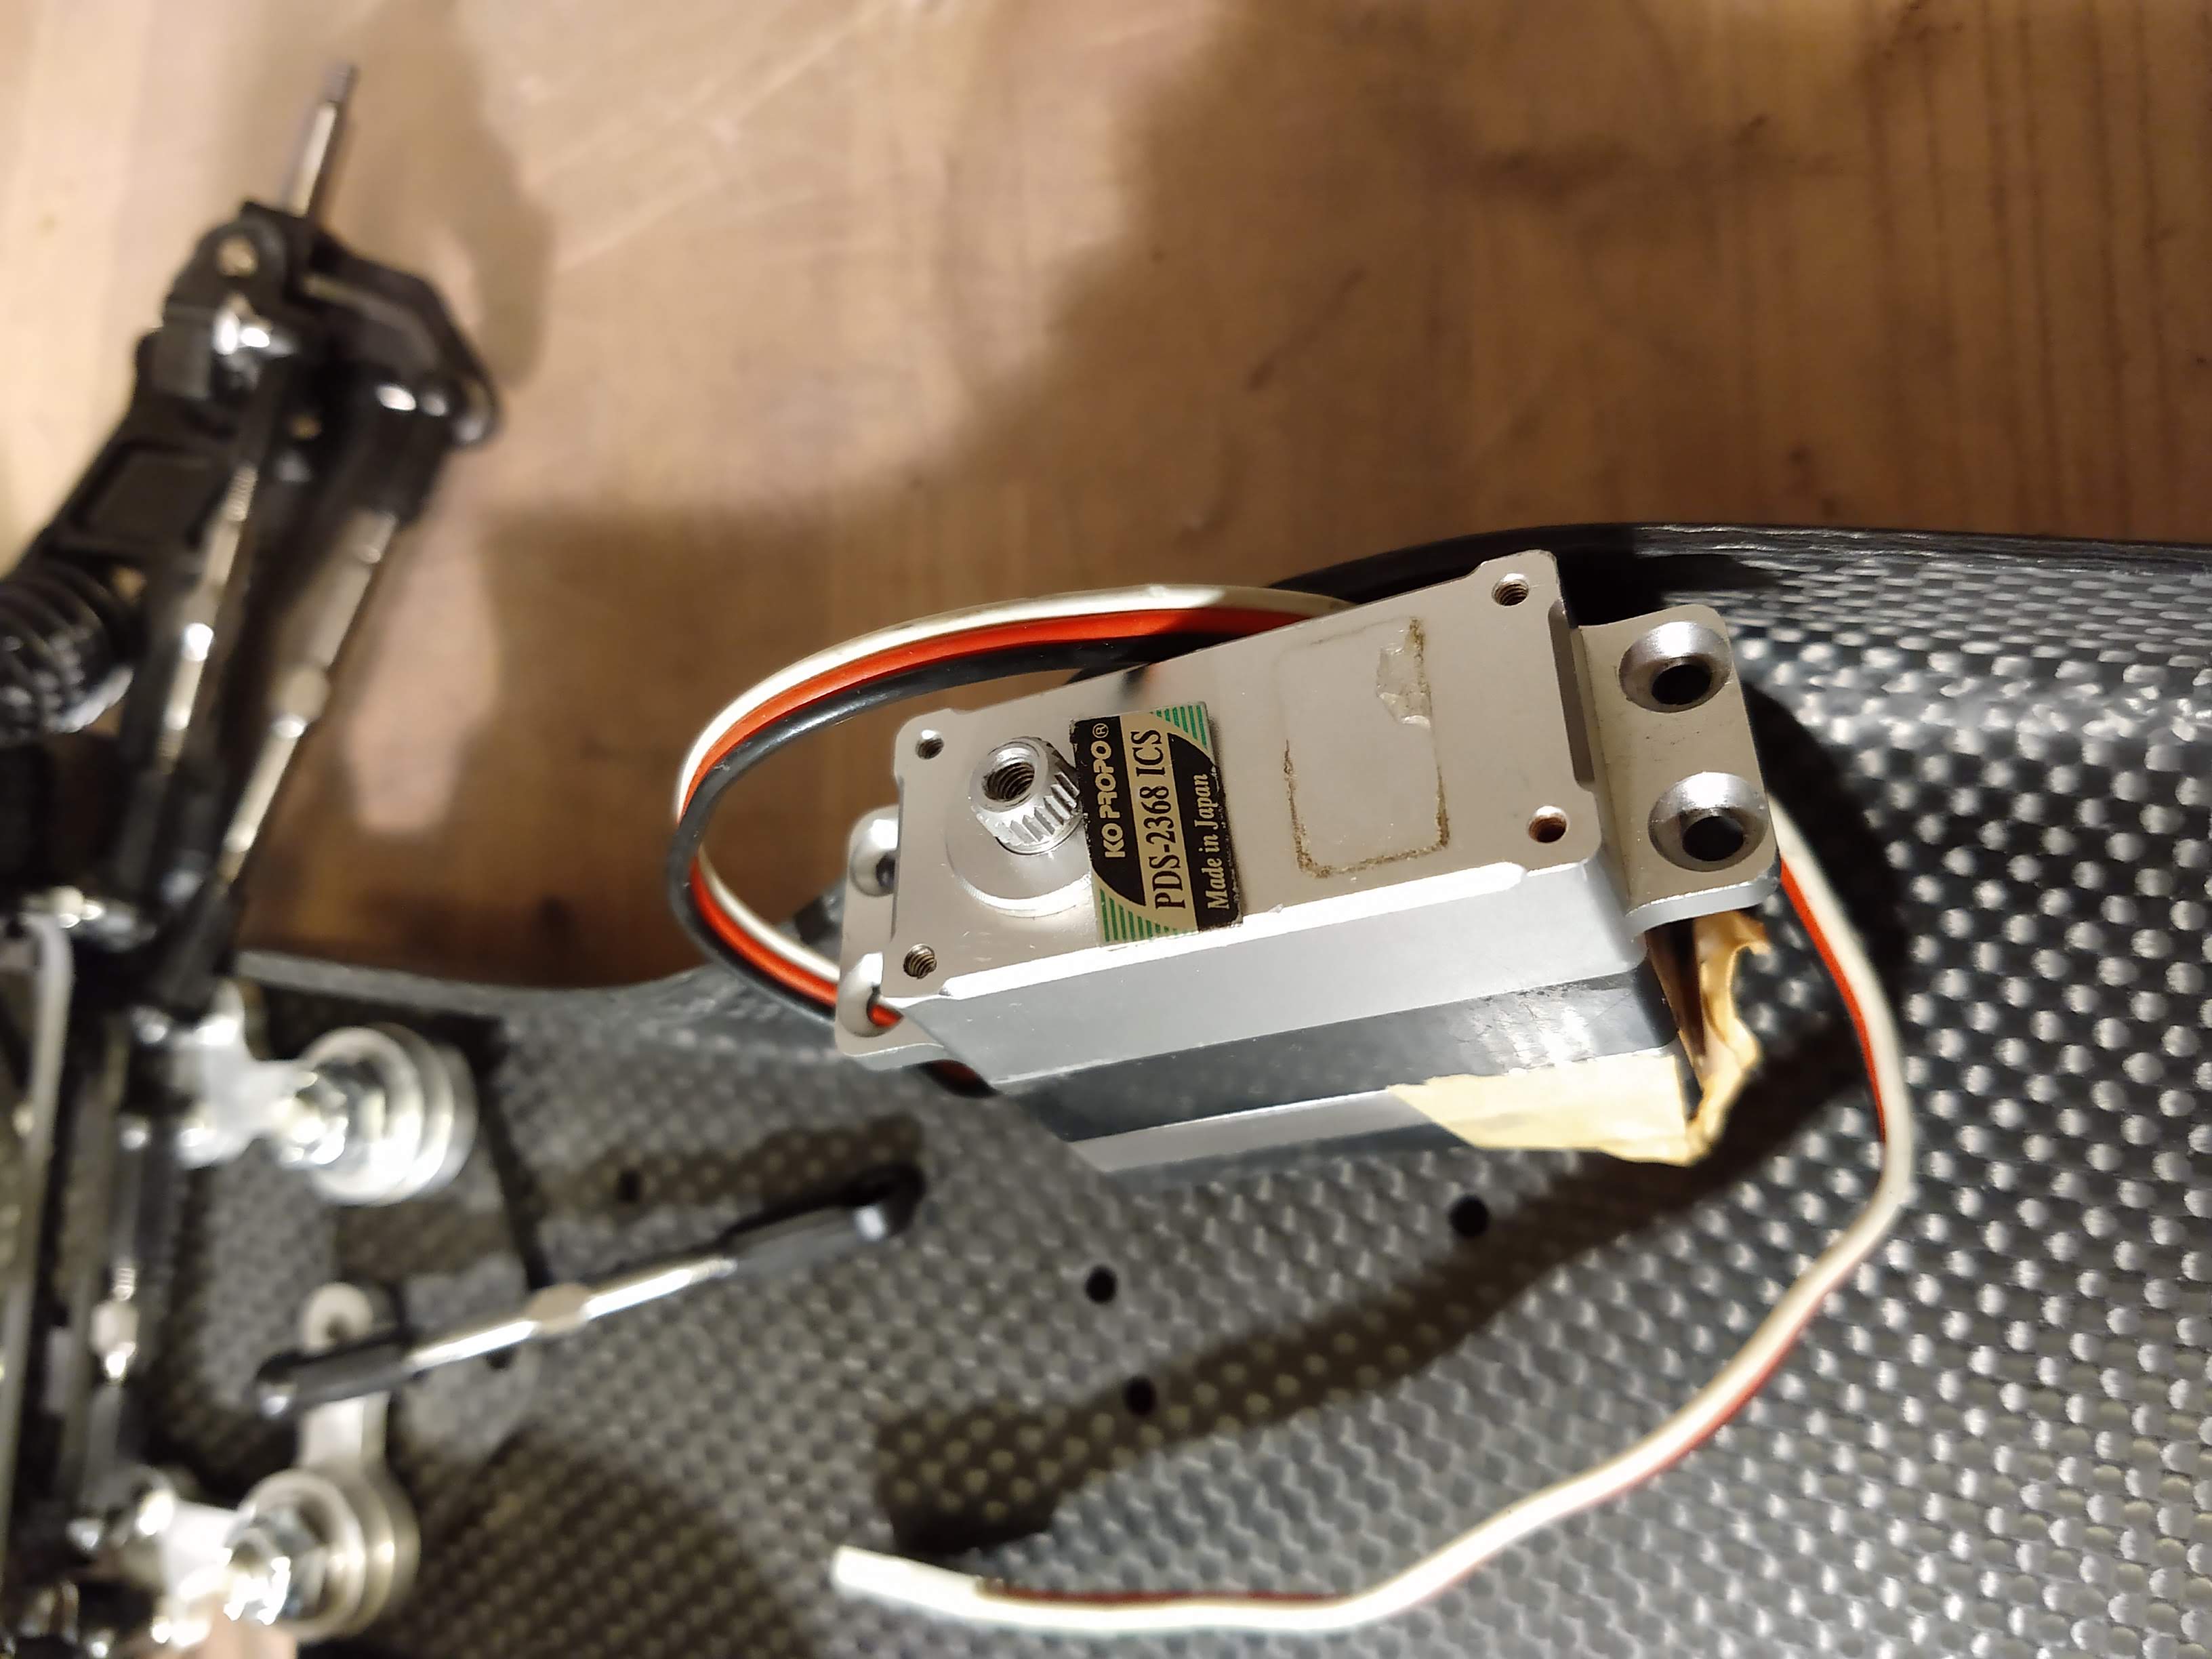
I had an issue with the gears bitd, had to open it and the case screws were a PITA to remove, as i had loctited them, since I had assembled the top-case part myself as i bought them as hopups... then the screw broke etc... net, this is a good looking, expensive servo that needed a makeover and could only fill shelf duties anyway
After a bit of cleanup, it looks a lot better. The alloy servo arm will complement it nicely.
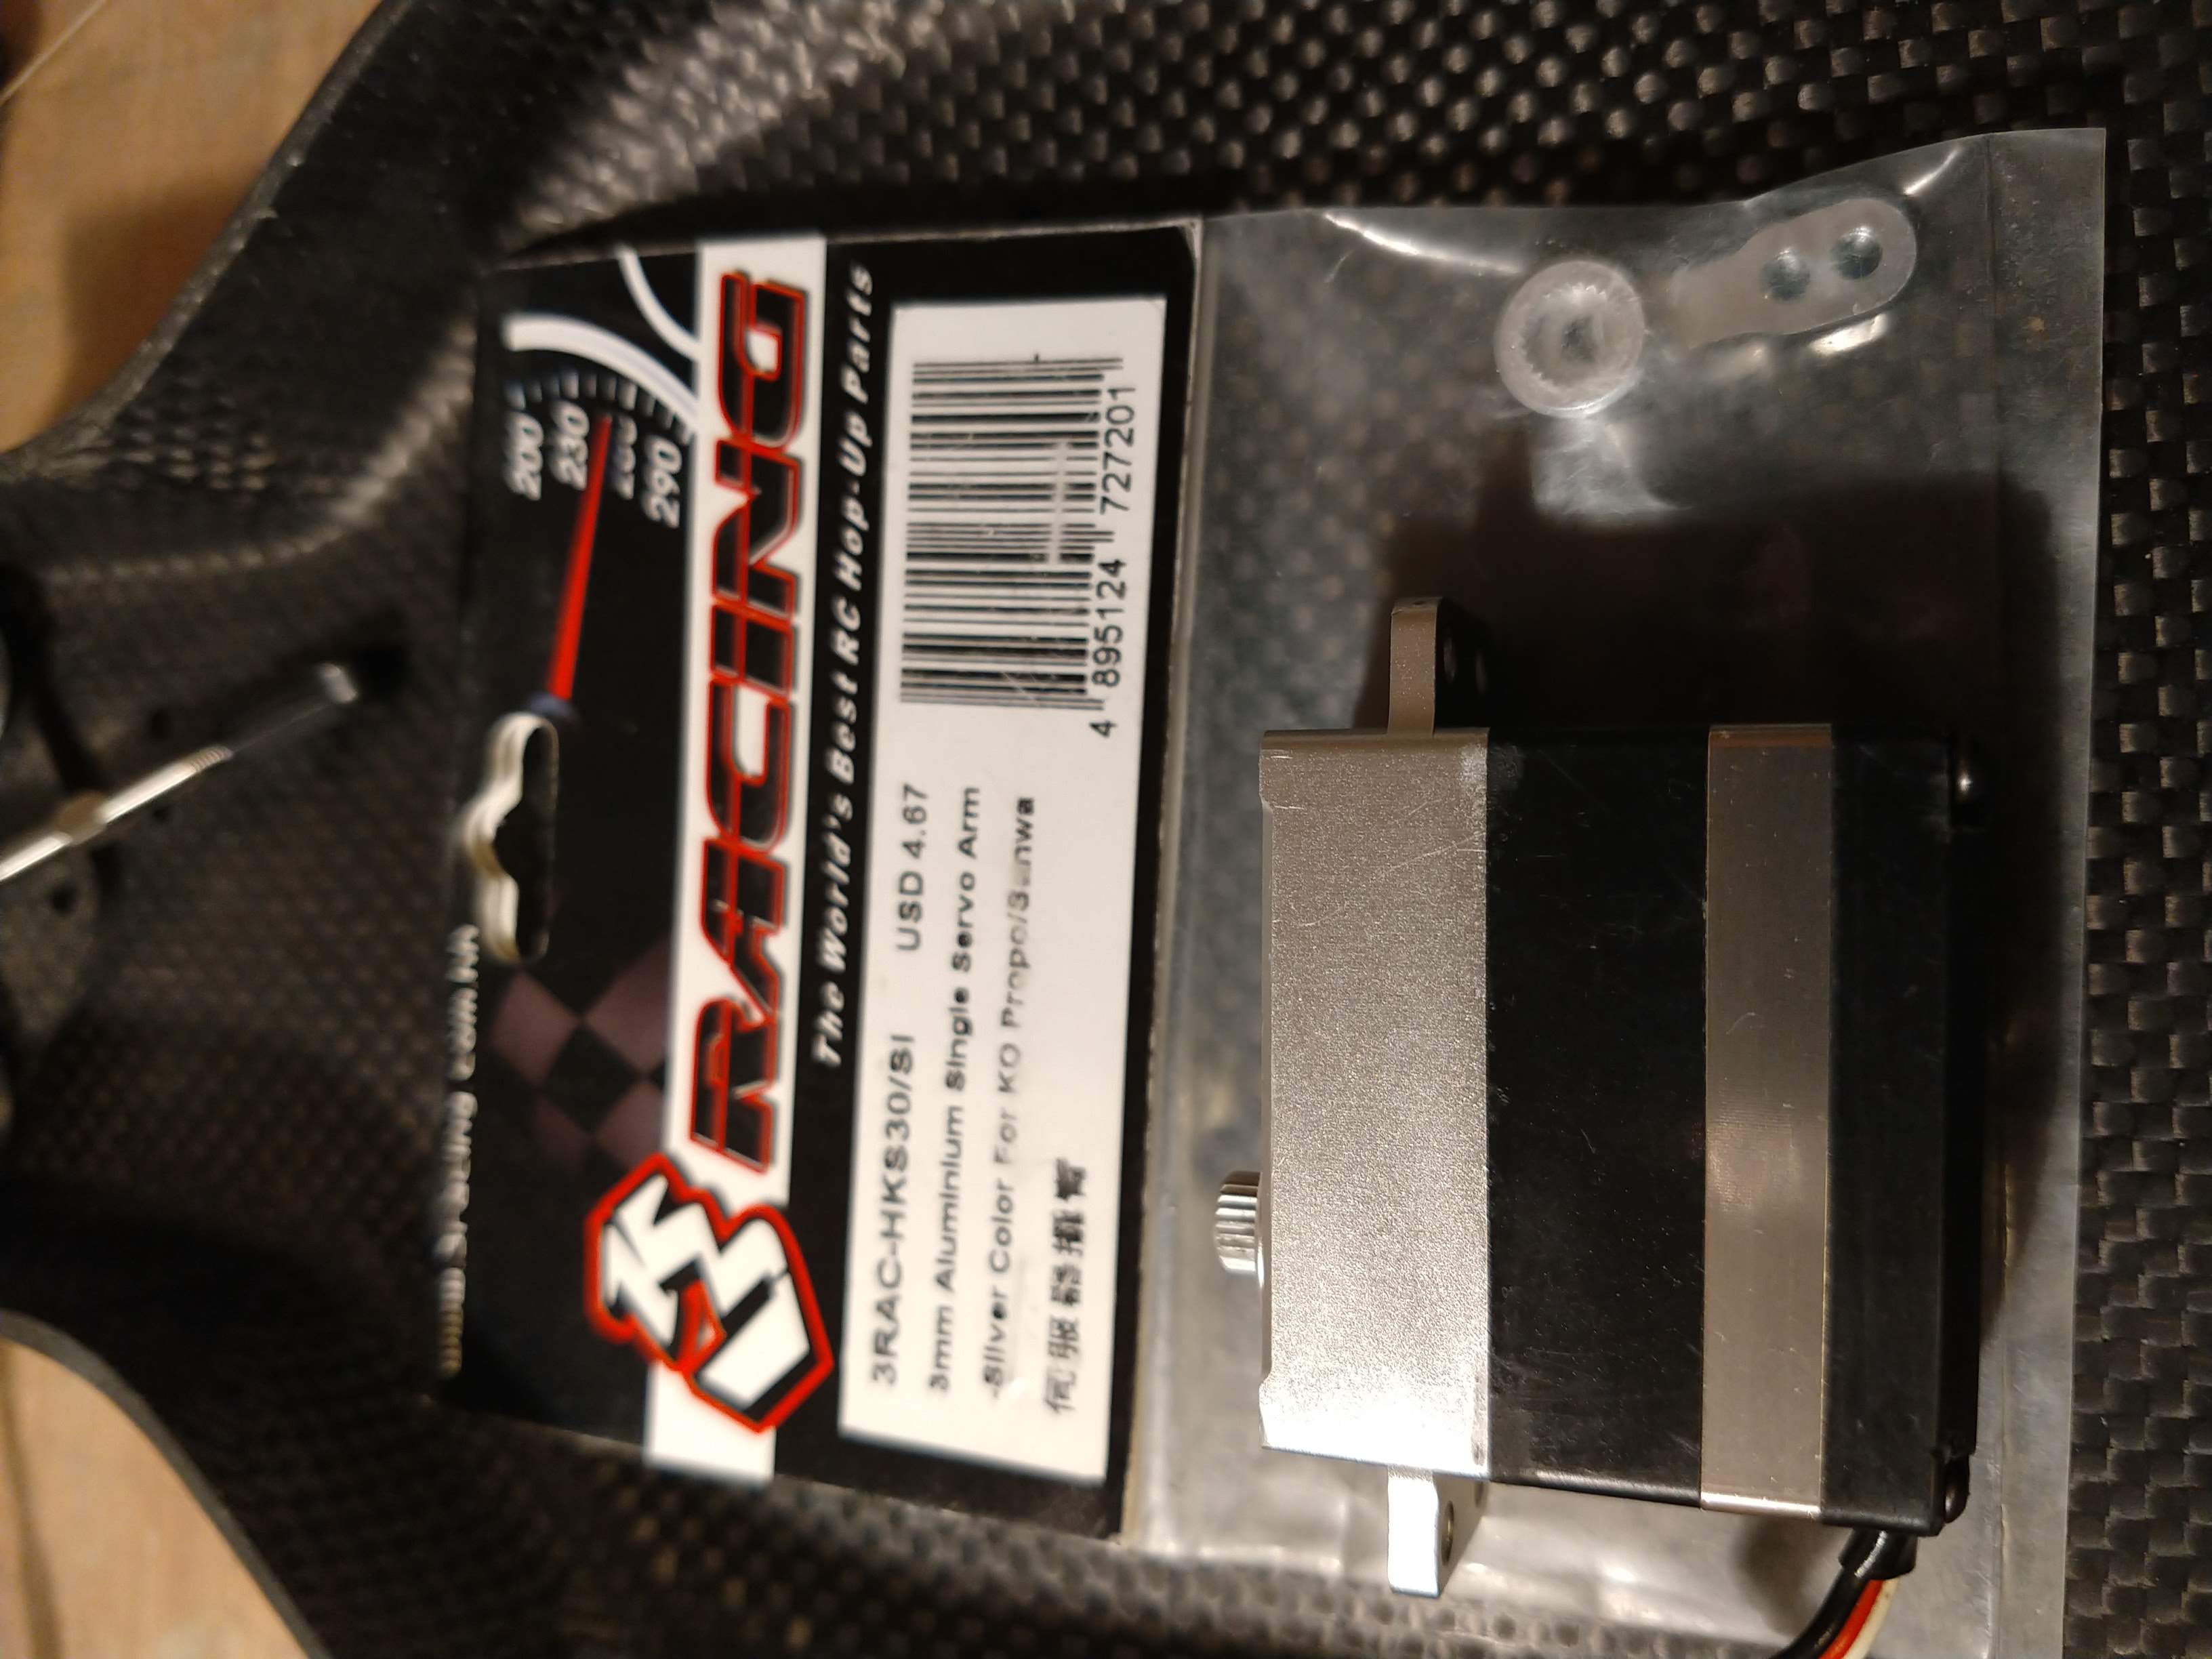
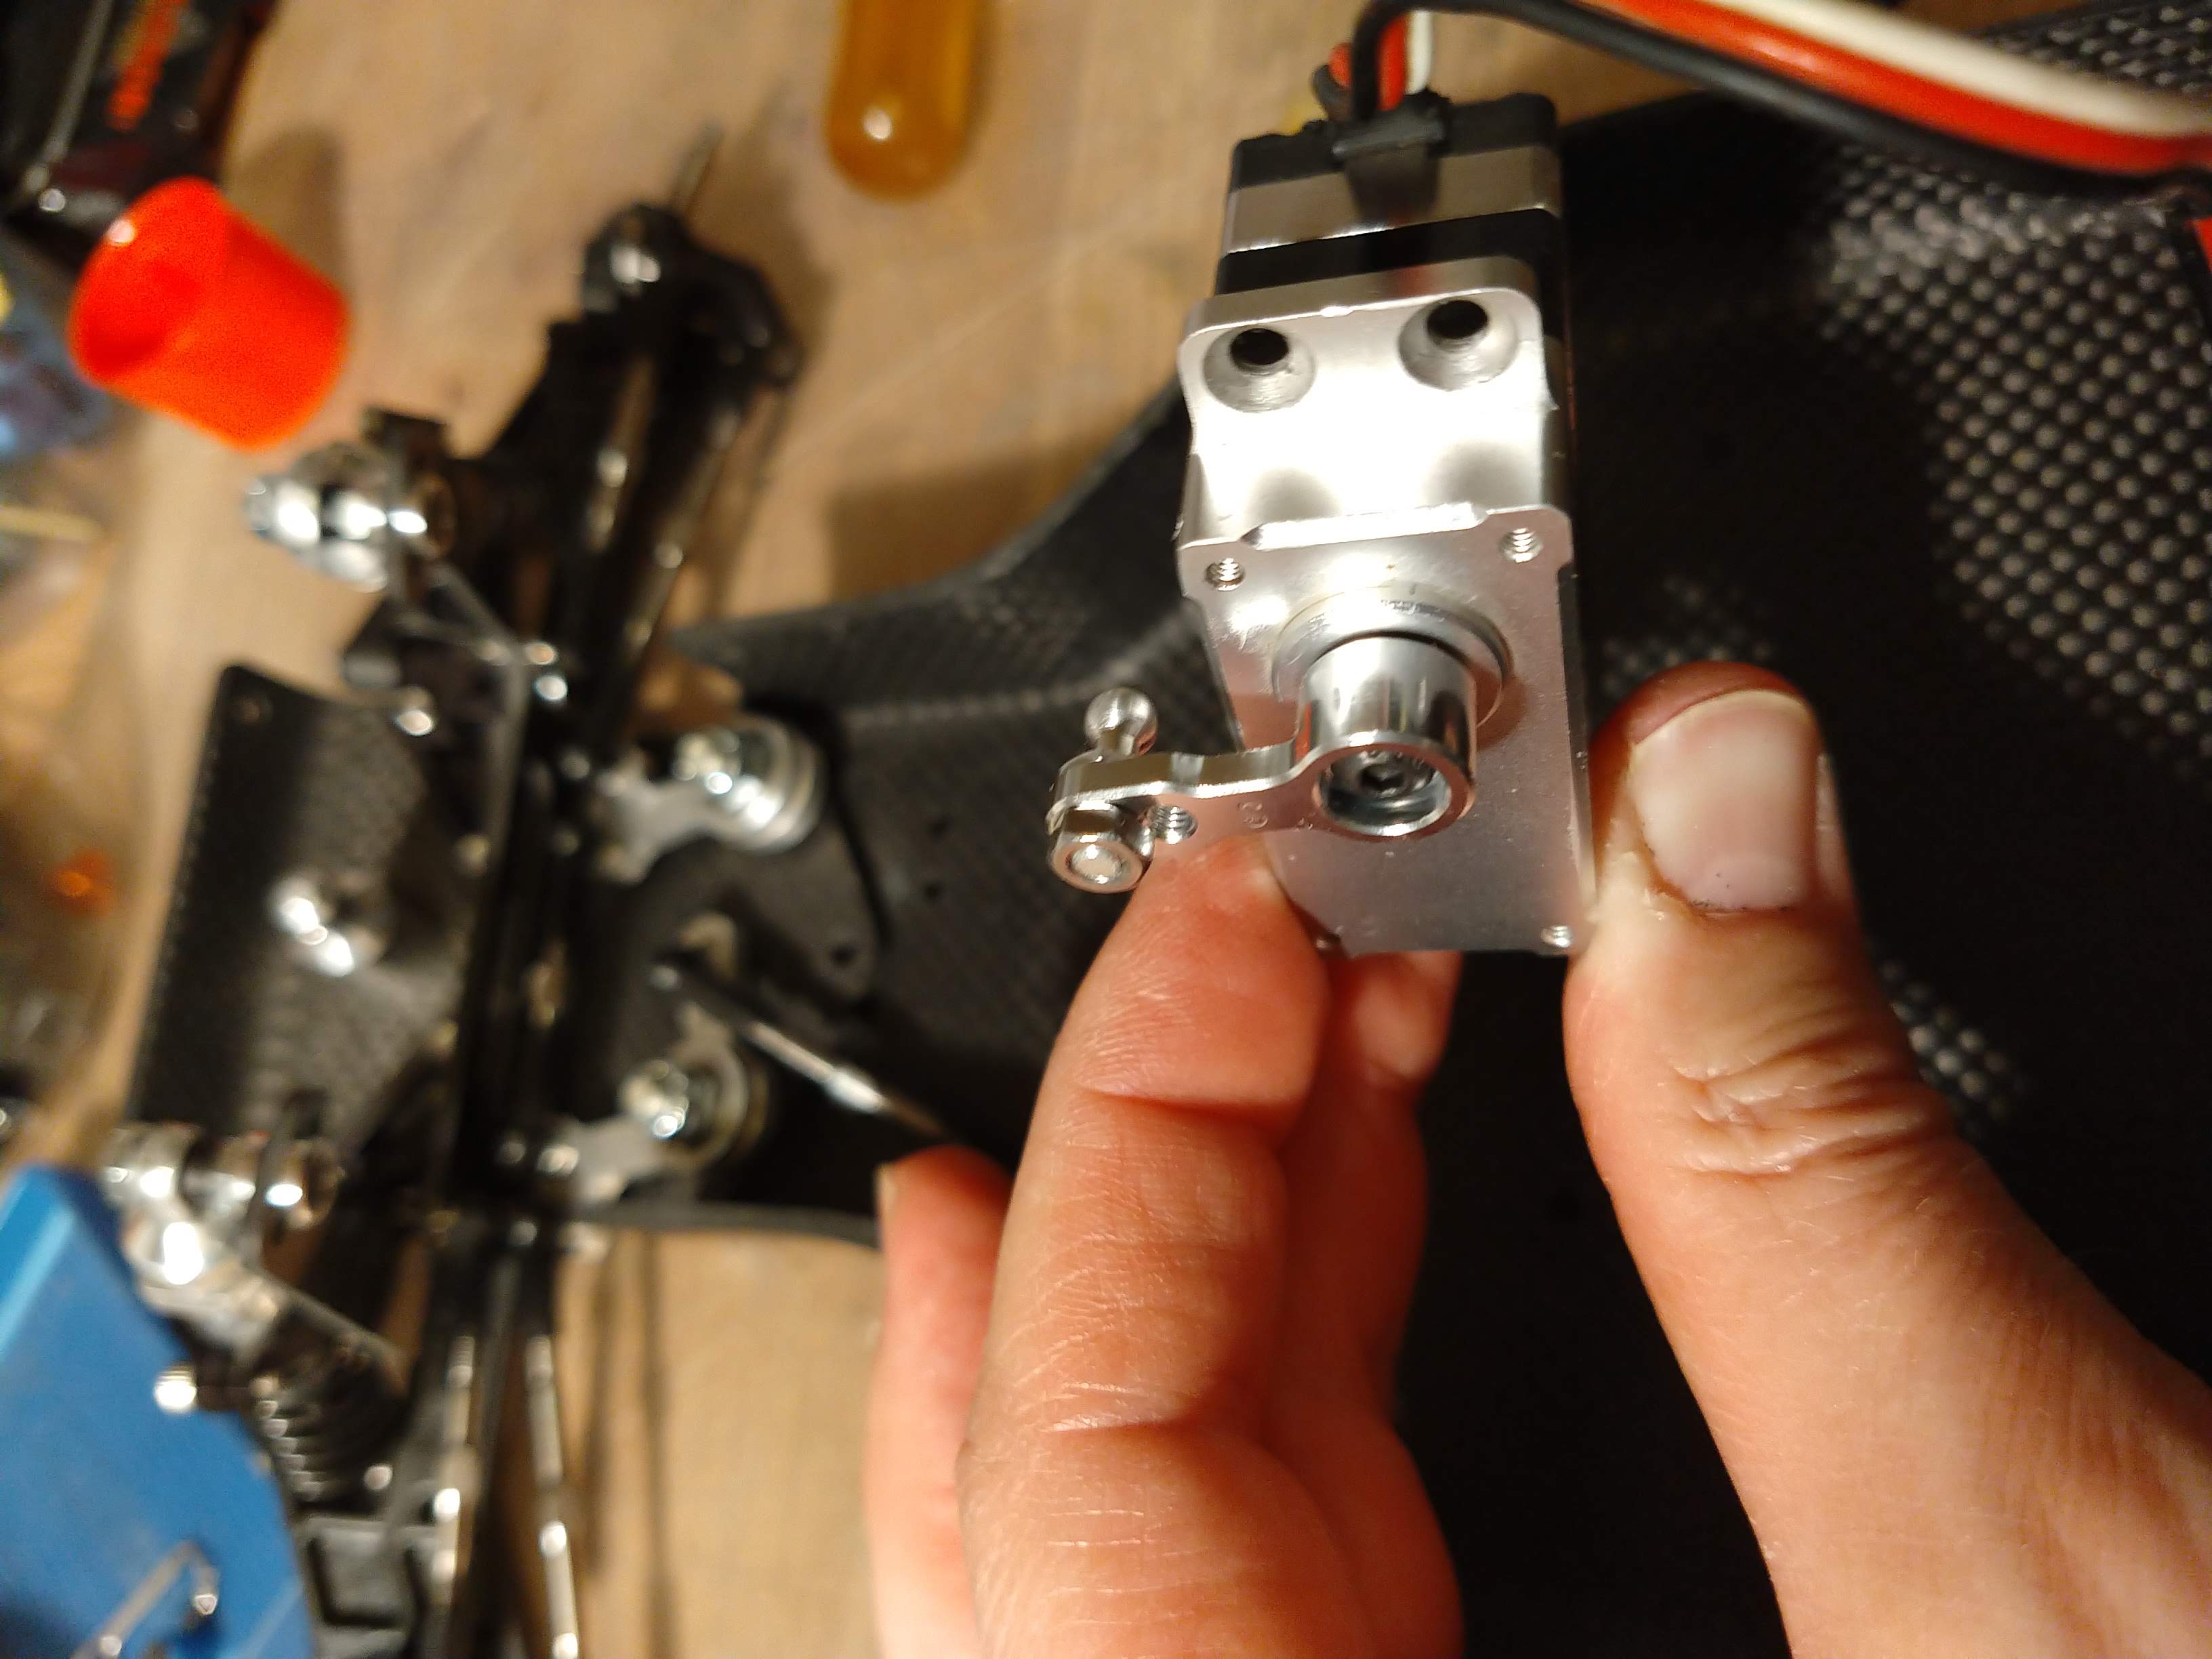
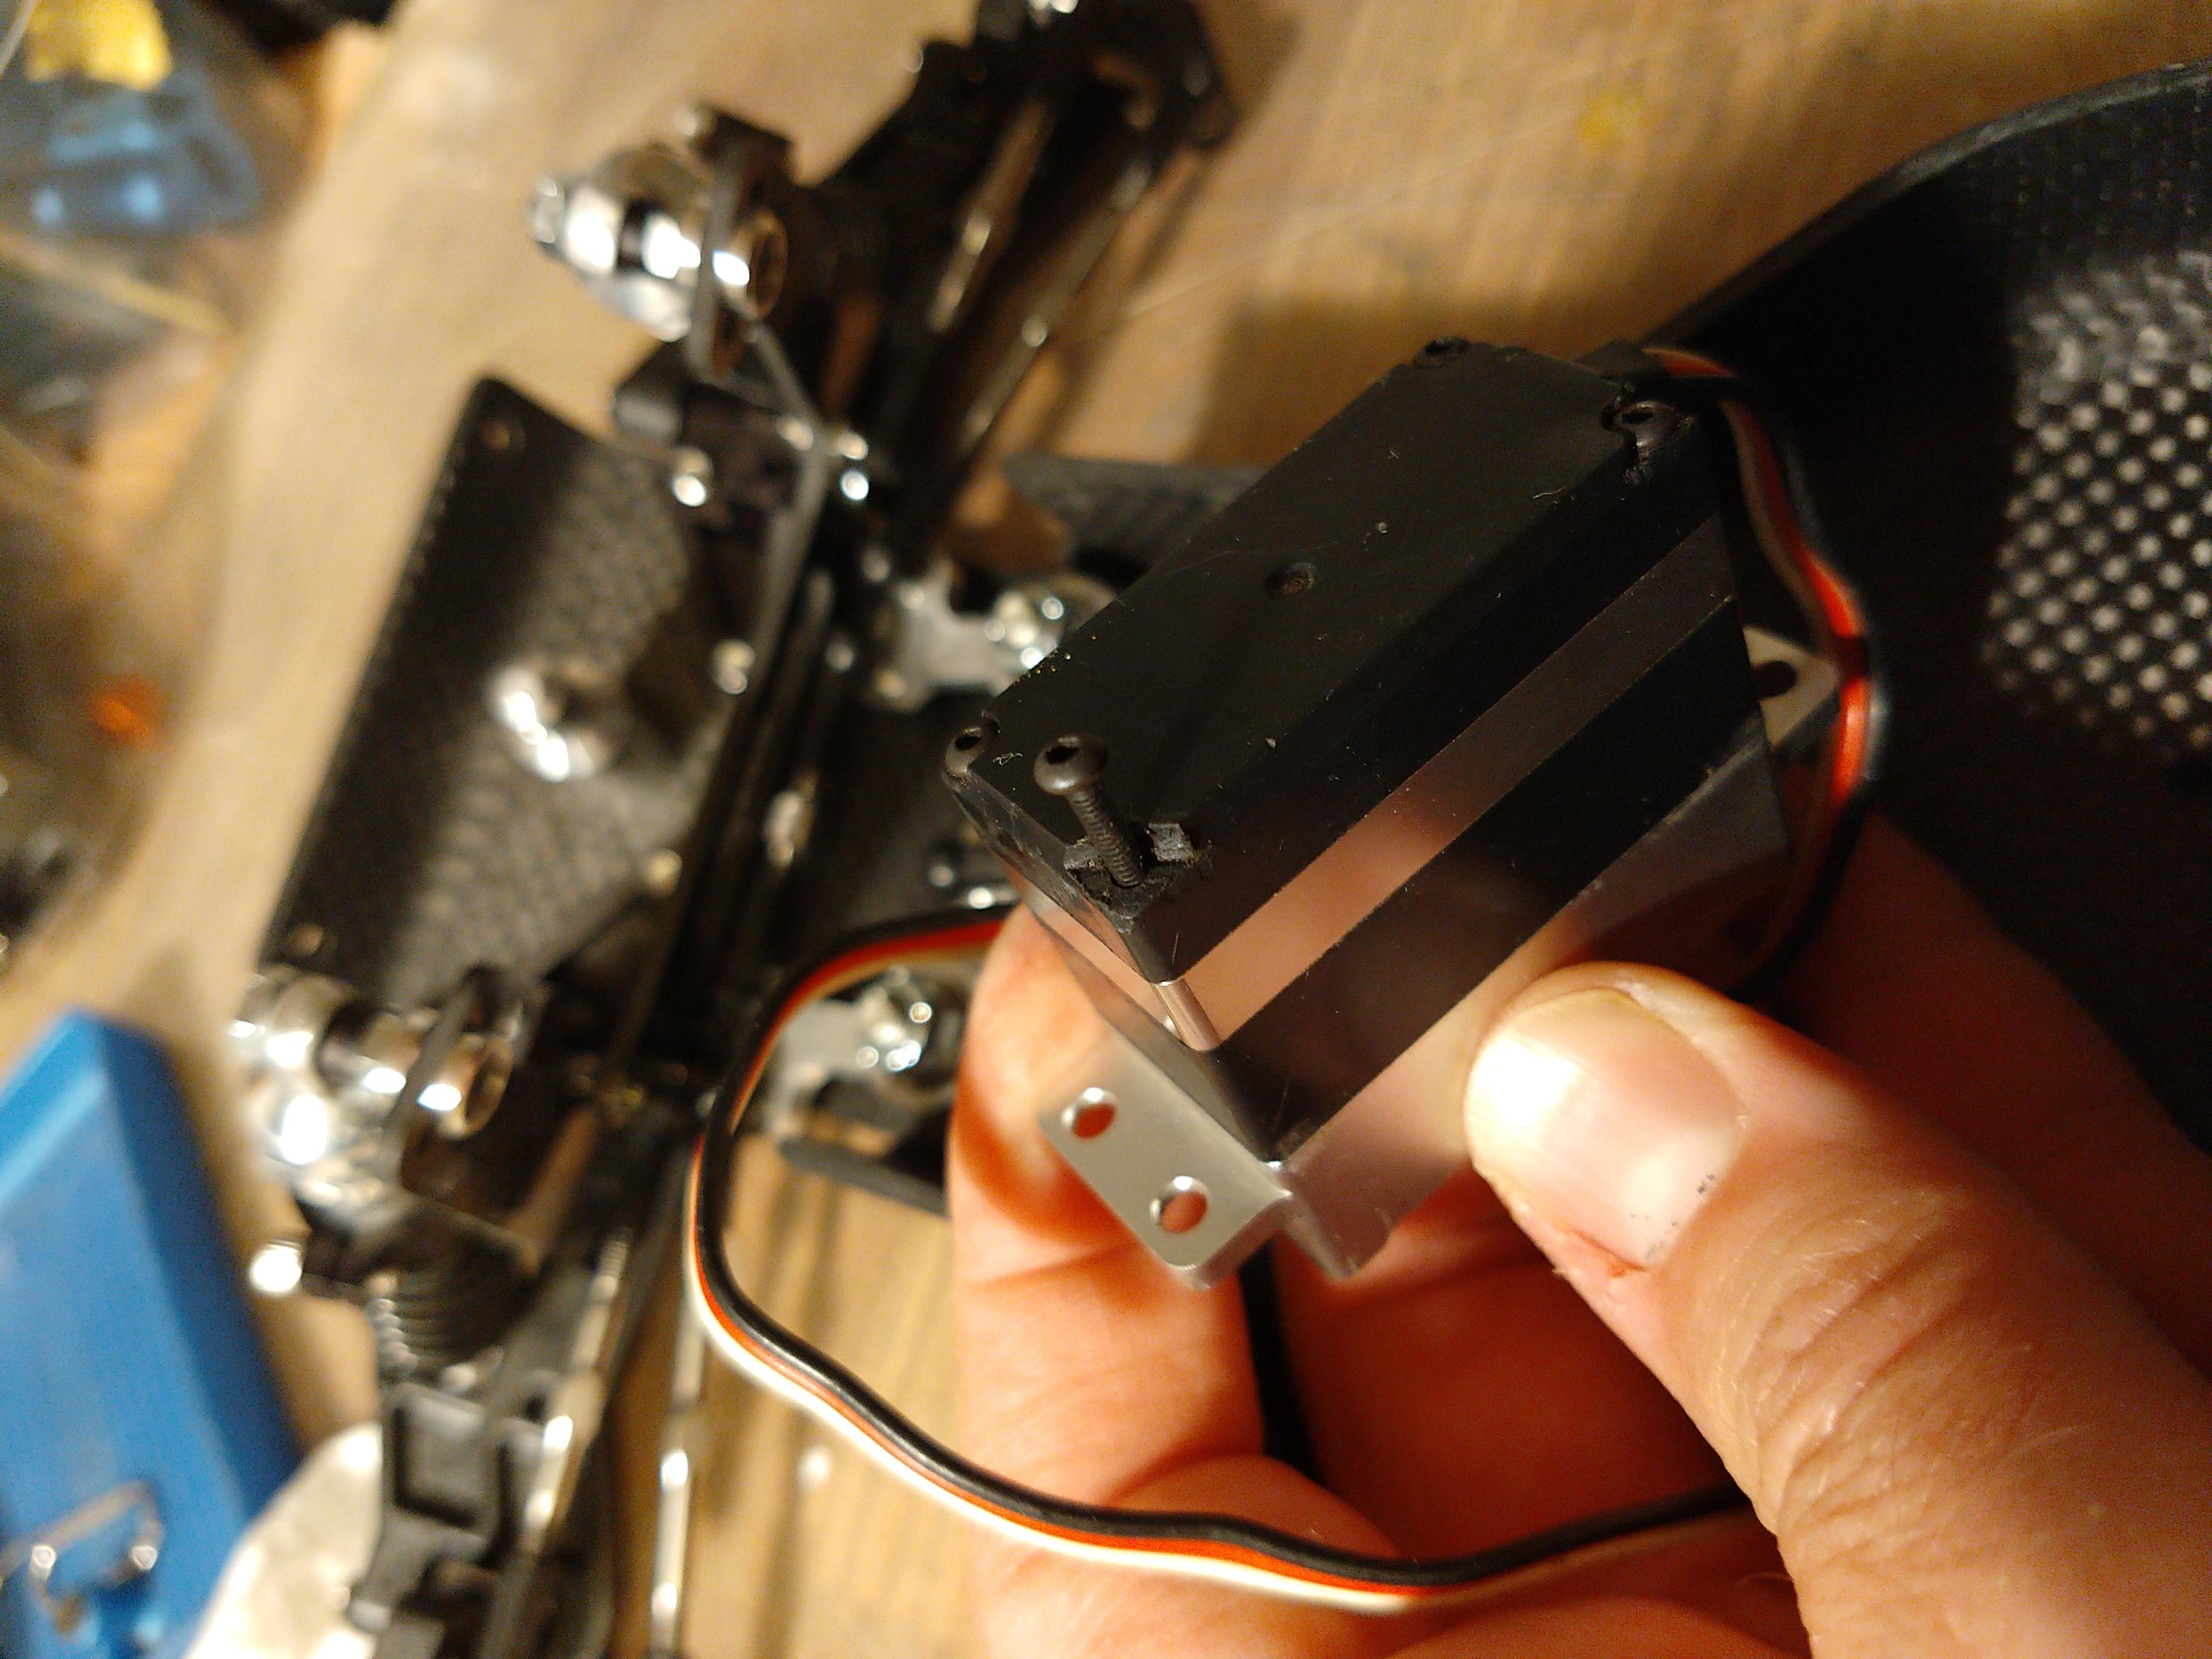
For now this will be mounted on RPM black plastics... I have some alloy ones in the mail (I've had them for a while actually!). And the thing is, I will have to disassemble this all one more time at least as, you will see this later, it doesn't fit right anyway....
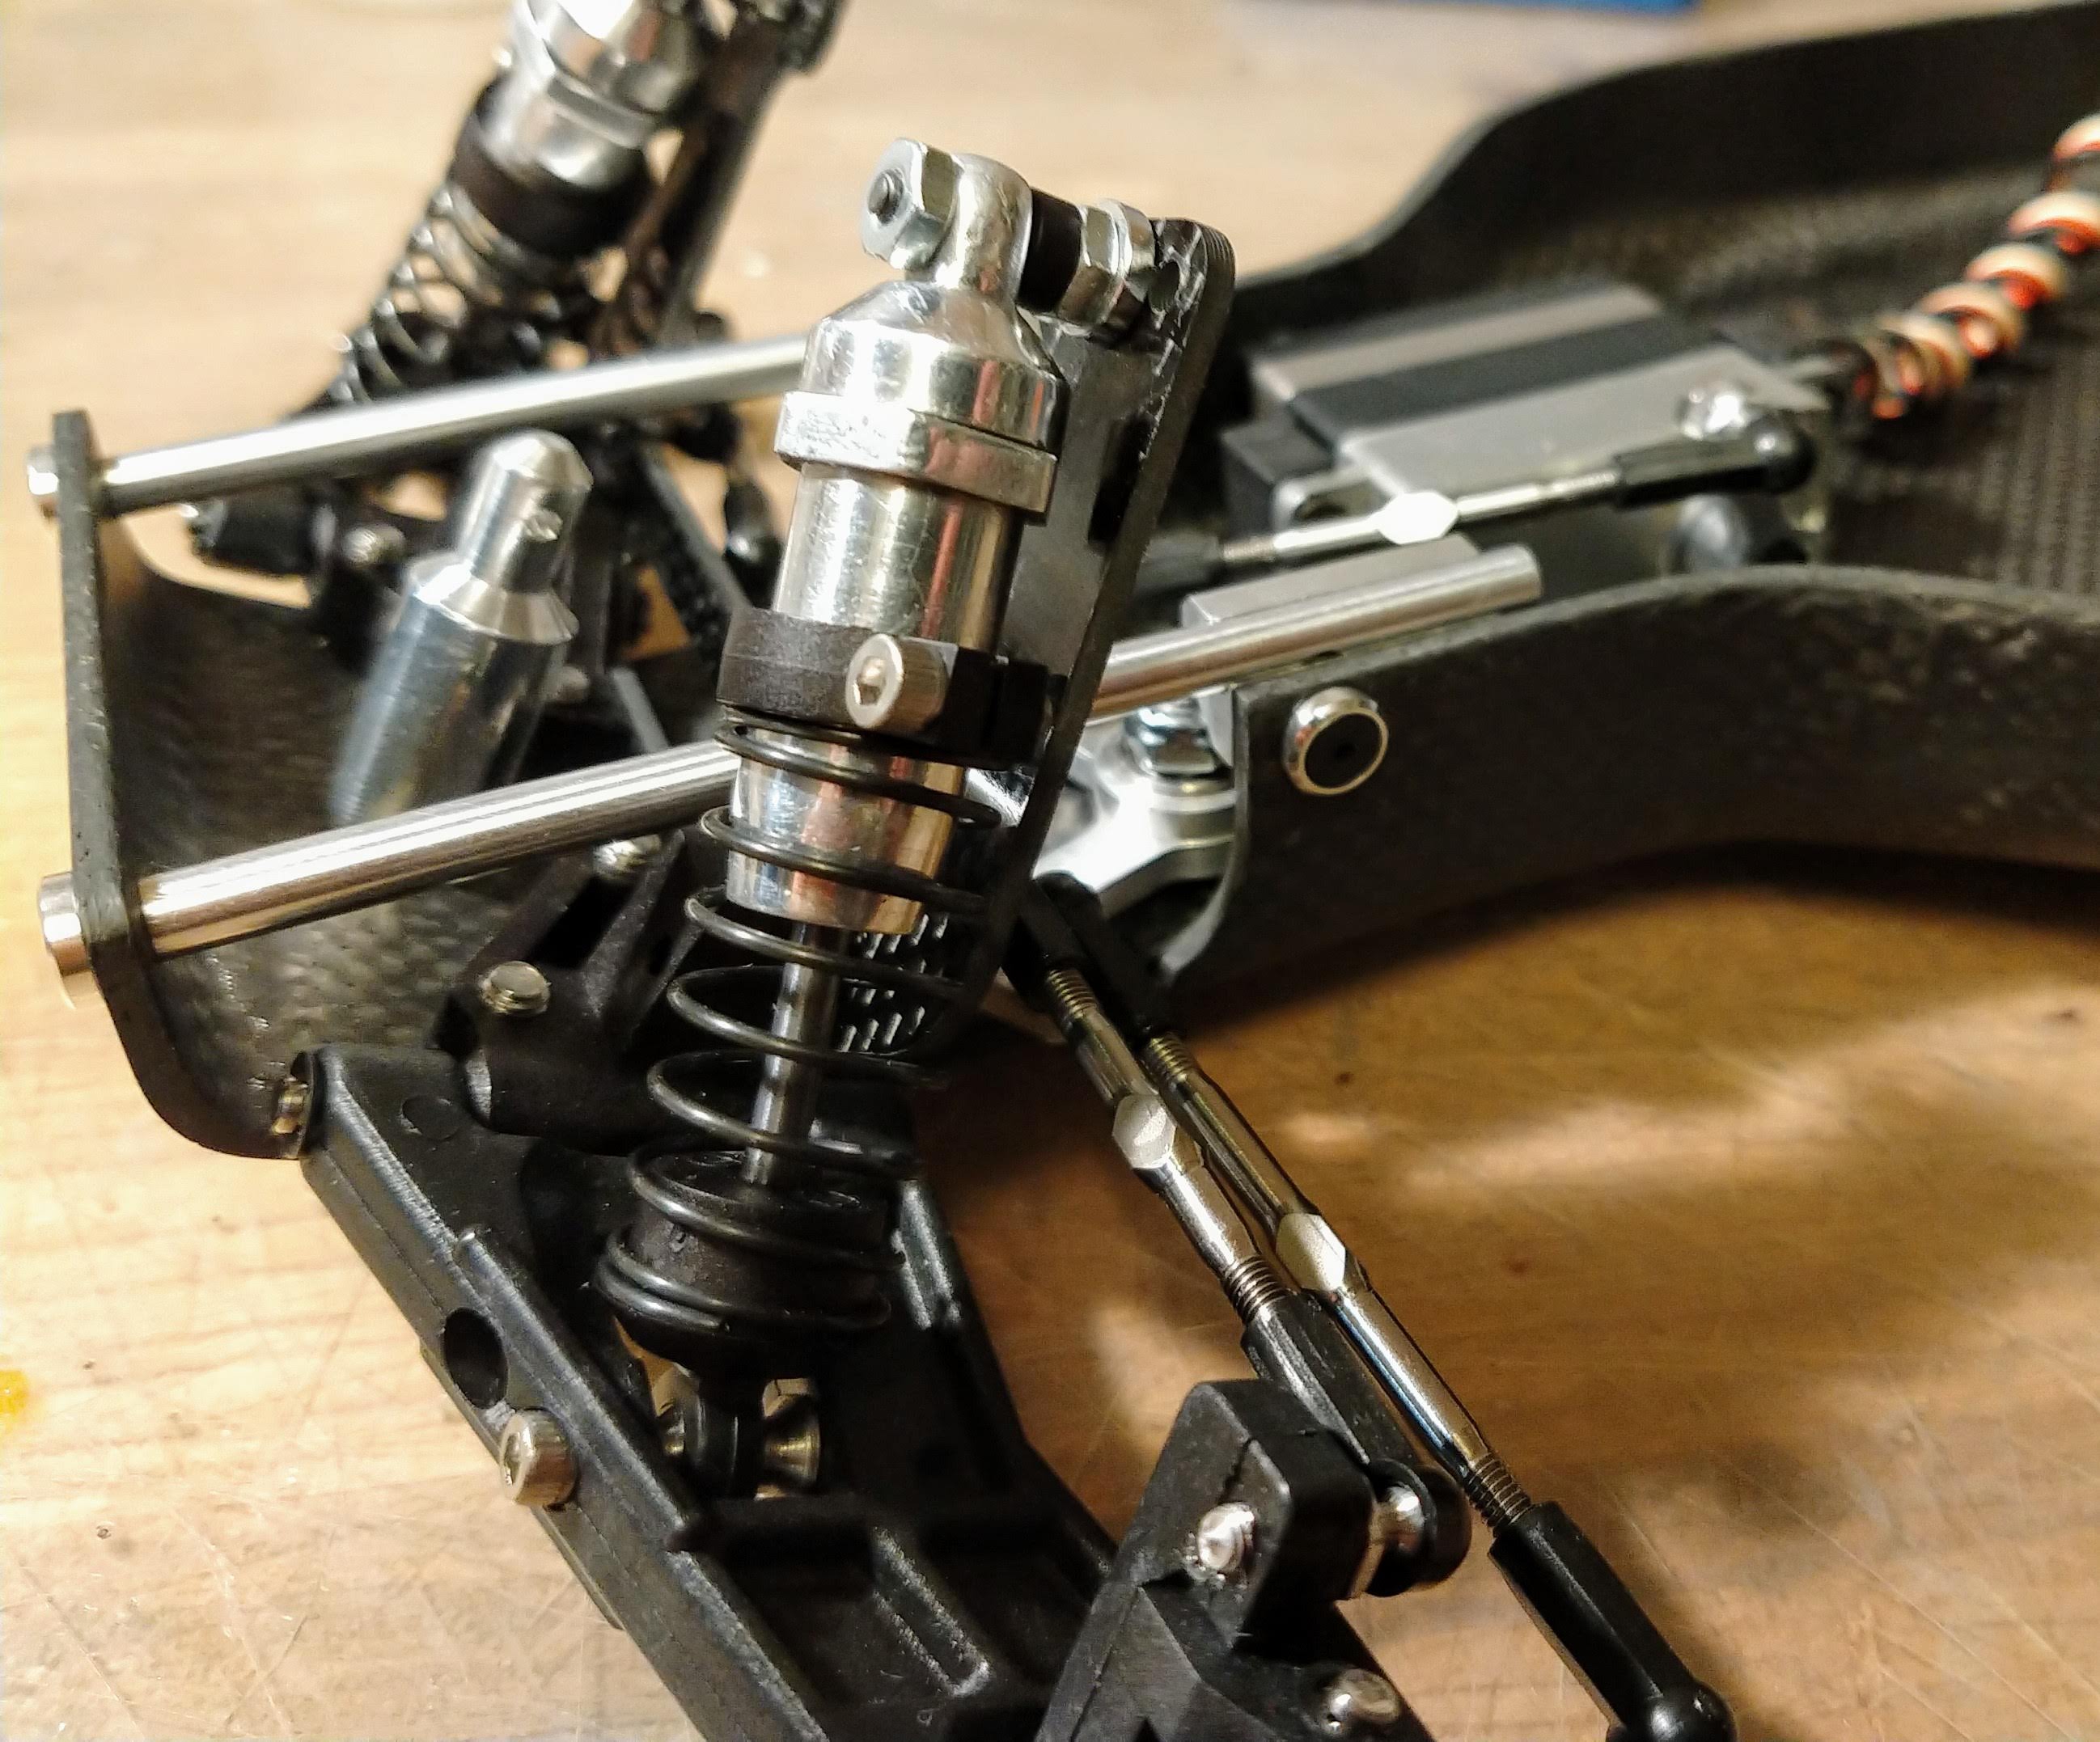
First attempt : FAIL
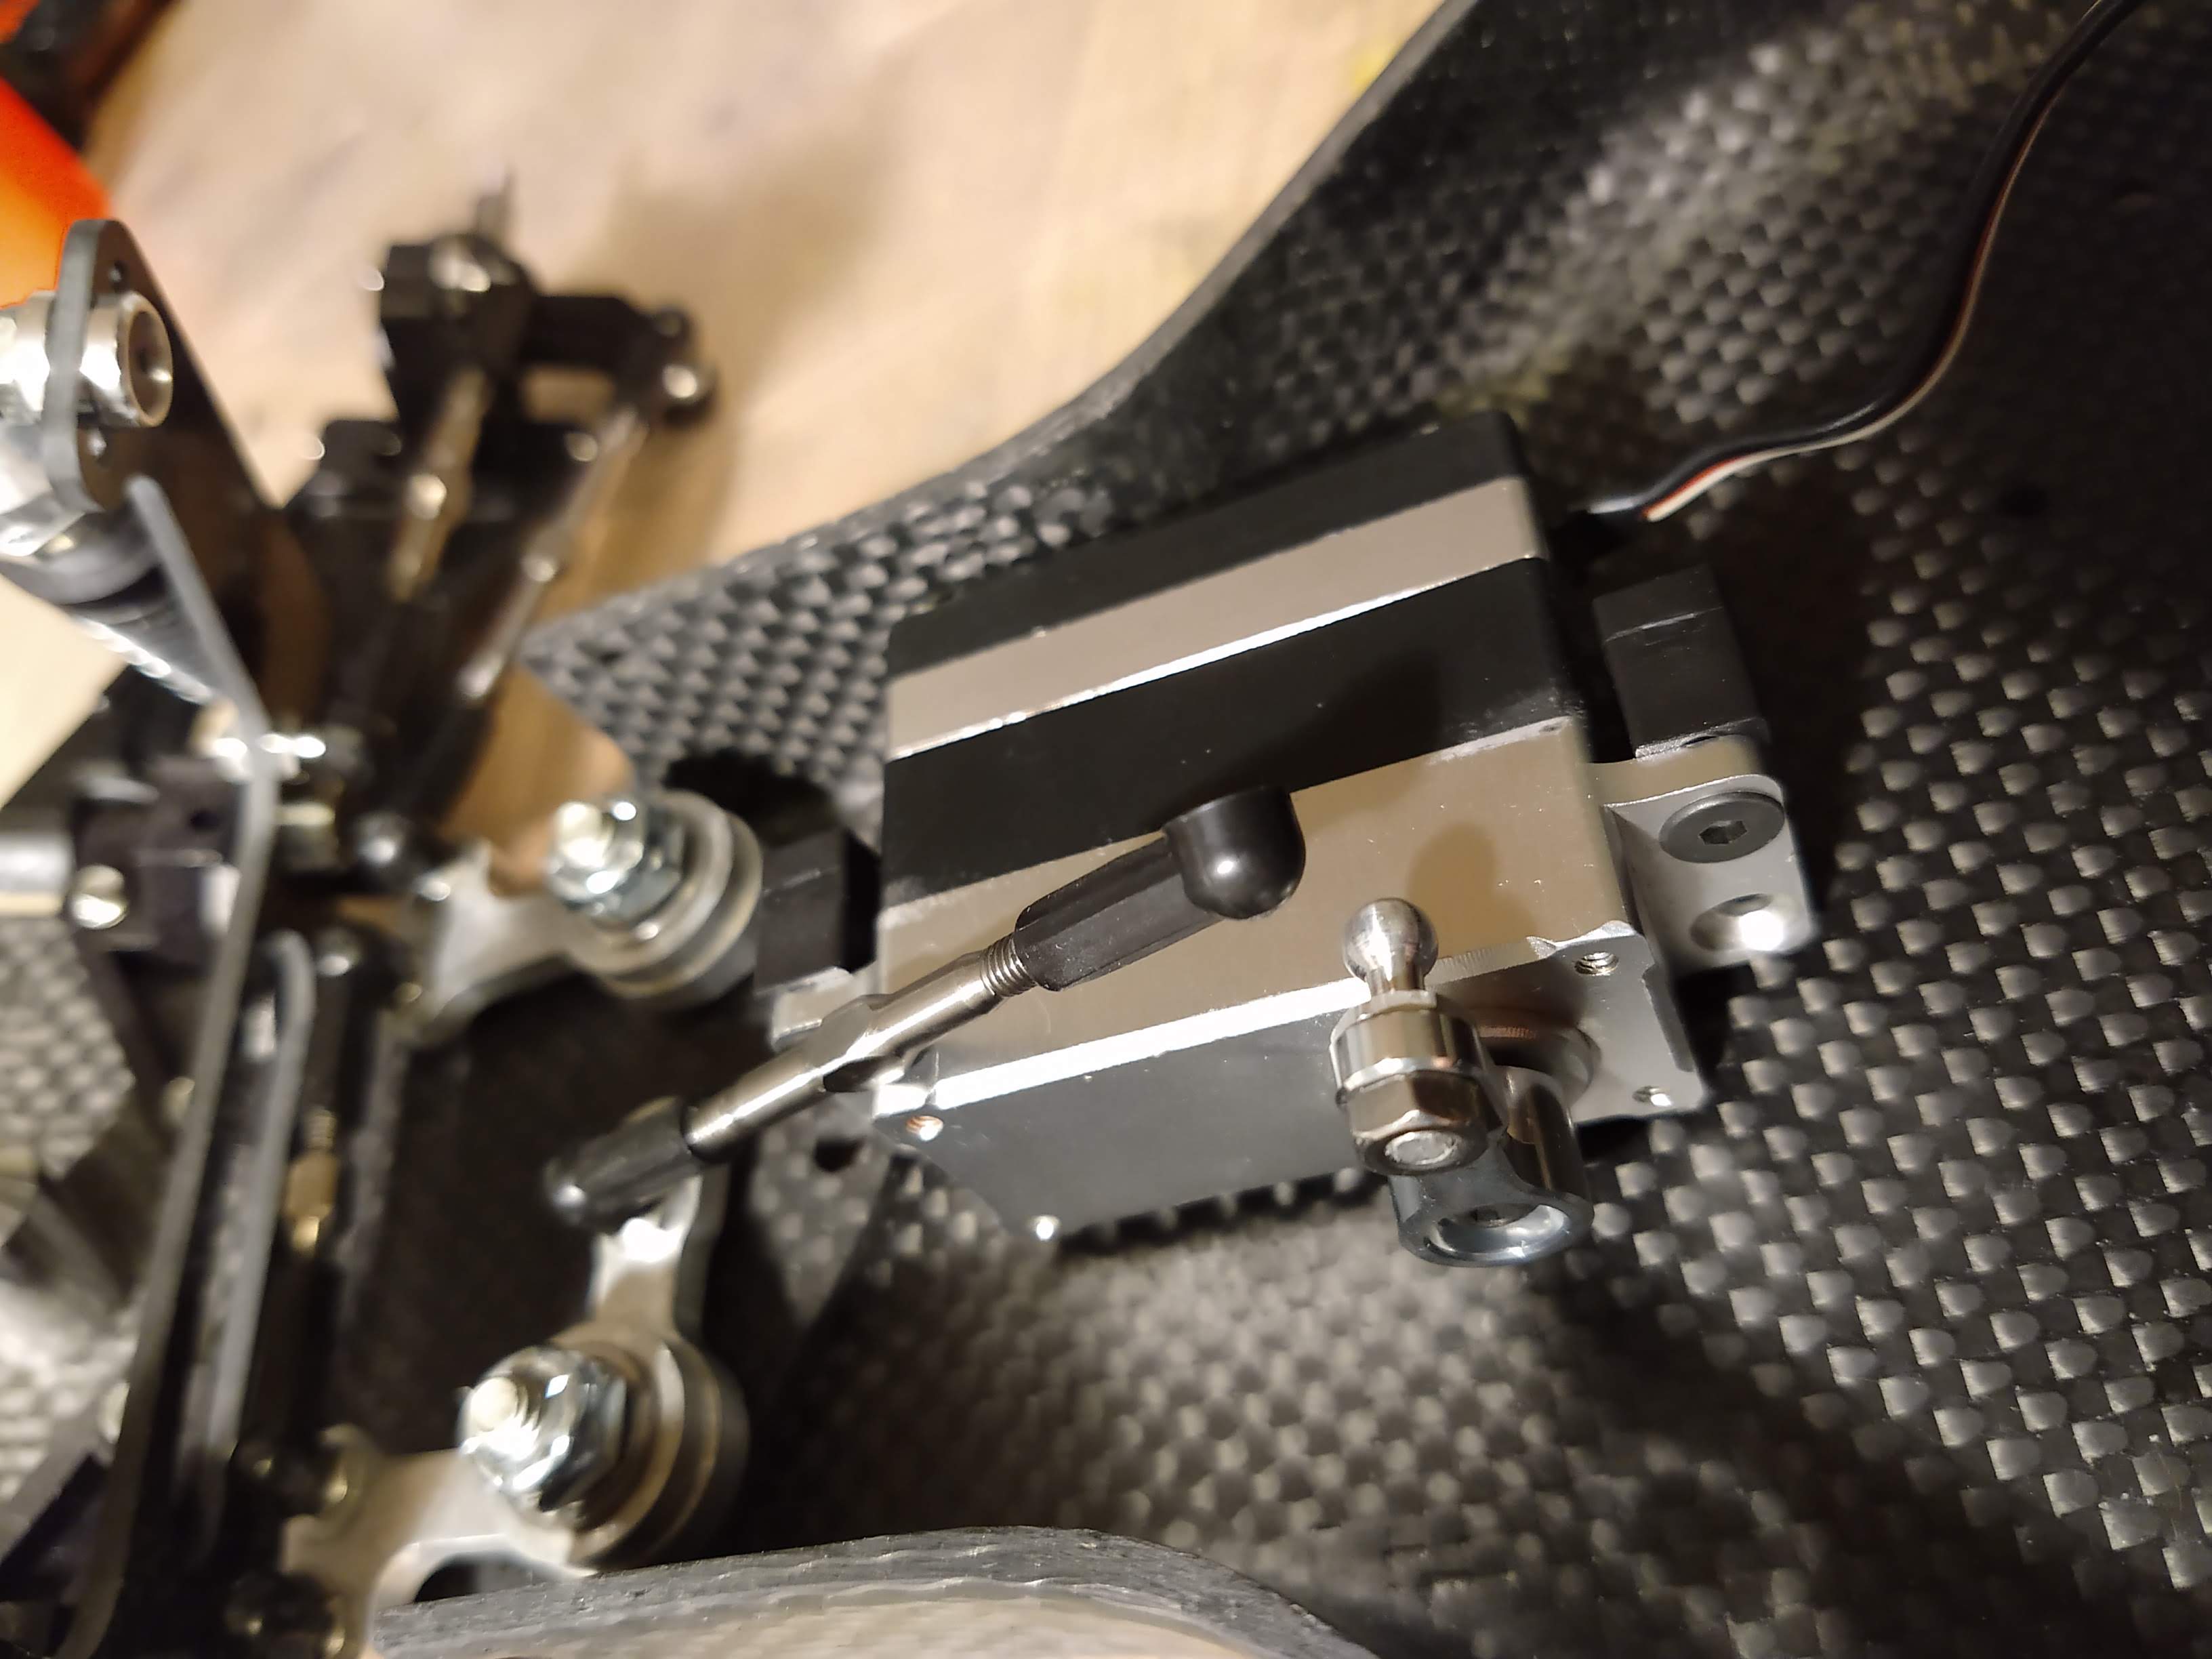
Second attempt, with the ballstud shimmed to the max on the bellcrank: somewhat better, but still...
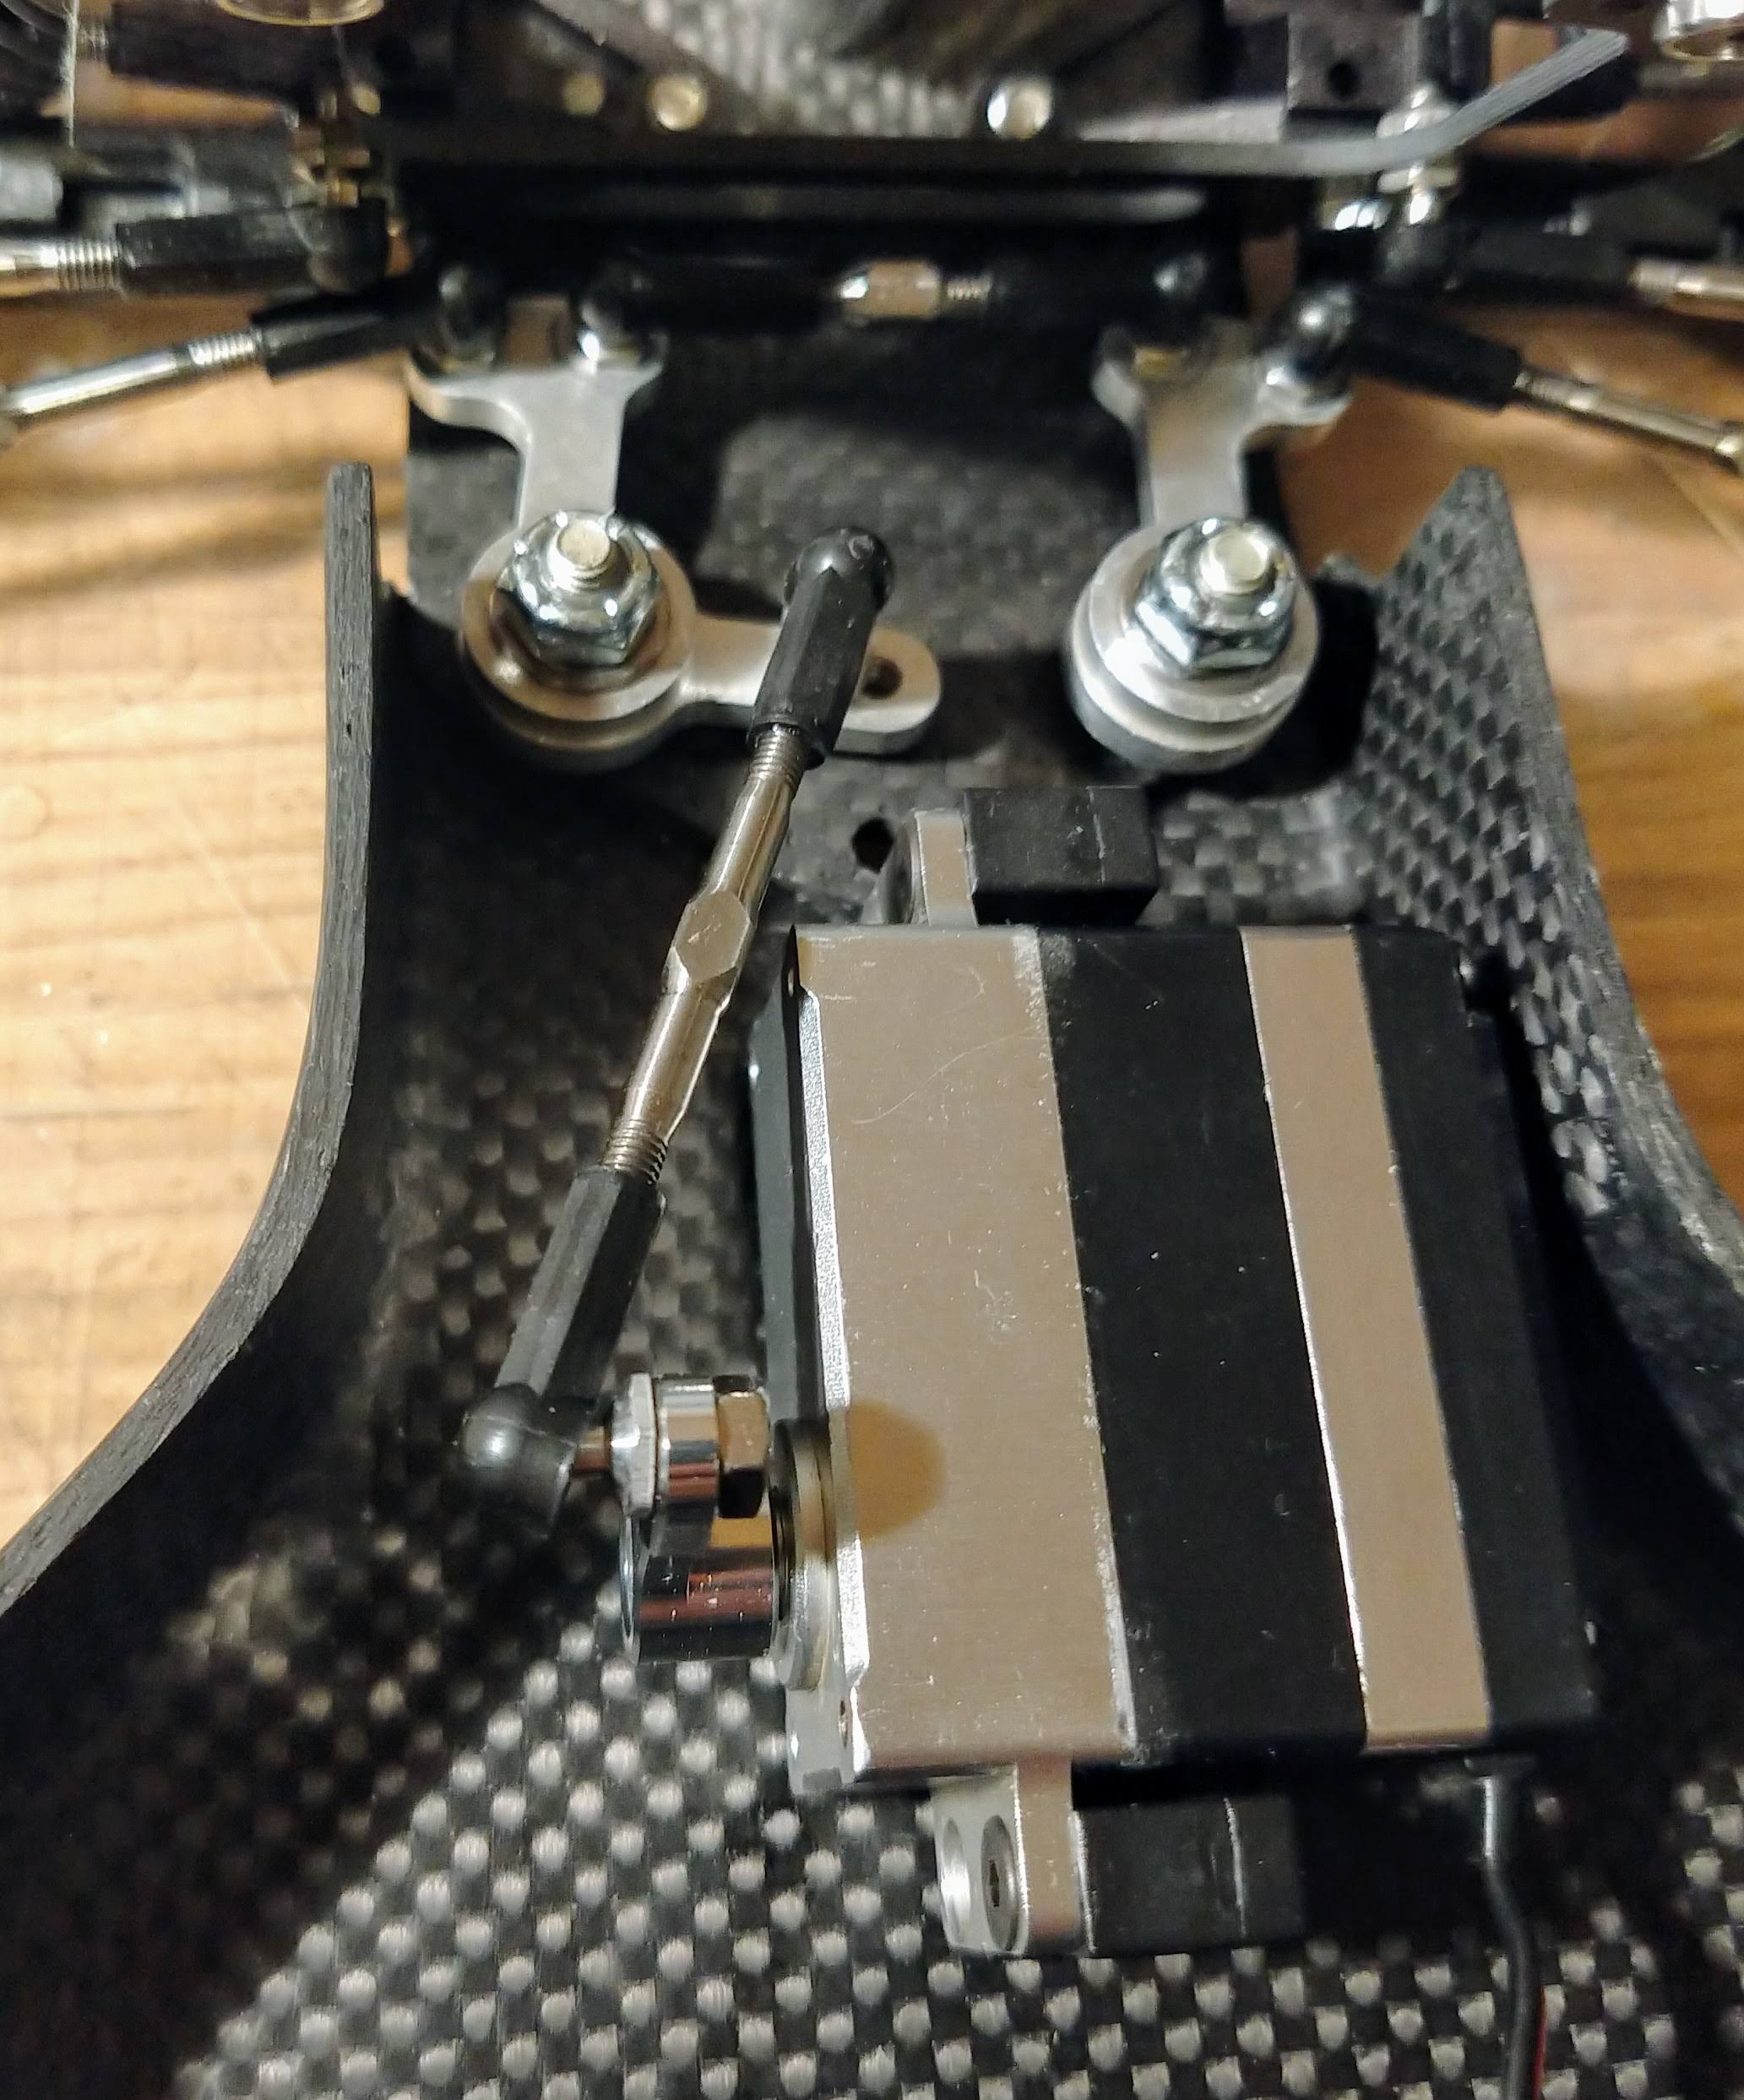
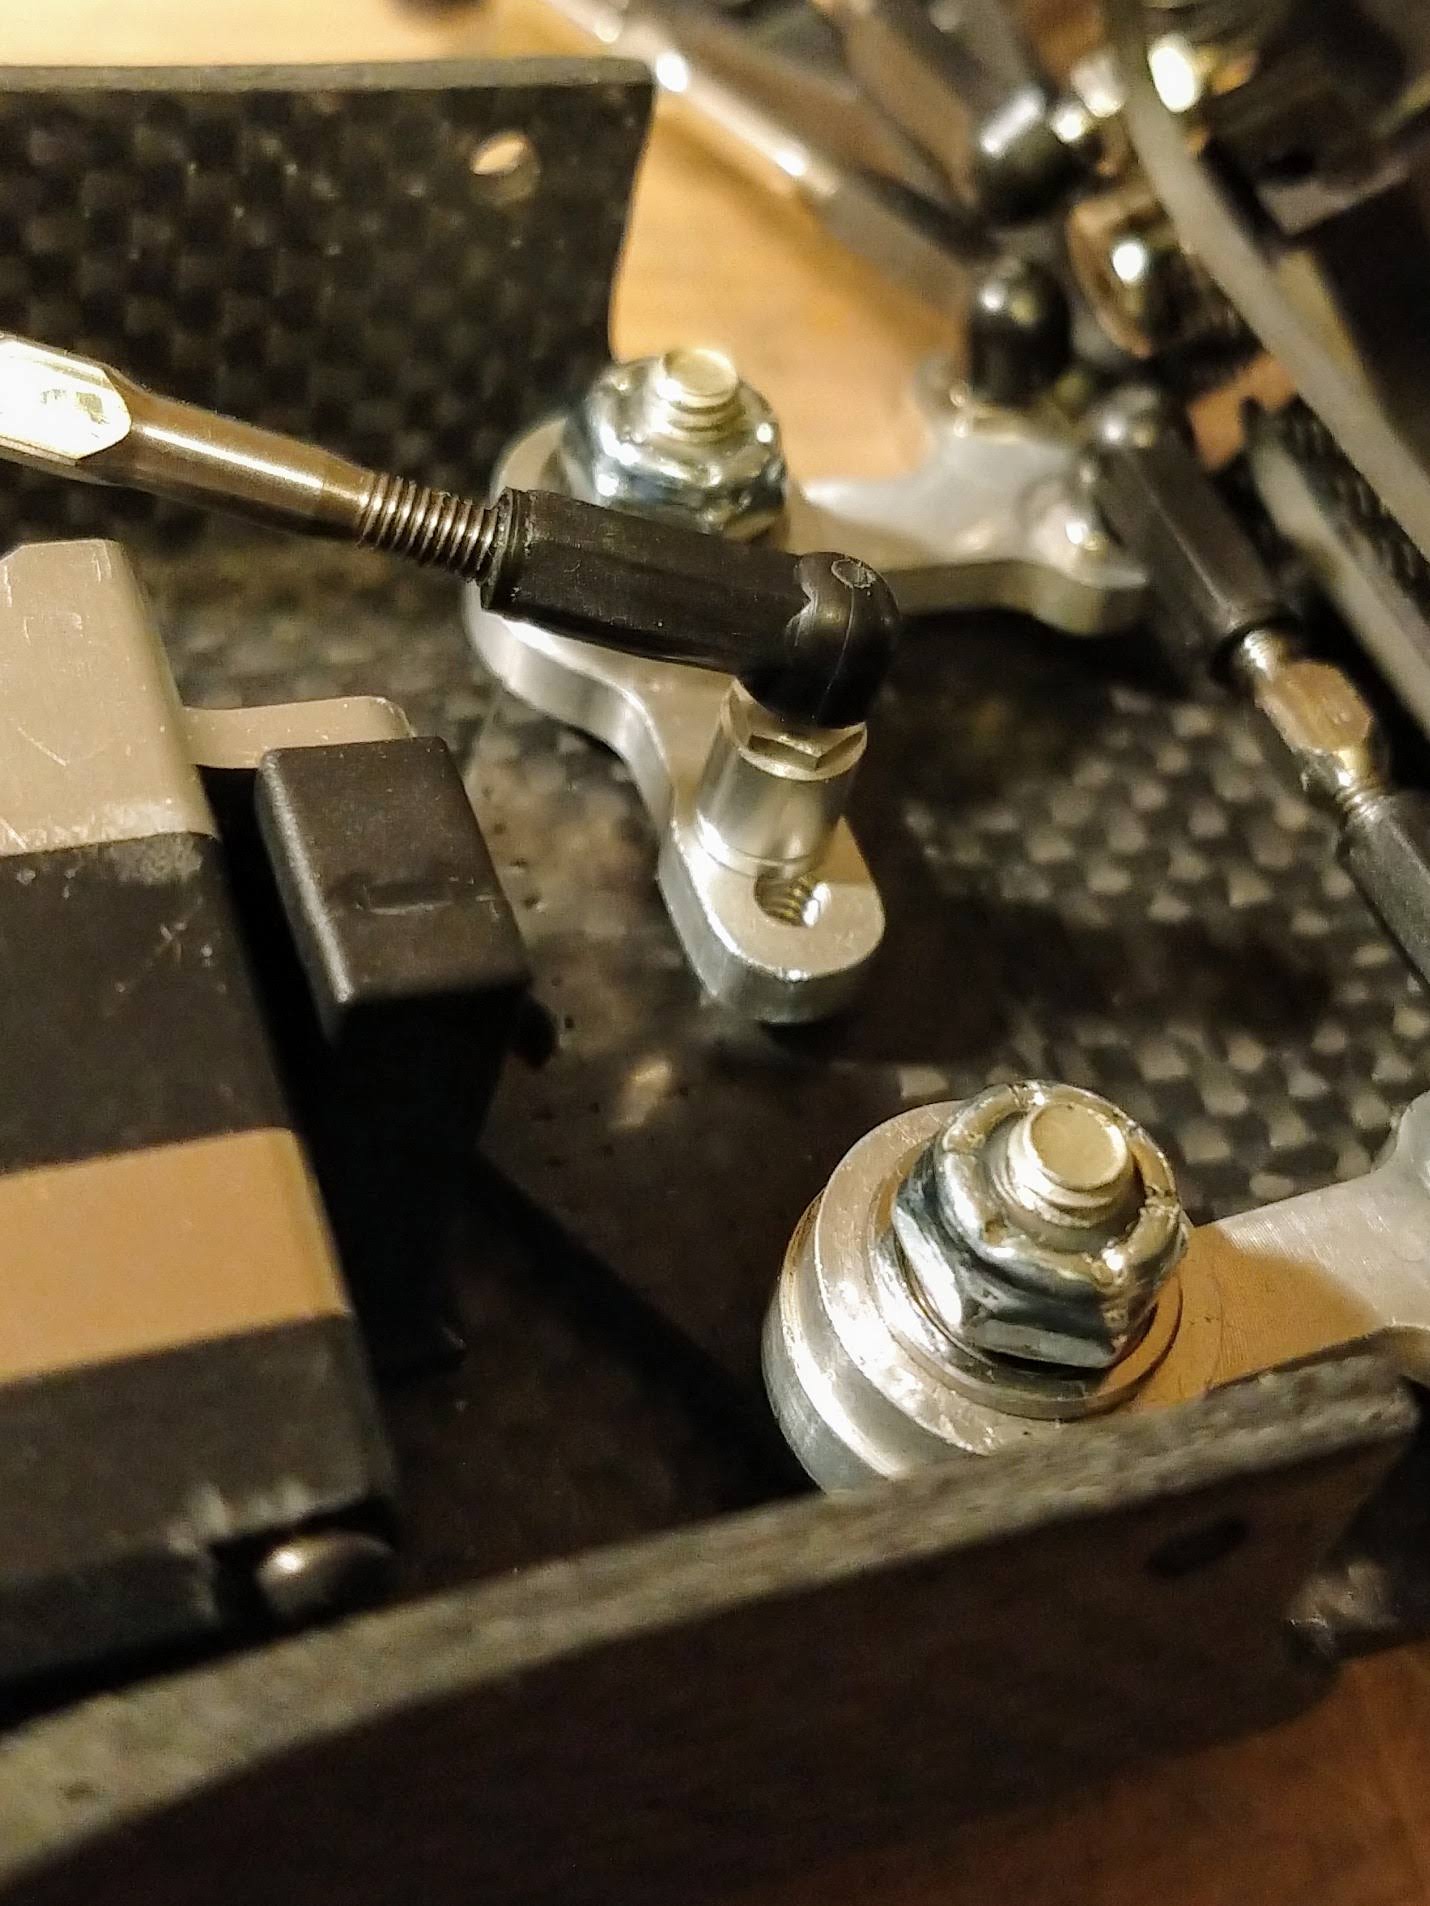
I don't like those crazy angles. The solution to this all will be a GoMachV shock tower that allows me to raise the steering assembly anyway, as talked earlier, then a different servo arm and servo mounts with less offset. This will happen later... if this happens at all
(TBC)
I've had to slow down on this build due to other priorities, and also have not updated this for a few days now, but overall more progress was made. Some setbacks, too
I had kept this servo for this build. This was run on my MBX6's a few years back, some crazy beast of servos.
I had an issue with the gears bitd, had to open it and the case screws were a PITA to remove, as i had loctited them, since I had assembled the top-case part myself as i bought them as hopups... then the screw broke etc... net, this is a good looking, expensive servo that needed a makeover and could only fill shelf duties anyway
After a bit of cleanup, it looks a lot better. The alloy servo arm will complement it nicely.
For now this will be mounted on RPM black plastics... I have some alloy ones in the mail (I've had them for a while actually!). And the thing is, I will have to disassemble this all one more time at least as, you will see this later, it doesn't fit right anyway....
First attempt : FAIL
Second attempt, with the ballstud shimmed to the max on the bellcrank: somewhat better, but still...
I don't like those crazy angles. The solution to this all will be a GoMachV shock tower that allows me to raise the steering assembly anyway, as talked earlier, then a different servo arm and servo mounts with less offset. This will happen later... if this happens at all
(TBC)
AE RC10 - Made In The Eighties, Loved By The Ladies.
Blue Was Better - now, Blue Is Bankrupt.
Facebook affiliate program manager: "They go out and find the morons for me".
Life is short. Waste it wisely.
Blue Was Better - now, Blue Is Bankrupt.
Facebook affiliate program manager: "They go out and find the morons for me".
Life is short. Waste it wisely.
-
Lonestar
- Approved Member
- Posts: 4270
- Joined: Wed Dec 12, 2007 5:17 am
- Location: Switzerland, yannow, in Europe (or almost)
- Has thanked: 623 times
- Been thanked: 170 times
Re: We're getting there (May2020)... CWF (tub) and Shiny RC10
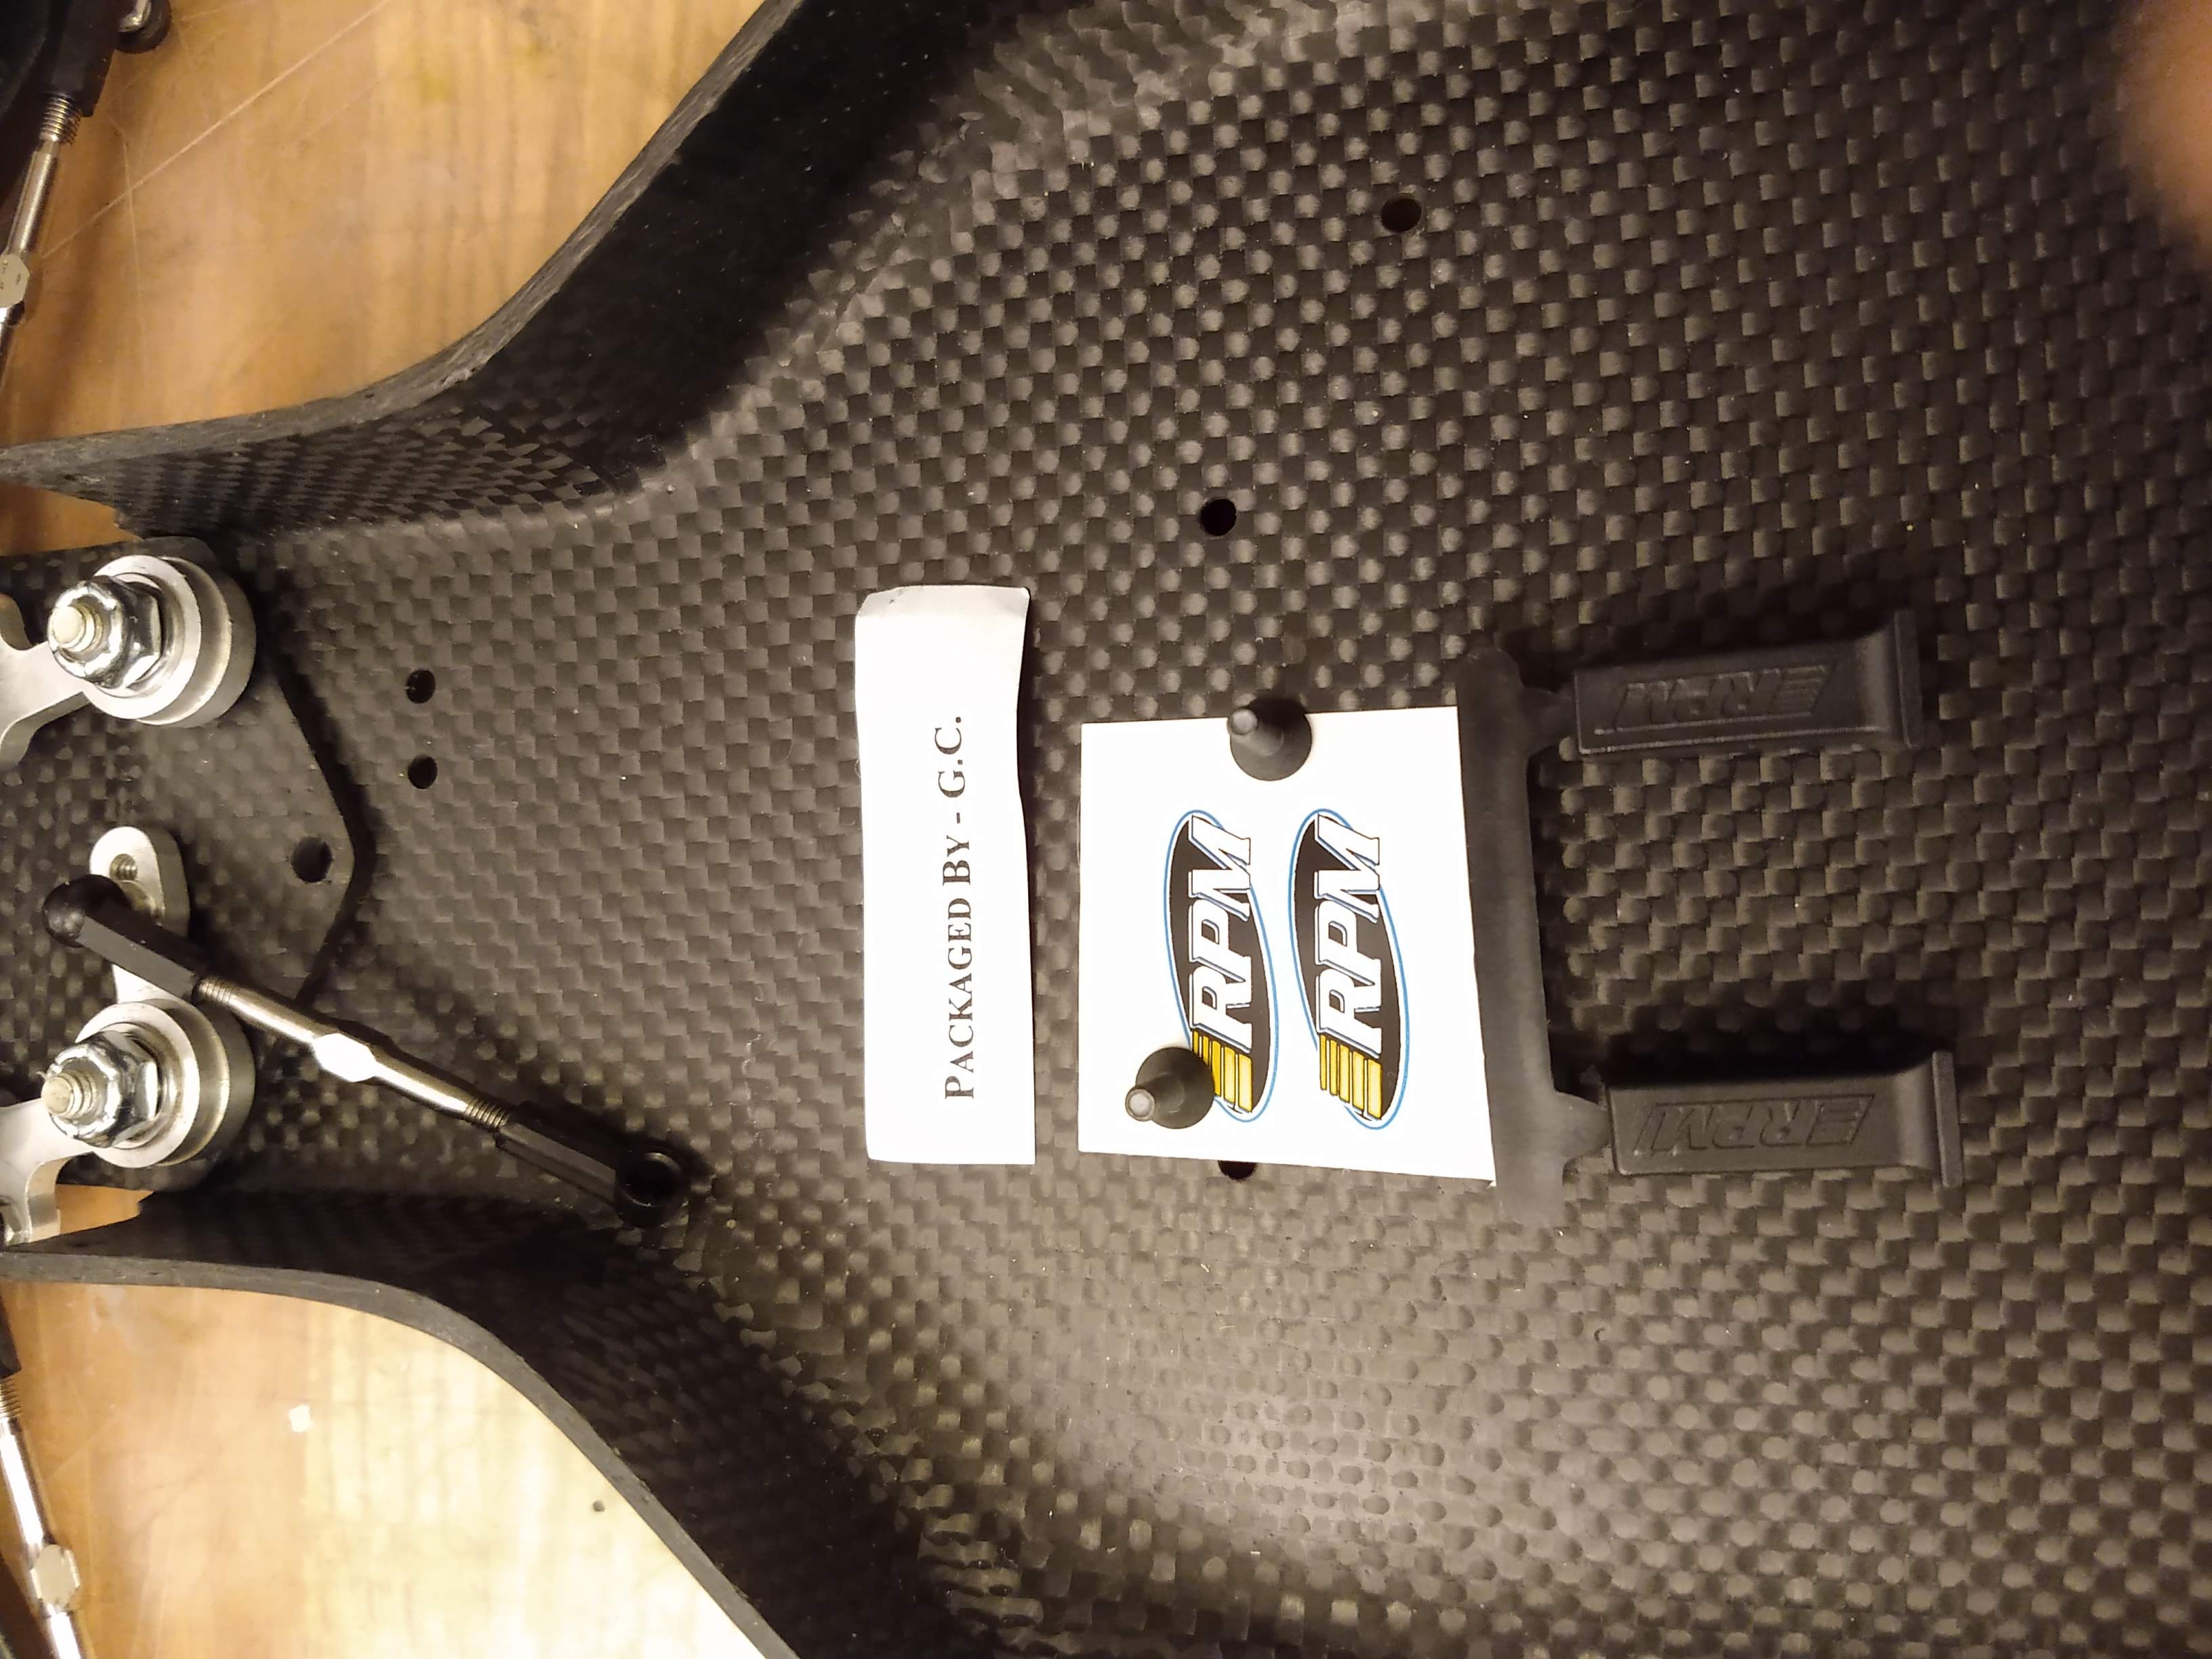
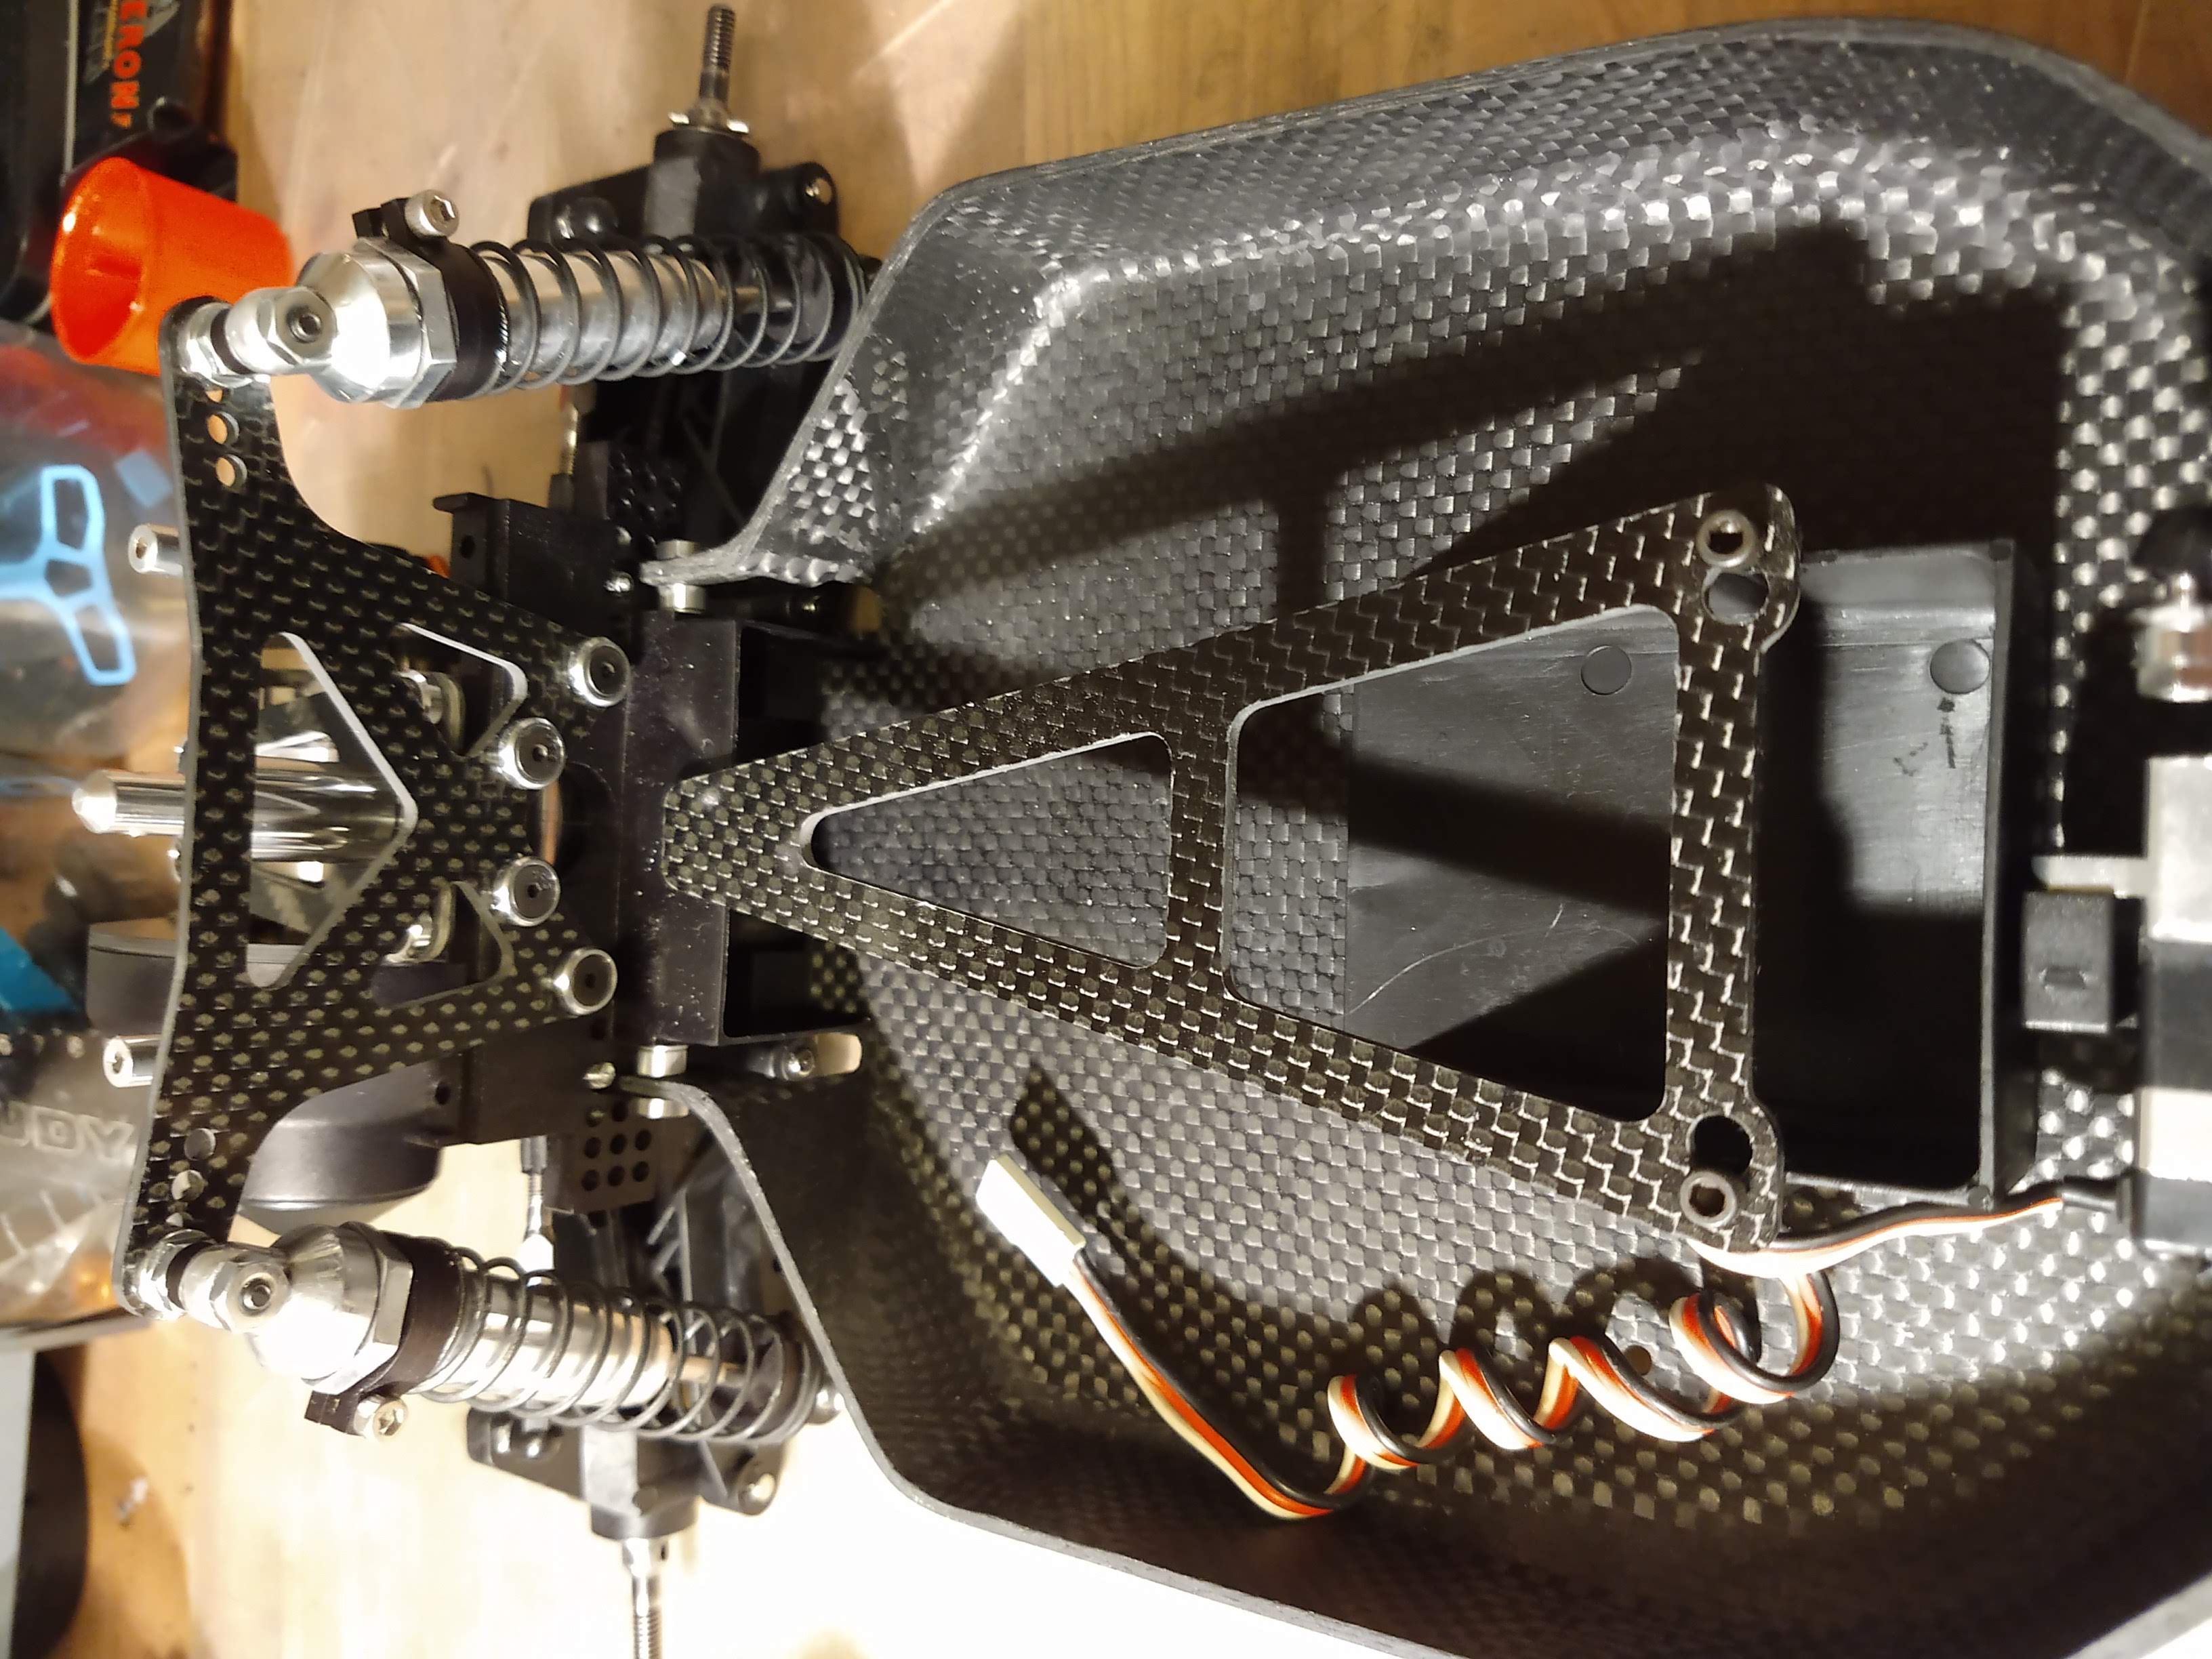
The chassis is stiff as hell (as losi would say!) but still needs to be braced at the front.
I totally forgot I had some custom nose tubes reserved for this build, so I murdered another NIB set
The tubes are held to the tub by these funny brackets which, miraculously, I hadn't misplaced all these years...
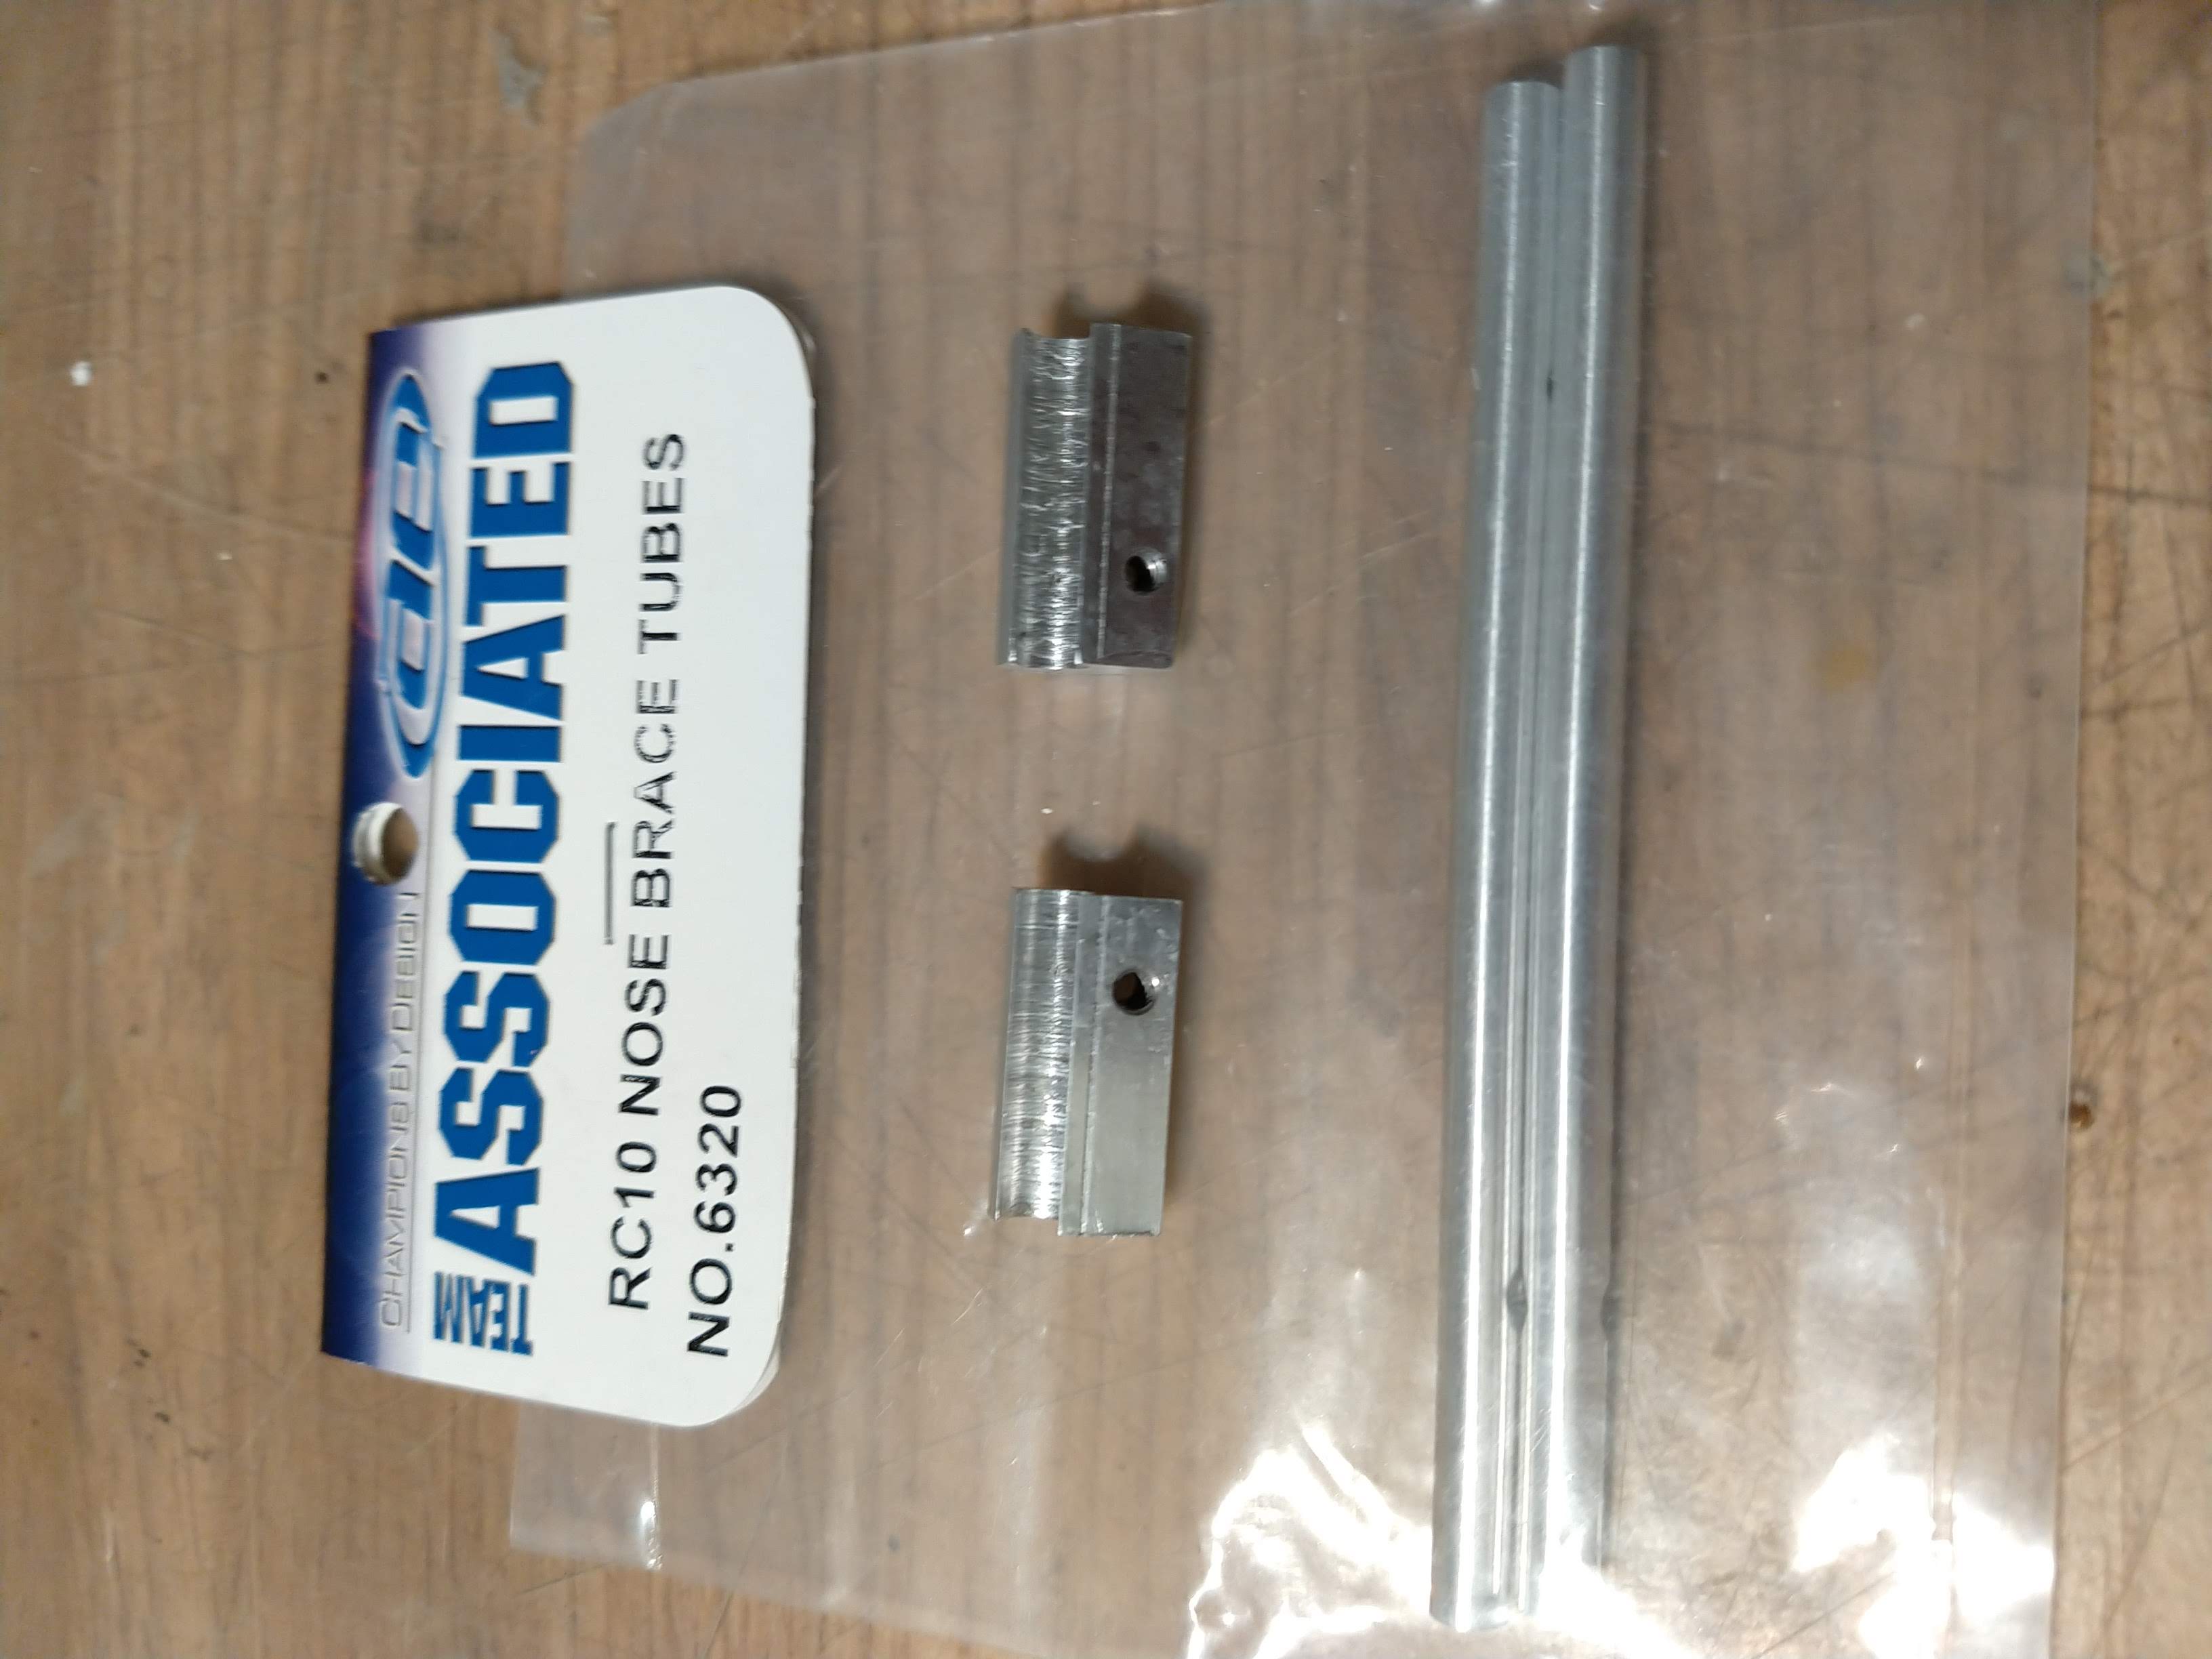
It took me a few tries to figure out how this worked though.
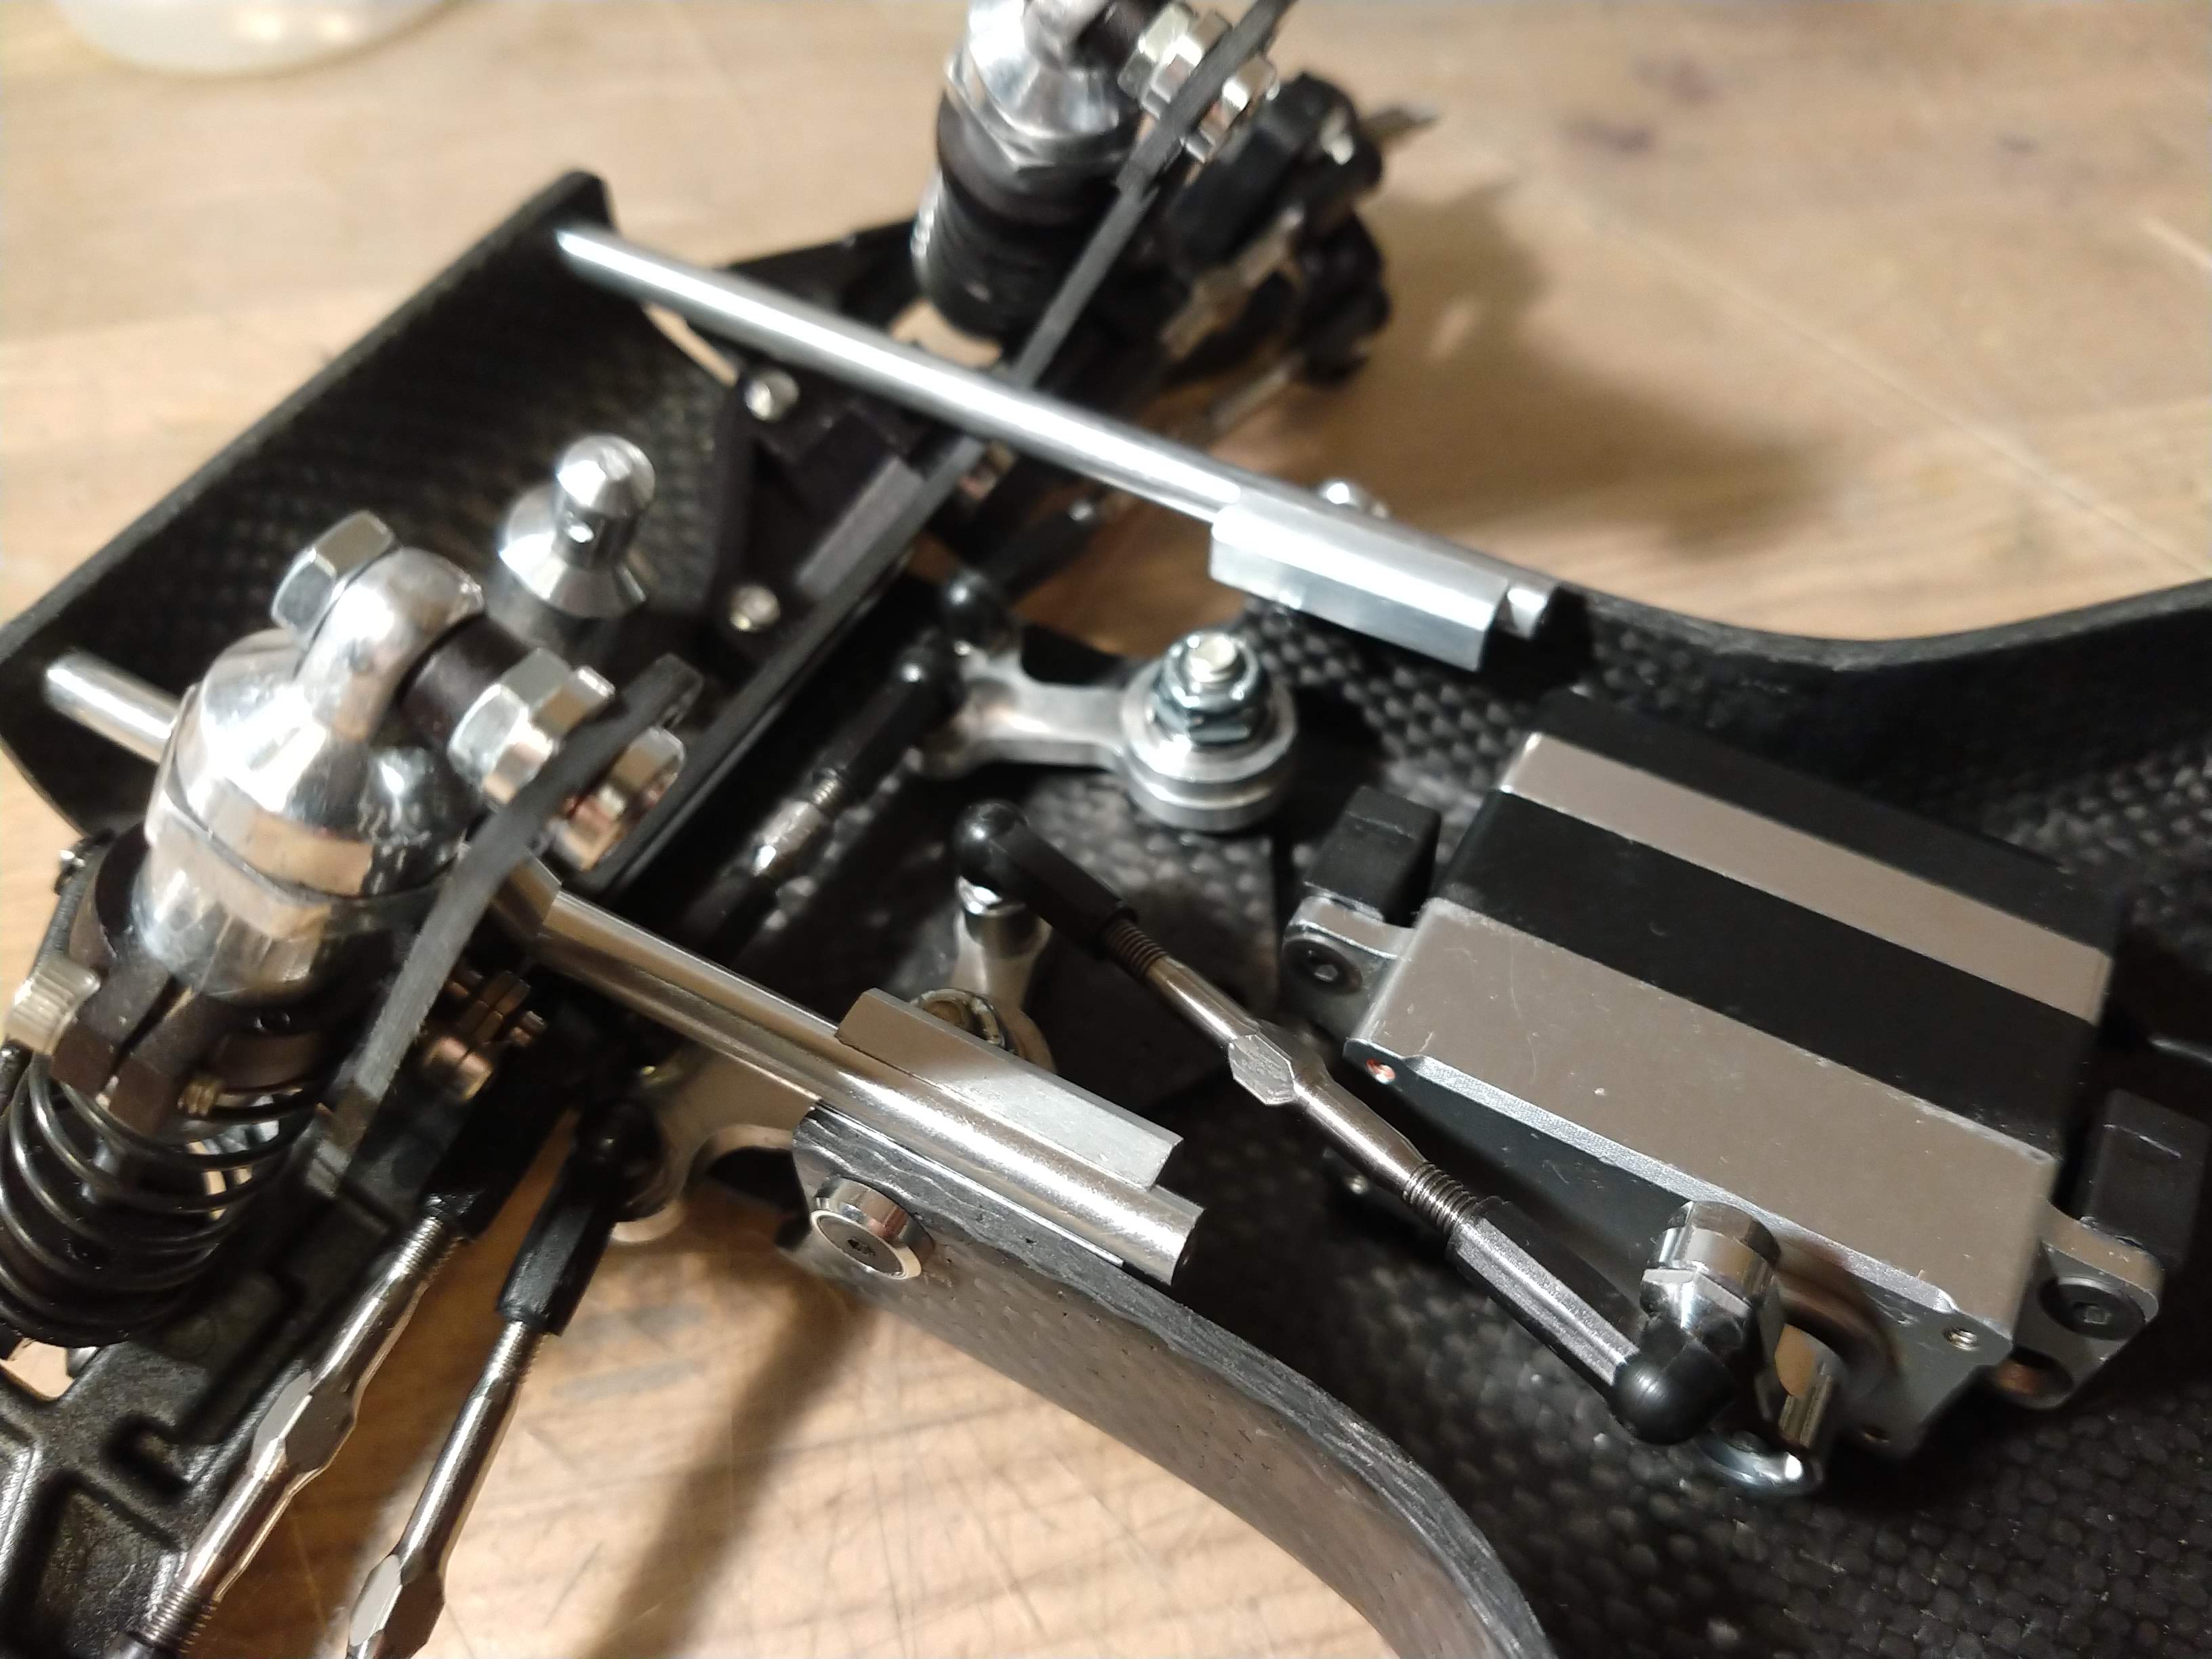
The tubes are not screwed to the chassis like in the standard OEM assembly. Insted, they are "floating" in the brackets. I assume that, because of the manufacturing process of the chassis/plate, it was impossible to ensure that the holes would line up on the nose tubes and the chassis sidewalls. So the carbon tub makers (I cannot confirm 100% it's FL actually...) used that hack instead, the tube can move axially, but is held radially. It does look pretty good to be honest
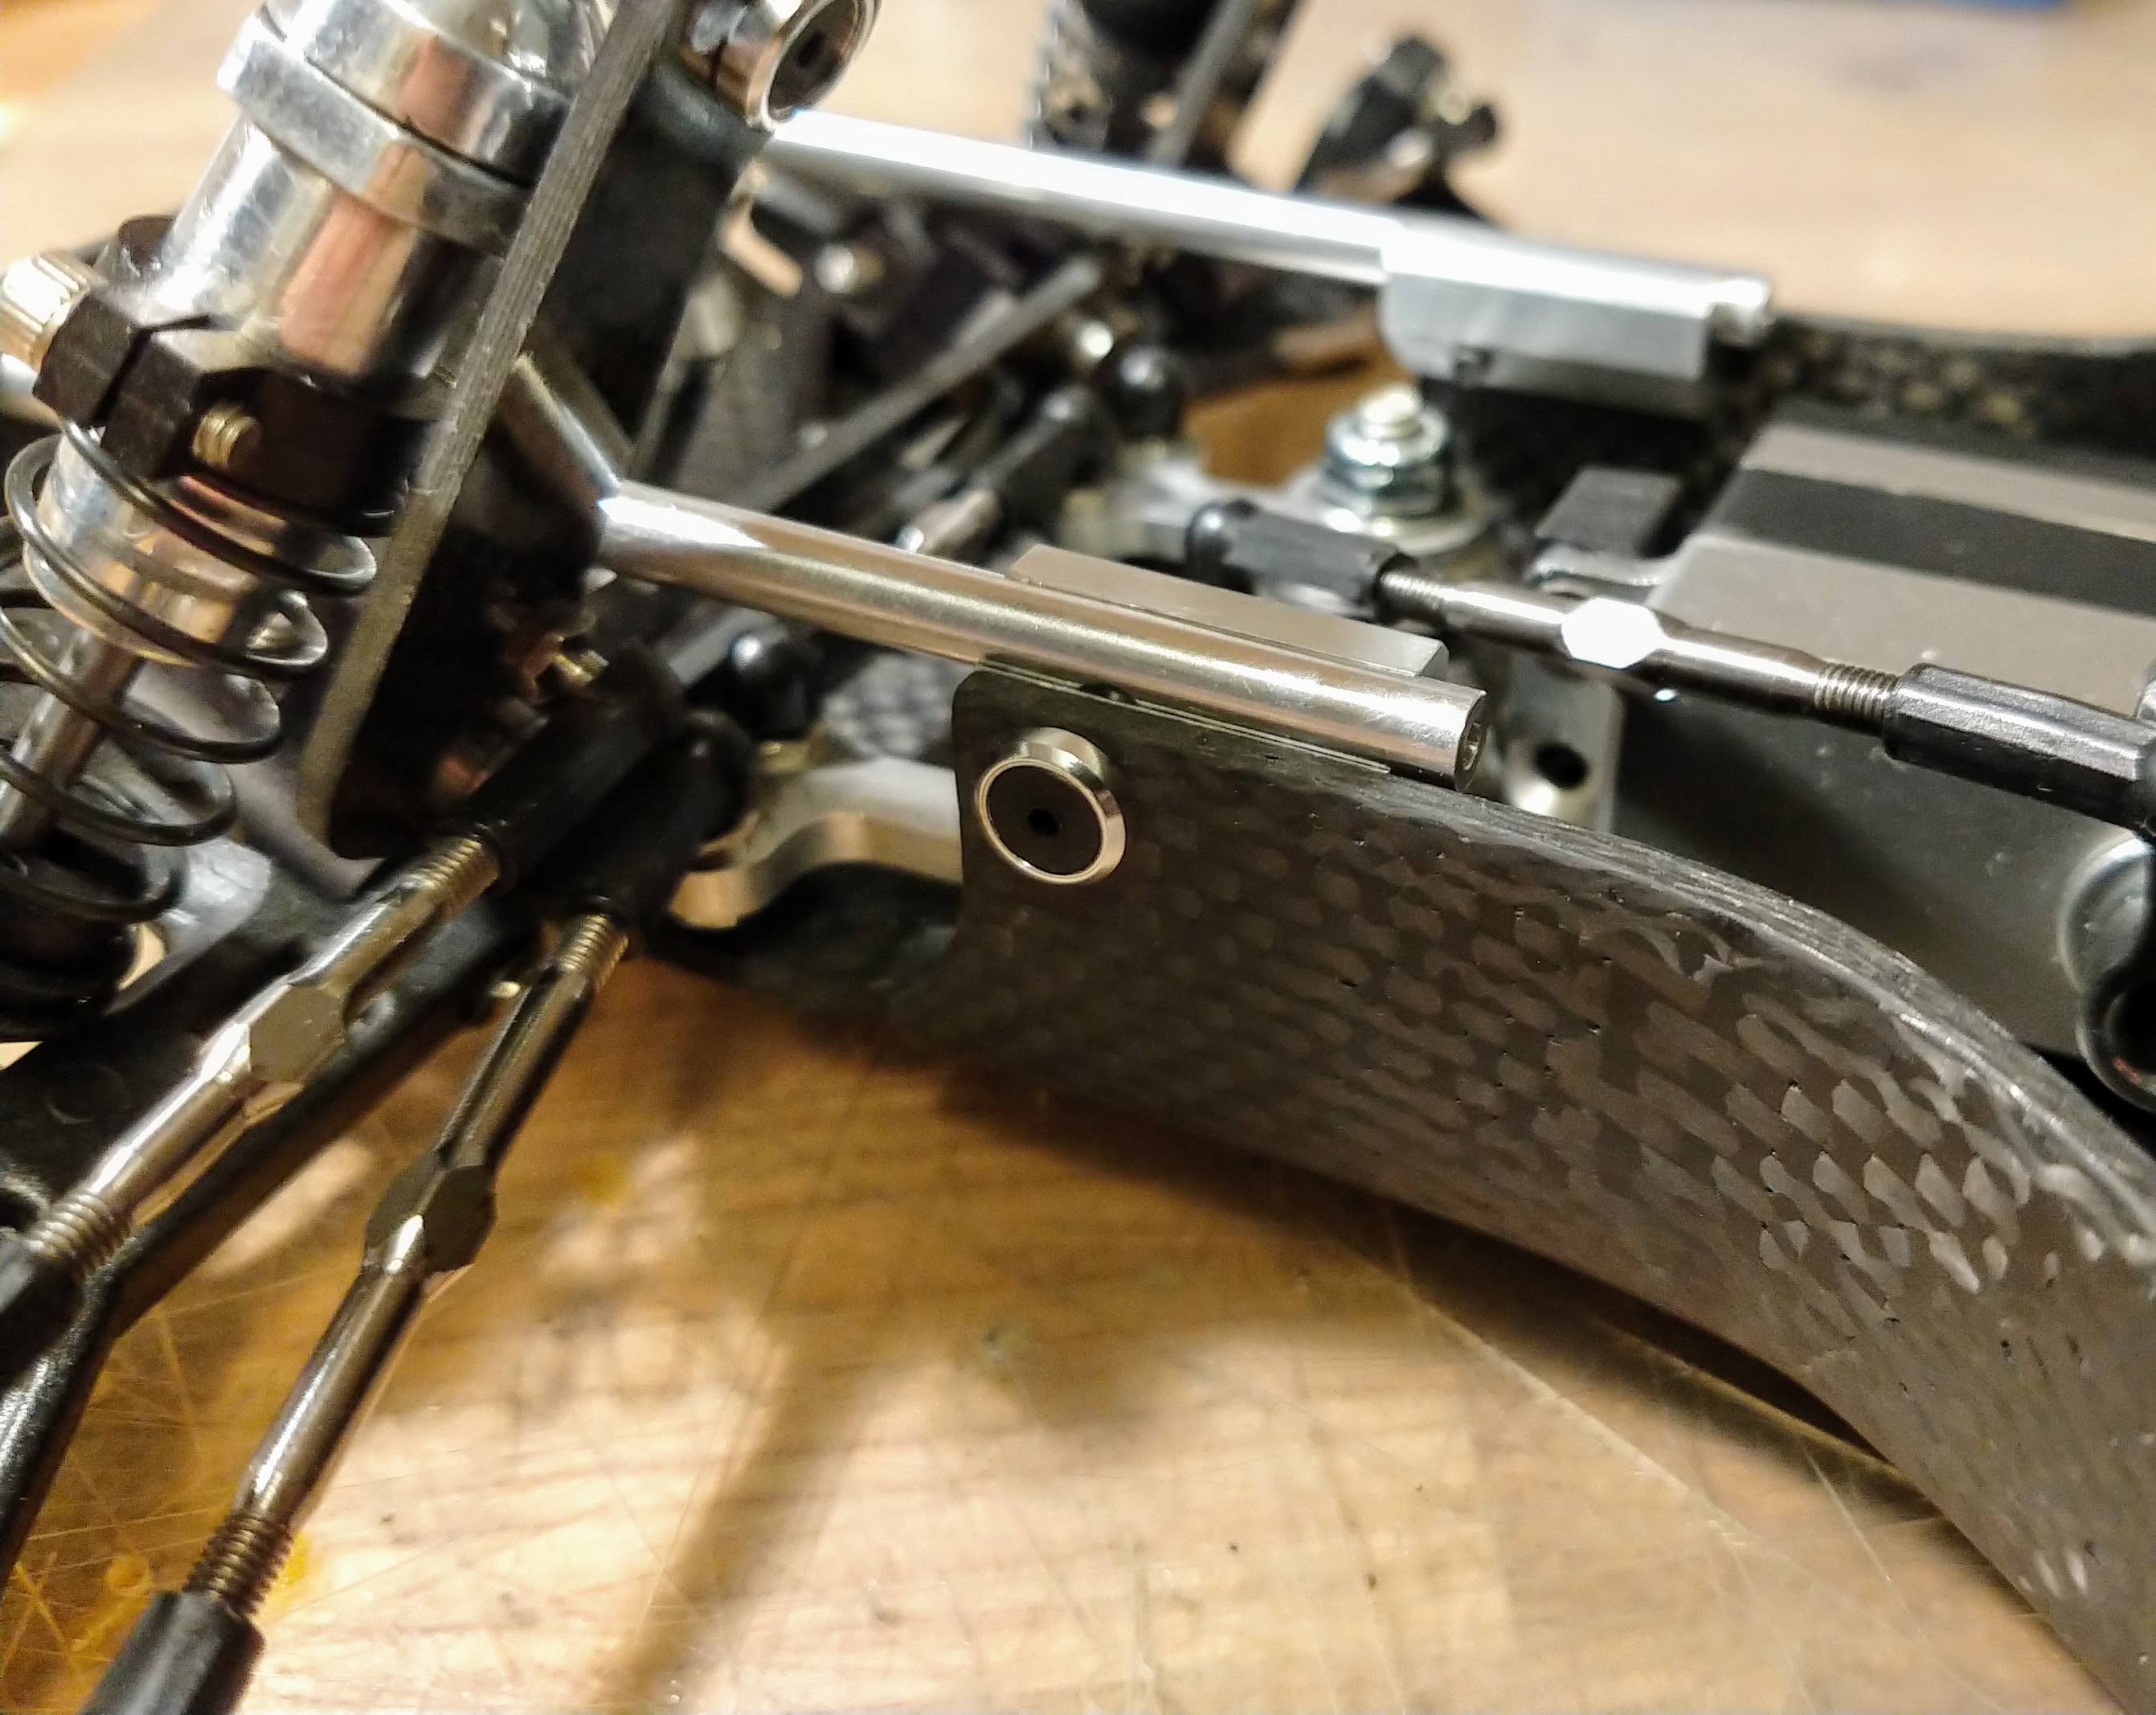
This is beginning to *really* look like an RC10 now
(TBC)
I totally forgot I had some custom nose tubes reserved for this build, so I murdered another NIB set
The tubes are held to the tub by these funny brackets which, miraculously, I hadn't misplaced all these years...
It took me a few tries to figure out how this worked though.
The tubes are not screwed to the chassis like in the standard OEM assembly. Insted, they are "floating" in the brackets. I assume that, because of the manufacturing process of the chassis/plate, it was impossible to ensure that the holes would line up on the nose tubes and the chassis sidewalls. So the carbon tub makers (I cannot confirm 100% it's FL actually...) used that hack instead, the tube can move axially, but is held radially. It does look pretty good to be honest
This is beginning to *really* look like an RC10 now
(TBC)
AE RC10 - Made In The Eighties, Loved By The Ladies.
Blue Was Better - now, Blue Is Bankrupt.
Facebook affiliate program manager: "They go out and find the morons for me".
Life is short. Waste it wisely.
Blue Was Better - now, Blue Is Bankrupt.
Facebook affiliate program manager: "They go out and find the morons for me".
Life is short. Waste it wisely.
-
Lonestar
- Approved Member
- Posts: 4270
- Joined: Wed Dec 12, 2007 5:17 am
- Location: Switzerland, yannow, in Europe (or almost)
- Has thanked: 623 times
- Been thanked: 170 times
Re: We're getting there (May2020)... CWF (tub) and Shiny RC10
More NiB parts
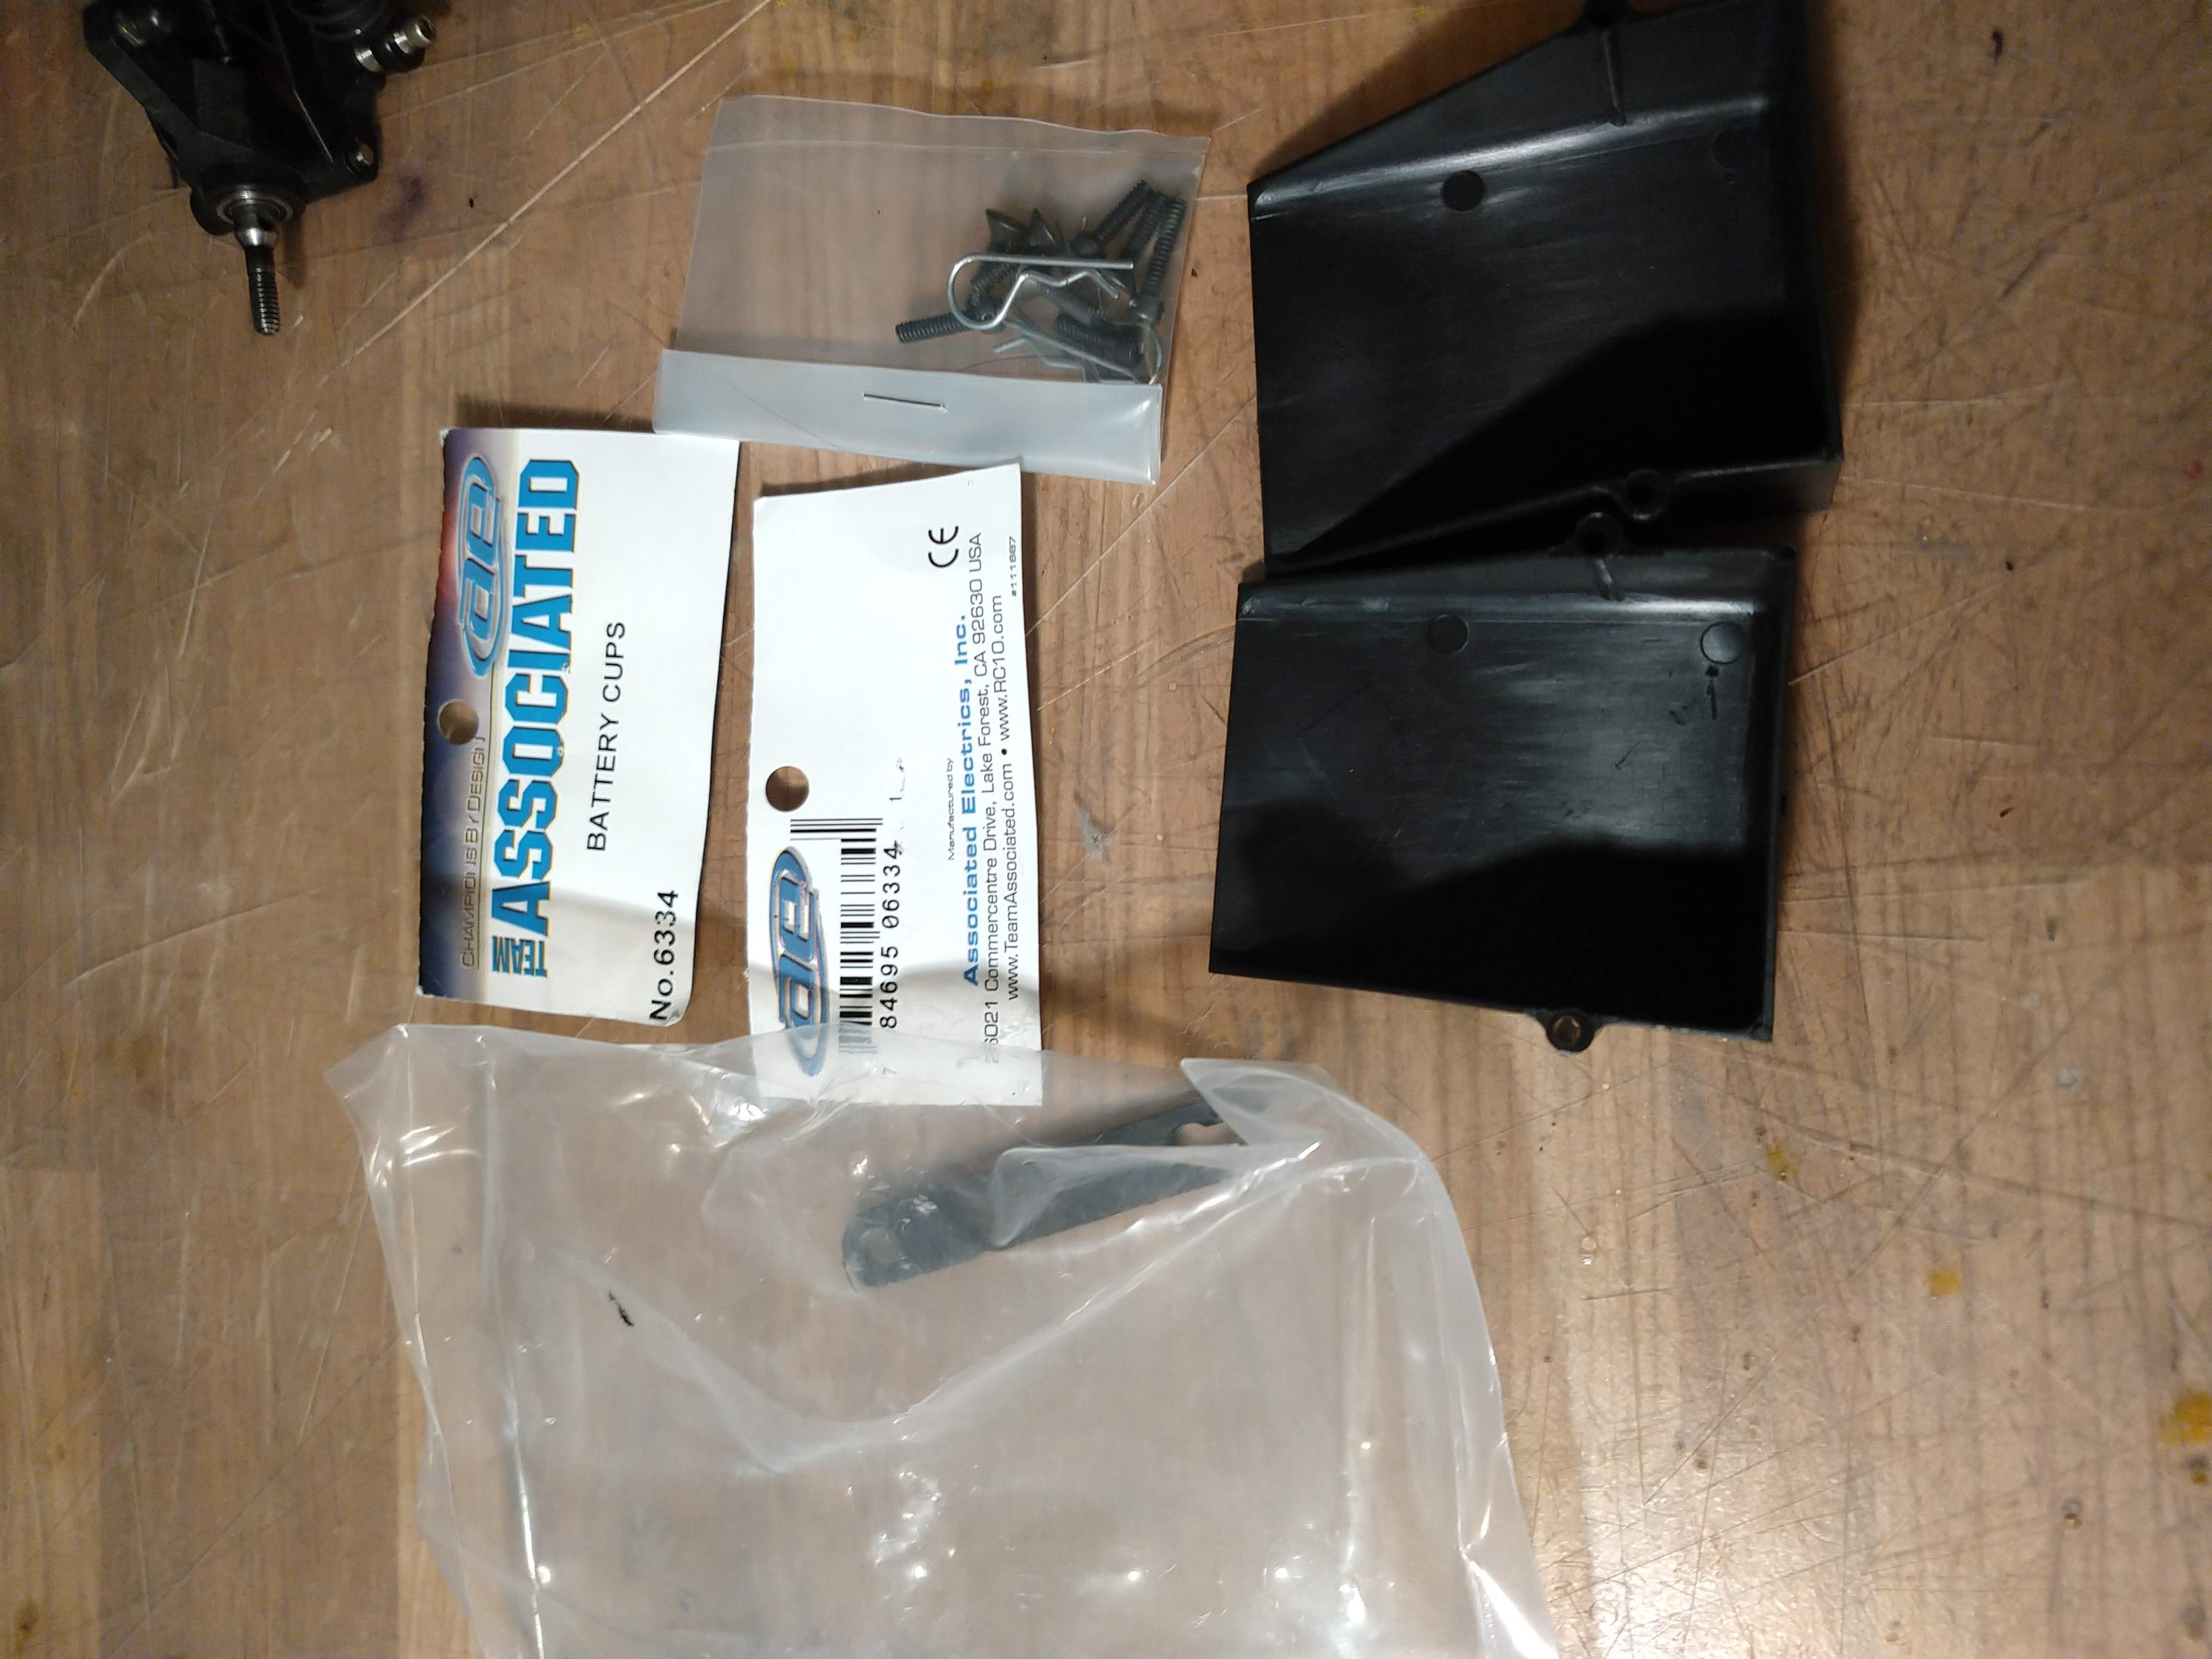
I have also just purchased another Worlds Car a few months ago, which was a hybrid of re-re and original parts... I will give it the neo-retro later on, and it had a perfect-looking CWF battery brace, which I stole for this build. The NiB ones I had kept will remain in the boxes for now
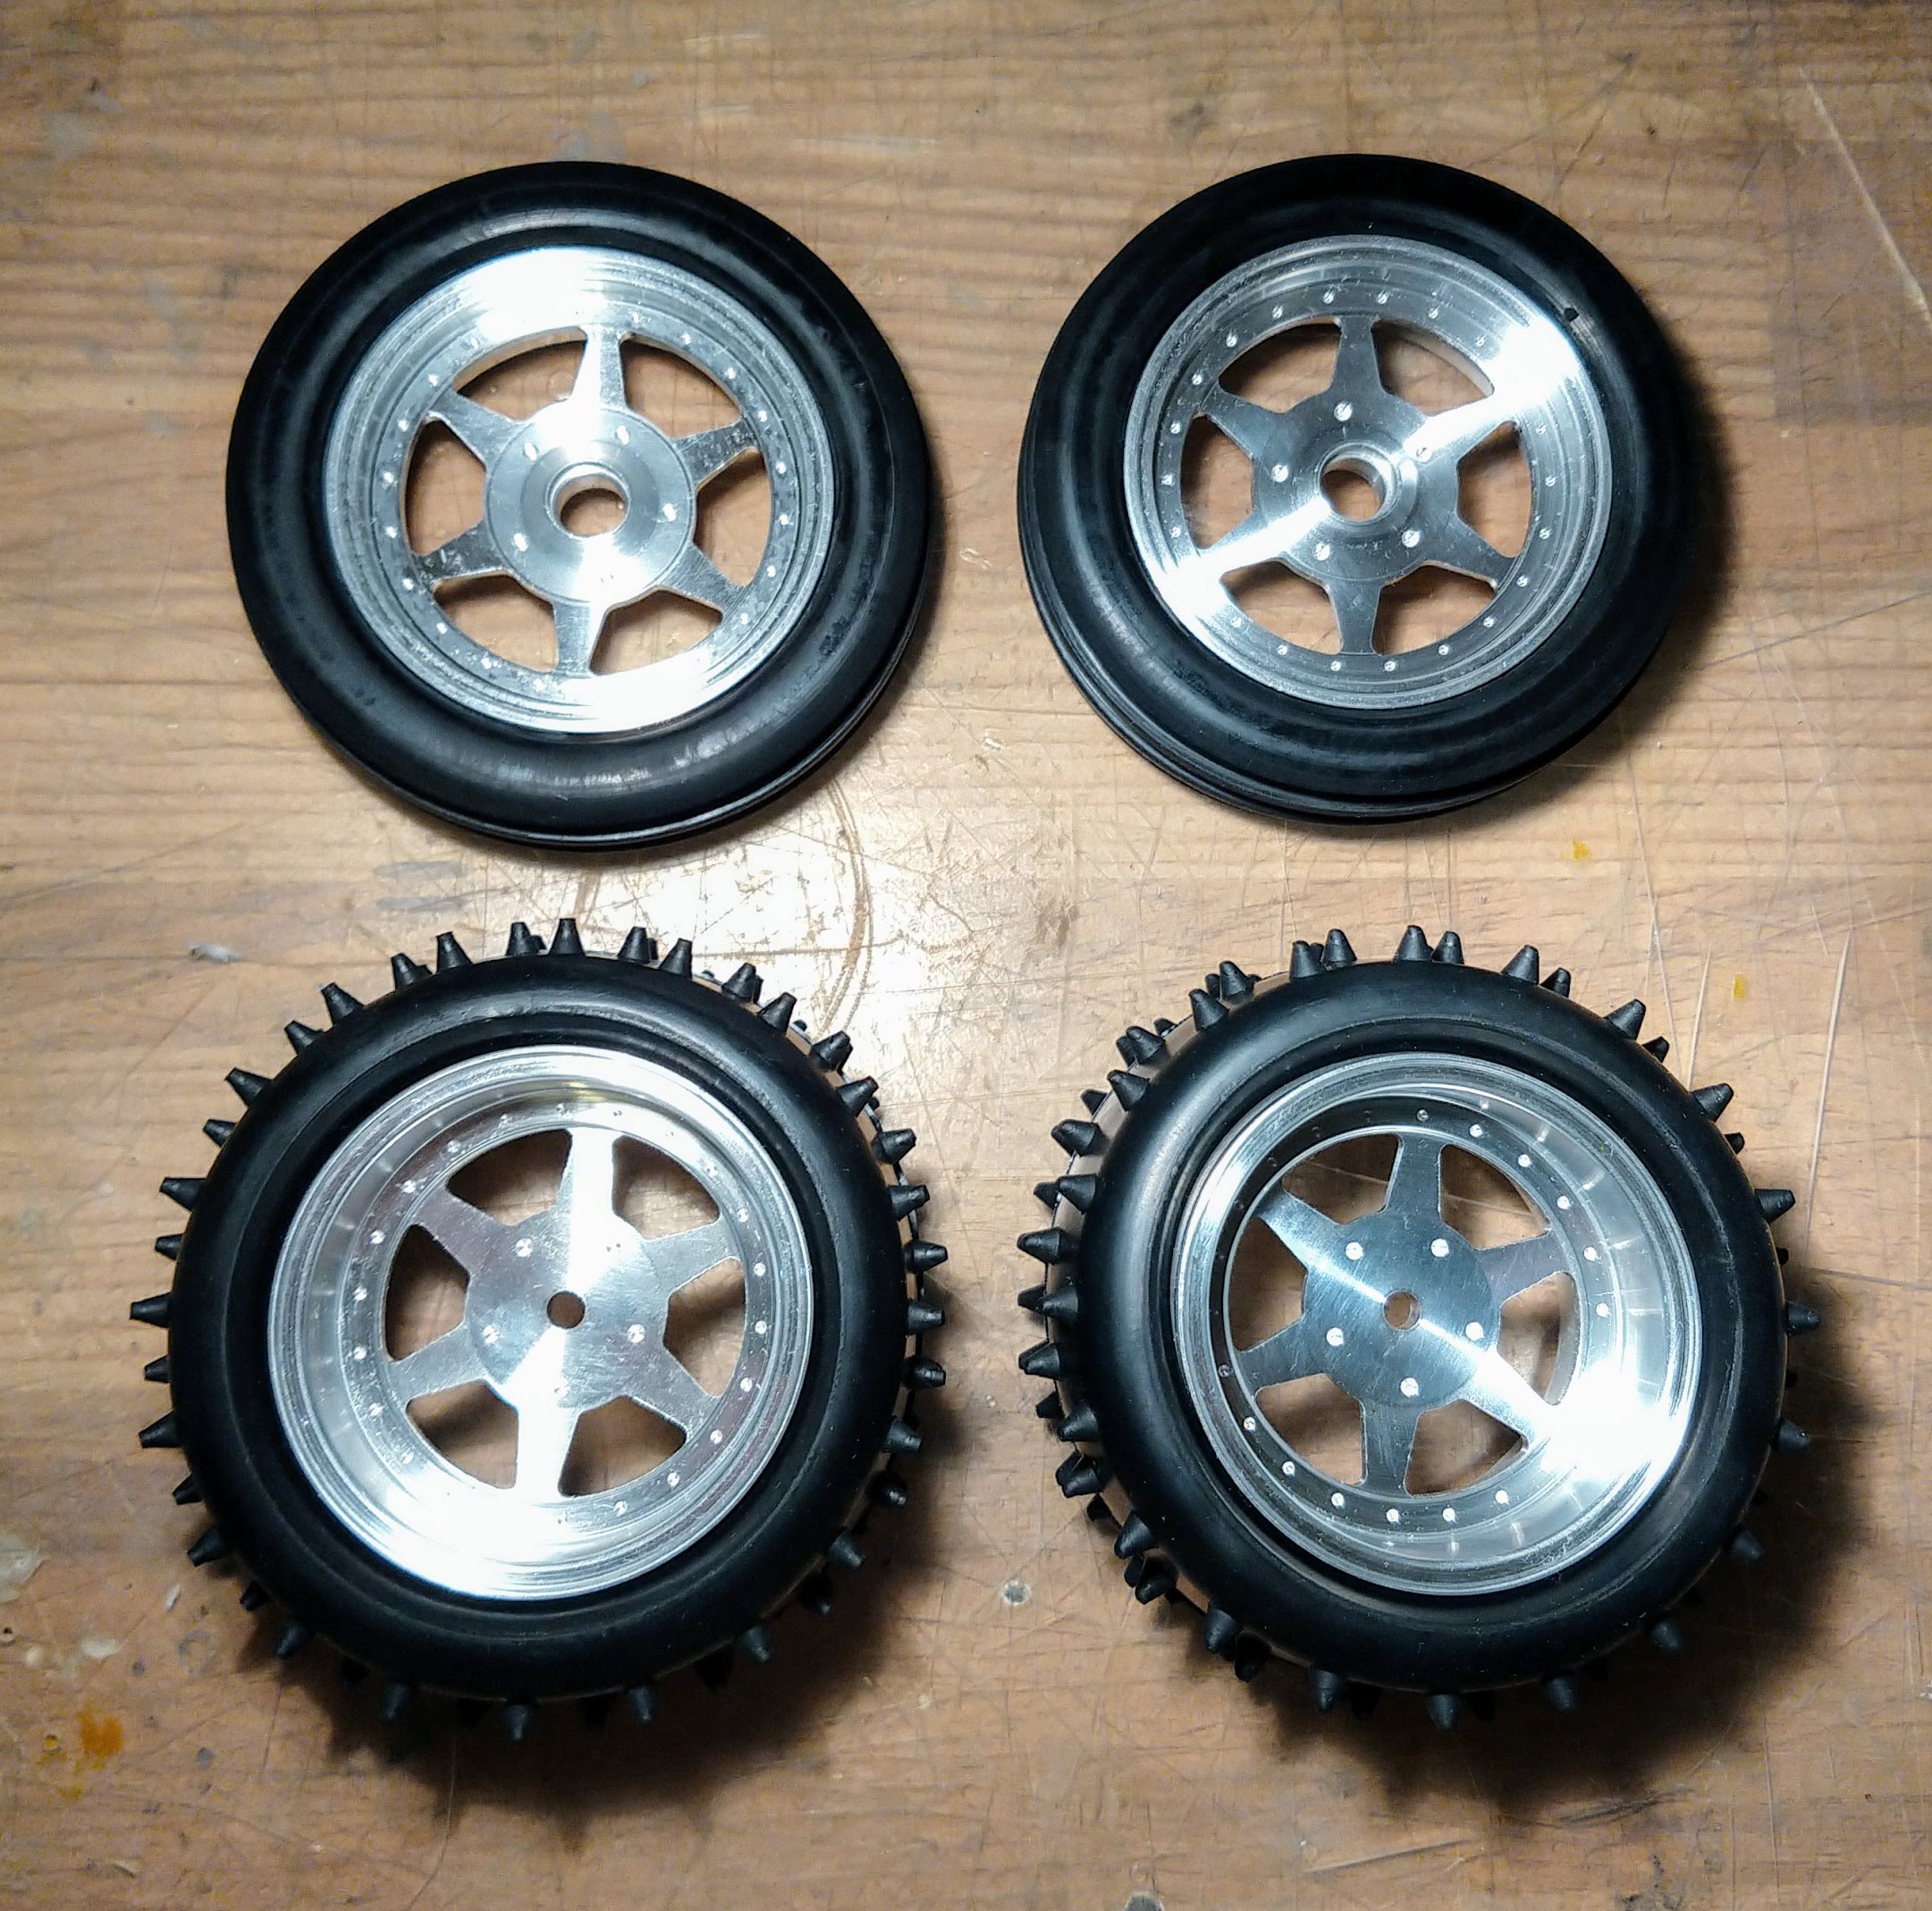
And the piece de resistance, the JPS Daytona's. I had to pull out a few tires out of my tire boxes, because these are the old school dimension, 2.0" Rears and 2.15" fronts. I knew I didn't have that many 2.0"R's but little did I know I had very few retro-looking front either I tried a few things from my inventory but all my NiB attemps failed
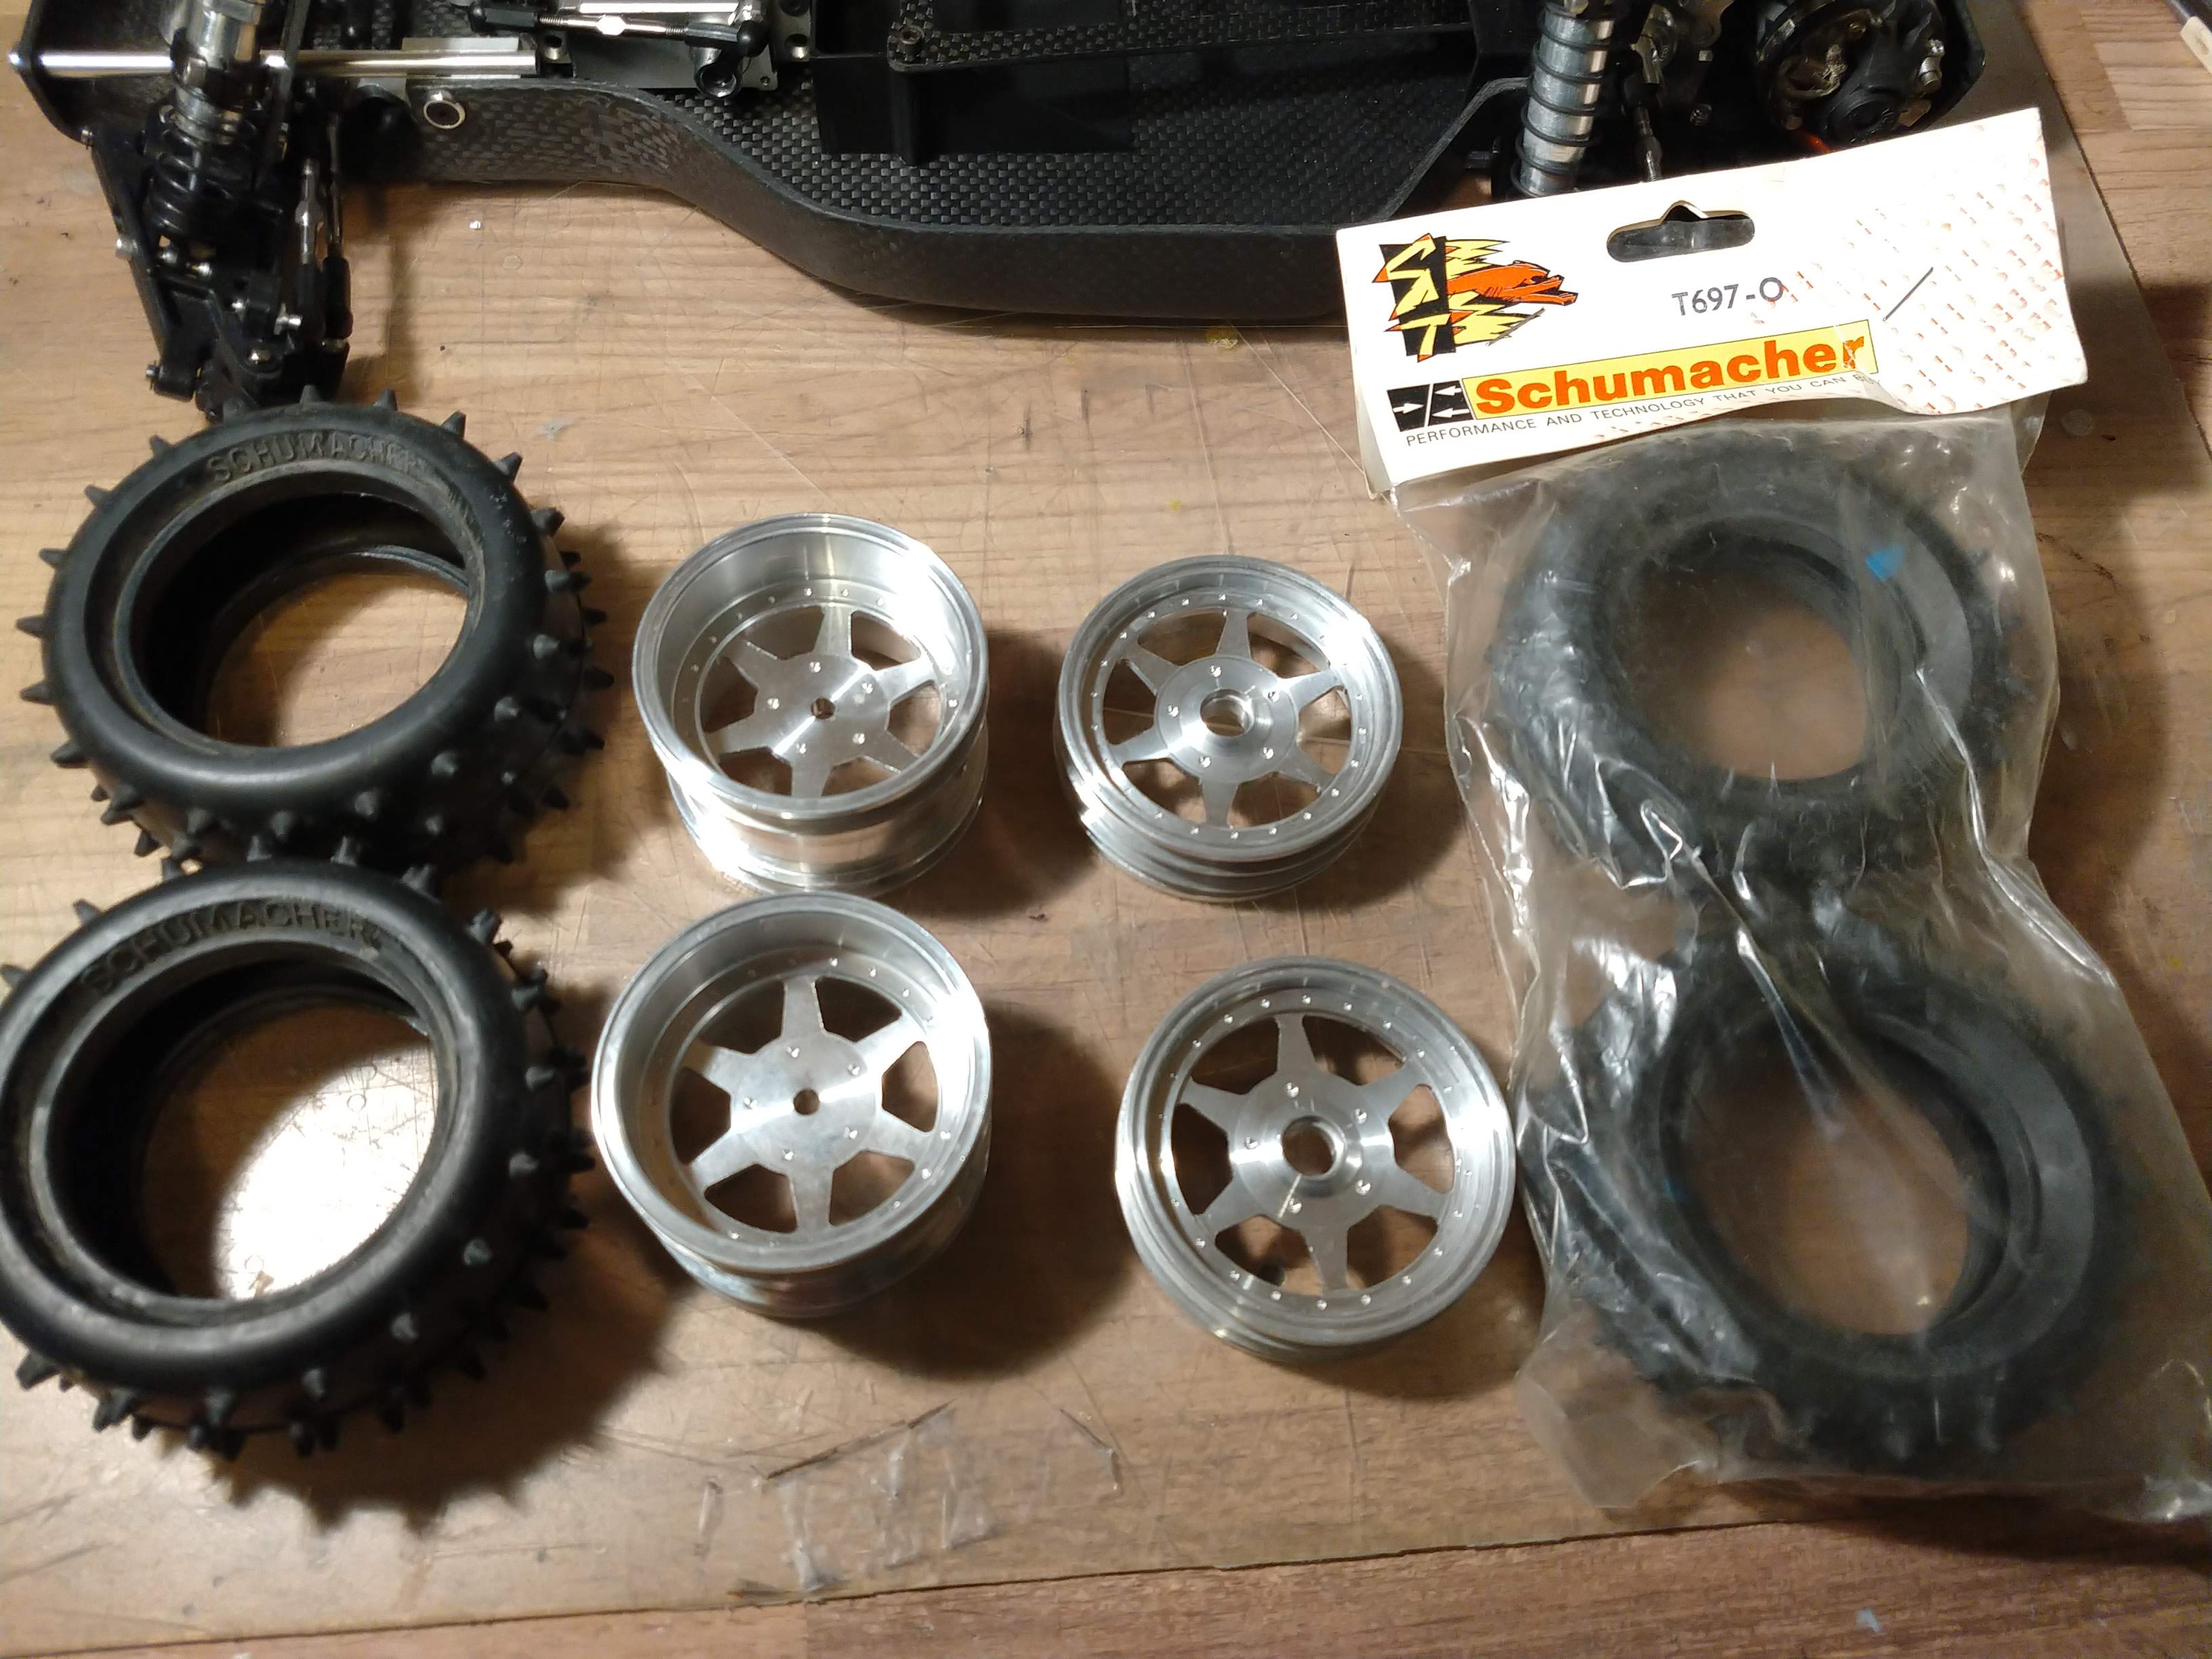
So I pulled out a set of gently run team car wheels, this was my best shot, not perfect but that'd do, not that the fronts get worn out that much anyway on a RM car running in the dirt from bitd
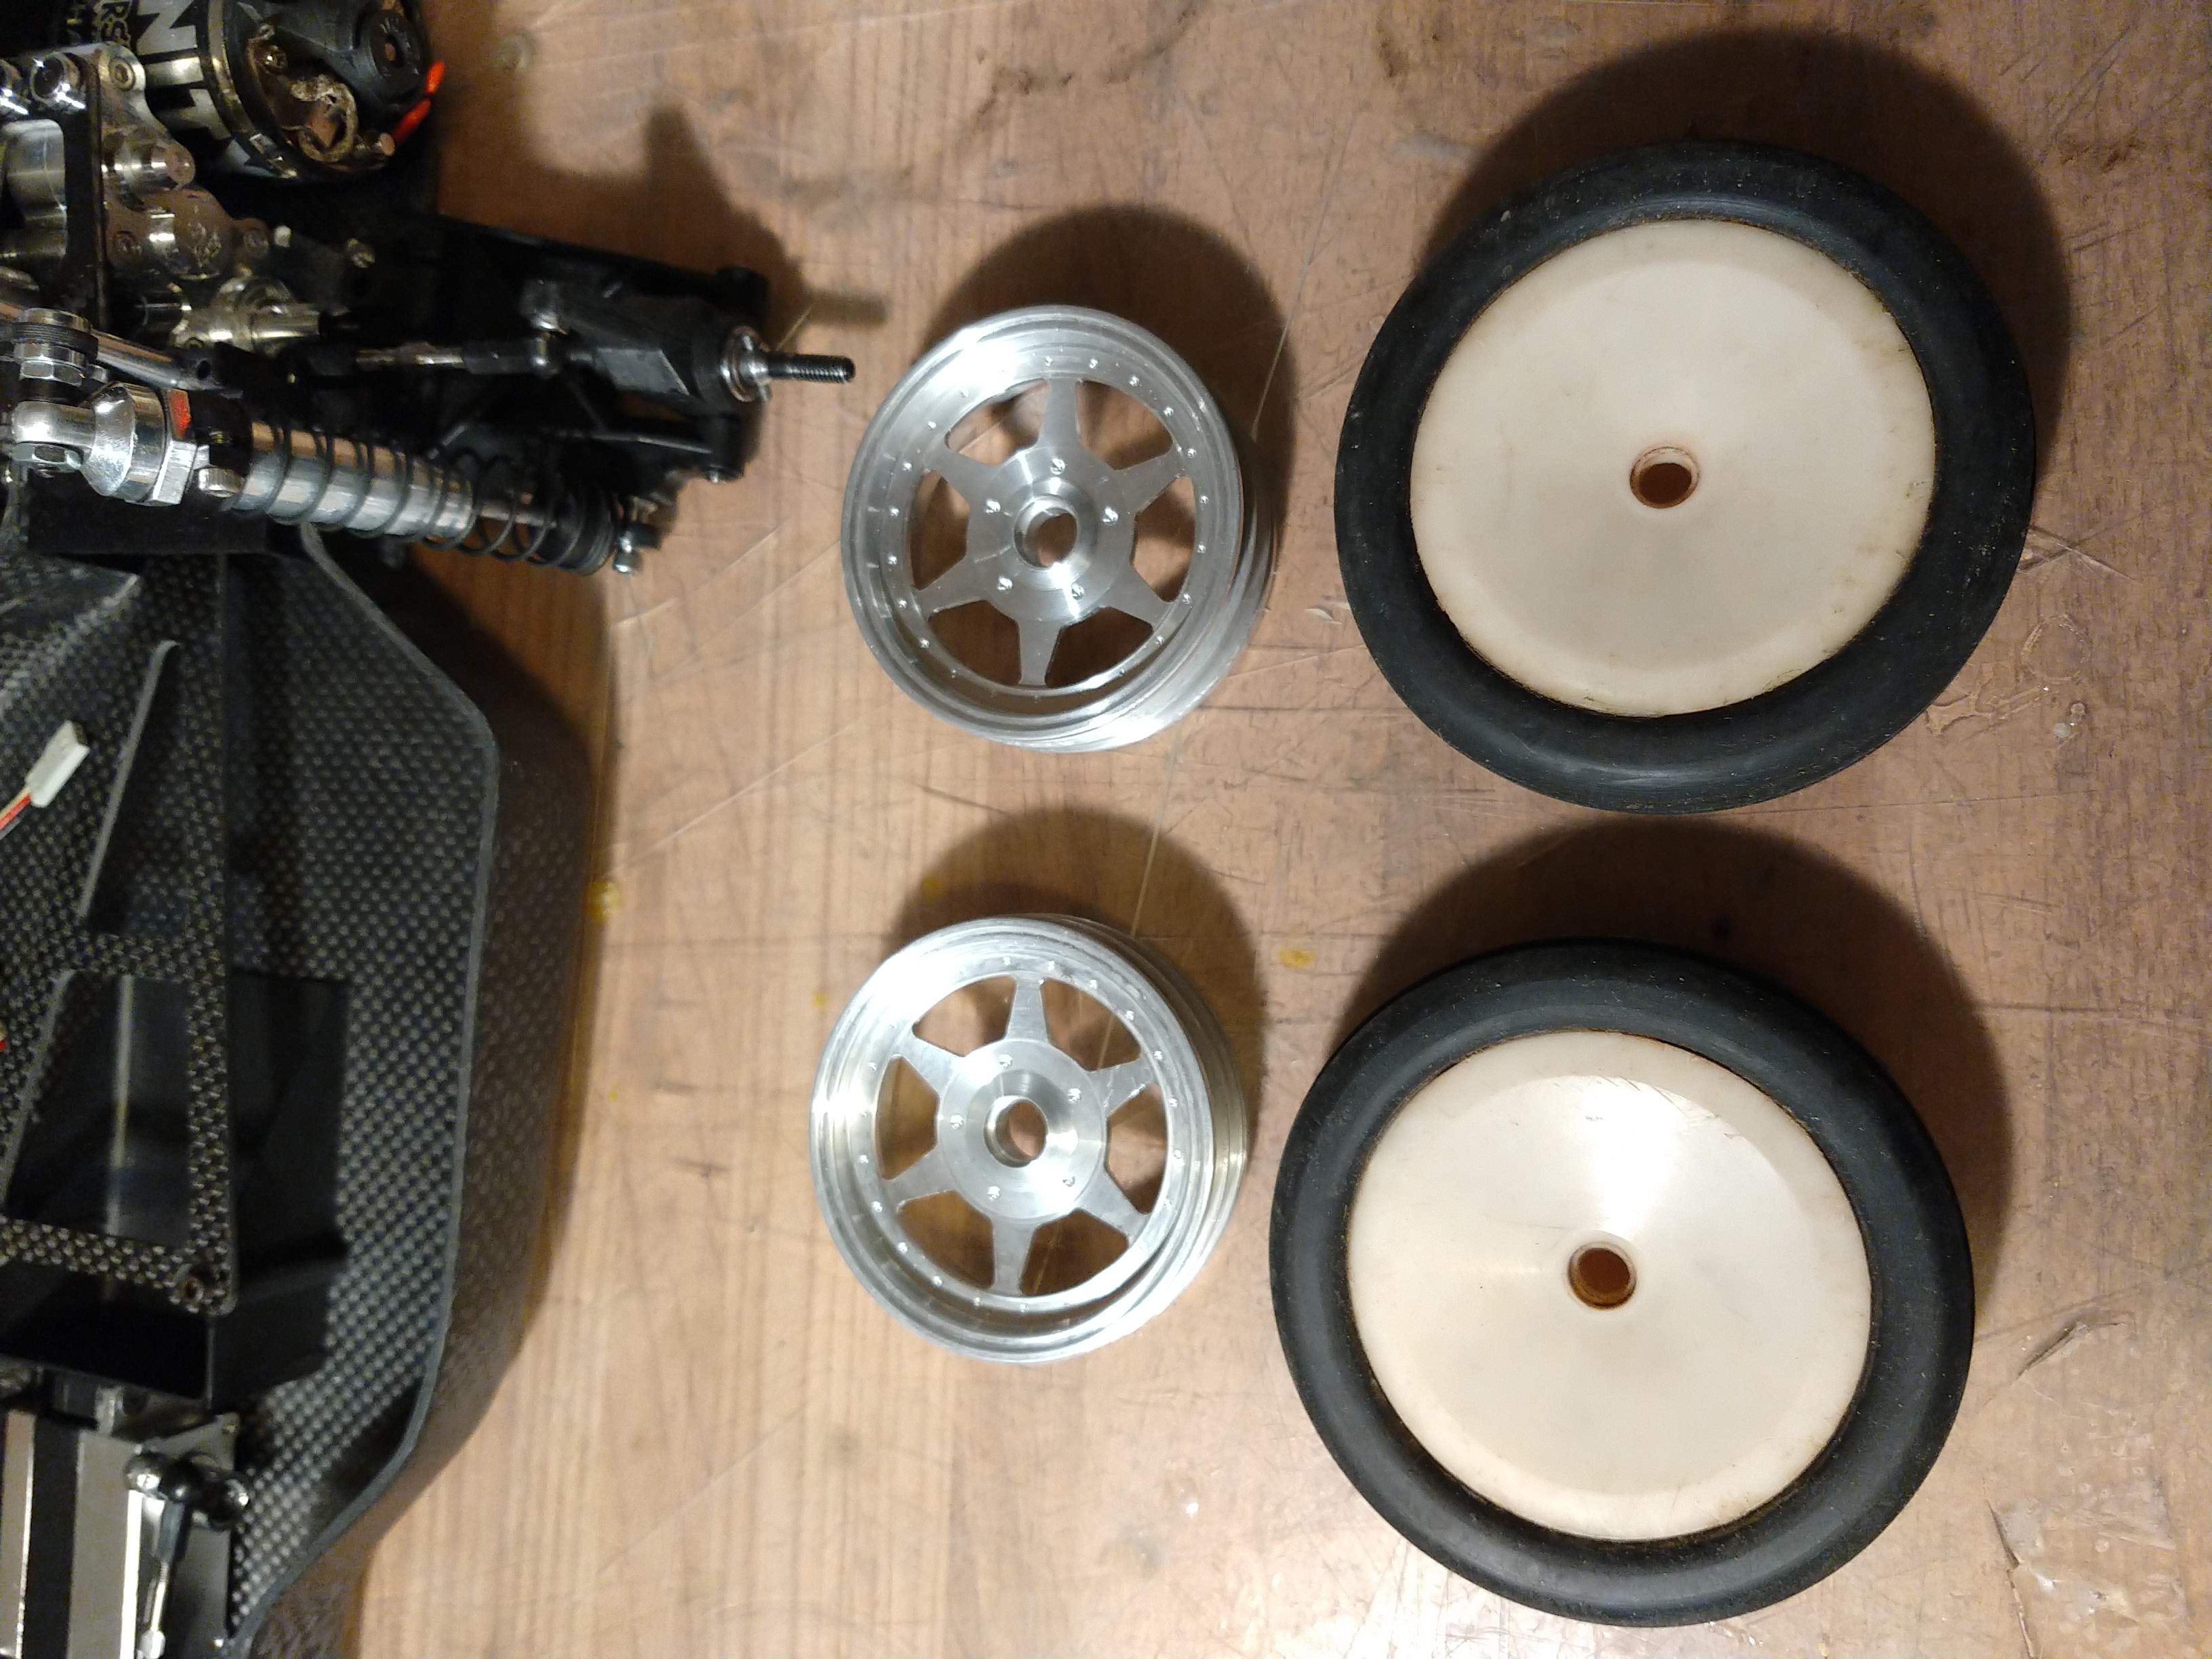
While this is all bathing in acetone fumes, I worked on the rear Schumacher Cat tires from the picture above. The process is always the same for me to clean up these old tires, dishwashing liquid + hot water and brush, WD40 and brush, Silicon spray and brush... the result usually looks pretty darn good (yes these are the same dirty tires shown on the first pic )
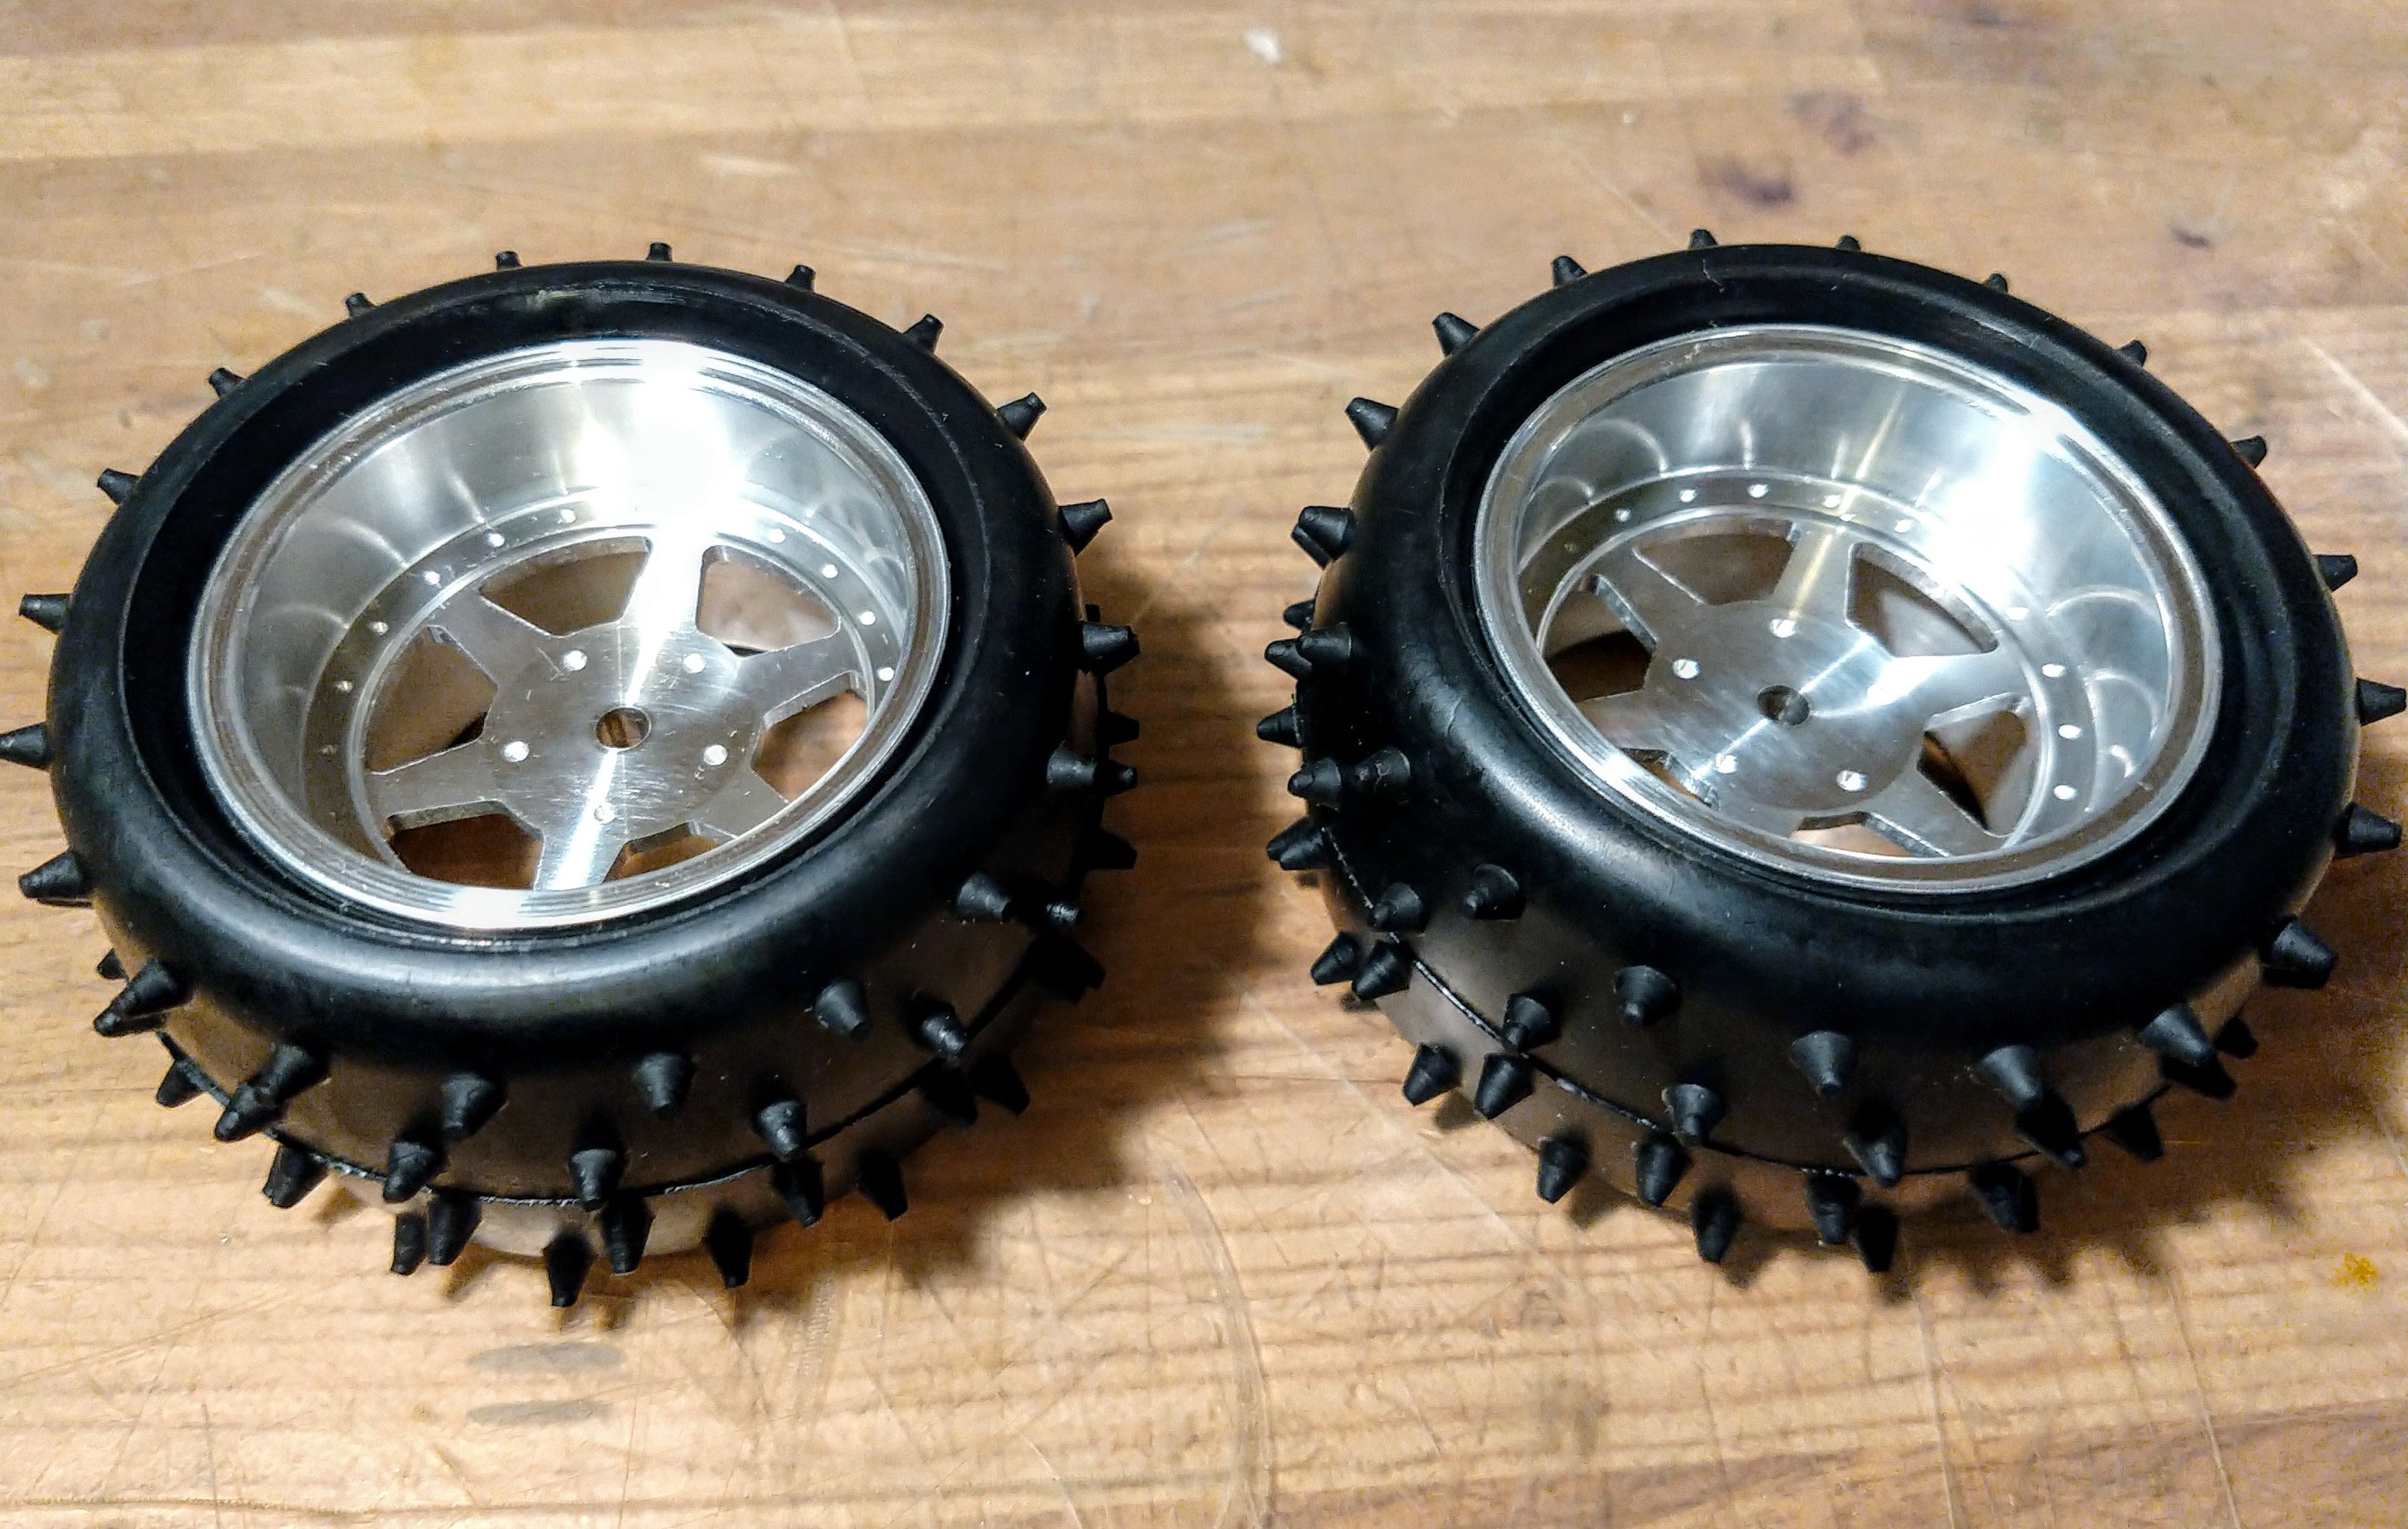
Once the fronts came unglued, they were also thoroughly cleaned and detailed, then put on the wheels. I think this is as lovely as it gets
I have also just purchased another Worlds Car a few months ago, which was a hybrid of re-re and original parts... I will give it the neo-retro later on, and it had a perfect-looking CWF battery brace, which I stole for this build. The NiB ones I had kept will remain in the boxes for now
And the piece de resistance, the JPS Daytona's. I had to pull out a few tires out of my tire boxes, because these are the old school dimension, 2.0" Rears and 2.15" fronts. I knew I didn't have that many 2.0"R's but little did I know I had very few retro-looking front either
So I pulled out a set of gently run team car wheels, this was my best shot, not perfect but that'd do, not that the fronts get worn out that much anyway on a RM car running in the dirt from bitd
While this is all bathing in acetone fumes, I worked on the rear Schumacher Cat tires from the picture above. The process is always the same for me to clean up these old tires, dishwashing liquid + hot water and brush, WD40 and brush, Silicon spray and brush... the result usually looks pretty darn good (yes these are the same dirty tires shown on the first pic
Once the fronts came unglued, they were also thoroughly cleaned and detailed, then put on the wheels. I think this is as lovely as it gets
AE RC10 - Made In The Eighties, Loved By The Ladies.
Blue Was Better - now, Blue Is Bankrupt.
Facebook affiliate program manager: "They go out and find the morons for me".
Life is short. Waste it wisely.
Blue Was Better - now, Blue Is Bankrupt.
Facebook affiliate program manager: "They go out and find the morons for me".
Life is short. Waste it wisely.
-
Lonestar
- Approved Member
- Posts: 4270
- Joined: Wed Dec 12, 2007 5:17 am
- Location: Switzerland, yannow, in Europe (or almost)
- Has thanked: 623 times
- Been thanked: 170 times
Re: We're getting there (May2020)... CWF (tub) and Shiny RC10
A bit more progress - a lot of shimming attempts were needed to fit the rear wheels, I 'm wondering if maybe one the UJ's I have on the car might not be aftermarket, as the pins on the diff outdrive side are a tad longer than the other...
Anyway, in the end, I ended up using flanged bearings on the inside only, the outside has a normal bearing to allow the UJ's to not jump off the diff Again, for shelf duties, it is perfectly fine. There is still one shim on the outside between the hub and the pin no matter what. It takes a firm hand to slide the rims on the axles once this is done - the alloy-on-alloy fit is tight
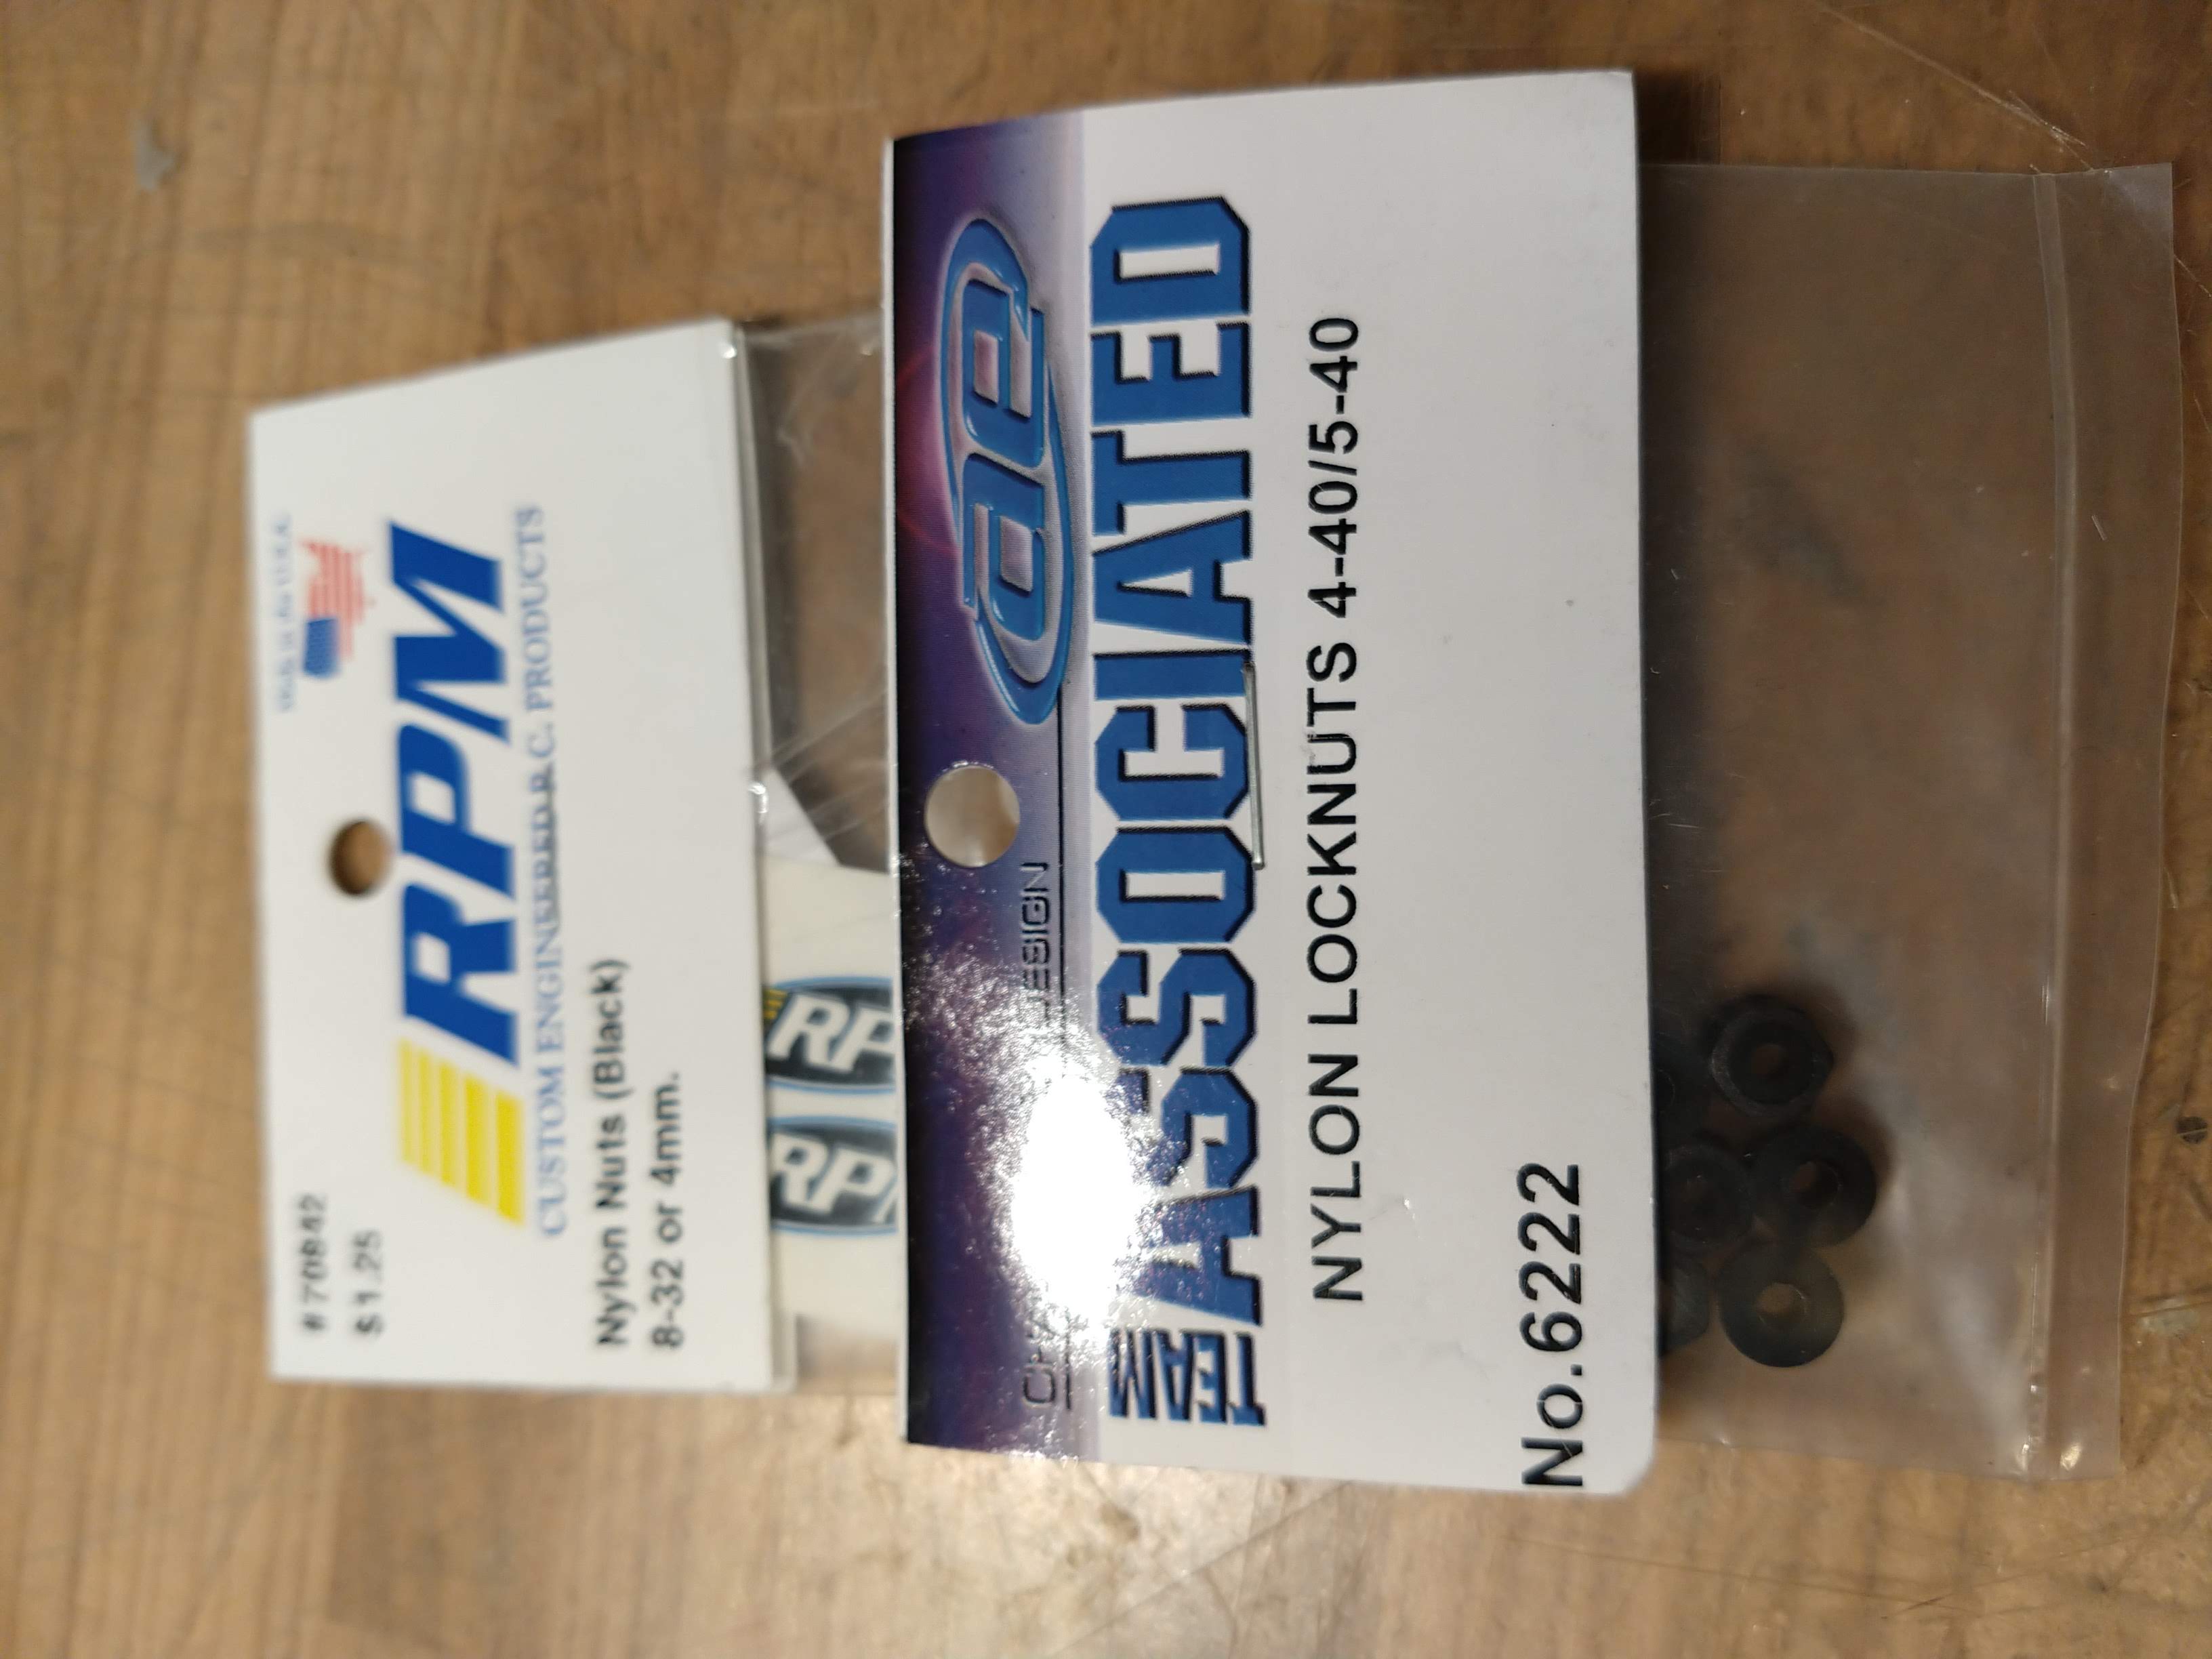
I wanted to not risk scratching the wheels with alloy nuts, and I had a few black nylon ones left that do the job perfectly, and will nicely contrast with the wheel itself.
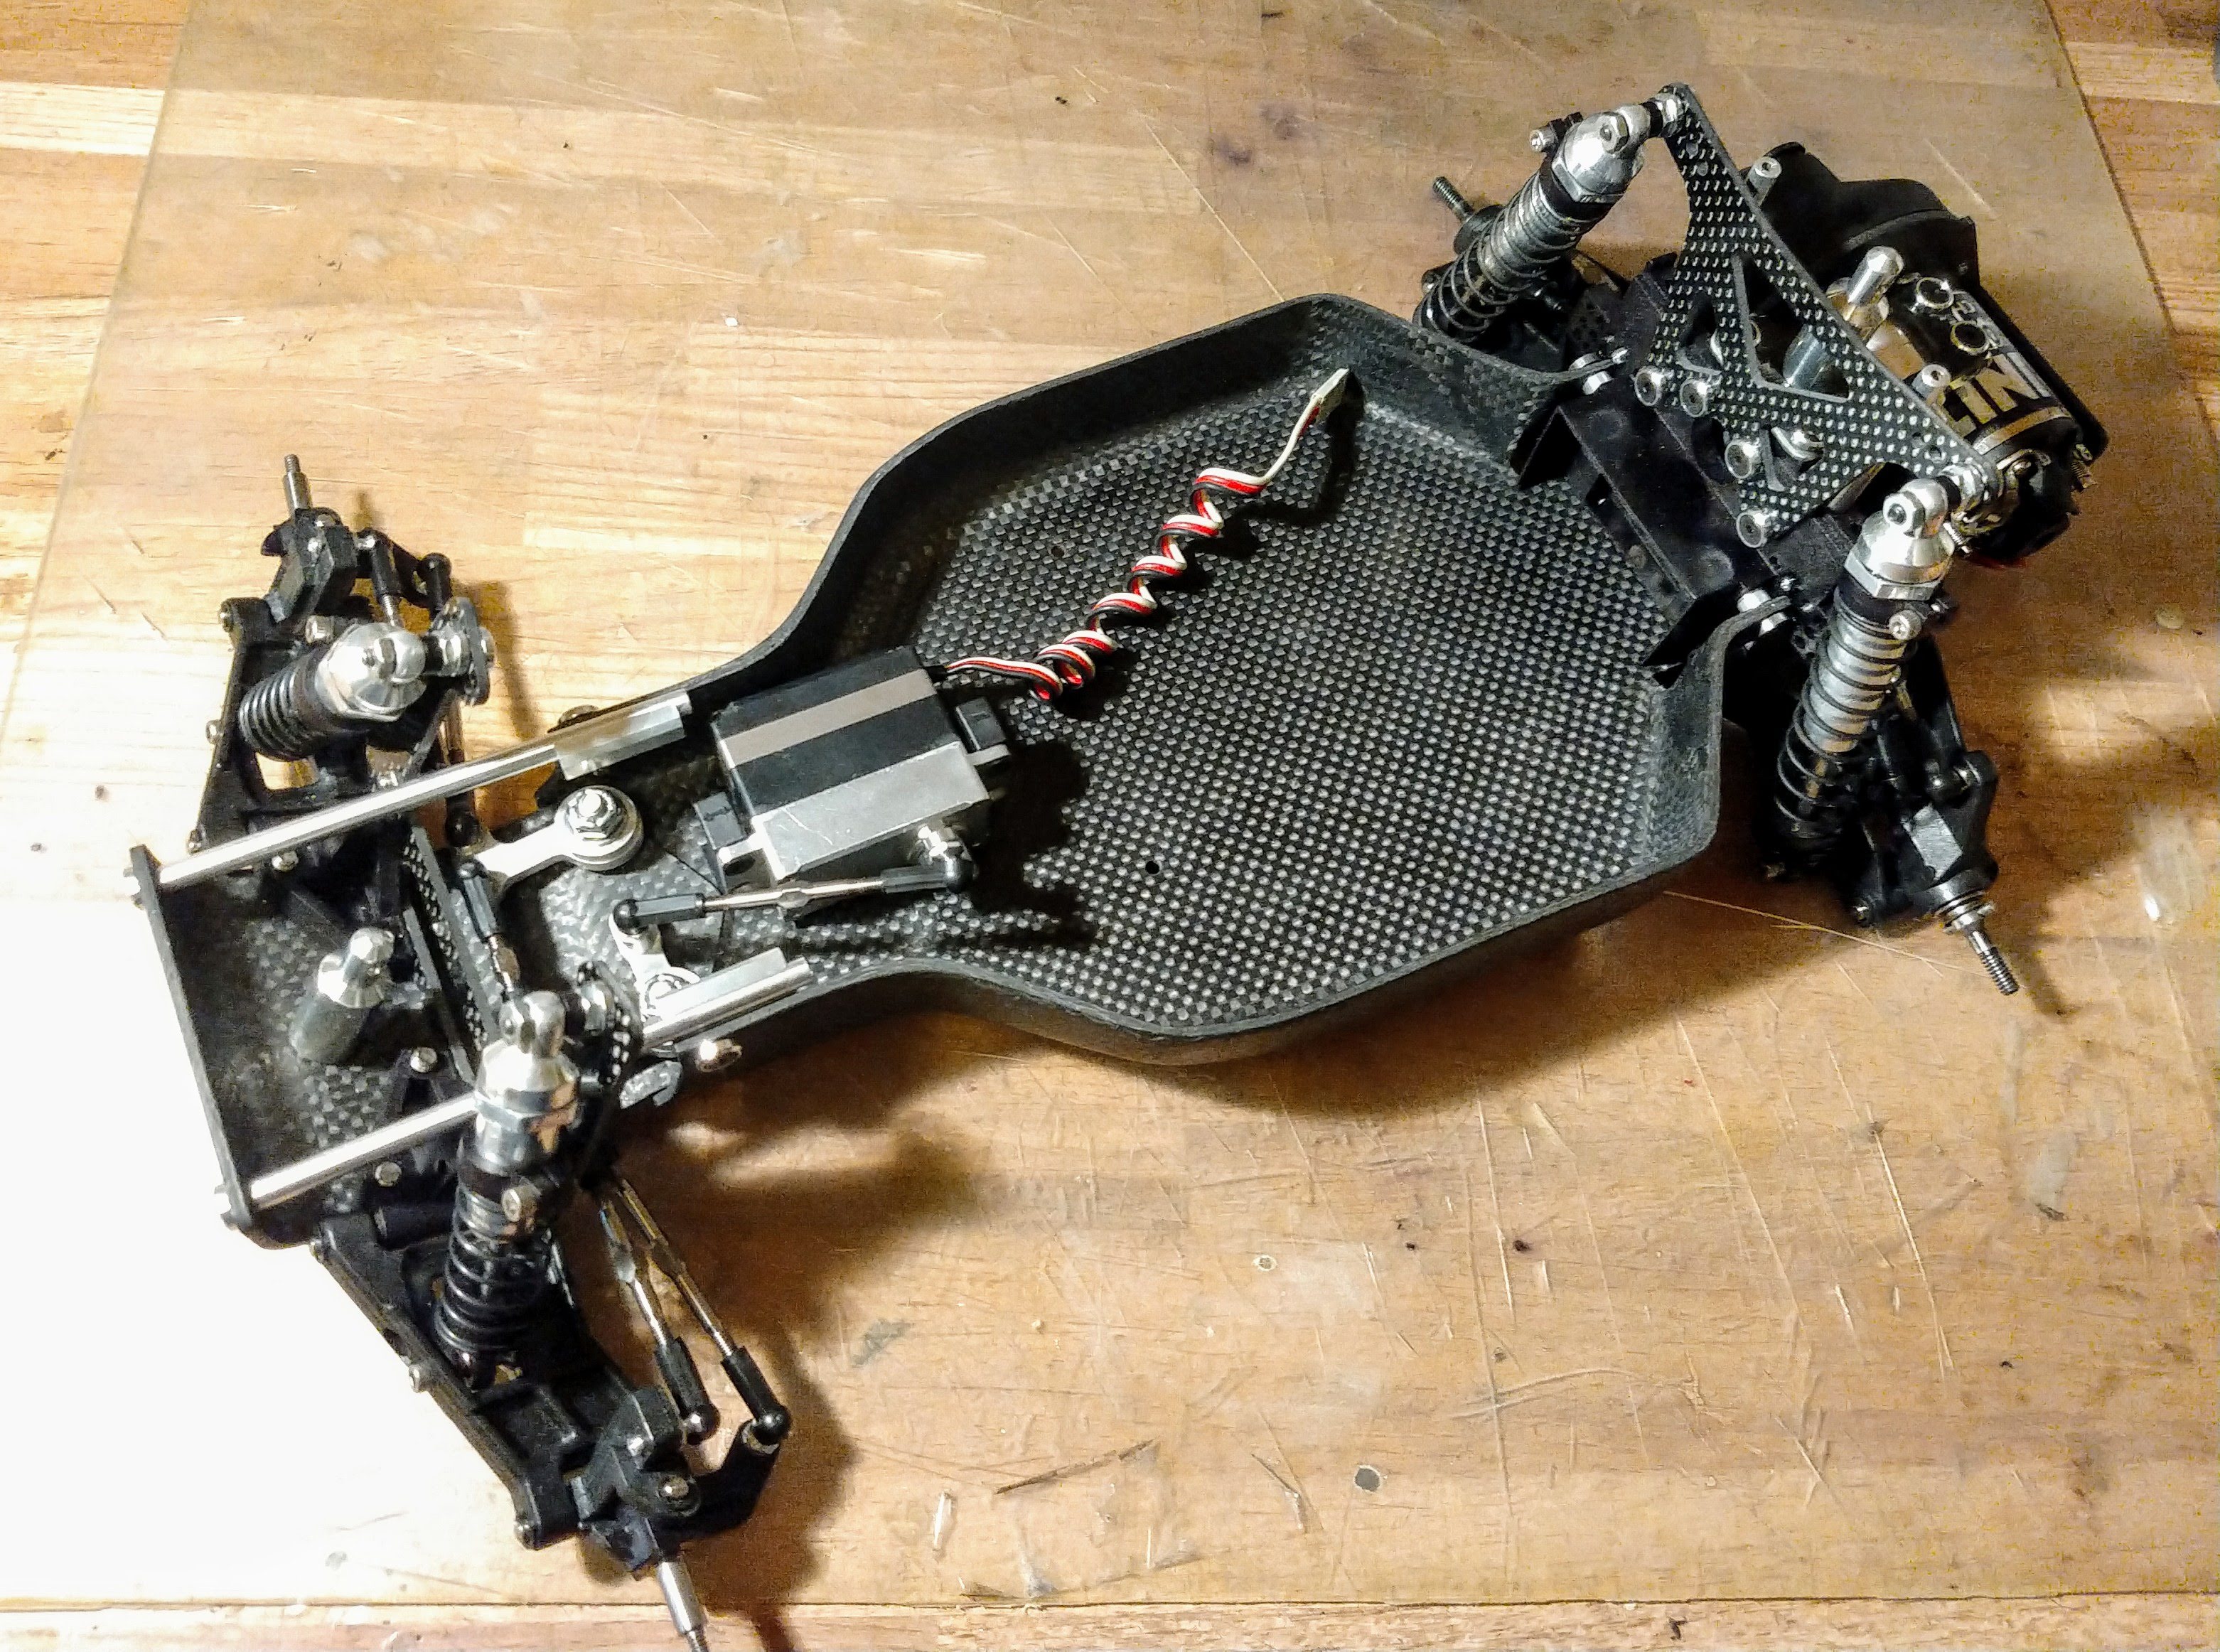
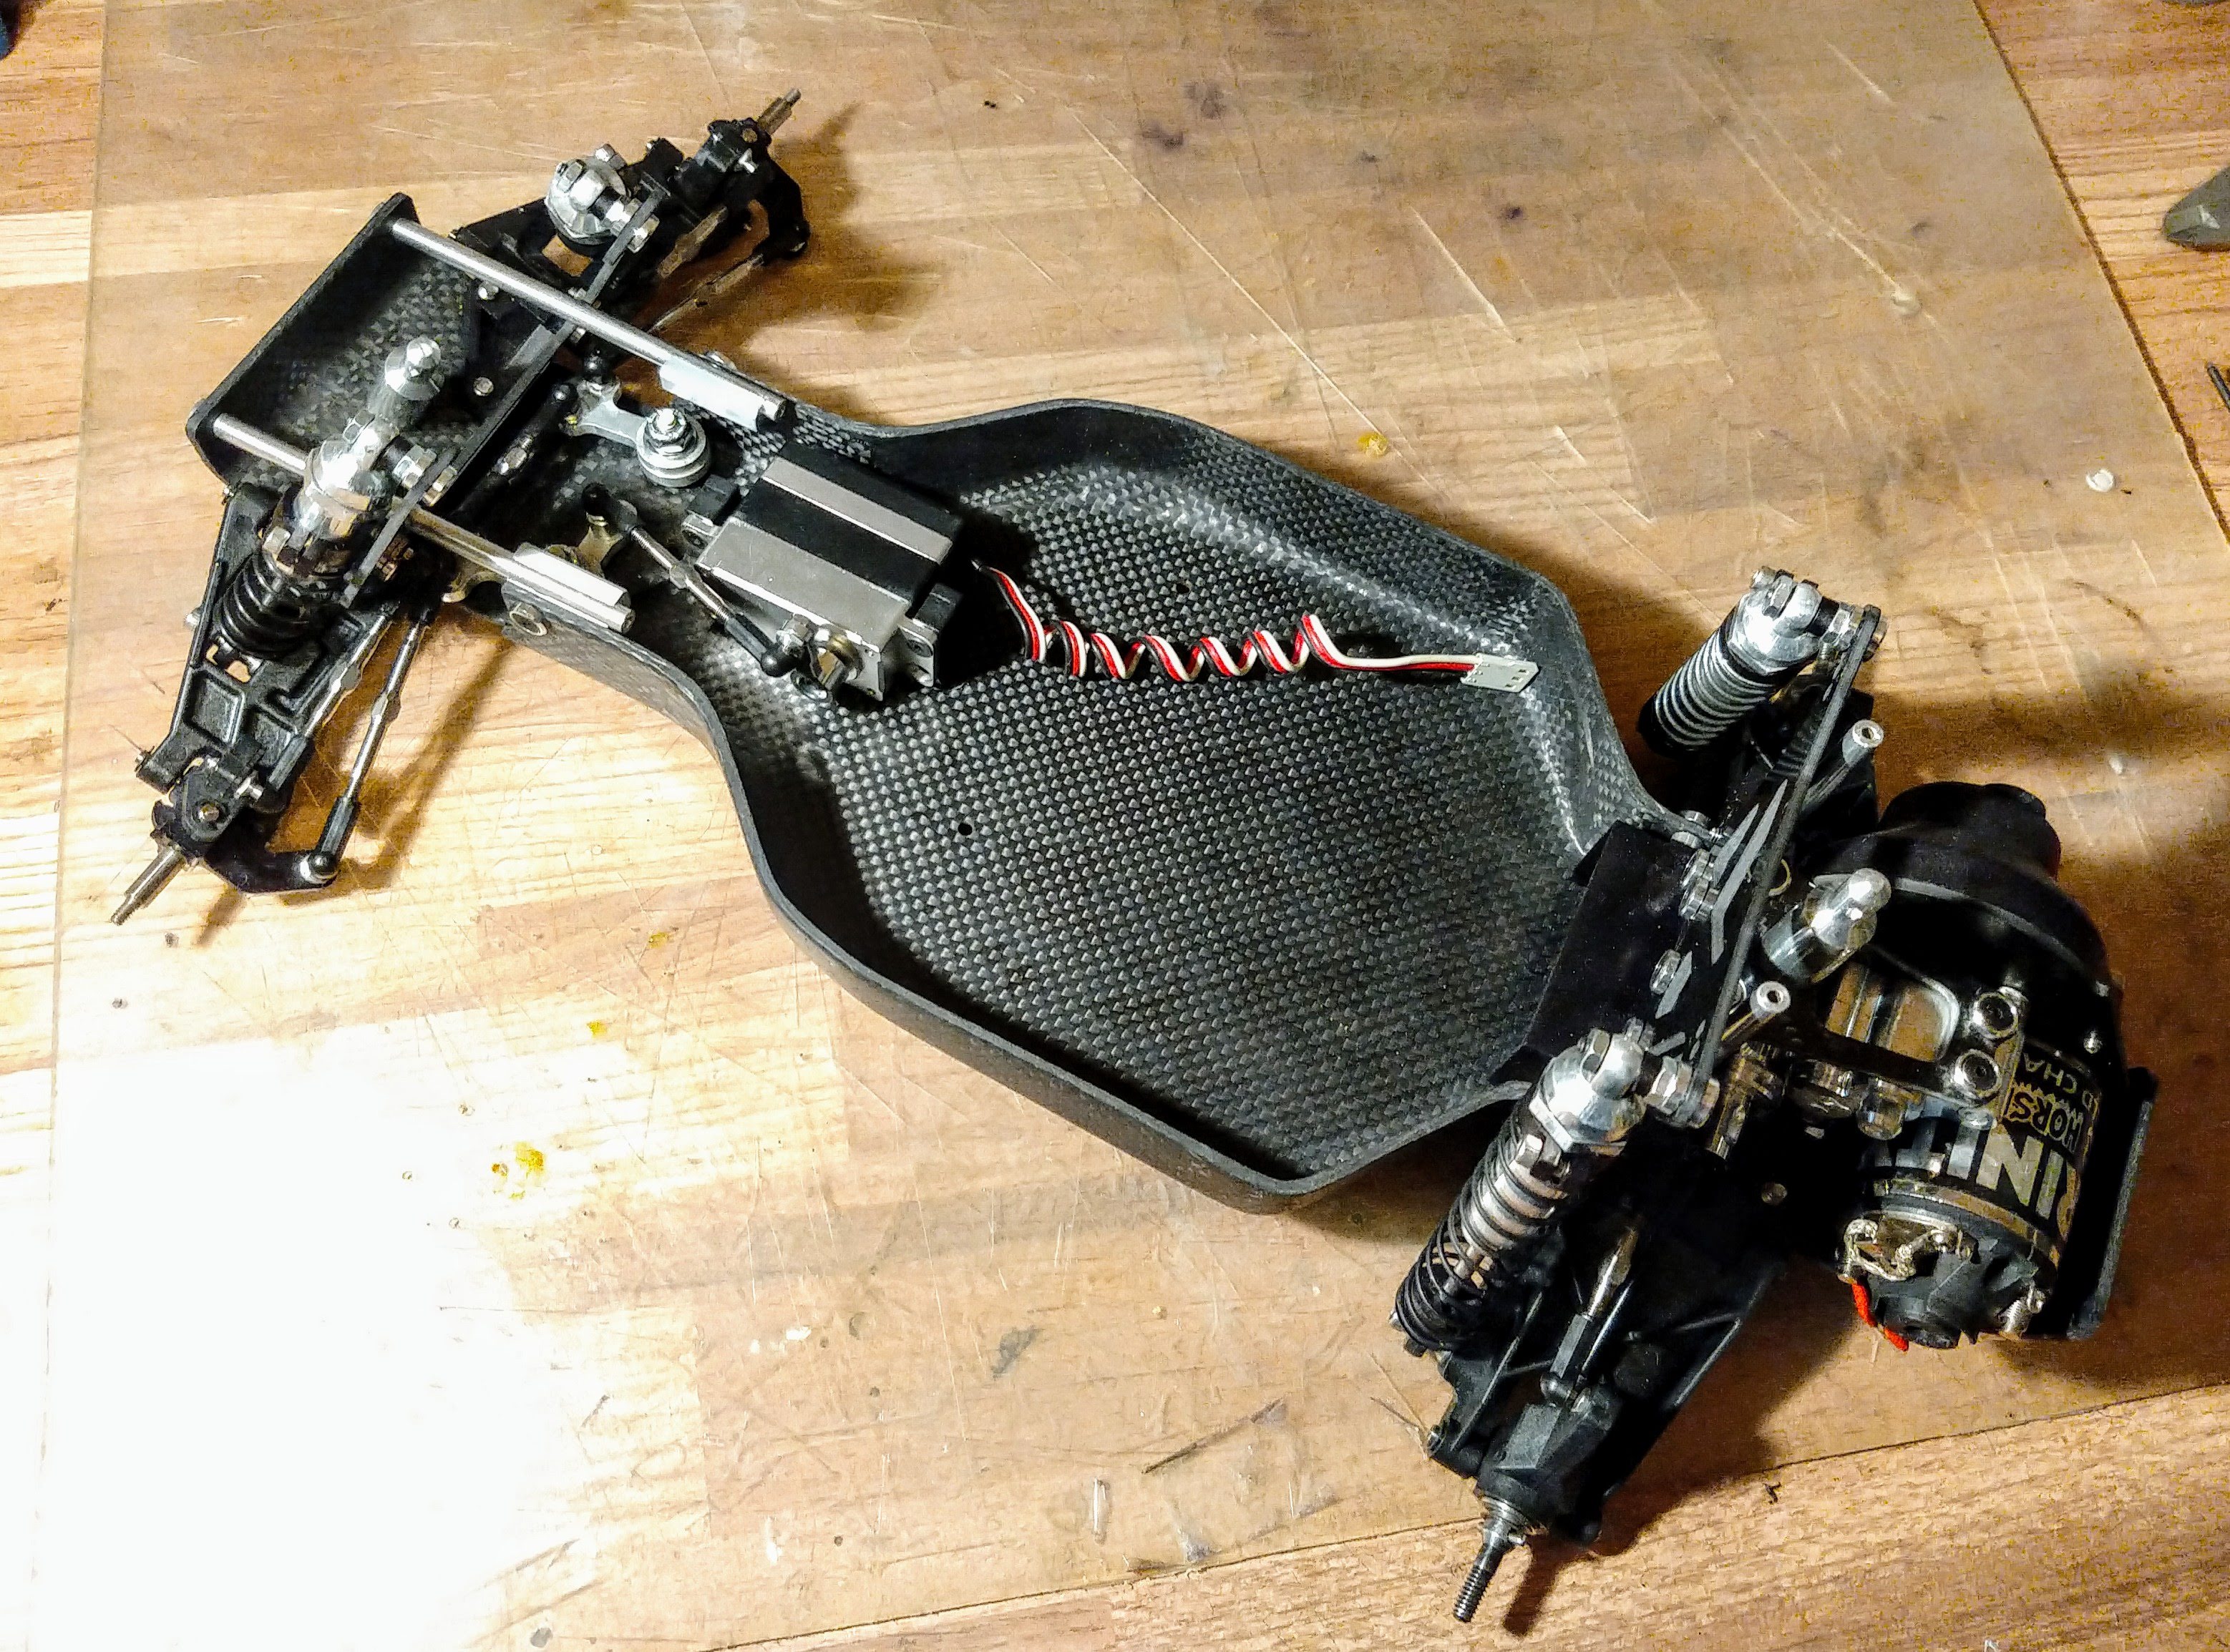
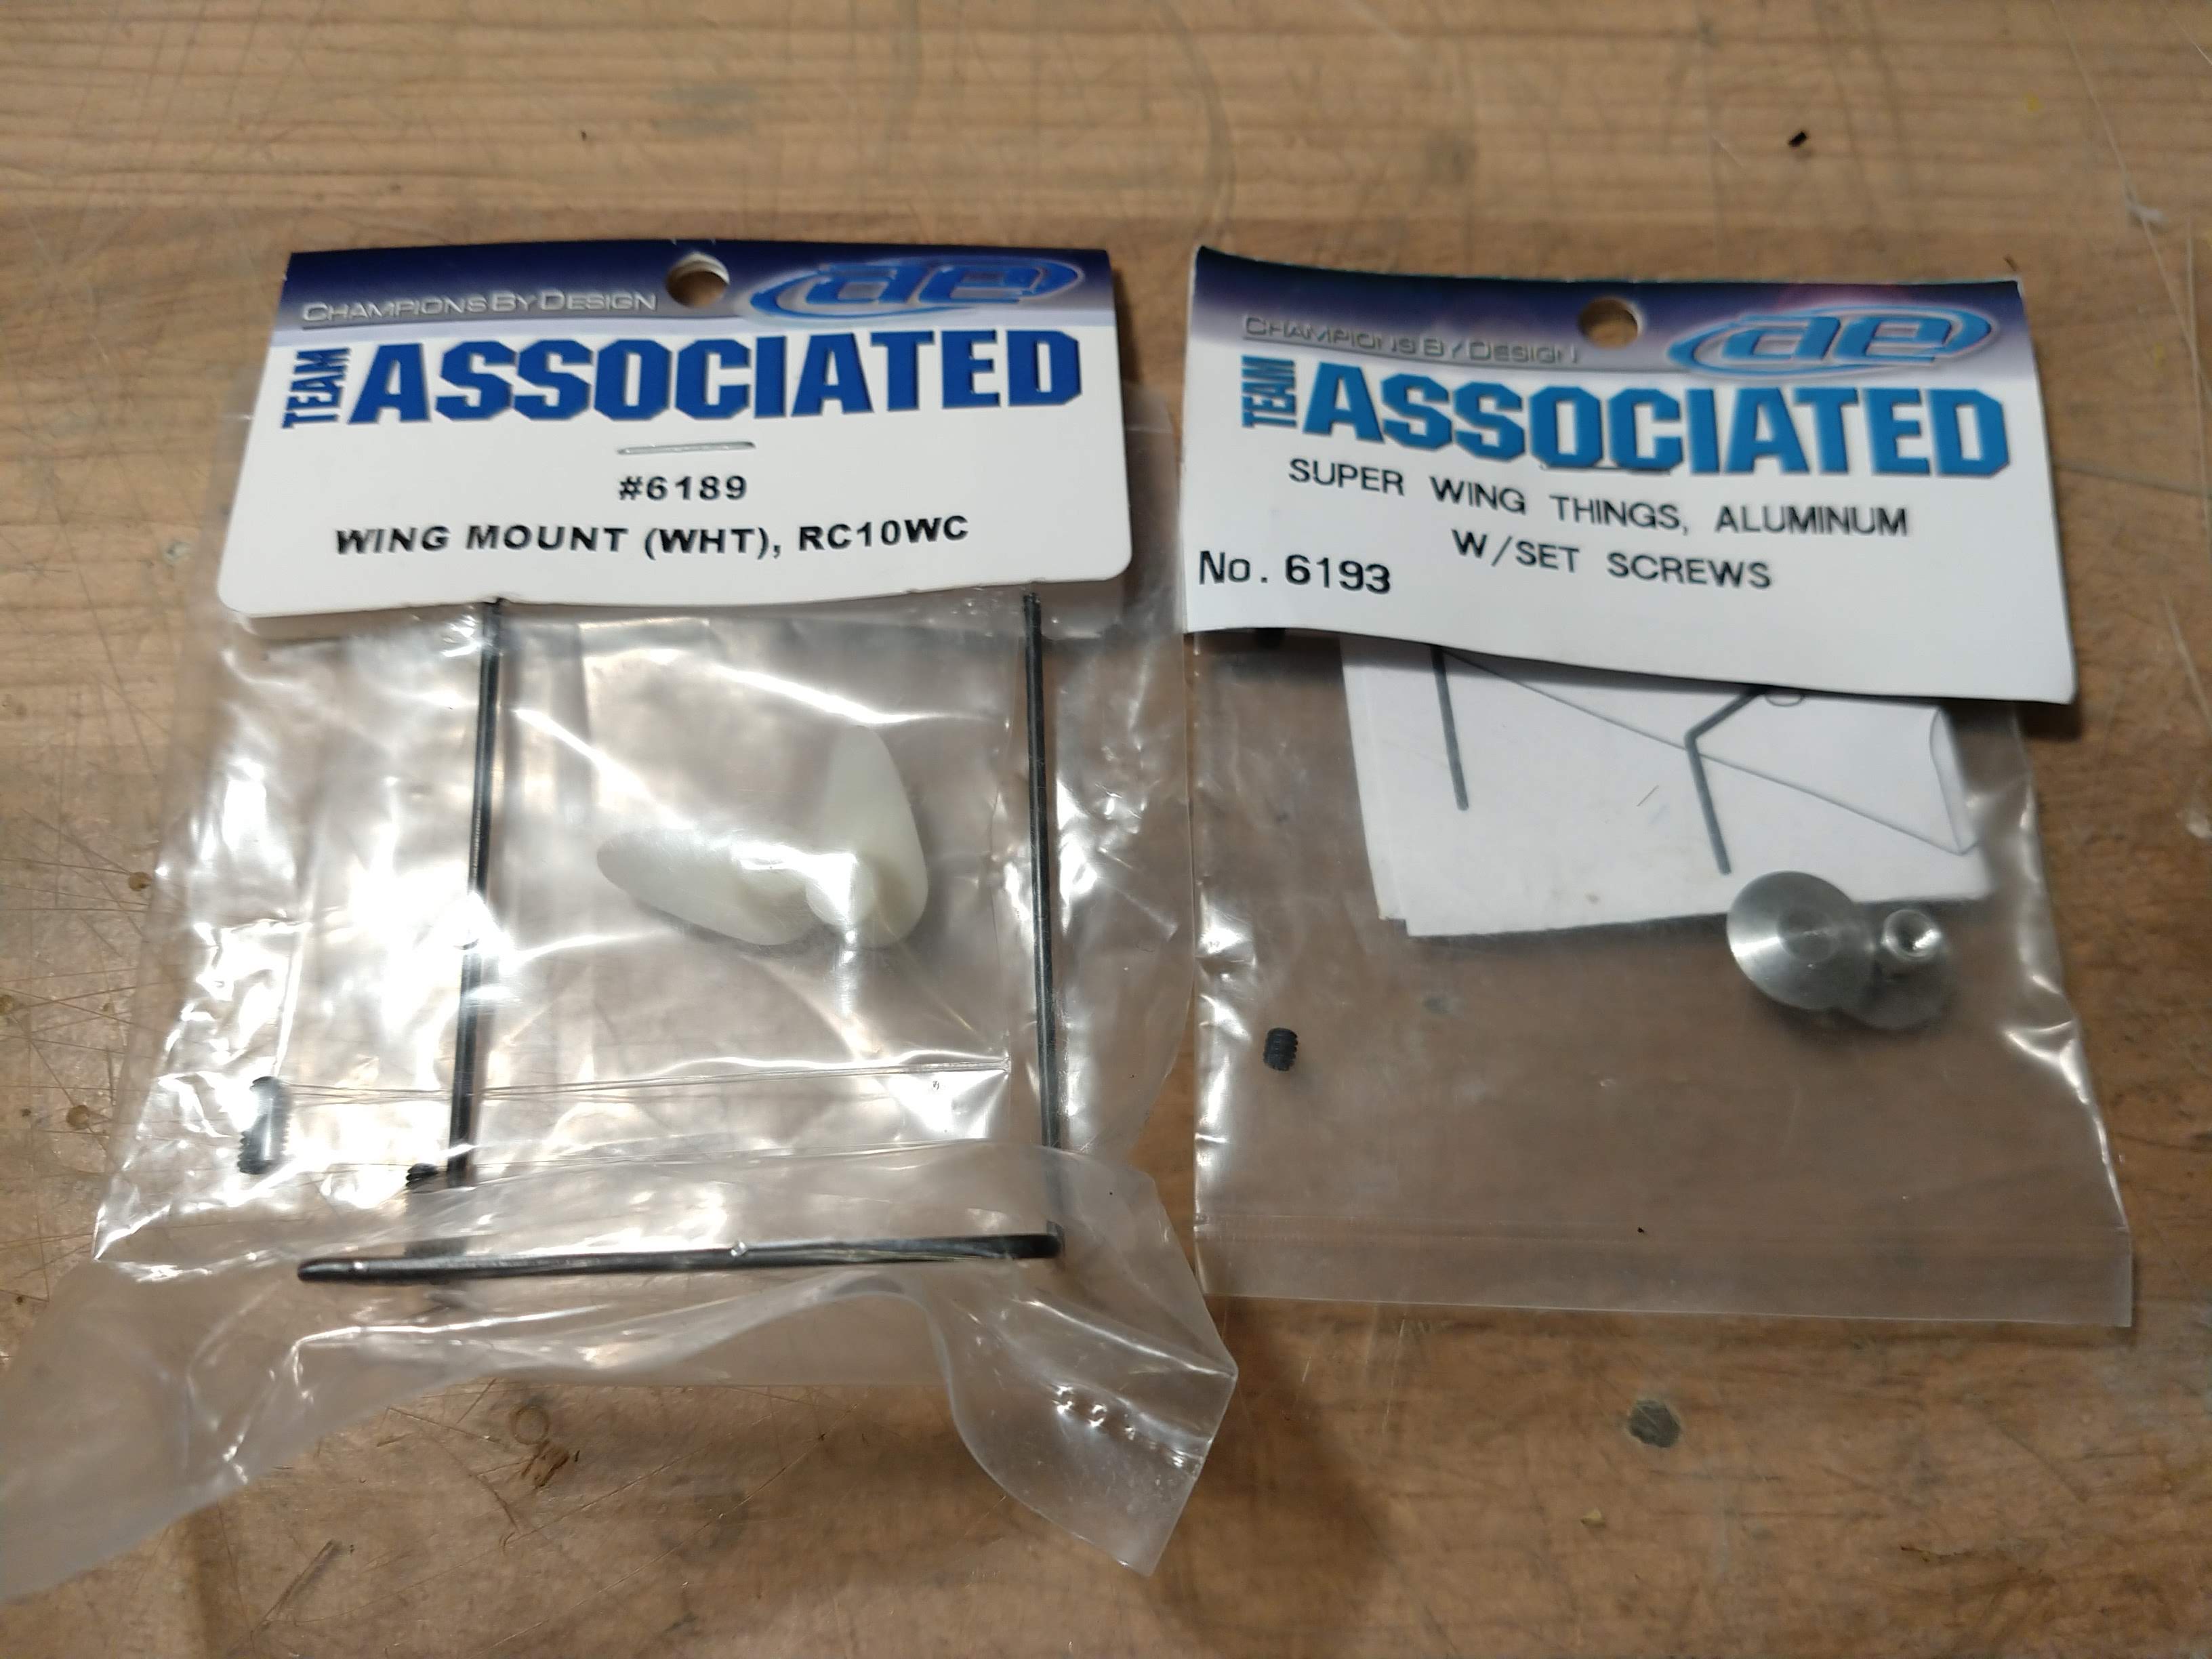
For now the big hurdle is finding a good painter who is ok to do the paintjob I've had in mind for this car for litterally years now An alloy rear wing would be nice, too, but I'm not holding my breath. I have installed the alloy wing wire and buttons, the "wing things" , I also found out these are OOS everywhere too
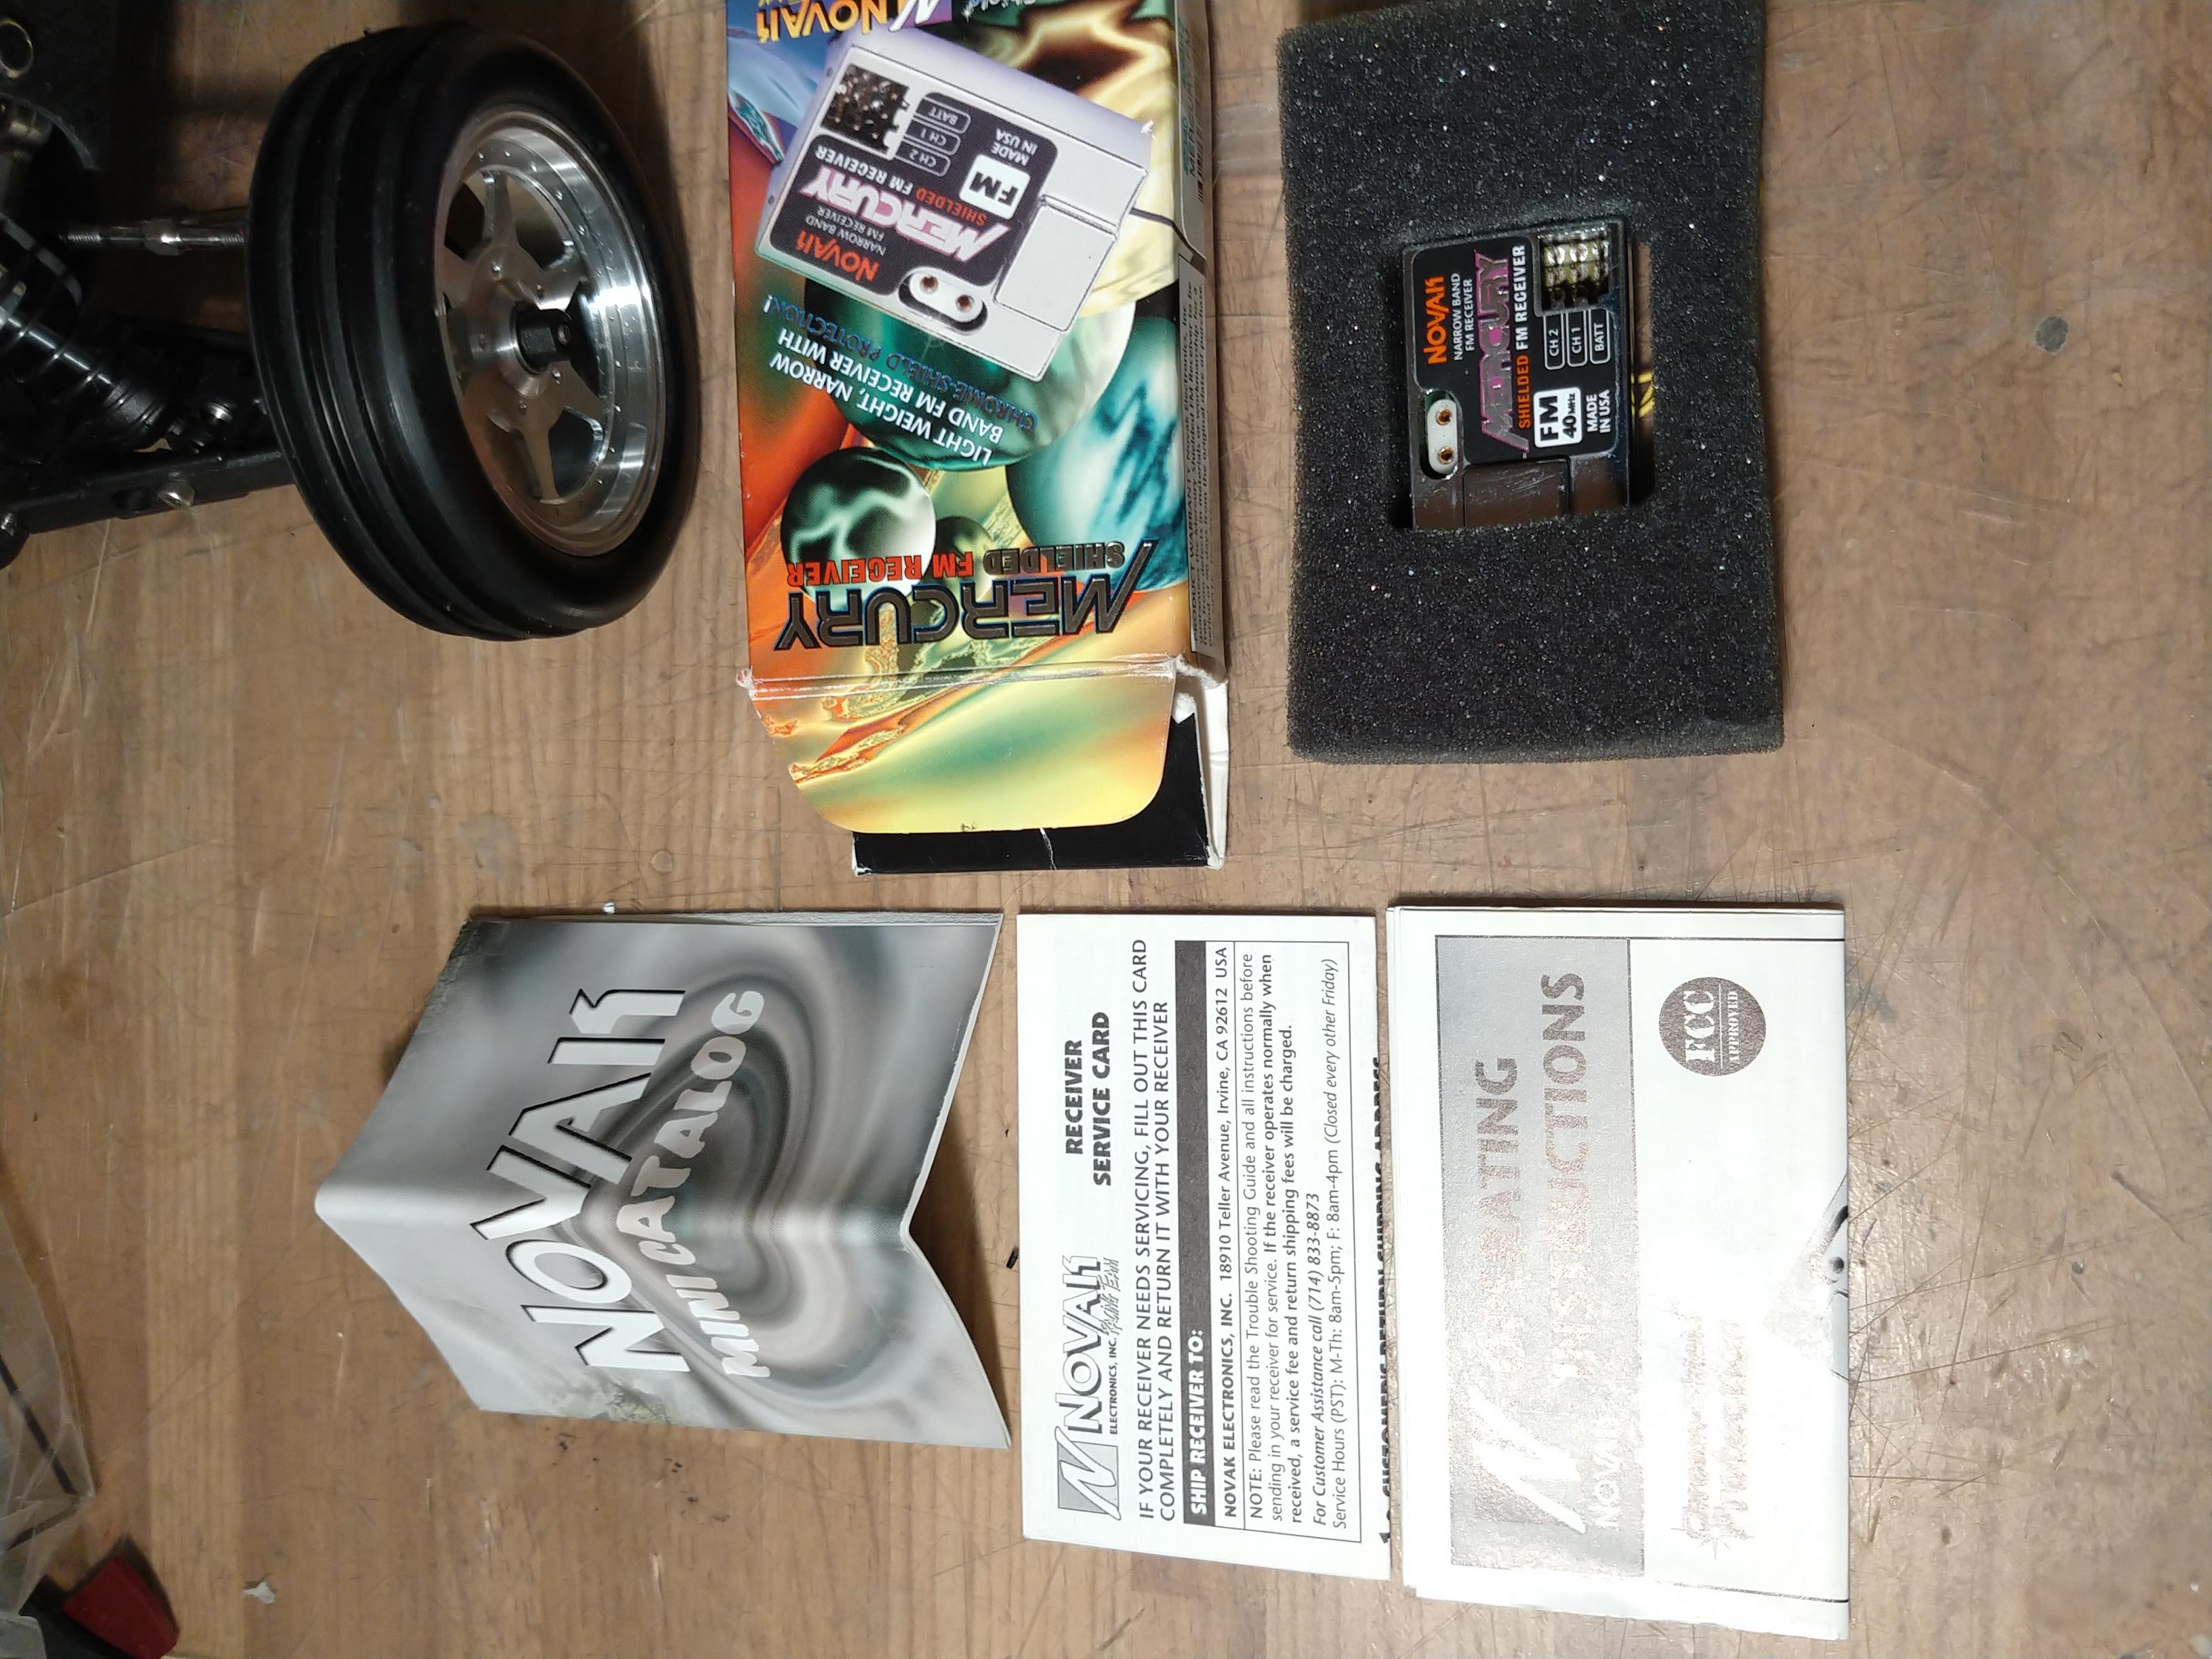
A mercury that looks like it has never been mounted will find a nice passenger seat in this car
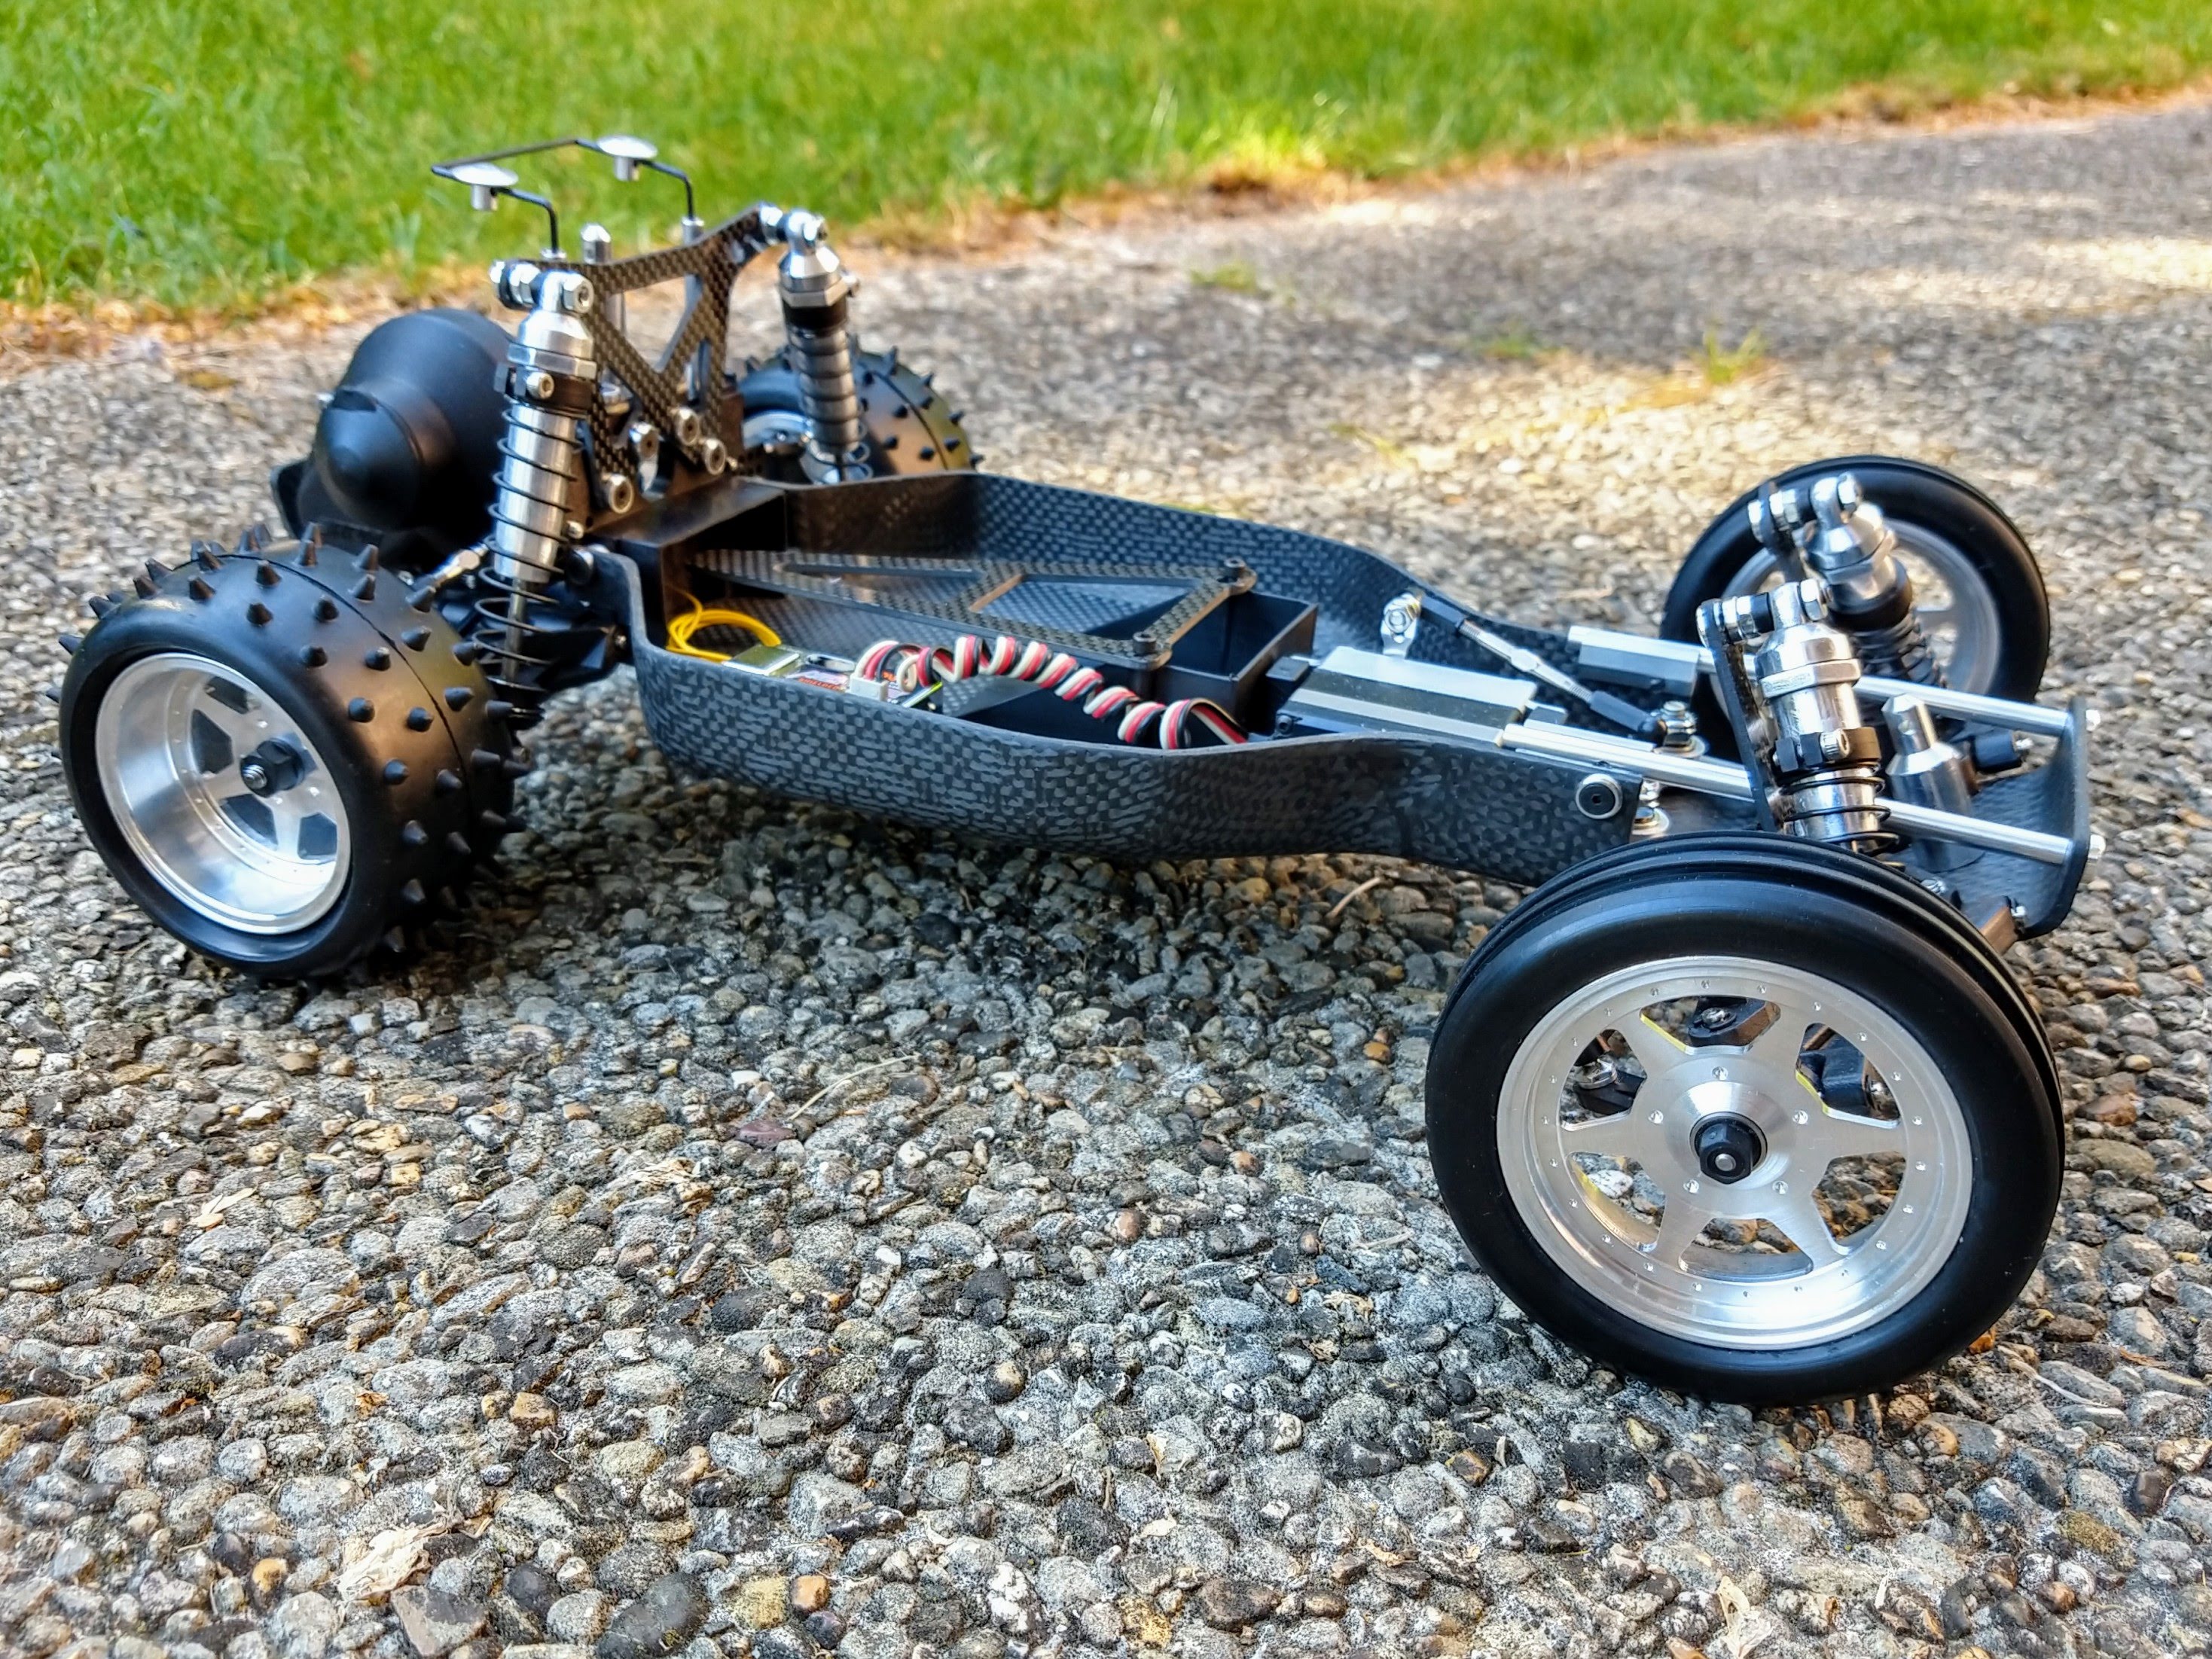
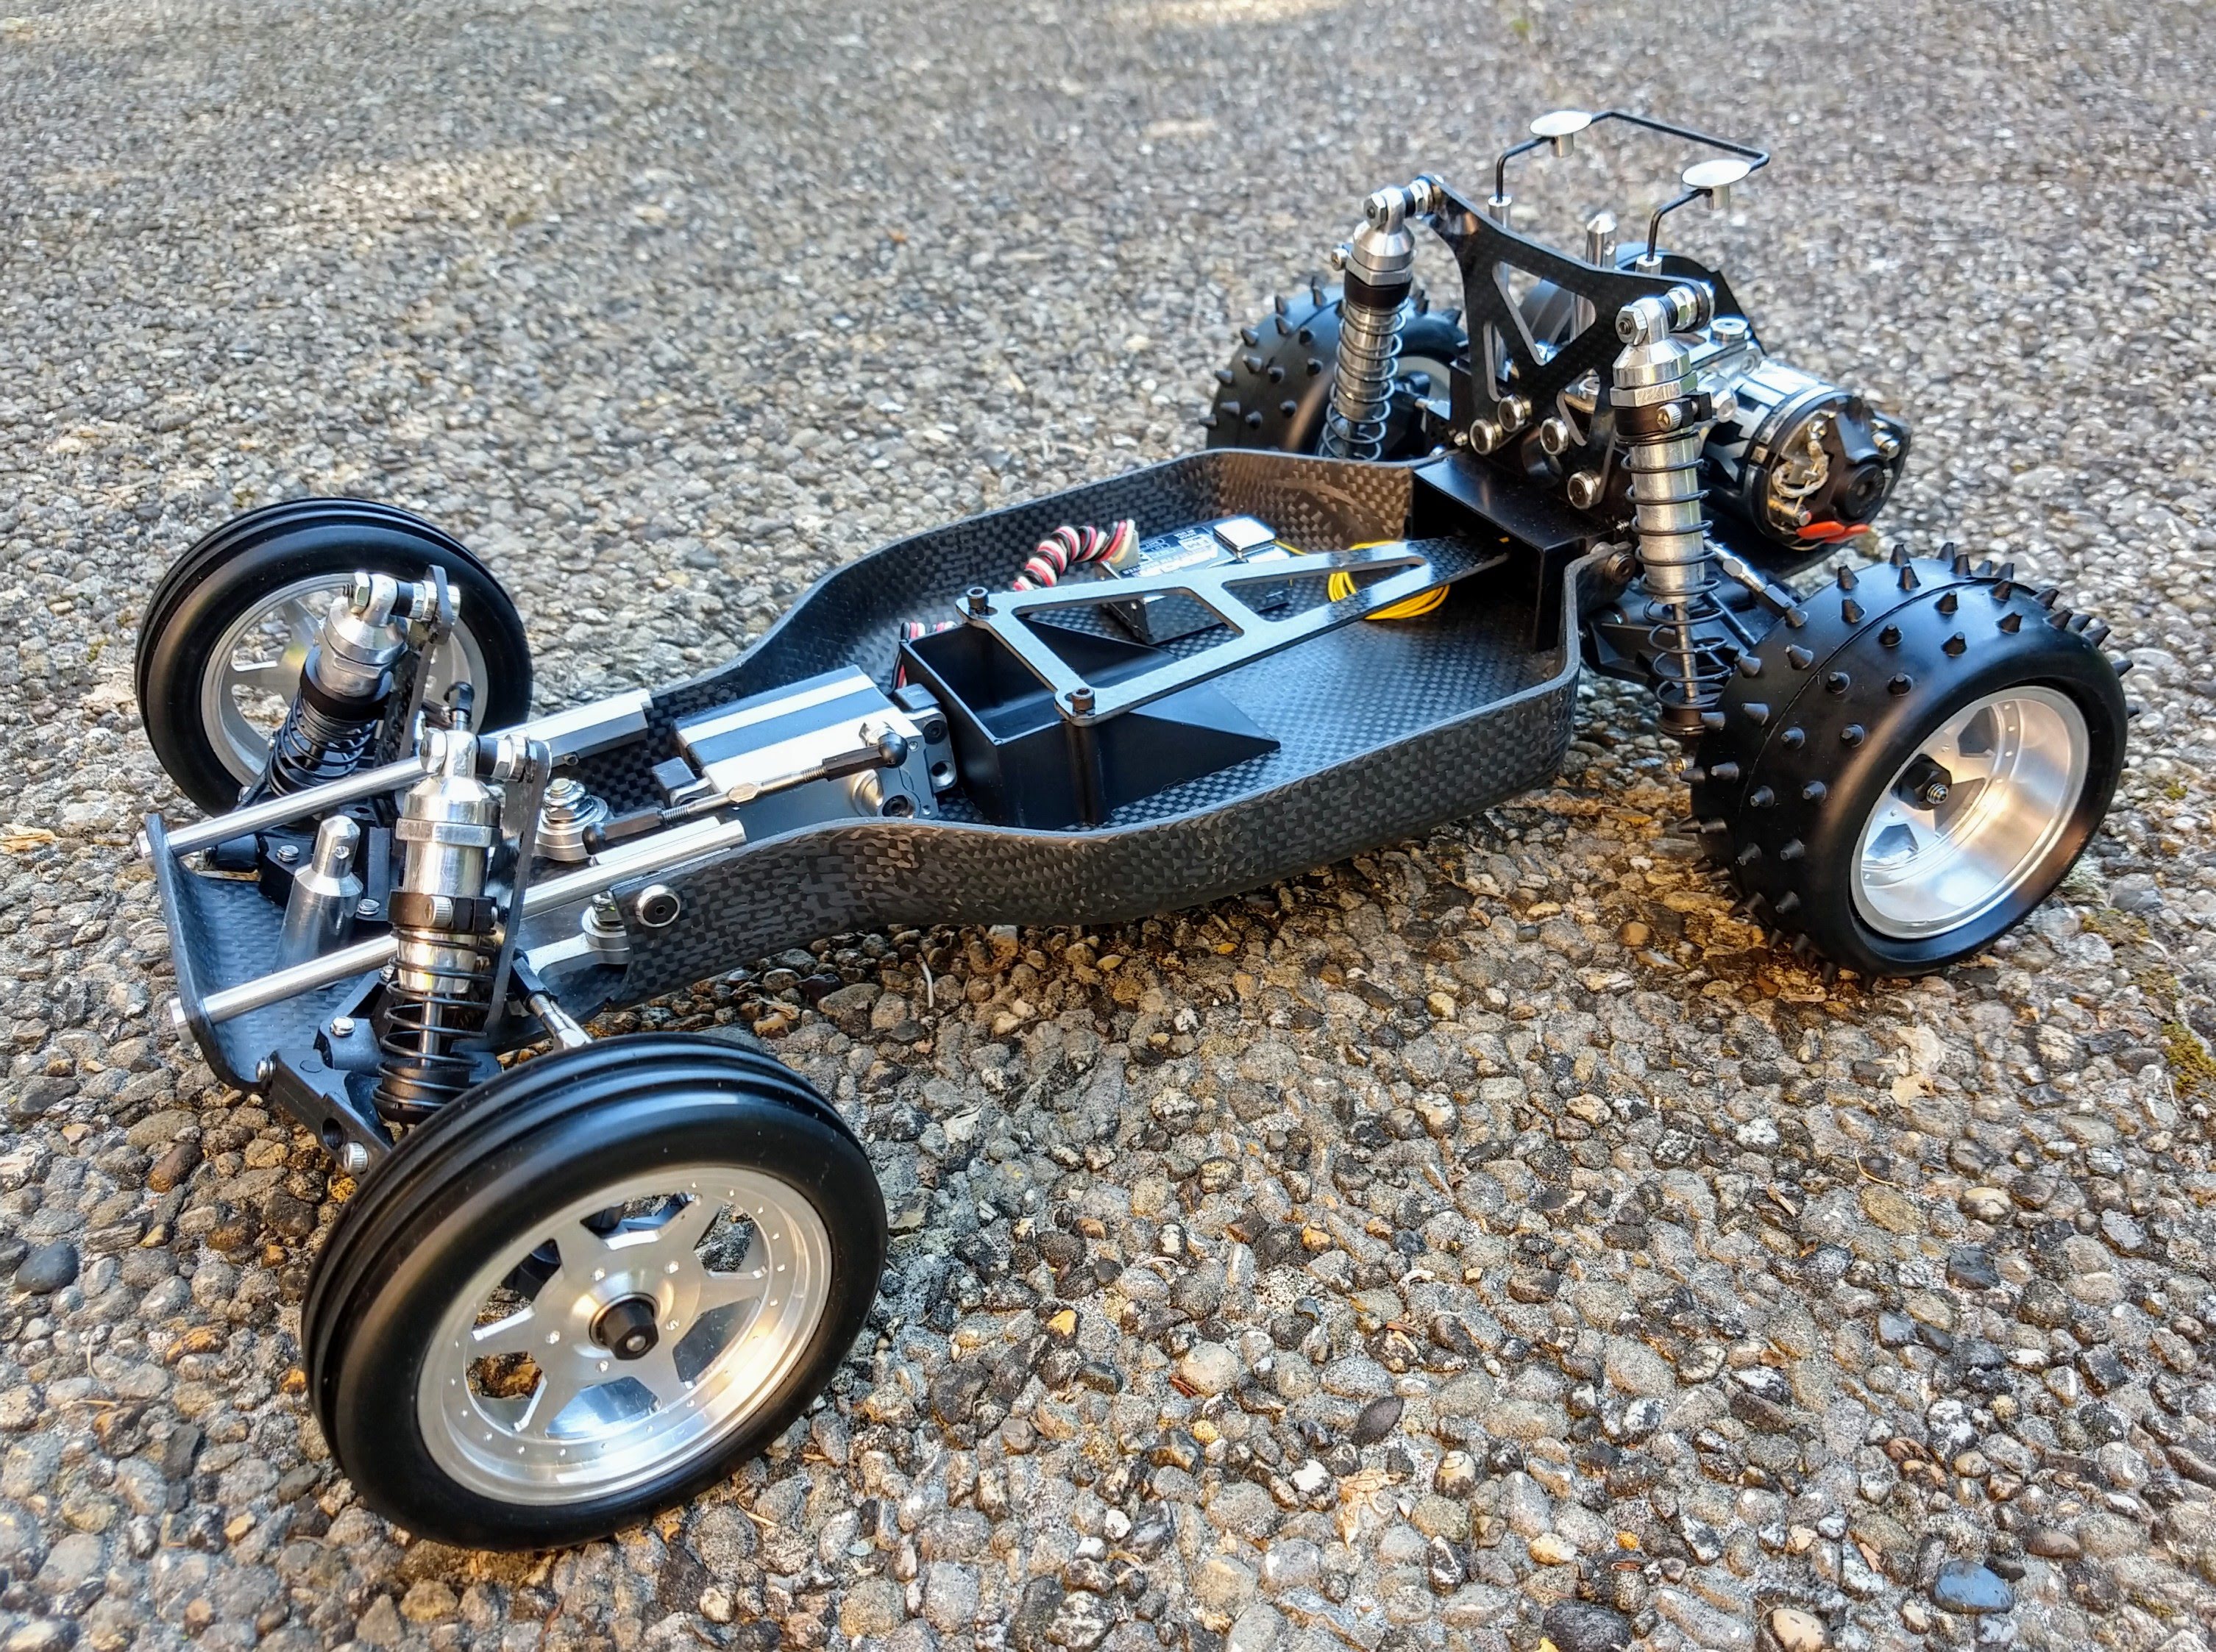
And... voila. Not 100.0% done (forget about the body for a sec) but as we are moving out of lockdown here I will have much less time to finish off the details. I have also some other servo mounts that have been in the mail for ages now, the lockdown enabled me to work on this car but it has disabled me from getting all the parts I need. In the meantime I have also lost the alloy antenna mount I had reserved for this car, so I need to source another one now... I wanted to snap a few pics no matter what, at least to put a stick in the sand!
(TBC... maybe!)
Anyway, in the end, I ended up using flanged bearings on the inside only, the outside has a normal bearing to allow the UJ's to not jump off the diff
I wanted to not risk scratching the wheels with alloy nuts, and I had a few black nylon ones left that do the job perfectly, and will nicely contrast with the wheel itself.
For now the big hurdle is finding a good painter who is ok to do the paintjob I've had in mind for this car for litterally years now
A mercury that looks like it has never been mounted will find a nice passenger seat in this car
And... voila. Not 100.0% done (forget about the body for a sec) but as we are moving out of lockdown here I will have much less time to finish off the details. I have also some other servo mounts that have been in the mail for ages now, the lockdown enabled me to work on this car but it has disabled me from getting all the parts I need. In the meantime I have also lost the alloy antenna mount I had reserved for this car, so I need to source another one now... I wanted to snap a few pics no matter what, at least to put a stick in the sand!
(TBC... maybe!)
AE RC10 - Made In The Eighties, Loved By The Ladies.
Blue Was Better - now, Blue Is Bankrupt.
Facebook affiliate program manager: "They go out and find the morons for me".
Life is short. Waste it wisely.
Blue Was Better - now, Blue Is Bankrupt.
Facebook affiliate program manager: "They go out and find the morons for me".
Life is short. Waste it wisely.
-
Asso_man!

- Approved Member
- Posts: 3960
- Joined: Thu Aug 03, 2006 7:49 am
- Location: EU
- Has thanked: 40 times
- Been thanked: 81 times
Re: The car now stands on all fours... CWF (tub) and Shiny RC10
Mmmmh GORGEOUS! You should fabricate a Kydex or alloy part that attaches to the Stealth and rear end of the chassis.
Will you add a body and electronics too?
Will you add a body and electronics too?
_____________________________________________
_____________________________________________
Come and visit the stable
_____________________________________________
Come and visit the stable
-
Lonestar
- Approved Member
- Posts: 4270
- Joined: Wed Dec 12, 2007 5:17 am
- Location: Switzerland, yannow, in Europe (or almost)
- Has thanked: 623 times
- Been thanked: 170 times
Re: The car now stands on all fours... CWF (tub) and Shiny RC10
Hi David, thanks for your comments, I am honored 
I am not talented enough to make a brace myself, both planes that need to be connected are perpendicular, so it requires cutting and bending. I can't do that
Ha - electronics, good Q! Forgot to talk about these...
Batteries - probably not, the more bare carbon to stare at, the better .
Speedo - There aren't that many that have the black+shiny look, that I could think of. The three that i have are KO's, the CX-I will go in my (original...) Masami Cat XLS the darn day when I work on it. That left me with a CX-IIR and and CX-III - which, believe it or not, just don't fit in the tub! These things are HUGE and they take a chunk of the battery space! this was a bit of a shock to me to be honest! All my other speedoes were either orange, or blue, or red, or black with gold (instead of silver) lettering, or totally inappropriate on such a car (rokrafts, or entry-level futabas, etc...)
Suggestions on vintage ESC's for this build are actually welcome! - remember they have to be black+silver (and fit!!!)
Body: I am looking for a good painter for my project, someone who clearly knows his way around aerographs, liquid mask, and paint "textures". The couple of people I've asked so far have fended off my unwanted advances... I still have some hope that someone will pick up the challenge though. Eventually
Paul
I am not talented enough to make a brace myself, both planes that need to be connected are perpendicular, so it requires cutting and bending. I can't do that
Ha - electronics, good Q! Forgot to talk about these...
Batteries - probably not, the more bare carbon to stare at, the better .
Speedo - There aren't that many that have the black+shiny look, that I could think of. The three that i have are KO's, the CX-I will go in my (original...) Masami Cat XLS the darn day when I work on it. That left me with a CX-IIR and and CX-III - which, believe it or not, just don't fit in the tub! These things are HUGE and they take a chunk of the battery space! this was a bit of a shock to me to be honest! All my other speedoes were either orange, or blue, or red, or black with gold (instead of silver) lettering, or totally inappropriate on such a car (rokrafts, or entry-level futabas, etc...)
Suggestions on vintage ESC's for this build are actually welcome! - remember they have to be black+silver
Body: I am looking for a good painter for my project, someone who clearly knows his way around aerographs, liquid mask, and paint "textures". The couple of people I've asked so far have fended off my unwanted advances... I still have some hope that someone will pick up the challenge though. Eventually
Paul
AE RC10 - Made In The Eighties, Loved By The Ladies.
Blue Was Better - now, Blue Is Bankrupt.
Facebook affiliate program manager: "They go out and find the morons for me".
Life is short. Waste it wisely.
Blue Was Better - now, Blue Is Bankrupt.
Facebook affiliate program manager: "They go out and find the morons for me".
Life is short. Waste it wisely.
Create an account or sign in to join the discussion
You need to be a member in order to post a reply
Create an account
Not a member? register to join our community
Members can start their own topics & subscribe to topics
It’s free and only takes a minute
Sign in
-
- Similar Topics
- Replies
- Views
- Last post
-
- 5 Replies
- 3230 Views
-
Last post by klavy69
-
- 11 Replies
- 3341 Views
-
Last post by geeforce59
-
- 4 Replies
- 995 Views
-
Last post by Kyoshojoe
-
- 7 Replies
- 2480 Views
-
Last post by Trass
-
- 4 Replies
- 905 Views
-
Last post by MOmo
-
- 12 Replies
- 2442 Views
-
Last post by Trass
-
- 5 Replies
- 509 Views
-
Last post by GreenBar0n
-
- 4 Replies
- 624 Views
-
Last post by Toyotachris1982
Who is online
Users browsing this forum: ![]() Amazon [Bot],
Amazon [Bot], ![]() DotNetDotCom.org [Bot] and 11 guests
DotNetDotCom.org [Bot] and 11 guests