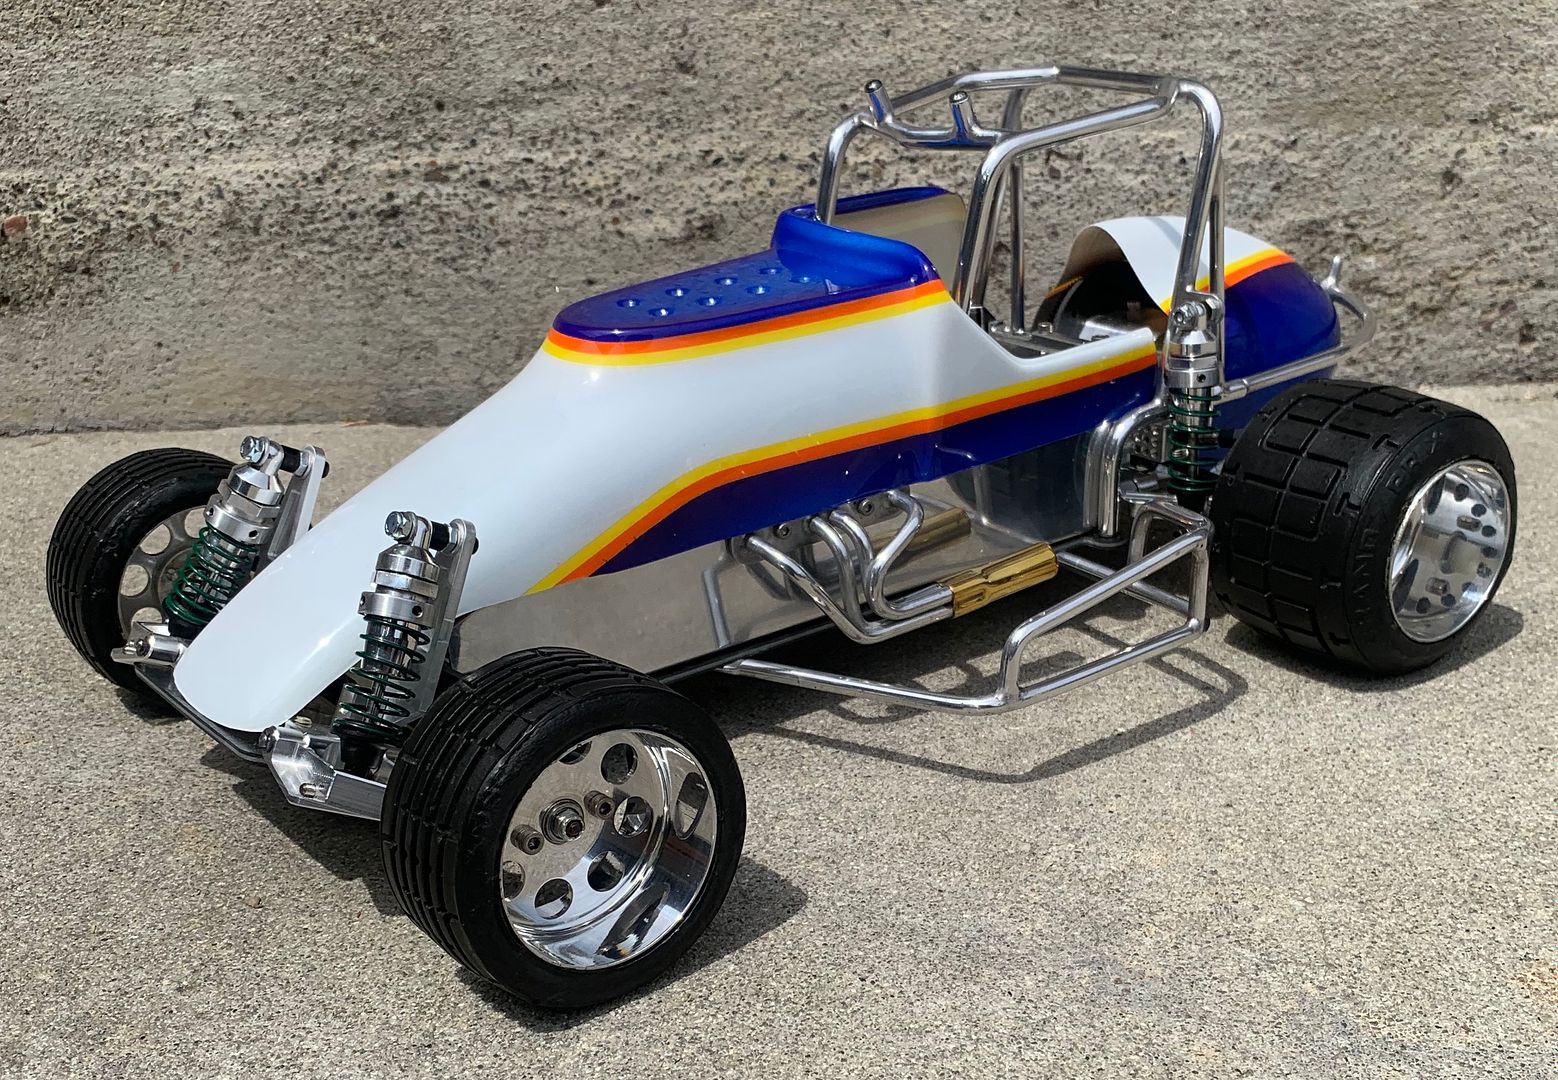
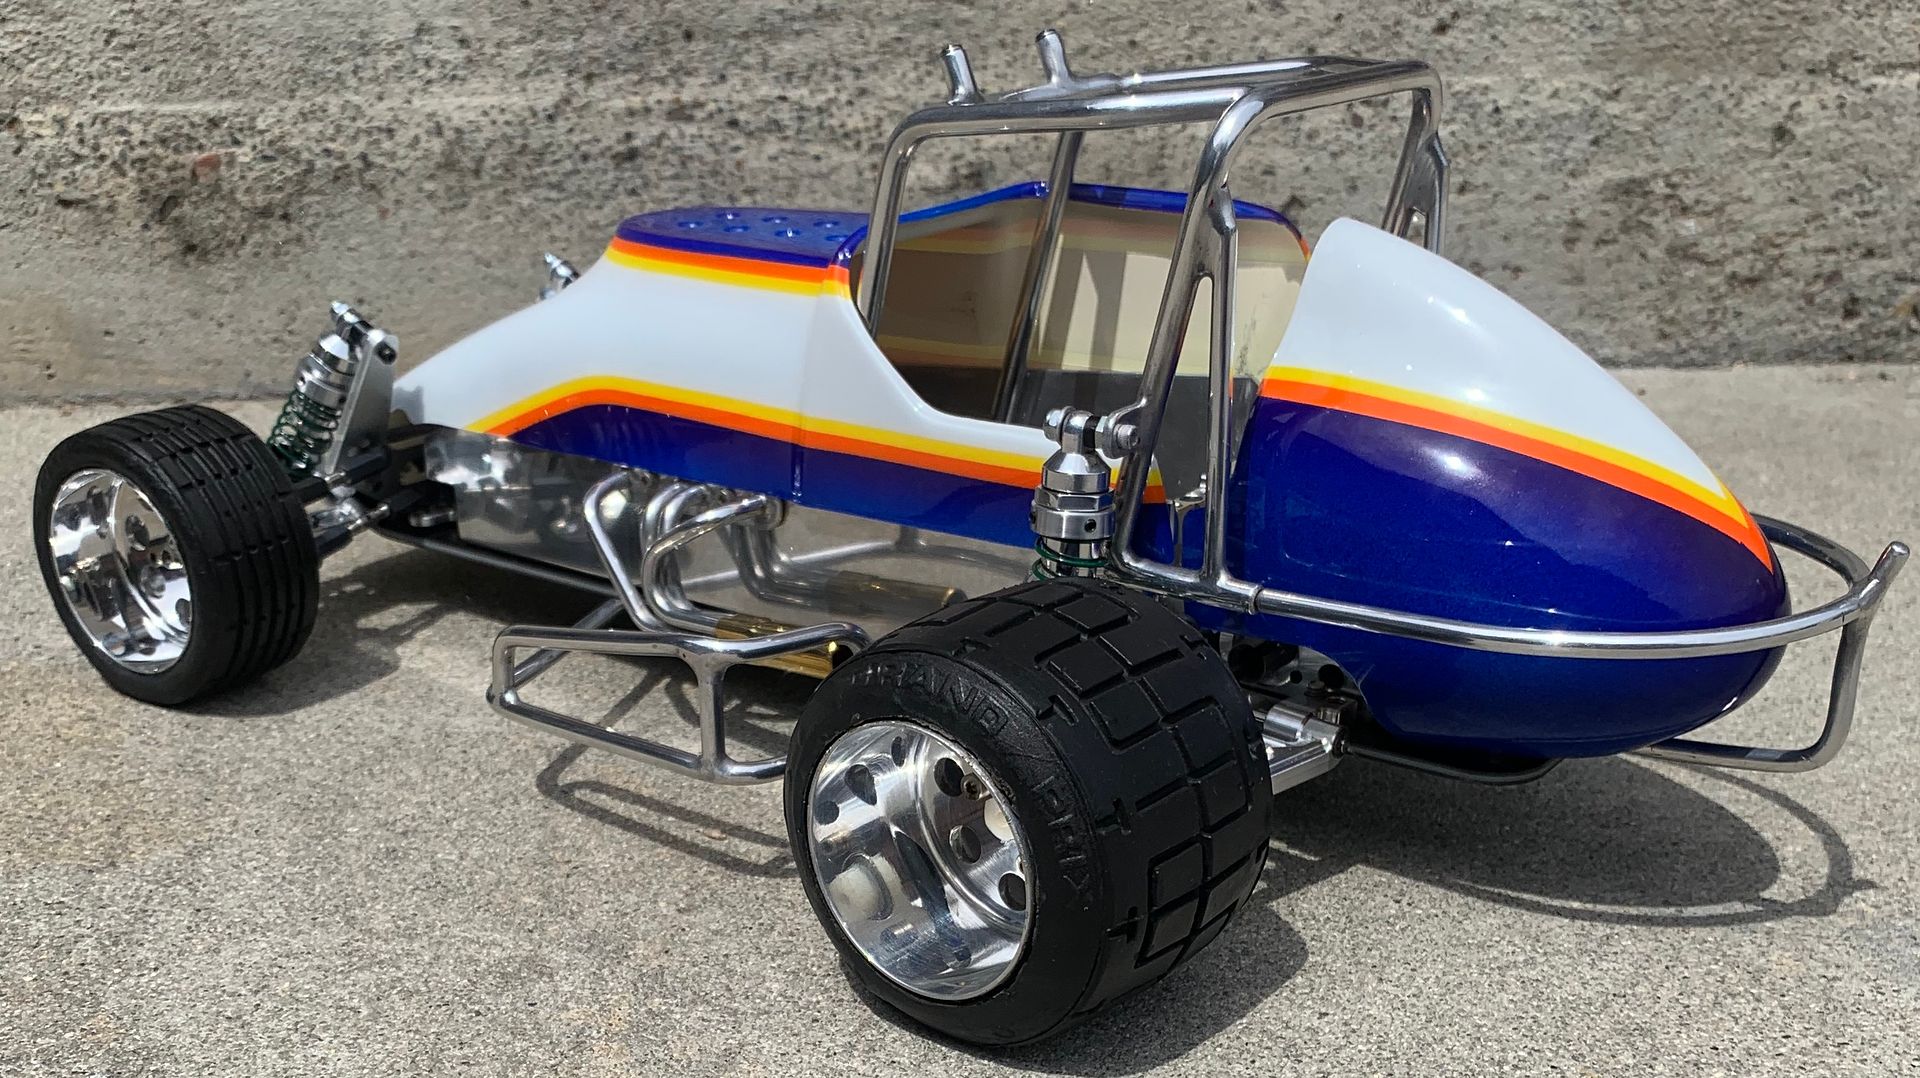
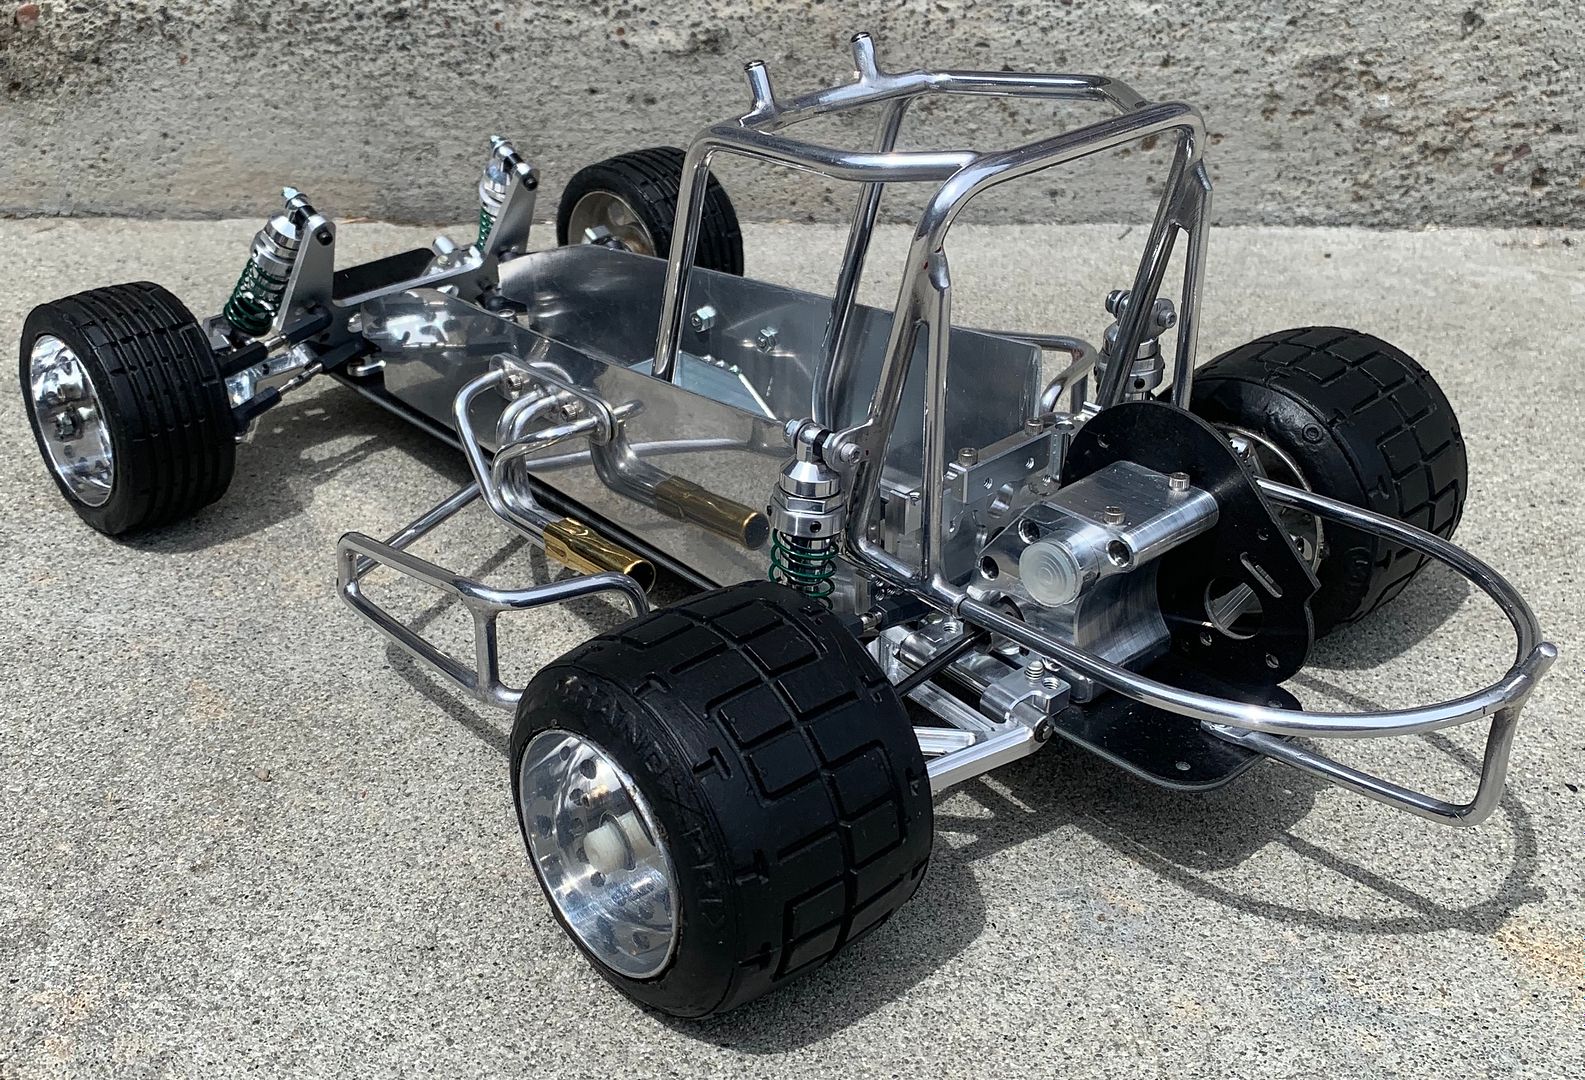
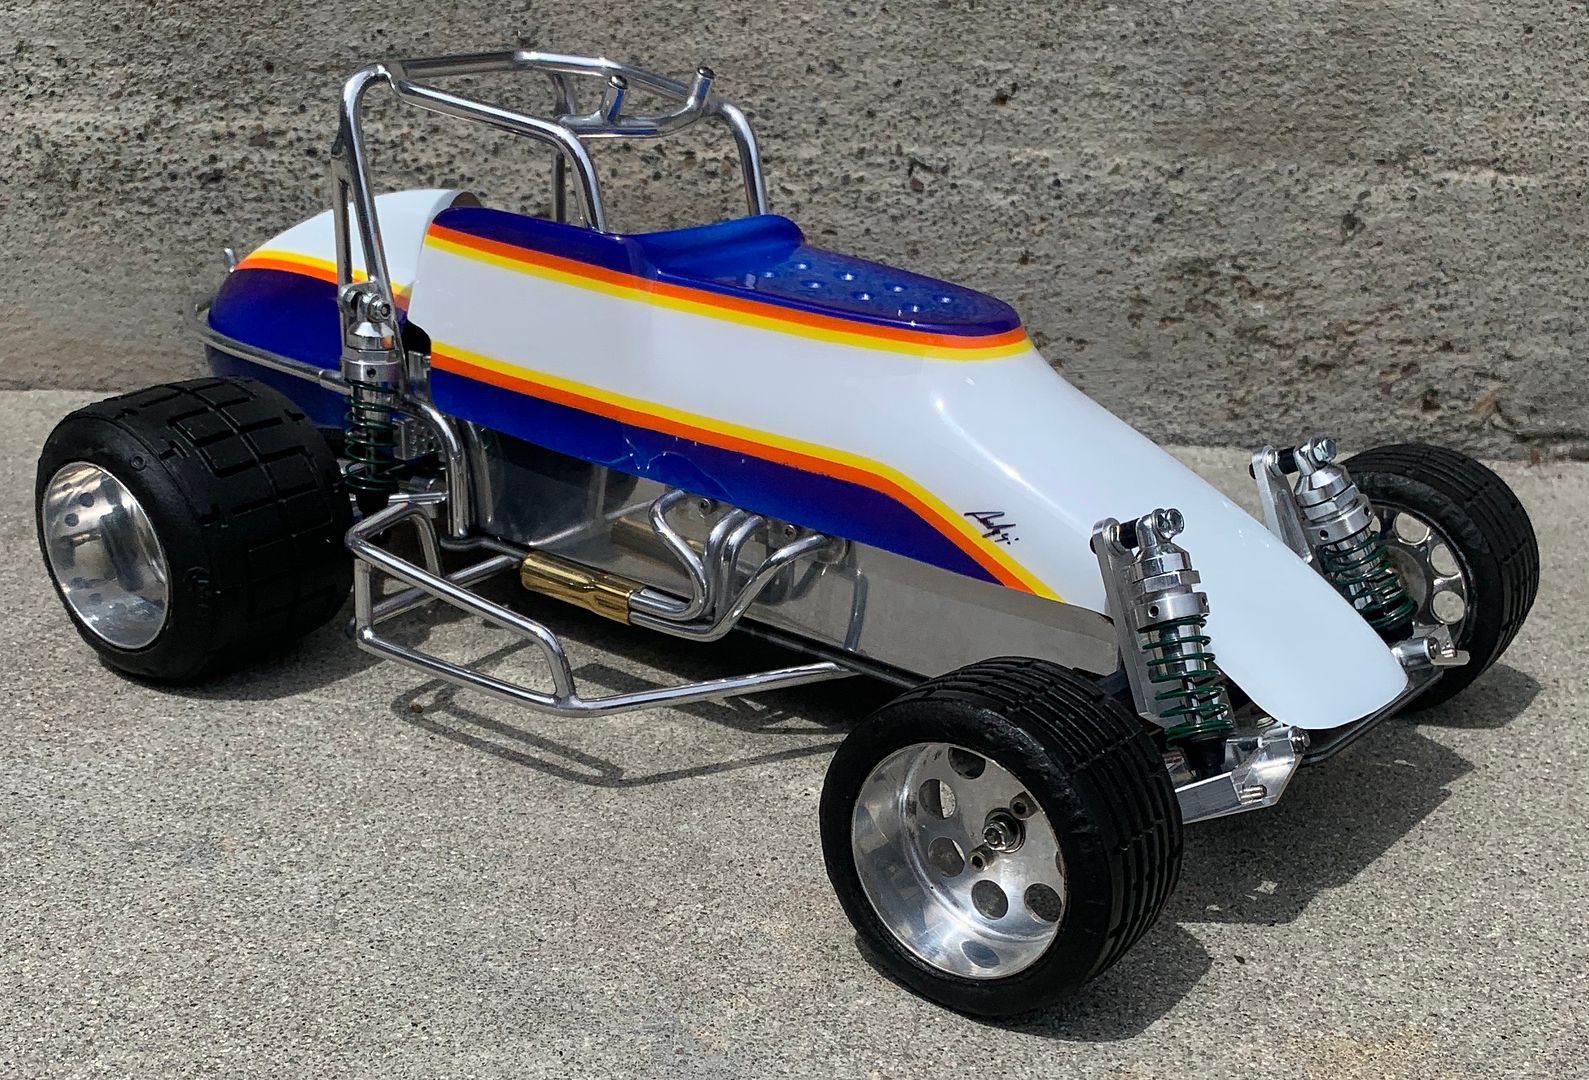
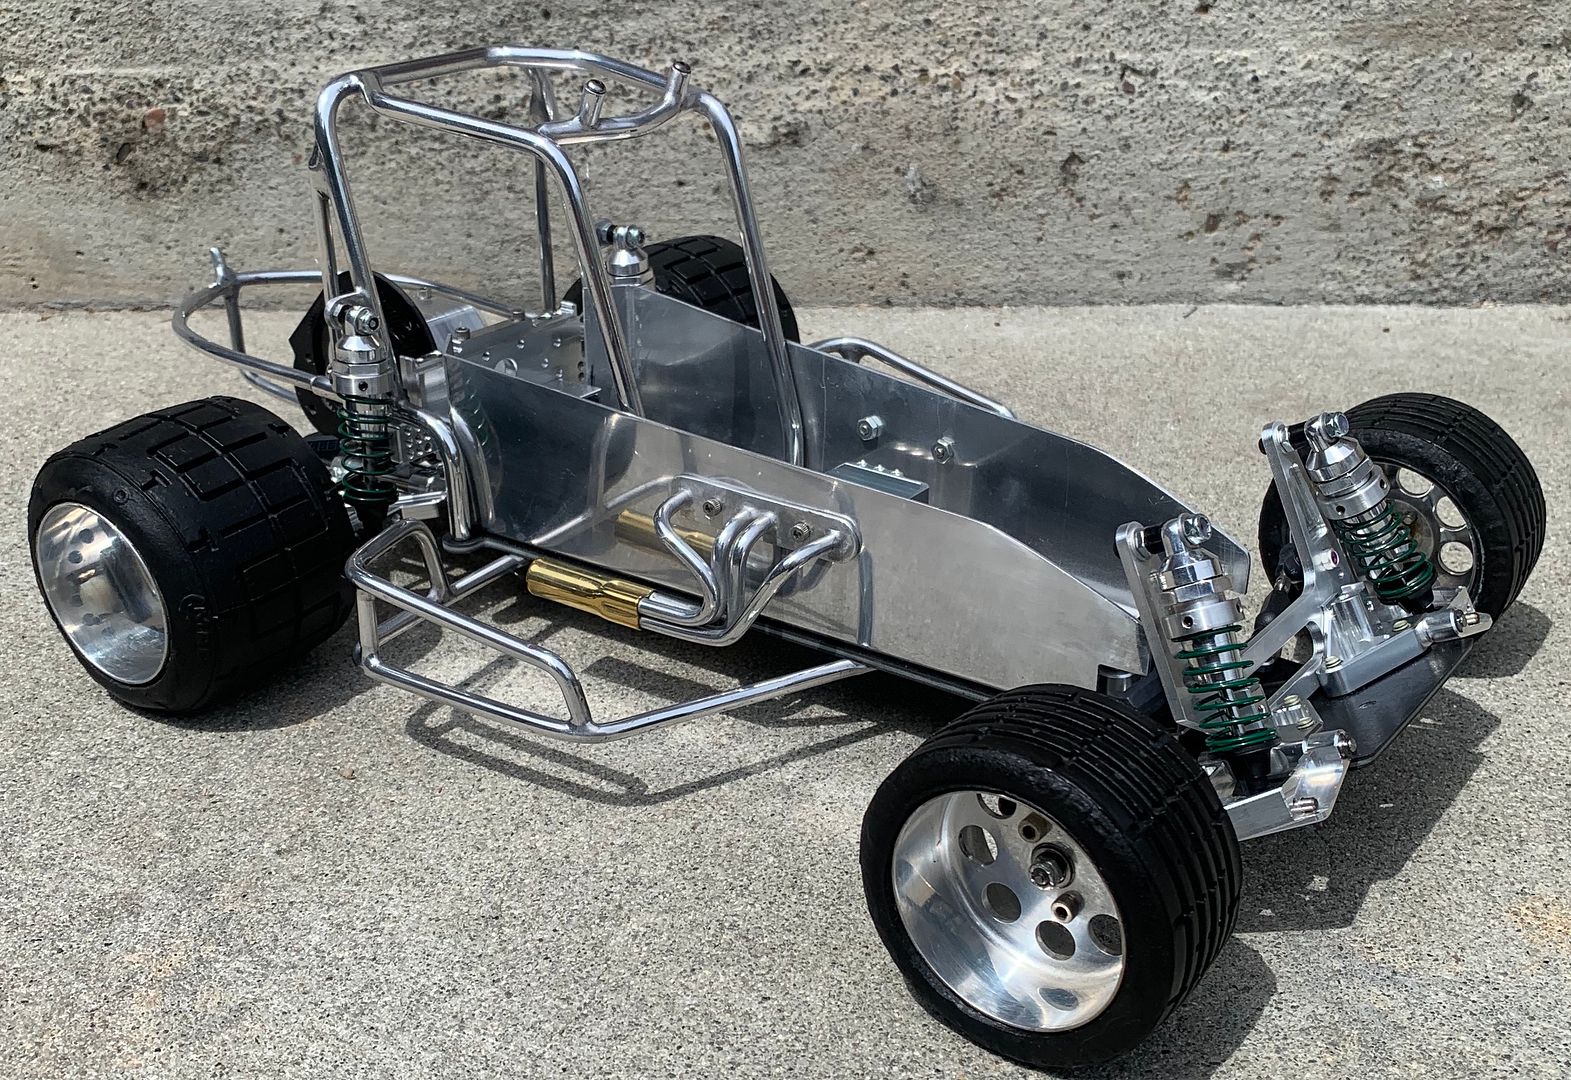
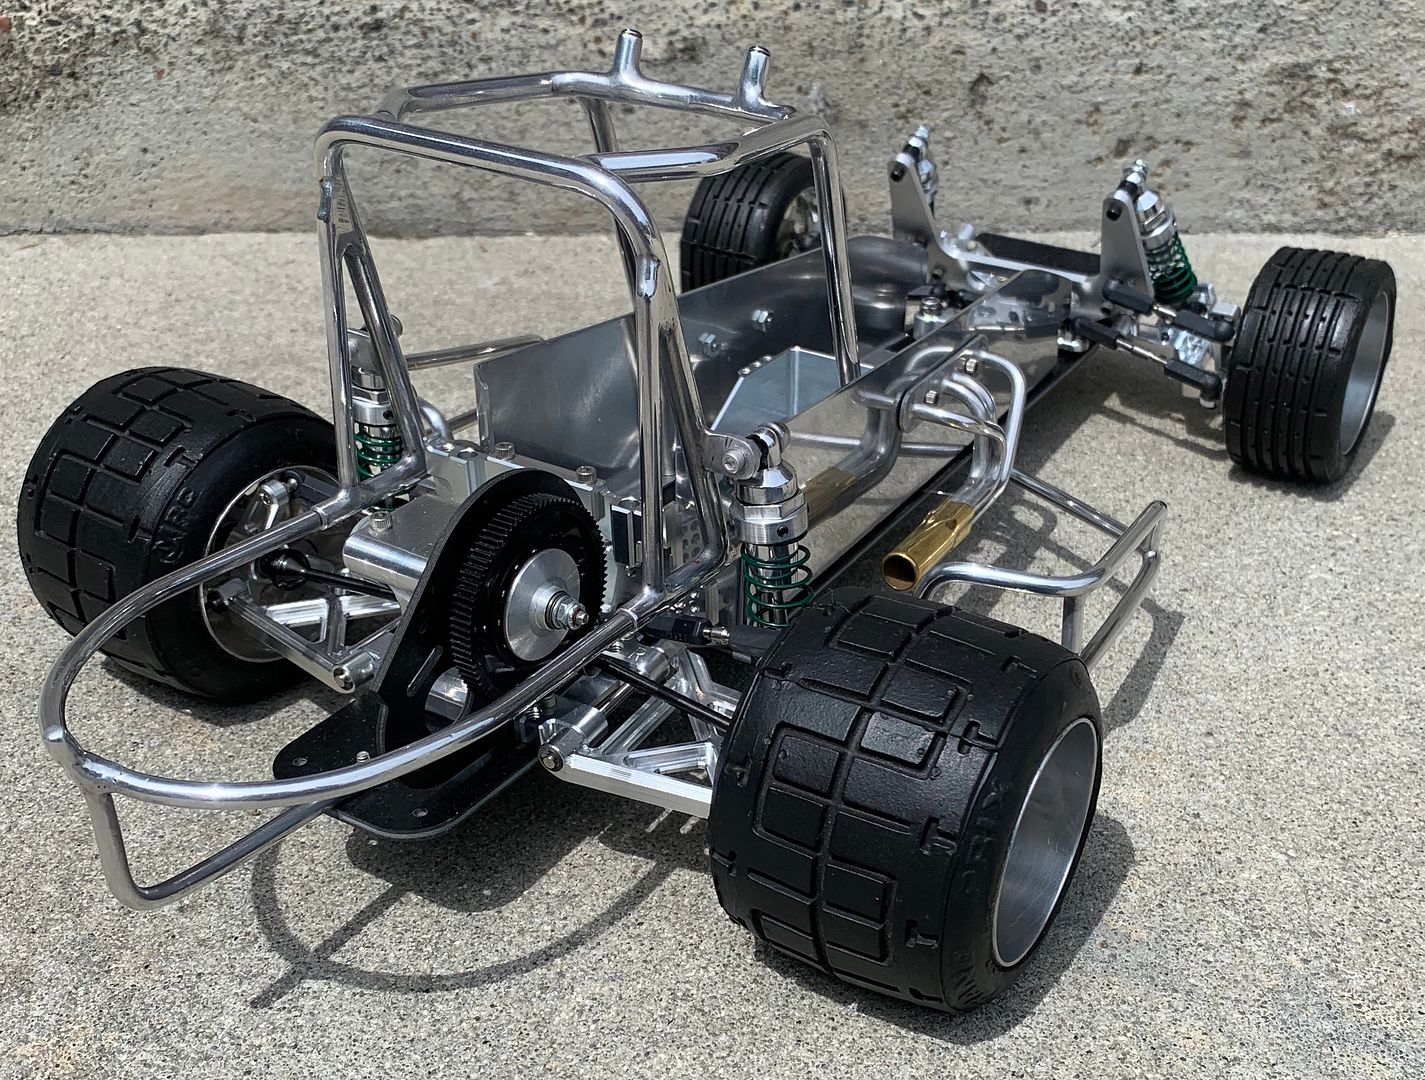
Shodog's Ascot Sprinter

General discussion, builds/restorations, etc...

Moderators: scr8p, klavy69

User avatar
Incredible_Serious
Approved Member
Posts: 3646
Joined: Tue Jan 29, 2008 12:09 am
Location: Melbourne, Victoria, Australia
Has thanked: 1678 times
Been thanked: 1117 times

Re: Shodog's Ascot Sprinter

Post by Incredible_Serious »

KidAgain wrote: Thu Feb 20, 2020 9:52 am How well do the composite motor plates handle taking trans screws in and out constantly??
My guess is this will be living on the shelf, and so won't have much 'constantly' taking the trans screws in and out....
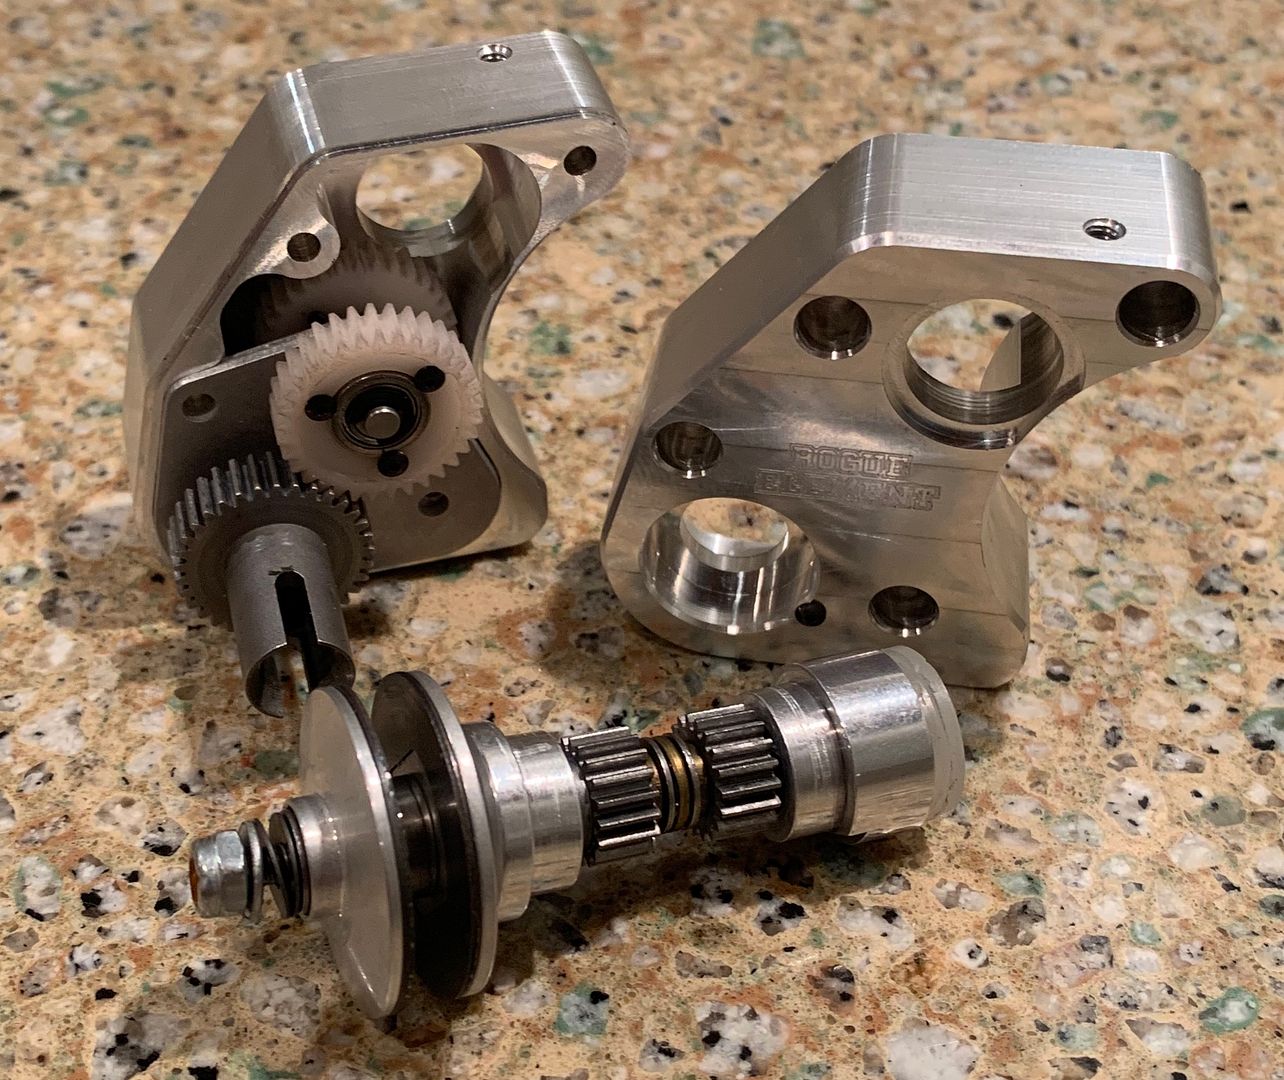
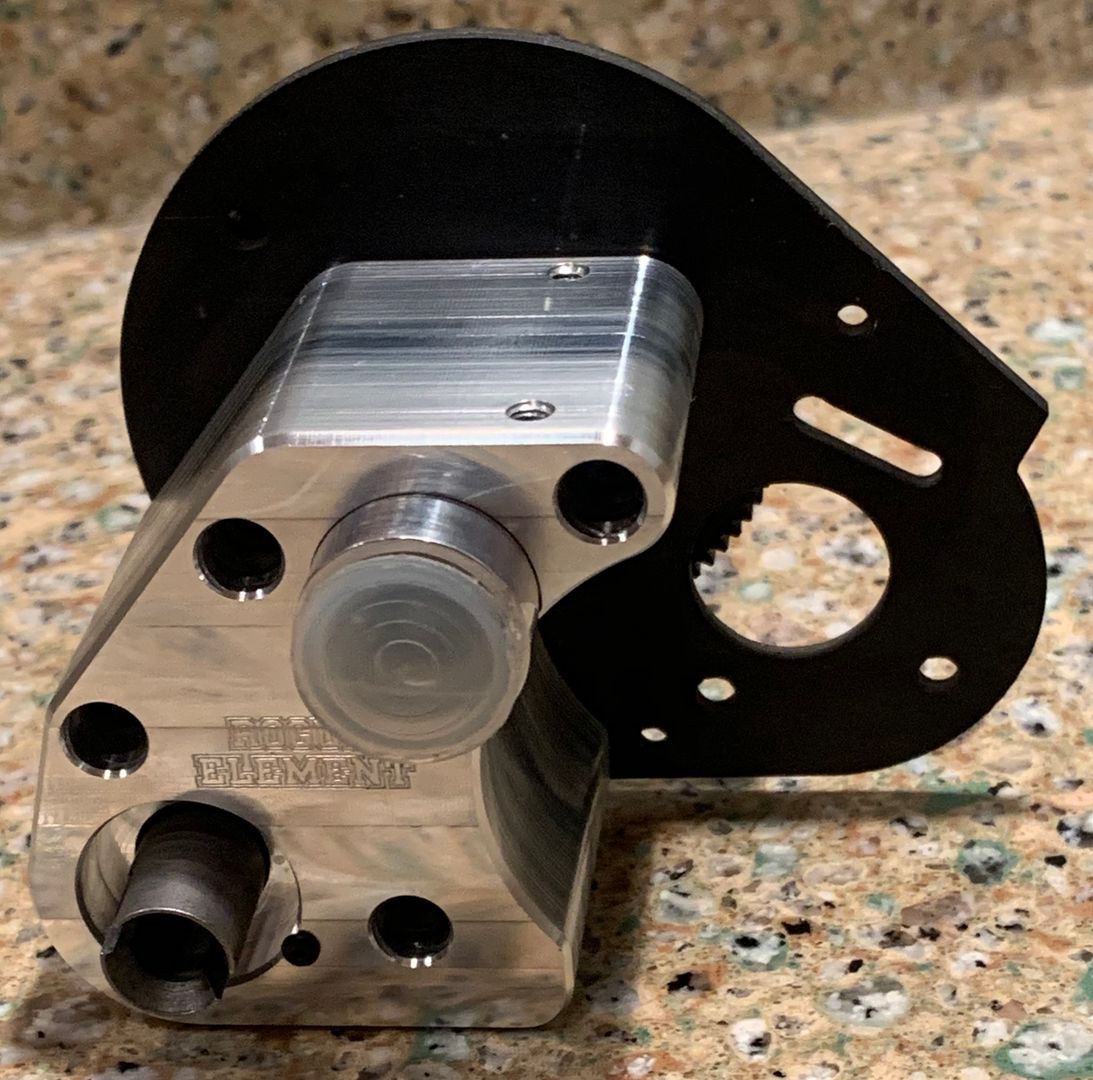
Another glorious Shodog build, no doubt.

Alex
Osiris is the key.

"The world looks so much better through beer goggles... except Farmer in his underwear" - Ken

Look out for Todd K. - he's a convicted serial killer!!!

User avatar
shodog
Approved Member
Posts: 3813
Joined: Thu Oct 05, 2006 3:09 pm
Location: Washington
Has thanked: 3 times
Been thanked: 91 times

Re: Shodog's Ascot Sprinter

Post by shodog »

Hard to say what the longevity of that composite motor plate would be. I imagine if it got real bad you could run a slightly longer screw with a small thin 4/40 nut like the ones used on the steering balls. But as incredible has said, it’s strong enough for the shelf 😁

User avatar
shodog
Approved Member
Posts: 3813
Joined: Thu Oct 05, 2006 3:09 pm
Location: Washington
Has thanked: 3 times
Been thanked: 91 times

Re: Shodog's Ascot Sprinter

Post by shodog »

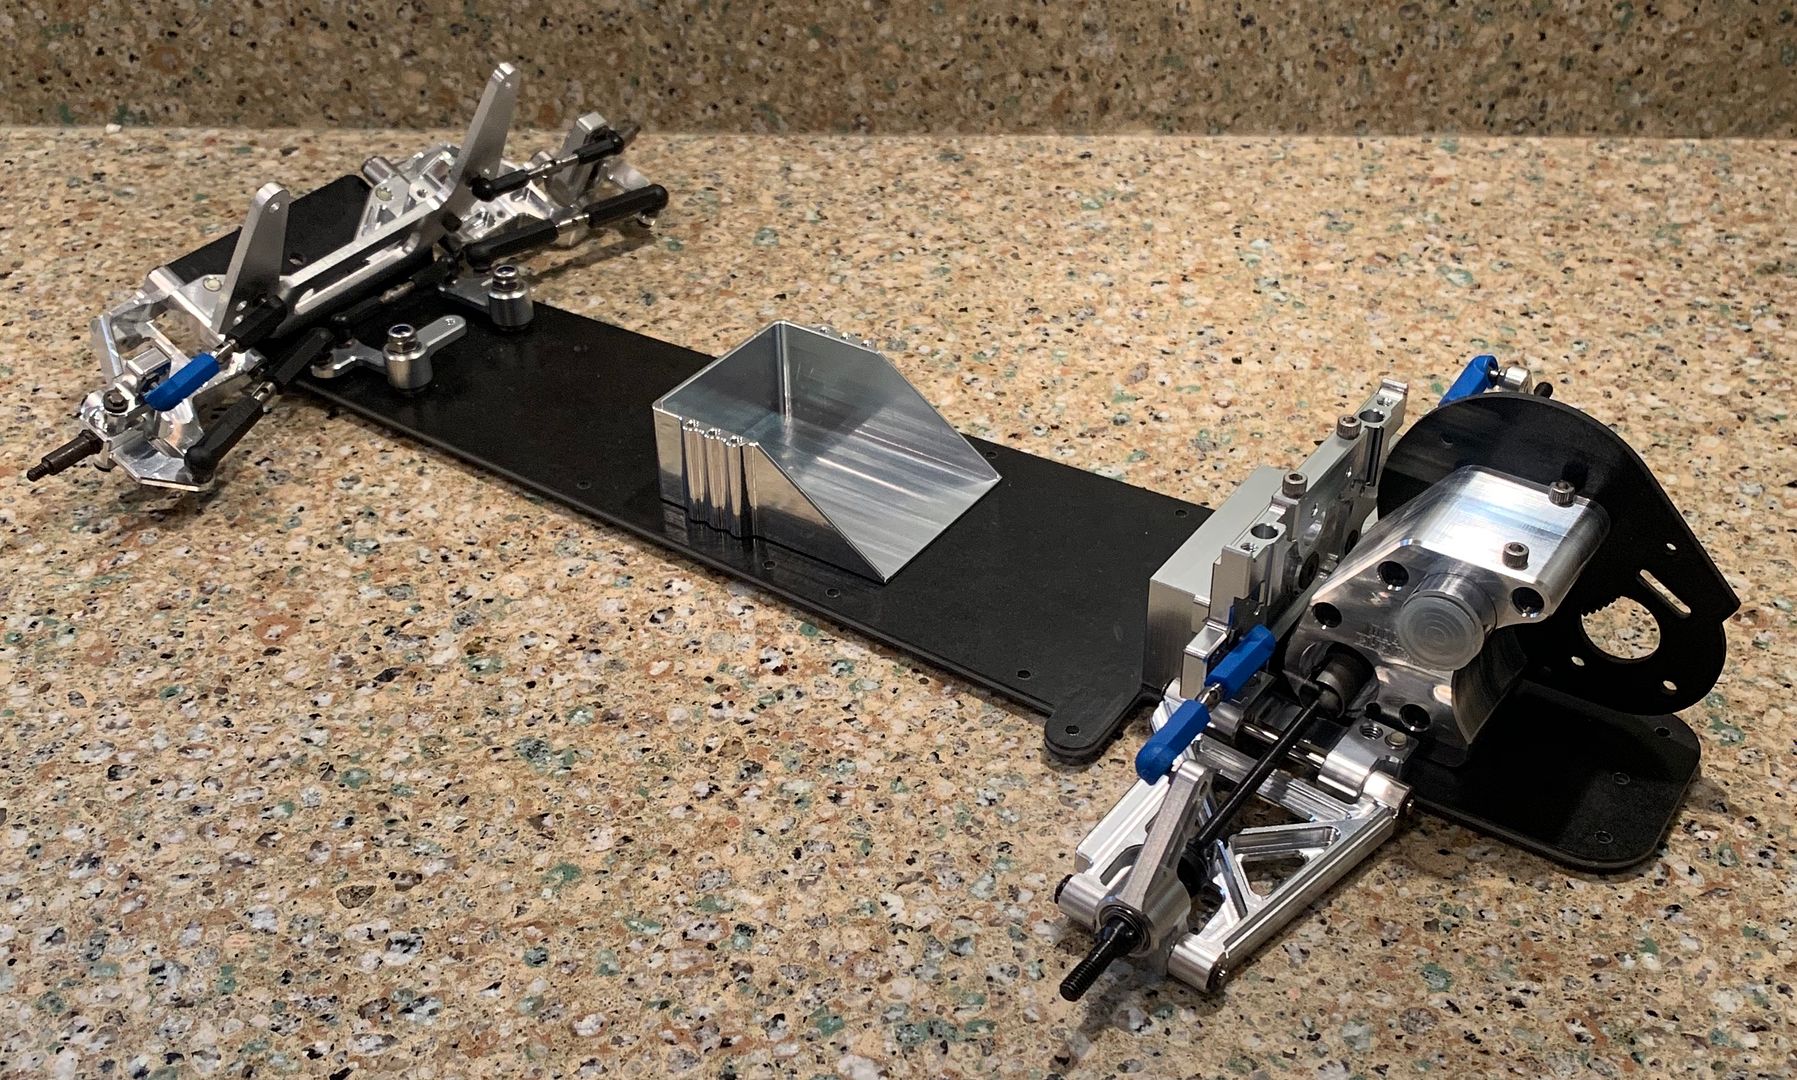
Got a fair bit of mock up work done. I’m basically rebuilding from scratch. I had to hunt through all my parts boxes to come up with what you see here. I still need to get a few small items which I have on order.

Built the Rogue Element transmission with 48 pitch gears and Jammin Jay diff tube. The composite craft motor plate got surprisingly tight. So longevity is anybody’s guess.

Image

Image

I got the suspension arms built. MIP CVA axles and Tecnacraft turnbuckles installed. Just need matching RPM ball cups.

Image

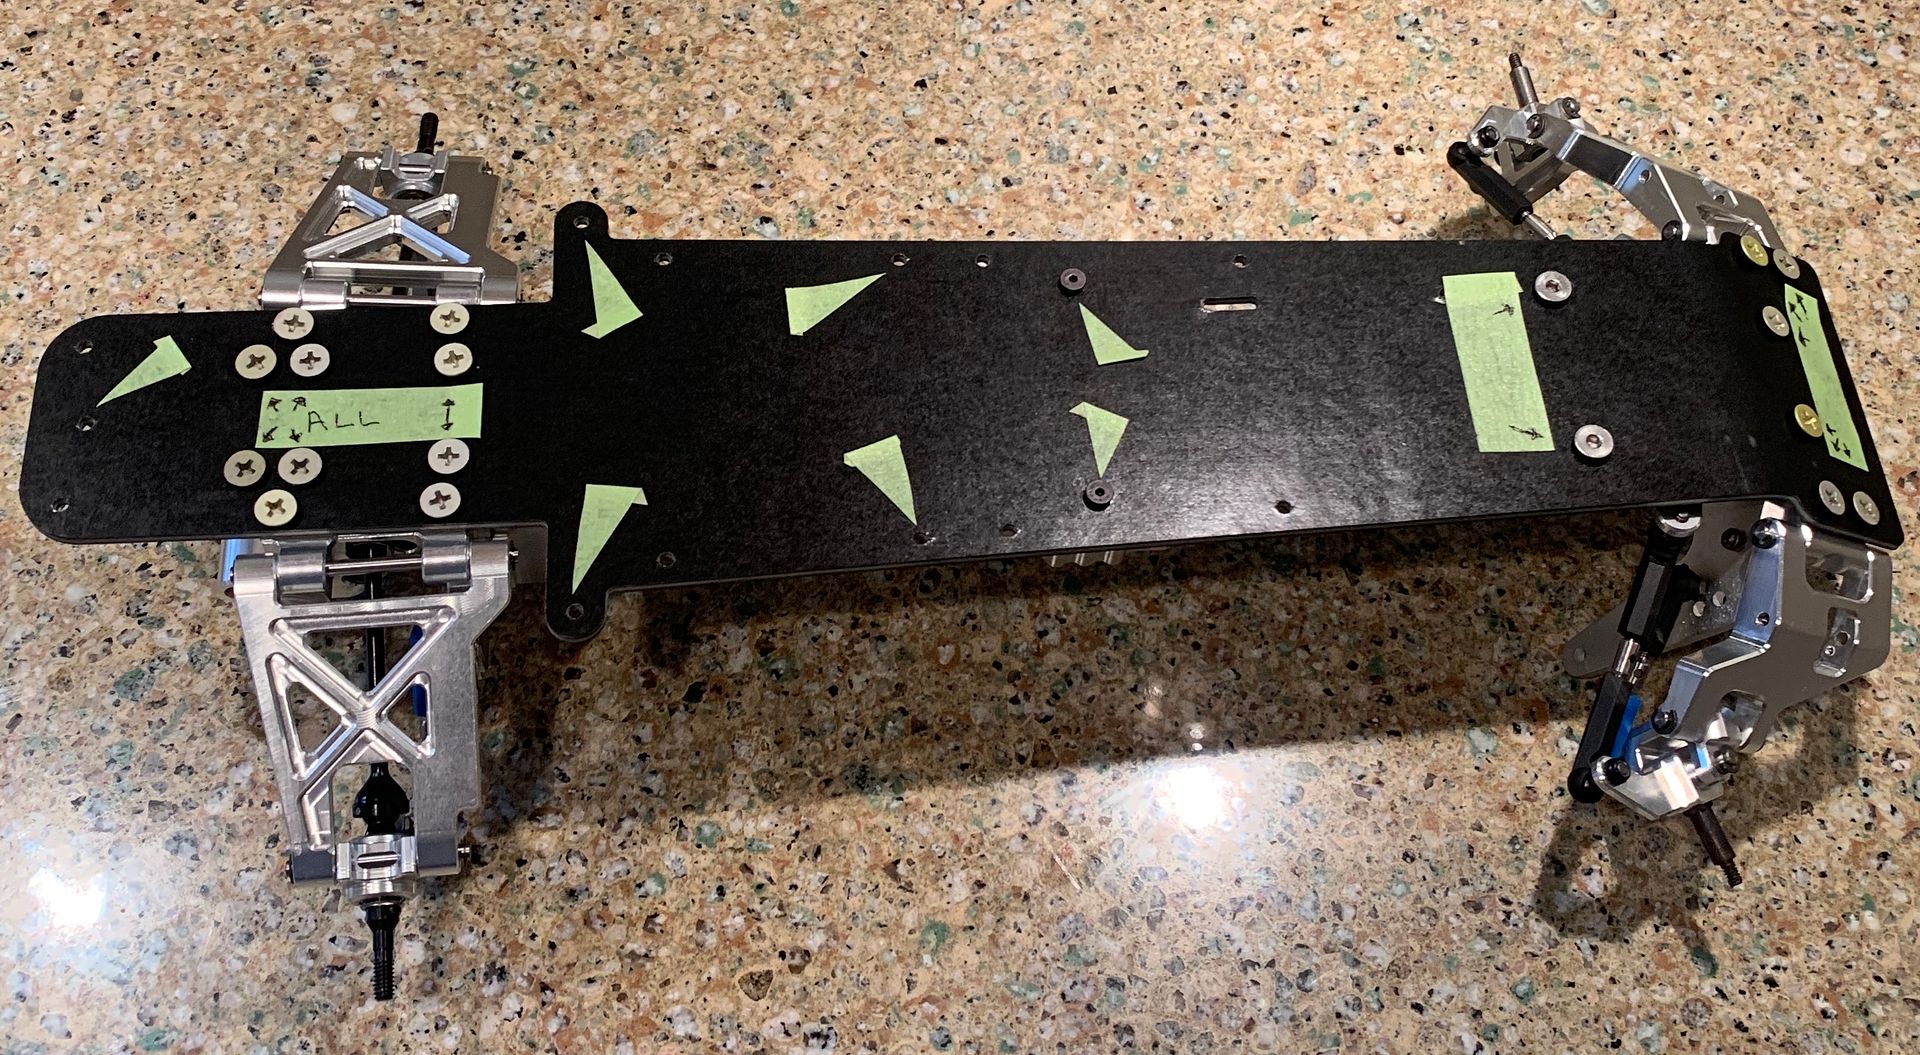
Now it’s ready for disassembly to countersink the holes on the bottom of the chassis.

Image

User avatar
shodog
Approved Member
Posts: 3813
Joined: Thu Oct 05, 2006 3:09 pm
Location: Washington
Has thanked: 3 times
Been thanked: 91 times

Re: Shodog's Ascot Sprinter

Post by shodog »

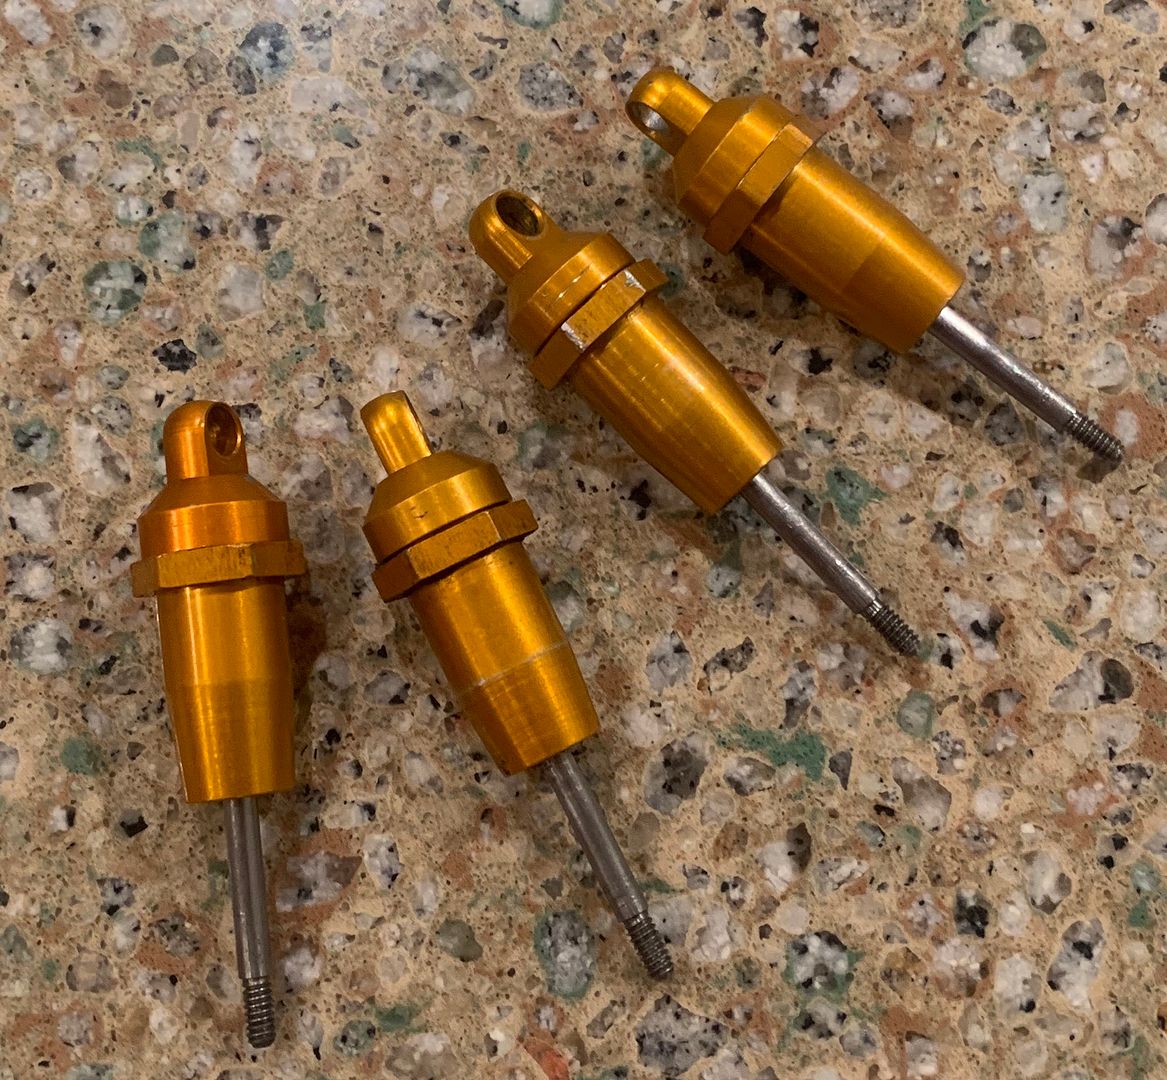
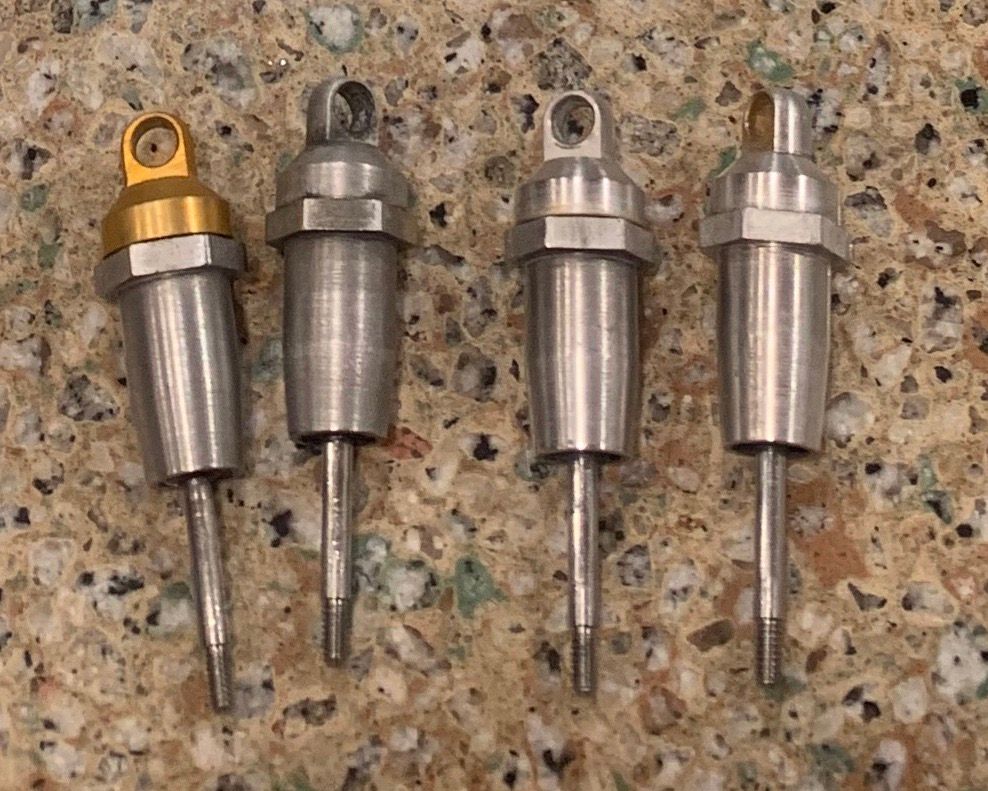
This build has made me realize just how much time we spend on these projects. I think the dampers took me a solid 3 hours to do. From striping to polishing and then rebuilding the bottom loaders with new O-Rings.

Image

Image

That was some tough anodizing on that gold shock cap. I ended up switching it out.

Got it mostly assembled back up.

Image

Image

Image

Image

Image

Image

User avatar
KidAgain
Business Member
Posts: 976
Joined: Fri Feb 01, 2019 2:11 pm
Location: So Cal
Has thanked: 473 times
Been thanked: 380 times

Re: Shodog's Ascot Sprinter

Post by KidAgain »

Very very nice and classy bud...................
Visit Nostalgic RC in the business section or @nostalgicrc on Facebook for your custom RC10DS parts

User avatar
XLR8
Approved Member
Posts: 3297
Joined: Sun Feb 19, 2017 3:46 am
Location: north/central Alabama
Has thanked: 1642 times
Been thanked: 1156 times

Re: Shodog's Ascot Sprinter

Post by XLR8 »

Now that's a sprint car. WOW!! 8)
I still have one of these in pieces in a box somewhere but I don't have those wheels and tires.
Having the right wheels can make the car -- imho.
Just awesome!!! :D
Doug

Create an account or sign in to join the discussion

You need to be a member in order to post a reply

Create an account

Not a member? register to join our community
Members can start their own topics & subscribe to topics
It’s free and only takes a minute

Register

Sign in

  • Similar Topics
    Replies
    Views
    Last post

Return to “RC10 Buggy Forum”

Who is online

Users browsing this forum: No User AvatarMojeek [Bot], No User AvatarYandex [Bot] and 3 guests