Such an awesome project, I love the sleeper aspect especially in something that was, let's face it, a shitbox back in the day!
I assume you've seen this one.
http://bringatrailer.com/2014/10/03/super-sleeper-427-powered-1978-chevrolet-chevette/
Project: LS1 Chevette
-
flipwils11

- Approved Member
- Posts: 1905
- Joined: Sun Feb 14, 2010 10:30 pm
- Location: St Paul, MN
- Has thanked: 2 times
- Been thanked: 19 times
-
RC10resto
- Super Member
- Posts: 3007
- Joined: Tue Sep 09, 2008 2:26 am
- Location: Los Angeles, CA
- Has thanked: 1441 times
- Been thanked: 548 times
-
romulus22

- Approved Member
- Posts: 2545
- Joined: Wed May 19, 2010 7:30 pm
- Location: KY
- Has thanked: 885 times
- Been thanked: 769 times
Re: My new project
I have seen that car on the web before. Not the direction my car will ever go but that guy did a killer job on that car making it look bone stock from the outside. The nose looks a little low but its livable. I'd drive it for sure.flipwils11 wrote:Such an awesome project, I love the sleeper aspect especially in something that was, let's face it, a shitbox back in the day!
I assume you've seen this one.
http://bringatrailer.com/2014/10/03/super-sleeper-427-powered-1978-chevrolet-chevette/
That's another pretty good sleeper. Looks very mild but I'm sure it still hauls. Where I live I can't think of one time I've ever noticed a Vega on the road. I've only ever seen them as full blown drag cars.
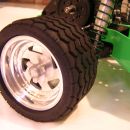
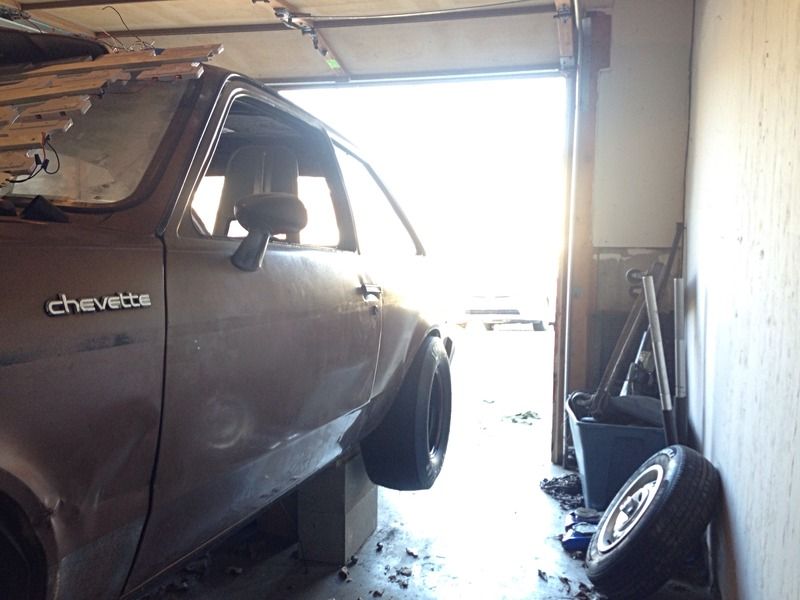
I made another purchase recently and the first to arrive was my tires
After checking dimensions and making a false tire I made my order. It's just propped up for a picture so this may not be the exact placement, there is close to 2" clearance on the inside of the tire as it sits. Its good to finally know I won't need to move any metal to fit some slicks. Ill probably roll the fender lip for safety still. I really wanted to keep the tires in the fenders.

And I picked up enough lexan to do all of the side windows and hatch glass, for $73.... Every so often my career pays off.


-
RC10th
- Approved Member
- Posts: 4699
- Joined: Sat Feb 16, 2013 9:51 am
- Location: Australia
- Has thanked: 50 times
- Been thanked: 1492 times
Re: My new project
How did that happen? Your on a roll 
I was old school - when old school wasn't cool !
-
romulus22
- Approved Member
- Posts: 2545
- Joined: Wed May 19, 2010 7:30 pm
- Location: KY
- Has thanked: 885 times
- Been thanked: 769 times
Re: My new project
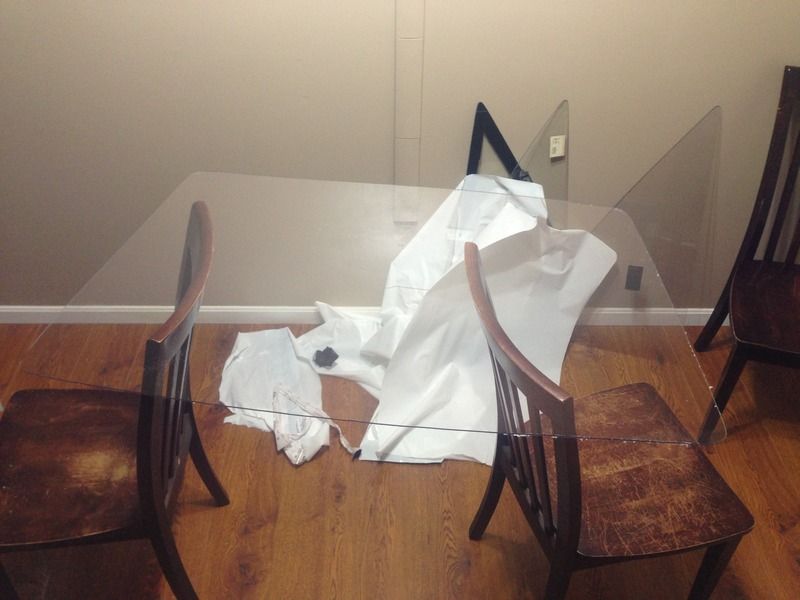
Working on my windows. I was taking a break from cutting the lexan and started cleaning the adhesive from the hatch. Lots of pressure with a screwdriver and the adhesive finally gave way. Somewhere on this top edge is what got me.RC10th wrote:How did that happen? Your on a roll

I was making good progress.... But I'm calling it a night.

-
romulus22
- Approved Member
- Posts: 2545
- Joined: Wed May 19, 2010 7:30 pm
- Location: KY
- Has thanked: 885 times
- Been thanked: 769 times
Re: My new project
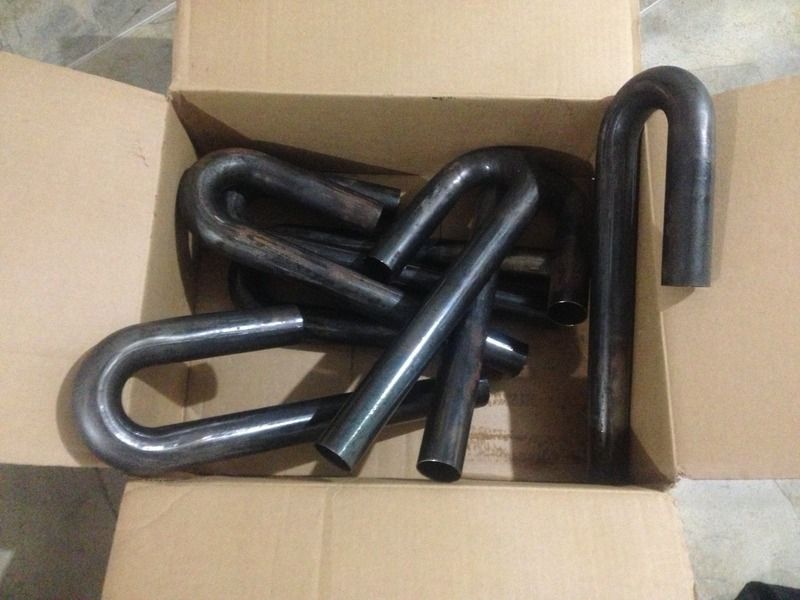
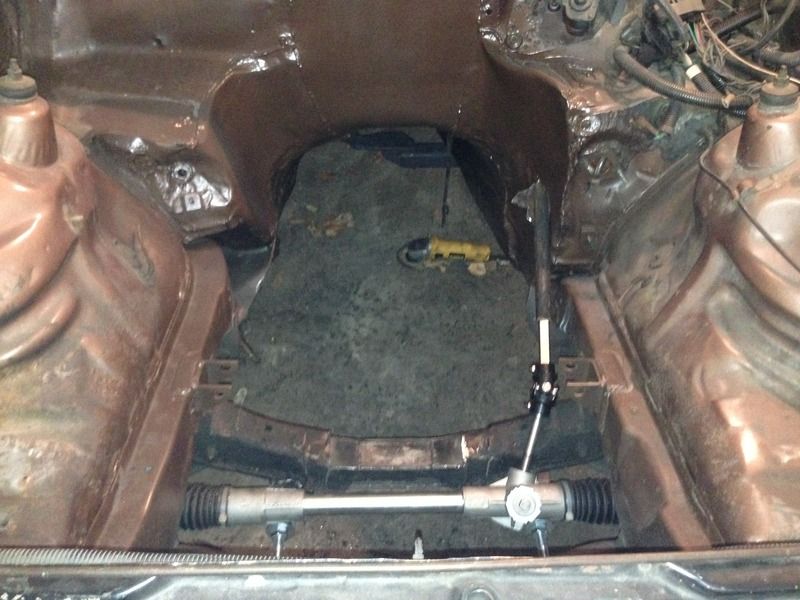
My back order header primary tubing finally showed up.
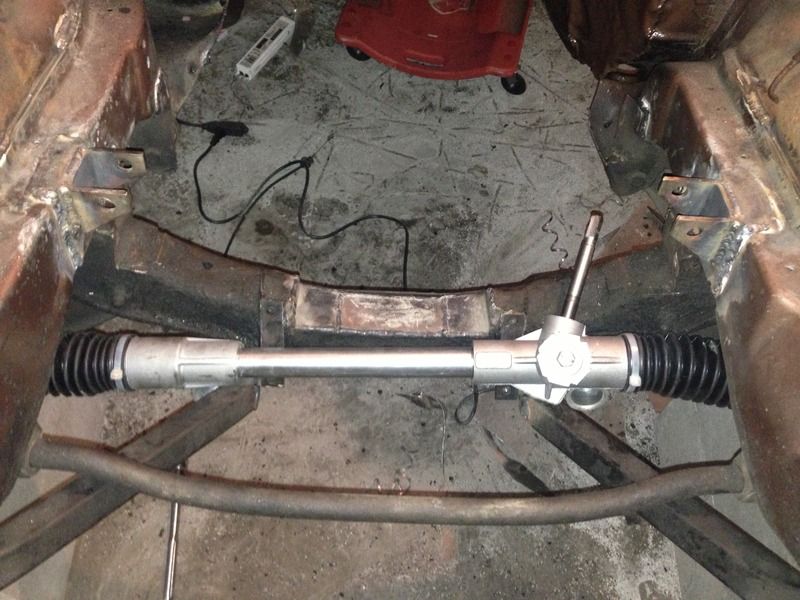
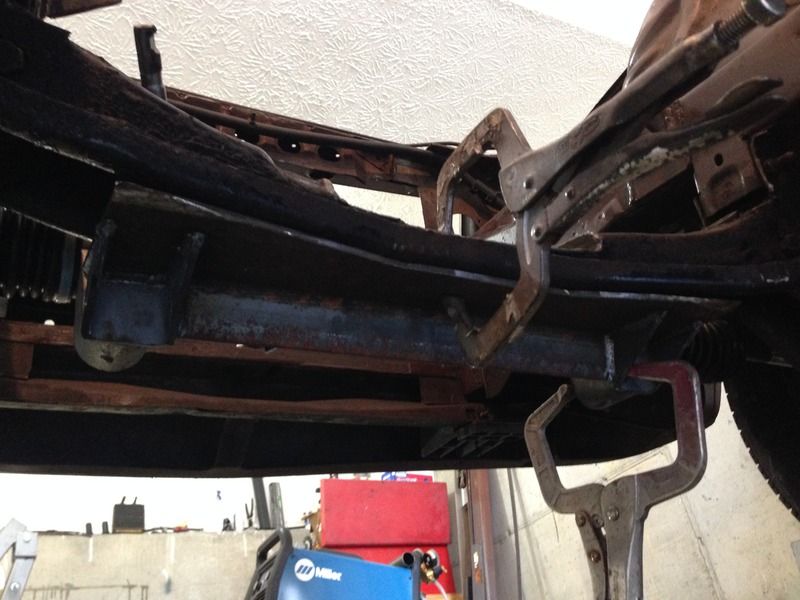
I ordered a new Mustang II rack and pinion with all the joints. Just need to cut out the old stuff and make some mounts.
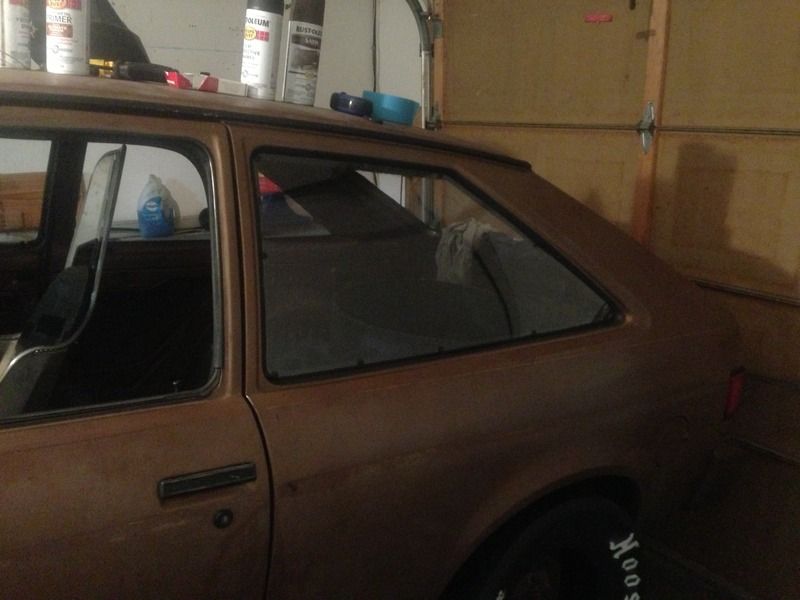
And finally cut out the hatch glass. Total weight saved in the 3 back windows is 17.2 lbs. I might cut out one side window and see how it functions in place of the glass. I have a feeling it will snag and not line up as the window is rolling up. I don't want fixed side windows as it will be more than just a strip car.
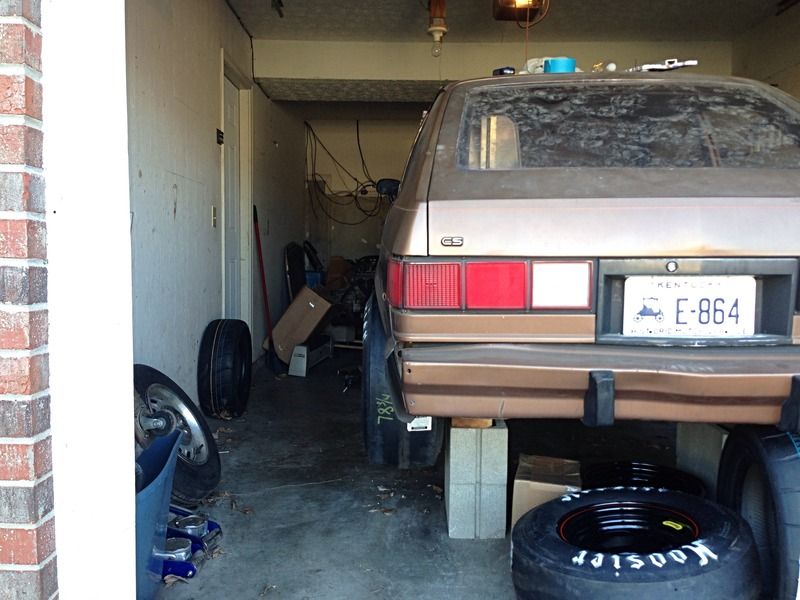
Here is a crappy shot of what the rear quarters look like. Hard to get a decent shot this time of year when its dark when you go to work and dark when you get off.
Edit:
Drivers side header/manifold welded up. Going to give each hot side a good coat of header paint and wrap them to keep the engine bay temps down.
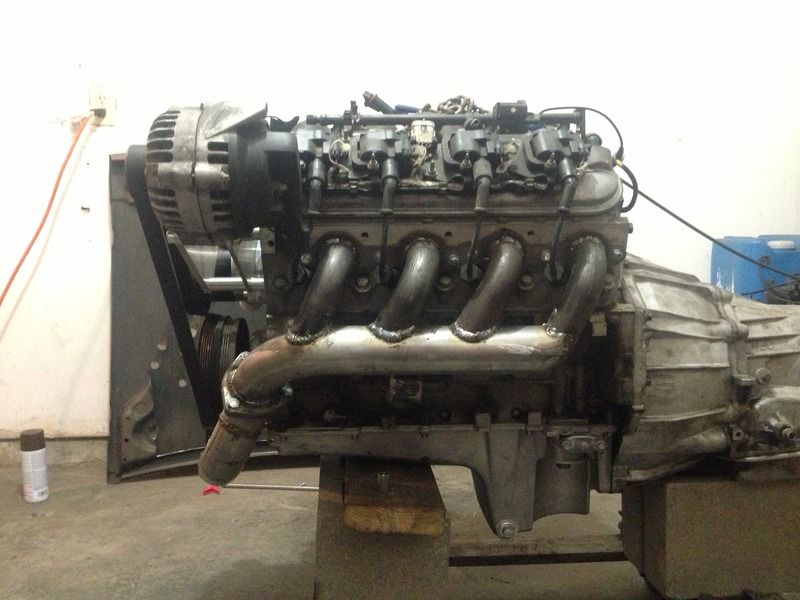
Edit again:
The hard part of the exhaust is now all welded. I'm so glad I kept the engine out to do this side. Im waiting for a couple more things in the mail before I can button the engine up and hopefully put it back into the car for the last time, (Knock on wood).

I ordered a new Mustang II rack and pinion with all the joints. Just need to cut out the old stuff and make some mounts.

And finally cut out the hatch glass. Total weight saved in the 3 back windows is 17.2 lbs. I might cut out one side window and see how it functions in place of the glass. I have a feeling it will snag and not line up as the window is rolling up. I don't want fixed side windows as it will be more than just a strip car.

Here is a crappy shot of what the rear quarters look like. Hard to get a decent shot this time of year when its dark when you go to work and dark when you get off.

Edit:
Drivers side header/manifold welded up. Going to give each hot side a good coat of header paint and wrap them to keep the engine bay temps down.

Edit again:
The hard part of the exhaust is now all welded. I'm so glad I kept the engine out to do this side. Im waiting for a couple more things in the mail before I can button the engine up and hopefully put it back into the car for the last time, (Knock on wood).

-
romulus22
- Approved Member
- Posts: 2545
- Joined: Wed May 19, 2010 7:30 pm
- Location: KY
- Has thanked: 885 times
- Been thanked: 769 times
Re: My new project
Weather and spare time have finally matched up. So I started on my steering mount. As with everything I'm going overkill.
Couple pics of the mount I'm making. Out of time for the day.
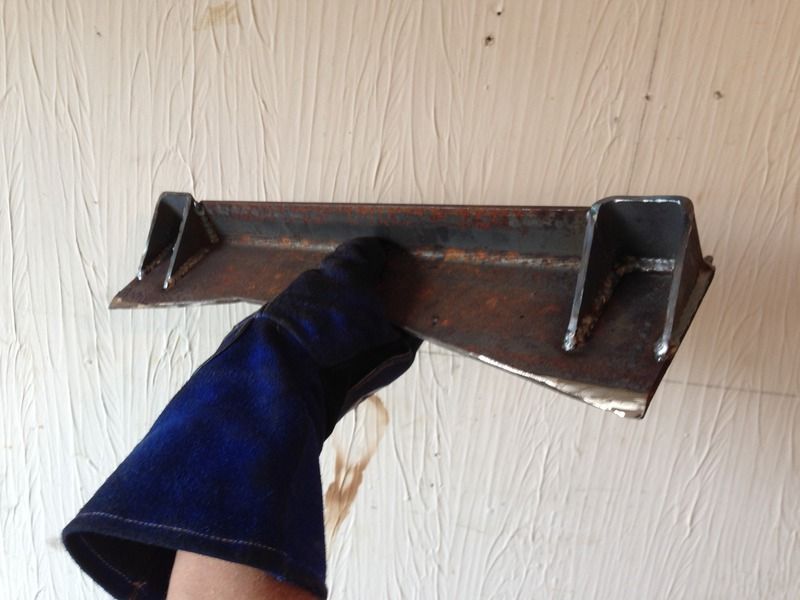
Couple pics of the mount I'm making. Out of time for the day.


-
slotcarrod

- Approved Member
- Posts: 4415
- Joined: Tue Nov 25, 2008 10:57 pm
- Location: Calgary Alberta Canada
- Has thanked: 1 time
- Been thanked: 45 times
Re: My new project
You will have to name that car "Blood N Guts"! Cool build but for the flesh wounds!
Rod Littau
Slotcarrod's Rumpus Room: http://www.rc10talk.com/viewtopic.php?f=77&t=16113
25 Years of the RC10: http://www.rc10talk.com/viewtopic.php?f=35&t=13059
Slotcarrod's Rumpus Room: http://www.rc10talk.com/viewtopic.php?f=77&t=16113
25 Years of the RC10: http://www.rc10talk.com/viewtopic.php?f=35&t=13059
-
vintage AE
- Approved Member
- Posts: 3012
- Joined: Fri Nov 14, 2008 1:47 pm
- Location: Sunken Lake, Nova Scotia
- Has thanked: 29 times
- Been thanked: 36 times
Re: My new project
This is my first time checking out the thread. I started on the first page and after that had to skip to the last page to see what stage you were at. Very cool build! Nothing like a little blood to make a build proper.
-
romulus22
- Approved Member
- Posts: 2545
- Joined: Wed May 19, 2010 7:30 pm
- Location: KY
- Has thanked: 885 times
- Been thanked: 769 times
Re: My new project
Well I should've known better. I mounted my slicks and they grew dramatically with pressure. I ordered the deepest backspace wheels in 13" and 14" so I could swap back and forth between slicks and radials without messing with spacers. I have 2" of clearance between the tire and wheel tub. I might pull those in 1" and narrow my new reared the 2" to bring the tires up under the fenders quite a bit.


-
romulus22
- Approved Member
- Posts: 2545
- Joined: Wed May 19, 2010 7:30 pm
- Location: KY
- Has thanked: 885 times
- Been thanked: 769 times
Re: Project: LS1 Chevette
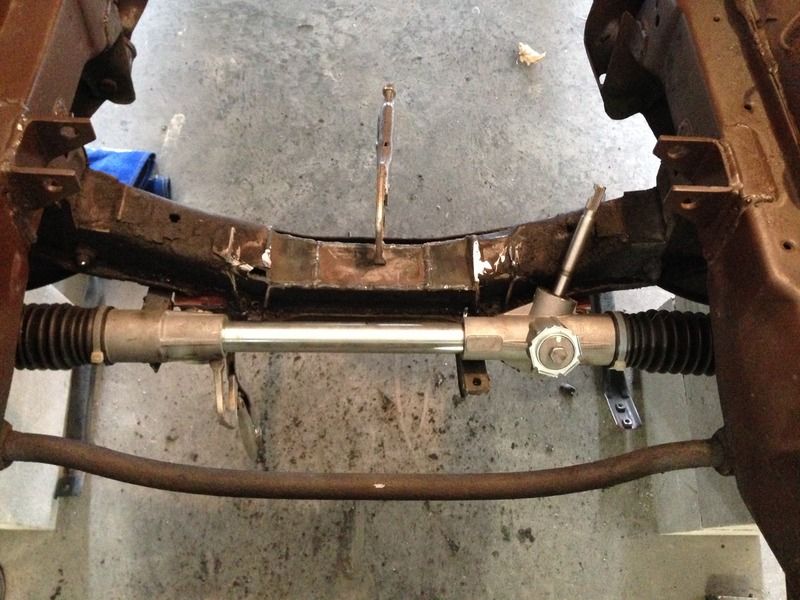
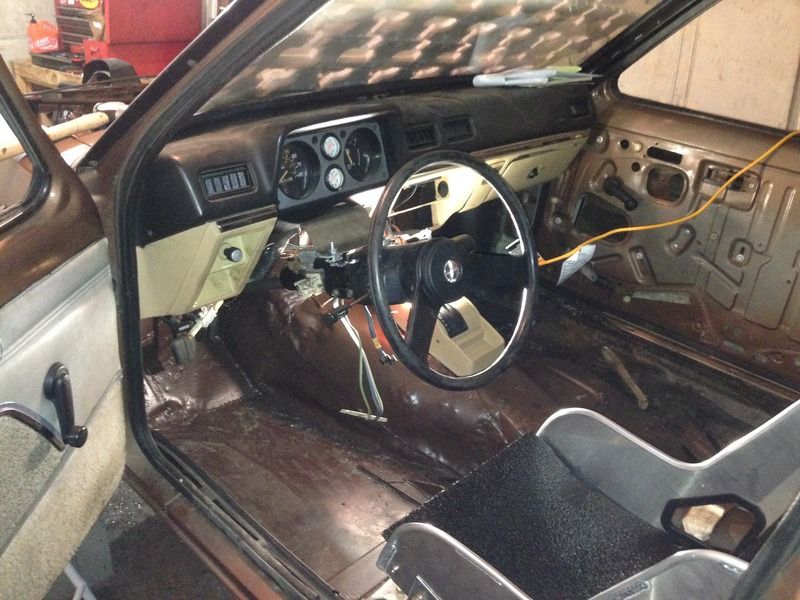
Steering rack is mounted, steering column back in where it needs to be. I brought the steering wheel back about 6" from its stock mounting point. I put the seat as far back as I could and stilI can put the pedal to the firewall. Still some finishing touches the do here but the engine is close to going in for the last time hopefully.


-
RC10th
- Approved Member
- Posts: 4699
- Joined: Sat Feb 16, 2013 9:51 am
- Location: Australia
- Has thanked: 50 times
- Been thanked: 1492 times
Re: Project: LS1 Chevette
Getting there, can't wait to see the shake down of this car.
Bet your excited to being close to getting the drivetrain in for the last time. What was your reason for moving the column back?
Bet your excited to being close to getting the drivetrain in for the last time. What was your reason for moving the column back?
I was old school - when old school wasn't cool !

-
romulus22
- Approved Member
- Posts: 2545
- Joined: Wed May 19, 2010 7:30 pm
- Location: KY
- Has thanked: 885 times
- Been thanked: 769 times
Re: Project: LS1 Chevette
Mostly just comfort reasons. I put the seat in a non cramped leg position. Then brought the wheel where I wanted it.RC10th wrote:What was your reason for moving the column back?
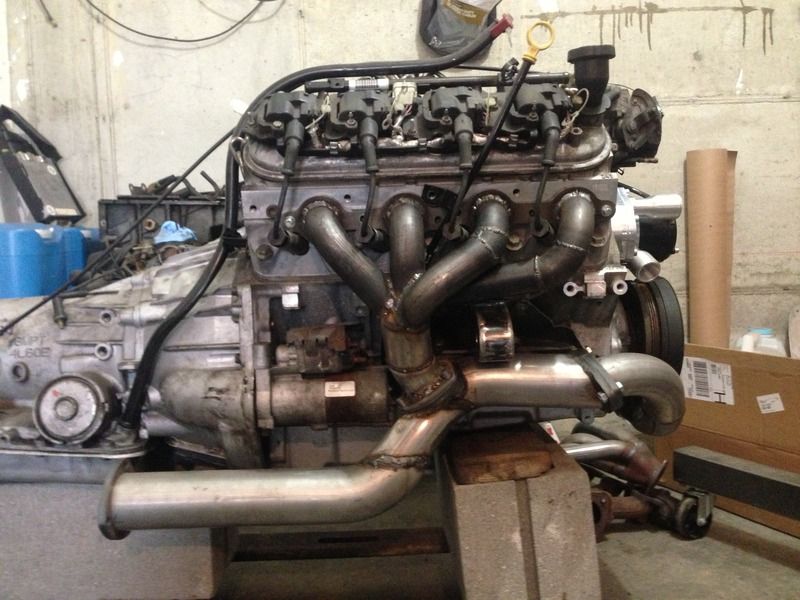
Just finished putting the engine back in for what better be the last time. Cooling and brakes are next

Headers and crossover exhaust is in.


Plenty of room to get to those trans bolts if I need to drop the trans.

No one will ever know. Until I start it

Create an account or sign in to join the discussion
You need to be a member in order to post a reply
Create an account
Not a member? register to join our community
Members can start their own topics & subscribe to topics
It’s free and only takes a minute
Sign in
-
- Similar Topics
- Replies
- Views
- Last post
-
- 4 Replies
- 900 Views
-
Last post by 62 bugzilla
-
- 9 Replies
- 1811 Views
-
Last post by TycoTamiya4eva
-
- 7 Replies
- 2158 Views
-
Last post by Truckguy
-
- 24 Replies
- 5181 Views
-
Last post by sbcnyc
-
- 3 Replies
- 920 Views
-
Last post by Hillbillyrcer
-
- 26 Replies
- 3435 Views
-
Last post by Volumiza
-
- 9 Replies
- 1476 Views
-
Last post by RC10th
-
- 2 Replies
- 1075 Views
-
Last post by tulsa
Who is online
Users browsing this forum: No registered users and 9 guests