I wanted to make this better than just your standard slap together by using some parts that are vintage and other parts that are currently available. I've been collecting things here and there. A set of Dhawk aluminum parts including the transmission case. A bearing set from somewhere in Hong Kong. Aluminum shock coil overs from a list member here who I can't remember who I bought them from. A set of MIP CVD's. Today the final pieces to the puzzle of my rere build came in which were the RPM arms, lower shock cups and rod ends and a set of bearings for the out drives on the tranny.
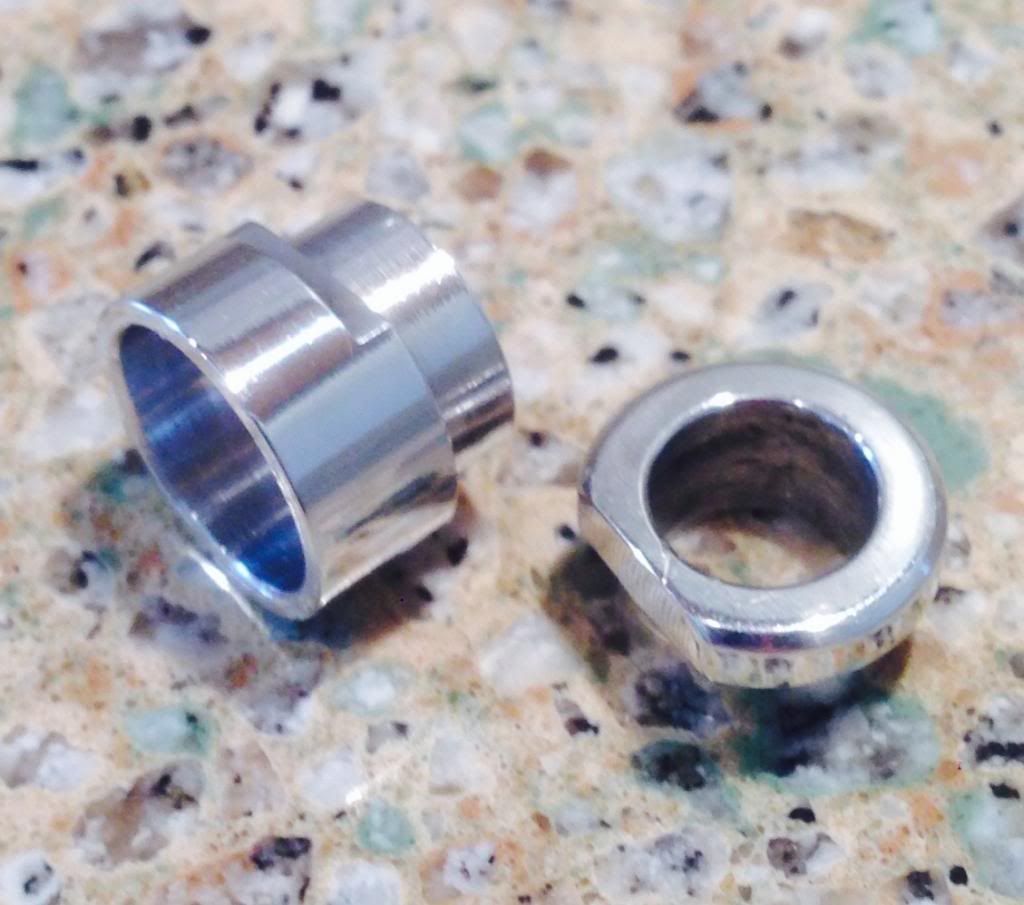
First order of business is the transmission. Over the years I have been collecting, I've come across some really neat stuff. One of these things is a set of top shaft bearing carriers made from aluminum. No clue who made them though
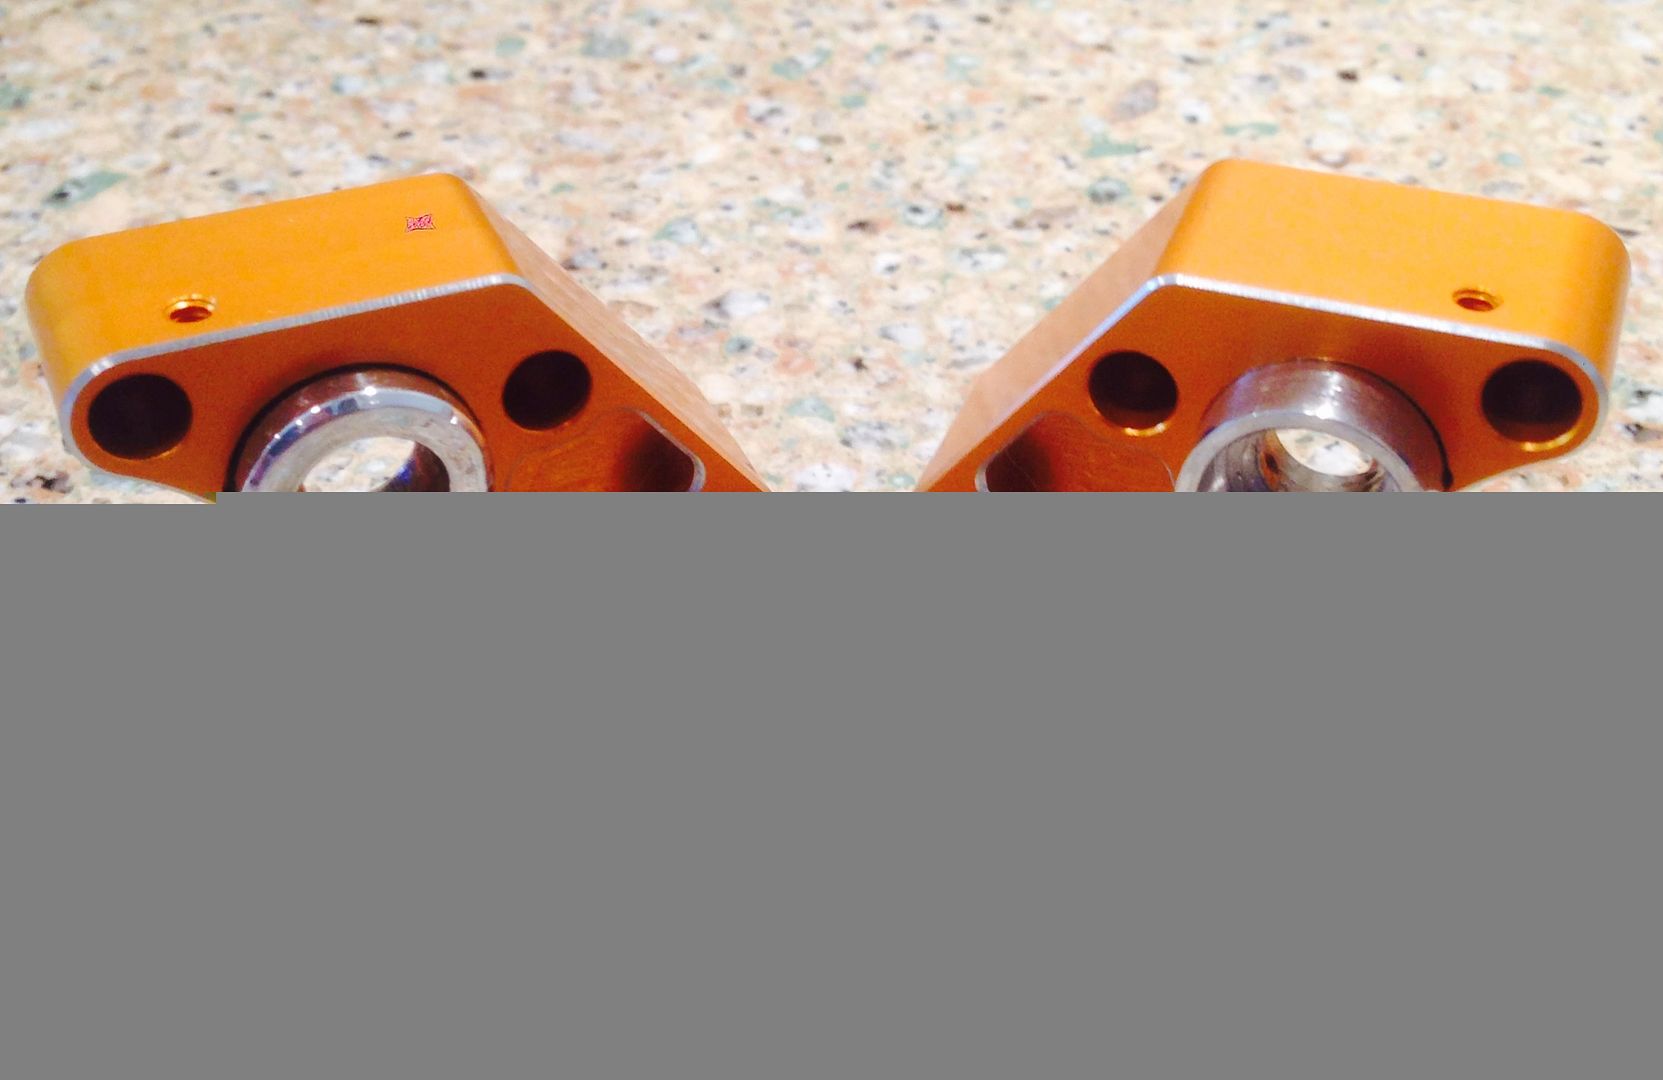
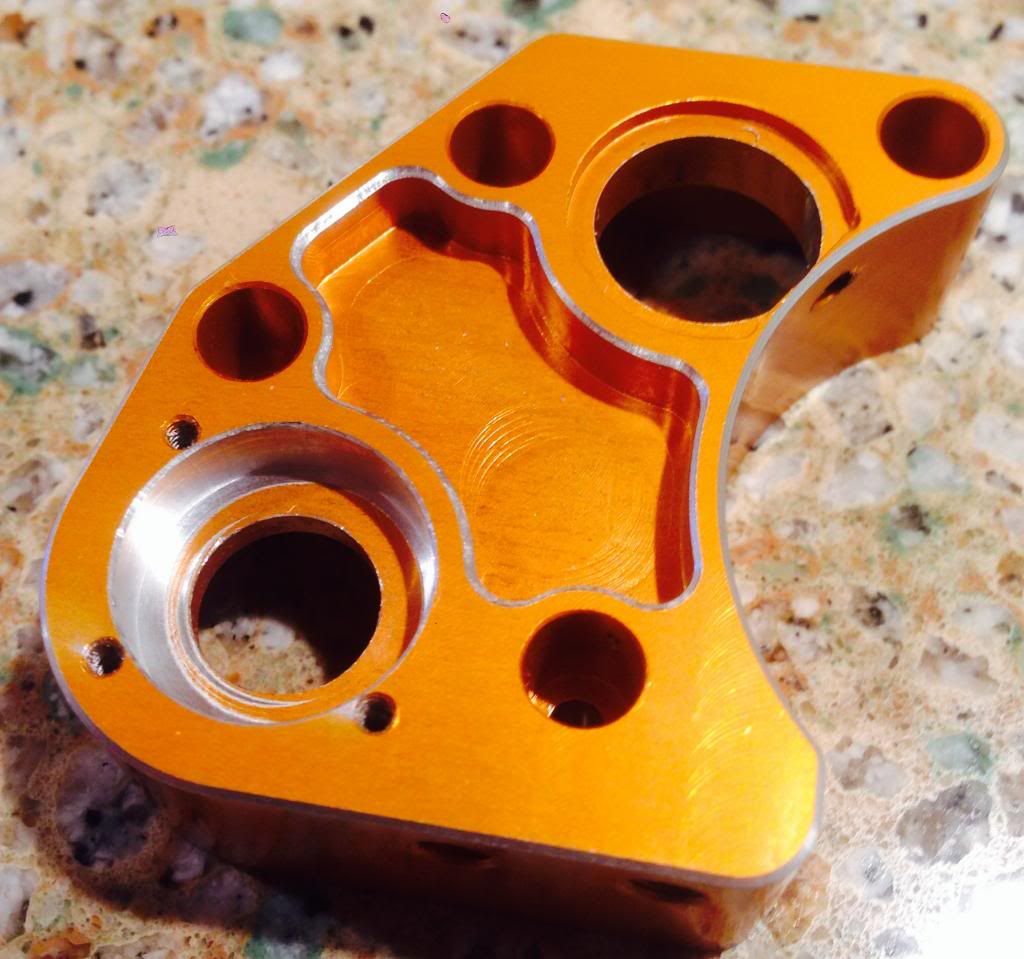
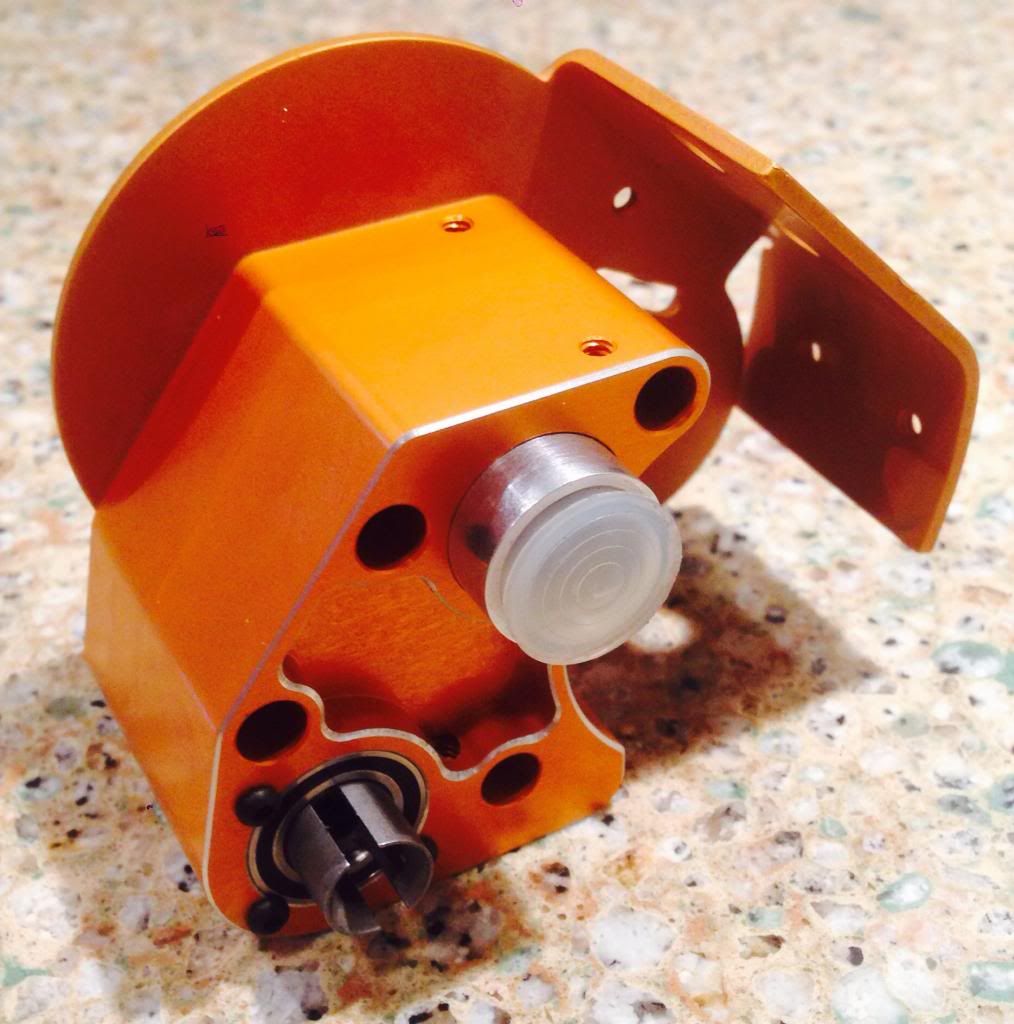
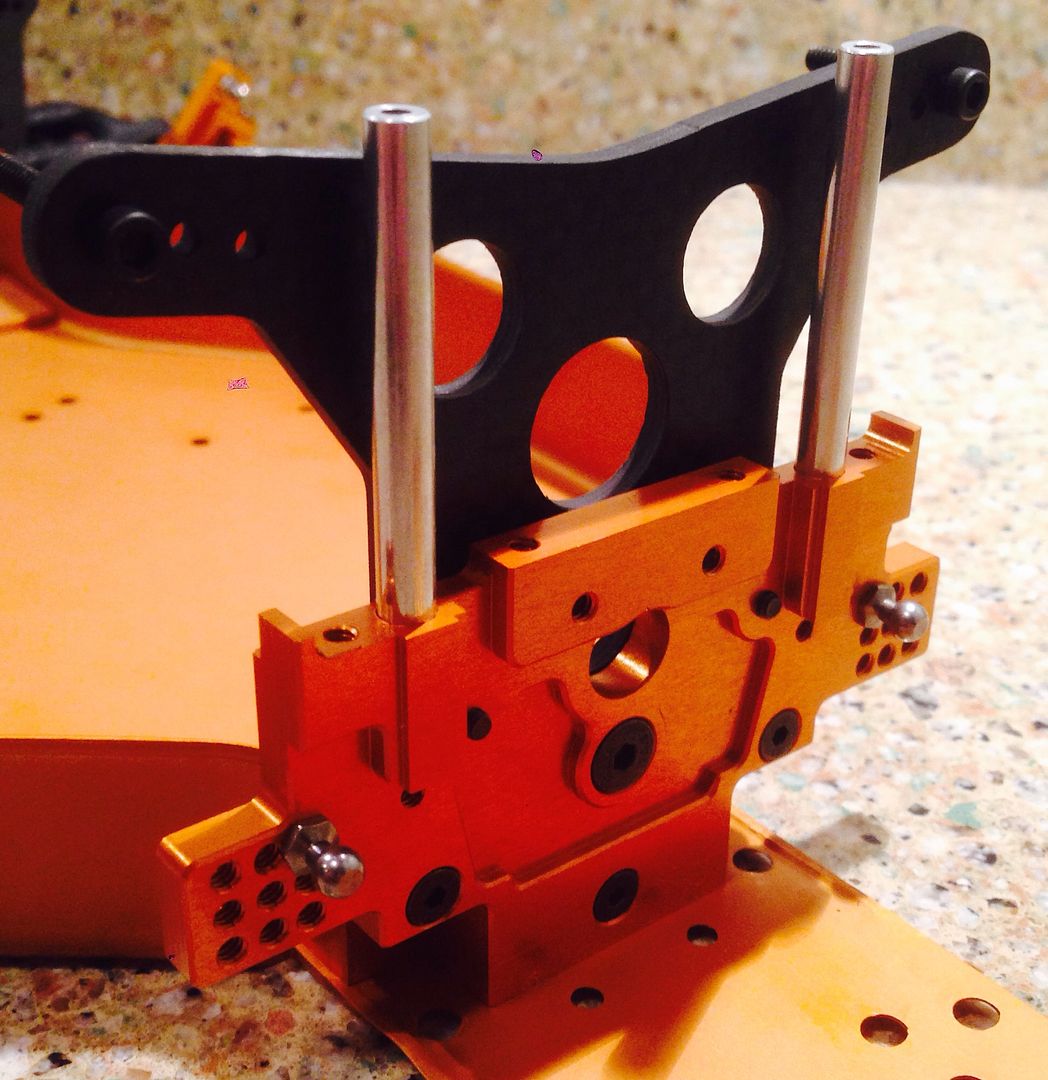
In regards to the dhawk transmission case, you really get what you pay for. The the holes for the top shaft mounts needed filing where the threads broke through from the top of the case. The biggest problem was the need to enlarge the bearing recess from .0617 to .0625. Luckily my neighbor has a Bridgeport mill and we made short work of that.
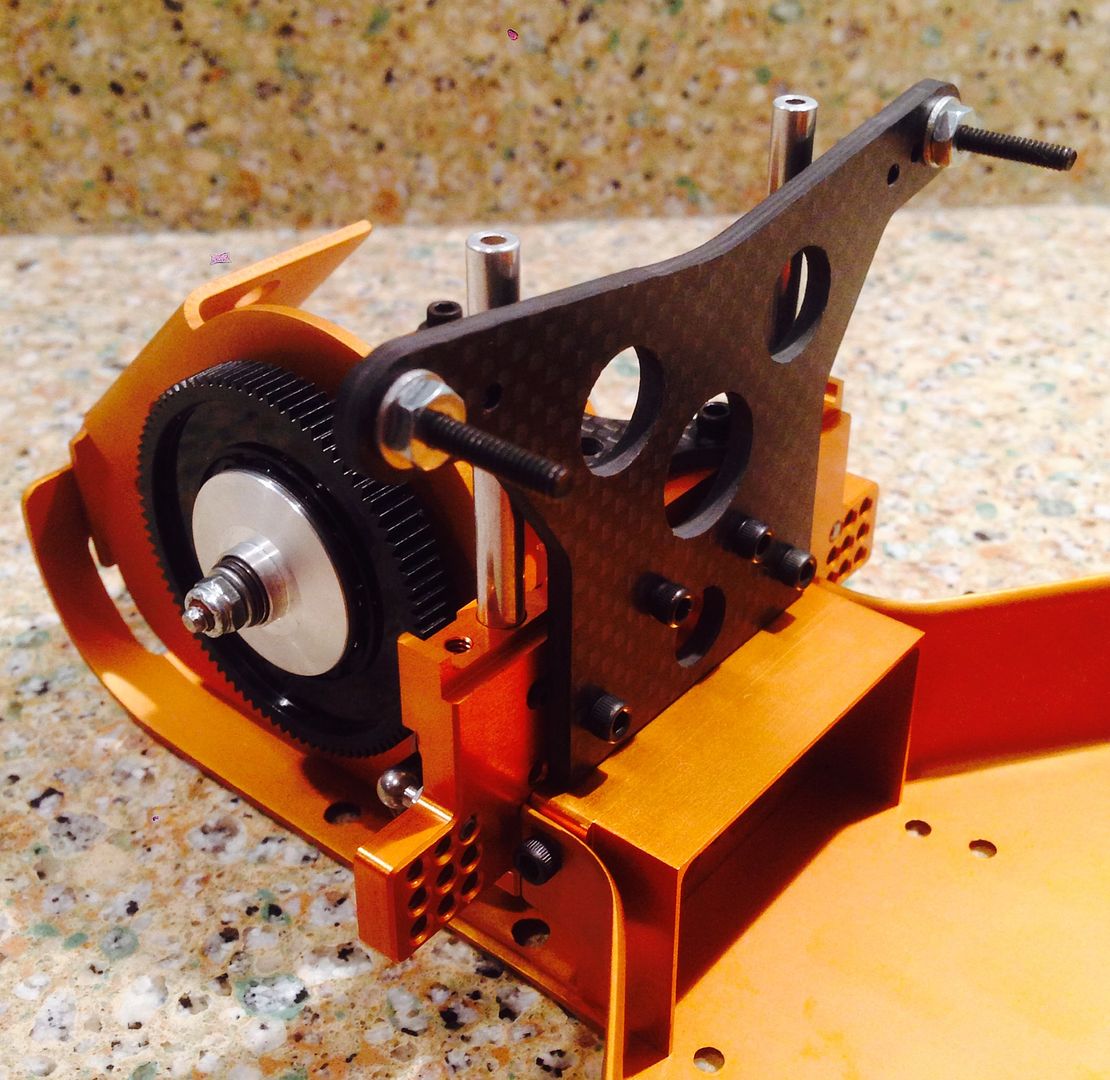
Next up was installation of some Thorp 48 pitch gears. These suckers are butter smooth.
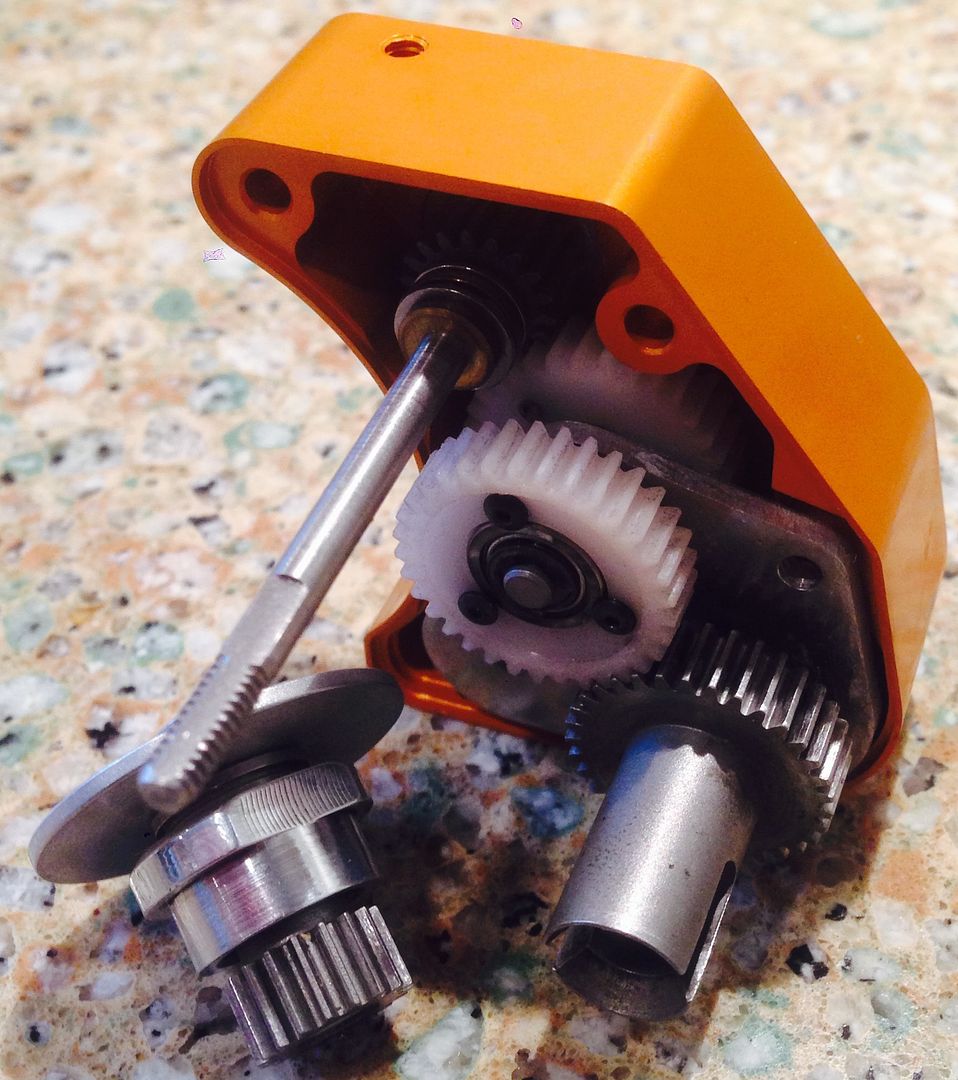
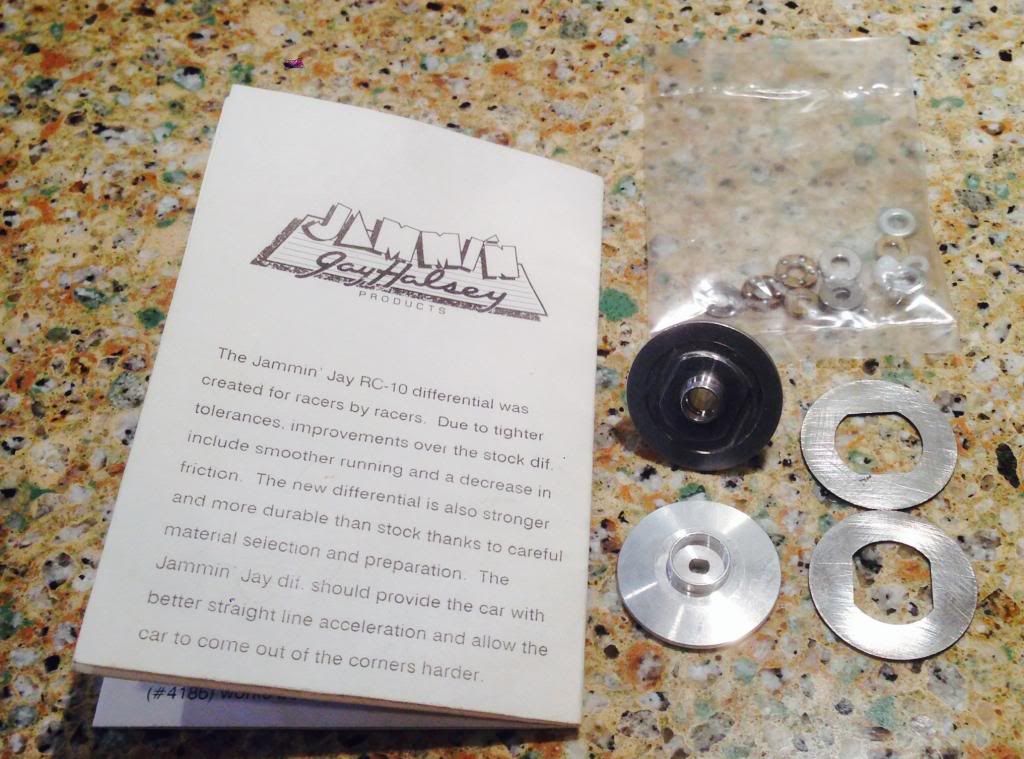
I'm using a Jammin Jay slipper setup. This unit truly is nicer than stock setup with the double thrust bearings.
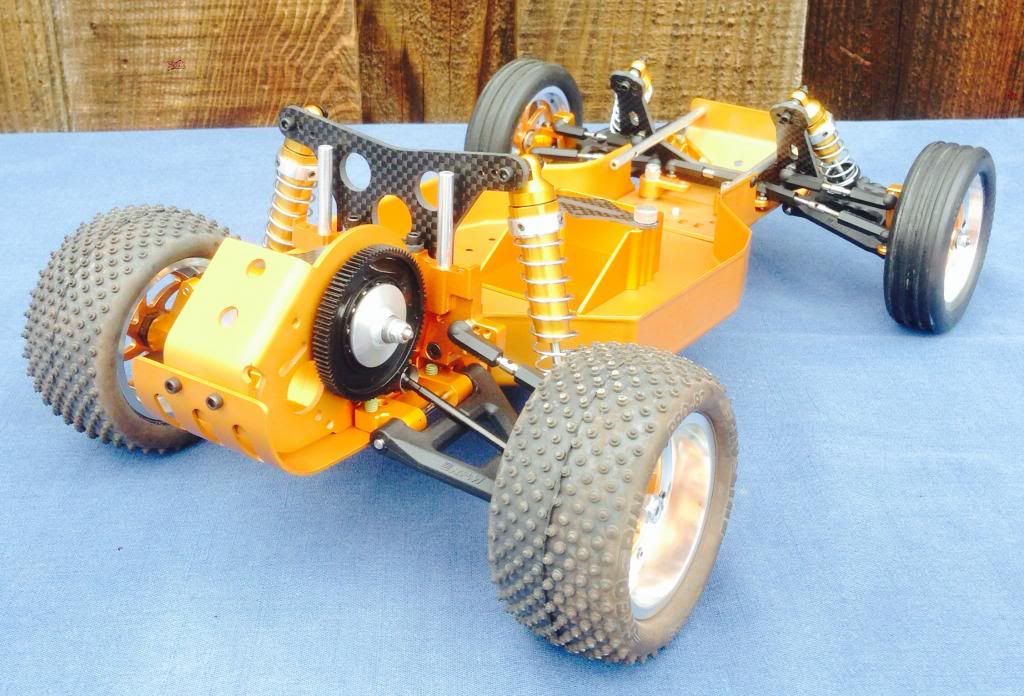
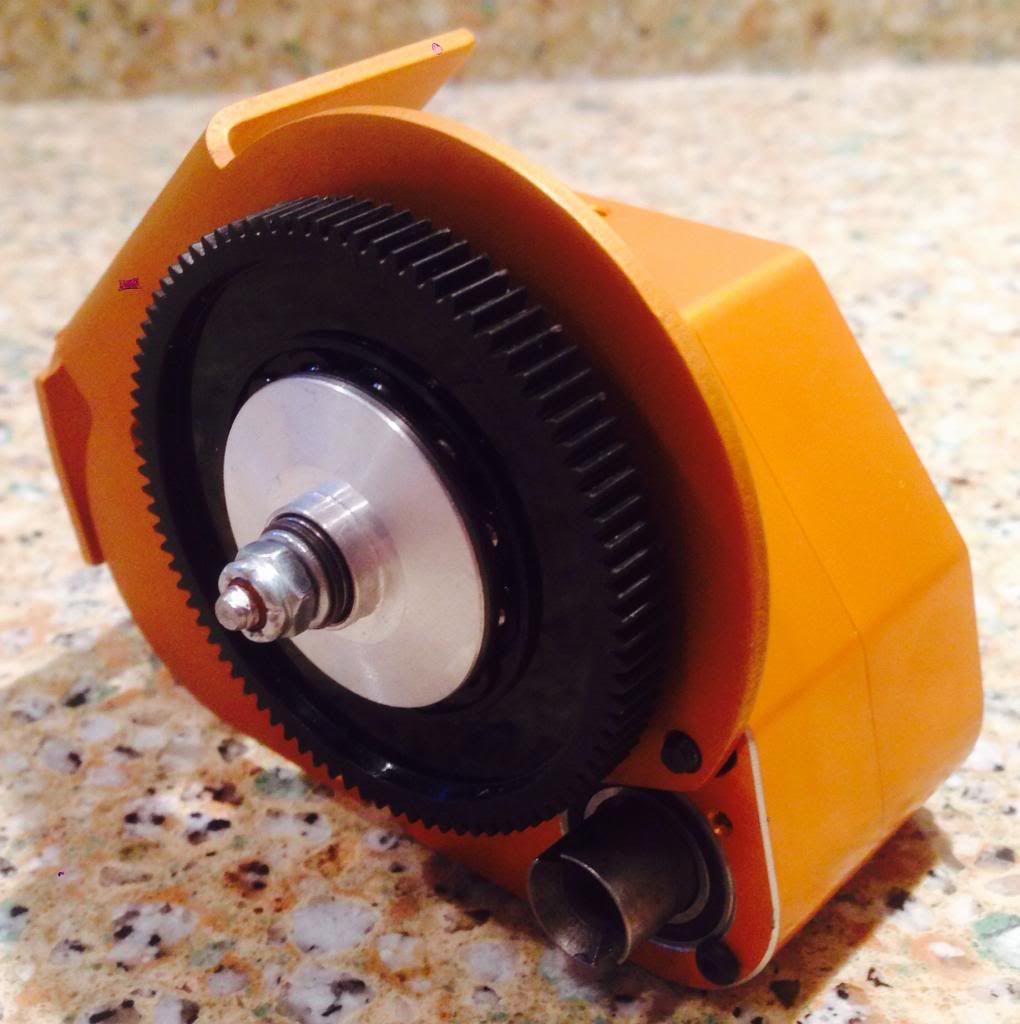
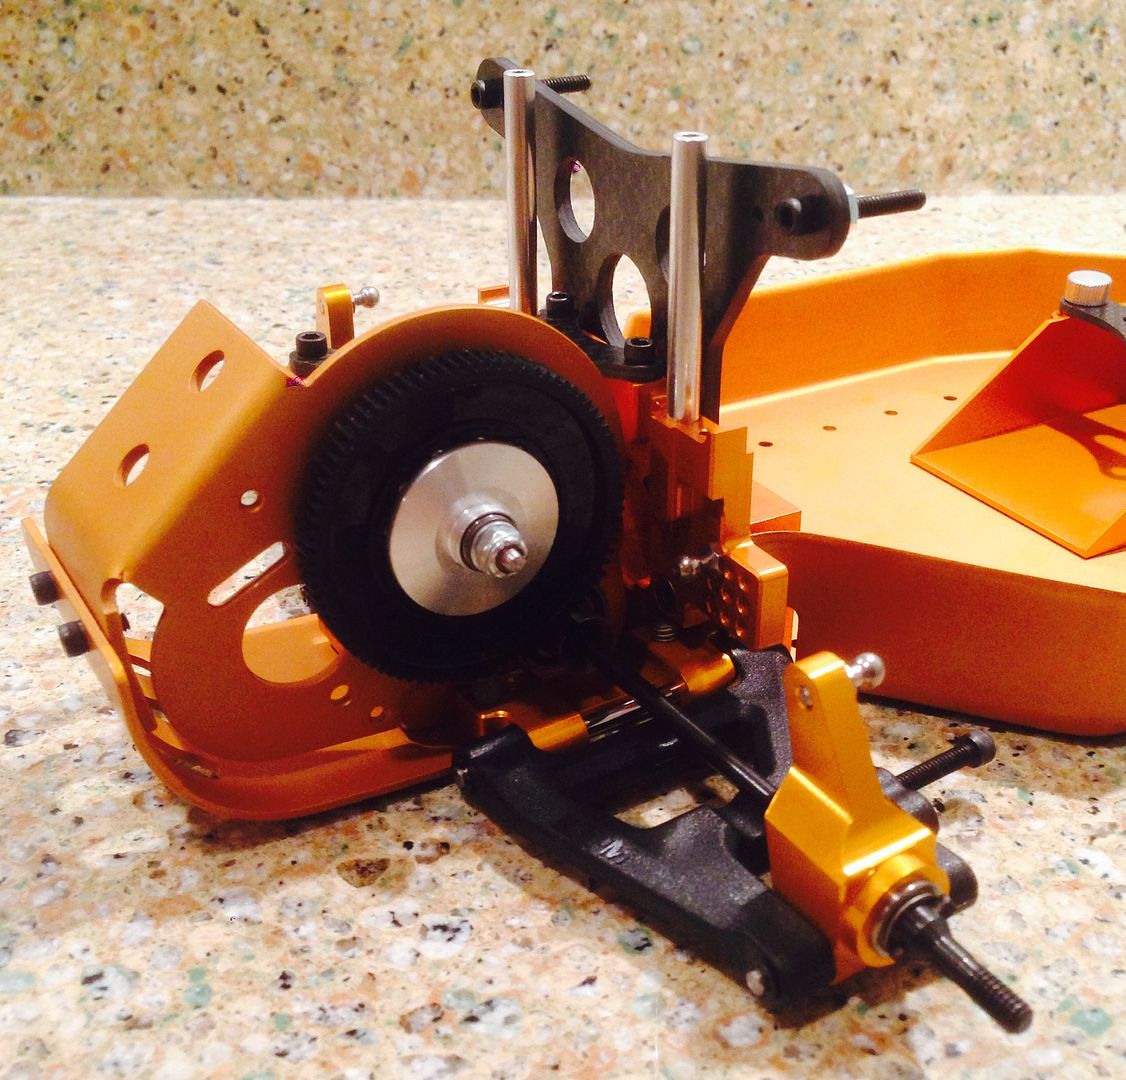
Here it is all assembled up ready to install on the chassis
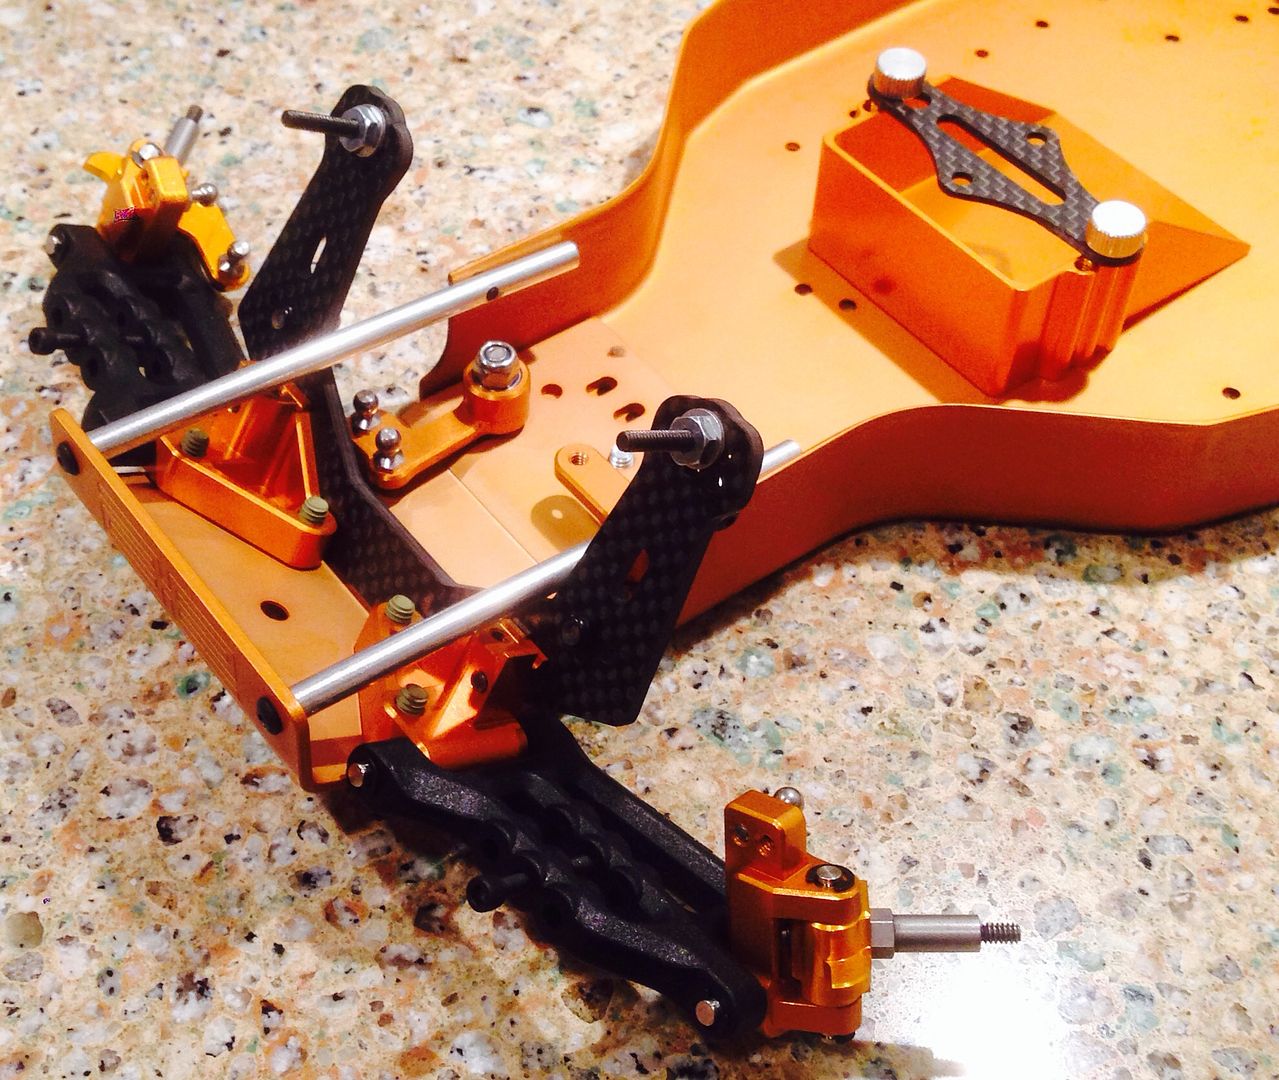
First order of business is to build the front end. No real issues here. I substituted some small 4/40 locking nuts in place of the stock larger non-locking 4/40 nuts.
Next up is the rear bulkhead. I found out the hard way that mounting holes are not deep enough. The aluminum 8/32 bottomed out before tightening. When I tried to back them out, one seized and snapped off in the bulkhead. The aluminum hardware is poor quality. I used a small ex-out to fish the snapped off piece. I cut two screws down and coated them with Teflon grease. I disassembled the front end and greased all those screws and am now greasing all aluminum screws before use. However it does look pretty.
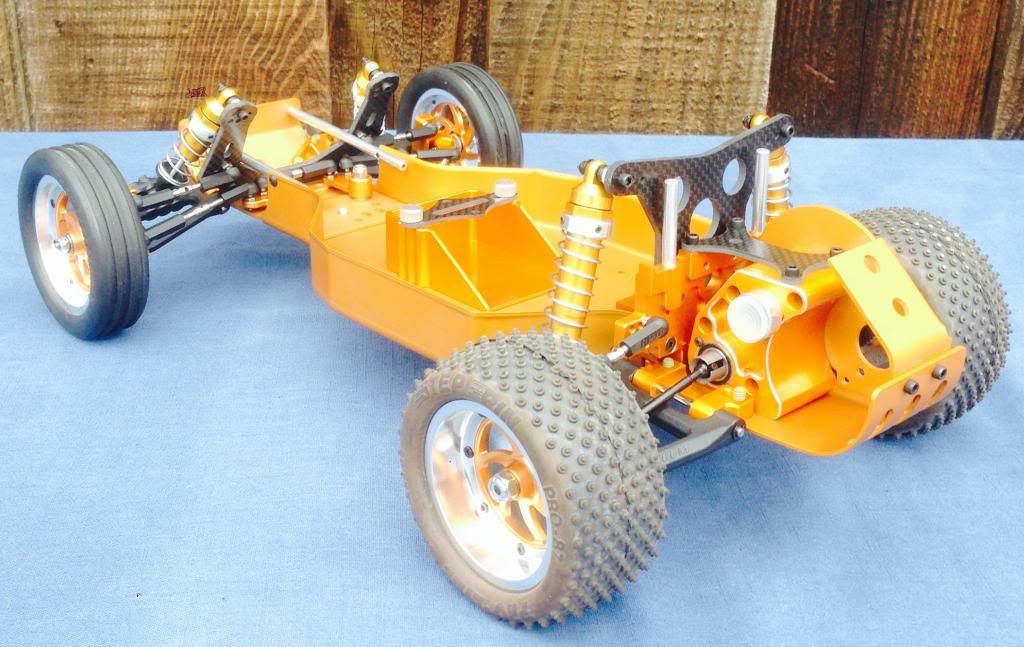
Next I installed the transmission
The rear carriers are slightly larger than stock so the rear arm needed to be modified in other to fit. I also built up the set of MIP CVD's
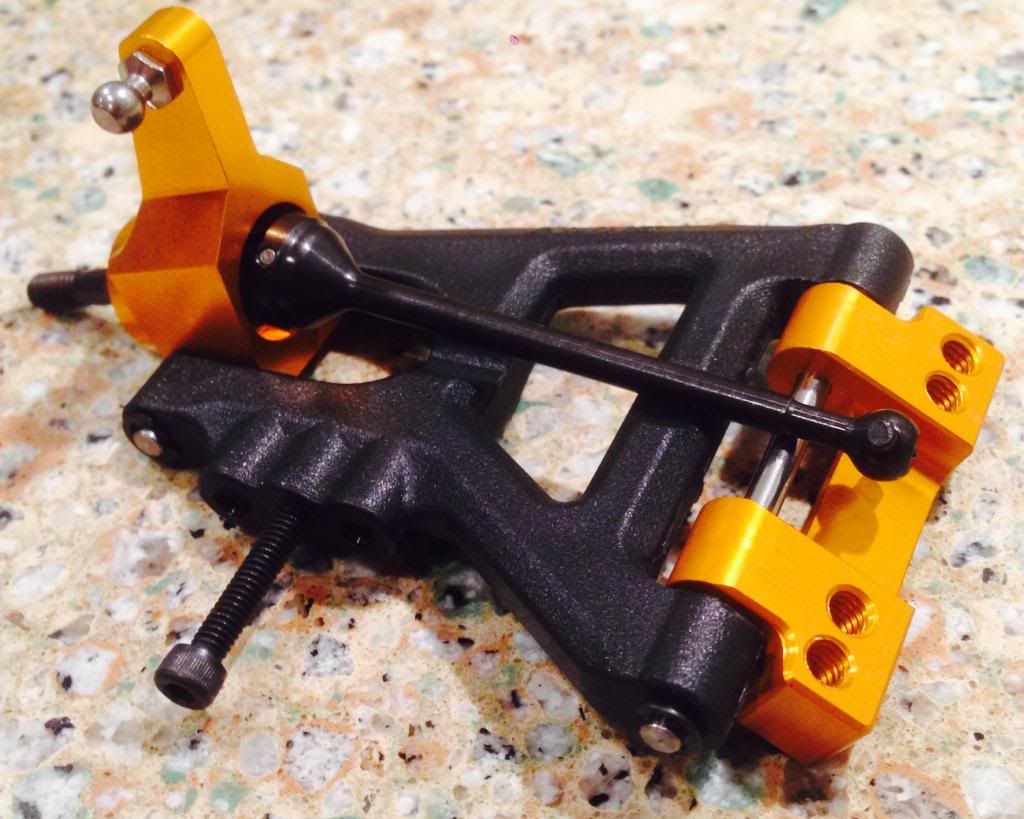
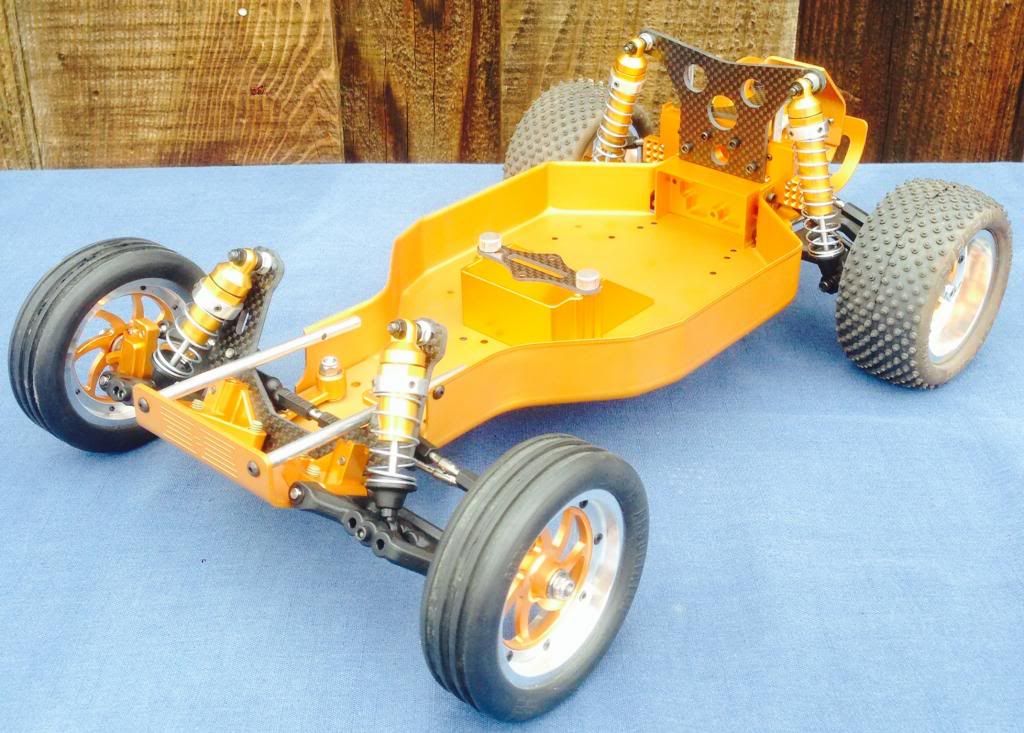
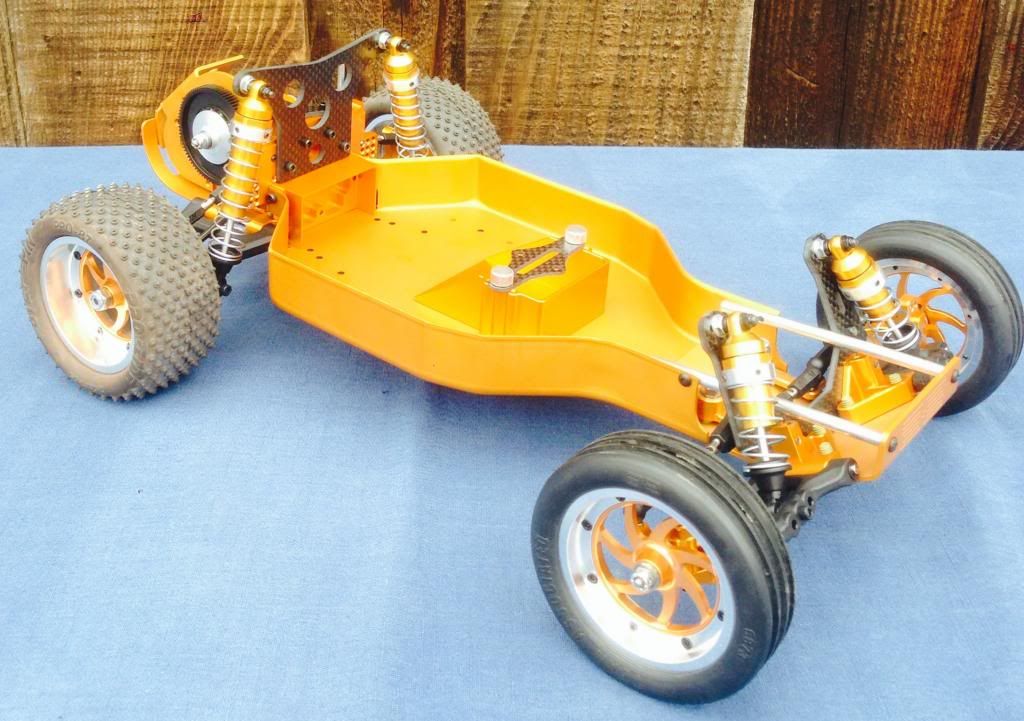
Here is the rear suspension arms installed.
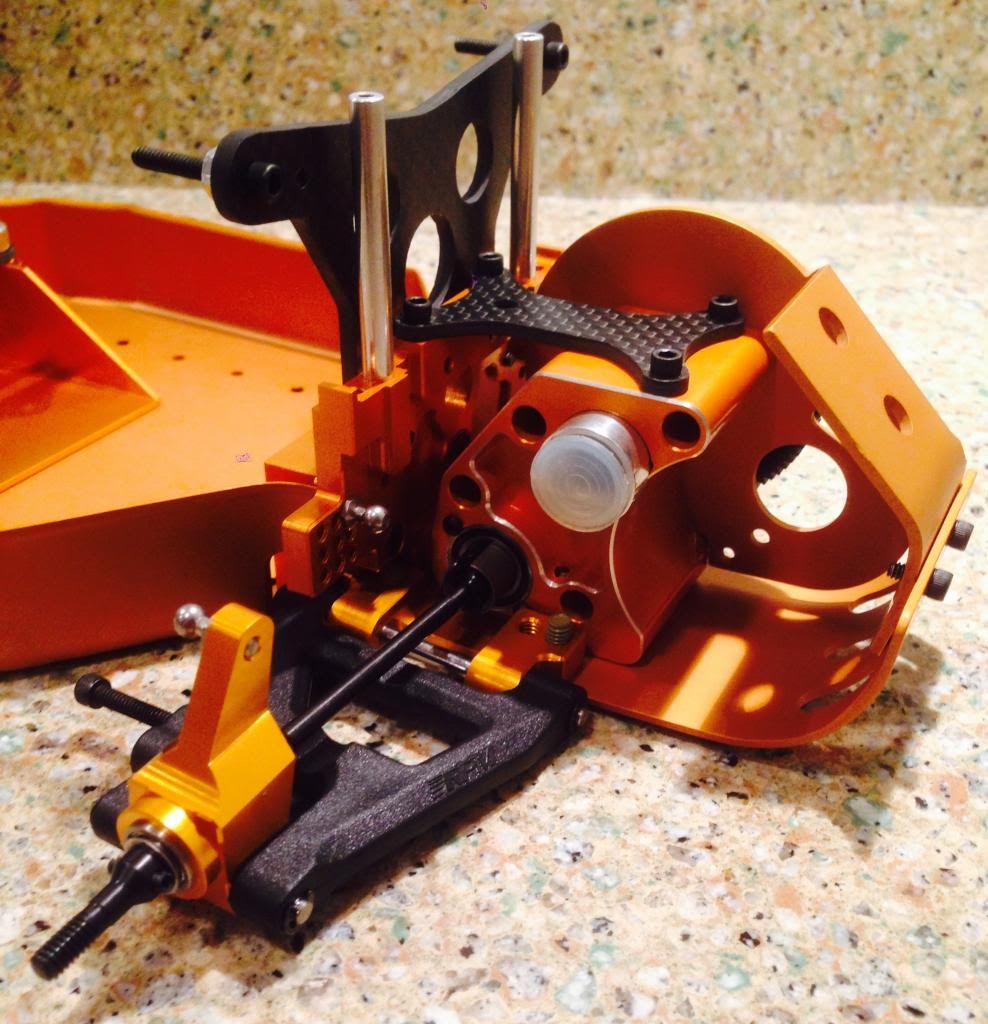
This where I'm stopping for the night.