Page 1 of 3
A stamp nitro
Posted: Wed Aug 21, 2013 1:38 am
by Sixtysixdeuce
Hello! New member, long time RC10 guy, bit of a mad scientist and a born hot rodder here. Thought some of you might find this project interesting.
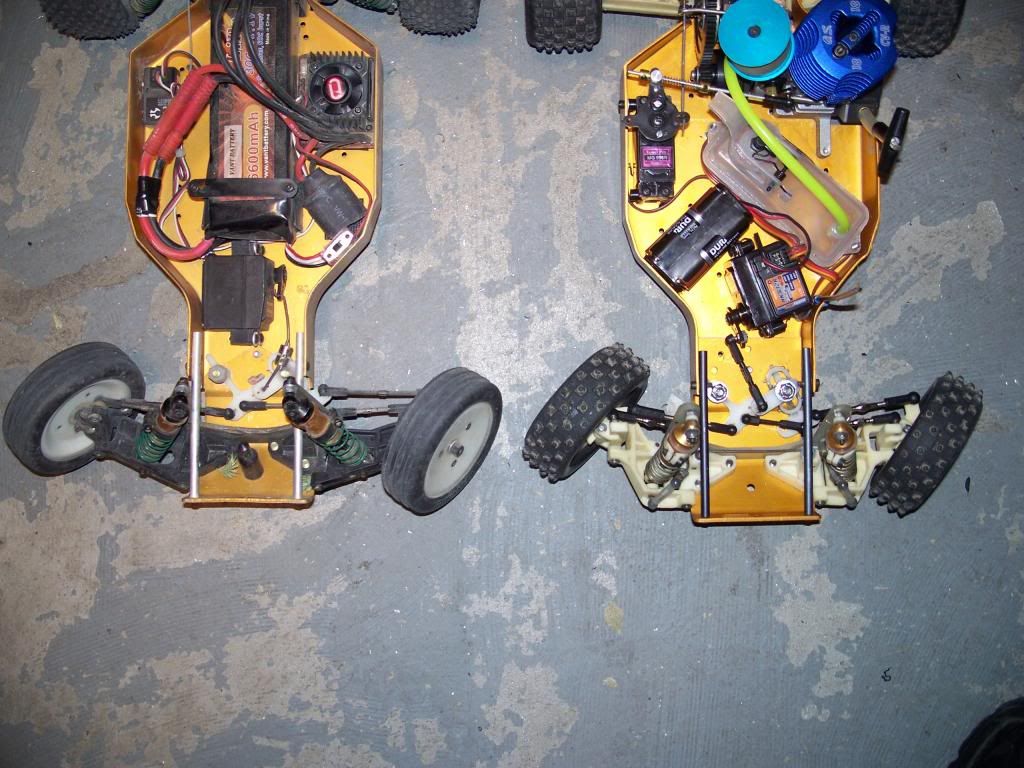
A $53 eBay gold pan chassis, a $58 eBay OS .18 CV-R, and a pile of spare RC10GT parts has culminated into an almost finished nitro gold pan buggy.
Last week:
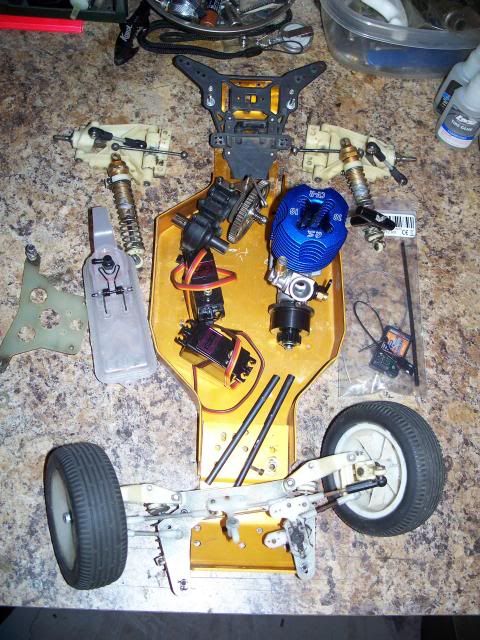
Yesterday:
GT trans, rear bulkhead & engine mount, custom trans brace, HPI flywheel & mod 1 clutch bell, modified Team Durango 54T spur, a pair of Tower Pro MG996R servos, a new set of throttle/brake linkage, and all new turnbuckles & rod ends.
Just waiting on the new body, the pile of buggy tires I scored on eBay, and the Thunder Tiger exhaust manifold to make this thing a runner. Should be pretty quick; it'll actually be a couple ounces lighter than my RC10CE brushless/3S.
Re: A stamp nitro
Posted: Wed Aug 21, 2013 2:07 am
by THUNDERSTRIKE1
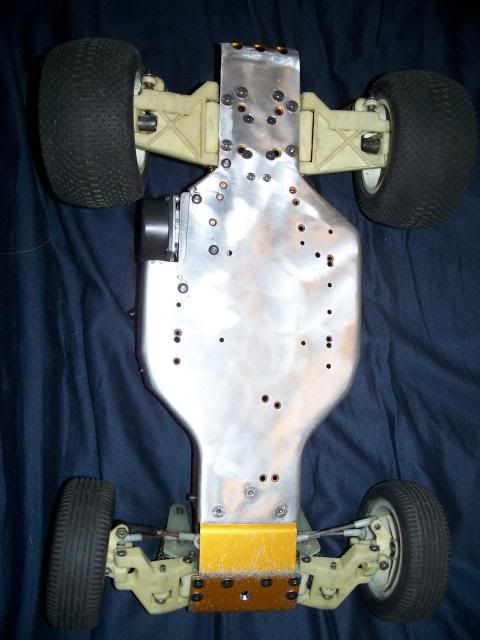
That looks great but whats the bottom look like now?Got pic of that?Thats the best one ive seen converted yet.don
Re: A stamp nitro
Posted: Wed Aug 21, 2013 2:18 am
by myfordcnc
uh, Very cool. I remember a conversion kit that was available a long time ago. At the time I always wanted to do that conversion. But I don't think it was as cool as this. Have you run it yet?
Re: A stamp nitro
Posted: Wed Aug 21, 2013 2:32 am
by THUNDERSTRIKE1
looks like its gonna need a rear exit exhaust tower setup though.don
Re: A stamp nitro
Posted: Wed Aug 21, 2013 2:43 am
by Sixtysixdeuce
Have you run it yet?
Not yet. The seller of the manifold took forever to ship. Should have it by Friday, though. A standard GT PS manifold gets hit by the tires-even buggy tires. The Thunder Tiger manifold will be cut mid way, rotated about 160* and either silicon coupled or TIG welded to send the pipe out the rear, right through the shock tower.
This is the Thunder Tiger manifold I'll be hacking up:

That looks great but whats the bottom look like now?
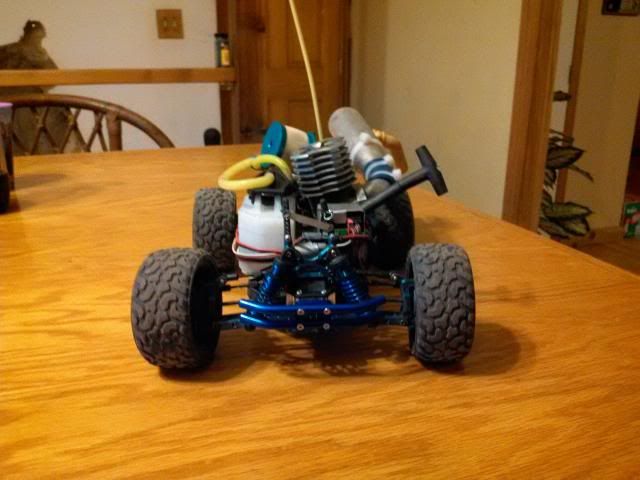
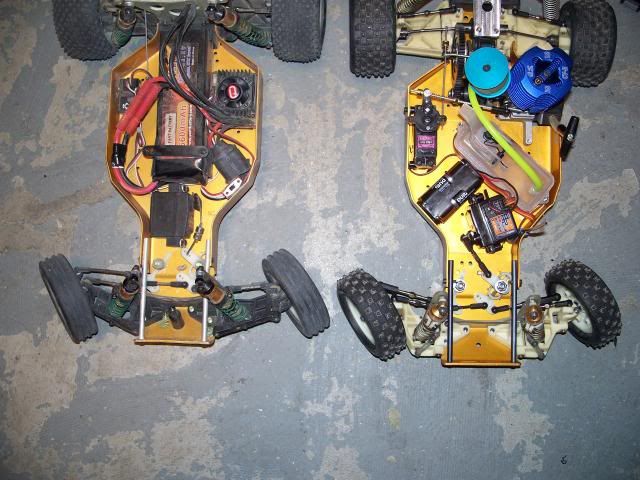
The underside of this chassis was pretty scratched up, so I whiz wheeled it. I intend to powder coat it at a later date, once I'm sure everything is where I want it. I do still have a little clean up to do where I cut away for the pull start. This is basically final mock-up; once I've run it, I'll tear it all down again and make everything seamless.
This is what it looked like before the servos and fuel tank were installed, which were all done with countersunk flat head 4-40 screws (2 each, 6 total). I replaced all the rotton original aluminum screws with black carbon steel or stainless socket heads, except the motor mount screws, which are 6-32 button socket heads so that adjustment is possible.
Re: A stamp nitro
Posted: Wed Aug 21, 2013 2:48 am
by THUNDERSTRIKE1
Thats clean but id make a small guard to protect the plastic pullstart cover shroud.Maybe a nerf bar to stick out the side to protect it.don
Re: A stamp nitro
Posted: Wed Aug 21, 2013 3:09 am
by Sixtysixdeuce
Thats clean but id make a small guard to protect the plastic pullstart cover shroud
That is actually on the list. It'll be a full shroud, milled from some 5/16" 6061-T651 plate I have. My original plan was to keep the whole thing inside the pan, but the pull start on these O.S. motors is friggin'
HUGE! Plus, being an SG shaft engine, it had to sit a little further to the driver side.
When done, it'll sport original jelly bean wheels, and I'll probably replace the GT pipe I'm using for now with a shorter one that fits under the body (or nearly under it). Also going to TIG up all the unused holes before powder coating, but that may happen on a different chassis tub, using this one as a template to drill the holes I need. This one was a little tweaked; I got it pretty straight, but there's still a couple little buckles just forward of the rear arm mounts.
This was a
VERY simple conversion compared to my last one. It took me a couple of months to work all the bugs out of that one, which began as a used RC18T. Originally I did it with a Picco P-Zero .06, but it it is now a 51 MPH, AE.15 powered one-of-a-kind mini nitro 4x4:
These are older pics, and I've since replaced that GT pipe with a nice, compact blue anodized Traxxas pipe:
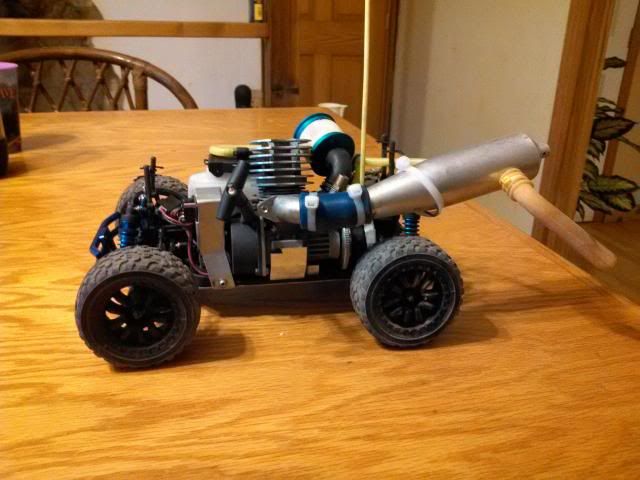
The AE .15 is not generally regarded as a powerhouse, but it blew the stock plastic gears in the RC18 diffs in less than 3 tanks!
Re: A stamp nitro
Posted: Wed Aug 21, 2013 6:53 am
by romulus22
Love it

I like al types of gas conversions and even home made ones.
Re: A stamp nitro
Posted: Wed Aug 21, 2013 9:25 pm
by Sixtysixdeuce
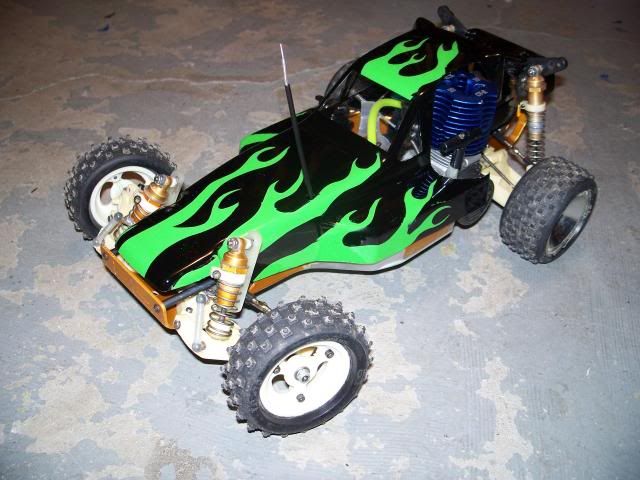
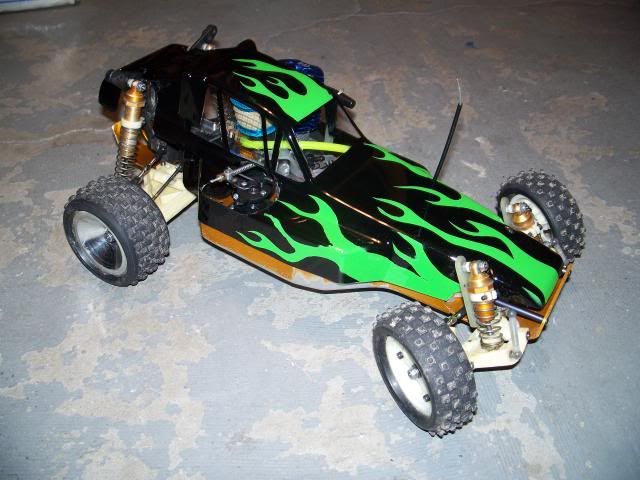
Body & some of the wheels/tires came today. Still waiting on the rear jelly beans.
Had to make some interesting cuts on the low profile buggy body to clear the head, pull start, shock tower and brake/throttle servo, and will have to get creative with mount posts.
It is glaringly obvious that I'm no artist/painter, but it'll look alright zipping down the road or around the track:
Re: A stamp nitro
Posted: Wed Aug 21, 2013 10:15 pm
by THUNDERSTRIKE1
Now you need some of those plastic eyes for stuffed animals put on the head and a drivers helmet for top the head like the driver looking out the window?hehe be cool !! don
Re: A stamp nitro
Posted: Thu Aug 22, 2013 11:17 am
by Sixtysixdeuce
Now you need some of those plastic eyes for stuffed animals put on the head and a drivers helmet for top the head like the driver looking out the window?hehe be cool !! don
I might just do that for display! Don't think I'll run it that way, though; the way I drive, they need all the cooling they can get!
I've also decided I'm going to snag another body and have it airbrushed by a pro in a more traditional scheme, and I'm going to order a Savox SC1251 low profile servo so that the next body doesn't need to be cut out for the servo plate as I did with this one. Might steel need a small cut for the back end of the throttle link, but it'll look better than this.
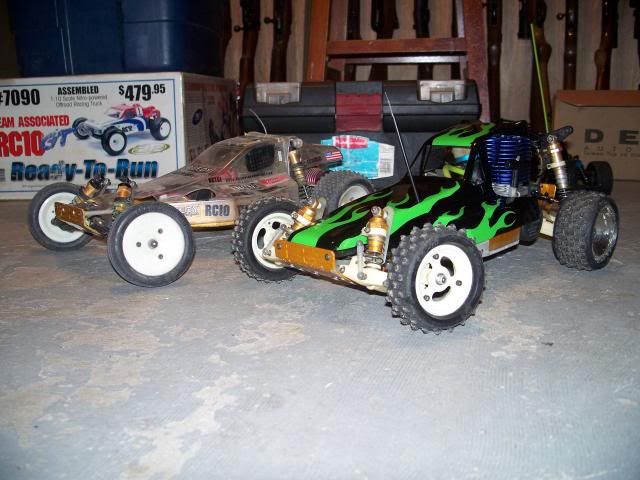
This critter is also noticeably taller than an electric buggy, but I don't think it looks bad.
Re: A stamp nitro
Posted: Thu Aug 22, 2013 11:23 am
by clm
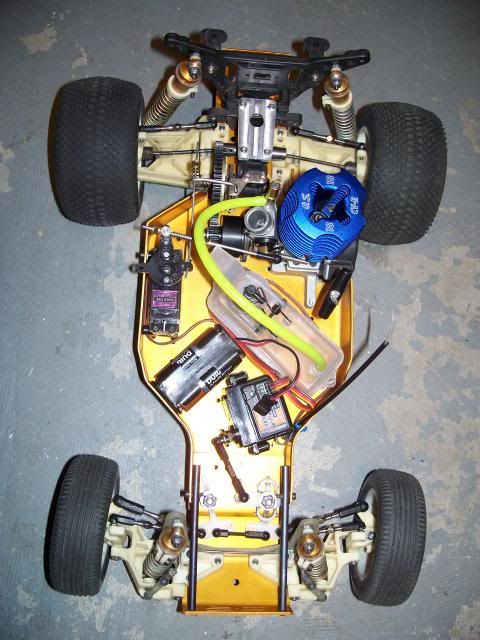
The layout of fuel tank/steering servo/battery looks very random! Keep it away from people with OCD

Chris
Re: A stamp nitro
Posted: Thu Aug 22, 2013 11:43 am
by Sixtysixdeuce
The layout of fuel tank/steering servo/battery looks very random! Keep it away from people with OCD
Hahaha. Yeah, kinda. It was very deliberate, though. I wanted the servo pack near the RX and on the passenger side of the chassis. One, I didn't want wires running all the way from the rear. 2) I skipped an on/off switch, so it needed to be in close proximity to the RX and 3) having the pack on the passenger side helps to offset some of the motor weight.
The GT2 tank I had on hand from an oopsie when ordering a new tank for a GT1, but it actually worked out very well in this application.
Putting the steering servo at an angle was done primarily to make room for the tank, but also has the benefit of a nearly straight line configuration with the linkage to the bellcrank.
Re: A stamp nitro
Posted: Thu Aug 22, 2013 1:50 pm
by GoMachV
Sixtysixdeuce wrote:
....but also has the benefit of a nearly straight line configuration with the linkage to the bellcrank.
Wait, what? The bellcrank arm would have to be rotated nearly 45 degrees (cant do it) to make it proper. I would have a second look at that especially if you have steering troubles going left! If you pop off the ball cup on the servo and pretend to move like the servo in its arc I think you will see it.
Re: A stamp nitro
Posted: Thu Aug 22, 2013 2:12 pm
by Sixtysixdeuce
Wait, what? The bellcrank arm would have to be rotated nearly 45 degrees (cant do it) to make it proper. I would have a second look at that especially if you have steering troubles going left! If you pop off the ball cup on the servo and pretend to move like the servo in its arc I think you will see it.
It goes lock to lock no problem.
The way I build/modify things may be a bit unconventional, but it always works.
And what I meant by straight line is that it does not require the bent linkage to clear the servo as in the standard buggy set up. This is closer to the RC10GT arrangement, except with the bellcrank on the wrong side.