Restoration Tips and Trick: YZ10
Posted: Wed Jan 20, 2010 1:02 am
Hello everyone,
RC10talk.com is one of the best sites I've found in my search of like minded people who appreciate vintage RC cars. However, I've not seen one thread devoted to restoration techniques anywhere here. Correct me if I’m wrong. With that said, I thought I would be start a thread that would delve into the art of restoration techniques.
I've been sitting on a YZ10 for some time now just waiting for the right time to begin restoring it. New Parts are hard to come by as many of you know, and the used parts out there for sale are many times in need of some serious TLC to get them looking proper. So, I'm beginning this thread as a documented beginning to end restoration resource not only for myself, but to share with all of you the same questions and techniques that we all encounter on our journeys for the restorations we all want to have.
To begin with, I will start with one part made from a certain material and give a before, during (if applicable), and after pic with a detailed procedure on how the part (material) was restored. Please feel free to join in on that particular topic at anytime with comments, suggestions of what to. Pictures are always welcomed. I'm hoping this will also be a great resource on what not to do, as you will all see soon!
In order for this tread to be successful I strongly urge visitors to contribute in a similar manner to develop this into something everyone can use.
So, with no further delay here is my first restore tip:
TIP 001:
Kydex bumper: covered in CA.
Tip (what not to do) DO NOT SOAK IN ACETONE. I did this thinking it would remove the glue like it does on wheels. Wrong! Do you remember as a kid those little tiny dinosaurs that you could dip in water and they would grow to 5/6 times their original size. That's what happened to the bumper. Sorry no pics necessary, throwing away an almost perfect bumper was punishment enough ( I accidentally threw it away before I started this thread). What every you do, don’t use Acetone on Kydex. Done deal. Now I have to get a new bumper. Bummer….
TIP 002:
Yokomo YZ-10 white wheels (item #ZC801 and ZC805):
Everyone who raced and still races glues the tire to the Wheel. To remove the glue from the wheel it IS SAFE to soak the wheels in Acetone for 24 hours. You don't need anymore time than that but I've gone 2 days with soaking them and this didn't seem to adversely affect them. It removes the glue completely. All you have to do is peel off the left over rubber that is around the bead of the wheel.
TIP 003:
Magnesium Hubs and Bulkheads.
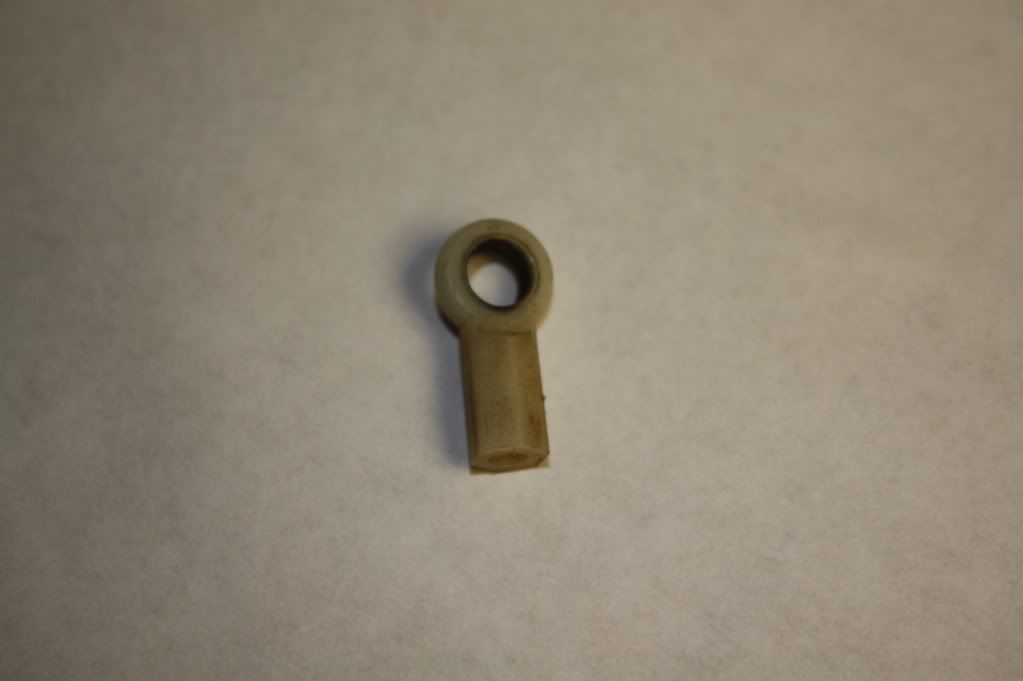
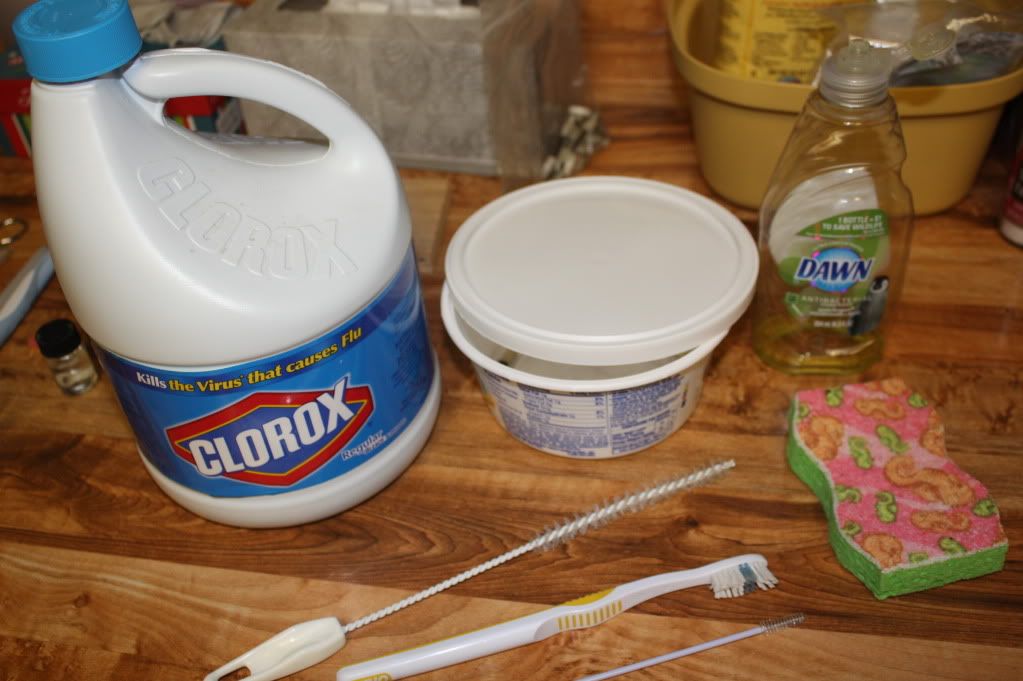
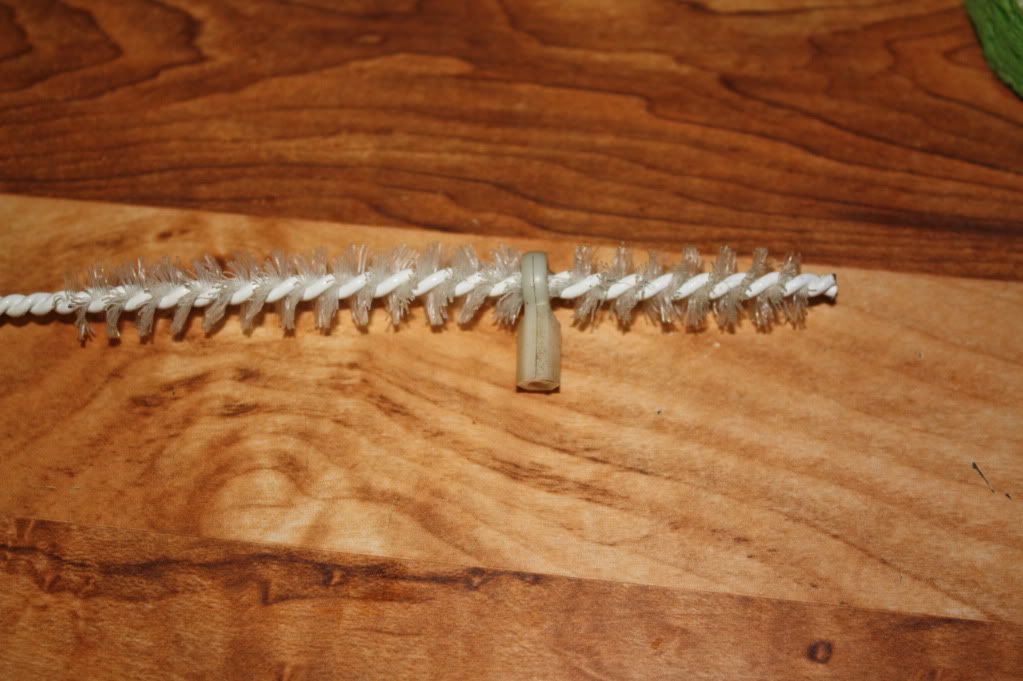
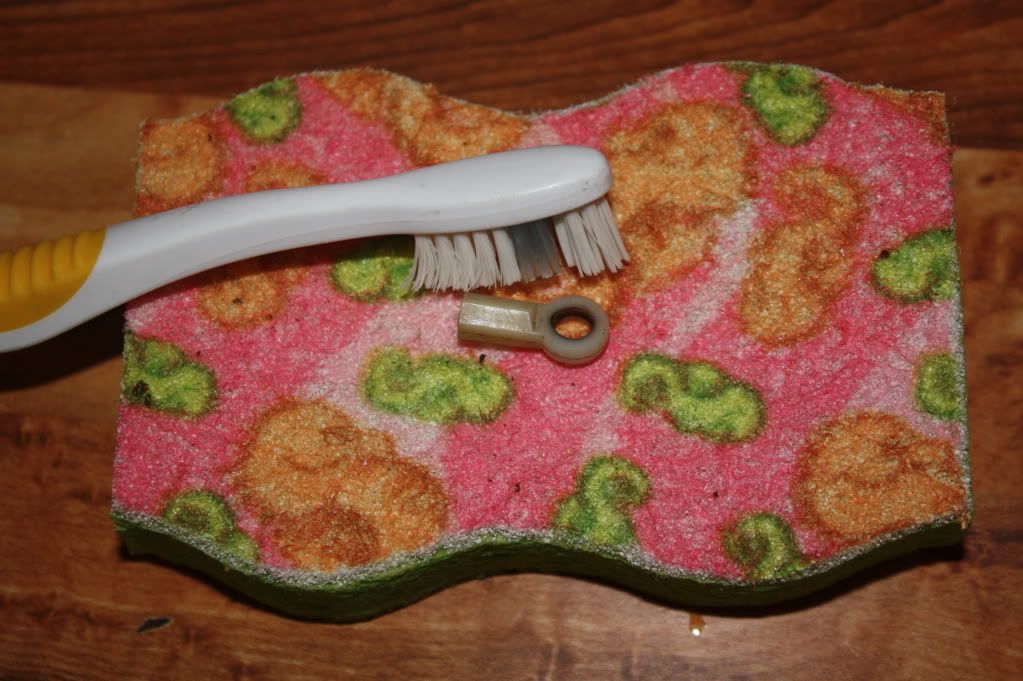
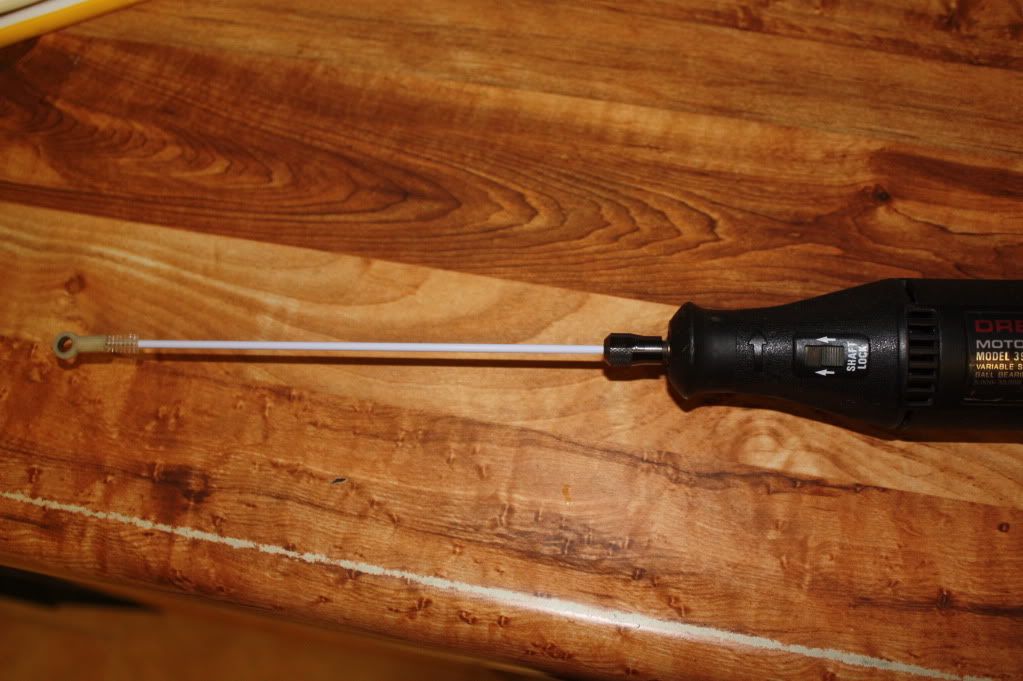
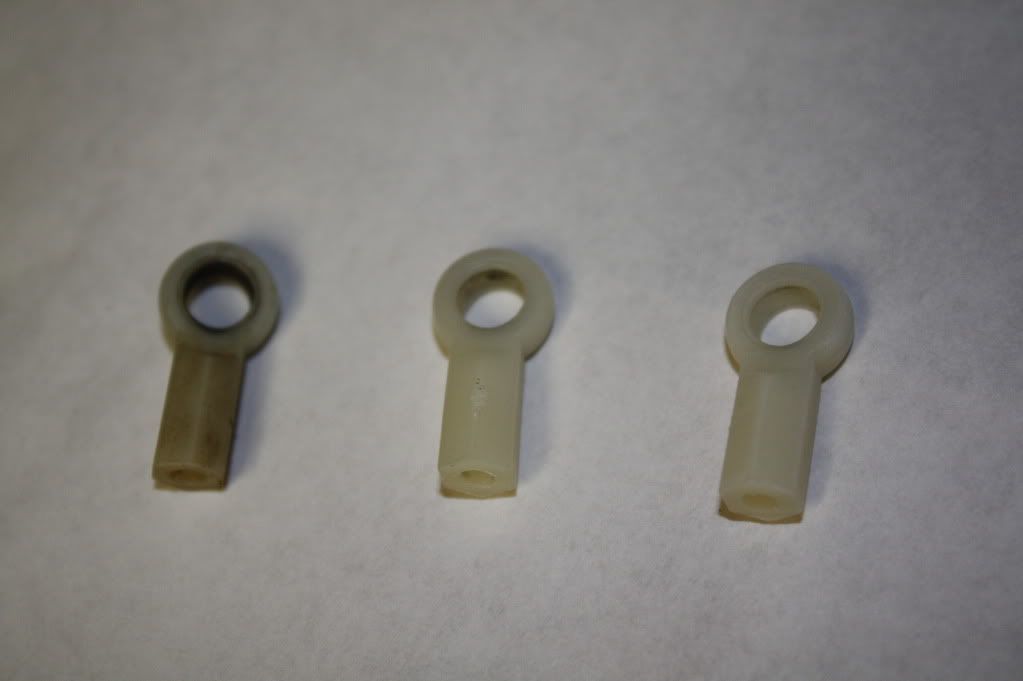
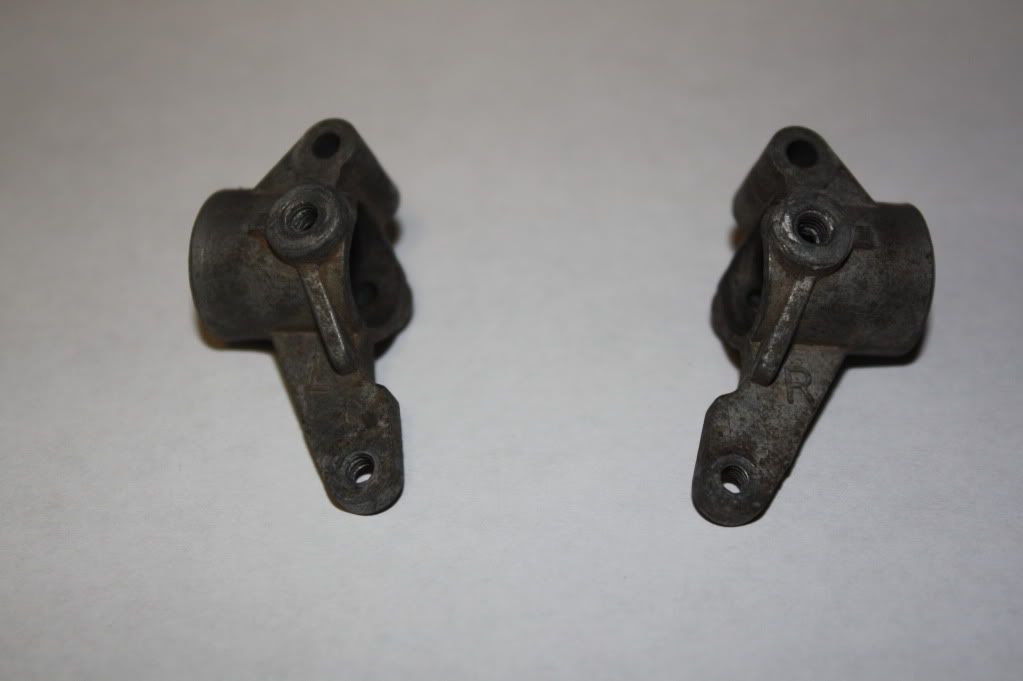
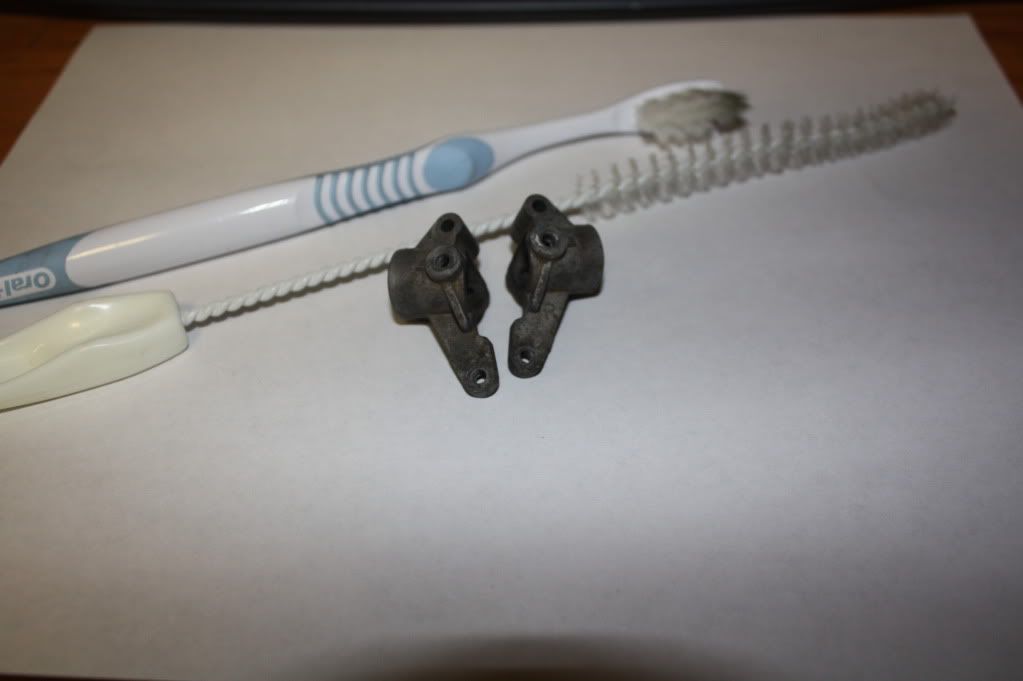
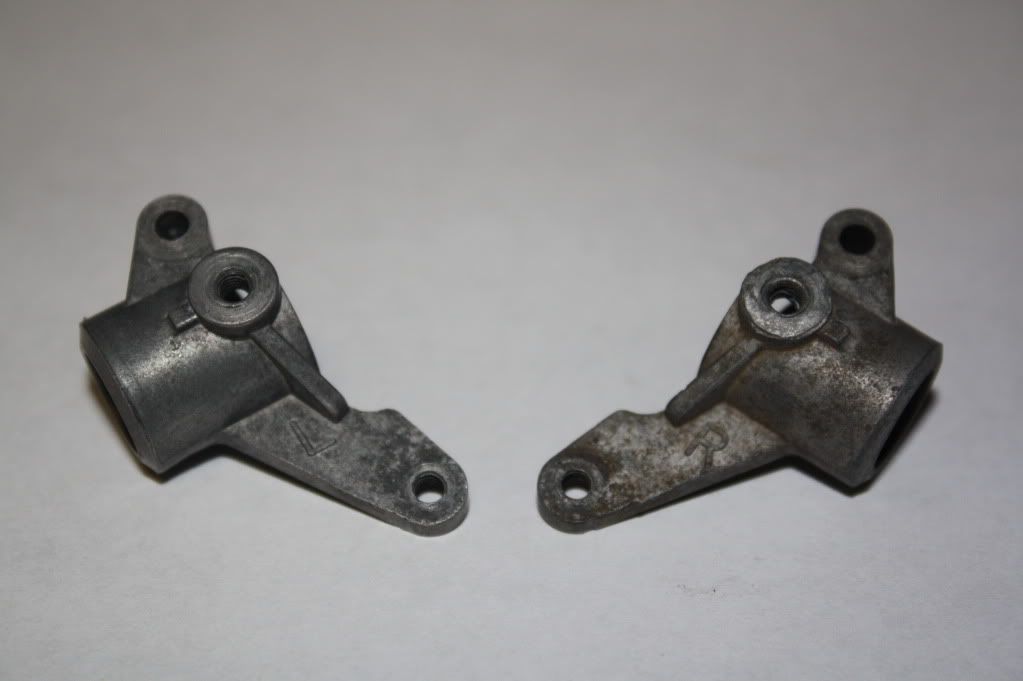
This is a tough one. This metal oxidizes/tarnishes and stains easily with dirt and mud below is a Left and Right upright (see pic 001). I’m not sure how to transform it to a showroom luster, but to clean it I use a tooth brush, tube brush and some warm water with dish soap (pic 002). The left hub in Pic 003 is the result of about 3 minutes of scrubbing. Much cleaner, but not sparkling. I have no solution for a factory finish that will not harm the metal or affect the shape of the design. Everyone, please feel free to chime in with suggestions (pics would be nice too).
Pic 001
Pic 002
Pic 003
That’s it for tonight. Be sure to check back often to see my YZ-10’s progress and learn restoration tips and tricks from everyone that would like to share info.
Bye.
RC10talk.com is one of the best sites I've found in my search of like minded people who appreciate vintage RC cars. However, I've not seen one thread devoted to restoration techniques anywhere here. Correct me if I’m wrong. With that said, I thought I would be start a thread that would delve into the art of restoration techniques.
I've been sitting on a YZ10 for some time now just waiting for the right time to begin restoring it. New Parts are hard to come by as many of you know, and the used parts out there for sale are many times in need of some serious TLC to get them looking proper. So, I'm beginning this thread as a documented beginning to end restoration resource not only for myself, but to share with all of you the same questions and techniques that we all encounter on our journeys for the restorations we all want to have.
To begin with, I will start with one part made from a certain material and give a before, during (if applicable), and after pic with a detailed procedure on how the part (material) was restored. Please feel free to join in on that particular topic at anytime with comments, suggestions of what to. Pictures are always welcomed. I'm hoping this will also be a great resource on what not to do, as you will all see soon!
In order for this tread to be successful I strongly urge visitors to contribute in a similar manner to develop this into something everyone can use.
So, with no further delay here is my first restore tip:
TIP 001:
Kydex bumper: covered in CA.
Tip (what not to do) DO NOT SOAK IN ACETONE. I did this thinking it would remove the glue like it does on wheels. Wrong! Do you remember as a kid those little tiny dinosaurs that you could dip in water and they would grow to 5/6 times their original size. That's what happened to the bumper. Sorry no pics necessary, throwing away an almost perfect bumper was punishment enough ( I accidentally threw it away before I started this thread). What every you do, don’t use Acetone on Kydex. Done deal. Now I have to get a new bumper. Bummer….
TIP 002:
Yokomo YZ-10 white wheels (item #ZC801 and ZC805):
Everyone who raced and still races glues the tire to the Wheel. To remove the glue from the wheel it IS SAFE to soak the wheels in Acetone for 24 hours. You don't need anymore time than that but I've gone 2 days with soaking them and this didn't seem to adversely affect them. It removes the glue completely. All you have to do is peel off the left over rubber that is around the bead of the wheel.
TIP 003:
Magnesium Hubs and Bulkheads.
This is a tough one. This metal oxidizes/tarnishes and stains easily with dirt and mud below is a Left and Right upright (see pic 001). I’m not sure how to transform it to a showroom luster, but to clean it I use a tooth brush, tube brush and some warm water with dish soap (pic 002). The left hub in Pic 003 is the result of about 3 minutes of scrubbing. Much cleaner, but not sparkling. I have no solution for a factory finish that will not harm the metal or affect the shape of the design. Everyone, please feel free to chime in with suggestions (pics would be nice too).
Pic 001
Pic 002
Pic 003
That’s it for tonight. Be sure to check back often to see my YZ-10’s progress and learn restoration tips and tricks from everyone that would like to share info.
Bye.