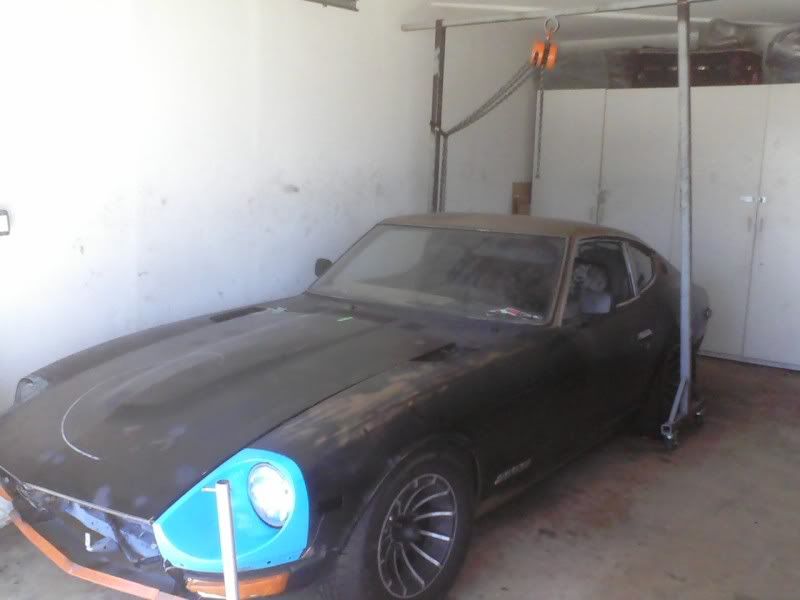
Some updates! Had a busy couple weeks.
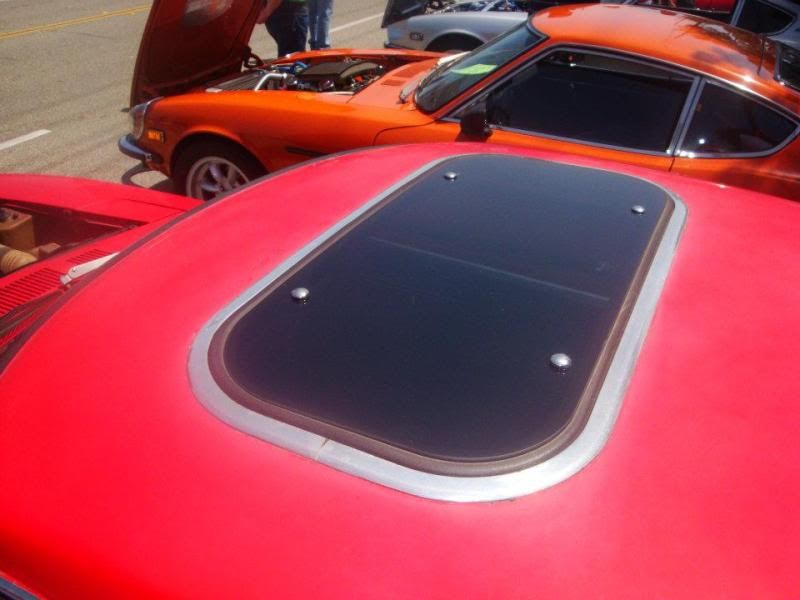
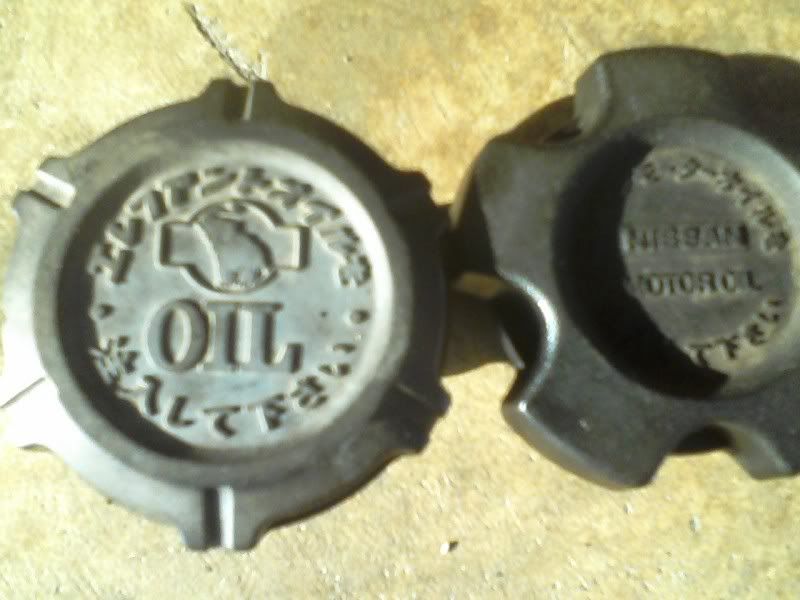
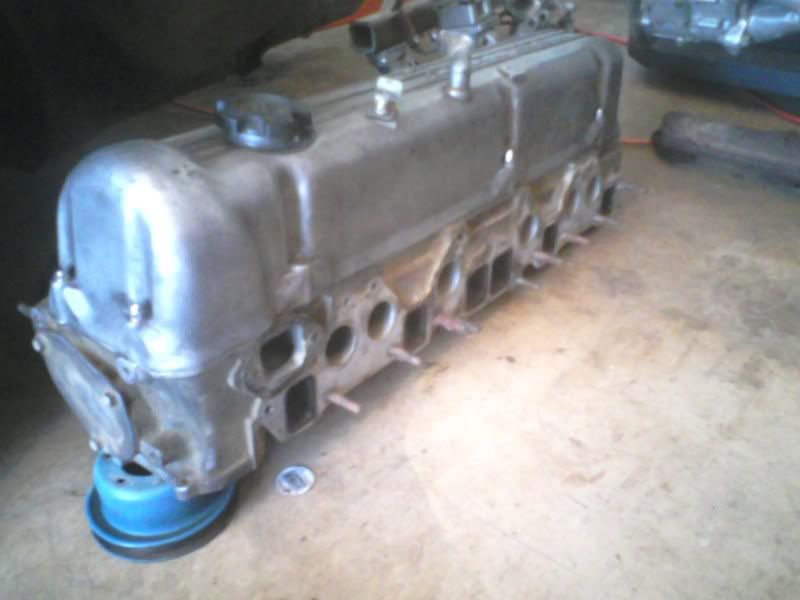
I took a good look at my engine, and saw that it has the rare “Elephant oil cap”, which came out around 1974 and was not available in the USA, but was on Japanese/Aussie cars. The elephant was used as a symbol to commemorate successes in the East African Safari Rally. It reads “please pour Elephant fuel”.
Elephant oil cap on left (tiny elephant inside the Datsun logo at the top)
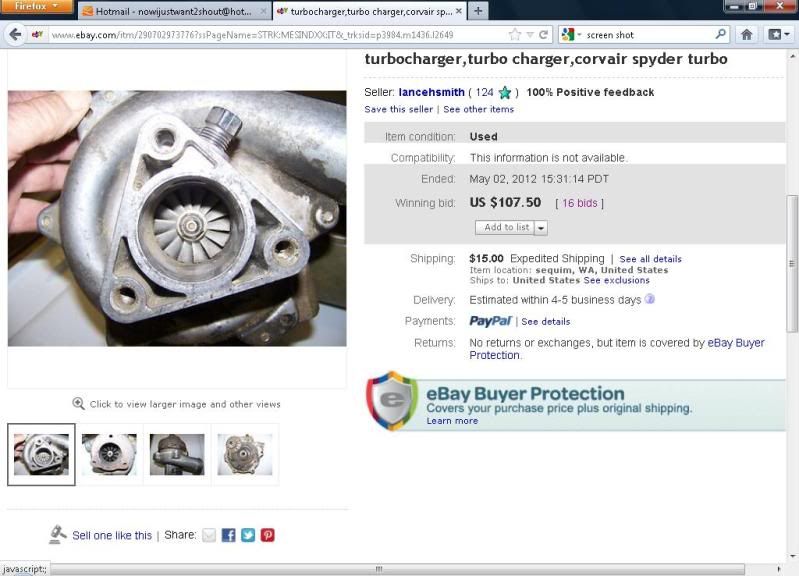
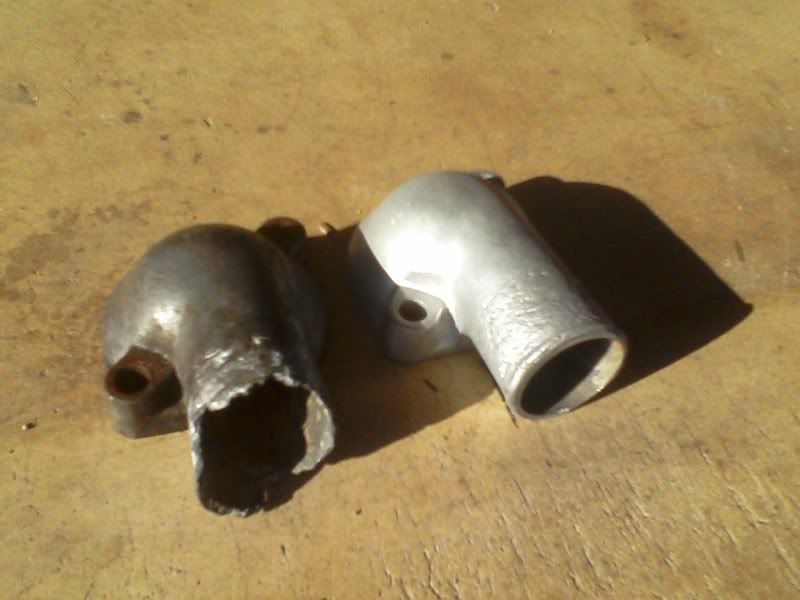
 5/02- Turbo mishap
I bought Chevy Corvair turbo on ebay. However since I am using the turbo upside down from its originally designed application the oil drain was on top rather than on bottom. This will not work. My Rajay turbo had 3 oil drain locations at 120* so the drain came out the bottom. So, I will maybe sell this turbo and rebuild my Rajay. I found a guy who would rebuild it for a reasonable 200 dollars.
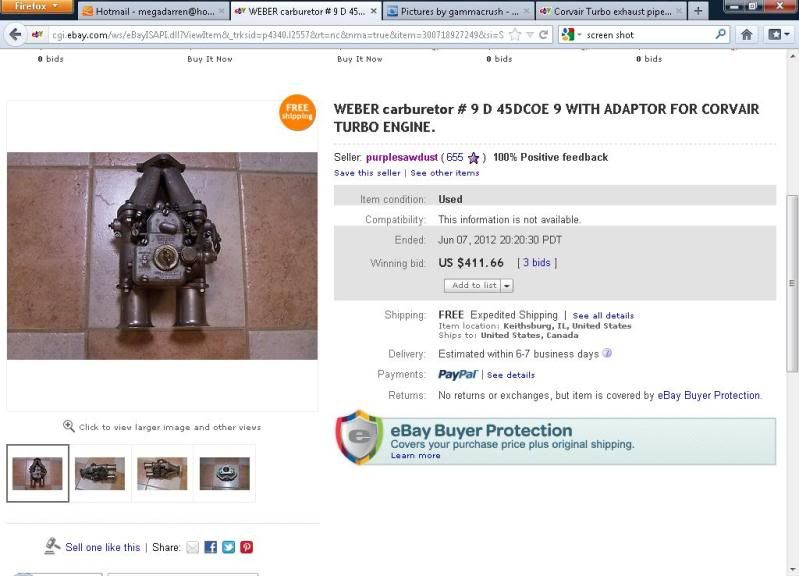
While I was looking for a turbo I drooled over this Weber side draft Carb and adapter that bolts on to the Corvair turbo. I bid but it sold way out of my price range.
 5/16
5/16
Got my wallet stolen. I contacted my CC company and they gave me back all the money, some of it is still being disputed. After I got my money back I felt really fortunate so I went on a spending spree of my own, having thought I had lost that money to thieves! That’s how I justified it anyway…
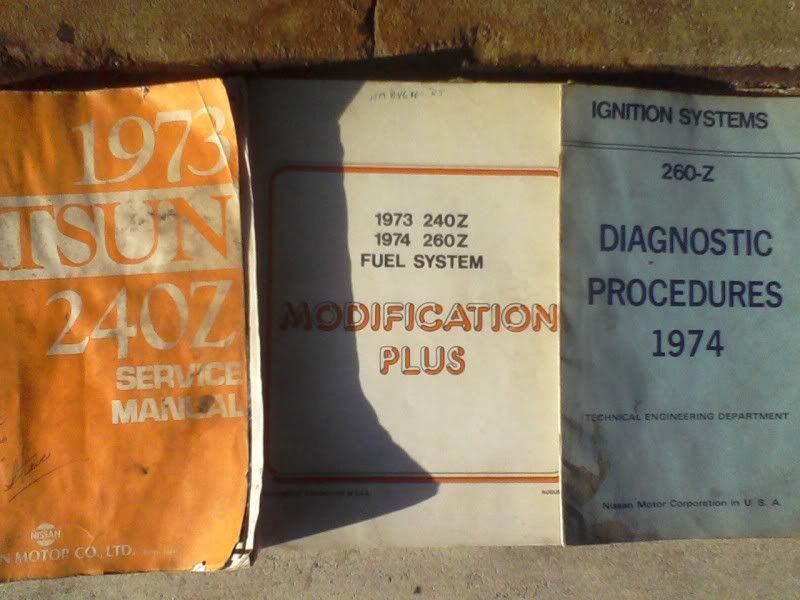
5/30- Misc parts
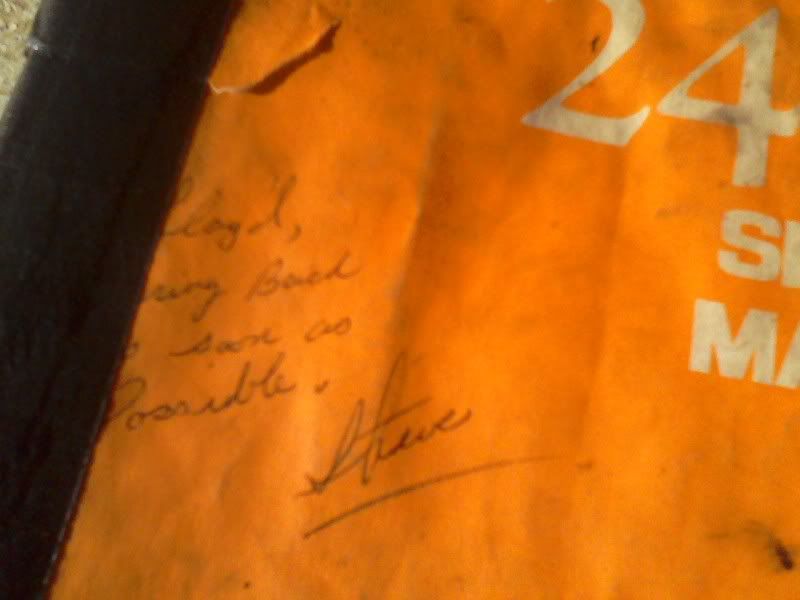
I bought some books on ebay from a guy named Lloyd… The seller threw in the orange service manual in for free. The cover reads
“Lloyd, bring back as soon as possible, Steve”… I wonder if Steve wants his books back???
I was in search of a turbo/intake coupler and found out that I can not use a coupler with silicone in it because fuel eats it, which is what most of them are now-a-days! I bought a special all rubber turbo/intake coupler from a Corvair website
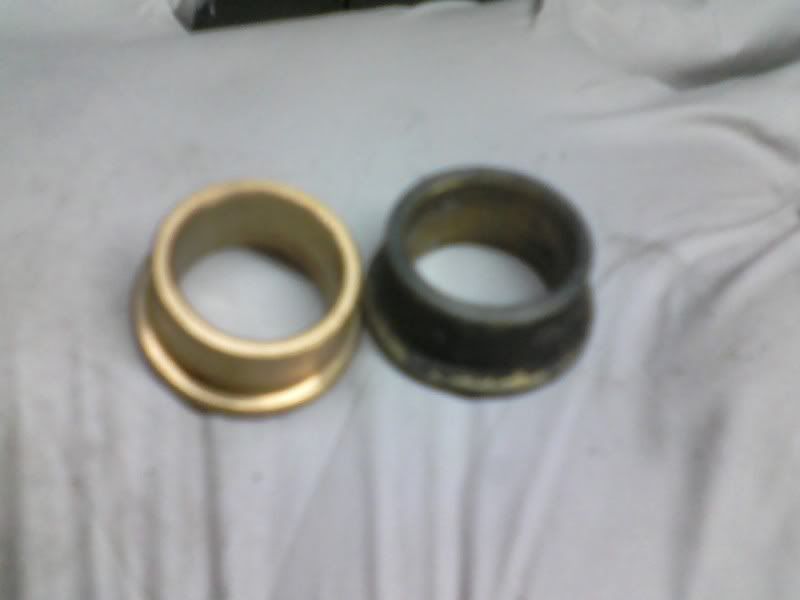
I also picked up a better used thermostat housing.
Old vs New
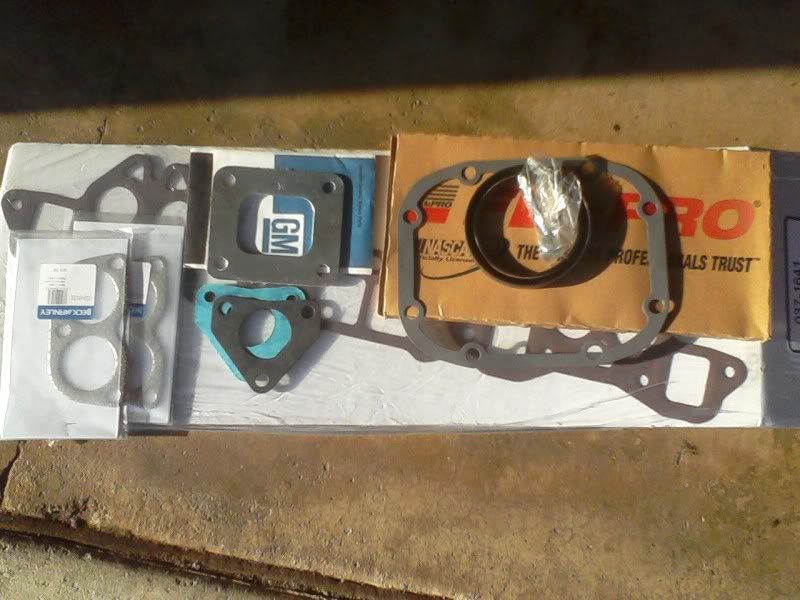
While I was at it I picked up all the gaskets I would need to but the Crown turbo kit on. Including a NOS GM Chevy Corvair turbo exhaust inlet gasket.
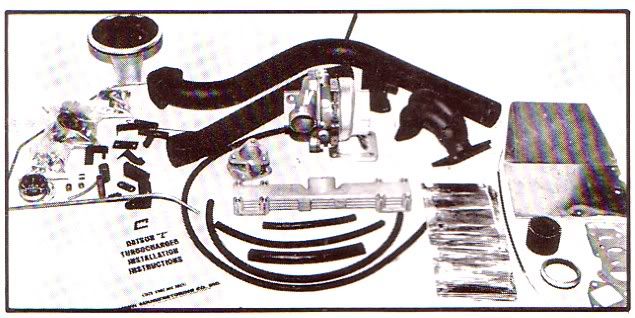
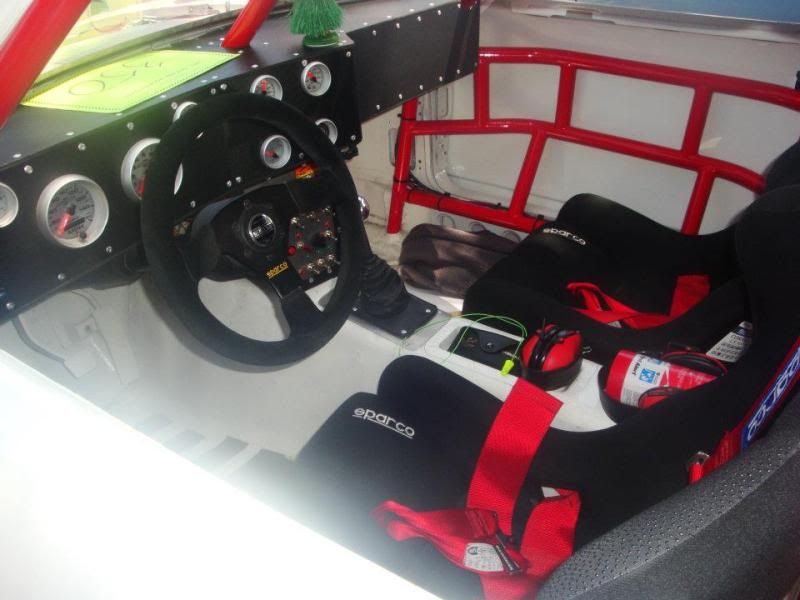
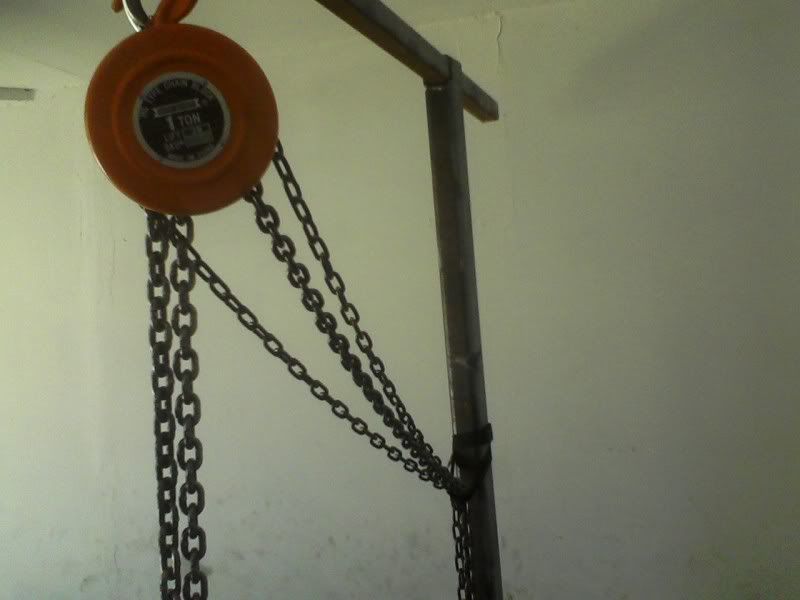
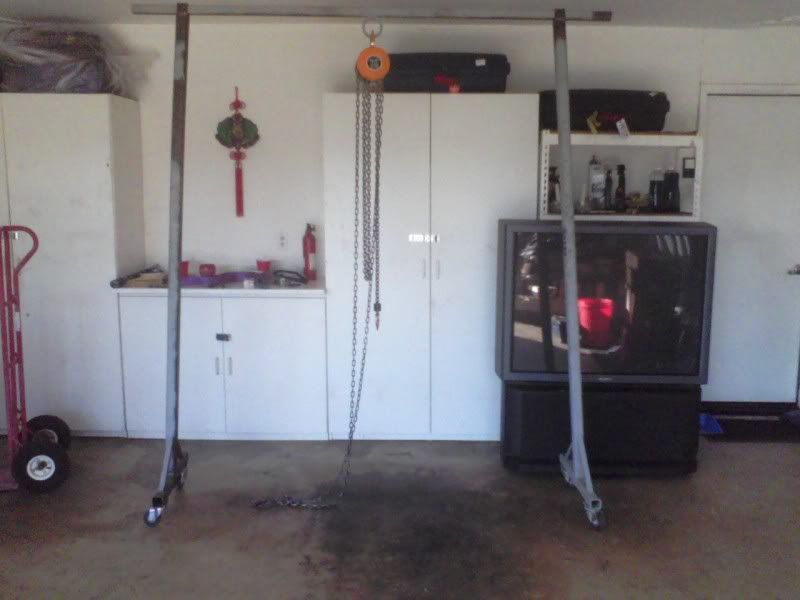
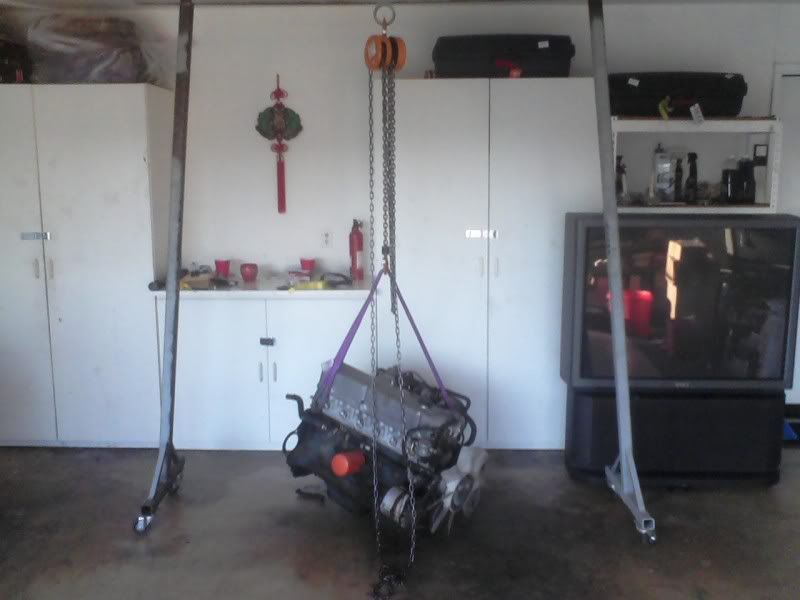
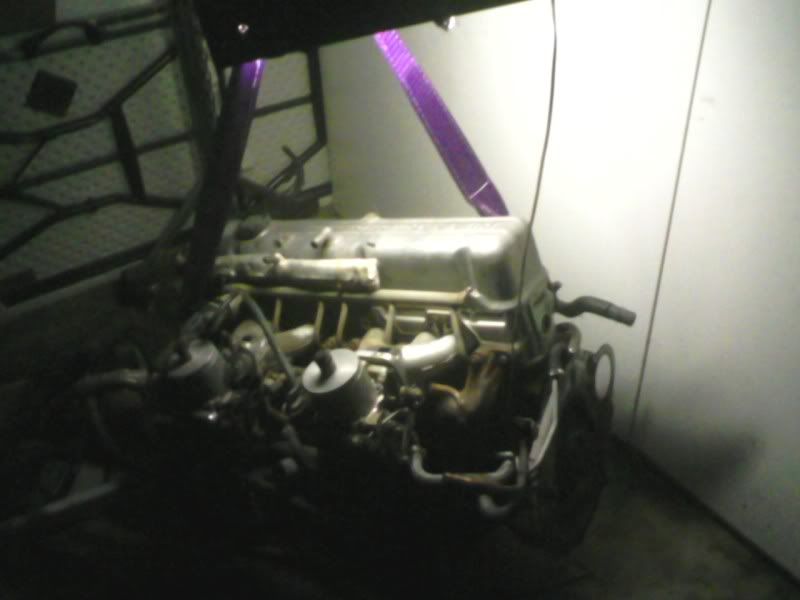
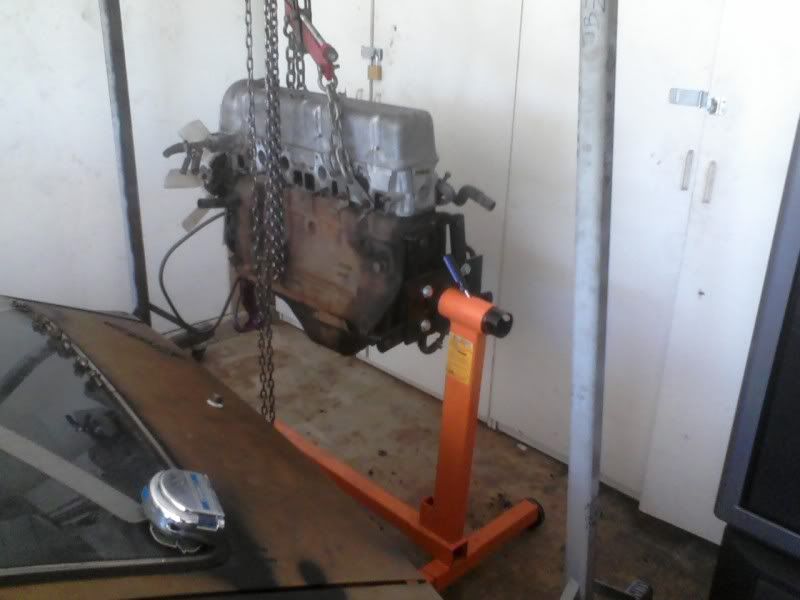
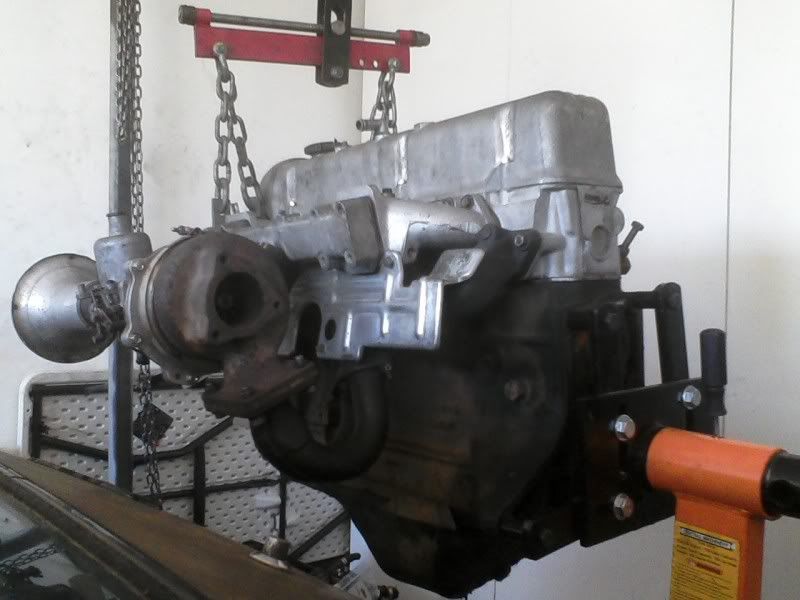
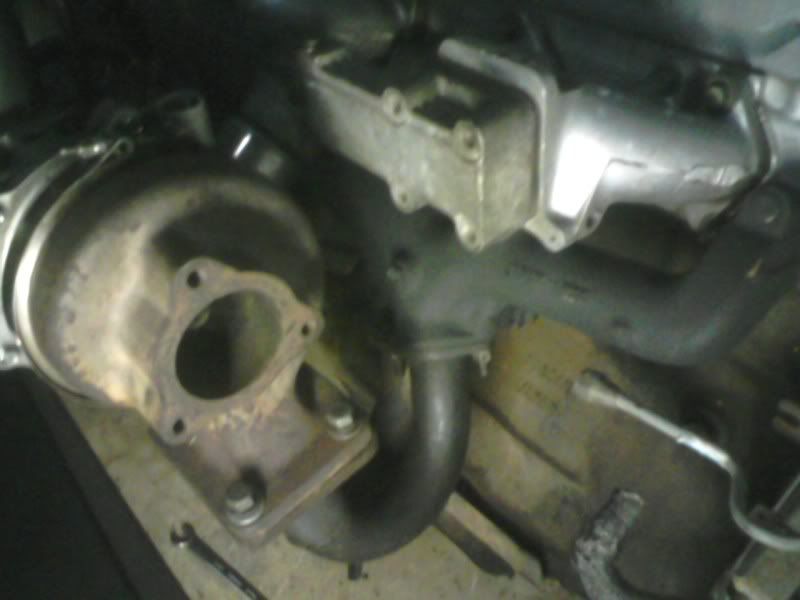
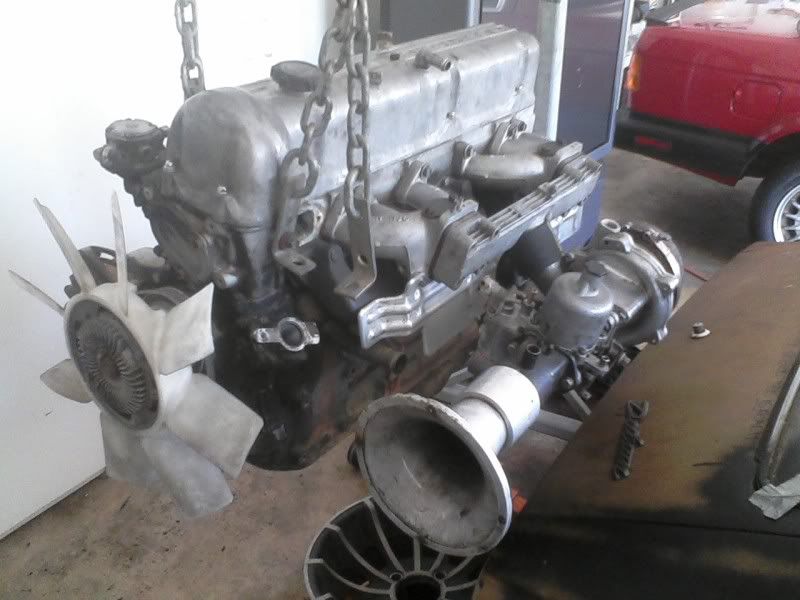
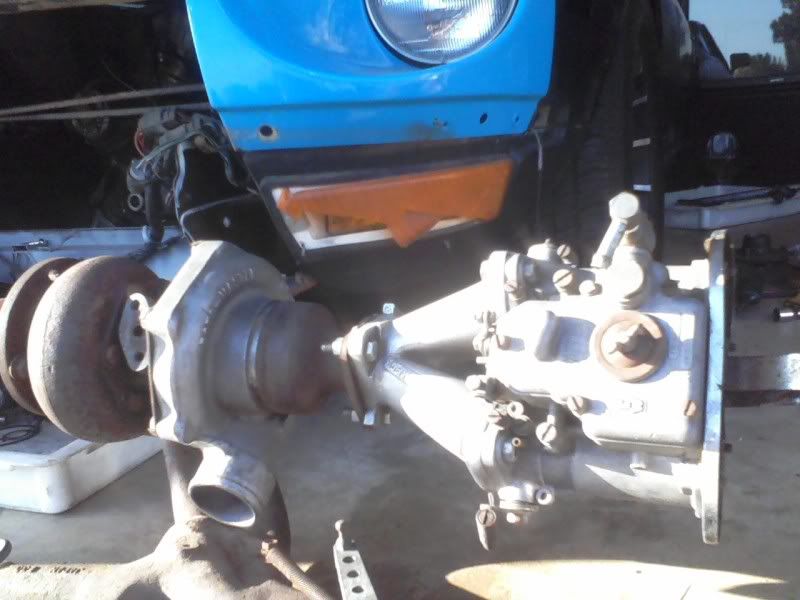
6/01 Turbo mock up
After I got the L26 engine I took off the stock carbs and exhaust manifold. I kept the rare fatter one year production n36 intake, rumored to have more flow and be able to give a 10hp increase from better air/fuel distribution. I bolted the Crown turbo kit on along with a stock 240z exhaust manifold that has been plugged with bungs and painted with VHT. I used the Chevy Corvair turbo from ebay for mock up, so I could put all the correct bolts in place. I organized all my Datsun bolts, which over the years I have accumulated a whole bunch from pulling parts at the junkyard.
06/03 Junkyard adventures
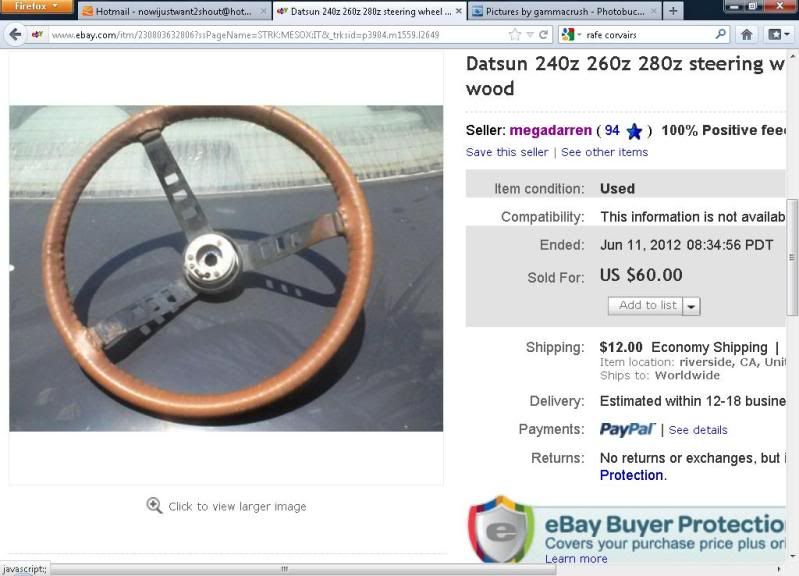
I went to the junkyard with a friend who had the hot tip about a 1973 240z. I took off the valve cover and was pleasantly surprised to find a rebuilt head with thick rocker pads and even wear on all the rockers. Best of all it had an Americam 260* aftermarket cam! Sweet! I also took home a steering wheel and hid some extra aluminum rear drums with intact cooling fins that I may go back for.

I sold the leather wrapped steering wheel on ebay.
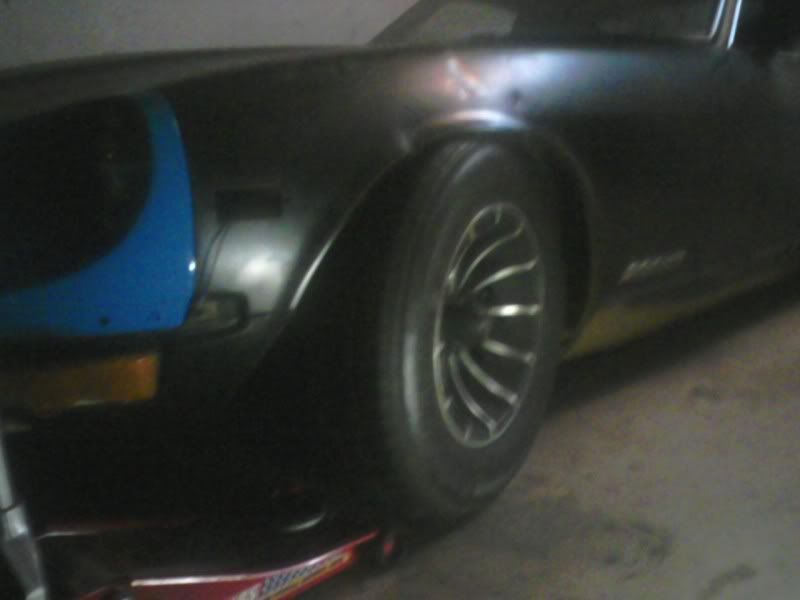
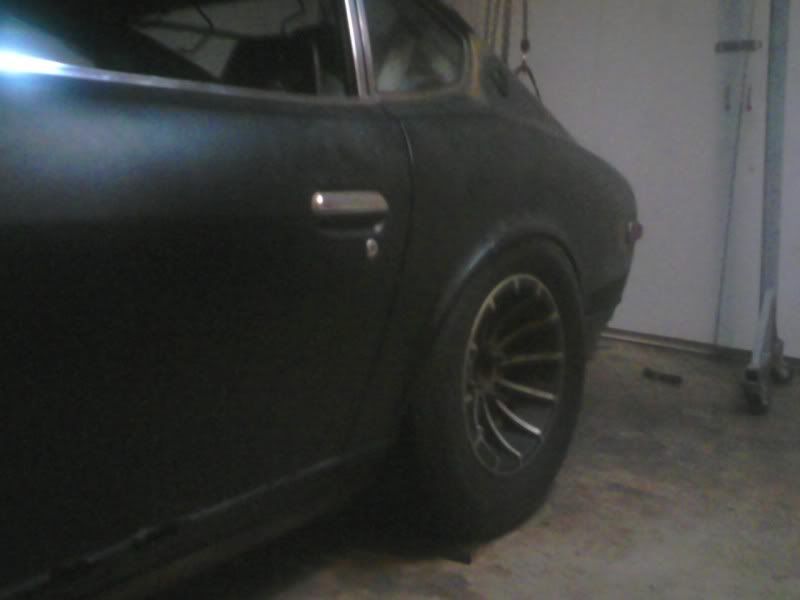
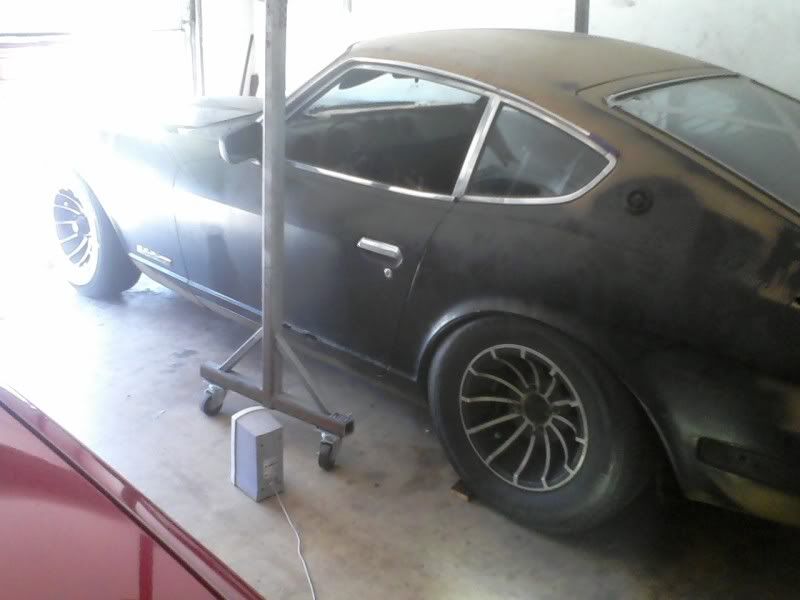
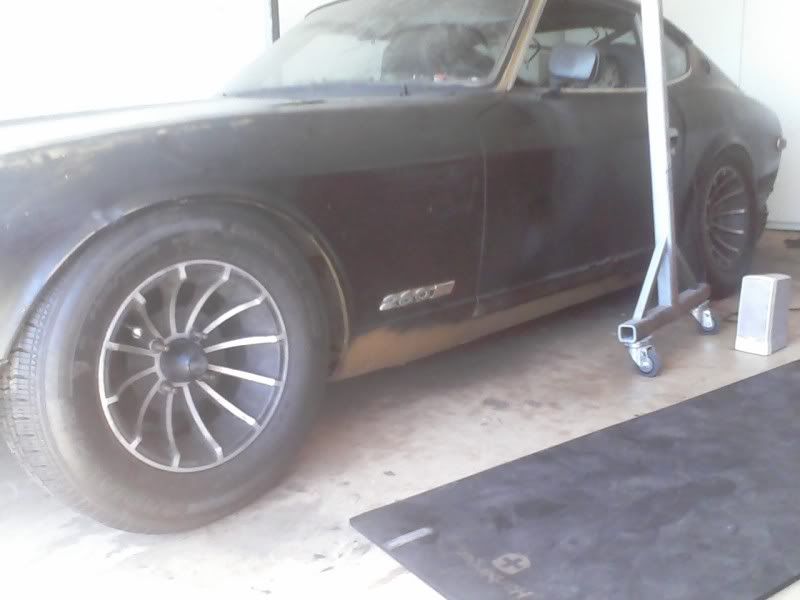
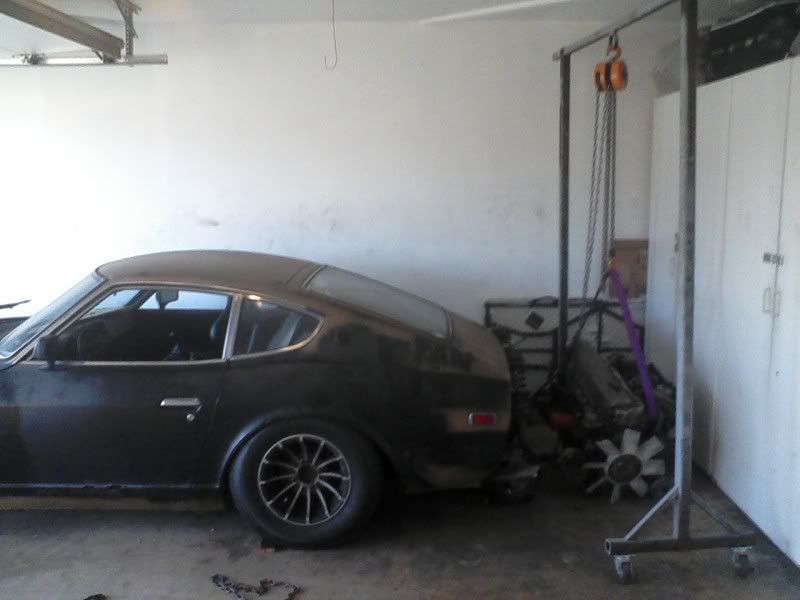
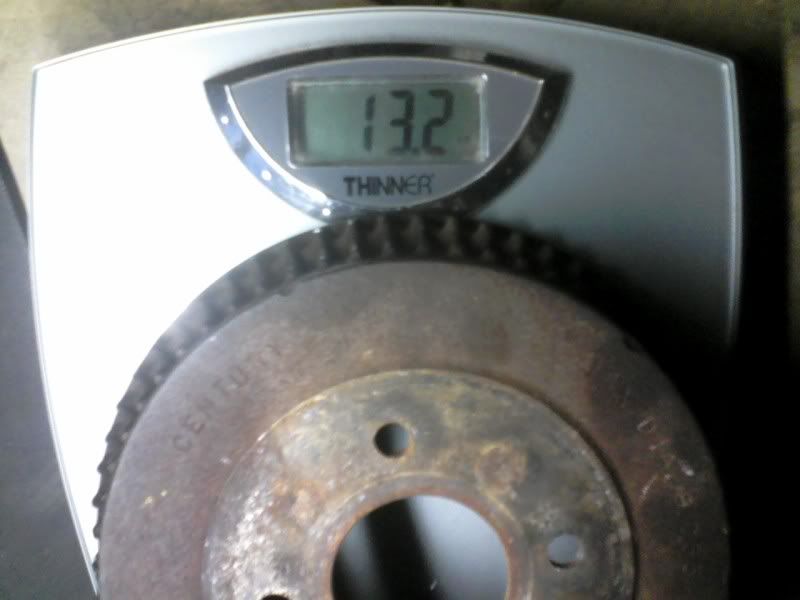
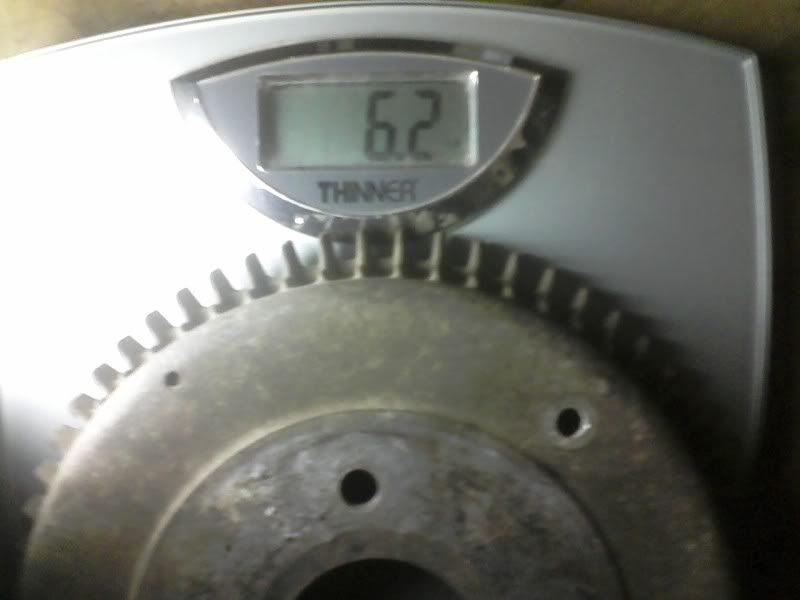
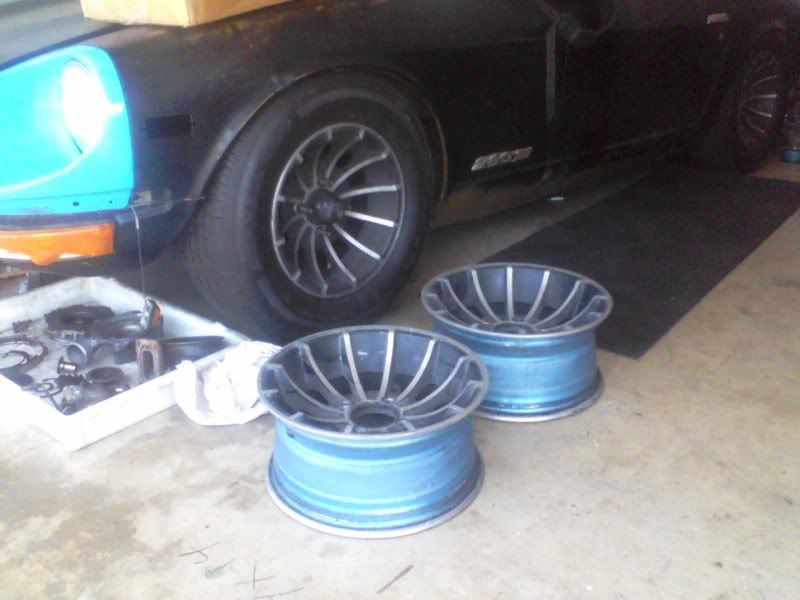
 06/07- Extra rims
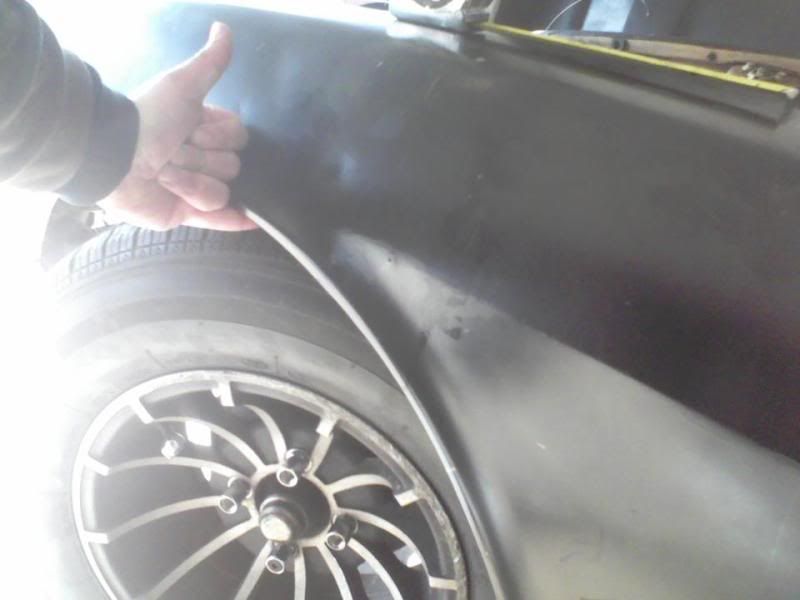
I visited the guy I bought my engine from and traded the AC compressor for two of my rims. These are dealer option rims circa 1974. They are 14x6.5 zero offset and they weigh 15lbs each. The lightest factory wheel made by Nissan was the 1980s 280zx 14x6 six spoke wheels weighing in at 13lbs. I'm pretty happy with my wheels because they seem to have a deeper dish than most I've seen.
A couple hours later I sold my old head with the horrible valve tick to a guy who buys and rebuilds Datsun parts, and sells all kinds of parts for Datsuns. He has visited my house three times so far to buy my parts, and he comes in a nice Nissan Frontier that says “Datsun Parts LLC” on the side. Its really a flattering thing.
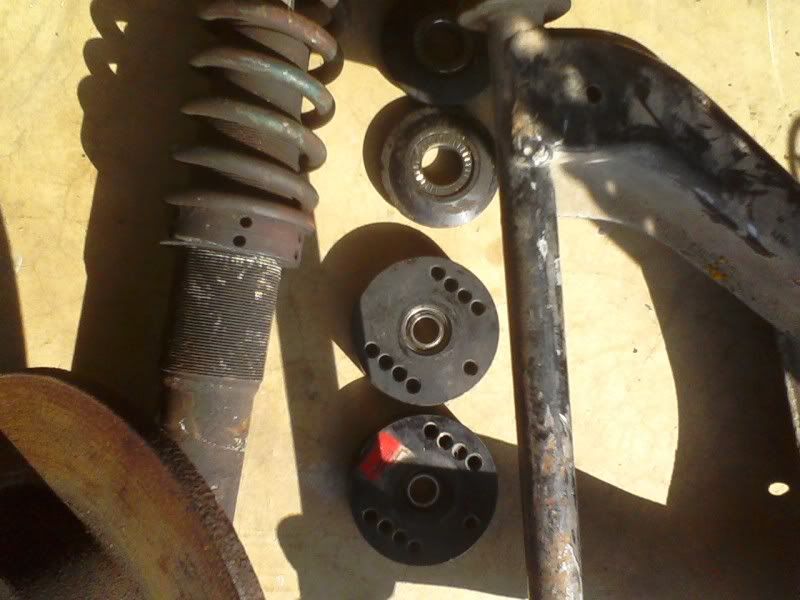
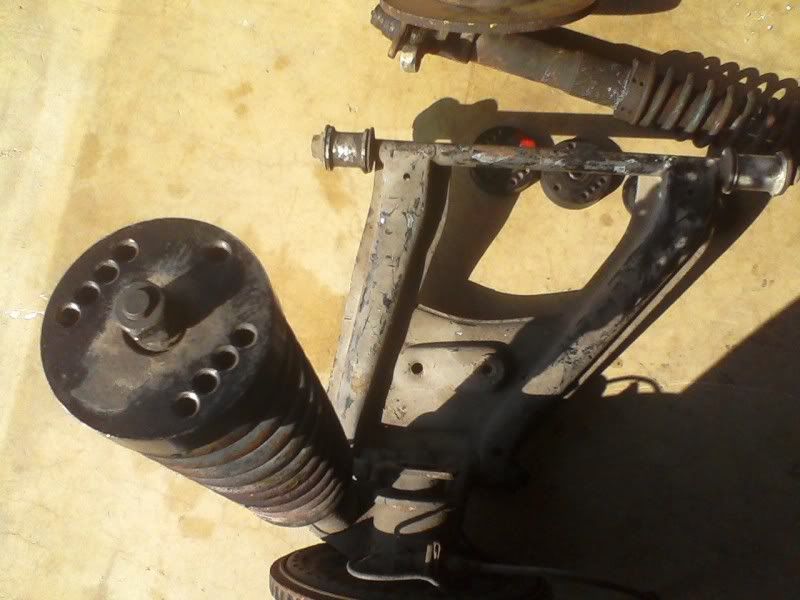
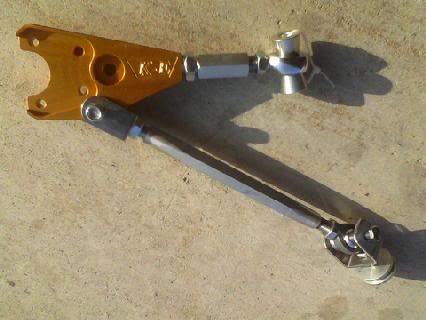
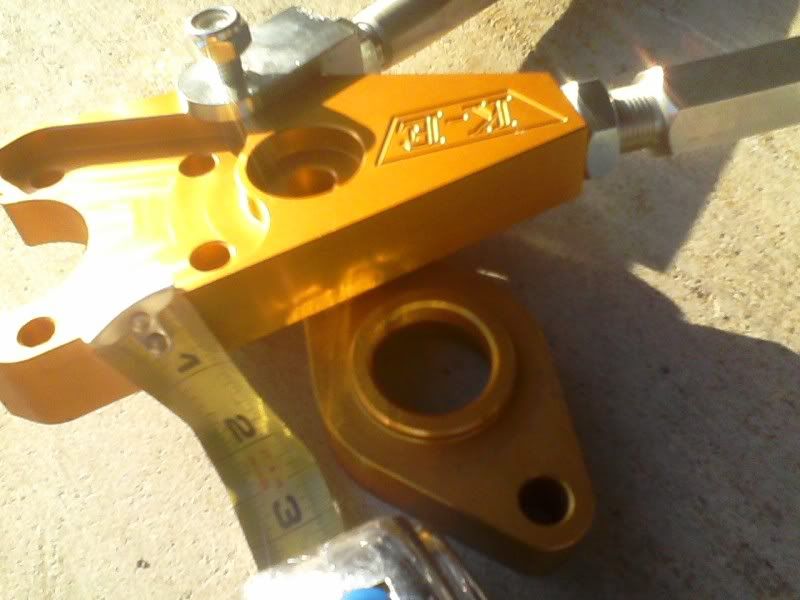
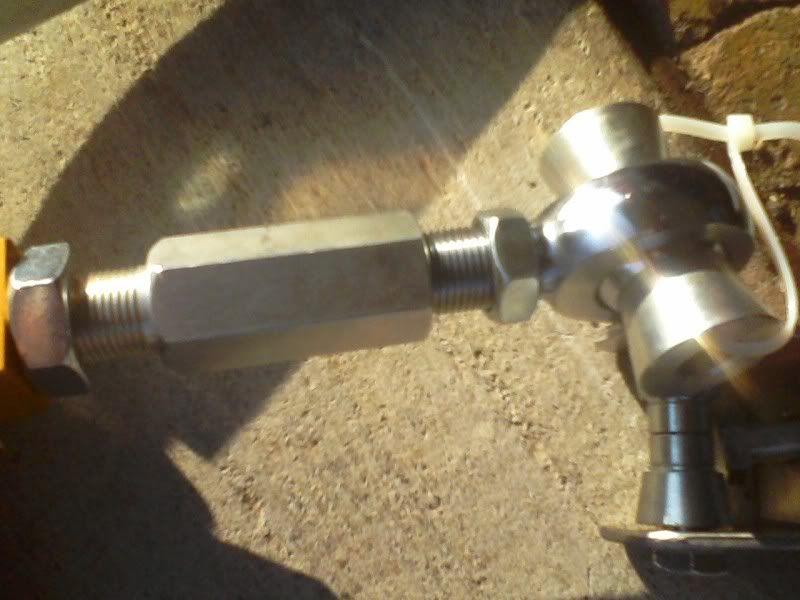
06/13- Adjustable control arms
Since I am trying to put a lot of my efforts into the Crown draw thru turbo conversion, I posted my triple Weber side draft carbs for sale on Craigslist. I was contacted by the machinist from Datsun Parts LLC. After making the Z parts, he got bit by the Z car bug and got his first Z car ever via trade… and is interested in trading me some of the parts he makes for my carbs. AWESOME! So, I went to the guys house and did a deal. I traded my Triple carbs, 300 dollars, and my stock rear suspension for… 4 springs, front adjustable control arms and tension rods, aluminum bump steer spacers, and a promise that I would get the first set of adjustable rear control arms he makes, after he designs them using my stock rear suspension (in a couple weeks). I went ahead and picked the gold anodized...
"MADE OF 6061 ALUMINUM ALL CNC MACHINE
OTHER PARTS MADE OUT OF STEEL
BLACK OXIDE AND CLEAR SINK TO PROTECT FROM RUST"
What they go for on Ebay...
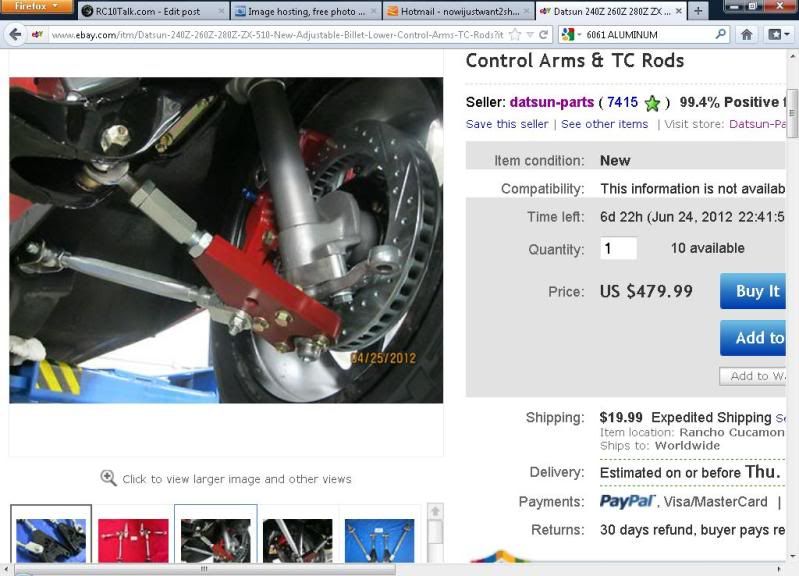
My parts....

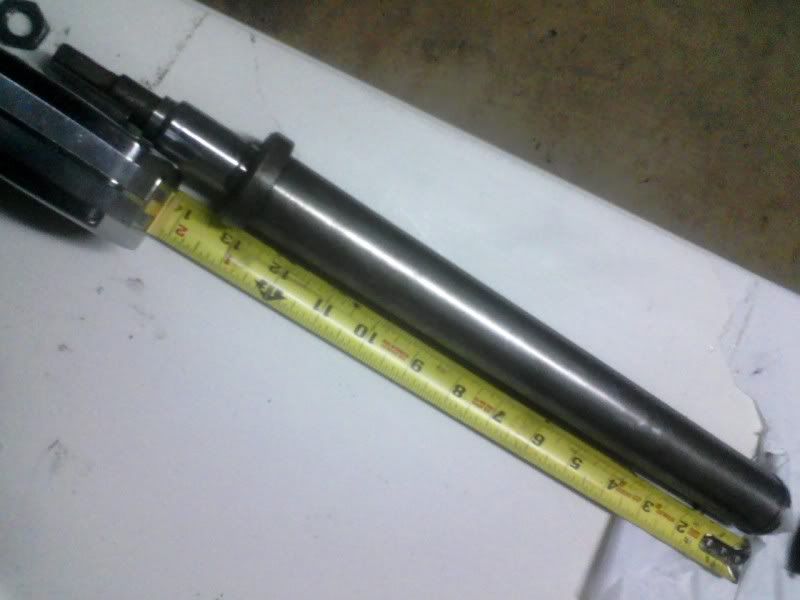
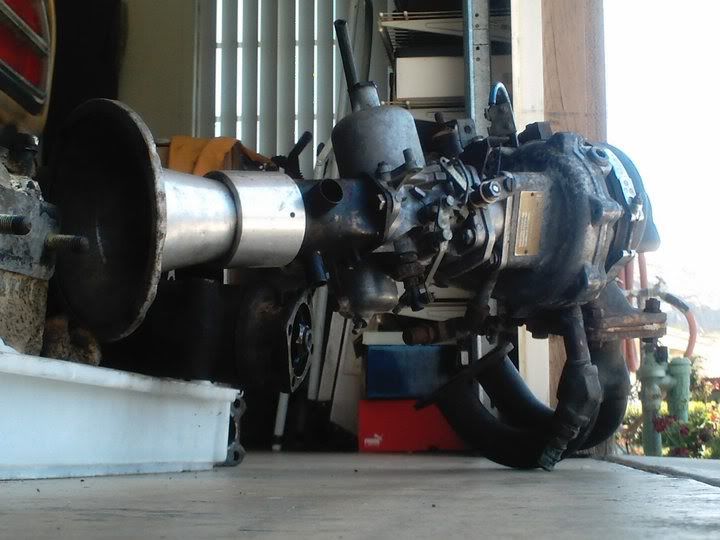
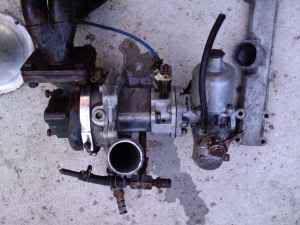
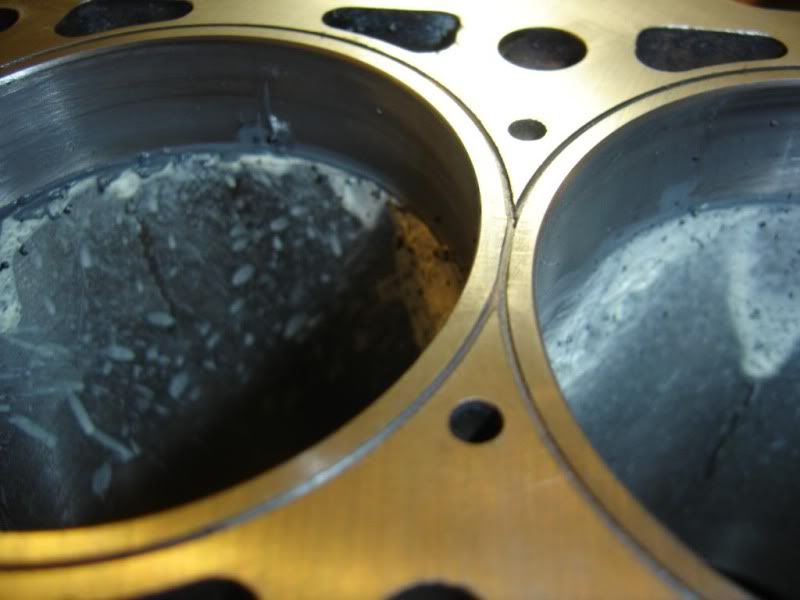
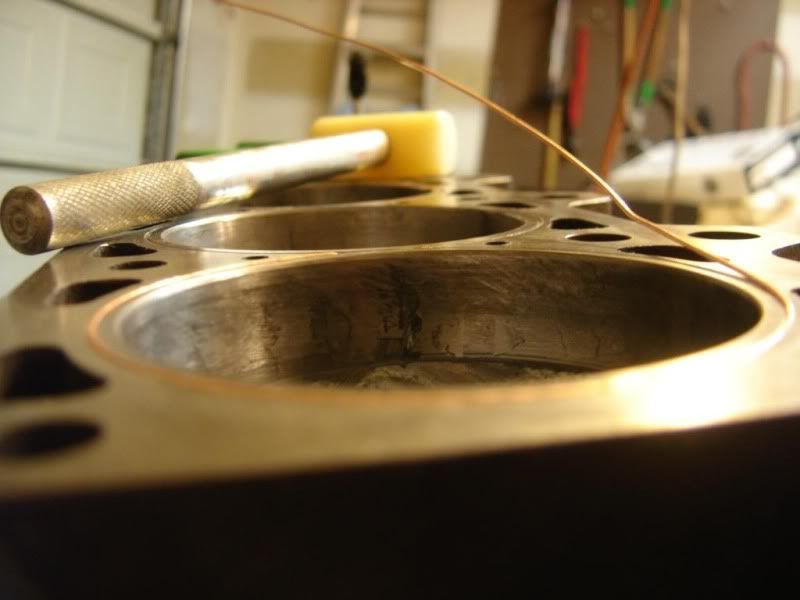
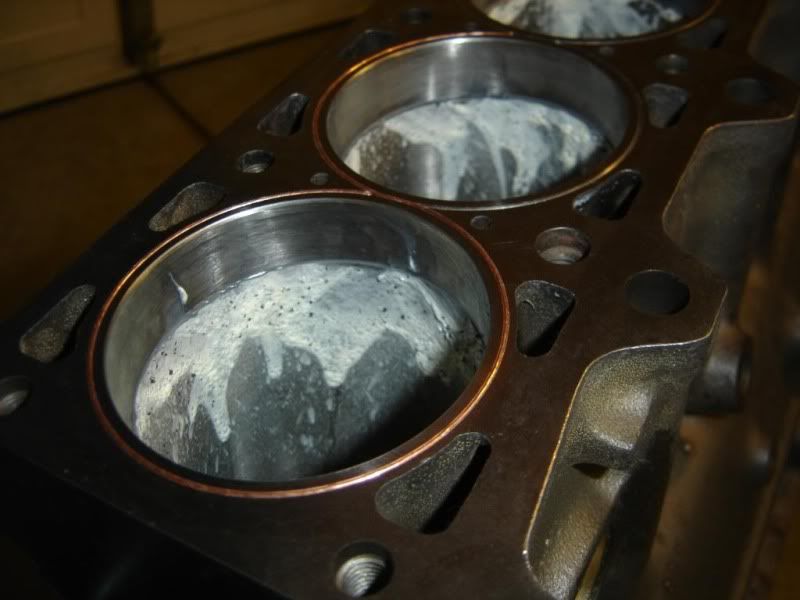
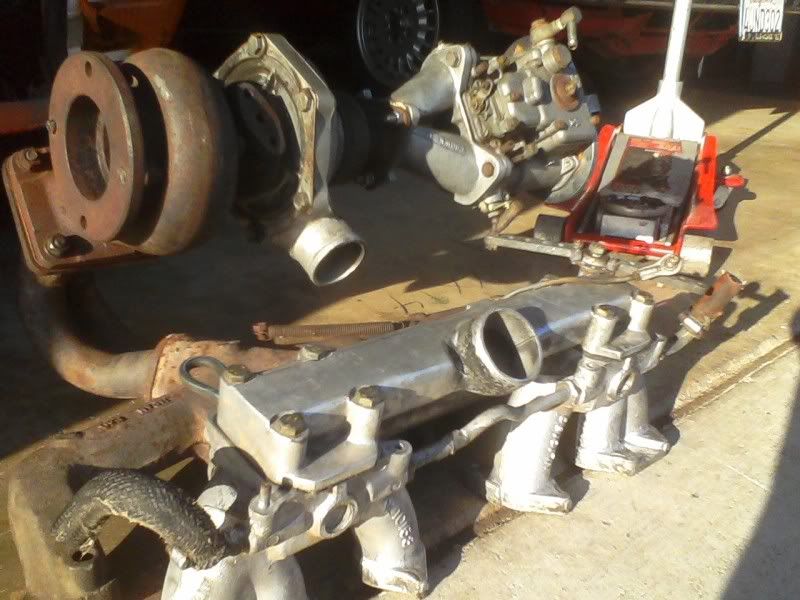
 06/14 Another turbo kit!
One of the guys that contacted me about the carbs replied to my “wanted list” where I stated that I was looking for a bolt on turbo kit. I met with him today. He has been out of Z cars for over 15 years, he used to work at W&T (Wayne & Toms) which was a Z car specialty shop many years ago, it used to be adjacent to my favorite junkyard but is long gone. He said that he personally ran this set up using a O-ringed block and a multi layered steel head gasket which lasted until he crashed the car. He also said he can build me a roll cage. He suggested I run a metal head gasket and an O-ringed block. The concept is you cut a groove on the block deck and feed copper wire of the proper size so the wire sticks up just barely so that it bites into the headgasket and seals better.
Some pics of some O-ringed blocks using the DIY Isky Groove-o-matic….
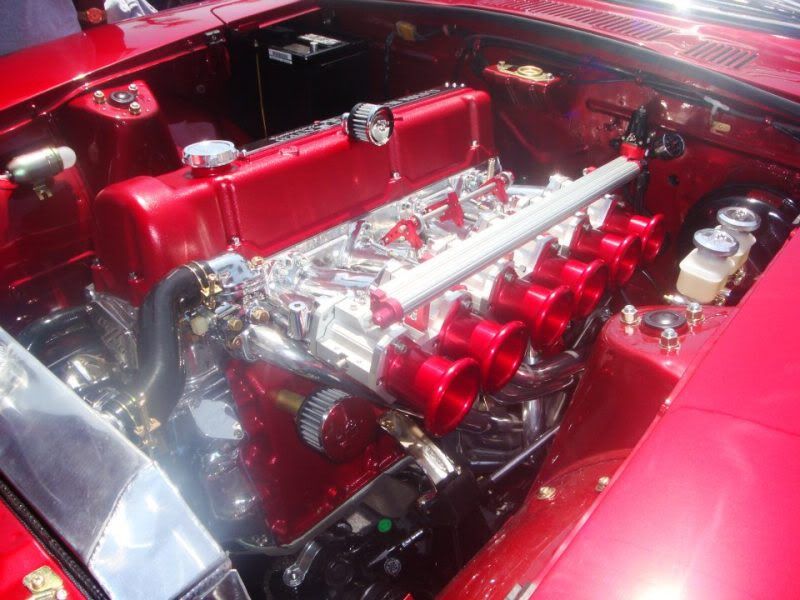
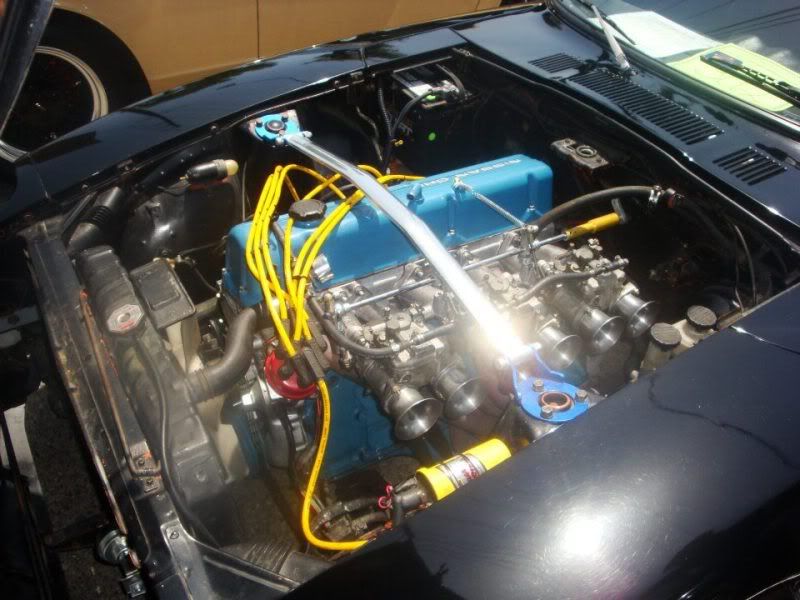
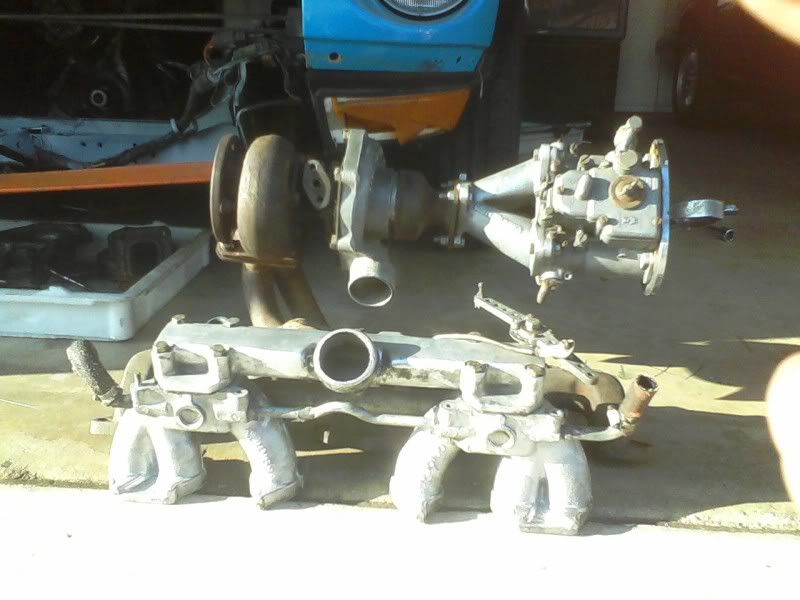
He brought the turbo kit to my house, which he said had been sitting in his mom’s garage for over 15 years. I was pleasantly surprised to see that it was a Crown draw thru turbo kit exactly like mine. He gave me all kinds of helpful info and little knick knacks that will help me with my project. And if you notice it has the Weber side draft carb and carb adapter I was trying to win on ebay just weeks before! Having an engine with the complete kit installed already in my garage surprised him, he got a kick out of that. He modified his kit with a larger turbo and a much better carb.
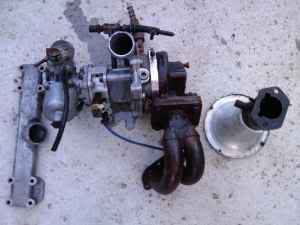
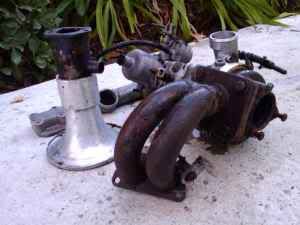
Crown draw thru turbo kit #1 (stock)
Crown draw thru turbo kit #2 (modified)
-polished Crown turbo intake
-Rotomaster AR60 turbo w/ AN fitting steel braided oil dump hose
-Weber 45 dcoe 9 w/ polished Cannon intake carb adapter to fit any Chevy Corvair turbo
-early 240z exhaust manifold, bunged
-polished N36 intakes
-Rare European balance tube (brake booster hose comes out the side)
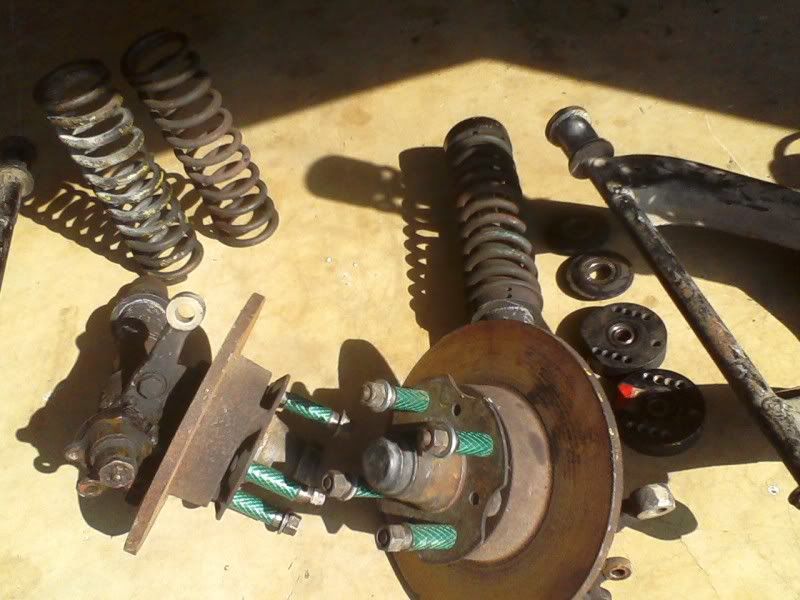
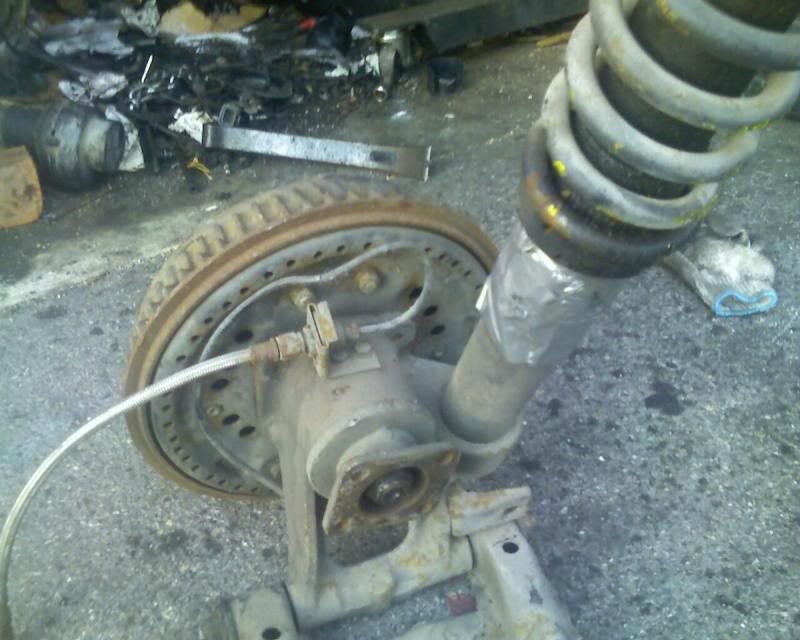
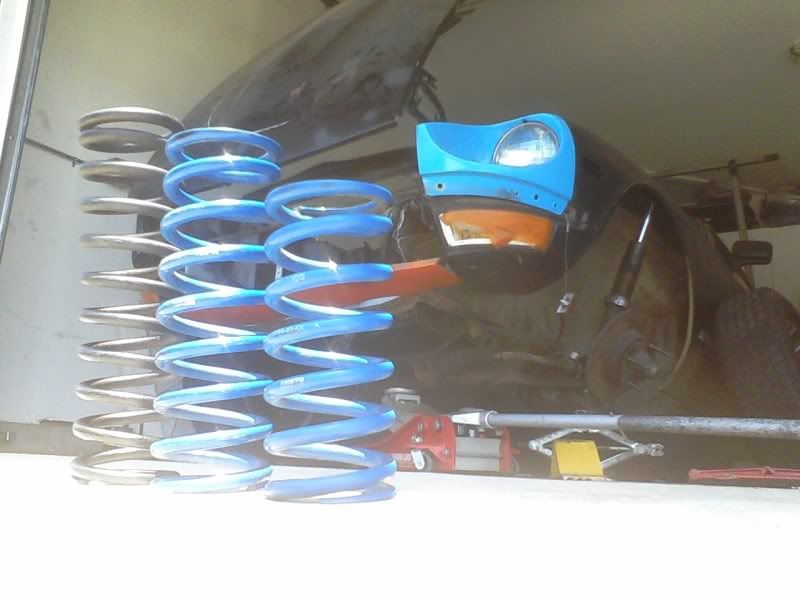
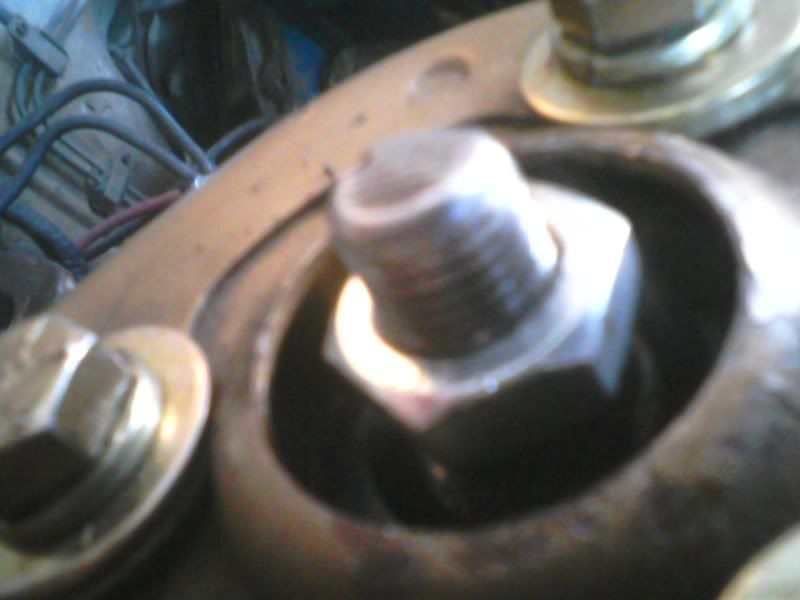
 6/15- New springs
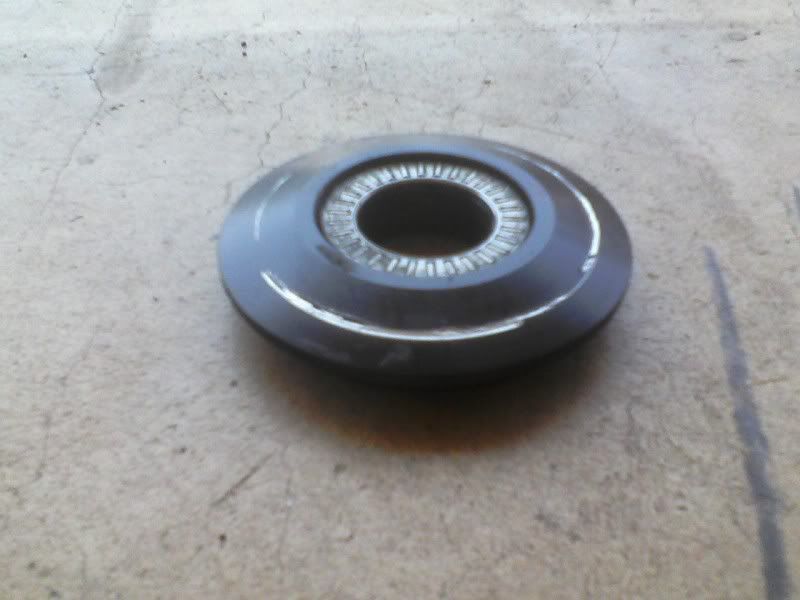
I installed the front springs I got in the trade deal. When I took off the suspension I saw that the bolt I was using to thread in thru the top were a bit too long and digging into the top hat and that’s when I found out they are aluminum! Sweet! I thought they were polyurethane. I cleaned them and put grease on the needle bearings, as well as sanded down the bolt ends for clearance.
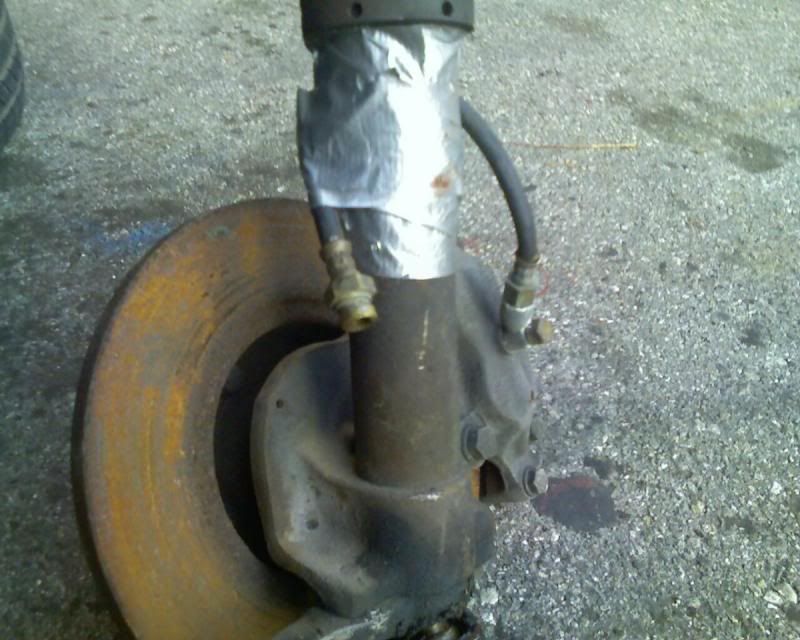
When I was disassembling the passenger side coilover, somehow the the camber plate/shock cap got rusted fixed on the top of the shock shaft (I must've been tired and put it back together a little wet after I cleaned them. It being late and me being super tired I hit the top of the shock shaft with a hammer and little by little it came free. Well, that was a bad idea because the top of the shock shaft got smashed just enough to damage the top one or two threads and I could not thread on the jam nut!! My solution was to remove all the damaged thread with some sand paper and then I was able to thread the jam nut on. It took some effort but it worked. phew!
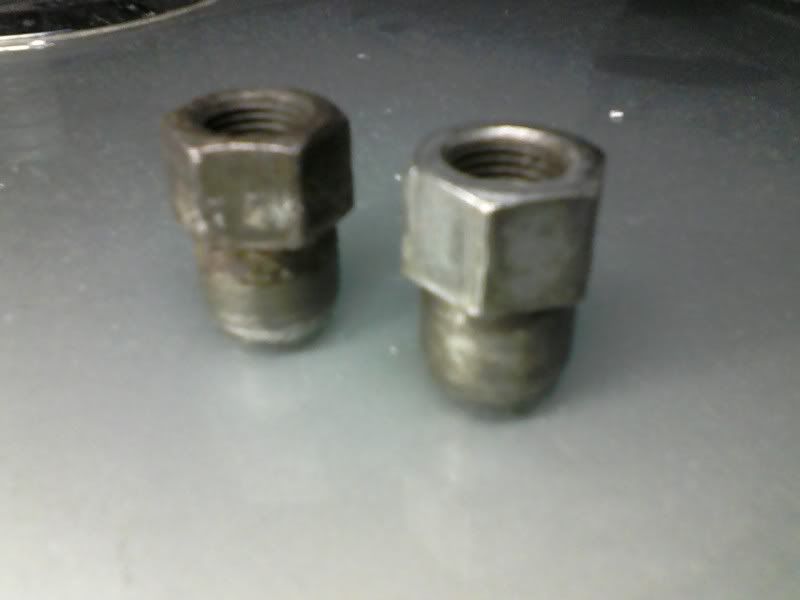
Old…
New…
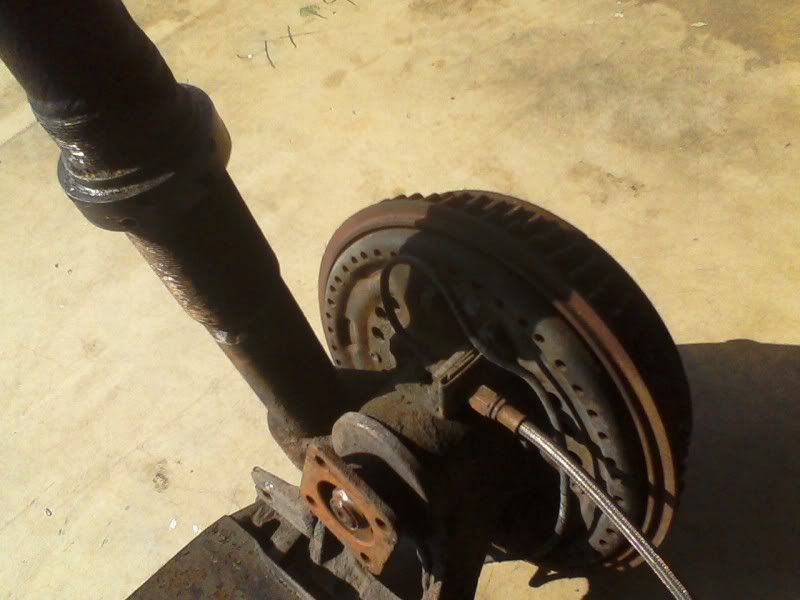
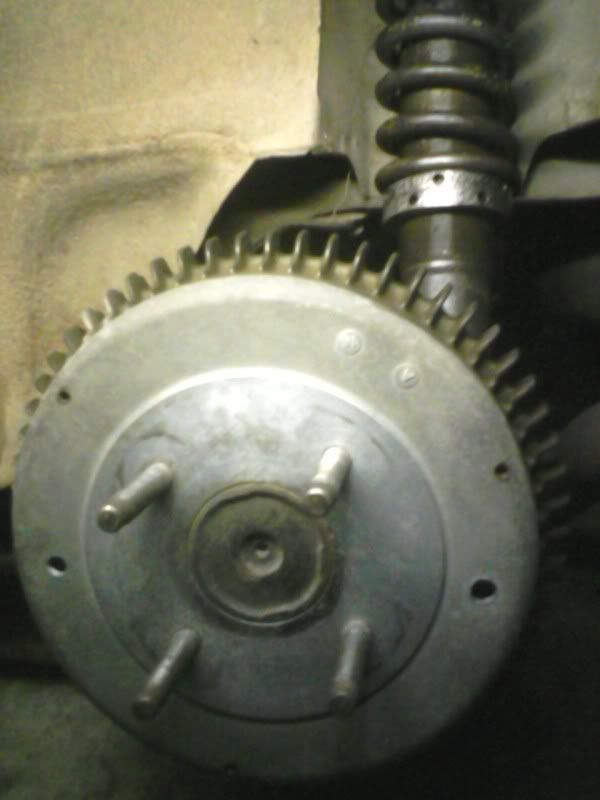
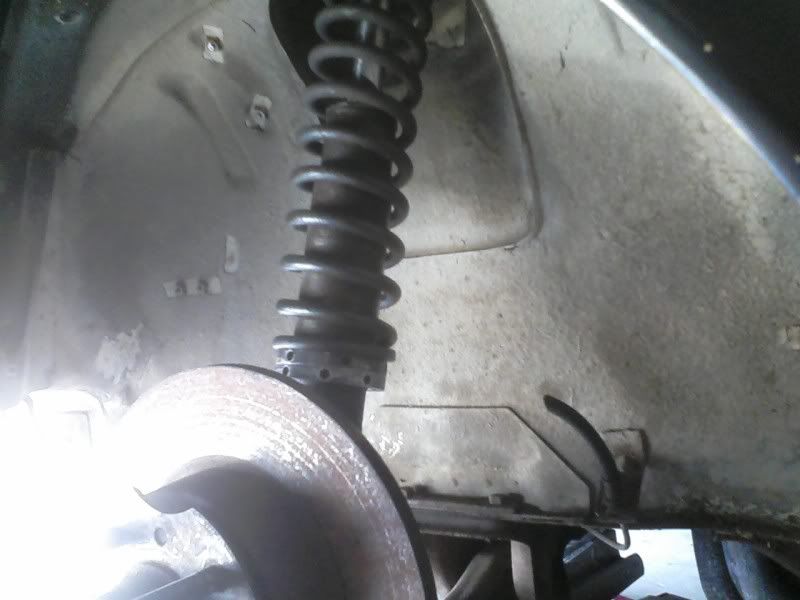
 6/17
6/17
I got the rear springs on and also FINALLY got the stuck rear drum off from rear passenger side. I had to put a block of wood on the drum at 6'o clock and hit with a 5lb hammer. I got it off and then put the OEM aluminum drum and wire wheeled lugnuts on!

Pics of front control arm installation coming soon.
Pics of rear control arm design coming soon.
Thats it for now! Thanks for letting me share!