XLR8 wrote: ↑Fri Nov 08, 2024 10:01 am
The test print look good!

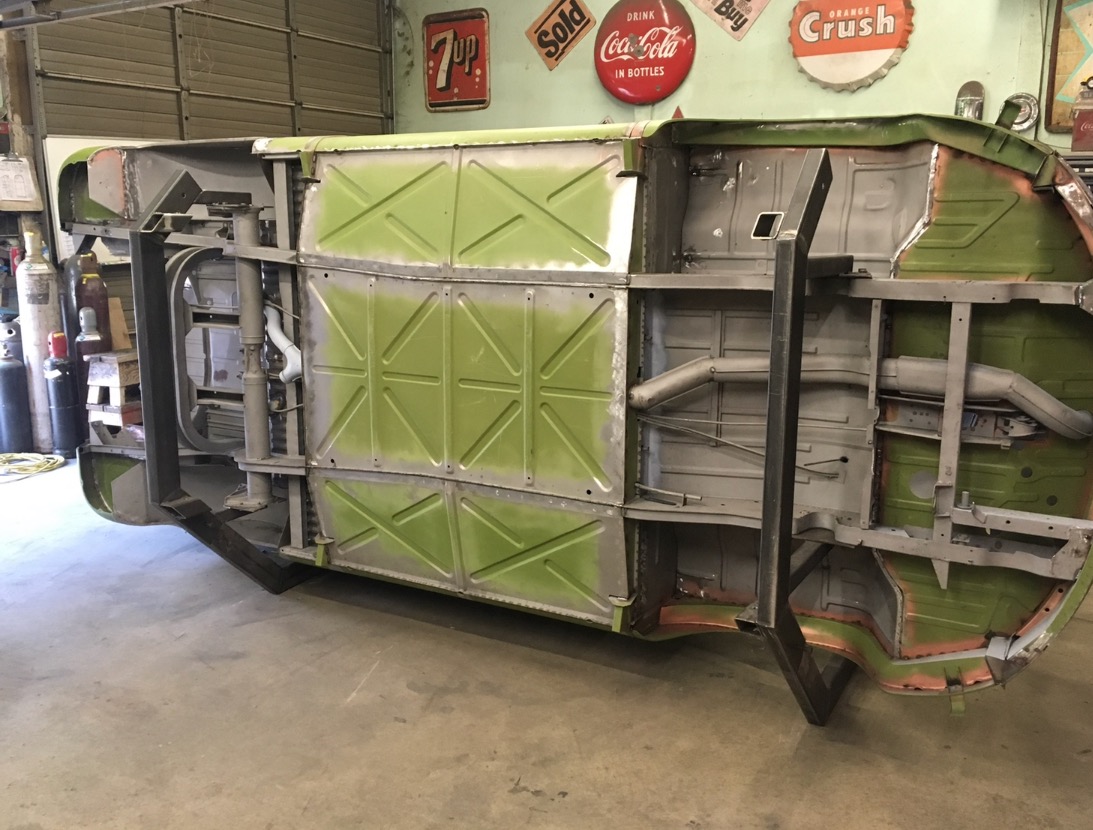
Those belly plates will be easy to model, print and attach. Although the floor assembly print isn't meant to be structural, the plates should add some rigidity making it less brittle.
We can add a full aluminum pan to the top side of the frame assembly to give the bus a proper backbone. Thus, the front and rear frame subassemblies can be attached directly to the aluminum pan and create a rigid structure. The floor assembly print is only meant to accurately replicate the 1:1 bus; it's really not a structural element.
I'm very surprised to learn that PLA strength differs with color. Or, do you think it's the matte finish that's causing the print to be brittle?
It's the Matte Rapido PLA that is softer/more brittle, it's printed at 200°C for the extruder, whereas the regular Rapido PLA is 210°C, something is definitely different. Olive Matte looks great though to me, and will have a purpose in the future.
@XLR8 The new floor print came out stronger and looks nicer too - I leave the 1:10 scale dummy in these pics to provide scale and context.


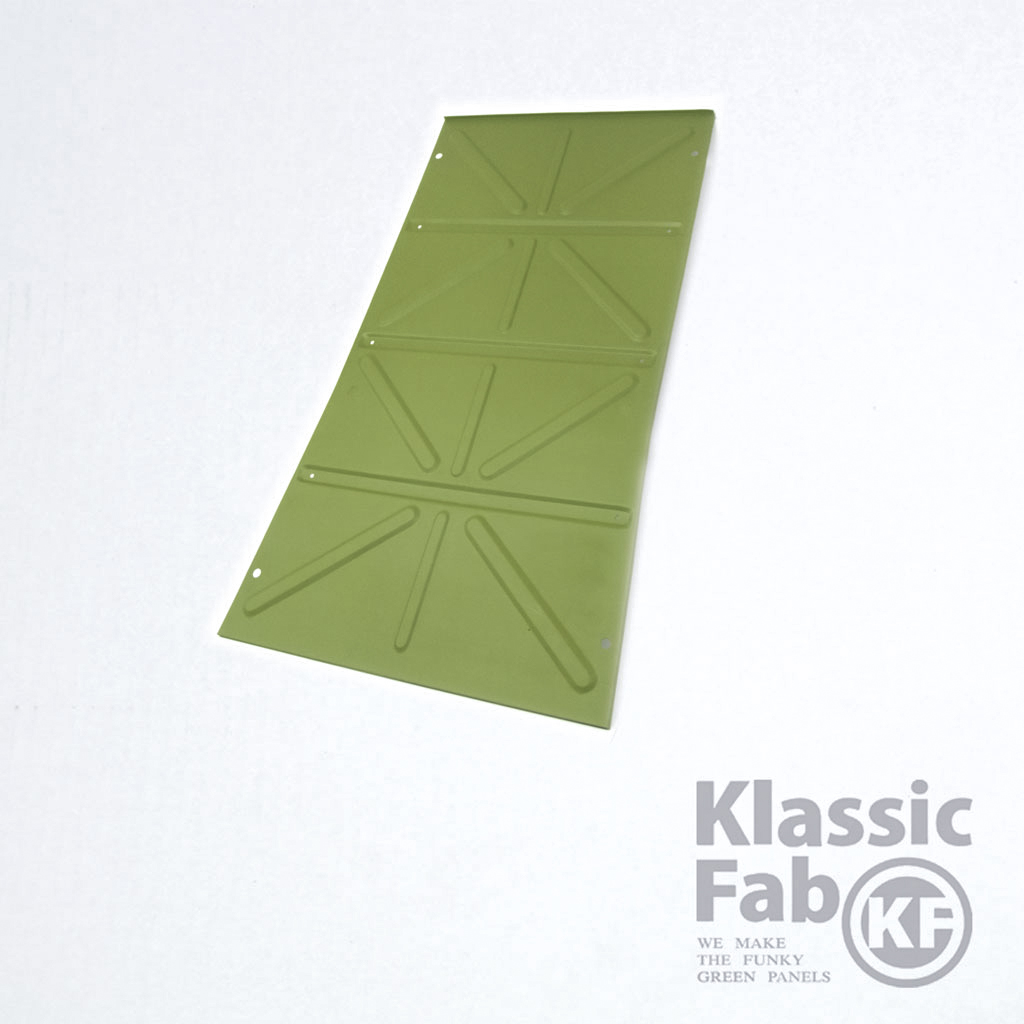
The neat thing about building this Bus model is, we can borrow pics of the actual sheet metal replacement panels, and hopefully use them to model/scan. Here is the actual center belly pan, the left and right panels are on this same page:
https://www.klassicfab.com/product-category/split-bus/page/7/
Here's the cargo floor sections, for an actual '50-'55 Barndoor Bus, it has the bench seat anchors on it:
https://www.klassicfab.com/product/kf569-cargo-floor-lhd-with-seats-5055/

Hoping these panel replacement parts will help
@XLR8
The M2 screws are what the Manx buggy uses. Going to entirely assemble the model, and then see if I want to leave it as a print, and without paint, for the first one.


