Maybe not but did you considered squeezing Lunchbox street tires (https://tamico.de/R31House-Formula-Kart-Slick-Tire-for-Tamiya-CW-01-and-WR-02-2) (not even sure it is the right dims)?
SERPENT 988e Taipan
- silvertriple
- Approved Member
- Posts: 2003
- Joined: Sun May 02, 2021 10:31 am
- Location: France, Isere
- Has thanked: 705 times
- Been thanked: 1210 times
Re: SERPENT 988e Taipan
I buy kits to build and ru(i)n them 
-
Trass
- Approved Member
- Posts: 340
- Joined: Sat Aug 08, 2015 12:02 pm
- Location: Near Limoges - France
- Has thanked: 398 times
- Been thanked: 202 times
Re: SERPENT 988e Taipan
I thought about those ones, but too big, need between 85 and 90mm diametersilvertriple wrote: ↑Sun Oct 30, 2022 6:34 amMaybe not but did you considered squeezing Lunchbox street tires (https://tamico.de/R31House-Formula-Kart-Slick-Tire-for-Tamiya-CW-01-and-WR-02-2) (not even sure it is the right dims)?
Jerome
Sorry for my rusty english, i'm a kind of French farmer lost in his montain ...
- silvertriple
- Approved Member
- Posts: 2003
- Joined: Sun May 02, 2021 10:31 am
- Location: France, Isere
- Has thanked: 705 times
- Been thanked: 1210 times
Re: SERPENT 988e Taipan
Using two fronts together of the right diameter on a printed rim?
(some times have very weird ideas, but somehow what make me thinking about this is that Good Year sold at some points some tires which had a split in the middle (during 1990-2000 period if my memory is right))
(some times have very weird ideas, but somehow what make me thinking about this is that Good Year sold at some points some tires which had a split in the middle (during 1990-2000 period if my memory is right))
I buy kits to build and ru(i)n them 
-
Trass
- Approved Member
- Posts: 340
- Joined: Sat Aug 08, 2015 12:02 pm
- Location: Near Limoges - France
- Has thanked: 398 times
- Been thanked: 202 times
Re: SERPENT 988e Taipan
That could be an idea, but front are too tight.silvertriple wrote: ↑Sun Oct 30, 2022 1:09 pm Using two fronts together of the right diameter on a printed rim?
(some times have very weird ideas, but somehow what make me thinking about this is that Good Year sold at some points some tires which had a split in the middle (during 1990-2000 period if my memory is right))
---------------------
Some work after 15 days of Covid19
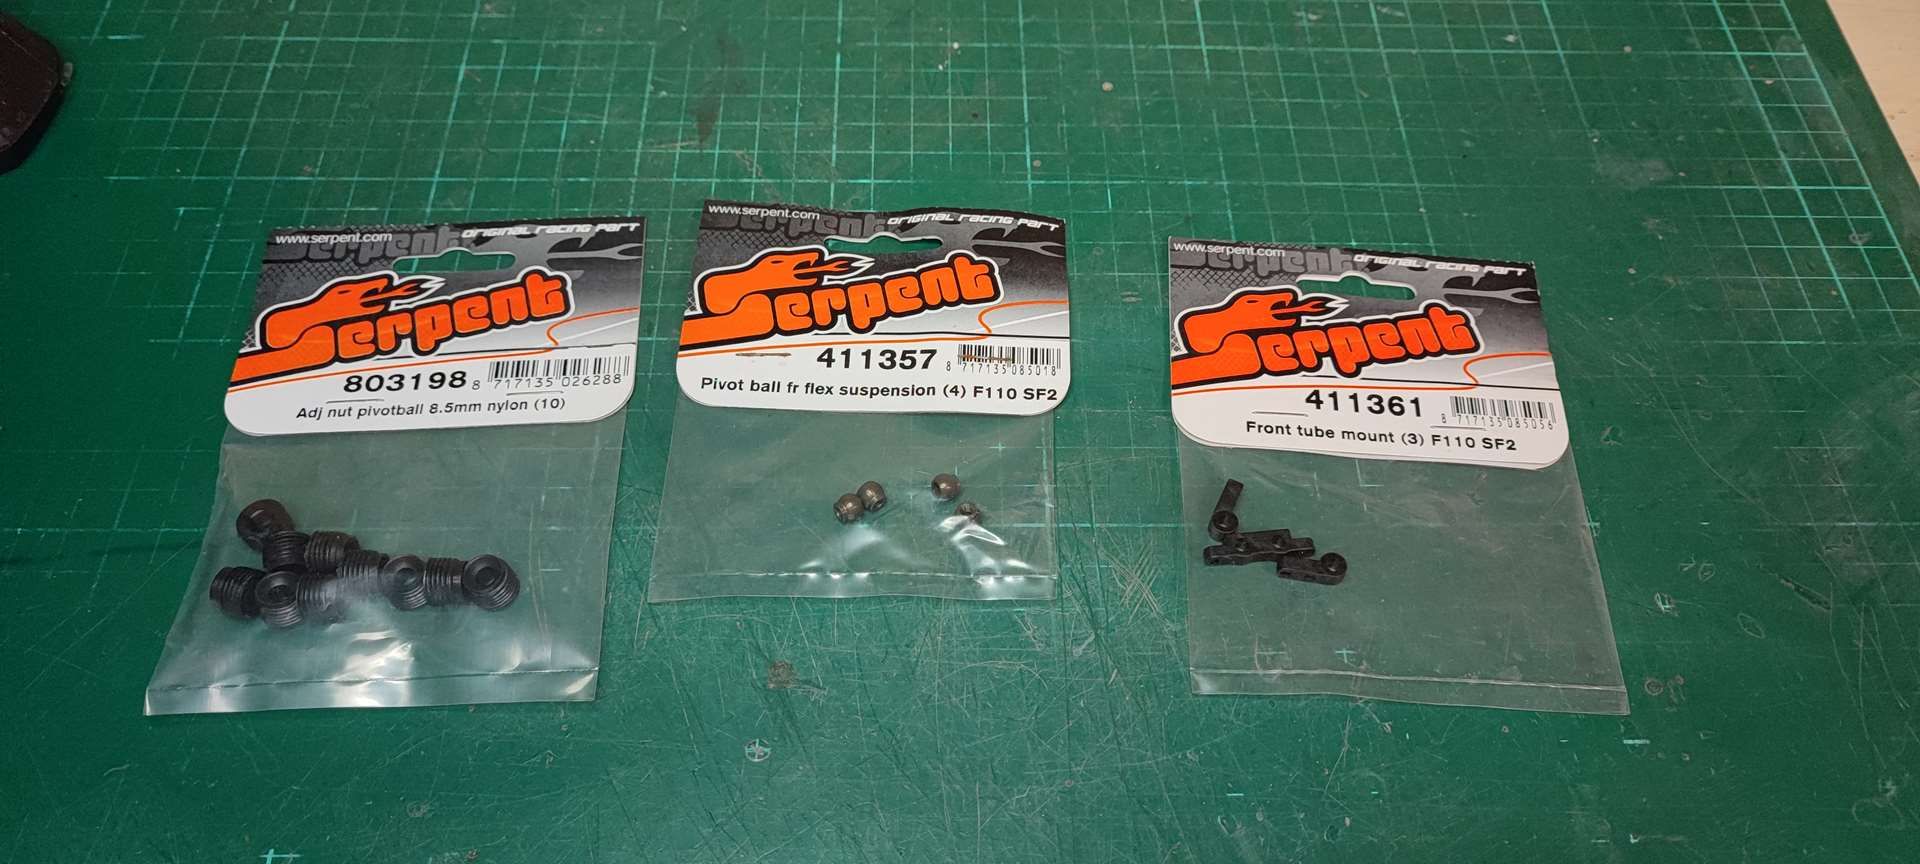
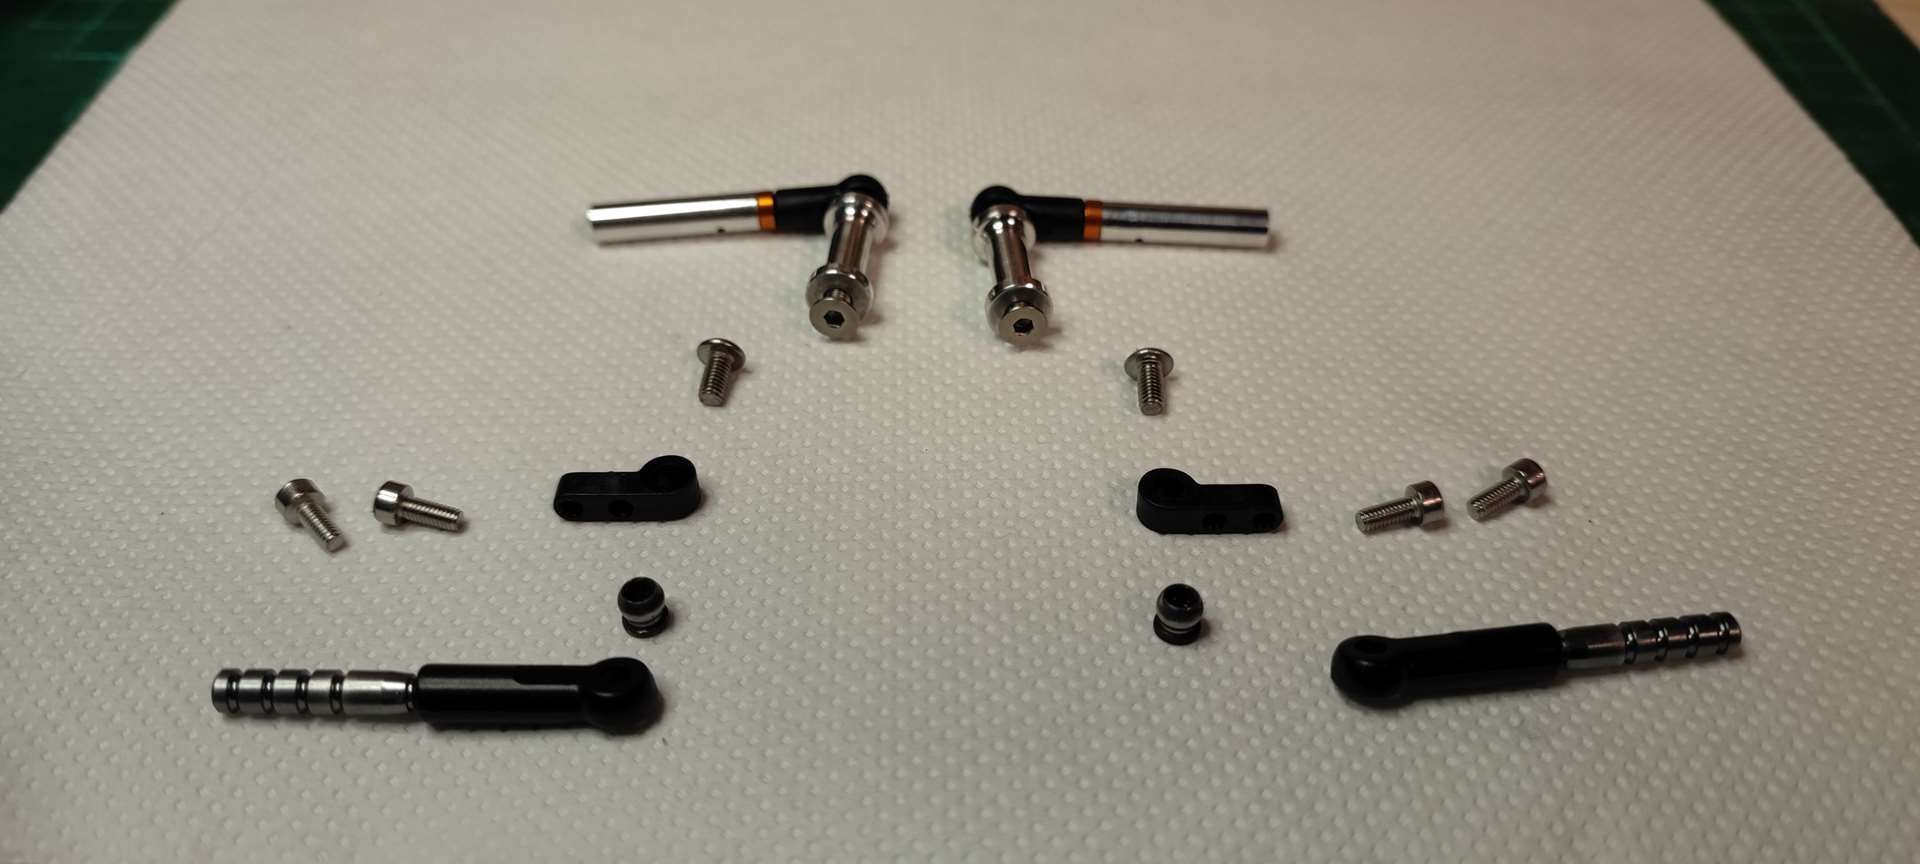
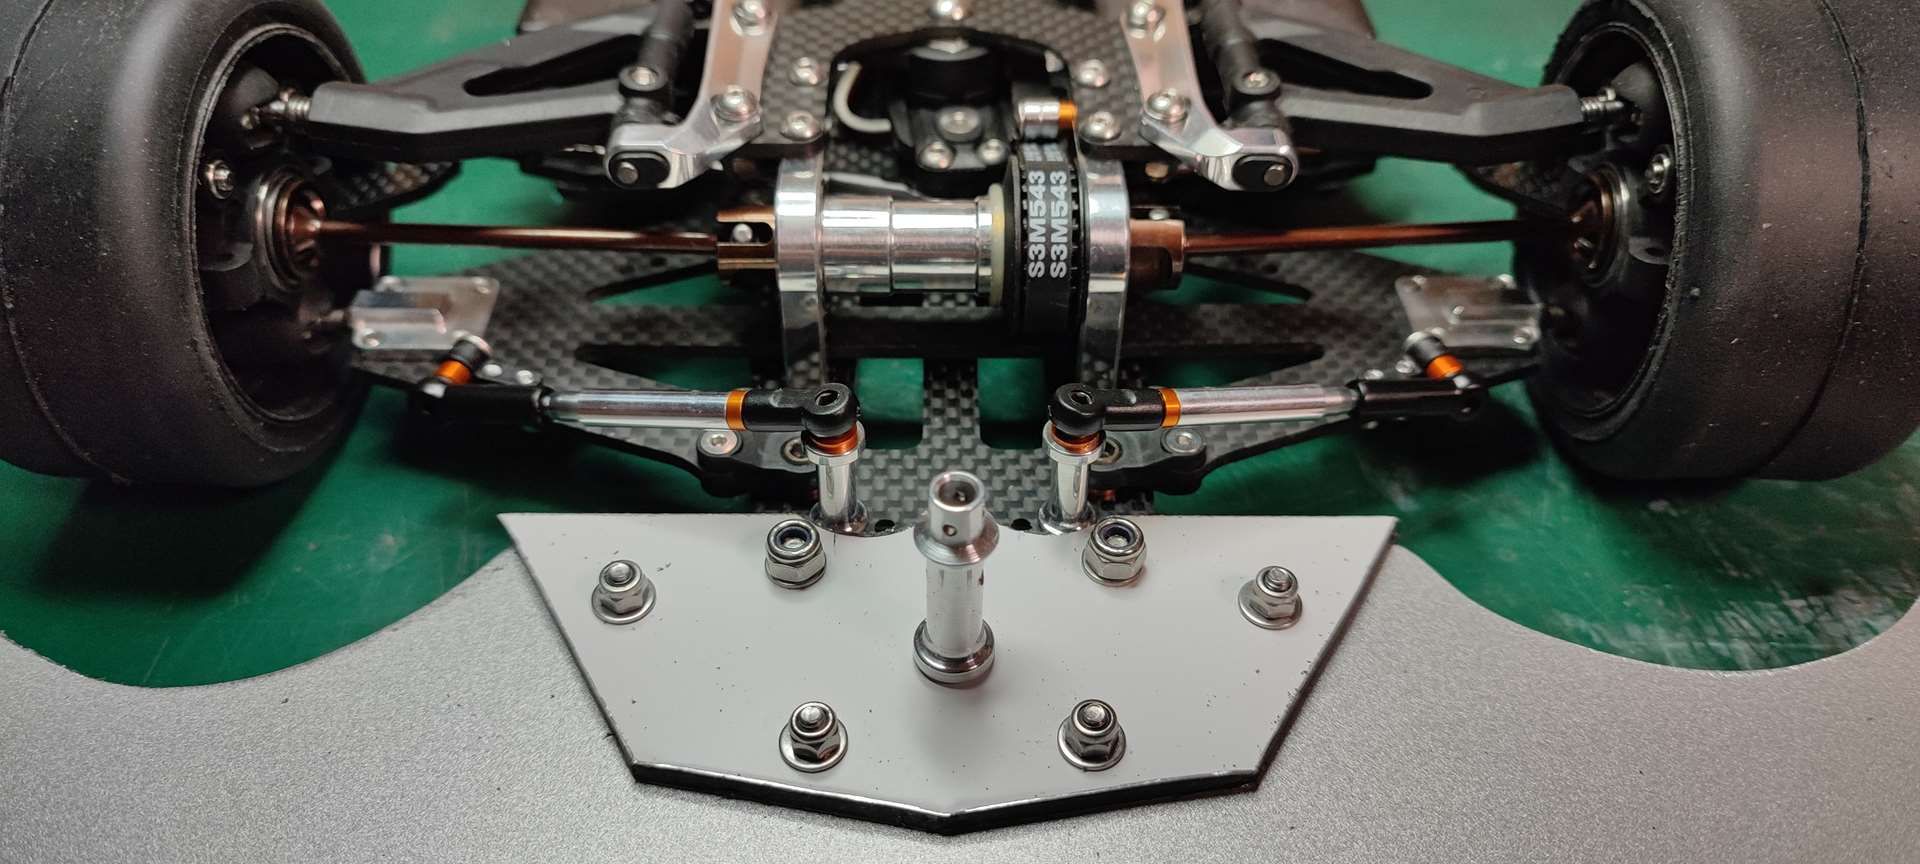
Jerome
Sorry for my rusty english, i'm a kind of French farmer lost in his montain ...
-
Trass
- Approved Member
- Posts: 340
- Joined: Sat Aug 08, 2015 12:02 pm
- Location: Near Limoges - France
- Has thanked: 398 times
- Been thanked: 202 times
Re: SERPENT 988e Taipan
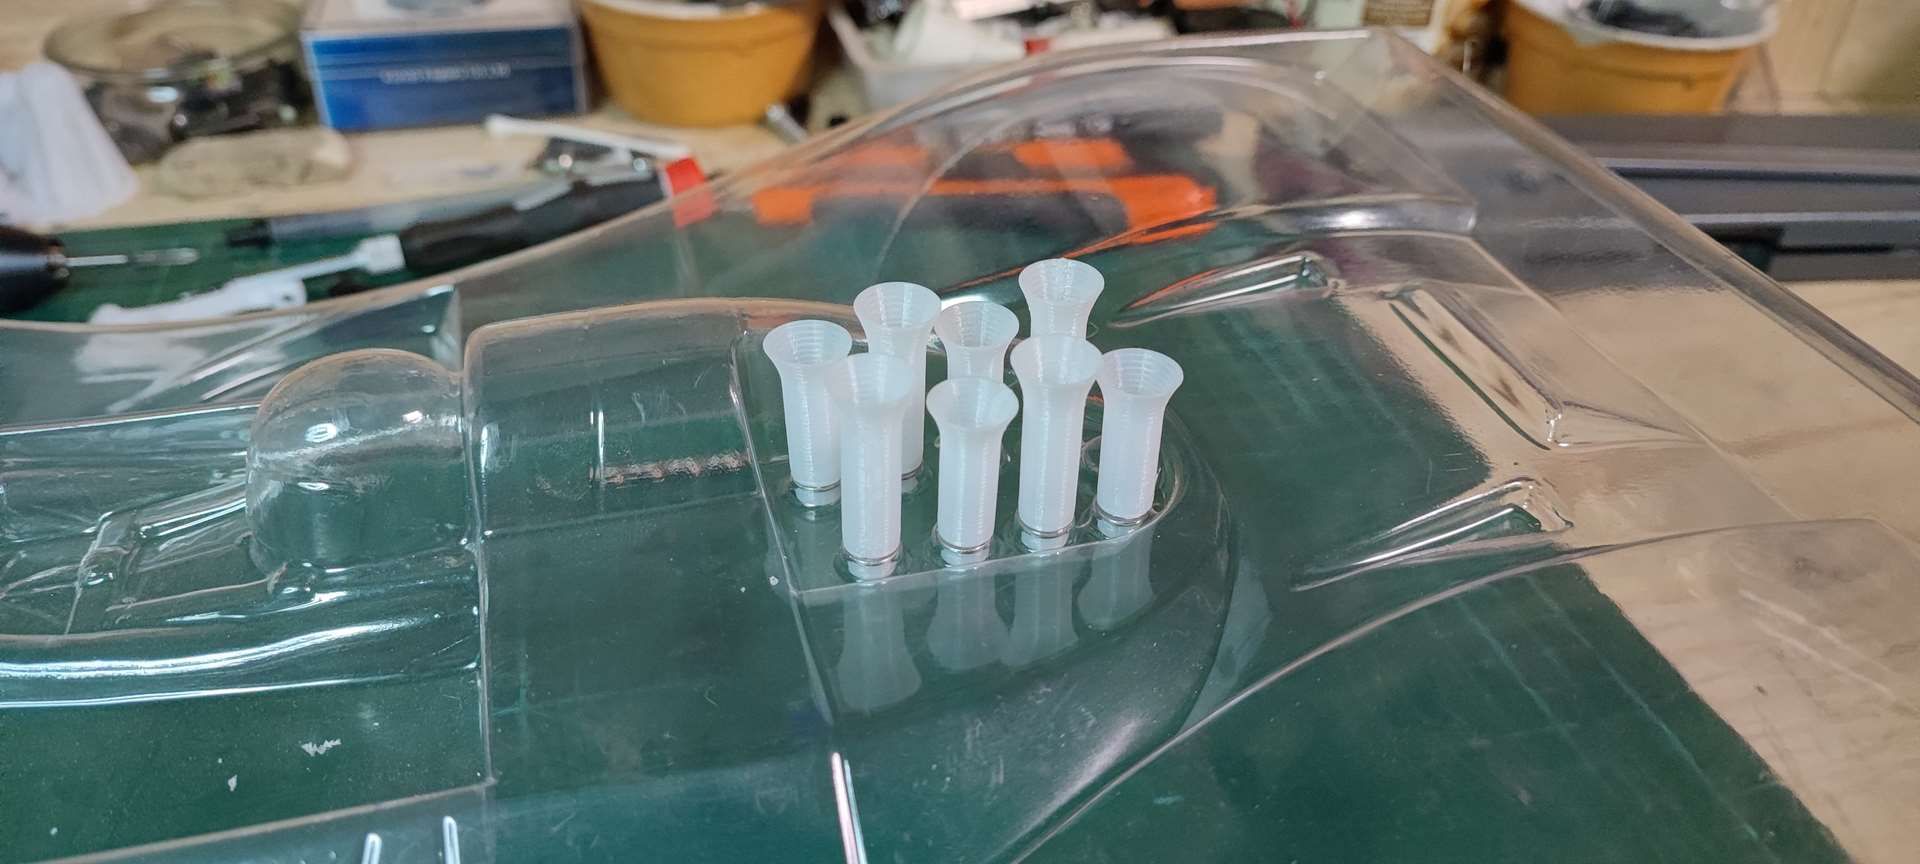
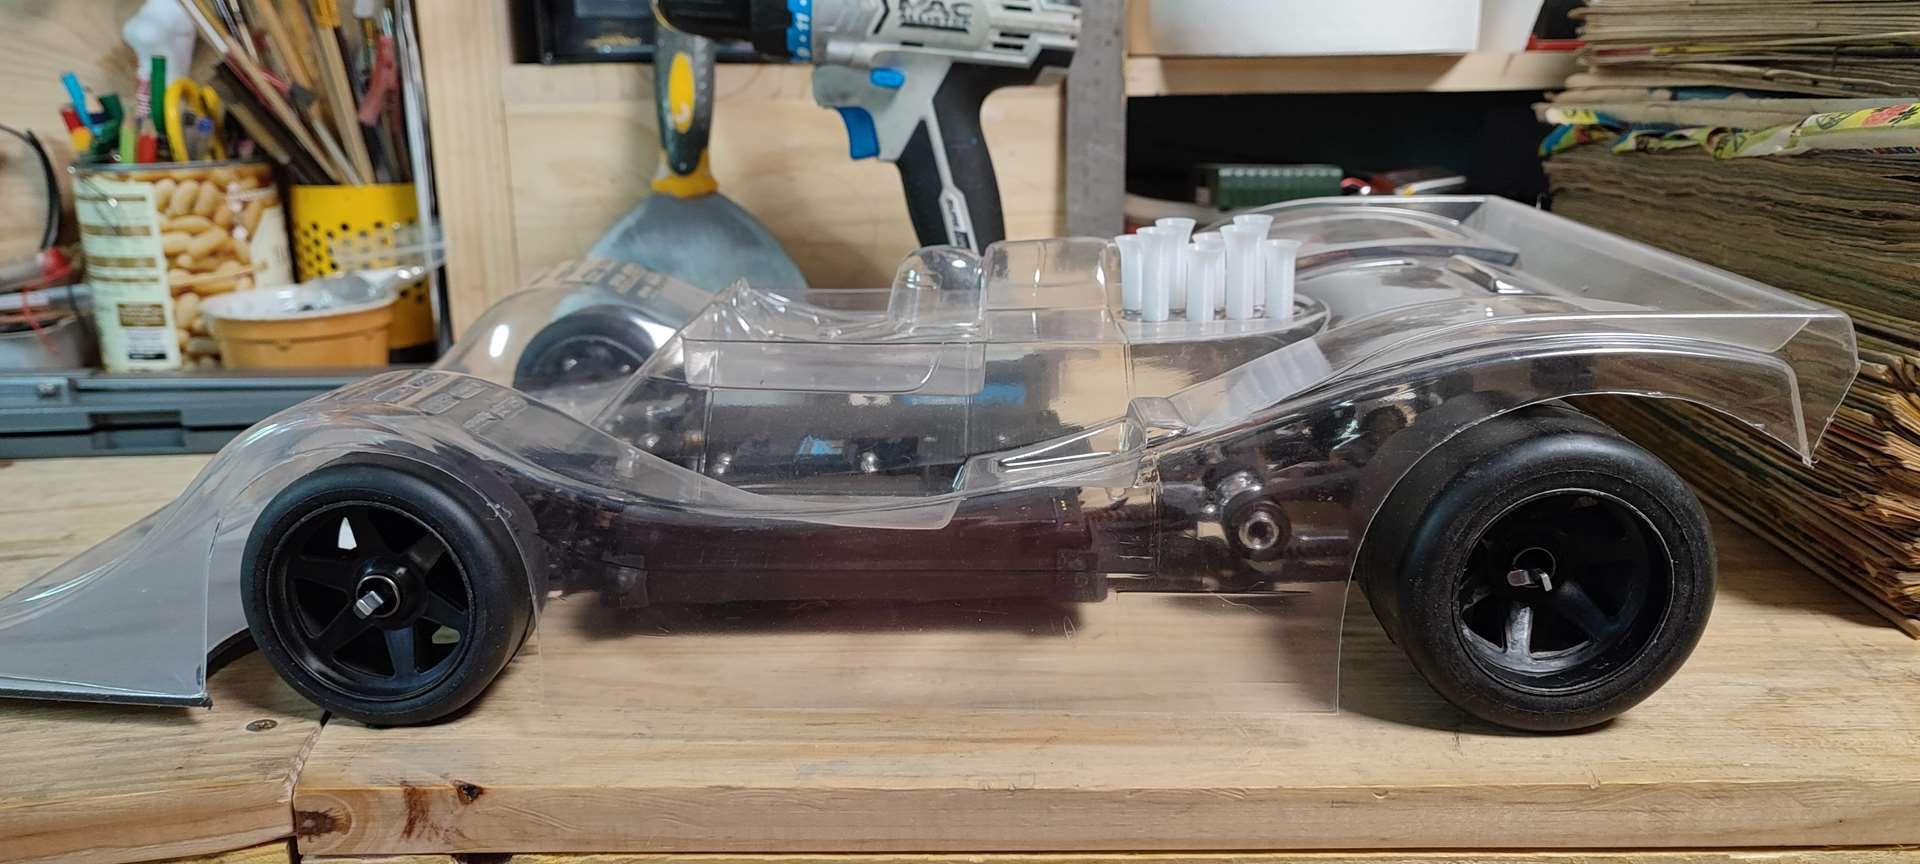
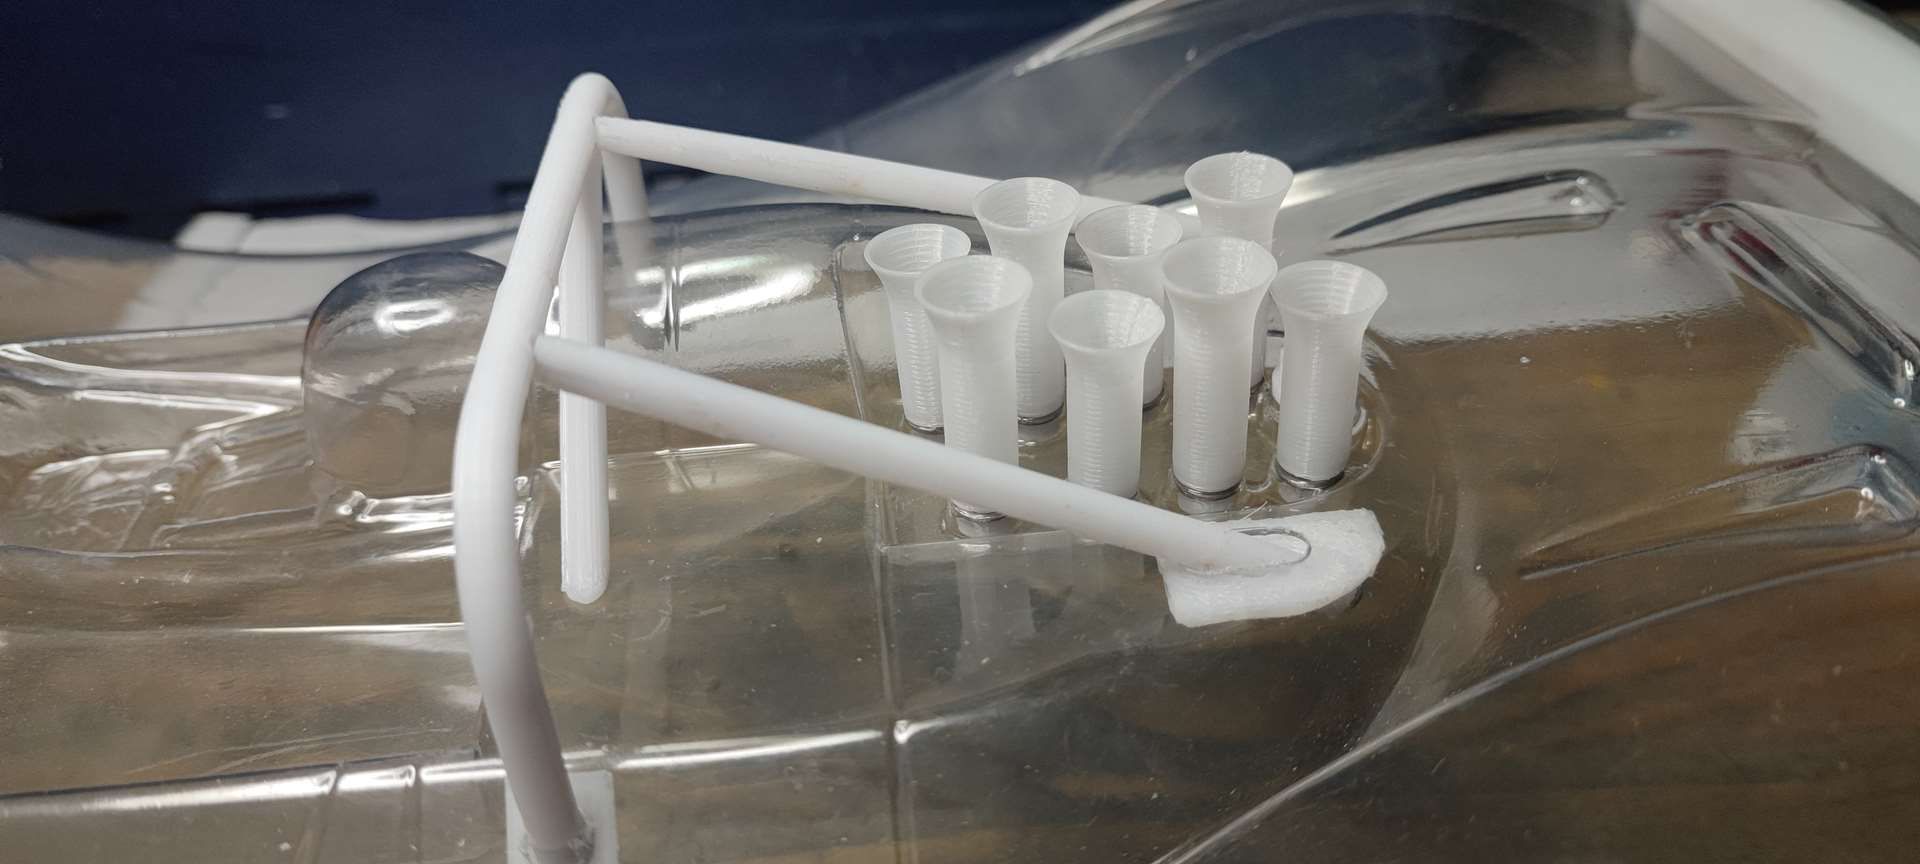
Here are some advances in the bodywork thanks to 3D printing
I made the intake cones on Tinkercad
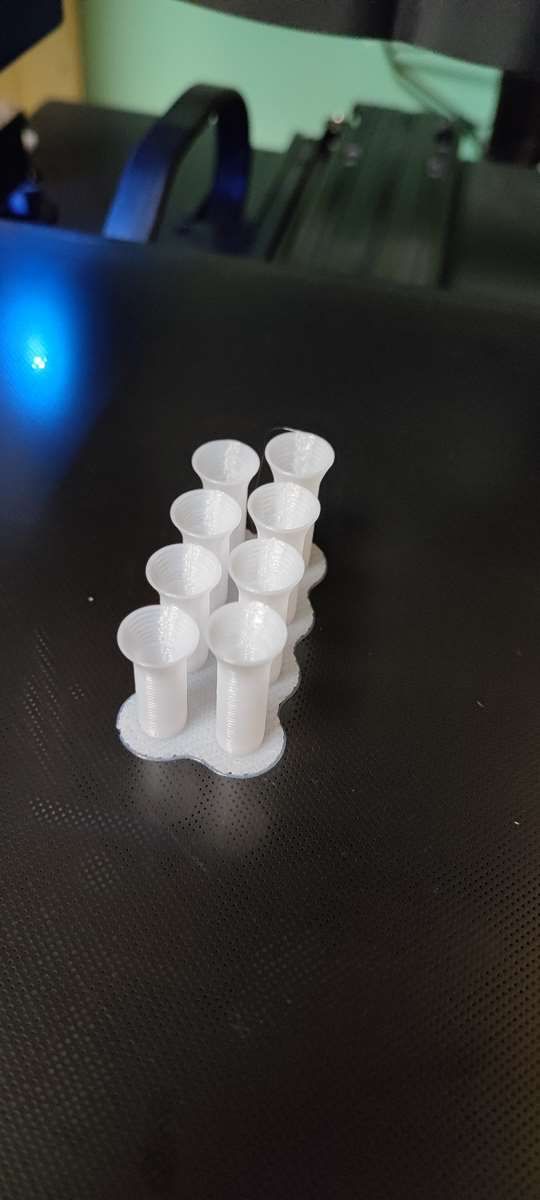
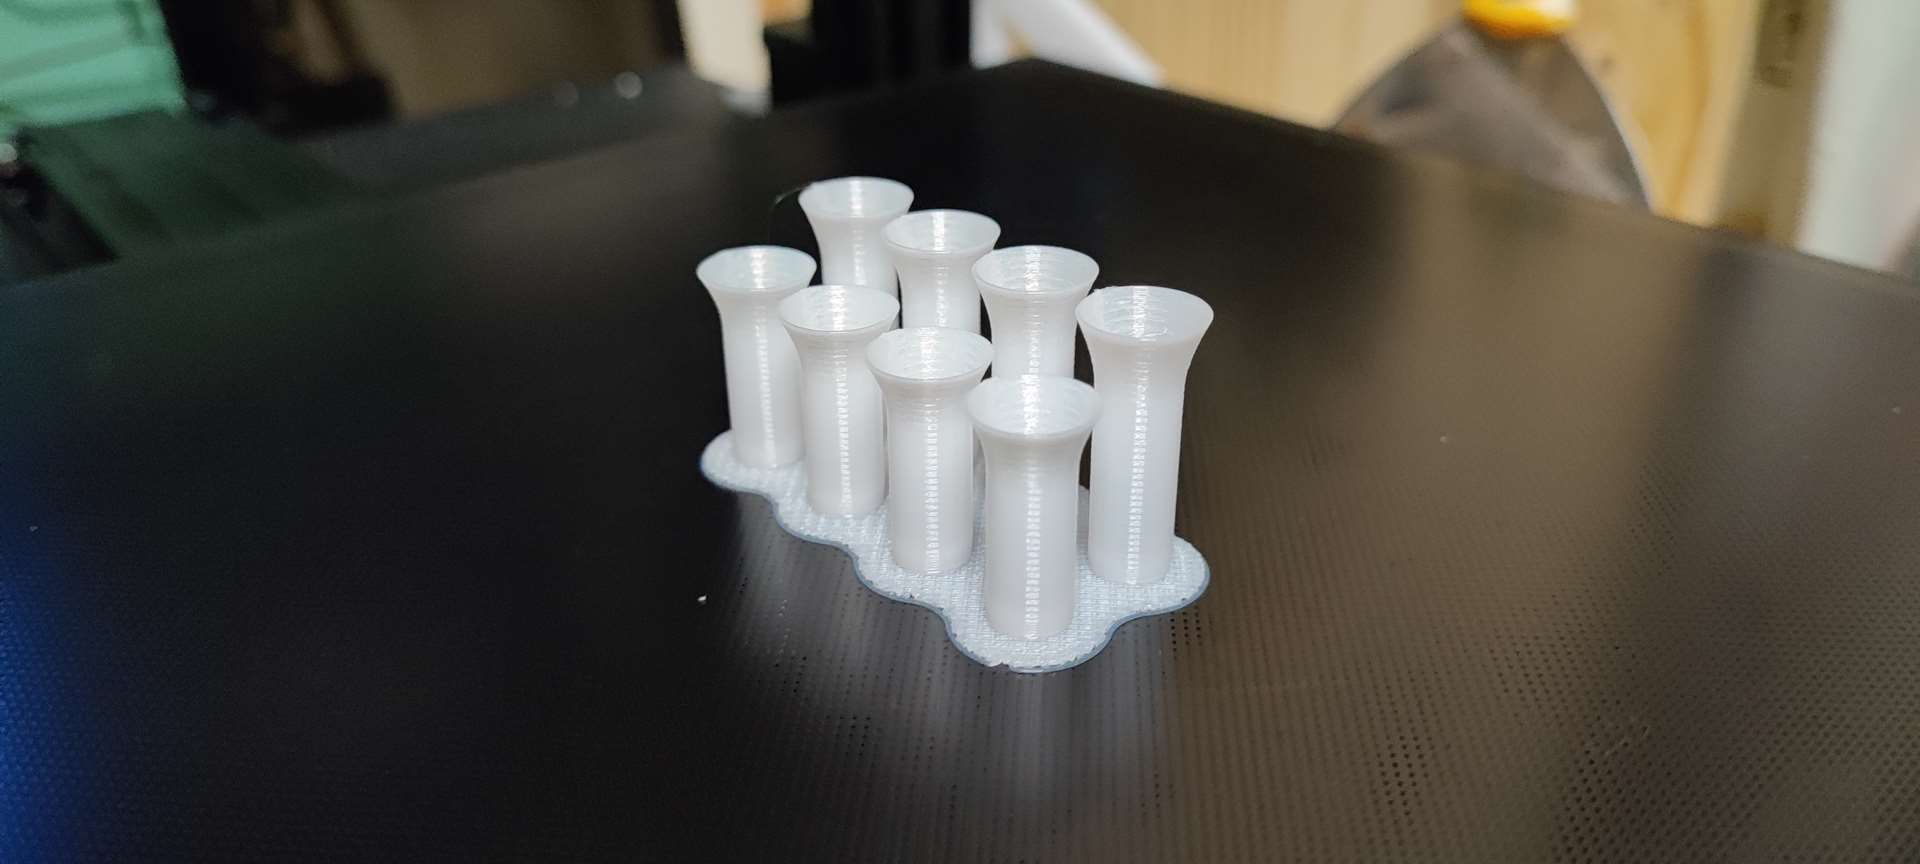
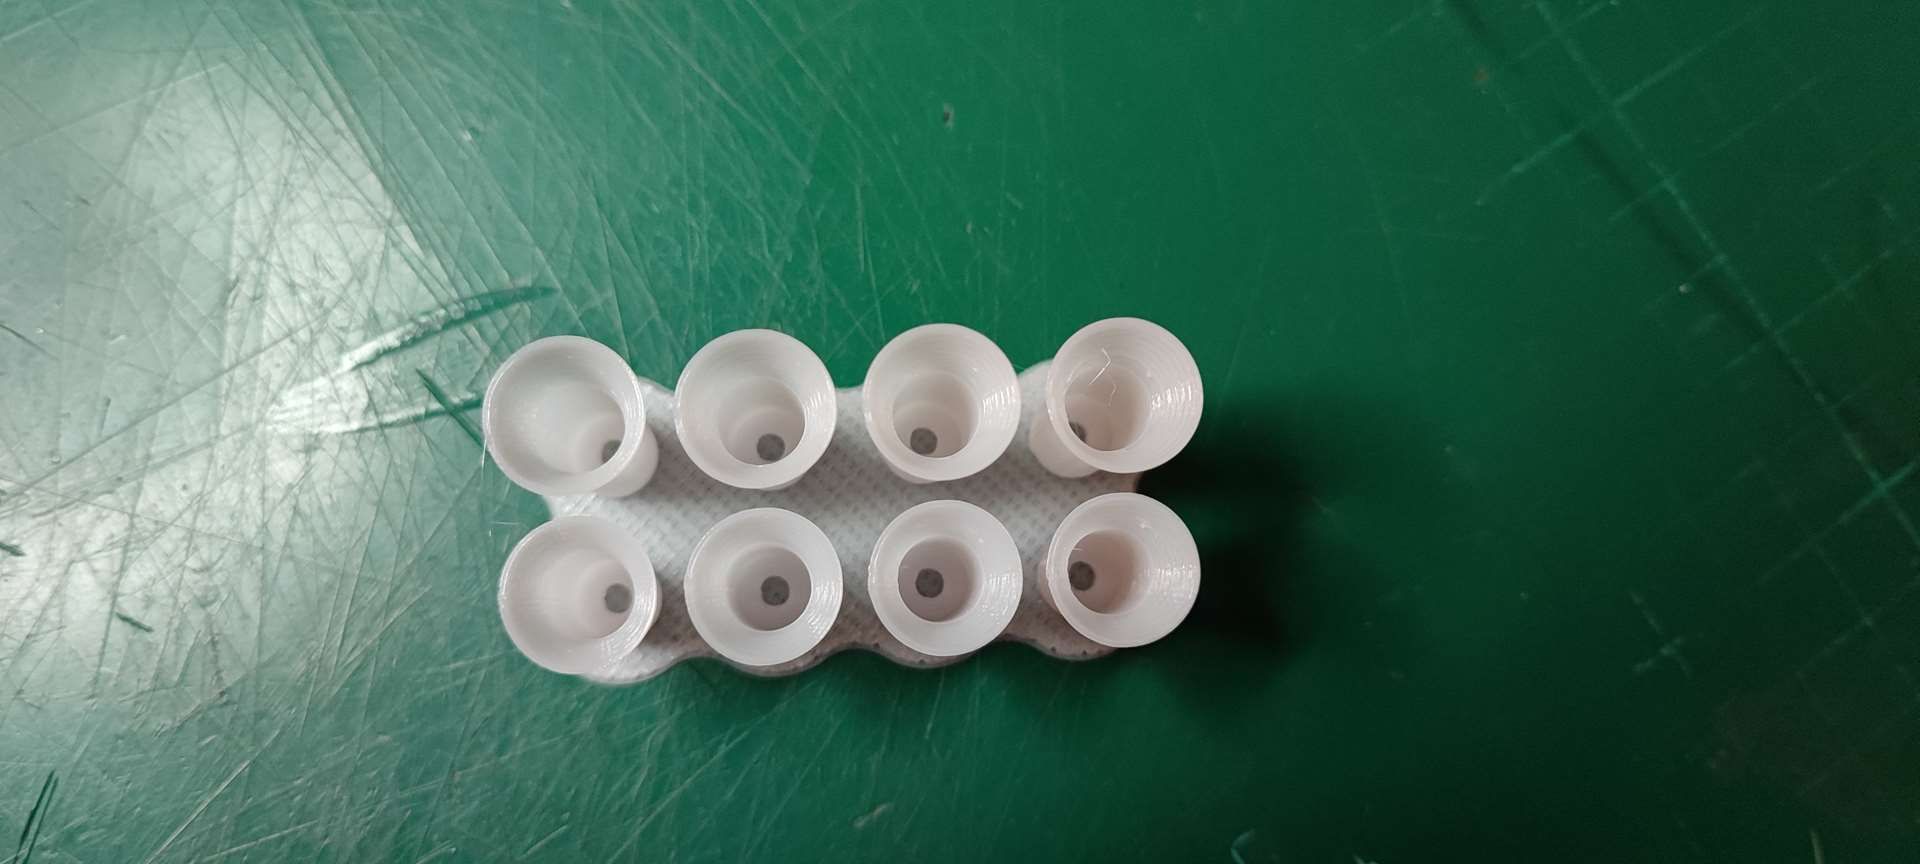
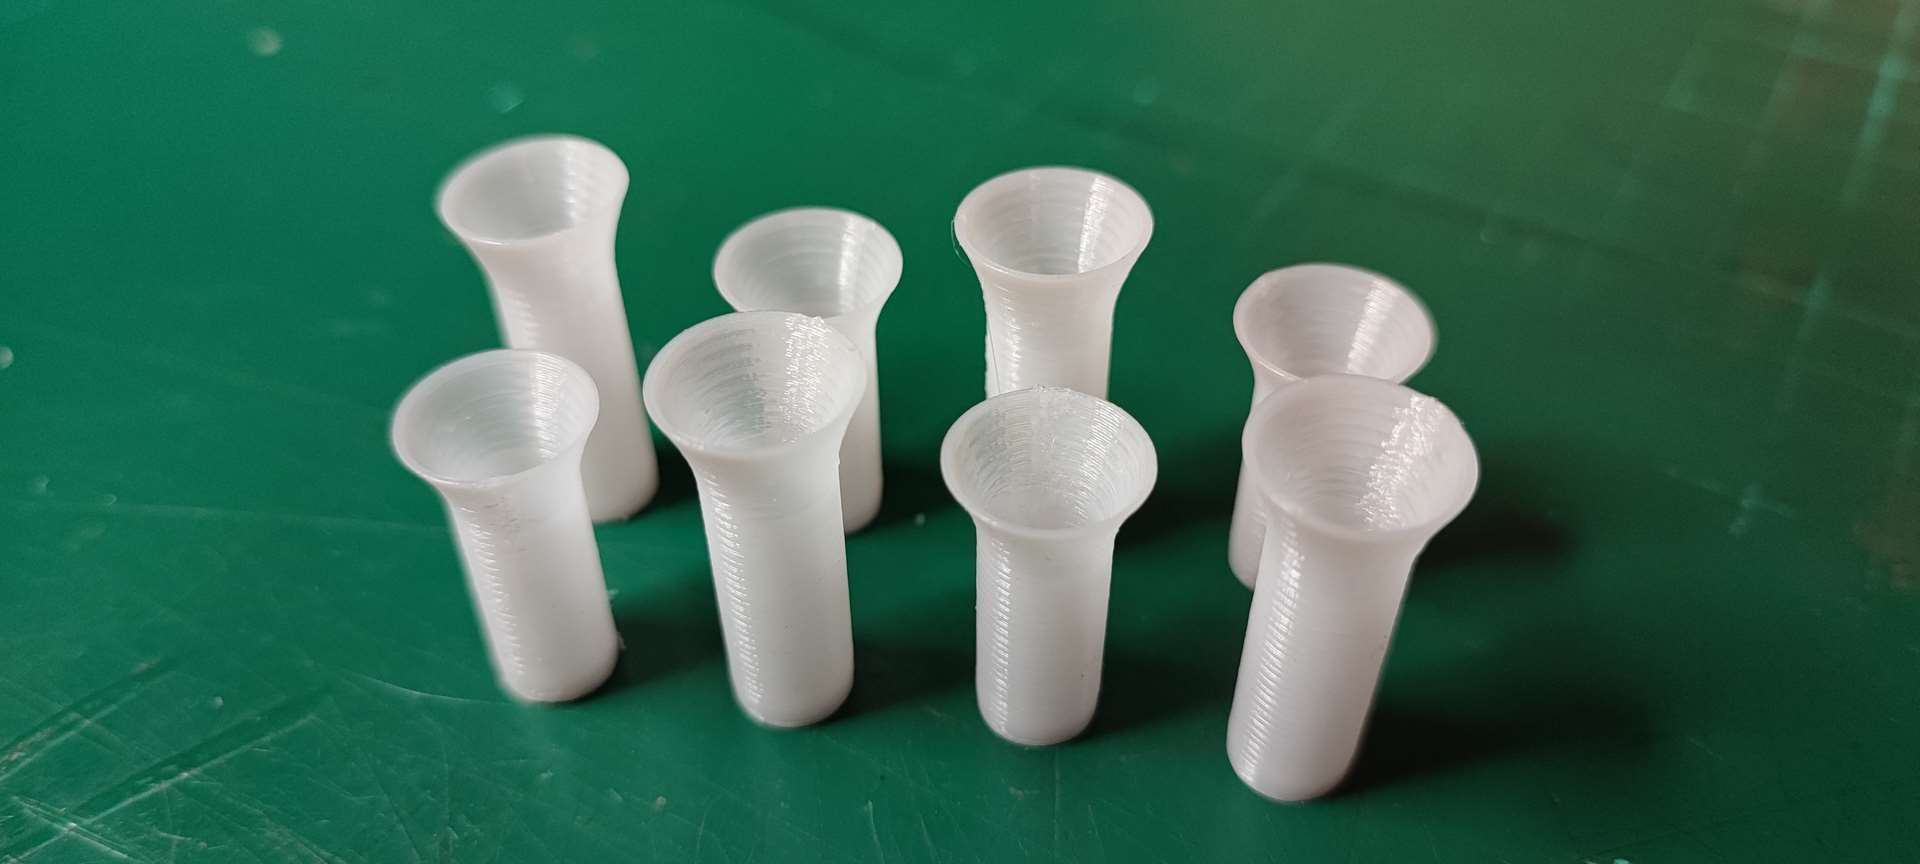
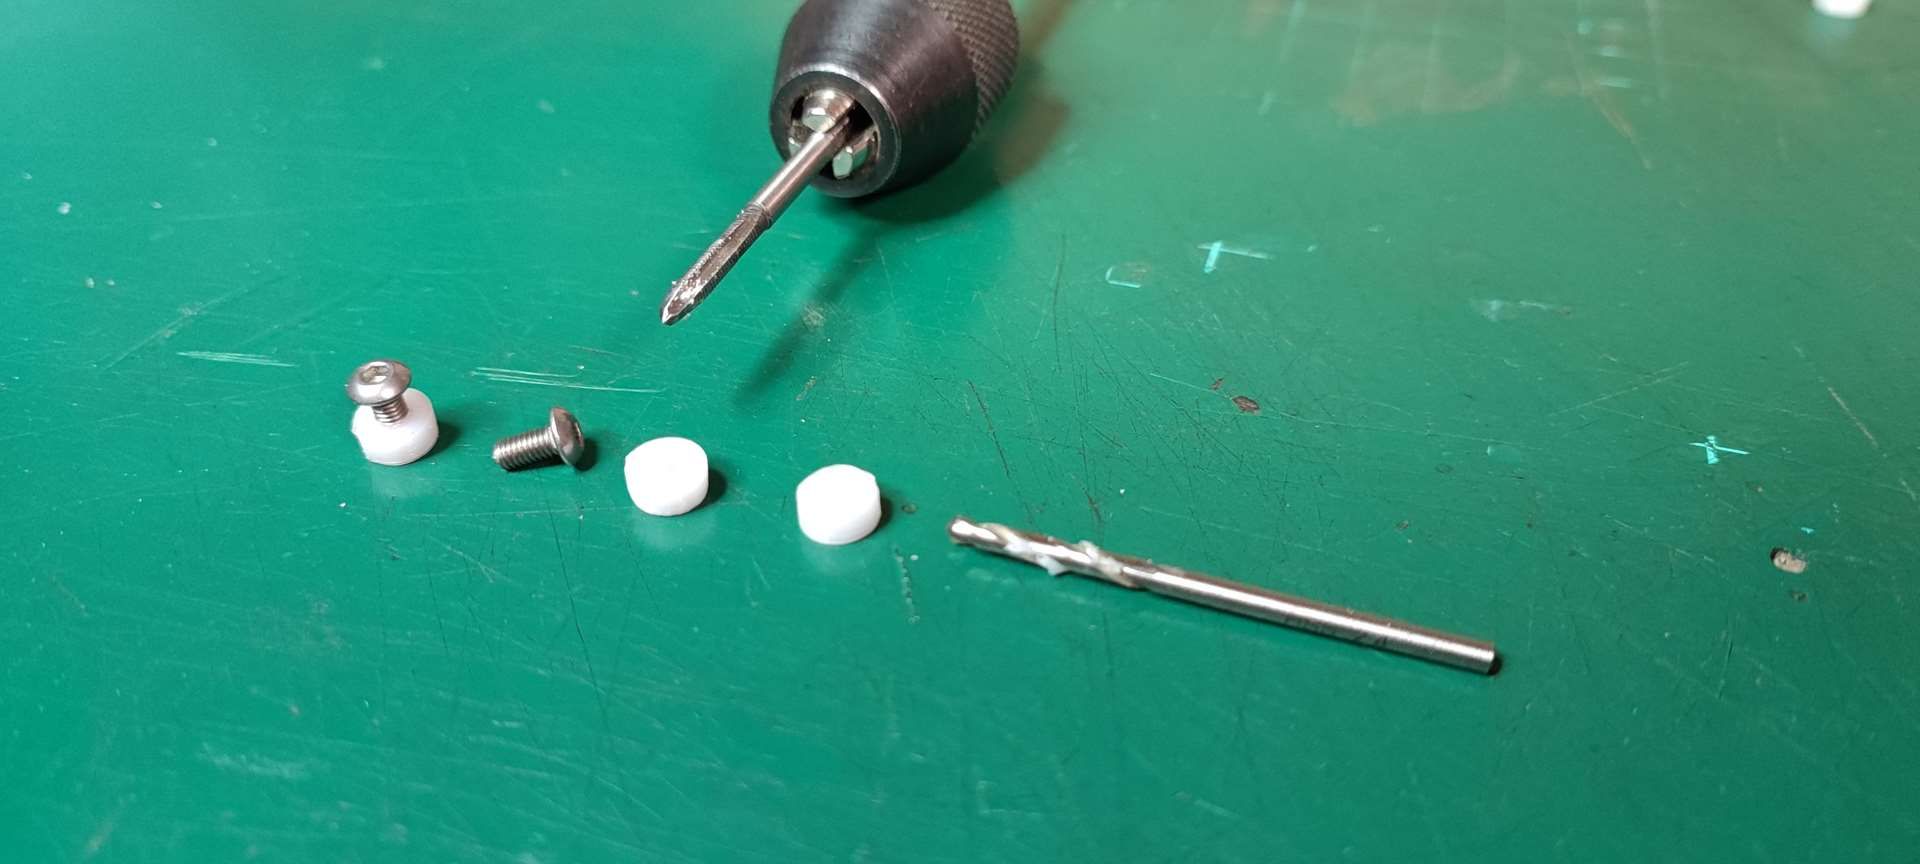
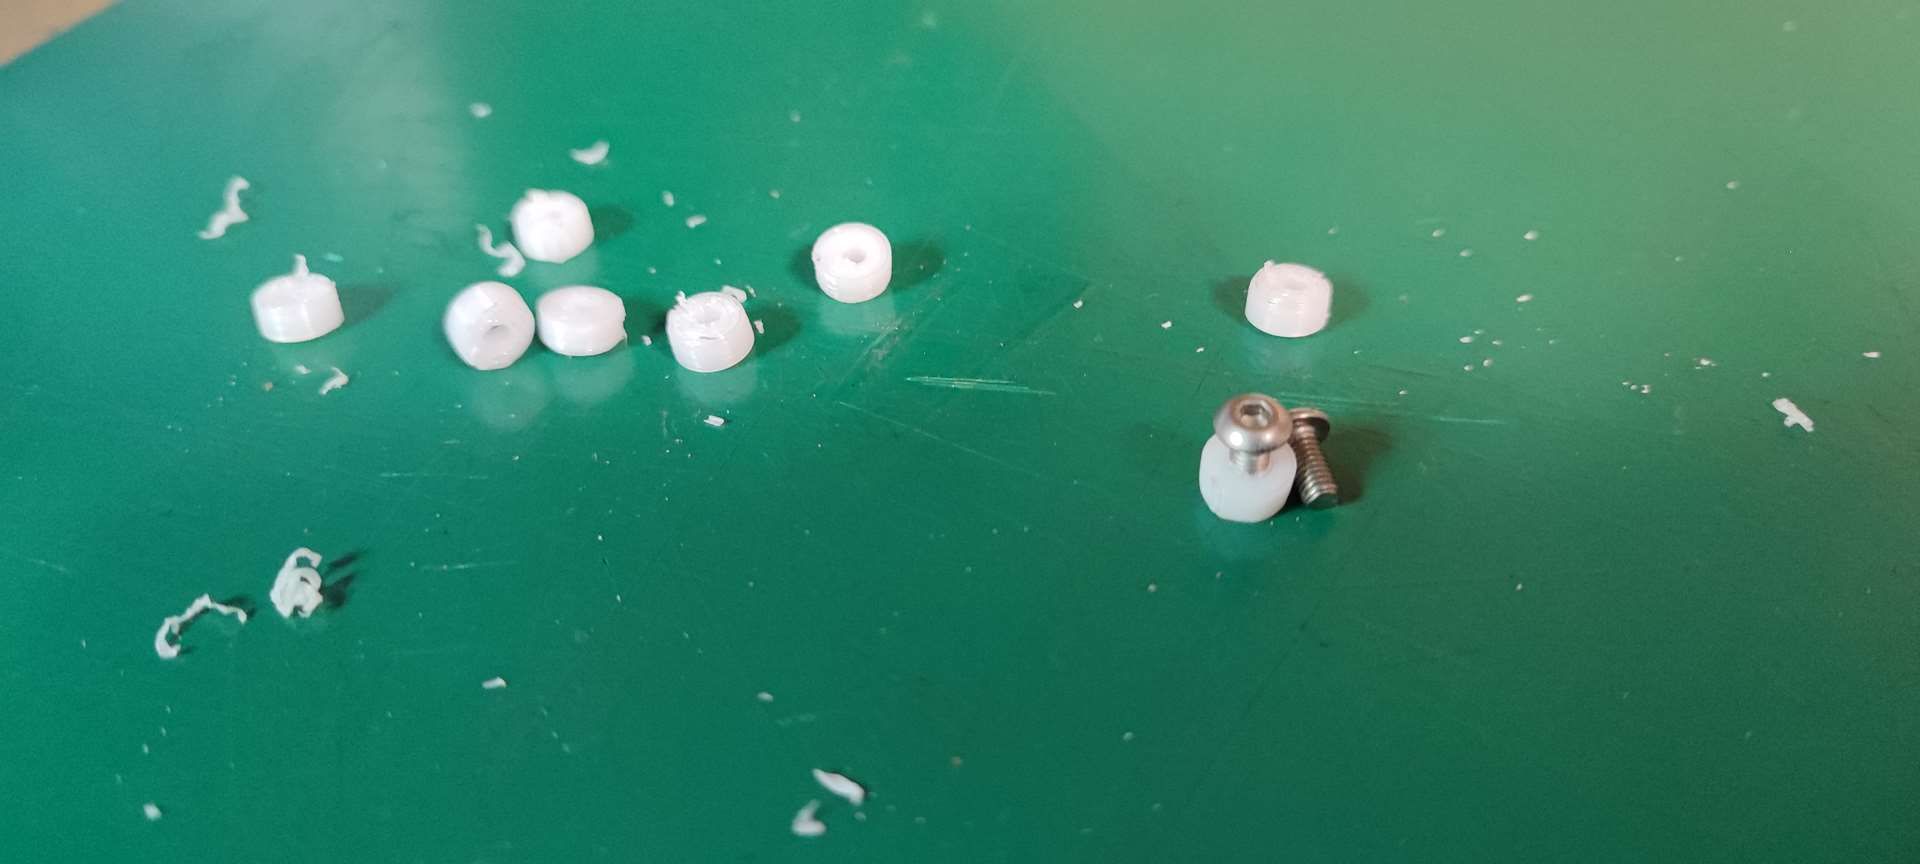
I also took the opportunity to redo the smaller body supports so that the level of the body is more in line with the chassis. And also the "nuts" to fix the cones.
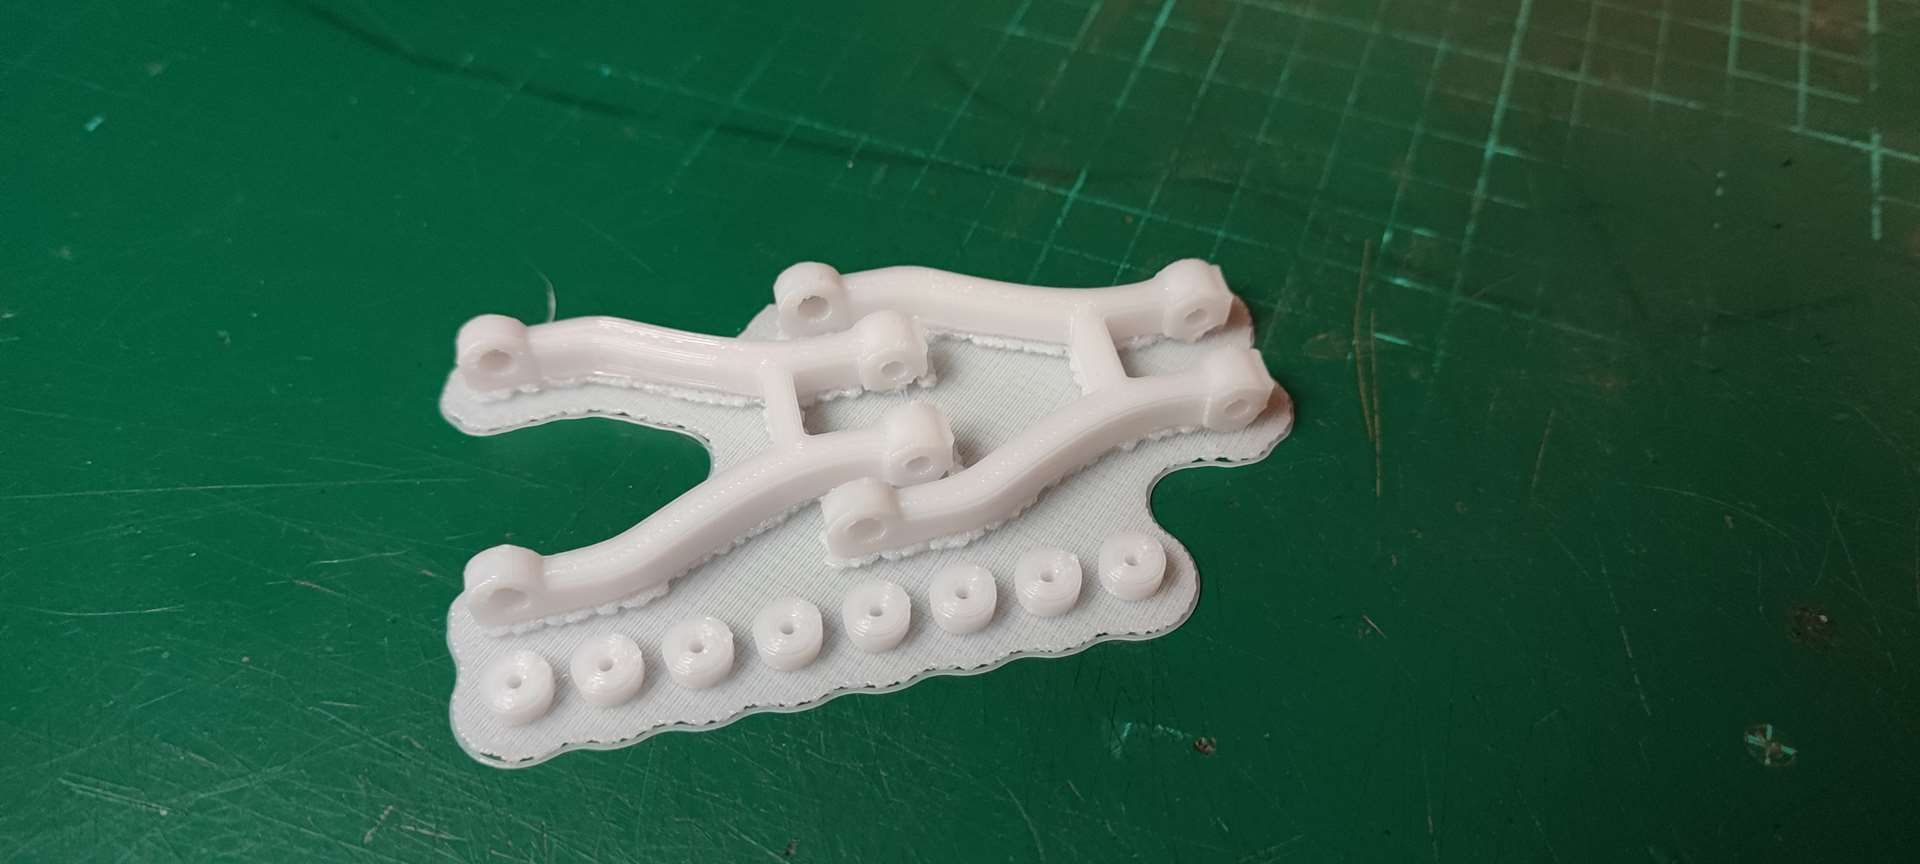
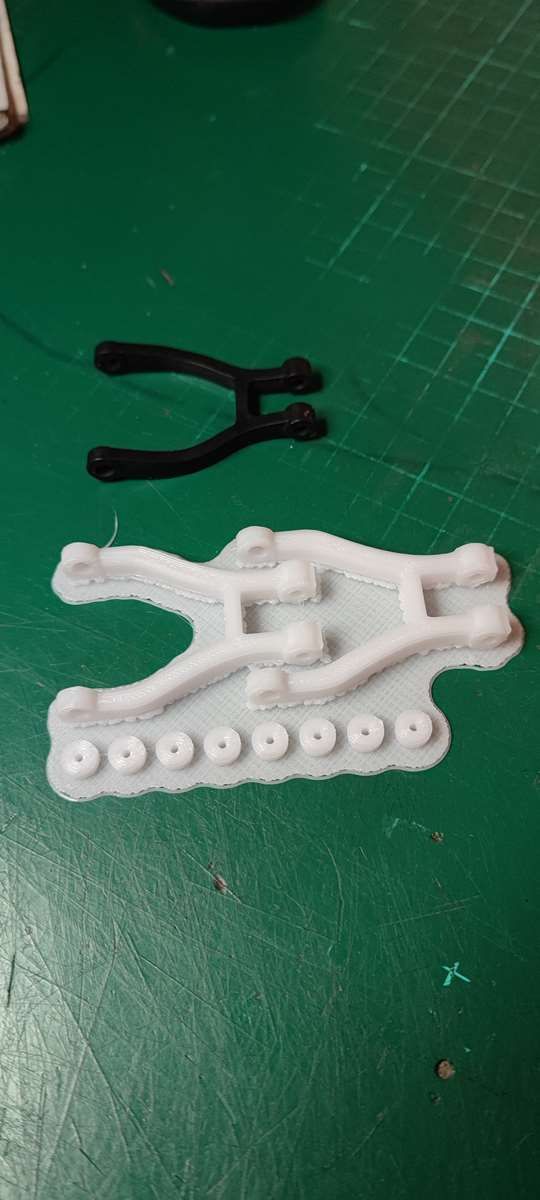
But .... I went too fast to make the holes.
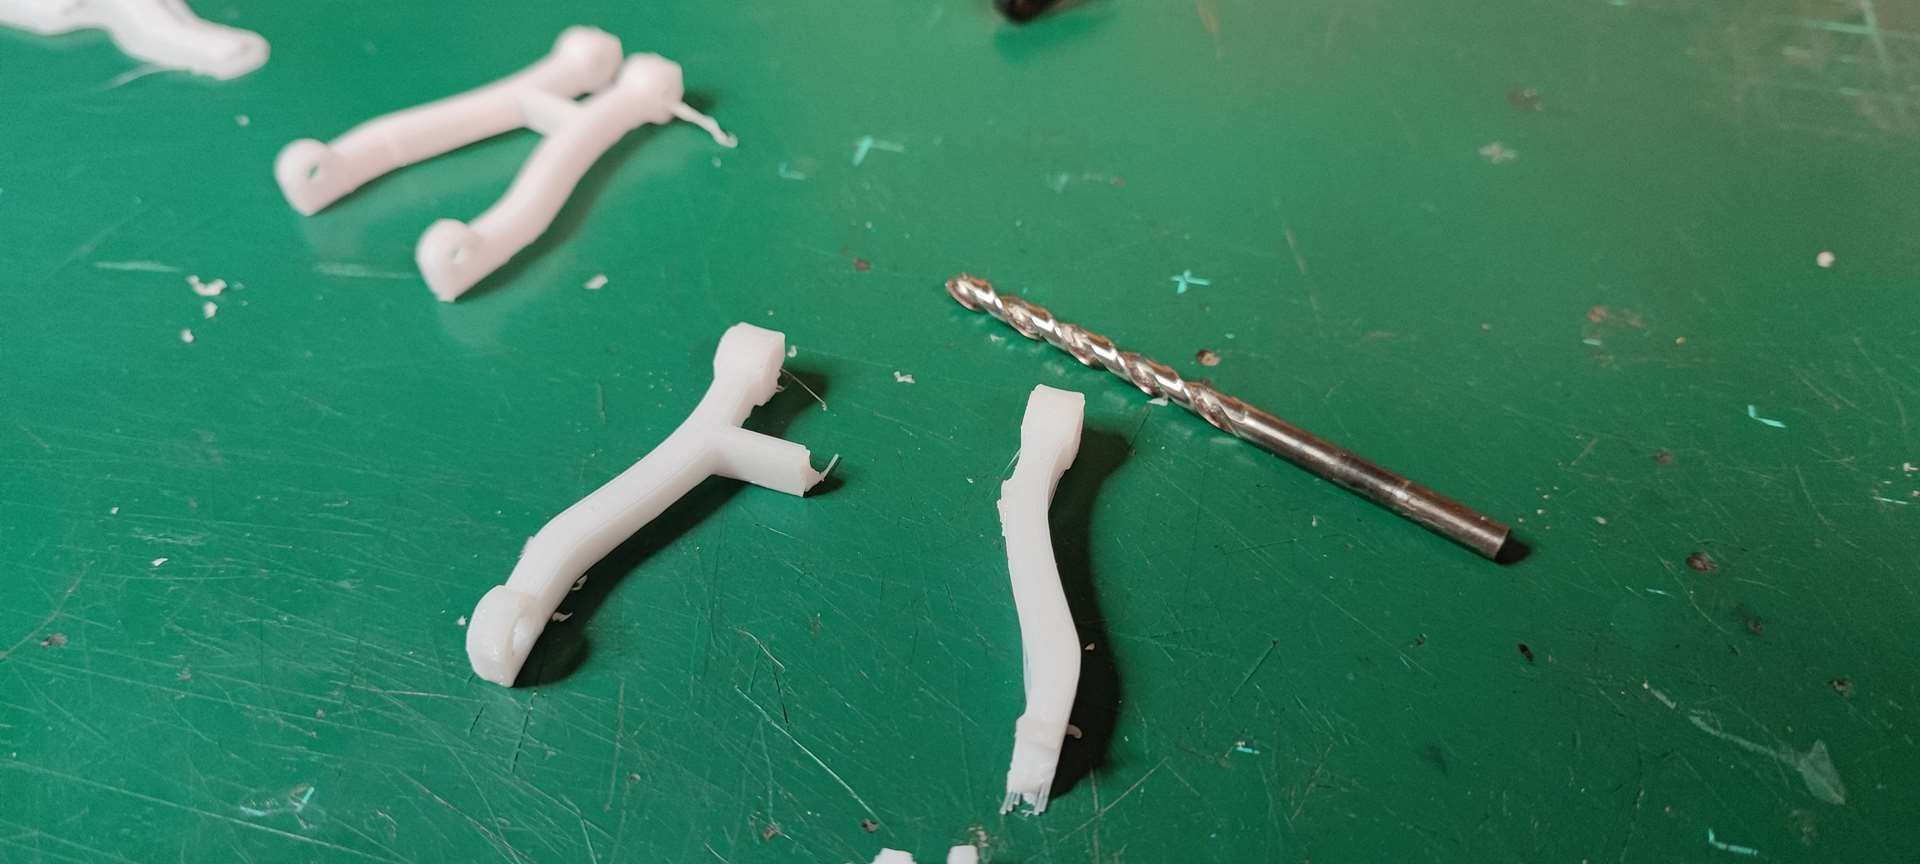
here is version 2 with rounding interior angles (there will surely be a version 3 .. )
)
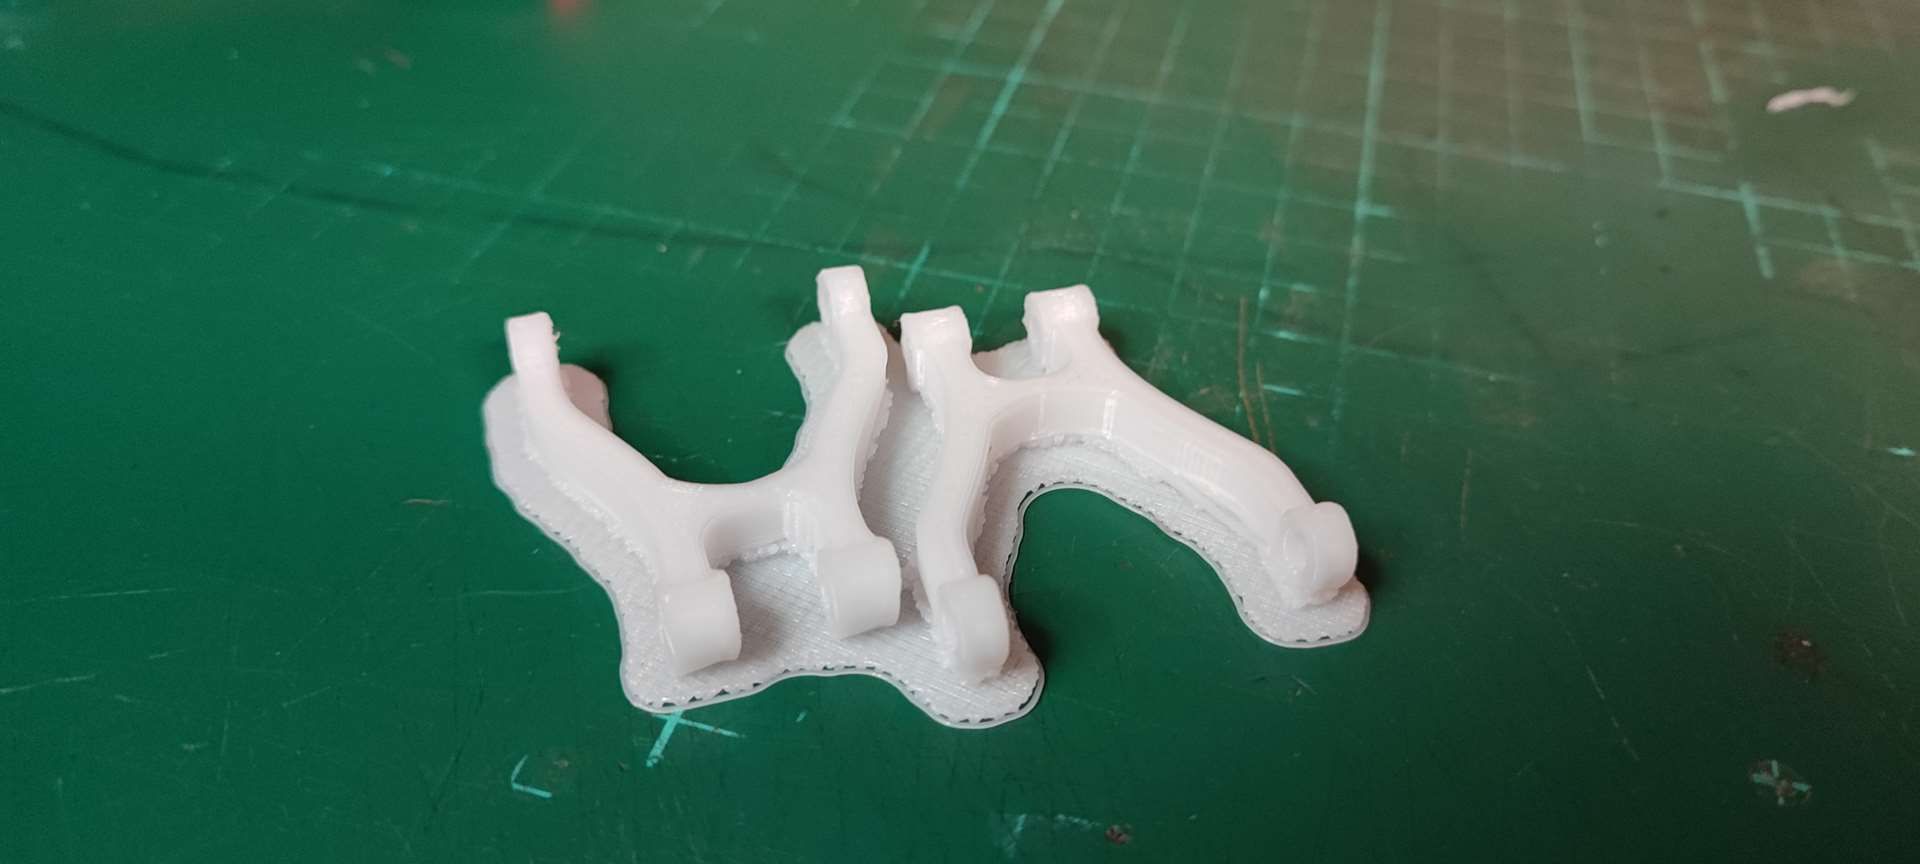
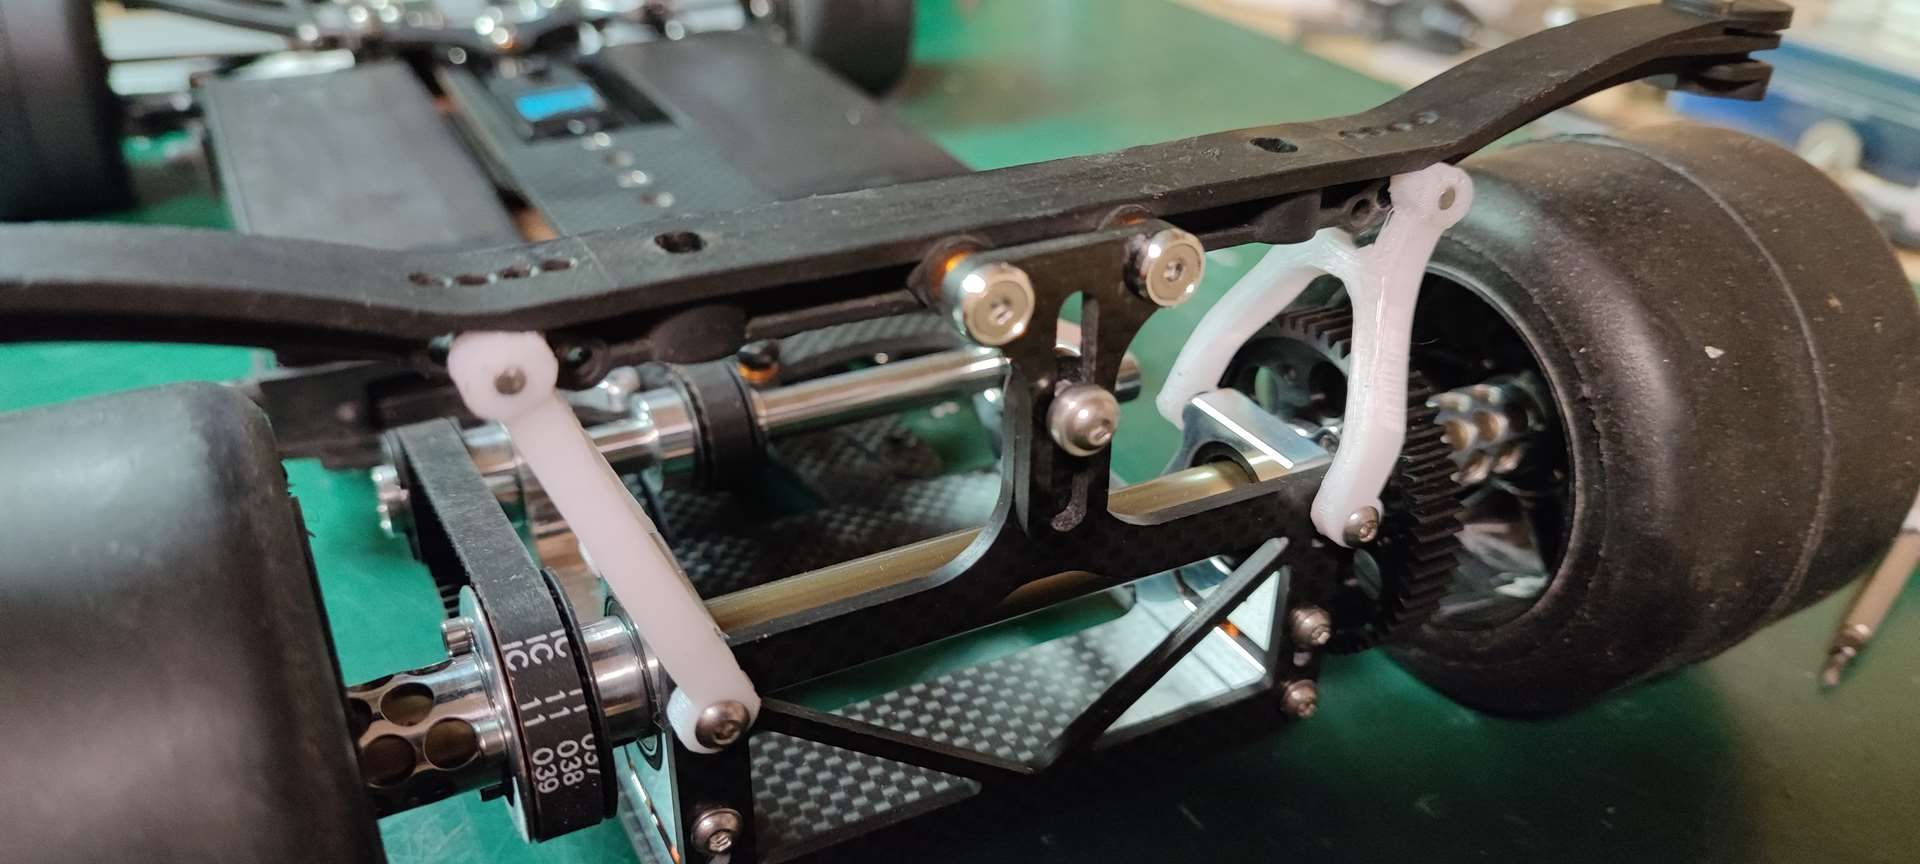
Work on fixing the intake cones
Jerome
I made the intake cones on Tinkercad


I also took the opportunity to redo the smaller body supports so that the level of the body is more in line with the chassis. And also the "nuts" to fix the cones.


But .... I went too fast to make the holes.

here is version 2 with rounding interior angles (there will surely be a version 3 ..


Work on fixing the intake cones


Jerome
Sorry for my rusty english, i'm a kind of French farmer lost in his montain ...
-
Trass
- Approved Member
- Posts: 340
- Joined: Sat Aug 08, 2015 12:02 pm
- Location: Near Limoges - France
- Has thanked: 398 times
- Been thanked: 202 times
Re: SERPENT 988e Taipan
Work on this marvellous body!
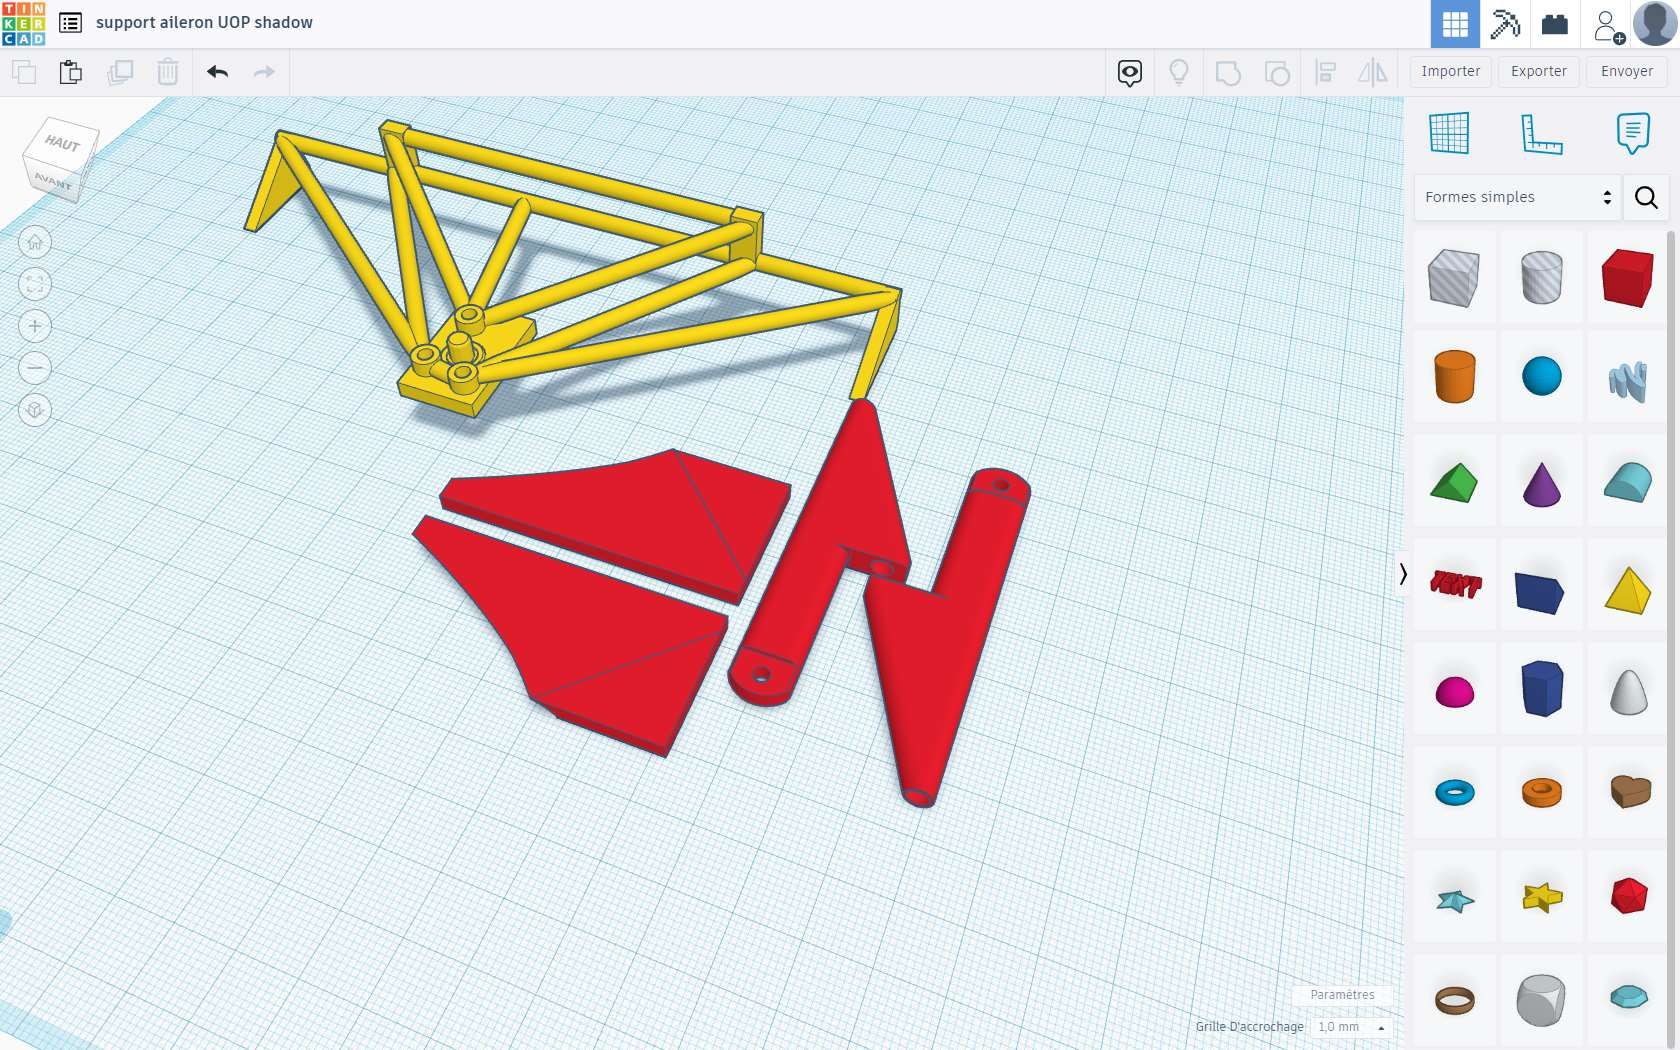
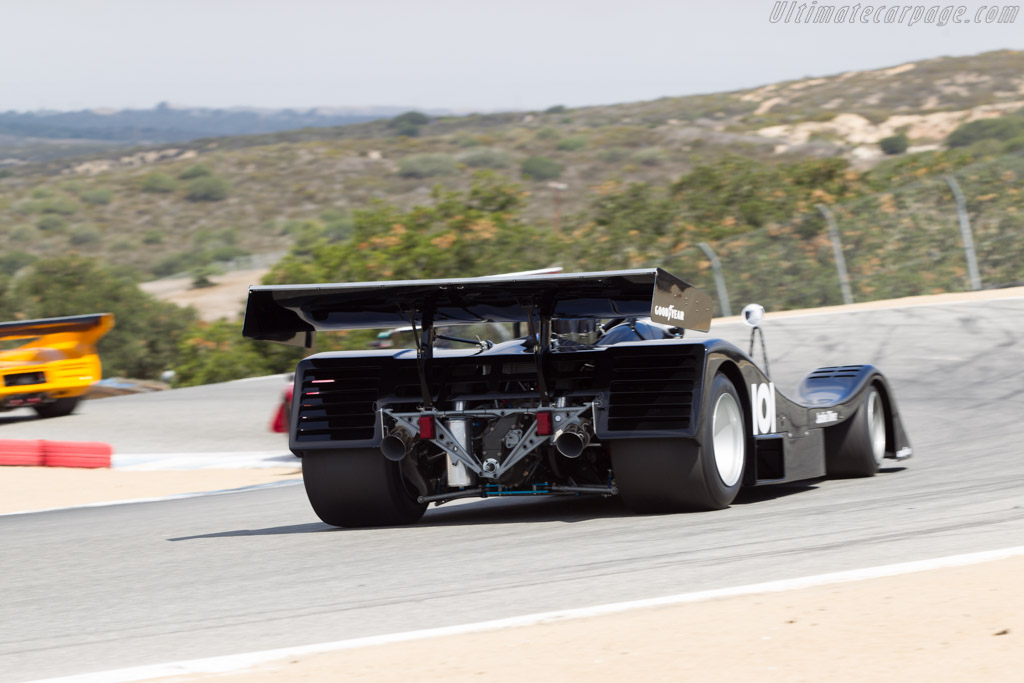
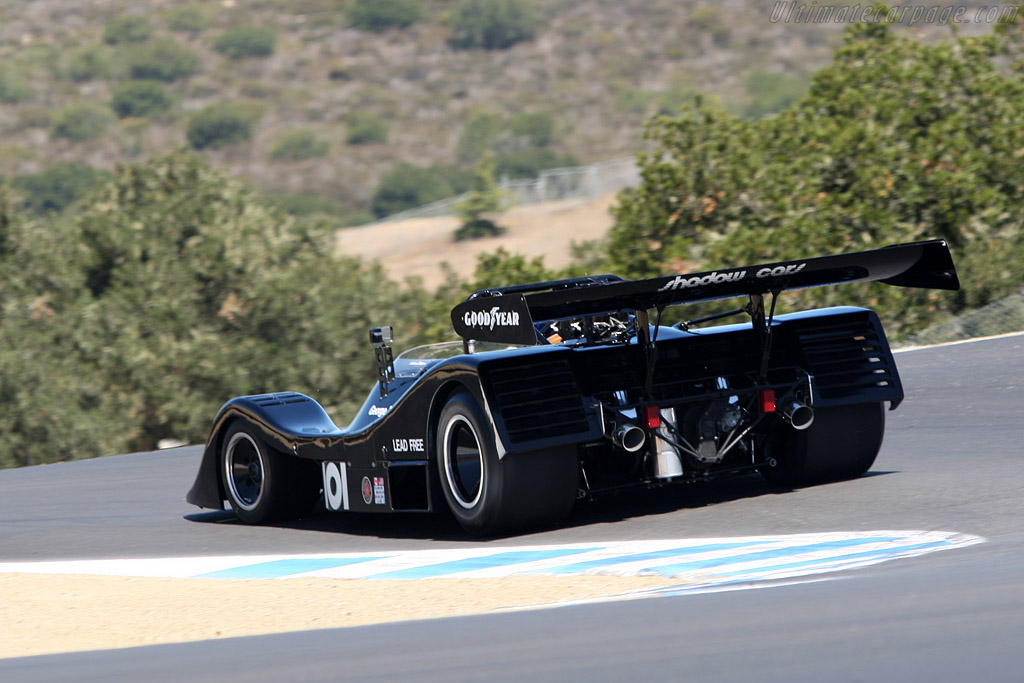
I'm going to try to make the rear wing stay to match the original as well as possible, as well as a test for the rollbar, so here's the first draft (this evening I'm working on the V2).
Here is the original:

Here is my first draft:
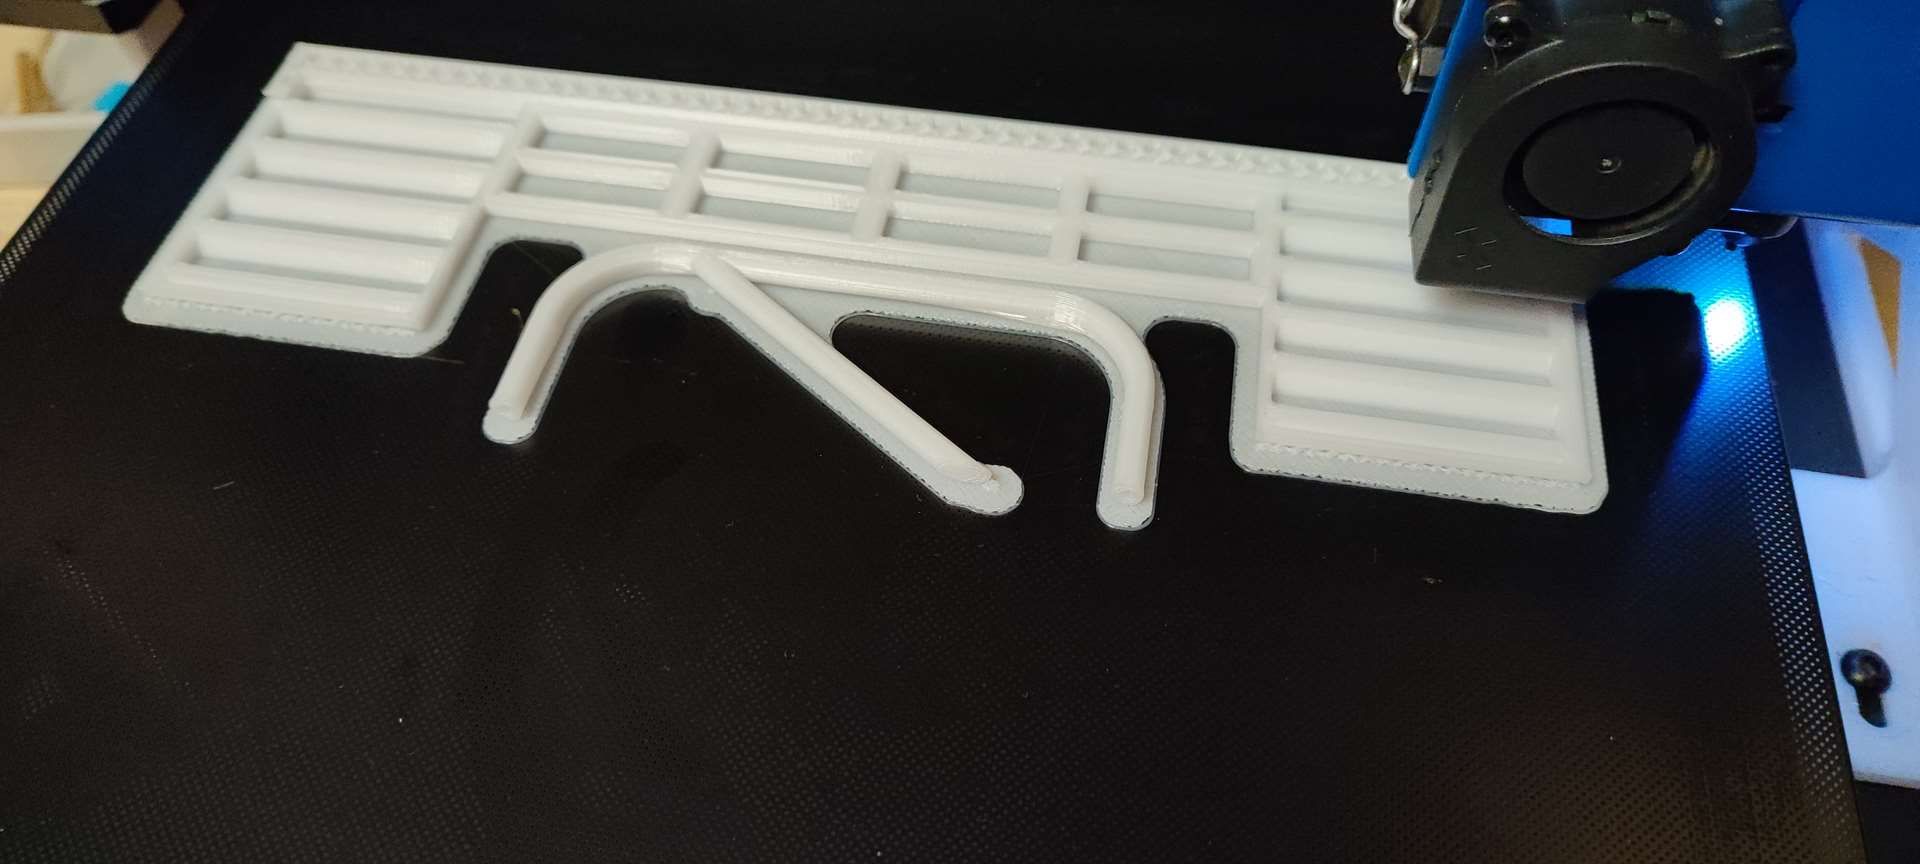
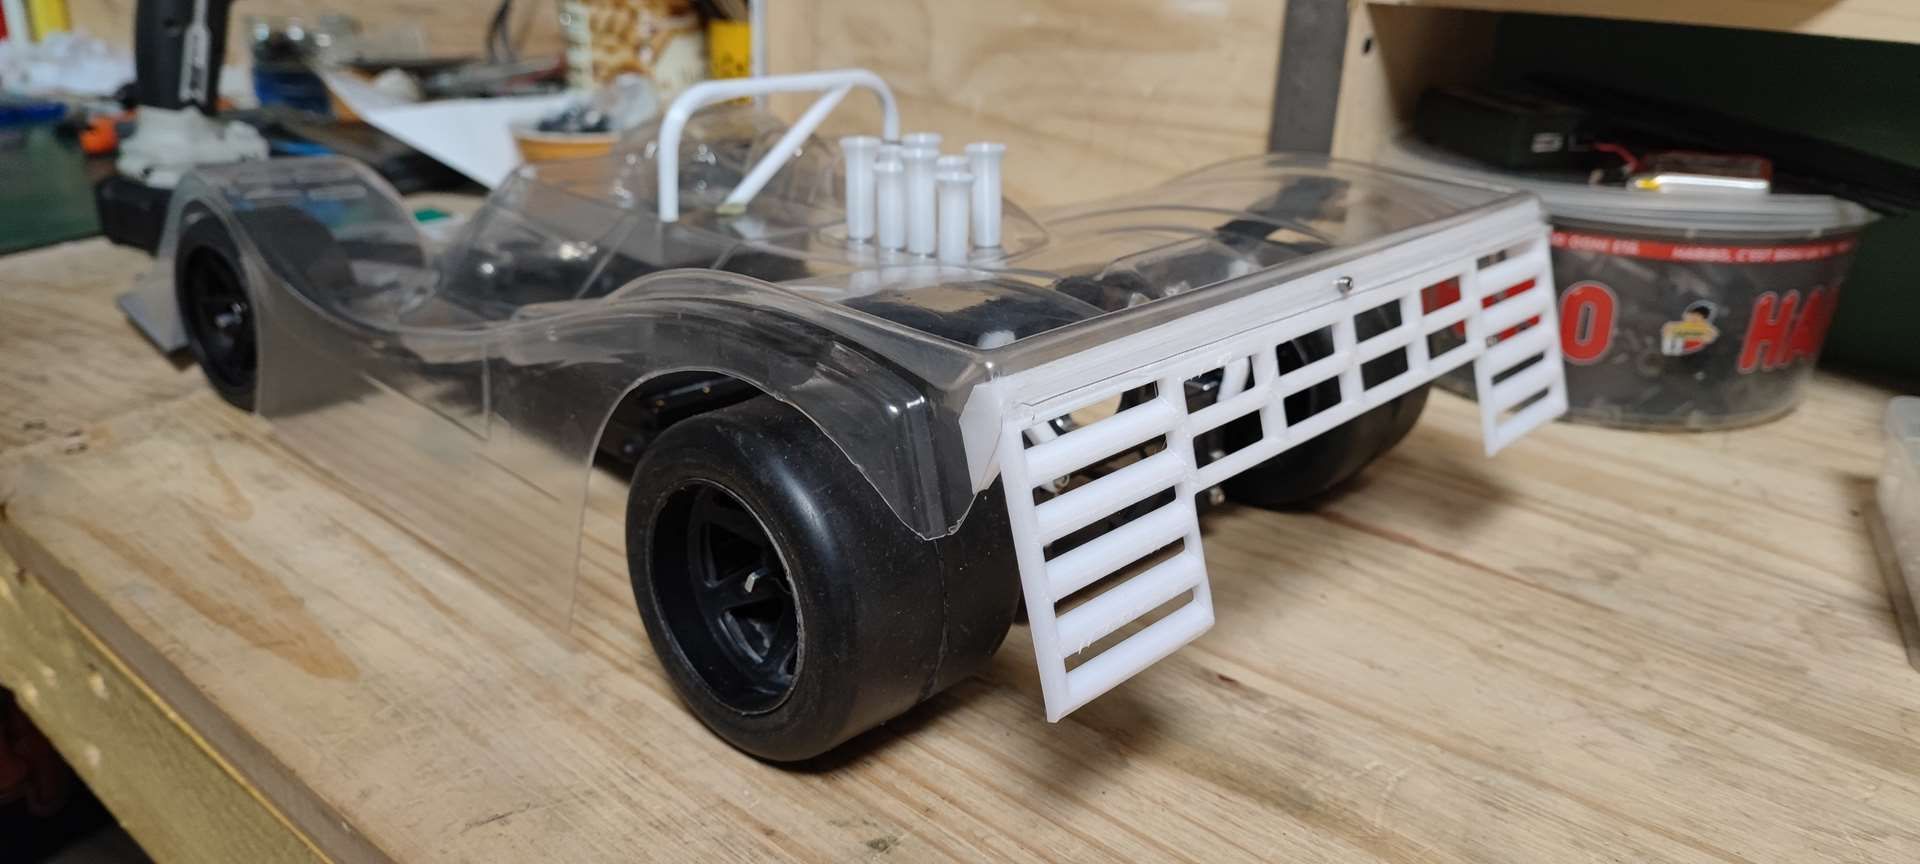
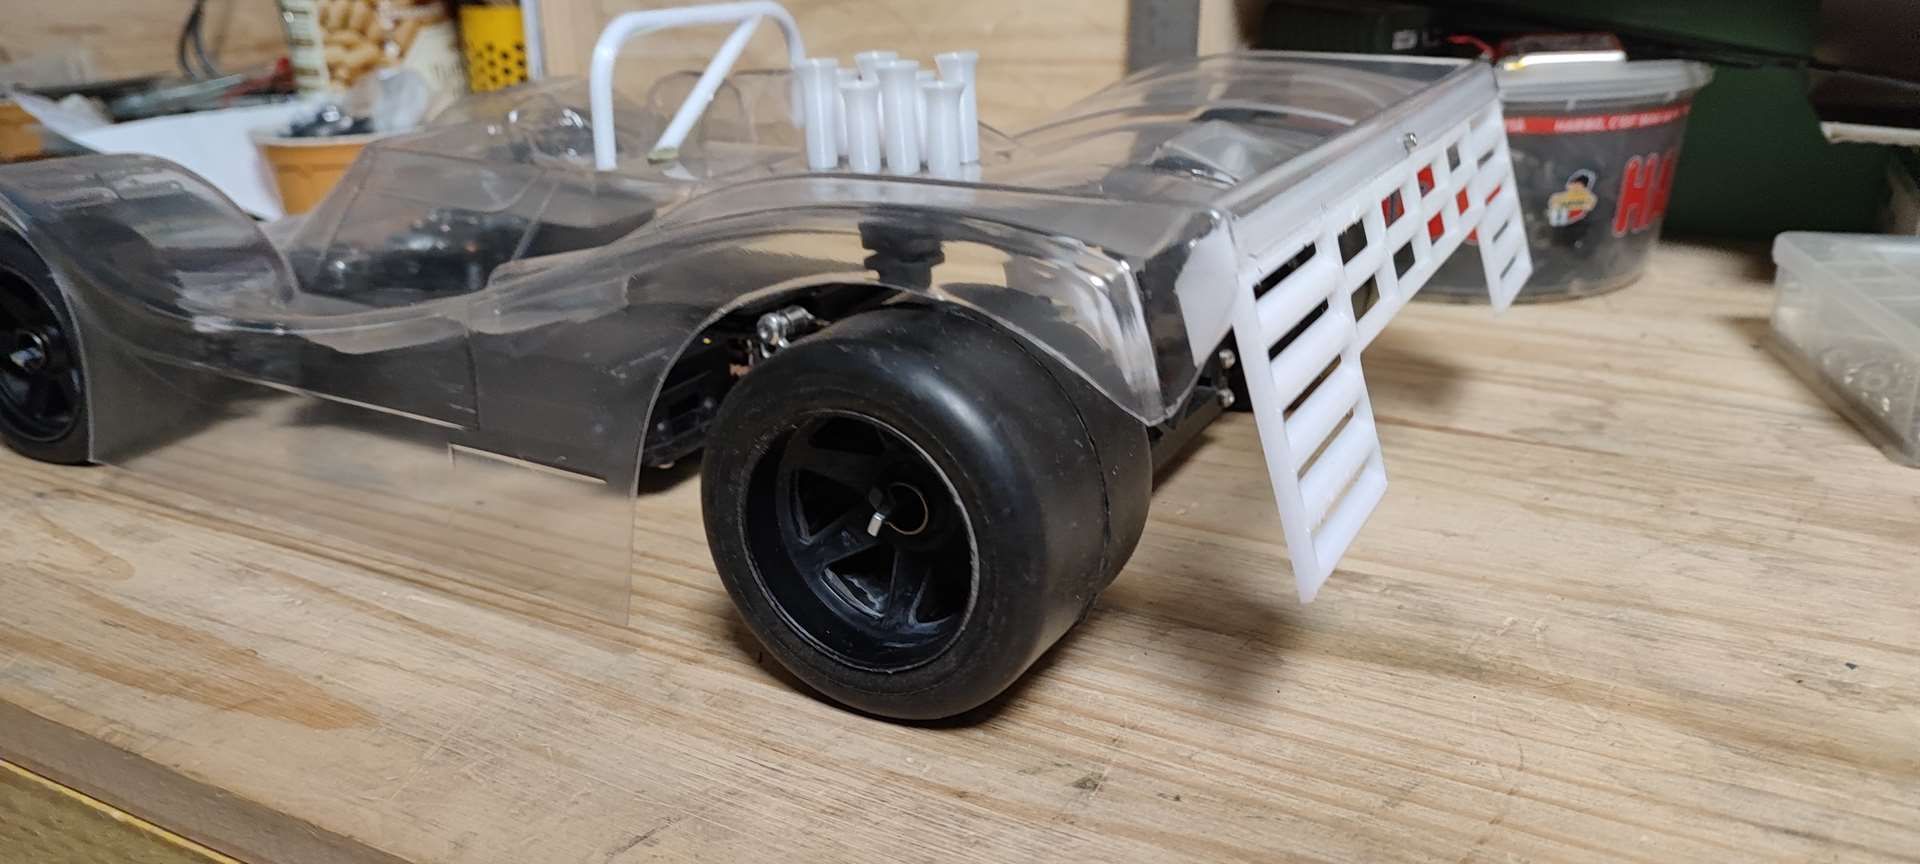
And future work:
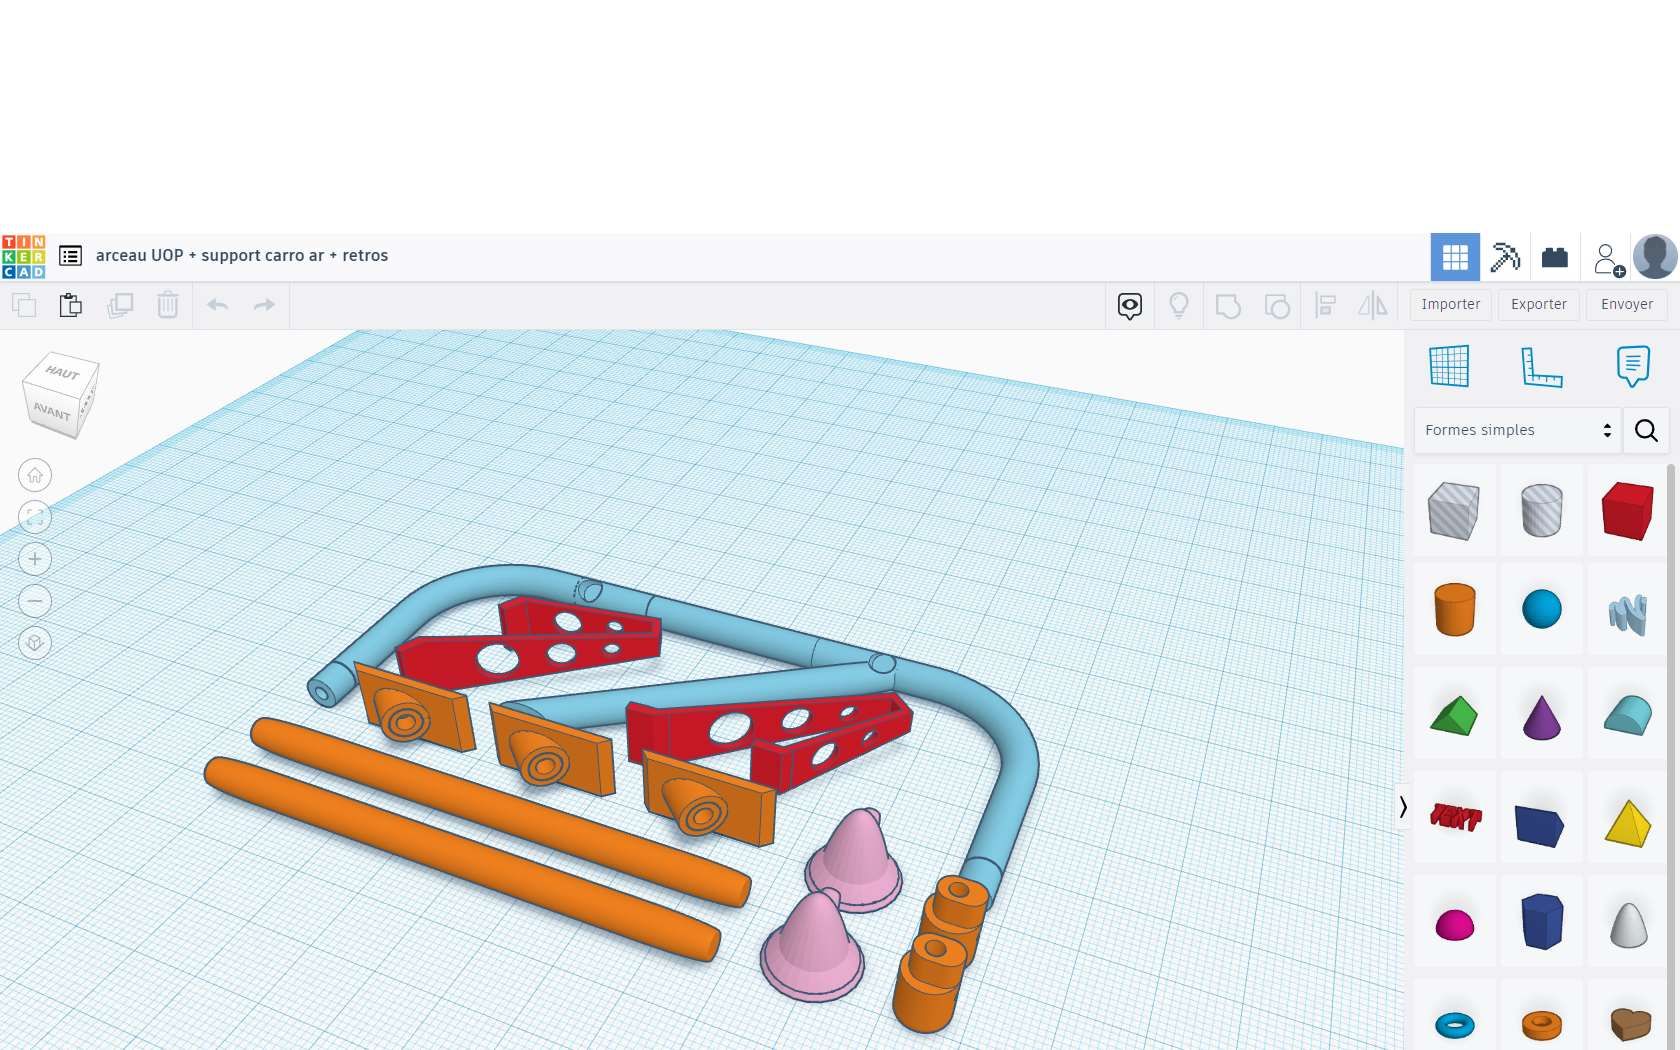
Jerome
I'm going to try to make the rear wing stay to match the original as well as possible, as well as a test for the rollbar, so here's the first draft (this evening I'm working on the V2).
Here is the original:

Here is my first draft:


And future work:


Jerome
Sorry for my rusty english, i'm a kind of French farmer lost in his montain ...
- silvertriple
- Approved Member
- Posts: 2003
- Joined: Sun May 02, 2021 10:31 am
- Location: France, Isere
- Has thanked: 705 times
- Been thanked: 1210 times
Re: SERPENT 988e Taipan
Jérôme,
I already given my opinion on Tinkercad... This is already complex parts your are doing here. I believe you would have interest to quickly move into Fusion360...
Nice work, that being said...
I already given my opinion on Tinkercad... This is already complex parts your are doing here. I believe you would have interest to quickly move into Fusion360...
Nice work, that being said...
I buy kits to build and ru(i)n them 
-
Trass
- Approved Member
- Posts: 340
- Joined: Sat Aug 08, 2015 12:02 pm
- Location: Near Limoges - France
- Has thanked: 398 times
- Been thanked: 202 times
Re: SERPENT 988e Taipan
Thank you!silvertriple wrote: ↑Tue Jan 10, 2023 4:10 pm Jérôme,
I already given my opinion on Tinkercad... This is already complex parts your are doing here. I believe you would have interest to quickly move into Fusion360...
Nice work, that being said...
I know, i will go on fusion360 or SW when i will have a new computer
--------------------
I already worked a lot those last 2 days
Always the same problems when starting each impression for the raft... it always goes in bad way.
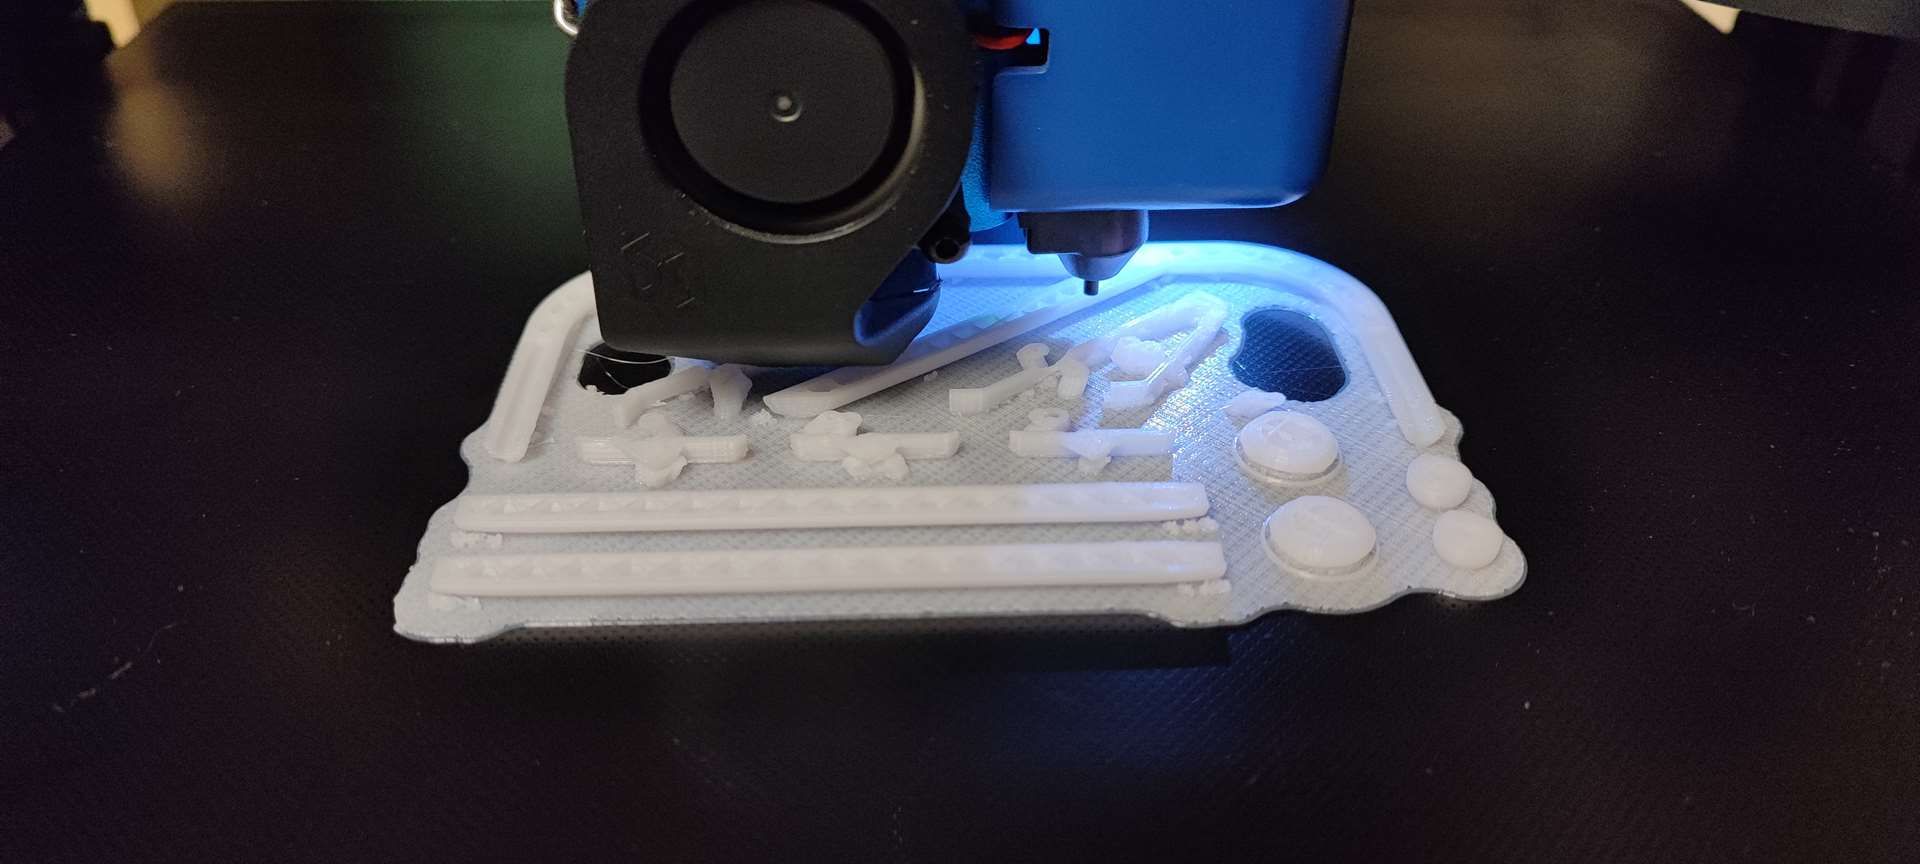
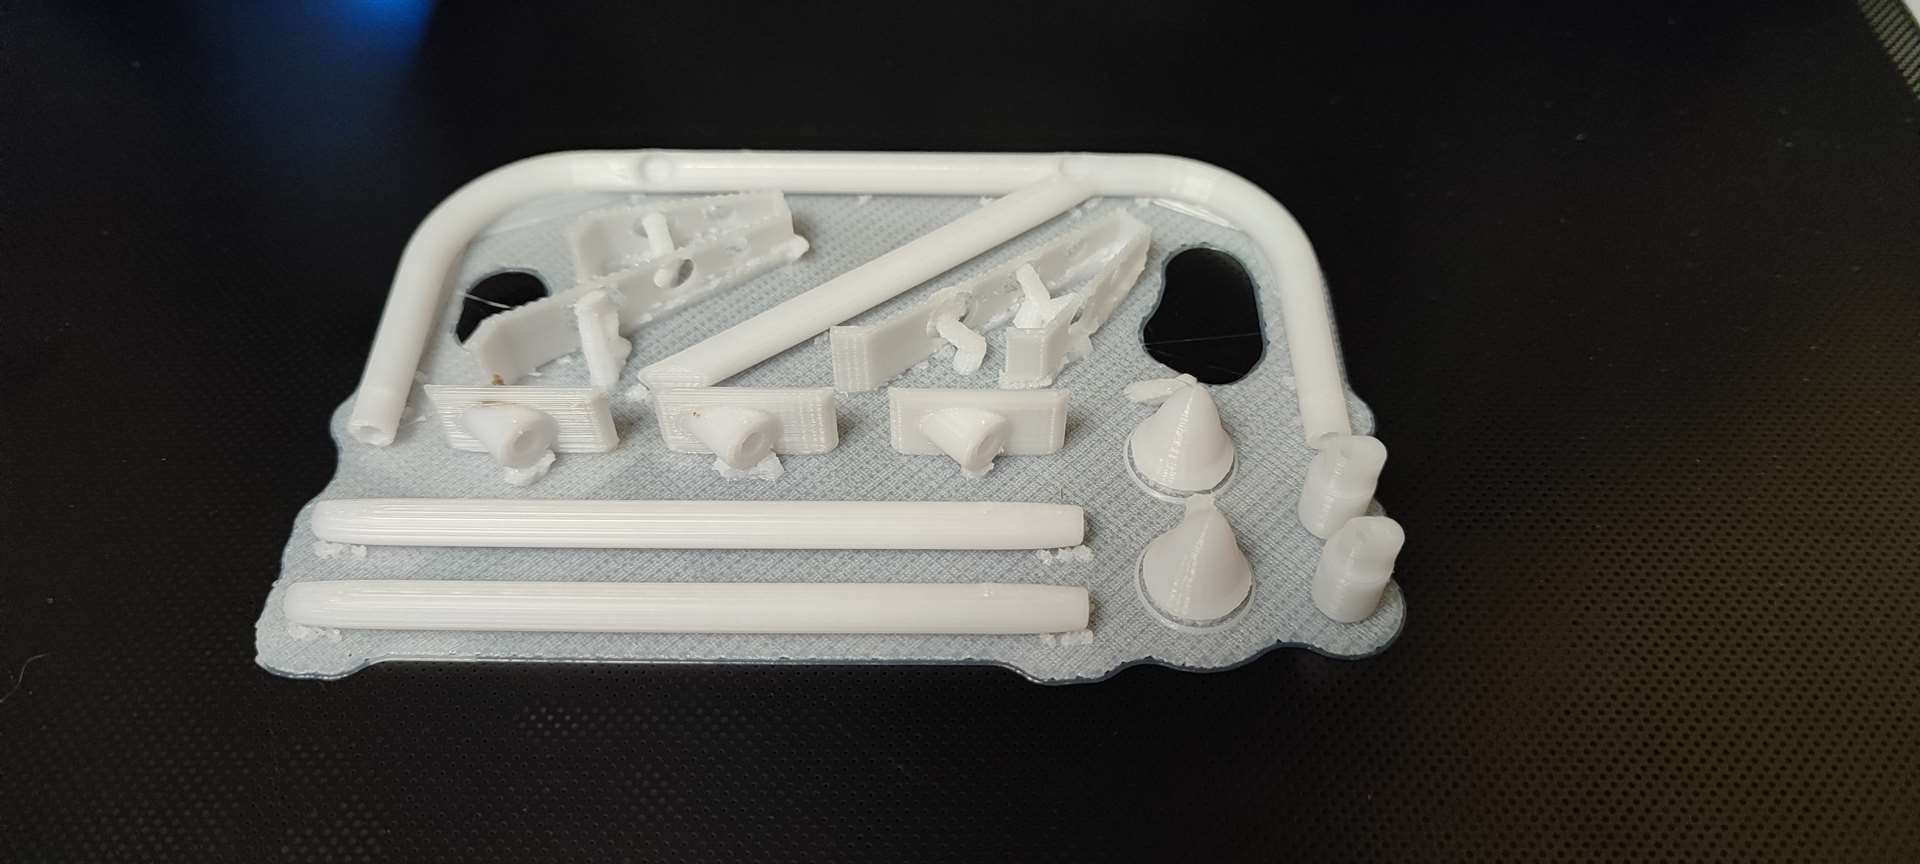
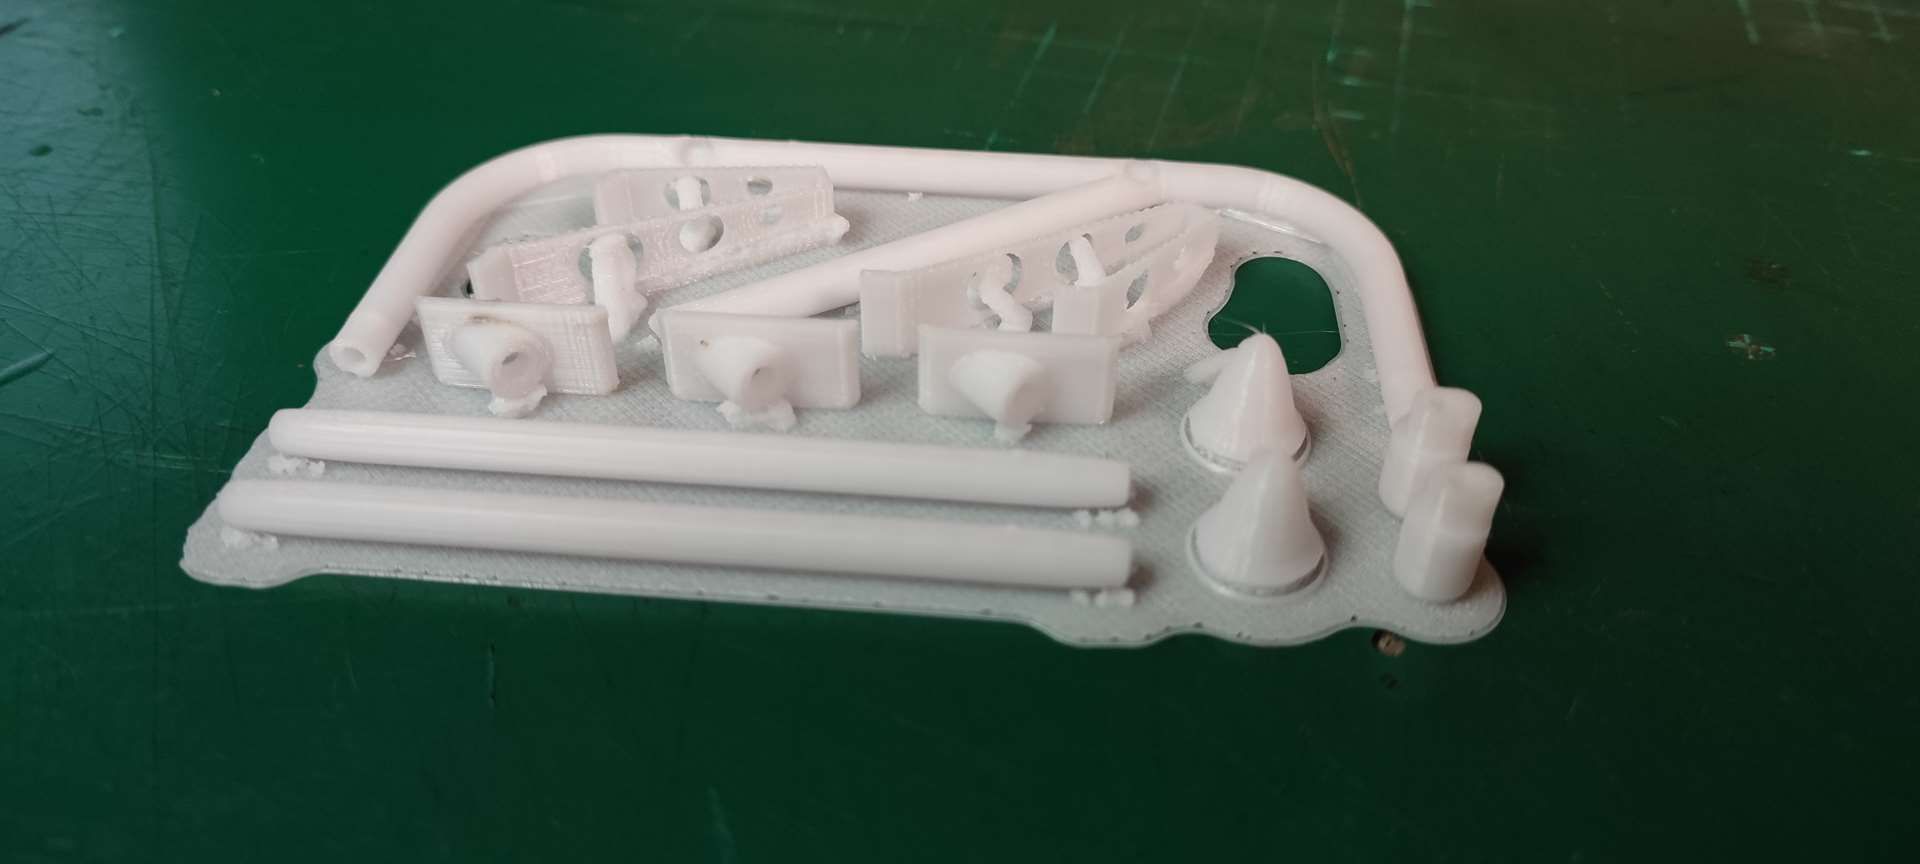
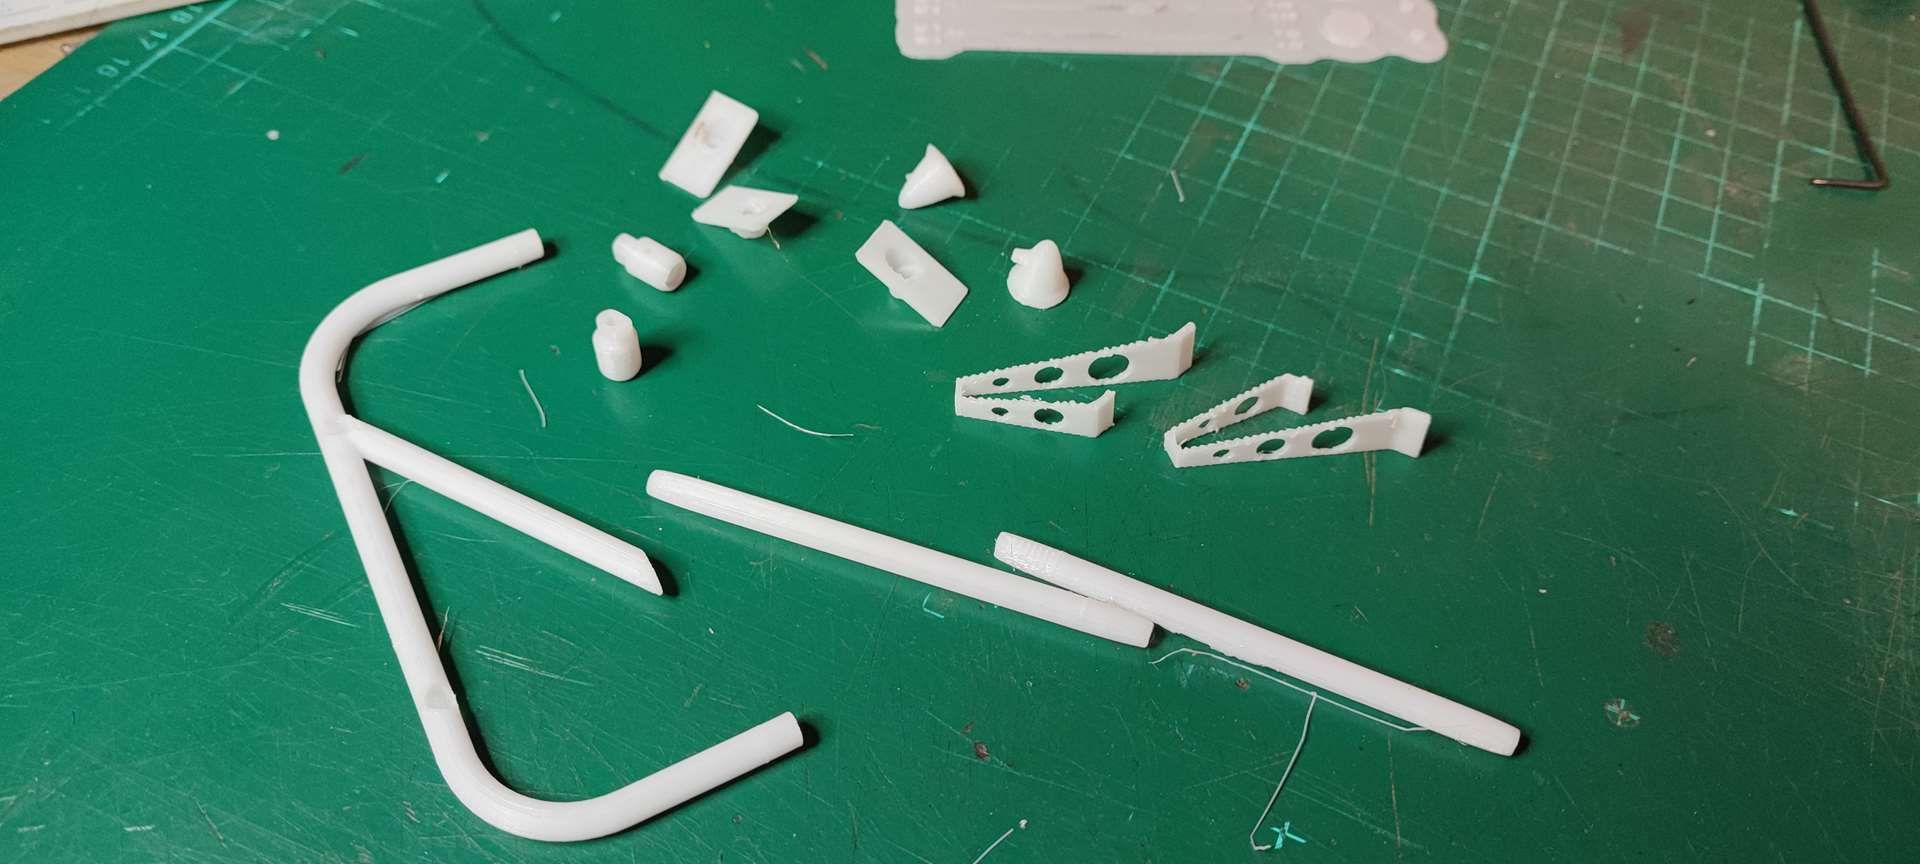
I have some faults, but nothing insurmountable, I know where the problems are...
I can tell you that it changes your bodywork with these little accessories!!!
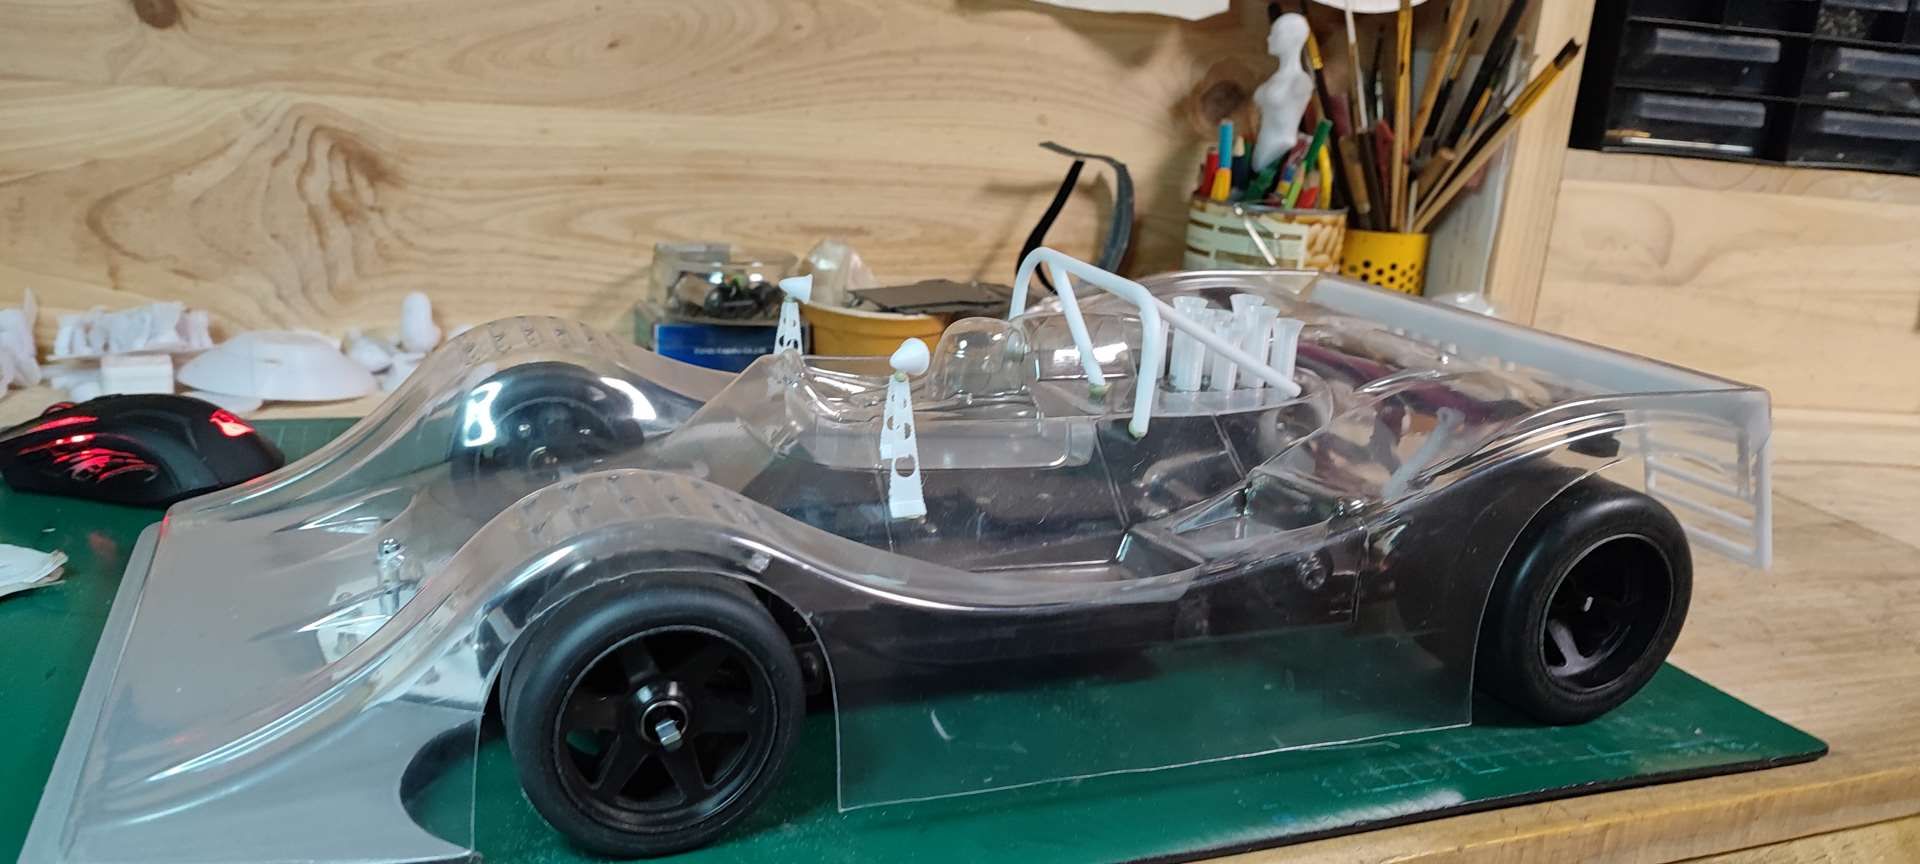
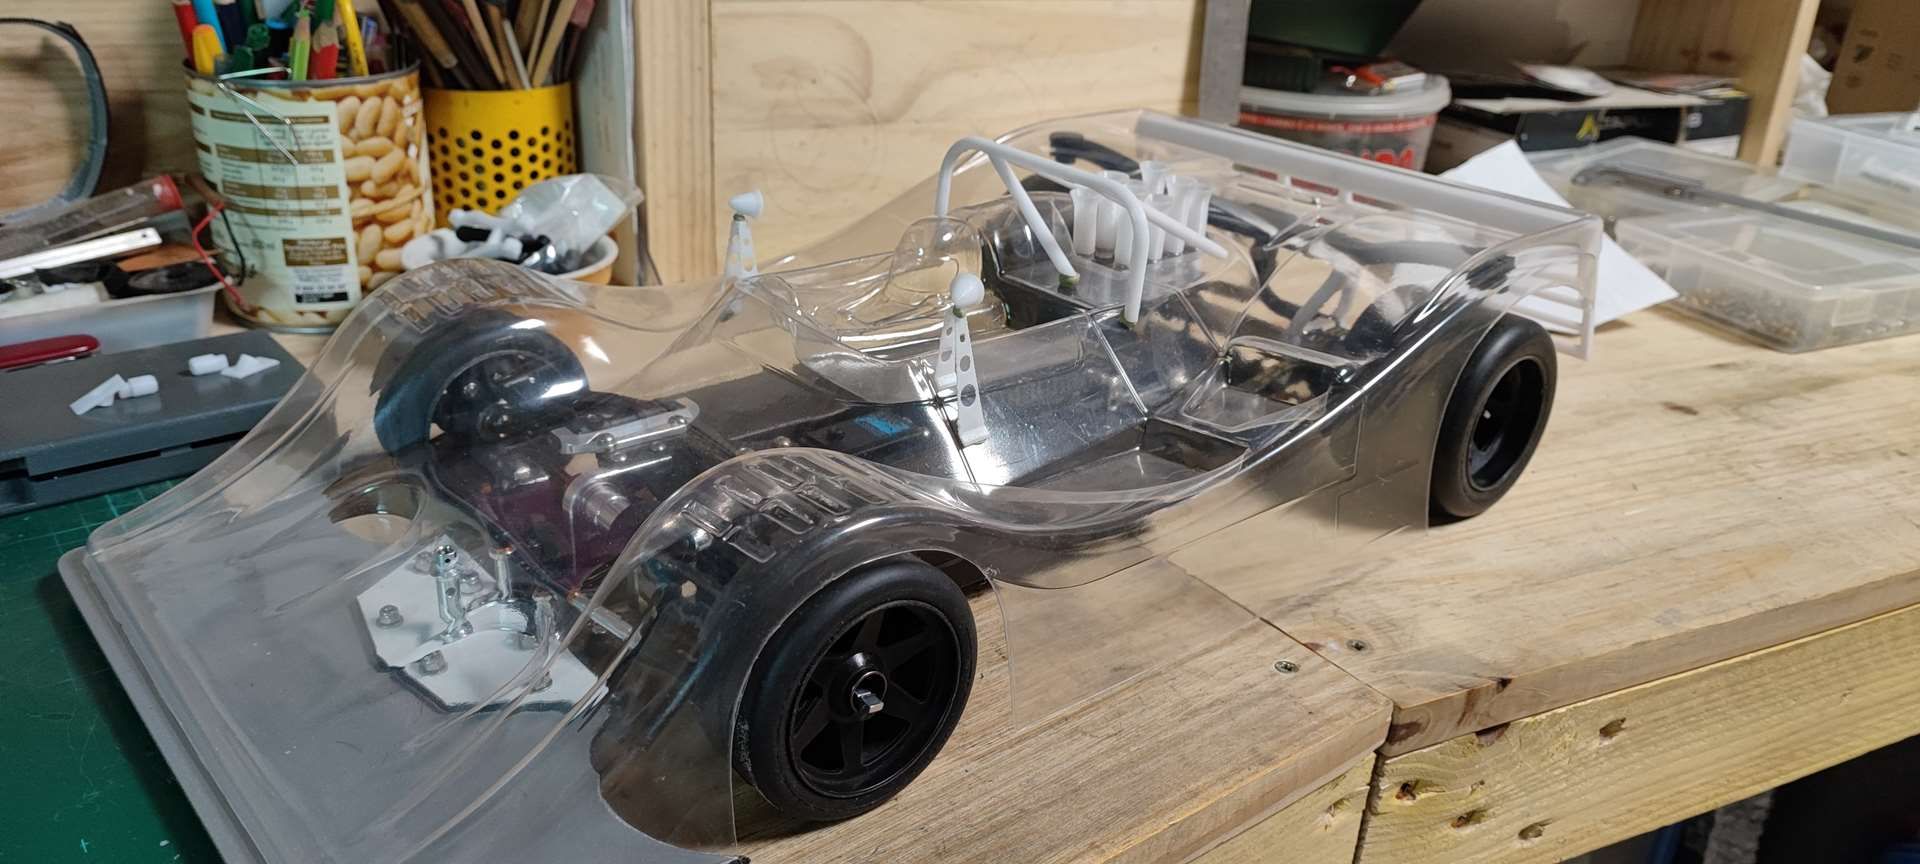
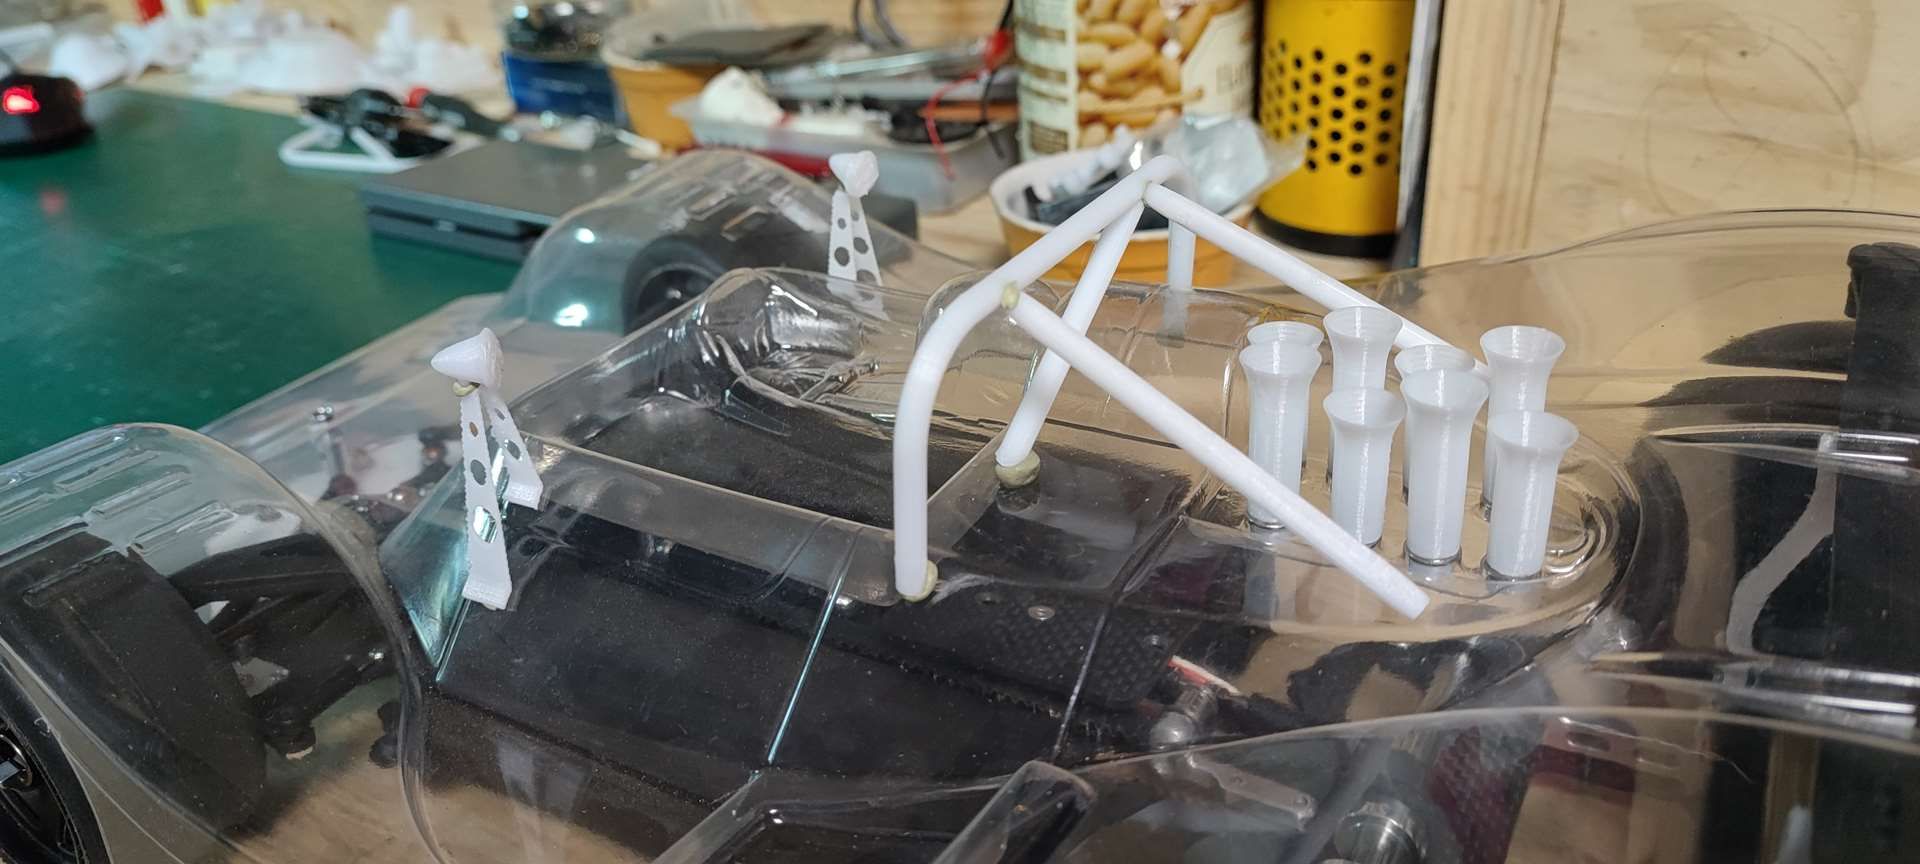
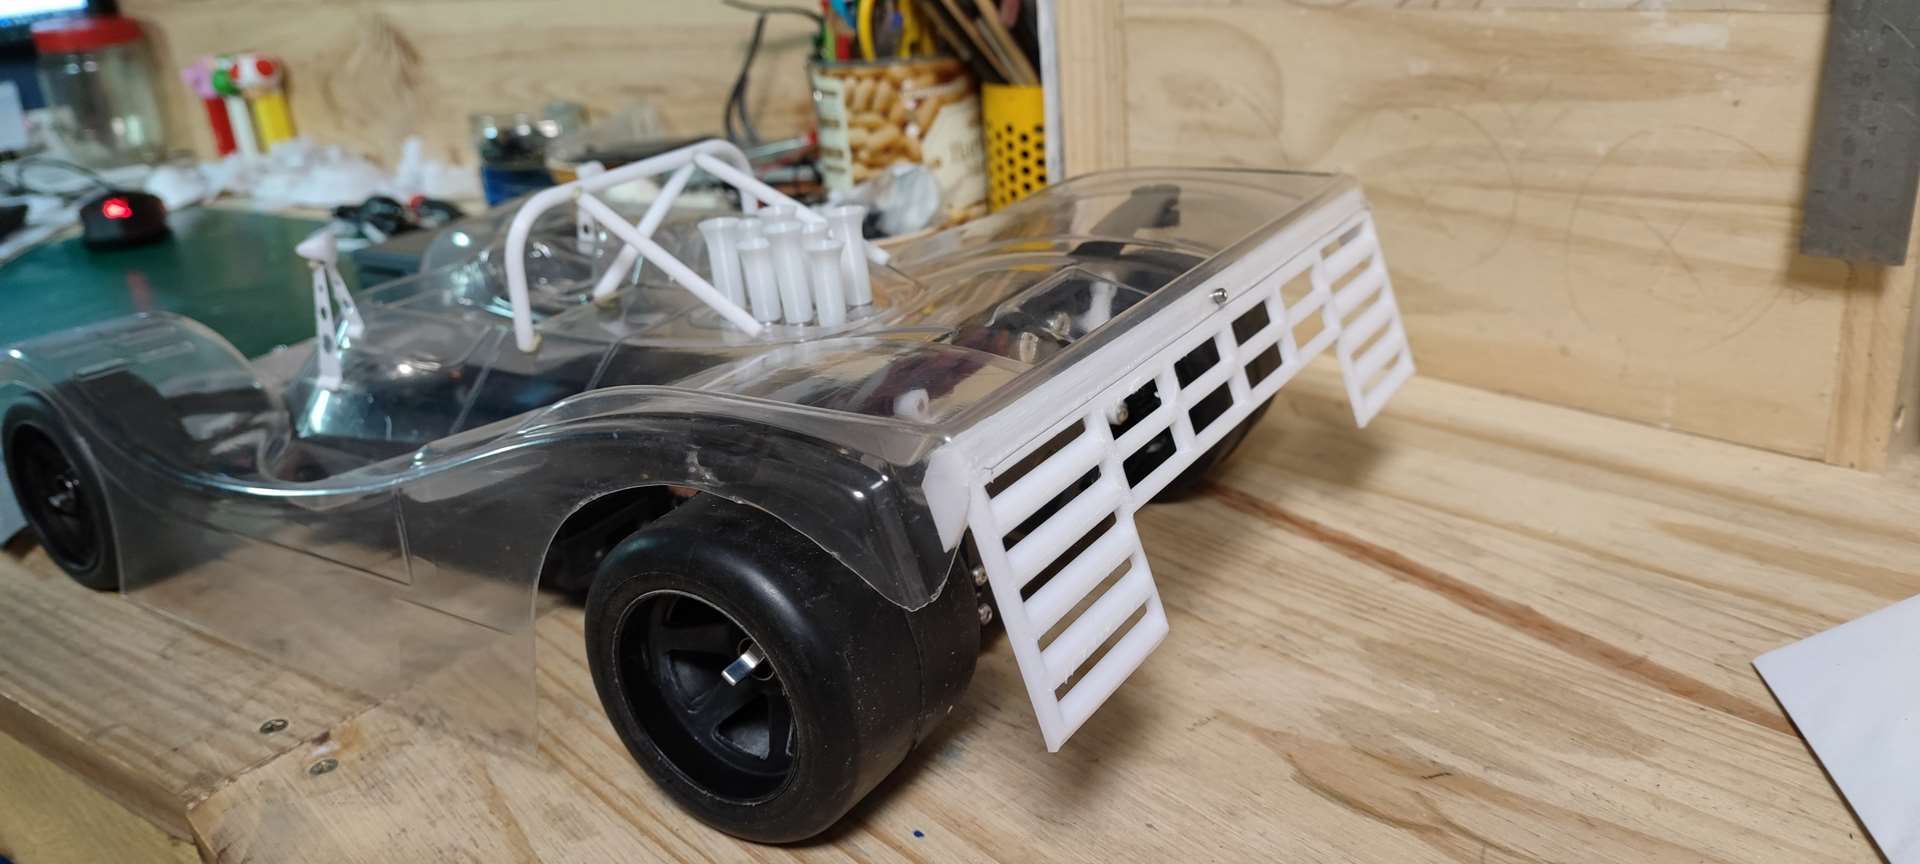
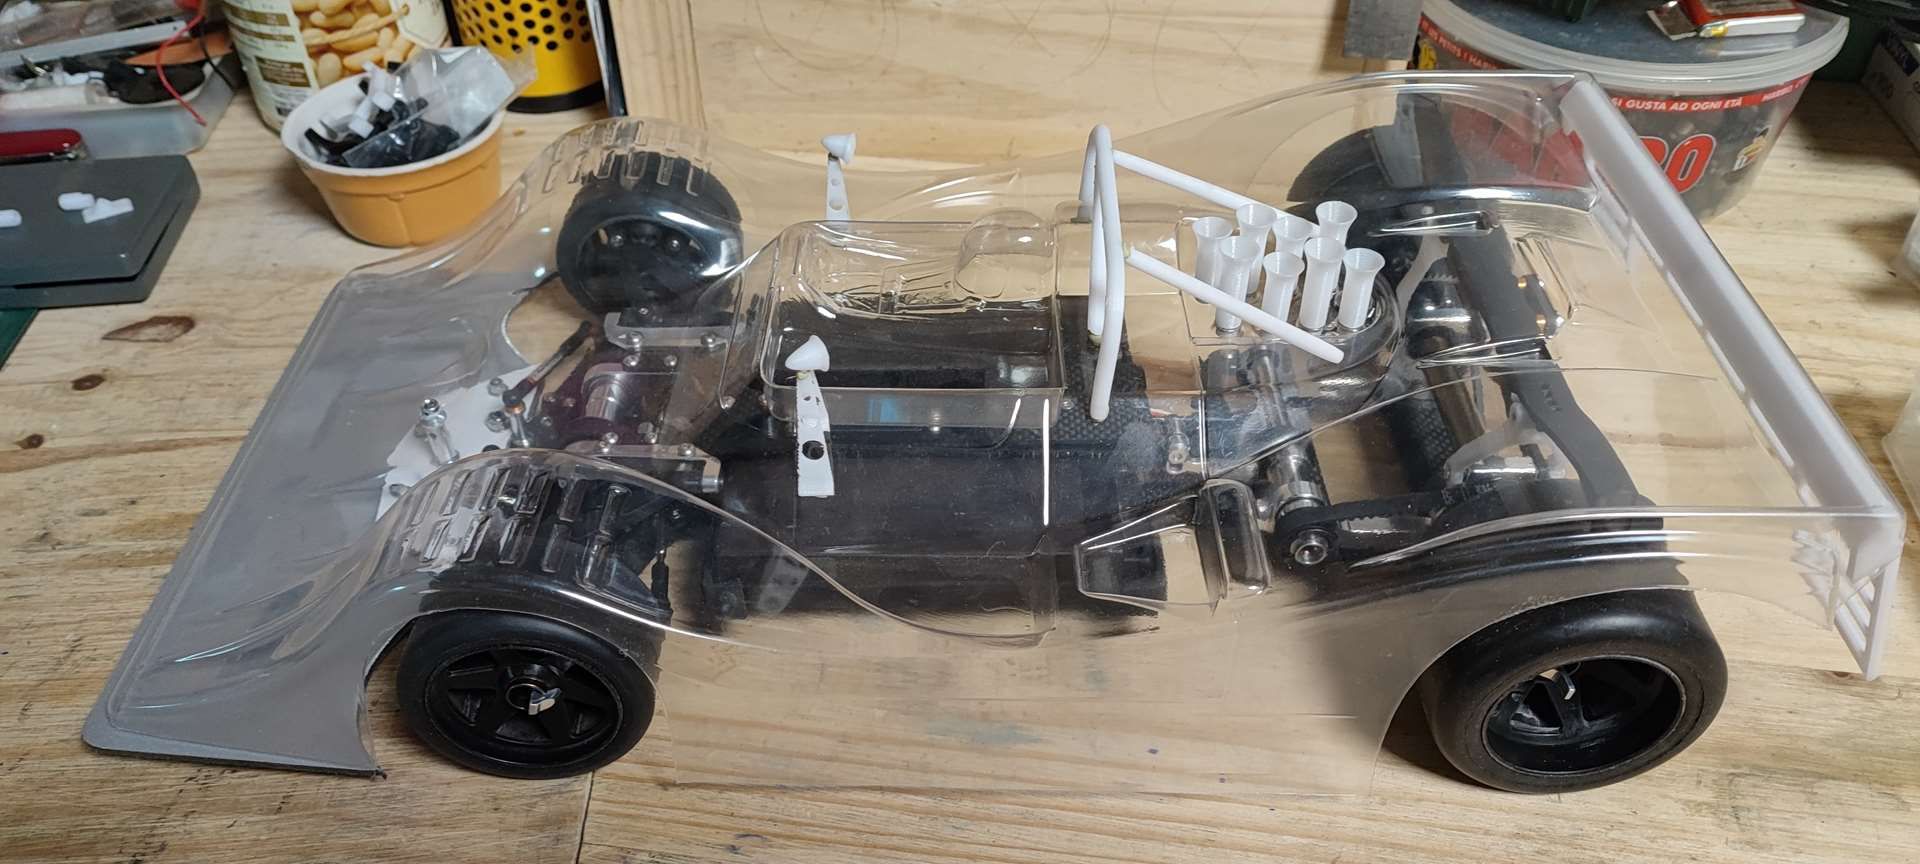
I'm happy
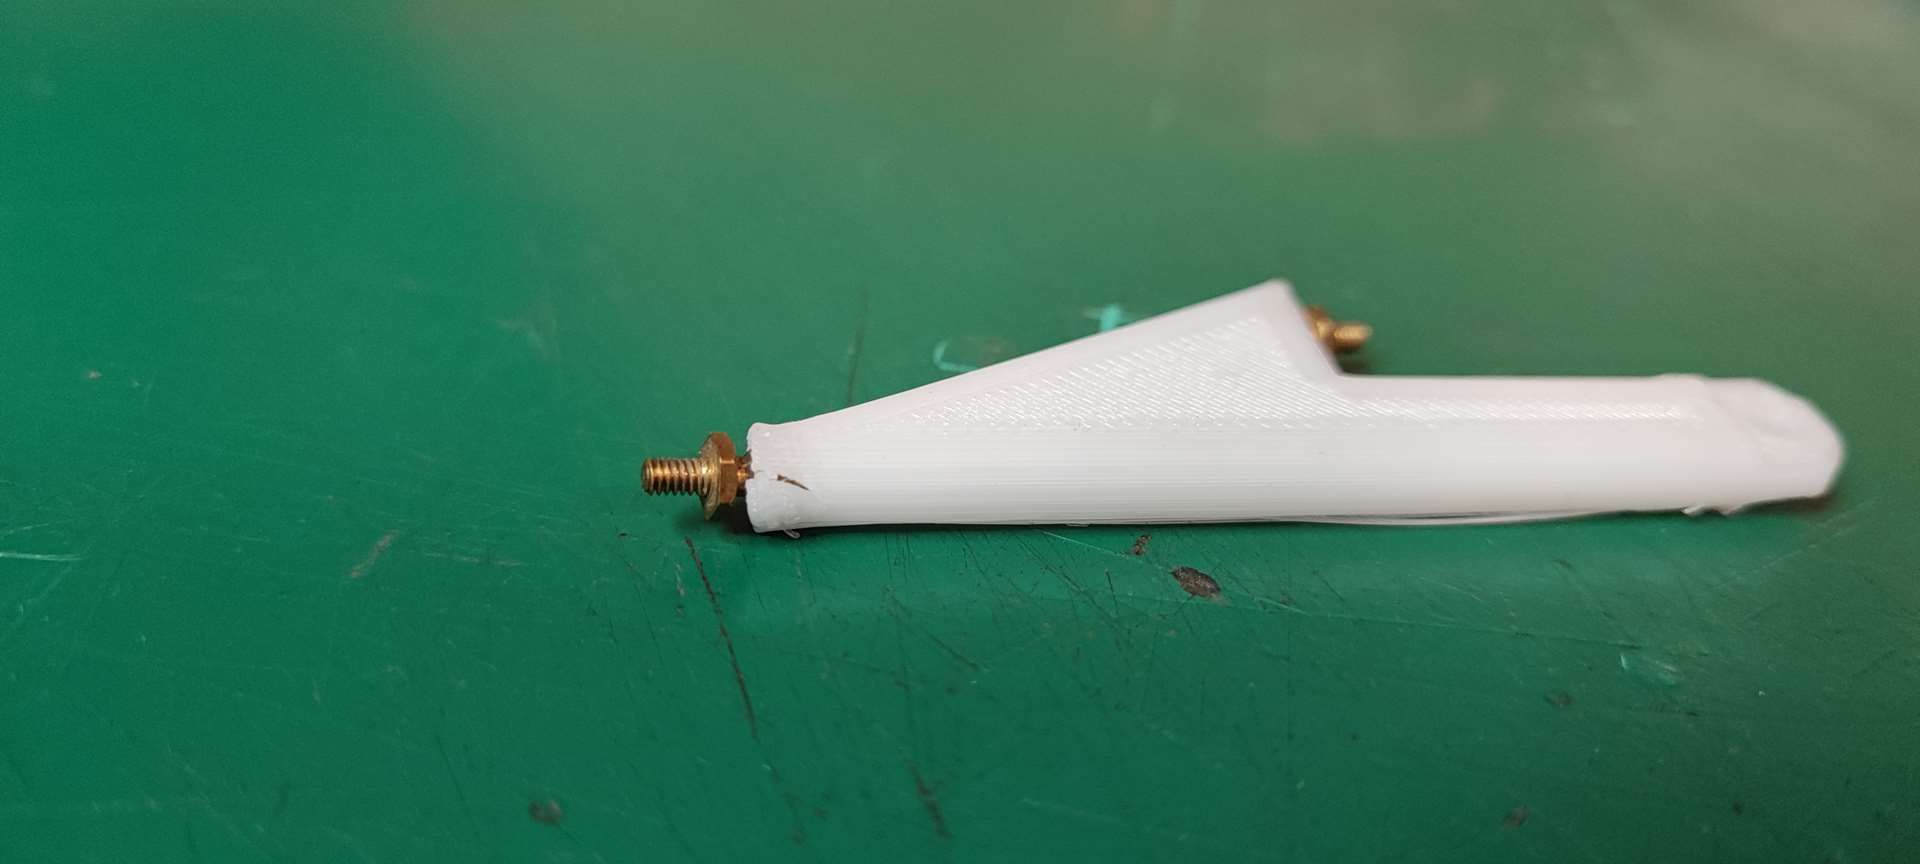
Anyway, I printed thewing supports i designed, but once the ball joints were installed, it broke... so I'm going to explore another way.
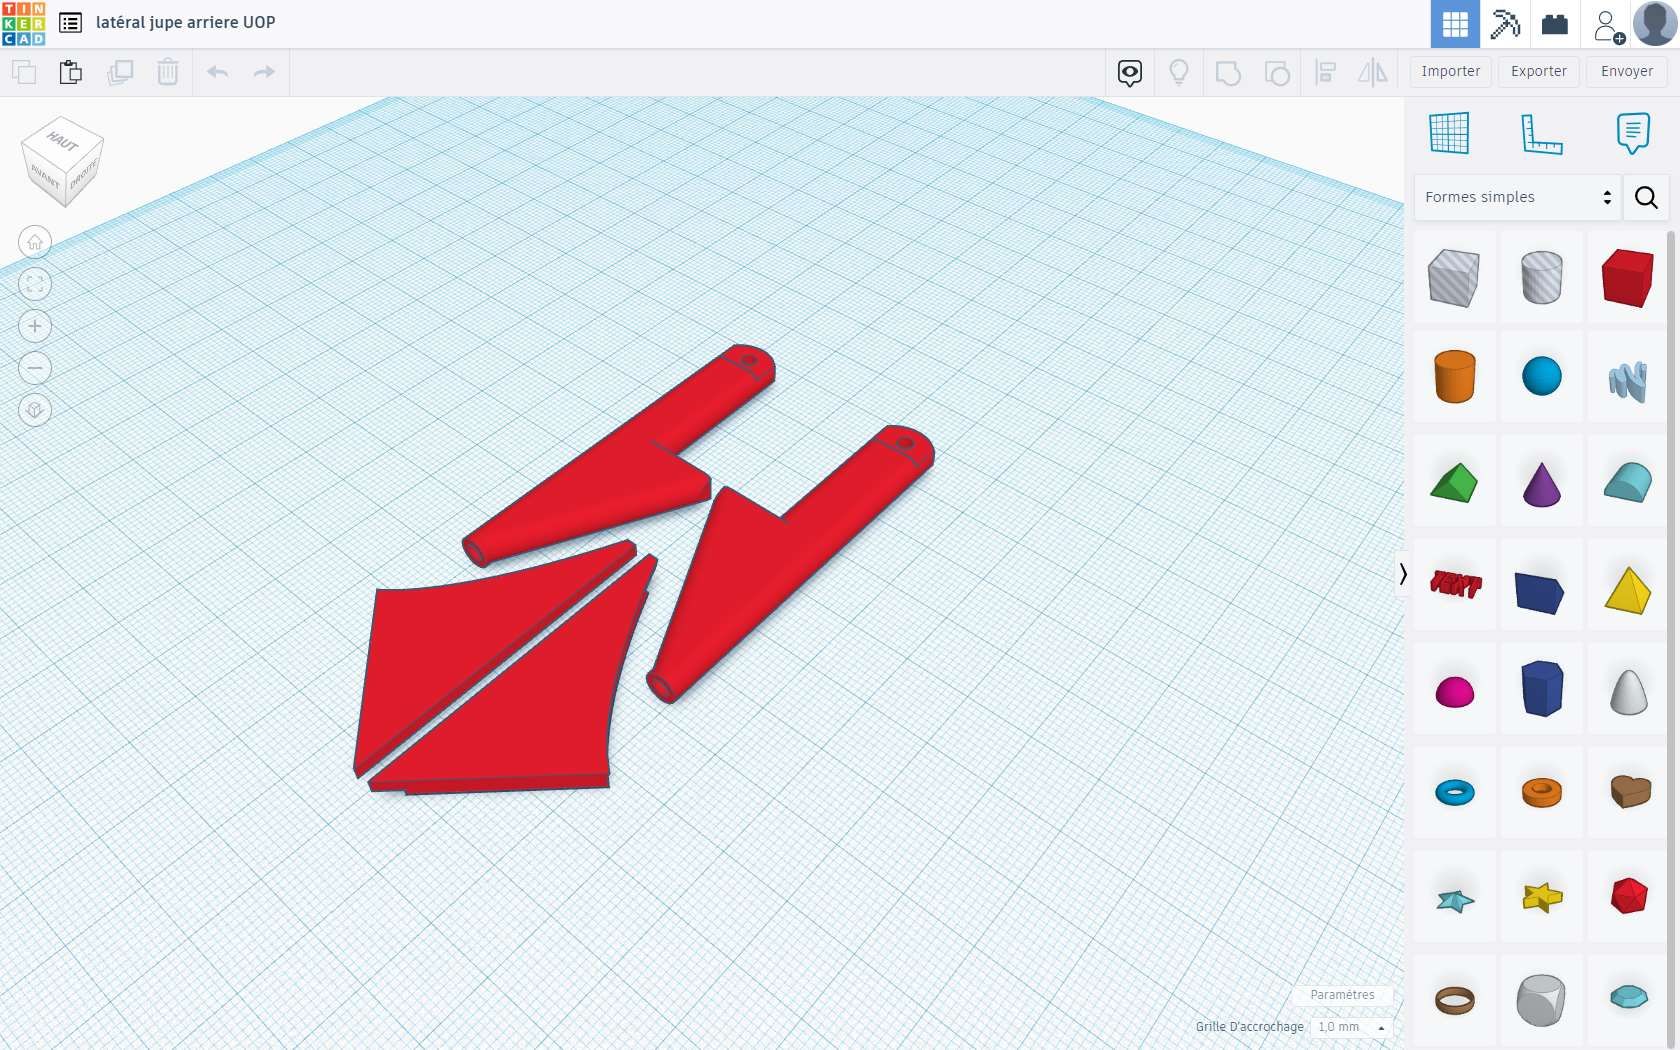
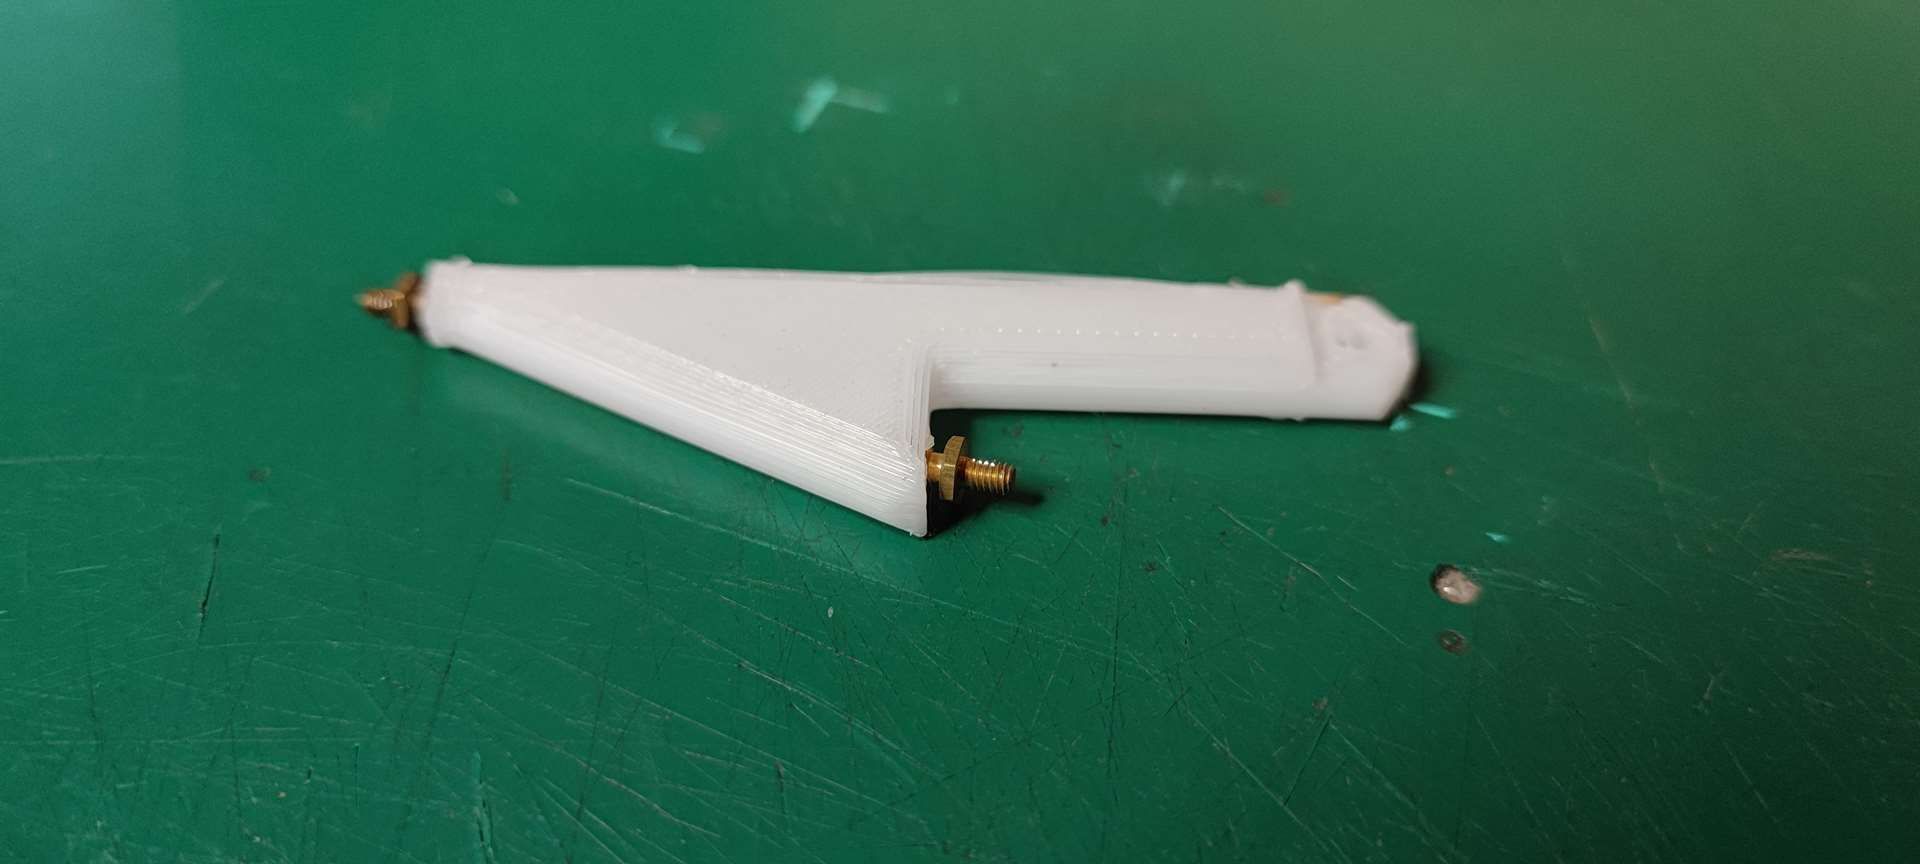
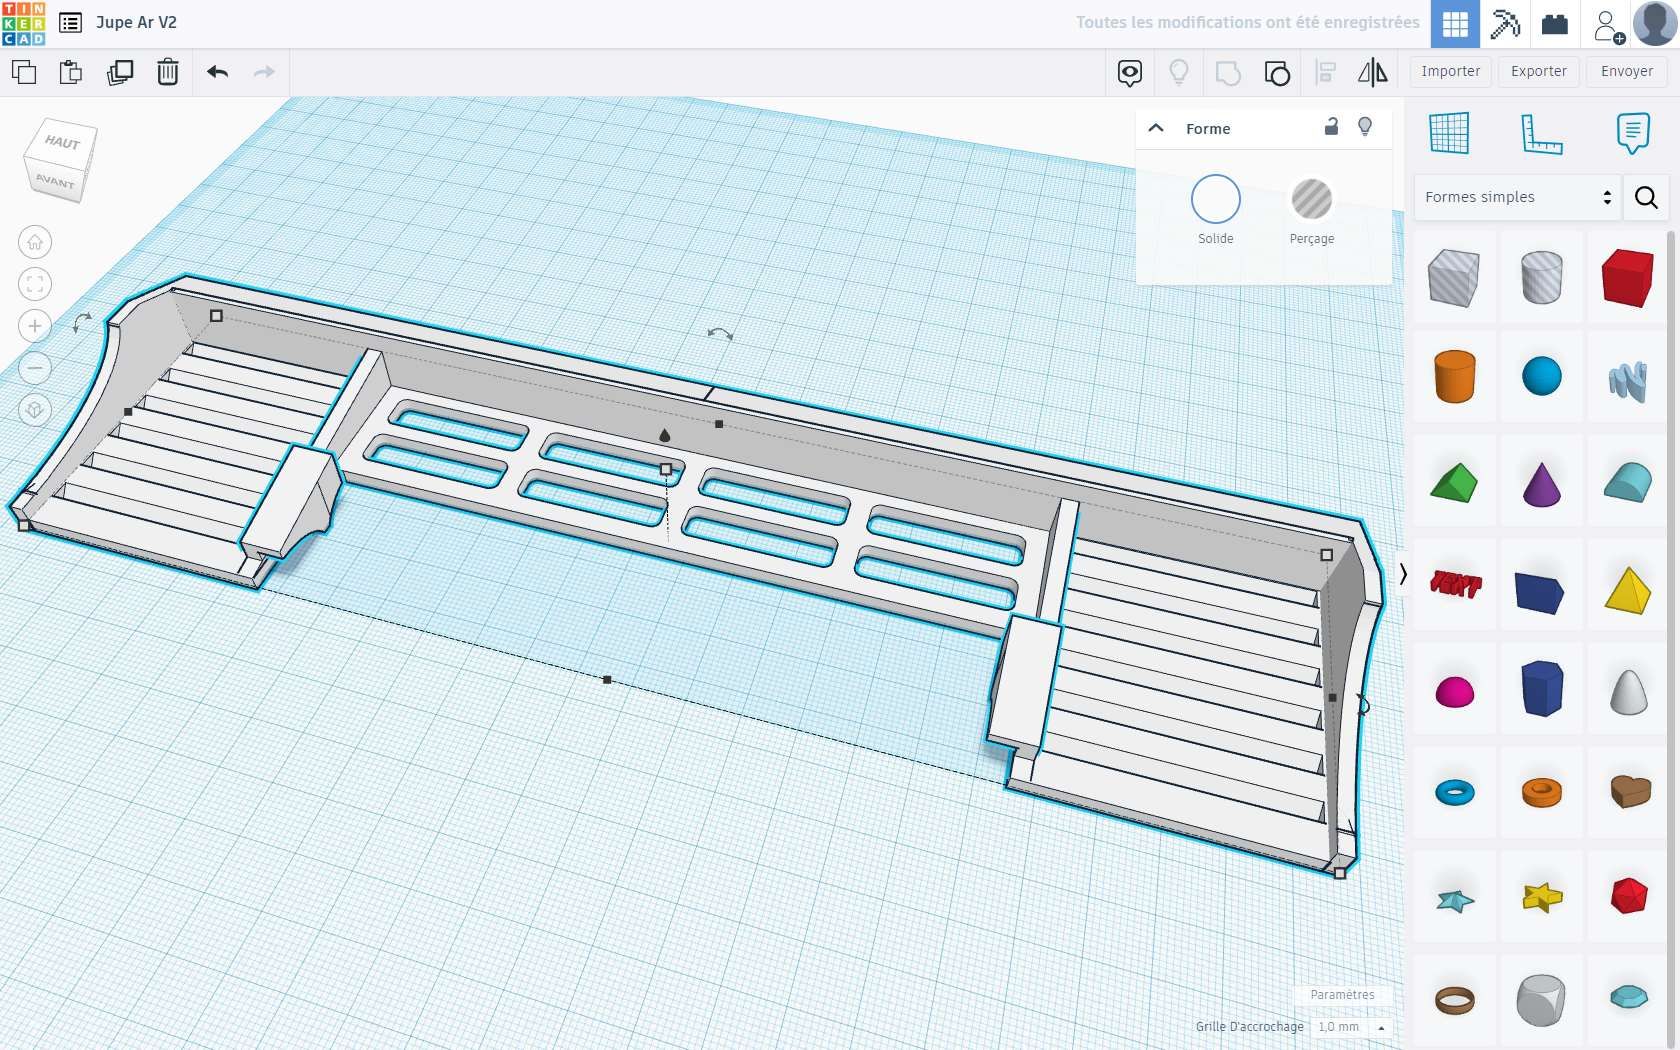
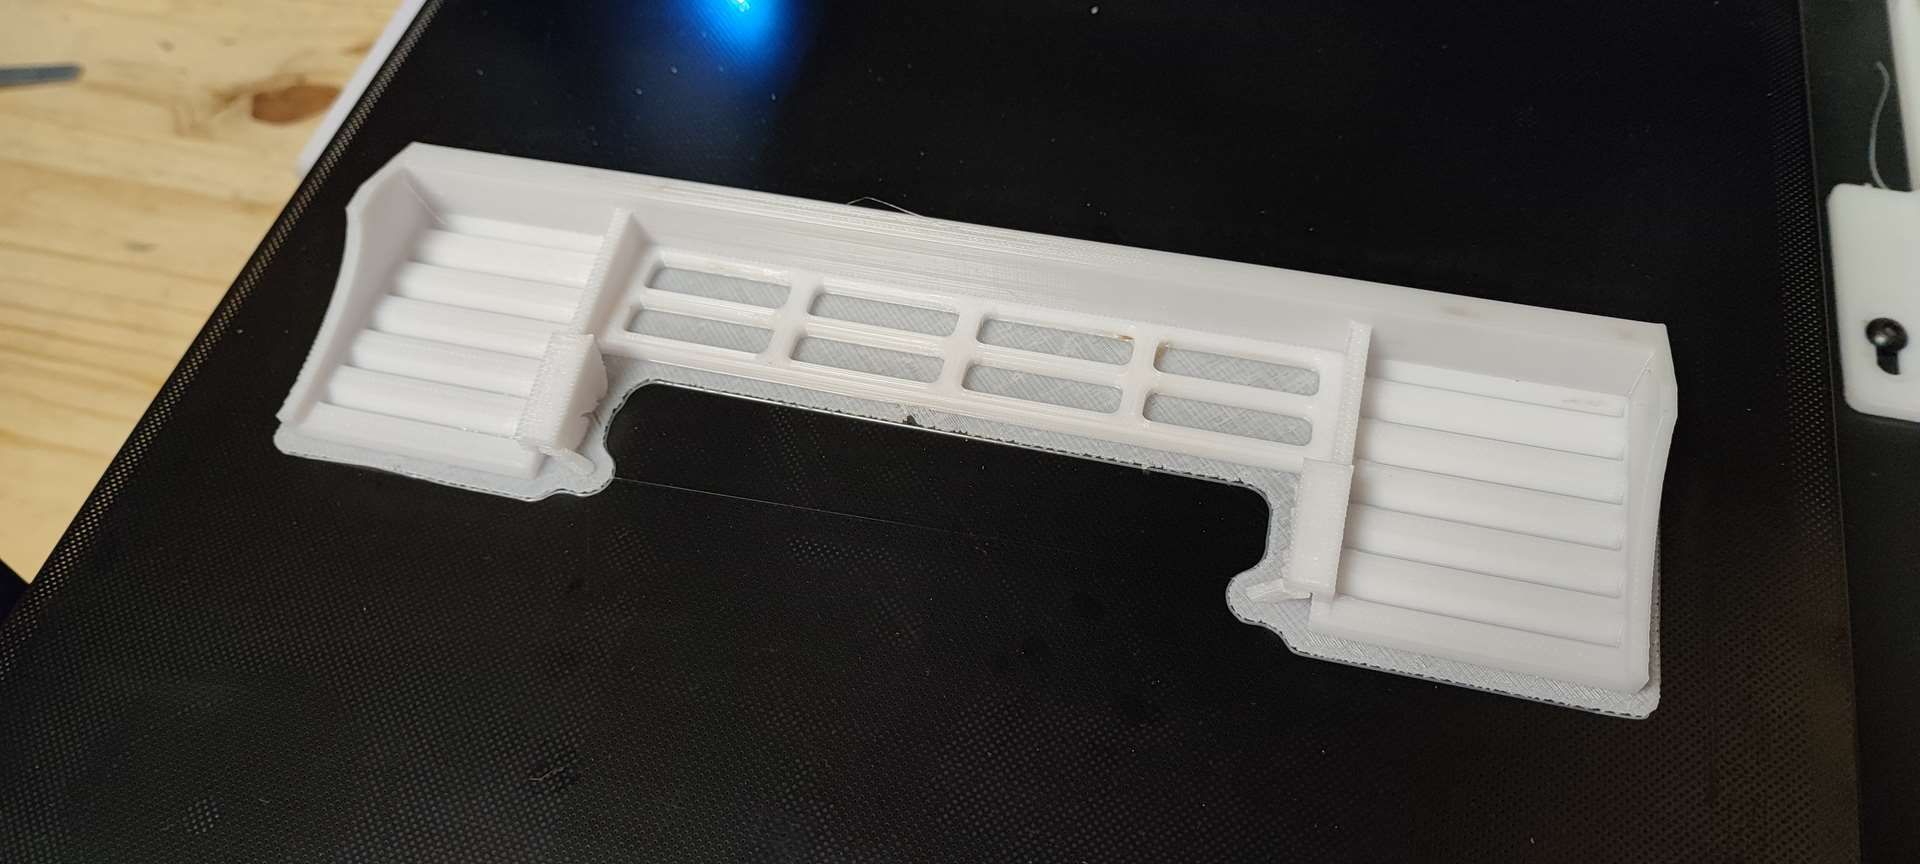
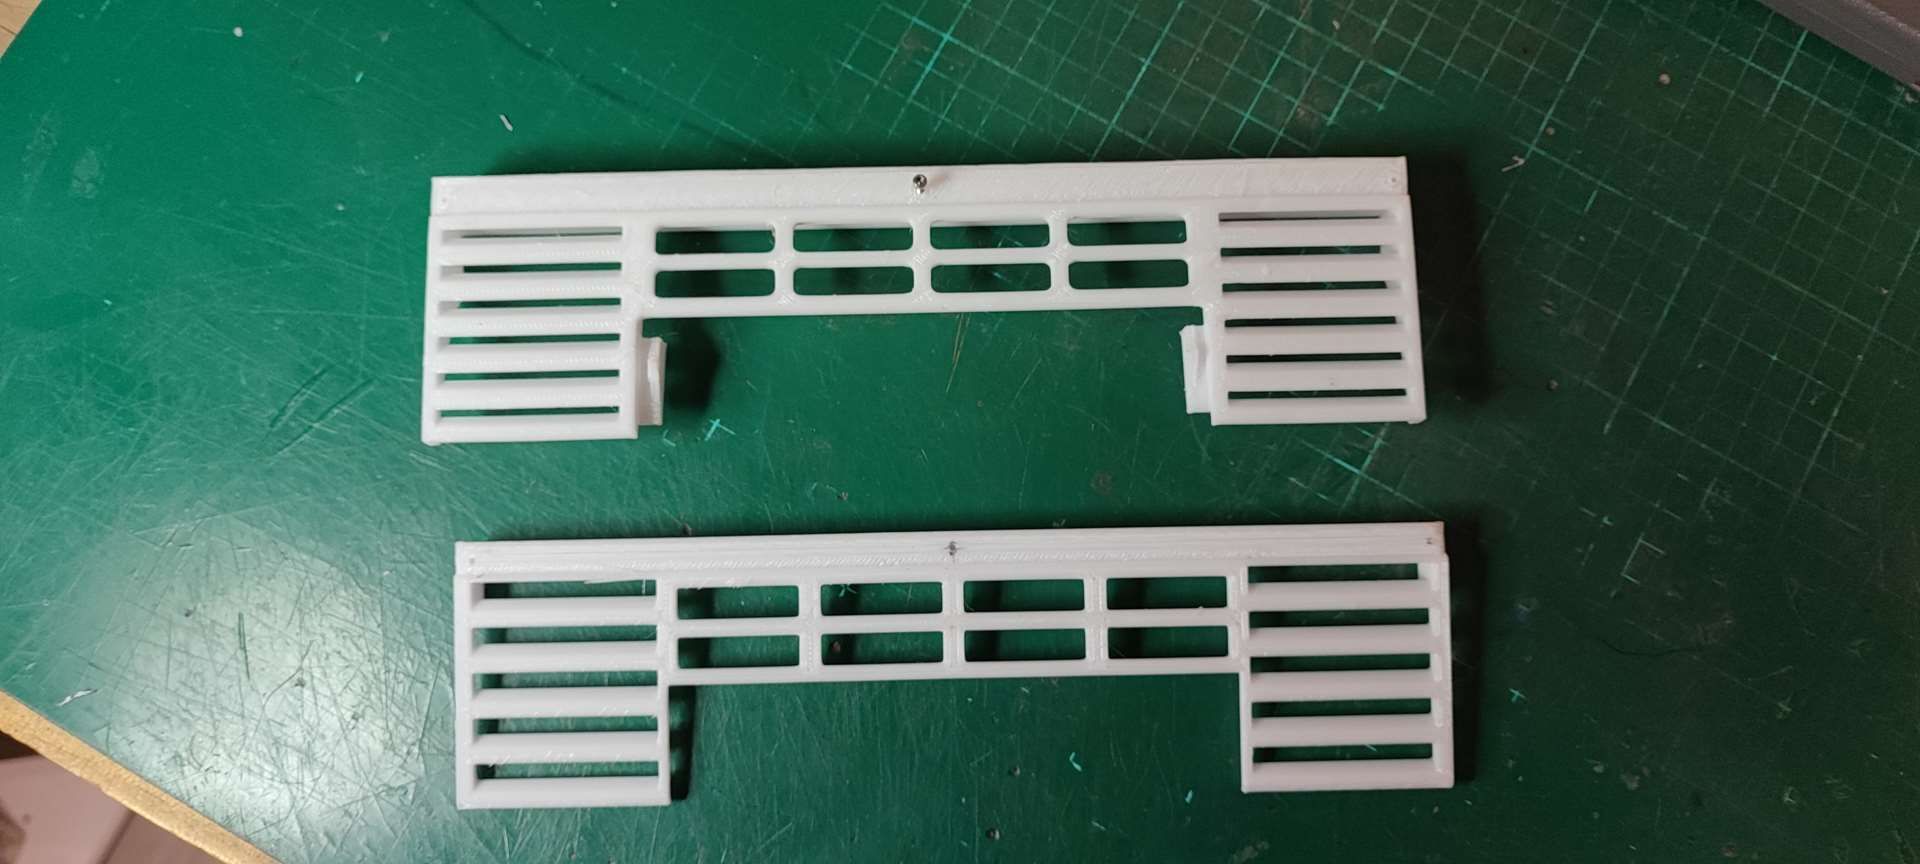
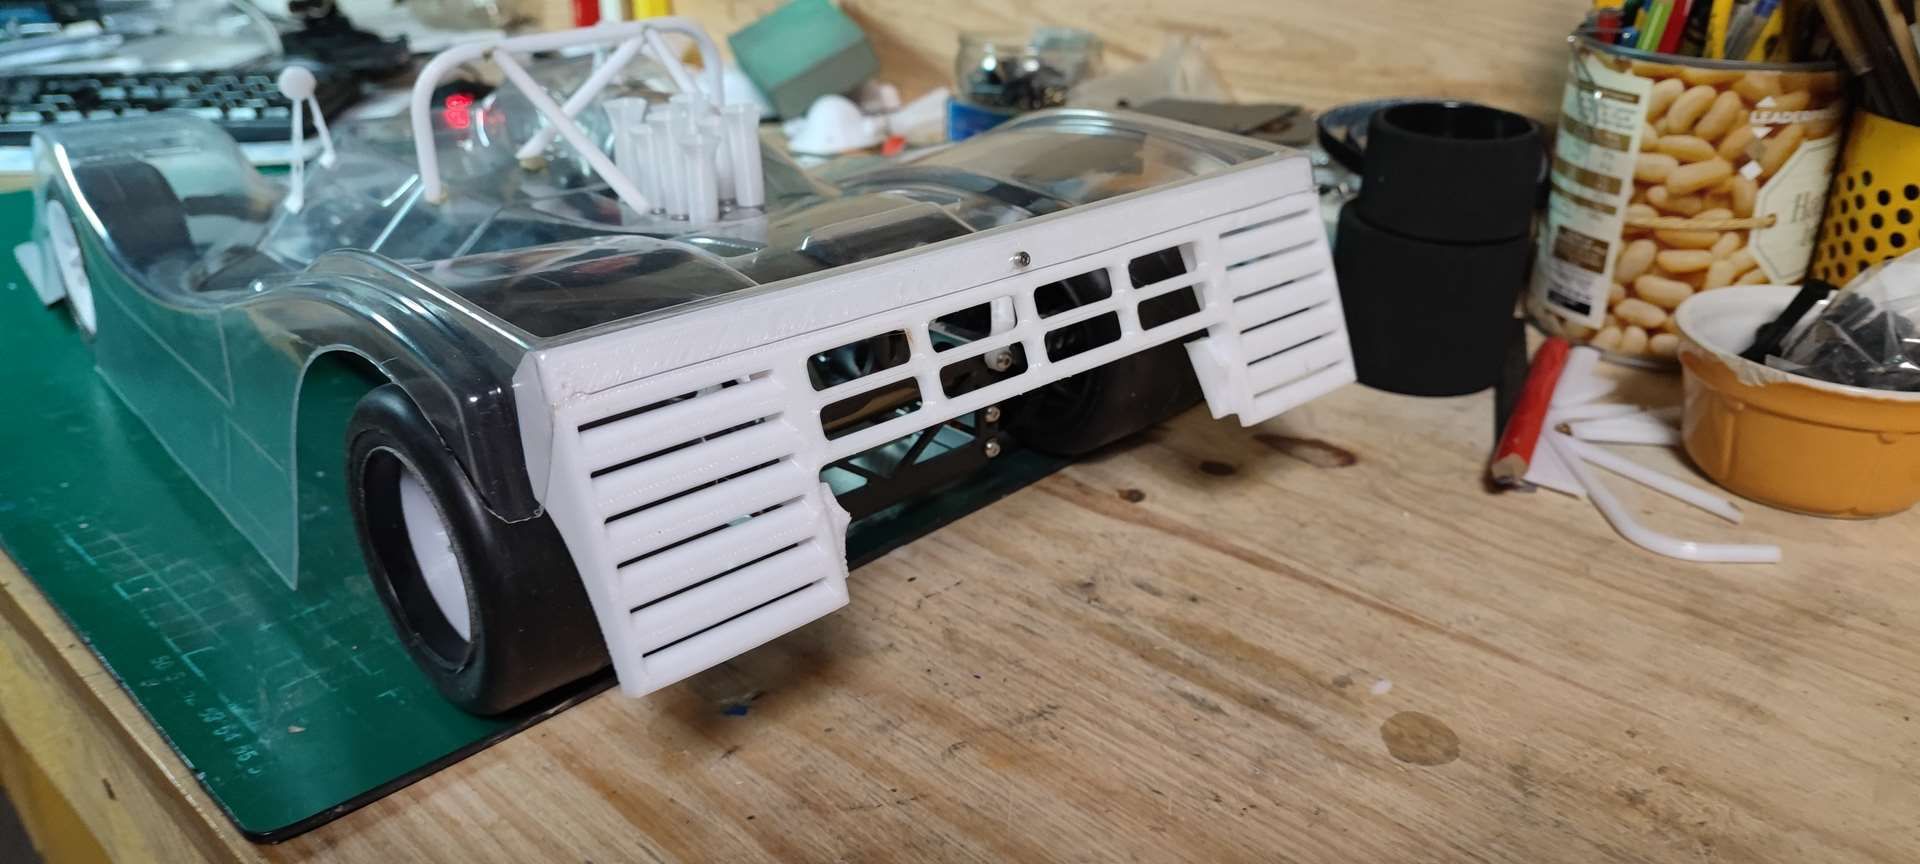
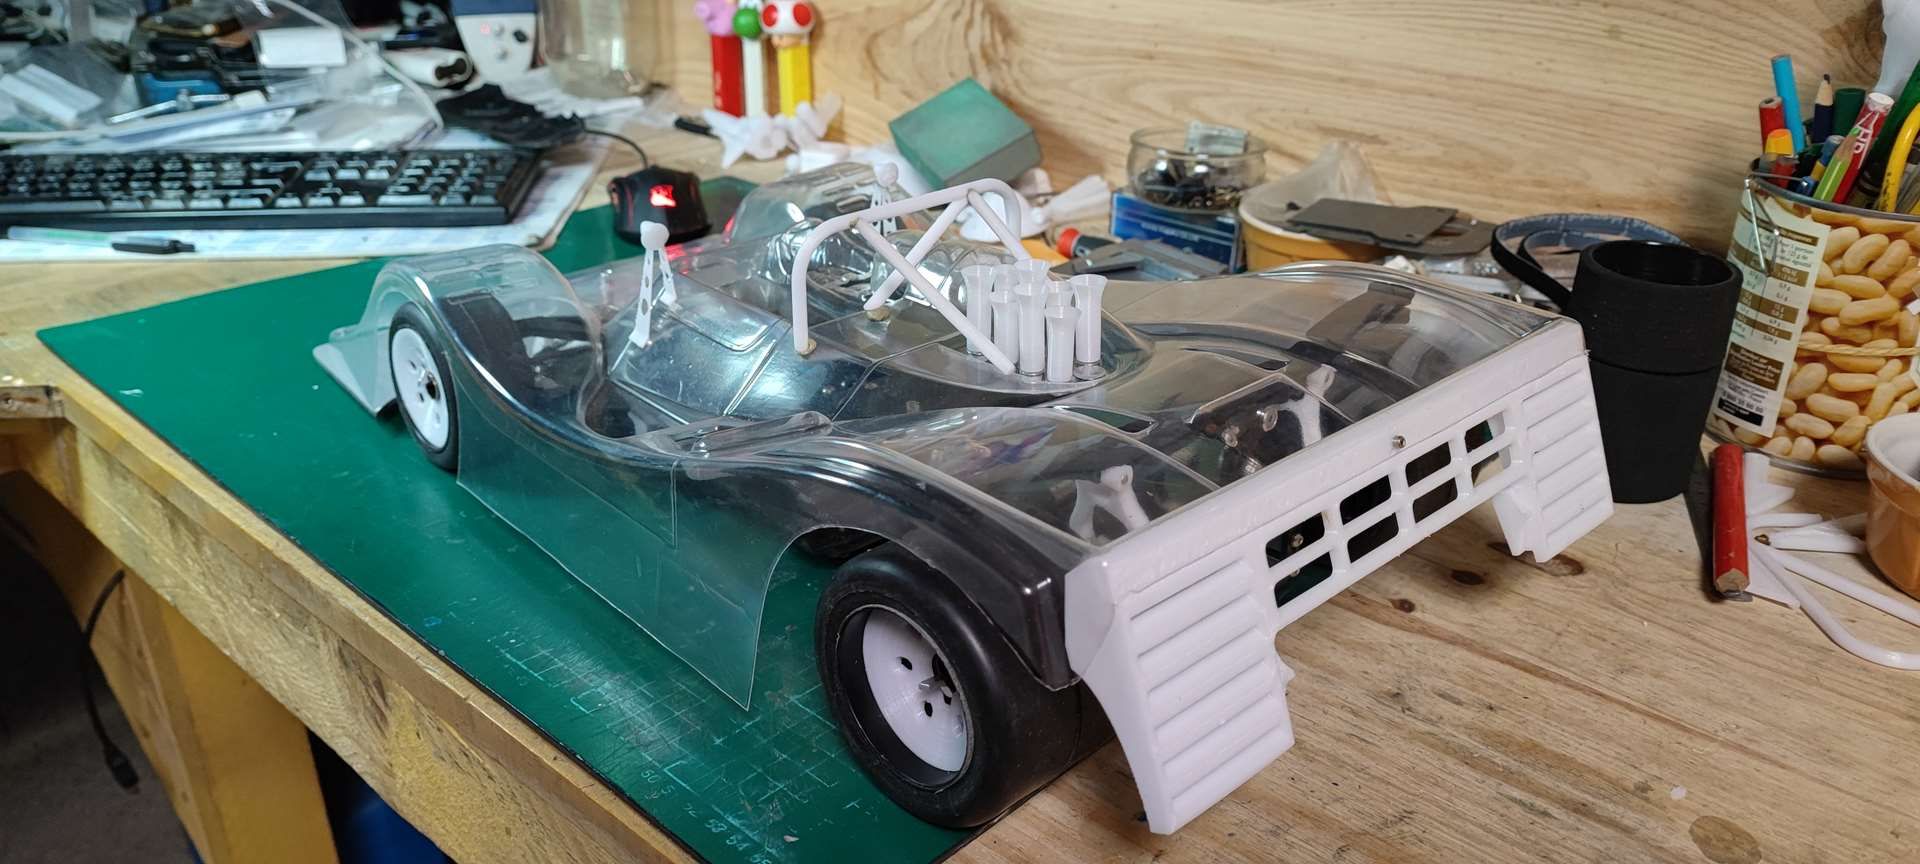
New rear apron which is more in line with the original.
Small hubcaps while waiting to make the complete rims.
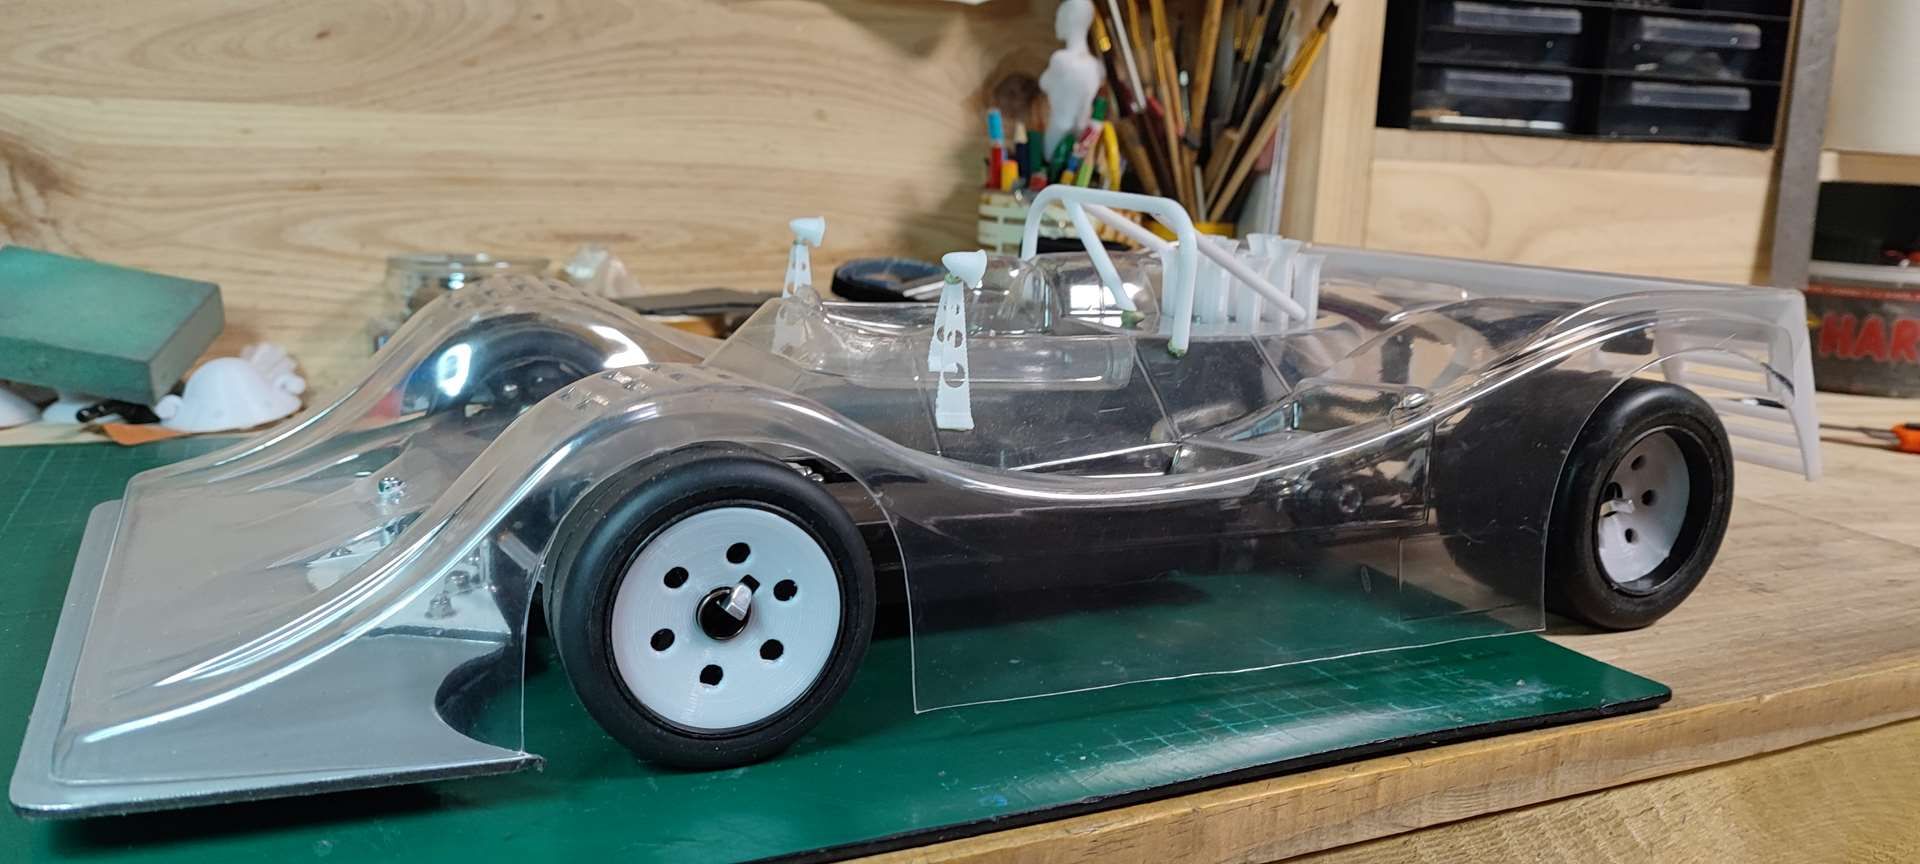
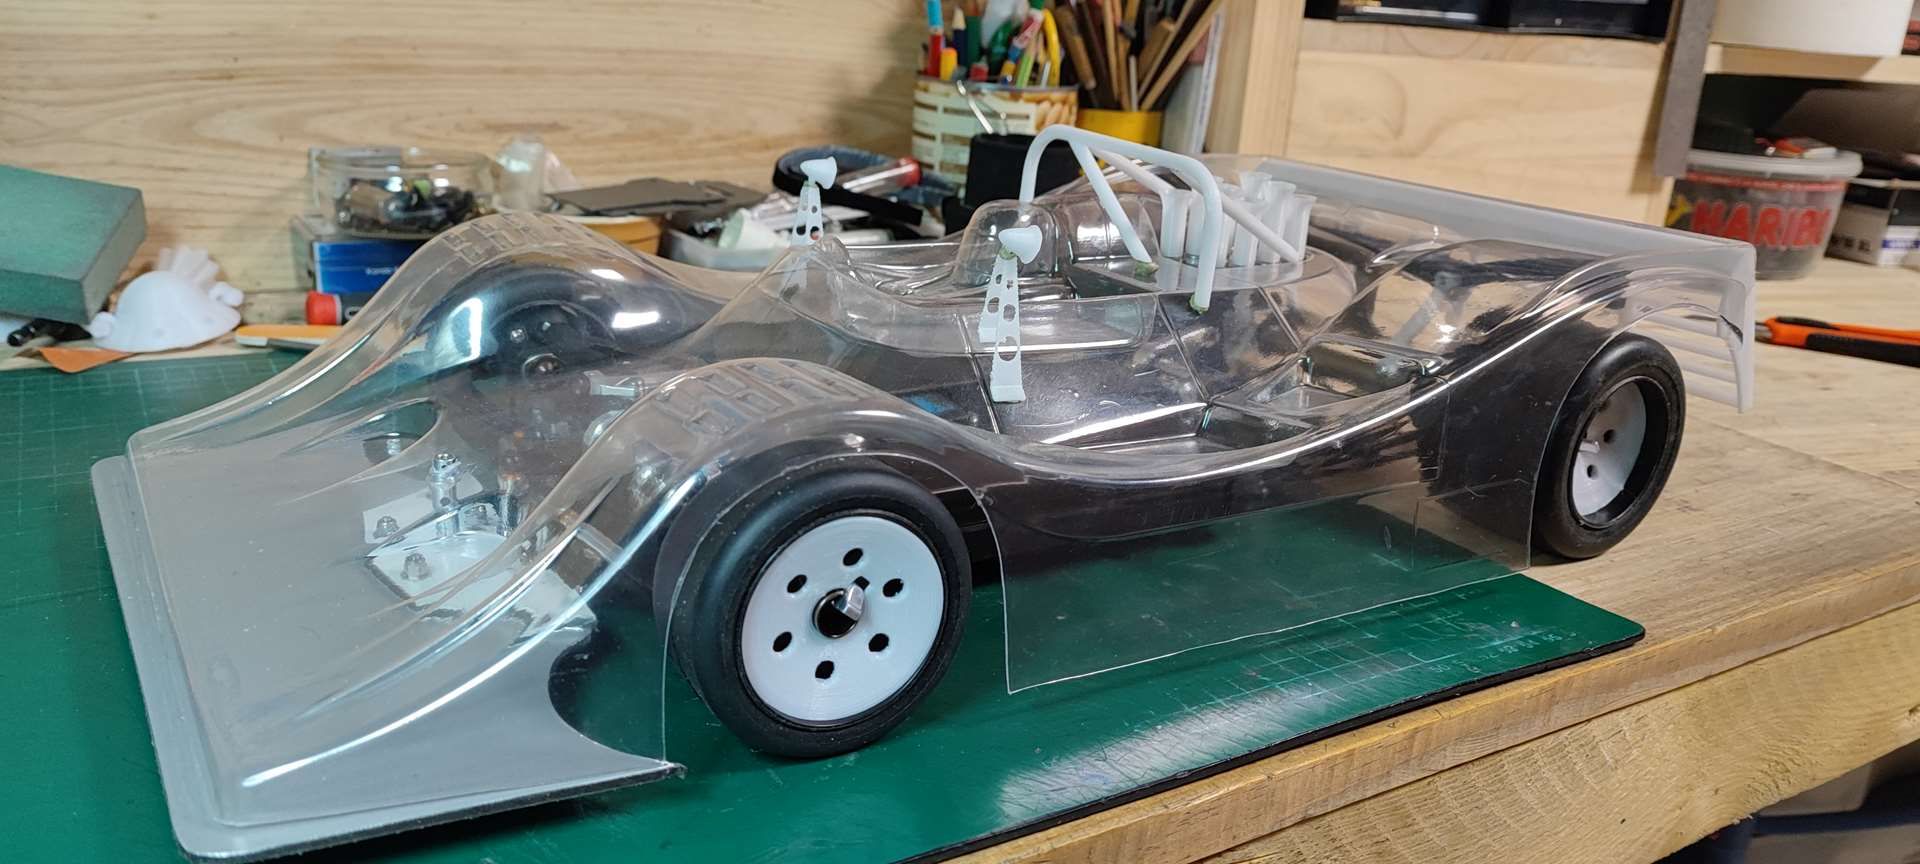
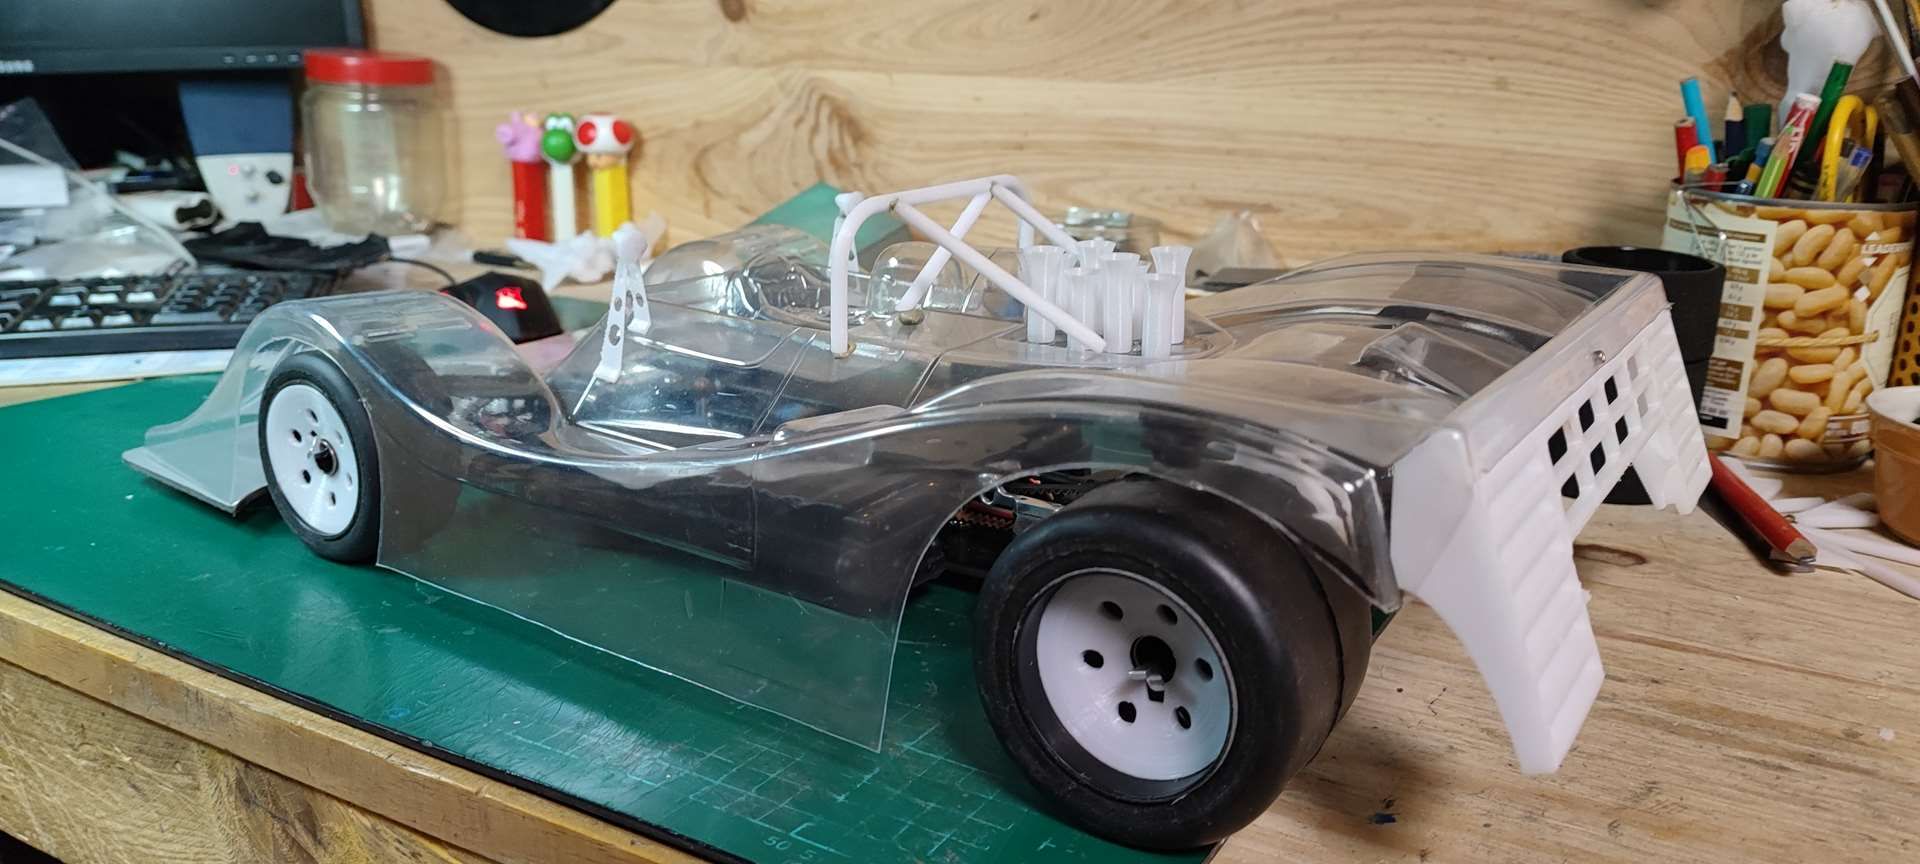
I also decided to review the mirrors and their supports by making them thicker in order to be able to sand them for easy sanding of t the layers, while testing something for the bumper.
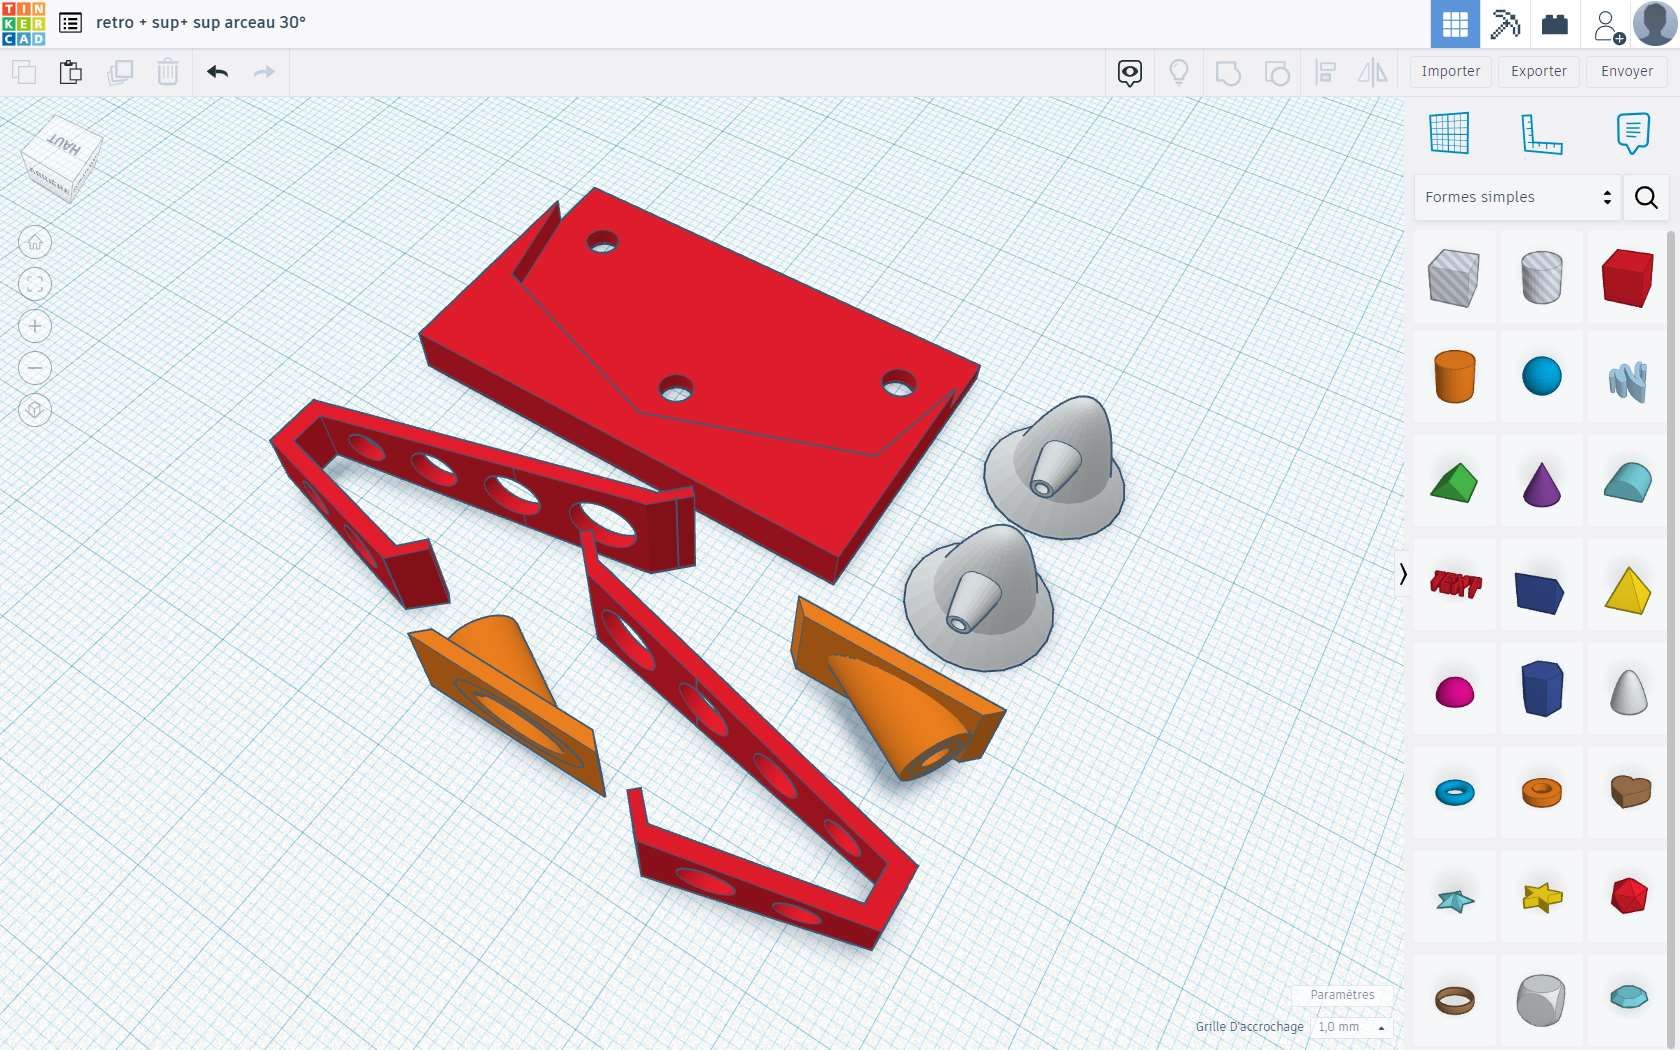
Tomorrow;
- probably fixing the rollbar (drillings)
- Realization of the ignition
- thinking about the rear wing stay
- ... and it won't be bad
jerome
Sorry for my rusty english, i'm a kind of French farmer lost in his montain ...
-
Trass
- Approved Member
- Posts: 340
- Joined: Sat Aug 08, 2015 12:02 pm
- Location: Near Limoges - France
- Has thanked: 398 times
- Been thanked: 202 times
Re: SERPENT 988e Taipan
Problems with the printer last week-end, PTFE tube that wanted to be extruded... and breakage when dismantling the nozzle... cuttin of one of the two wires of the thermistor... so ordering new parts, it will have to wait for the sequel.
I had done a lot of stuff before trouble started.
Still haven't made the holes to fix the rollbar, it will be done within the week.
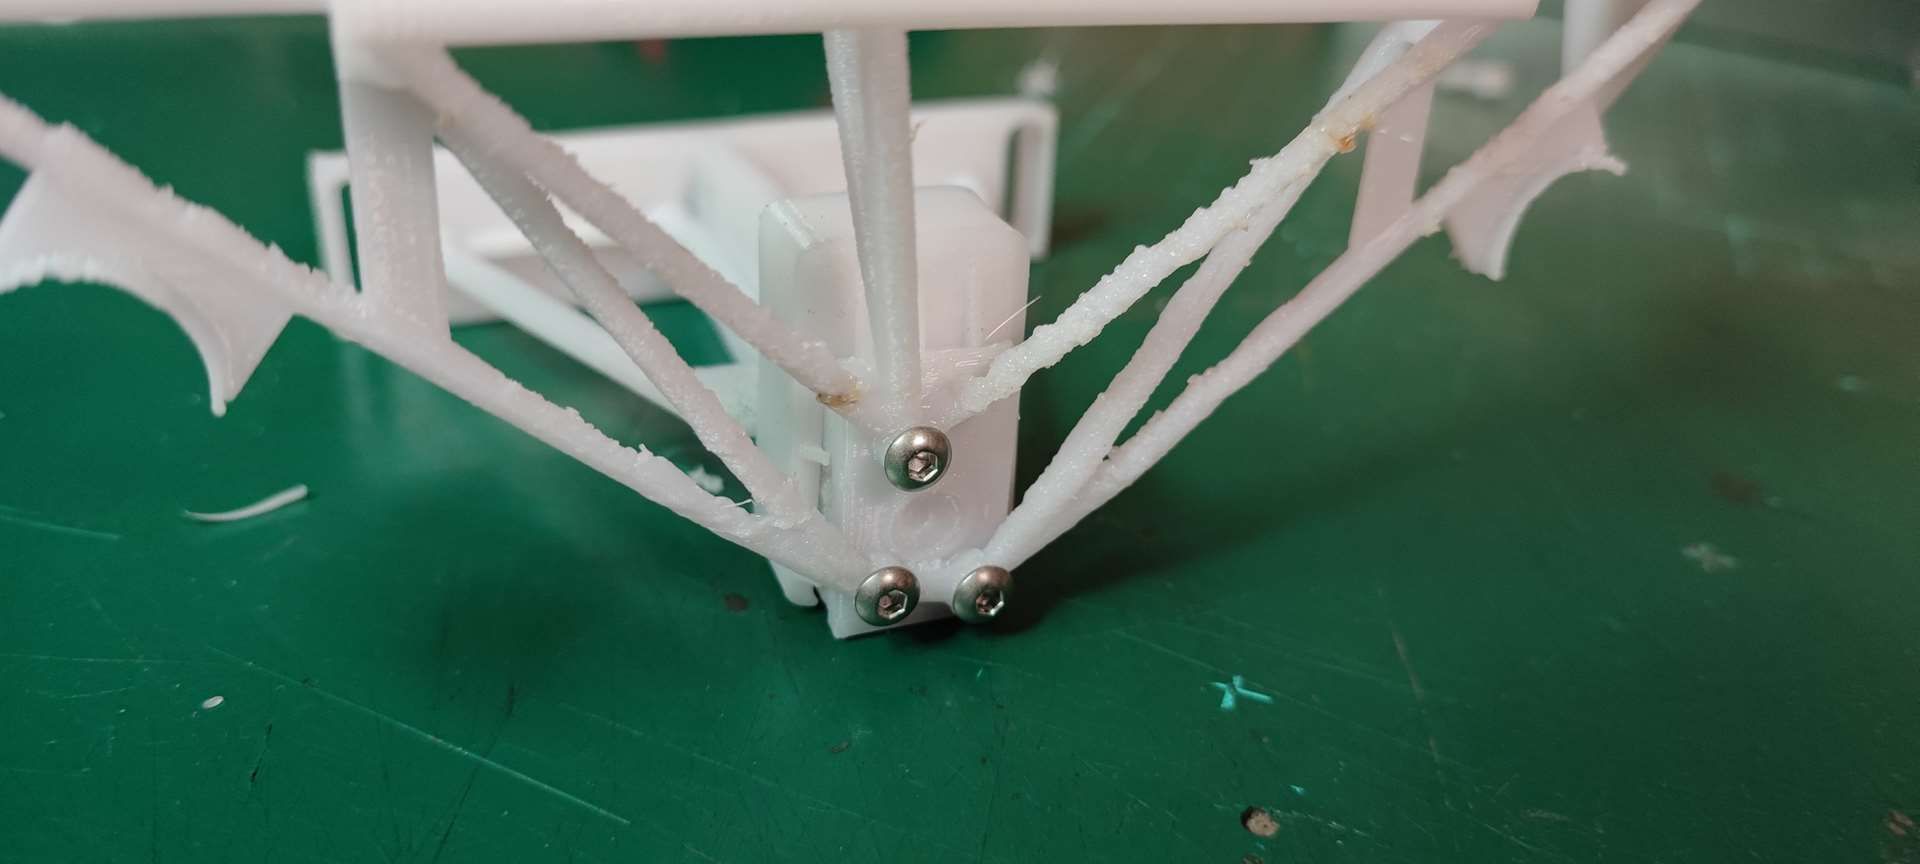
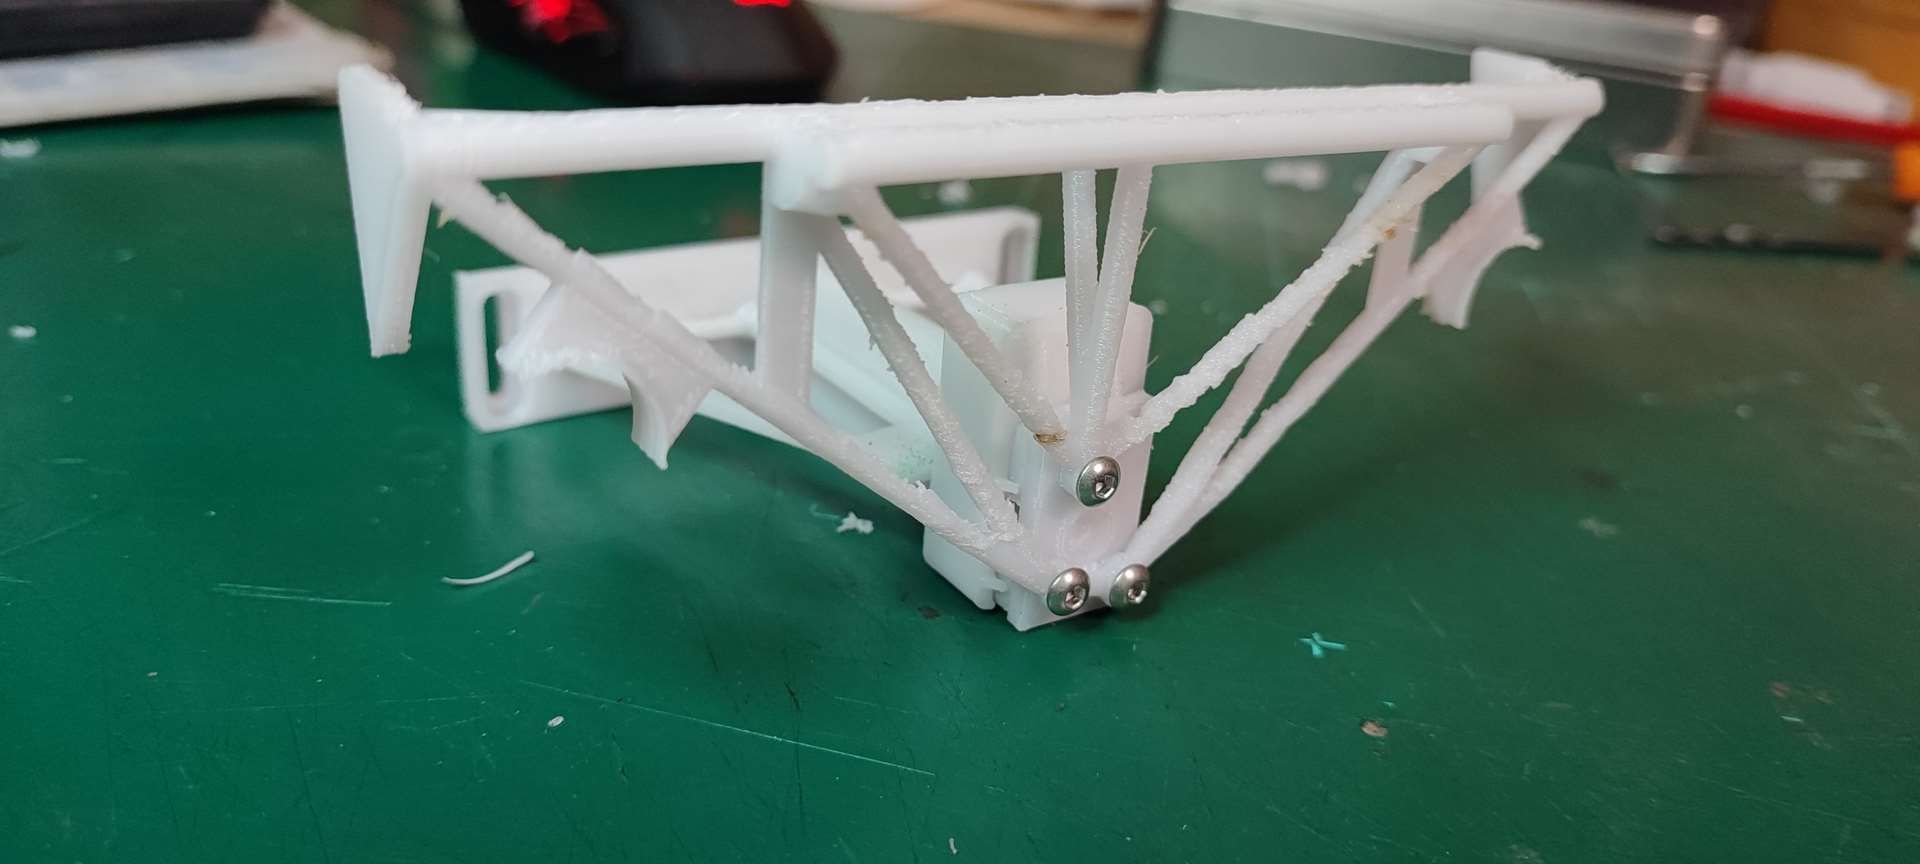
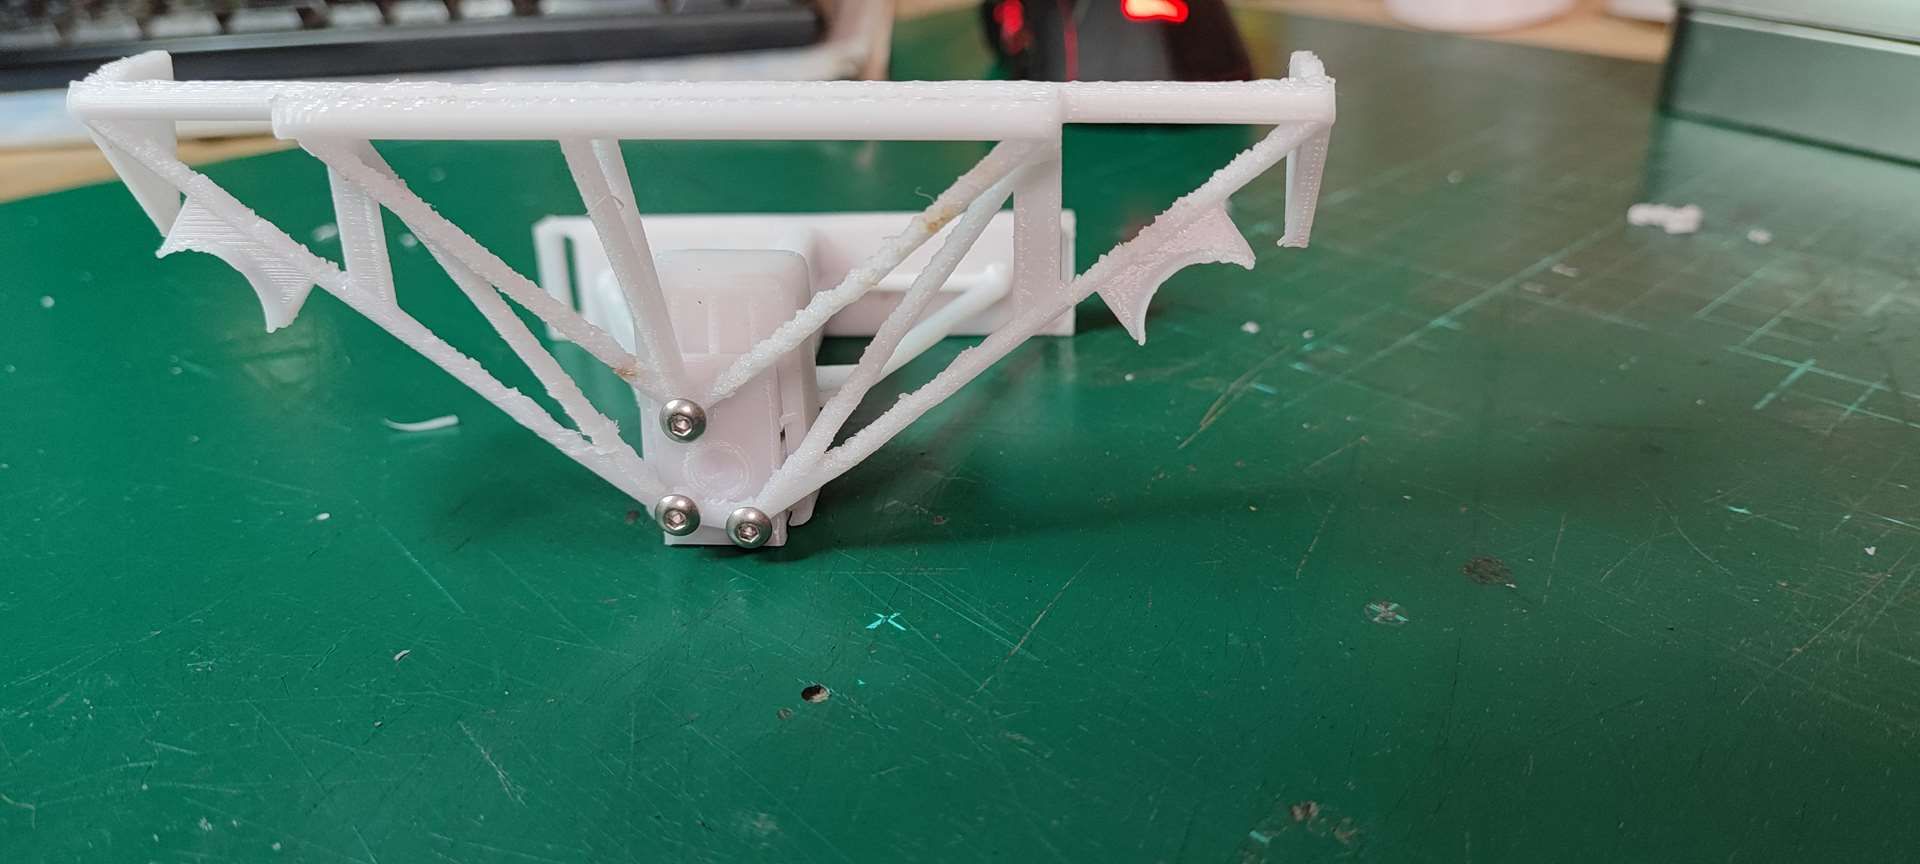
Printing of the wing stay ...it's better than last time, but I'll have to look at a multi-part version to get a cleaner print. I redesign the rear beam which supports the arch and which will serve as the basis for the semblance of (fictitious) transmission that I will try to model.
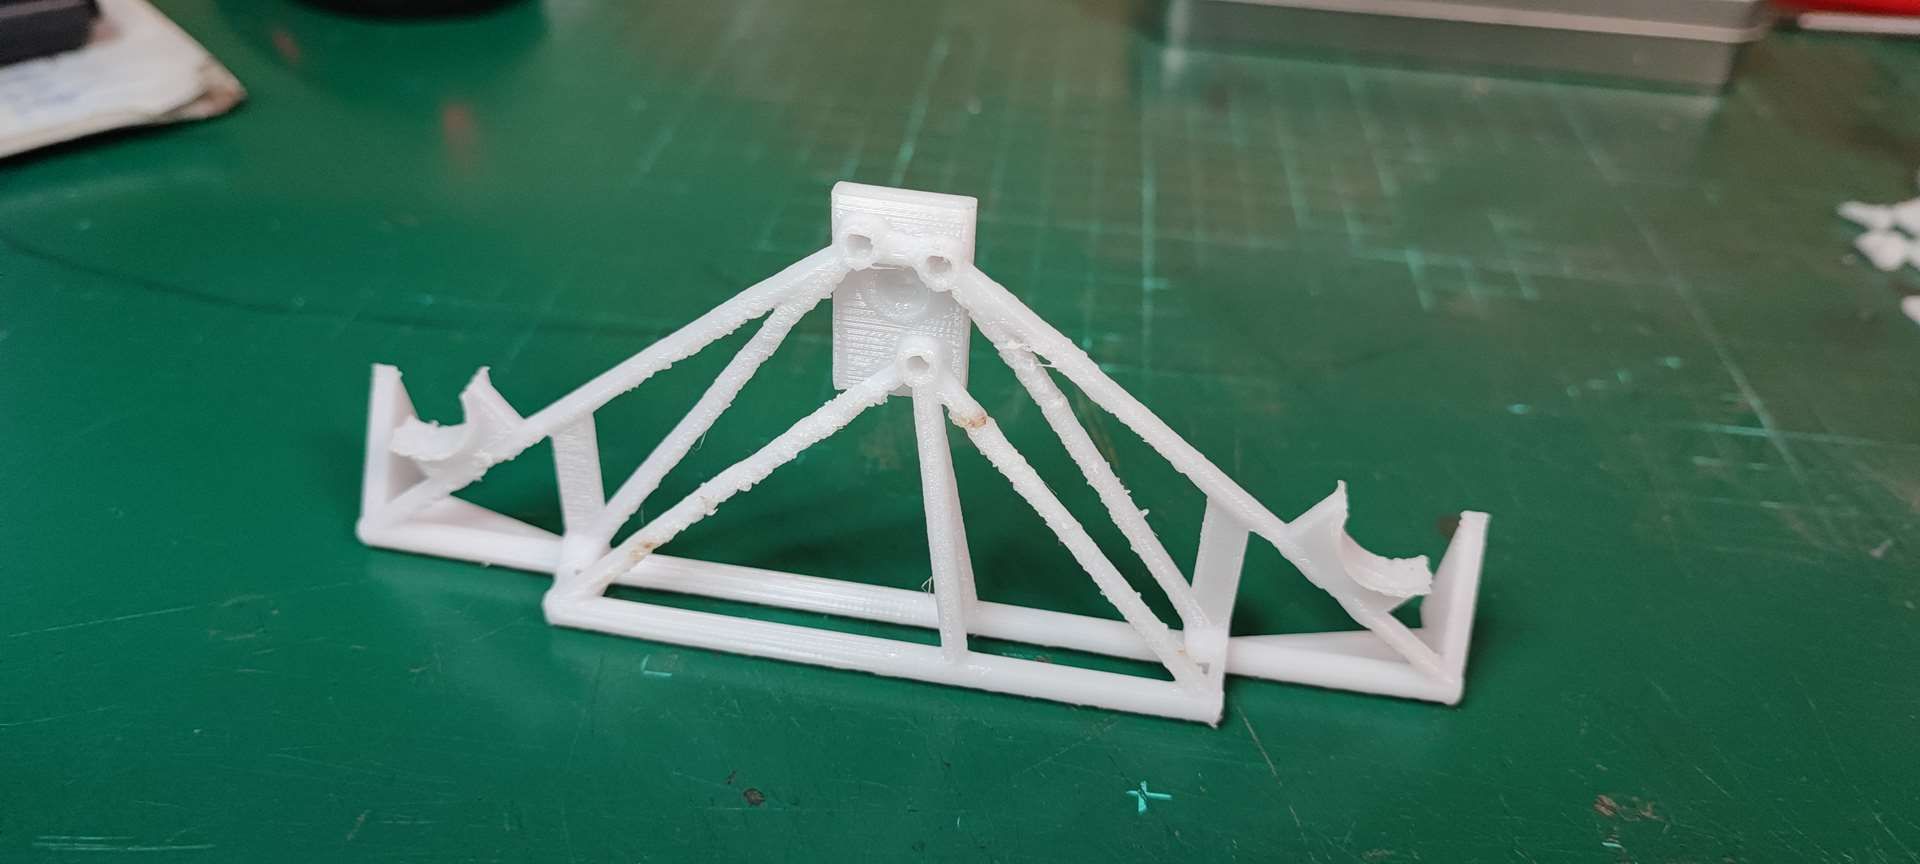
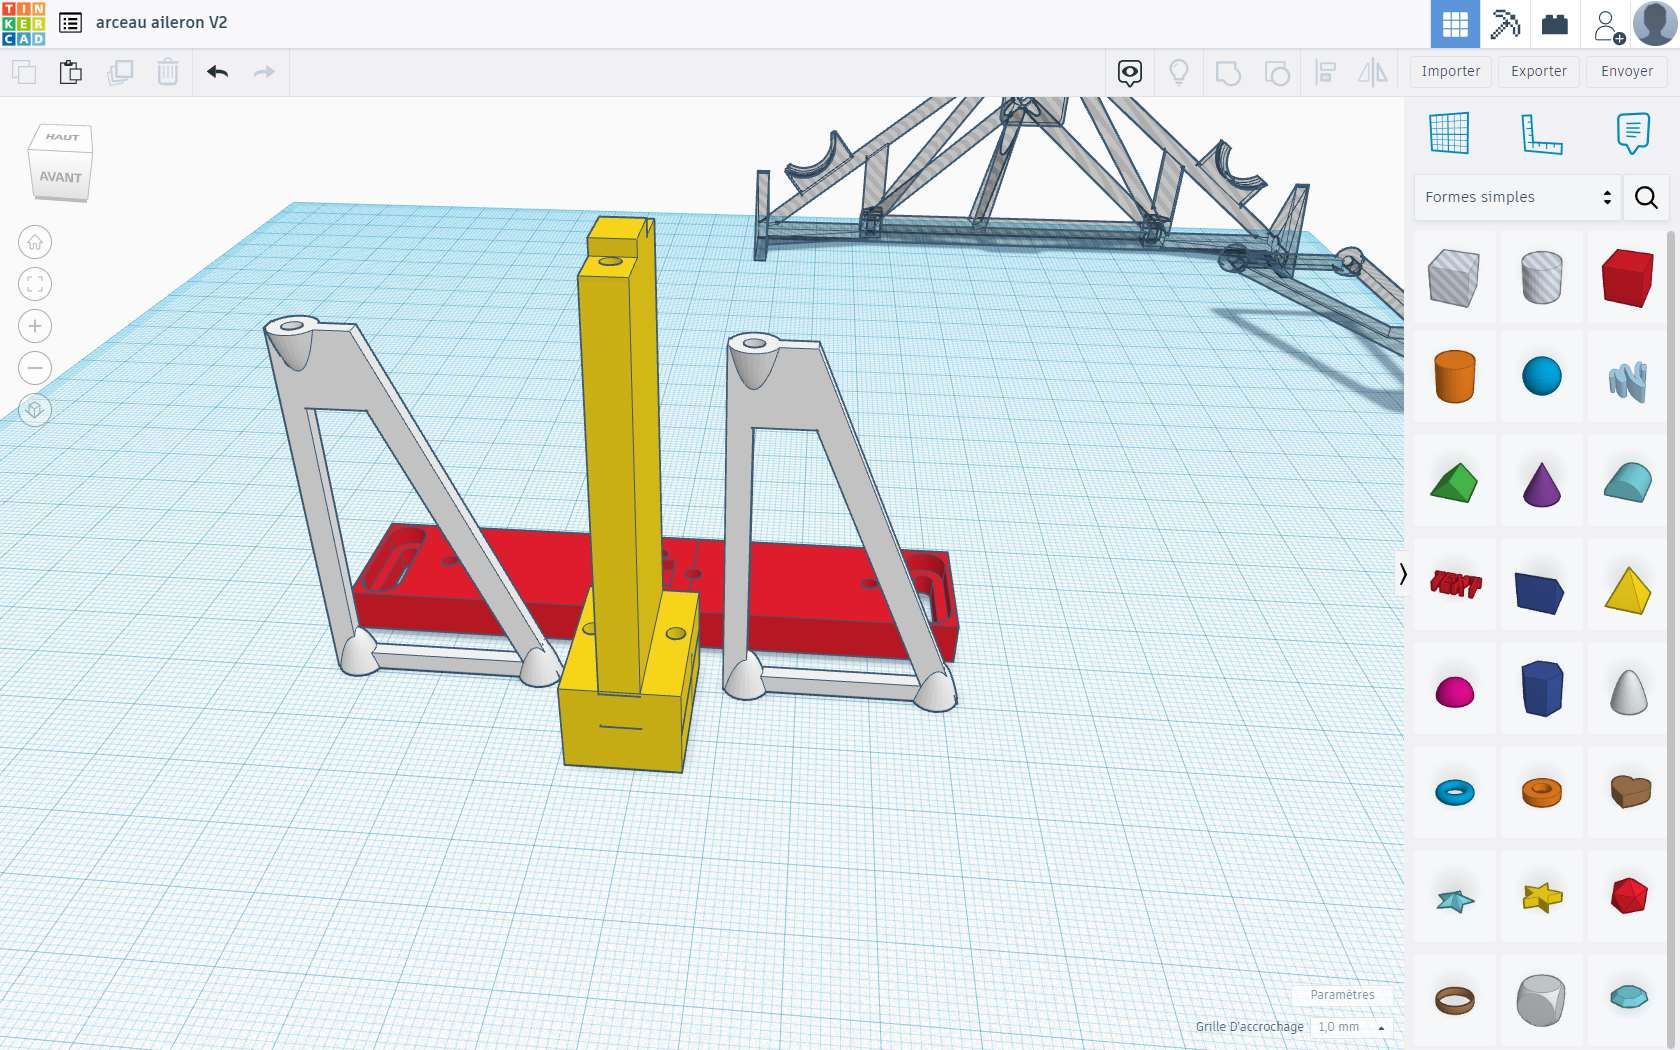
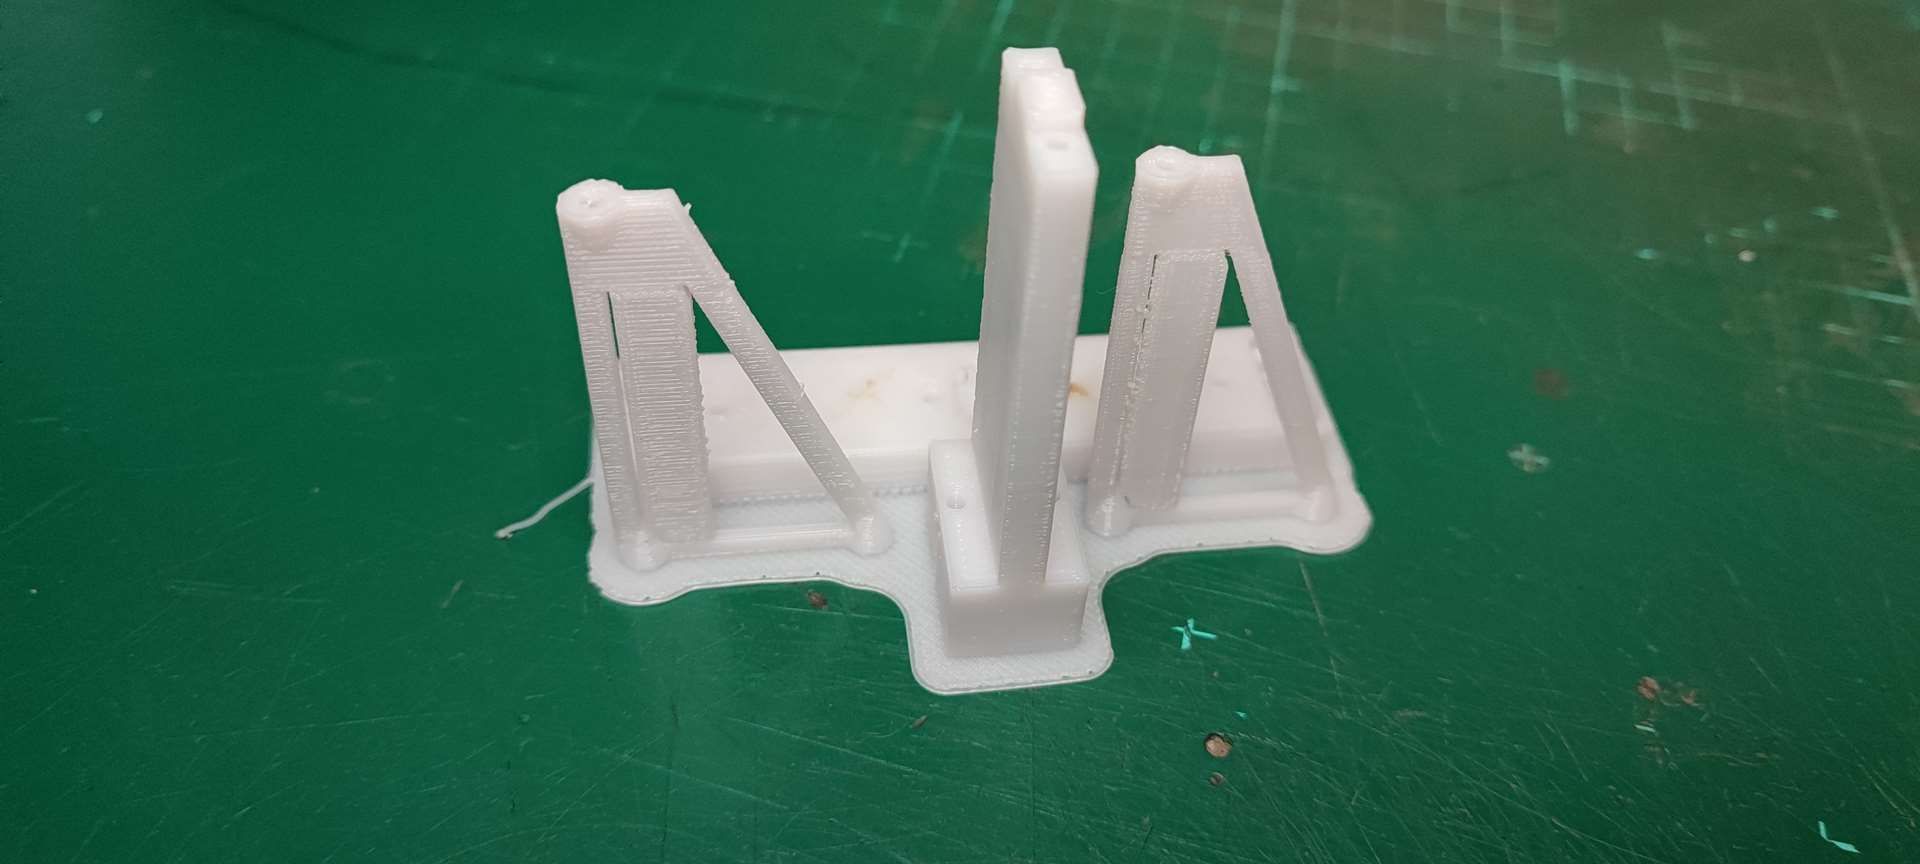
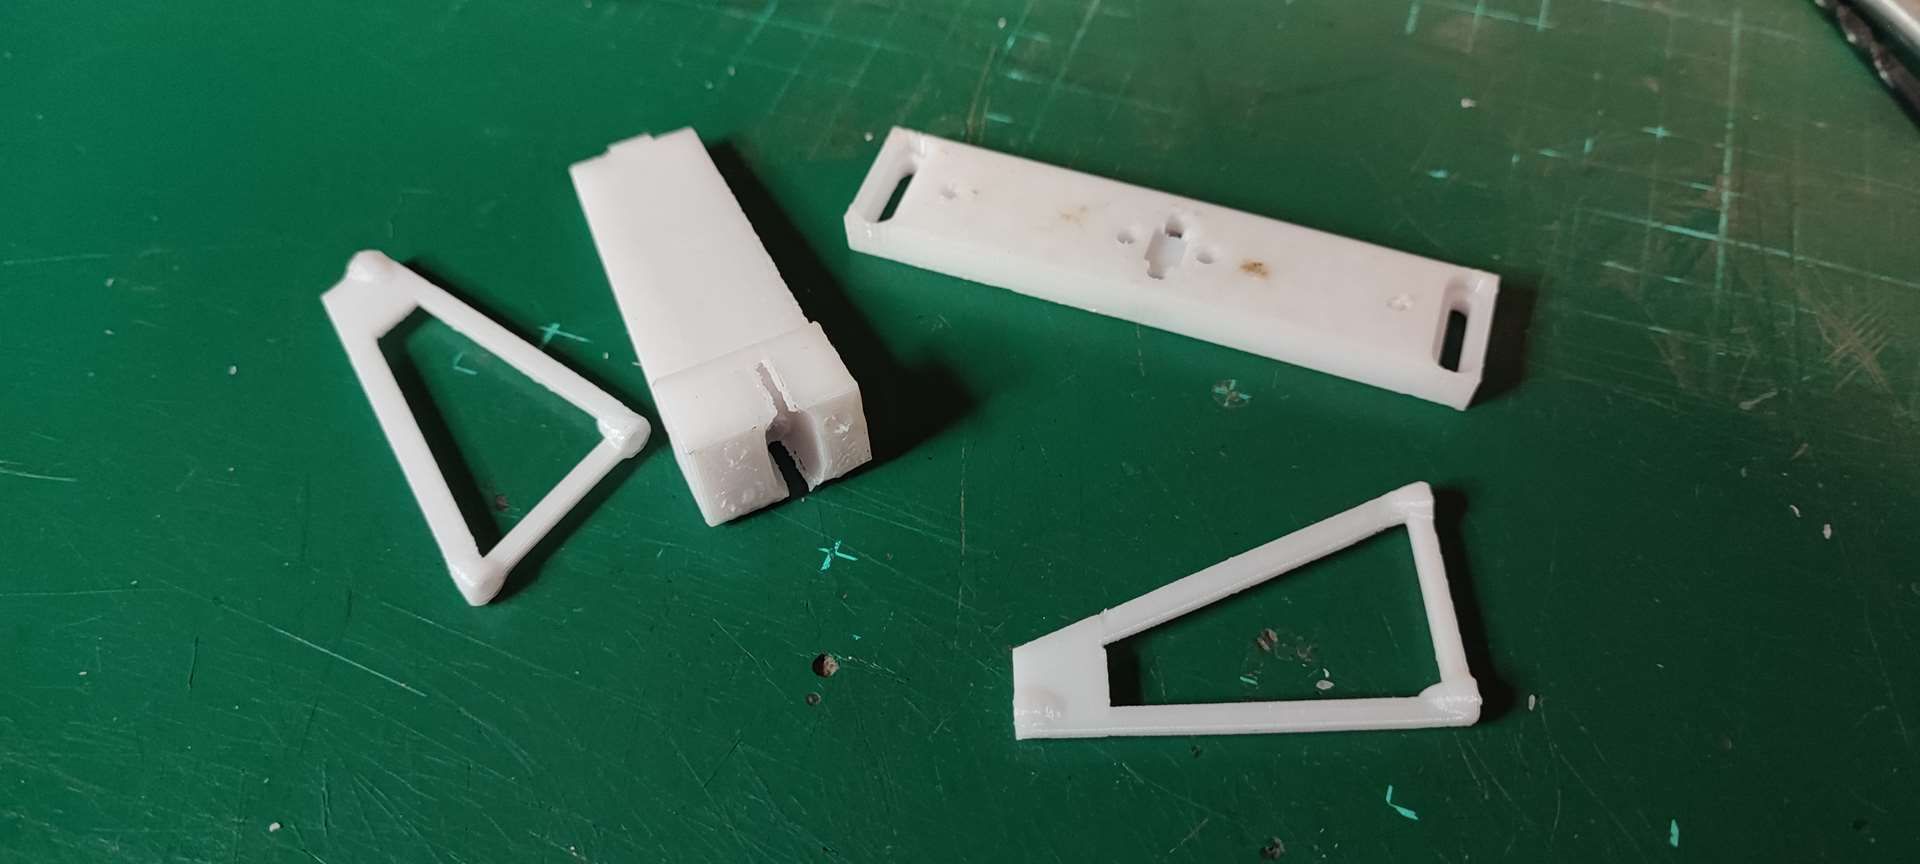
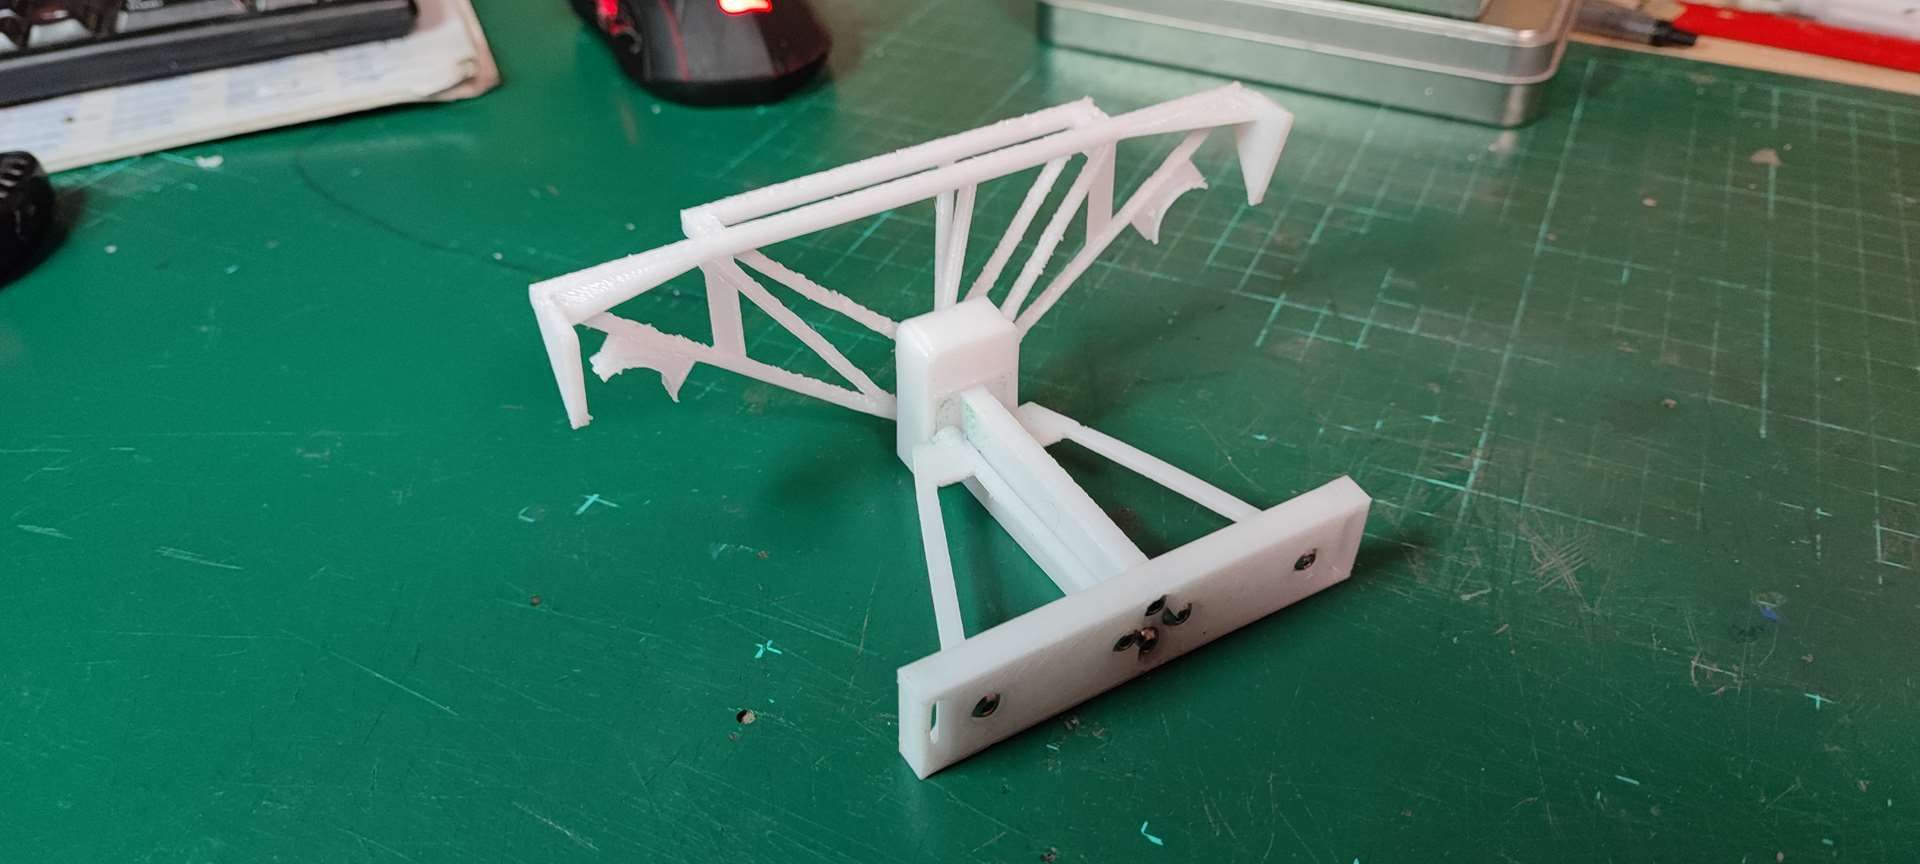
The difference between the two versions:
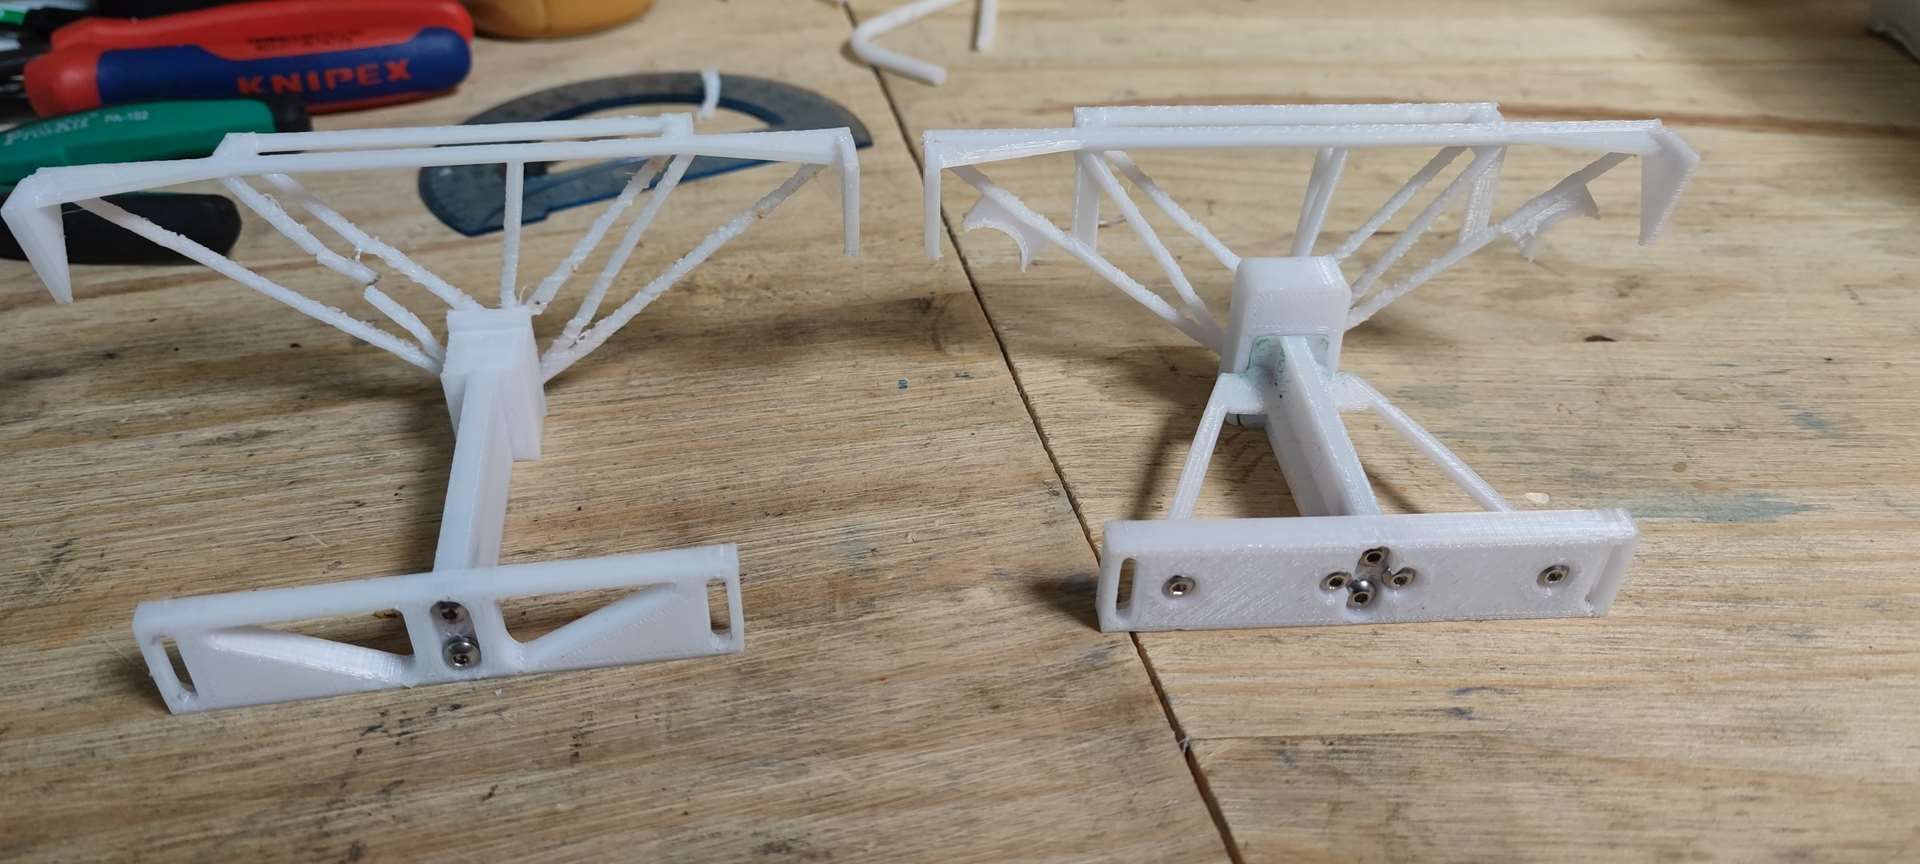
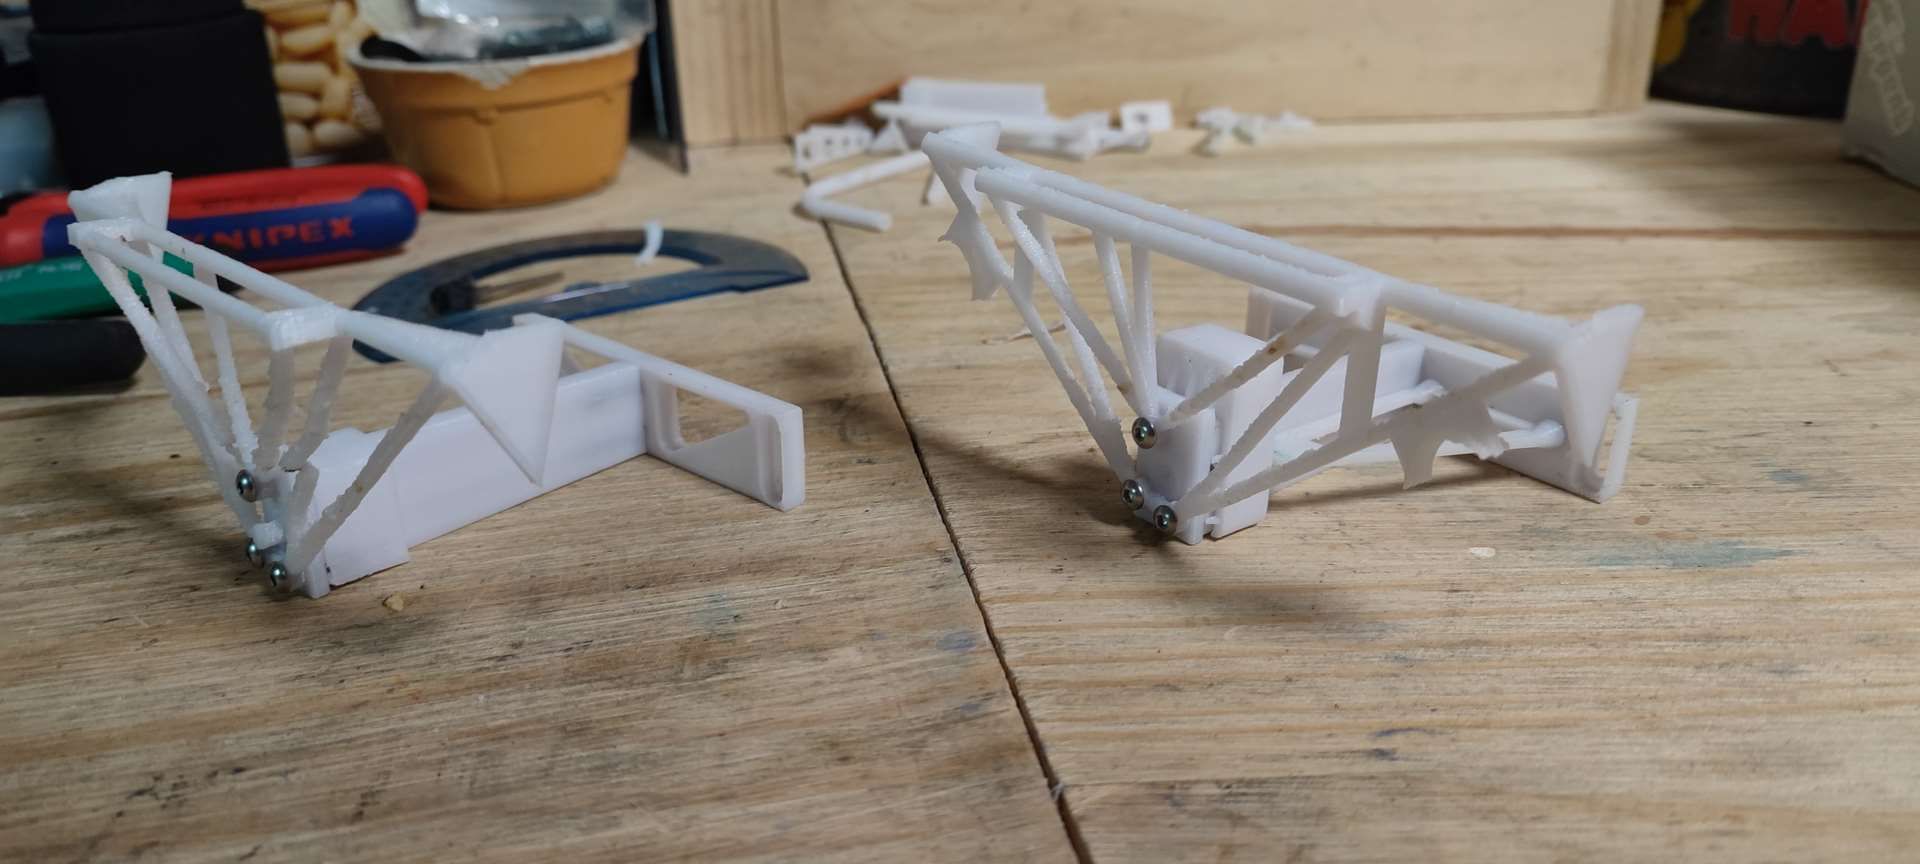
Once mounted
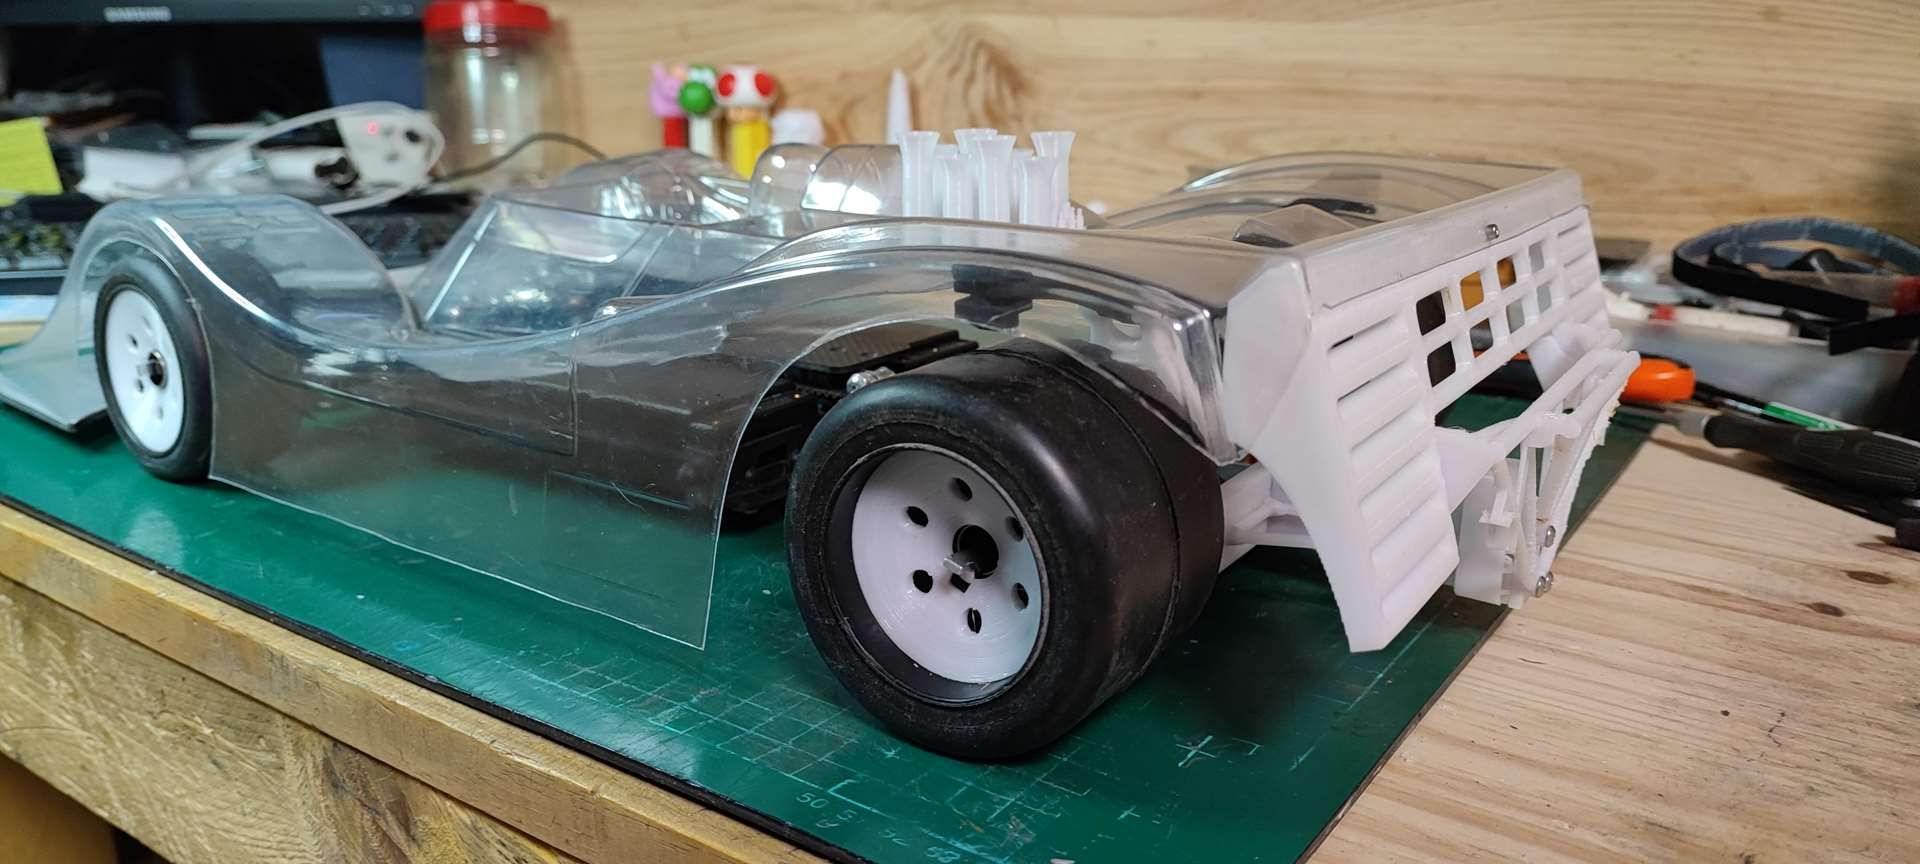
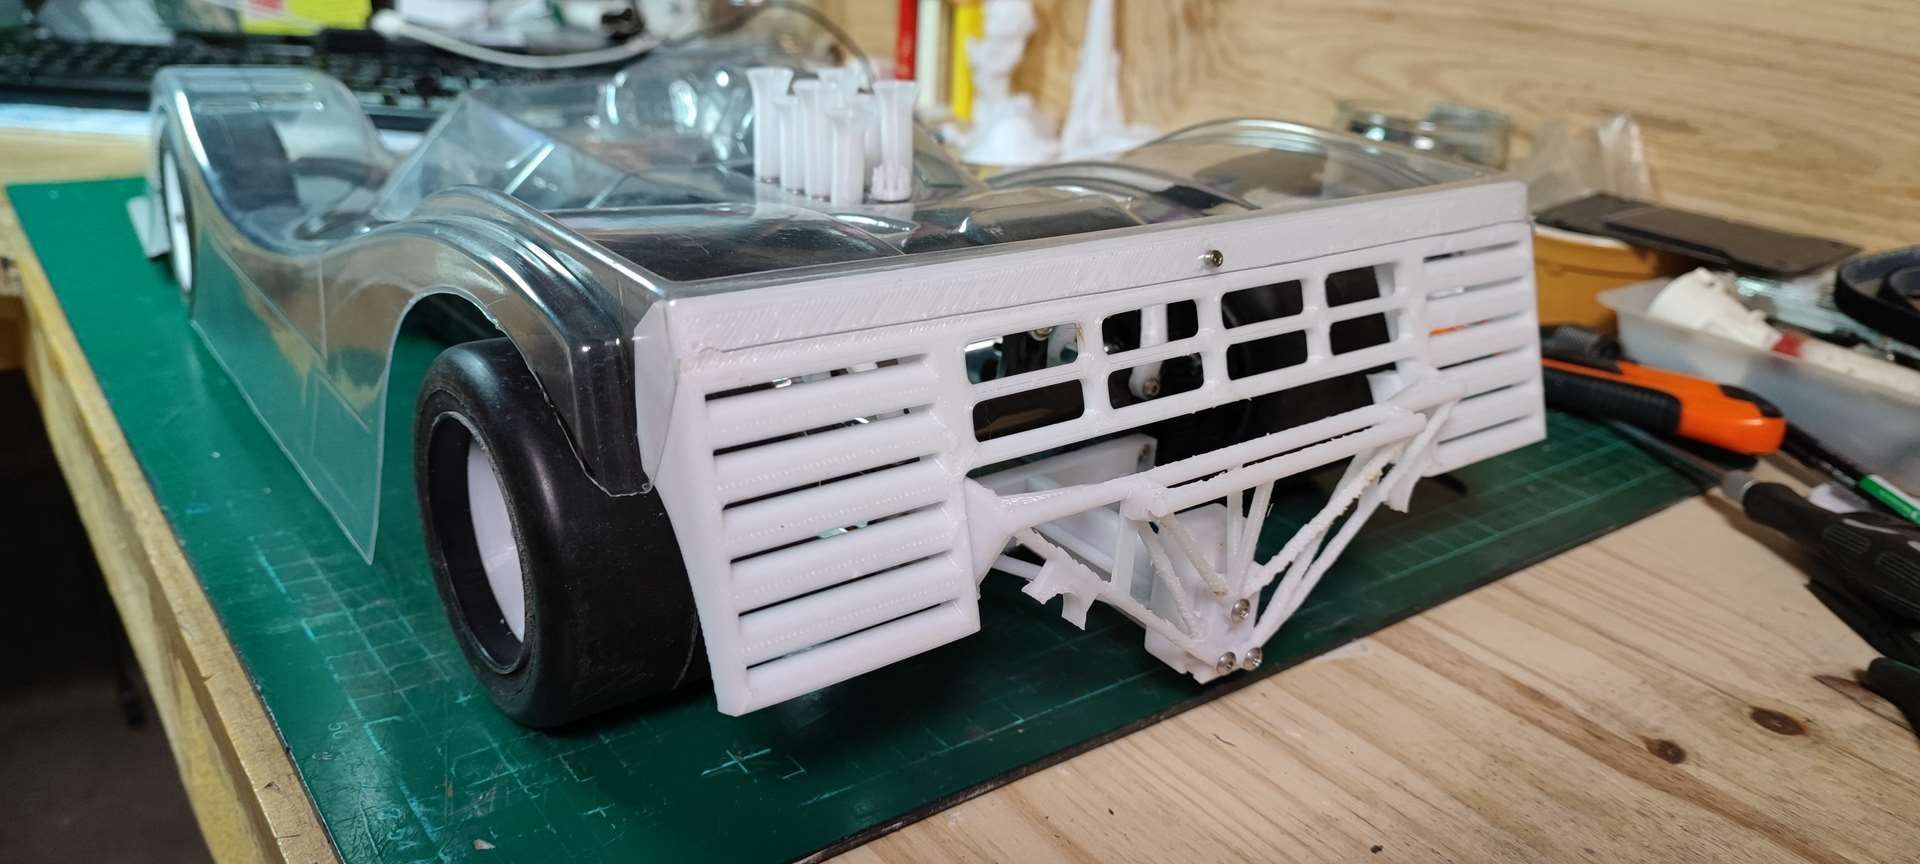
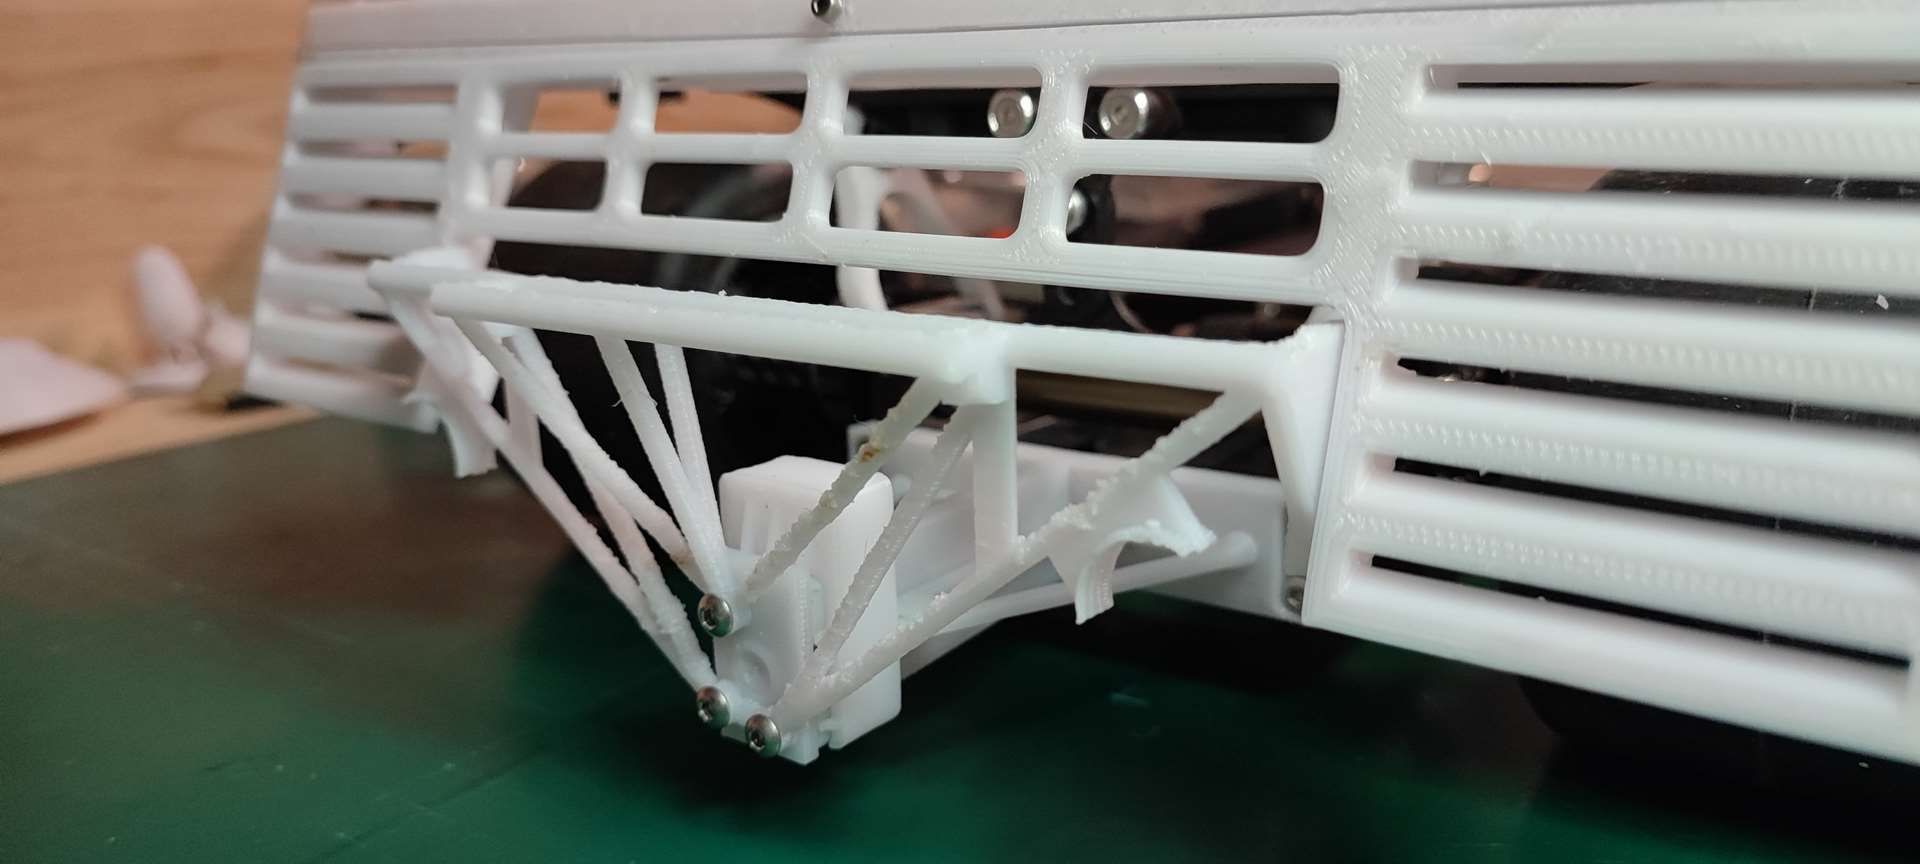
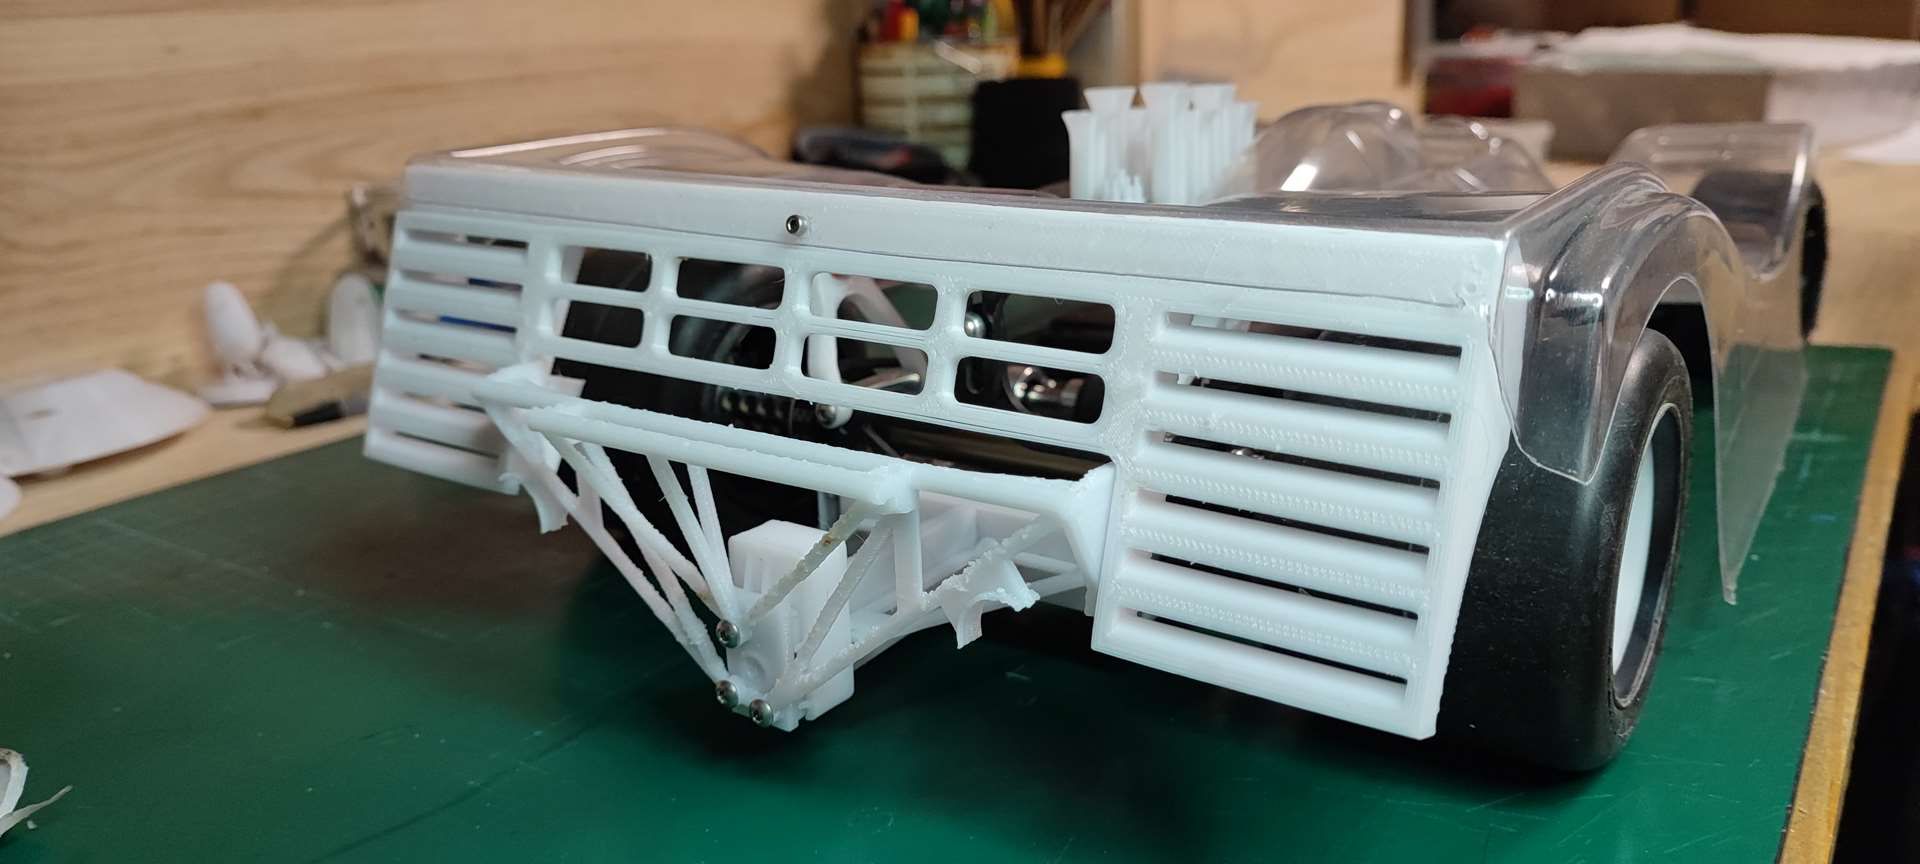
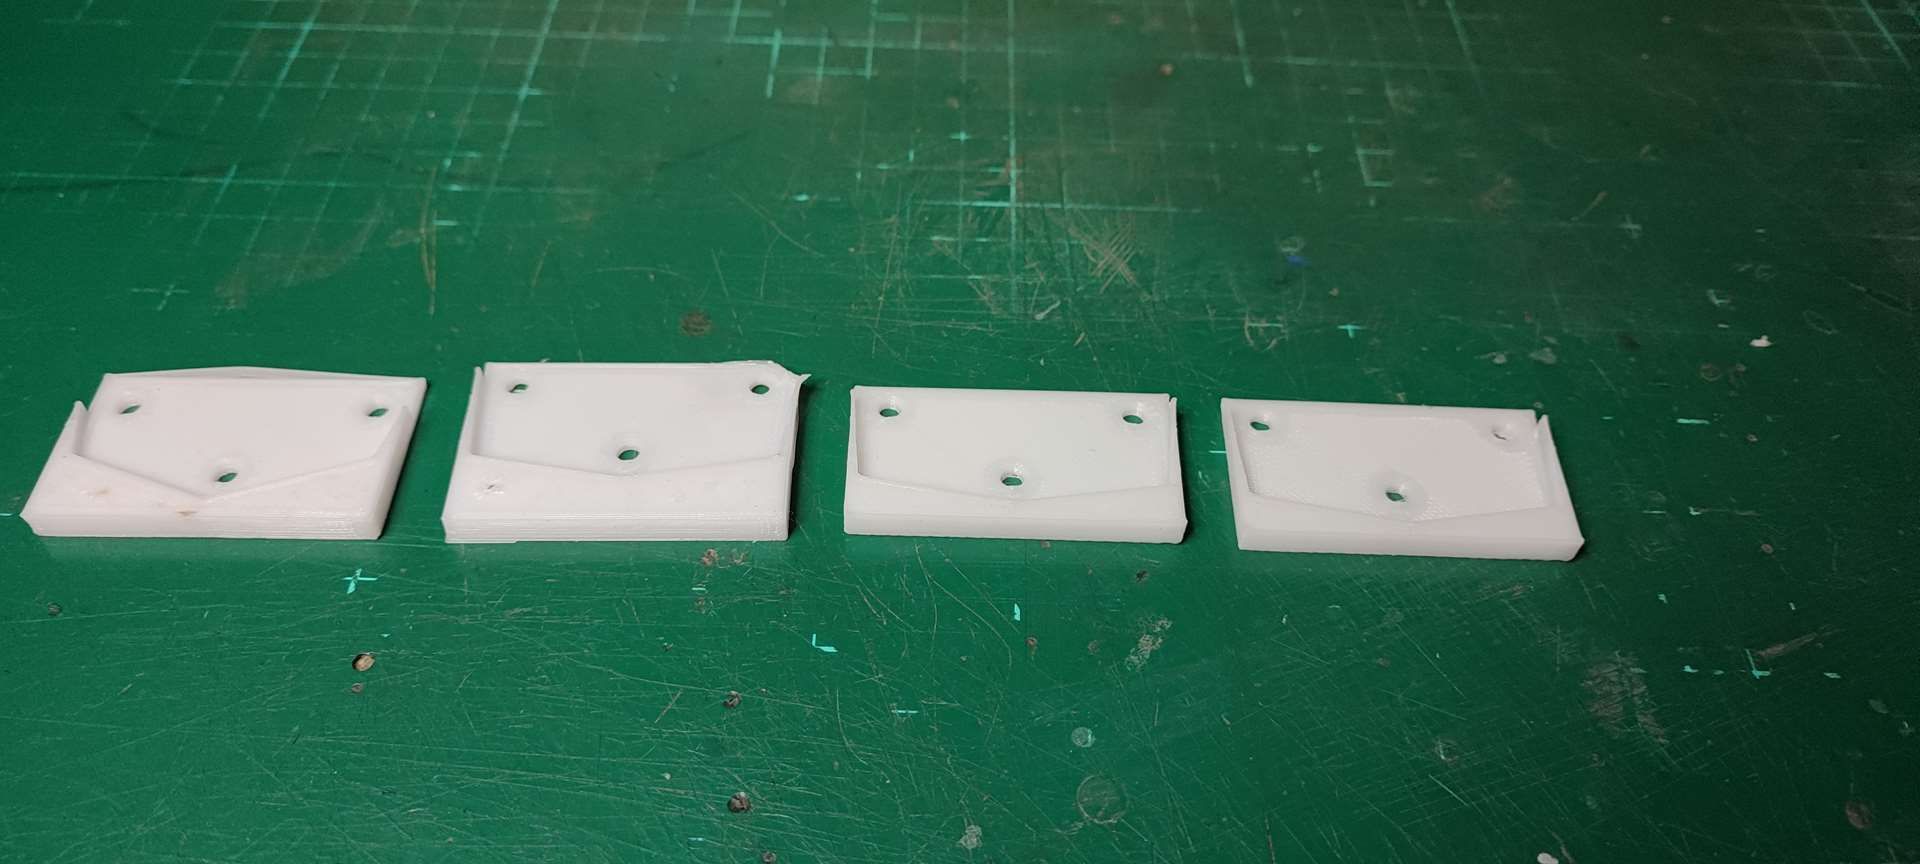
Test for front PC fit, in 4 steps (from left to right)
step 1: quick tracing with dimensions taken anyhow: it's not going the angles are not good
step 2: take measurements a little better taken with a protractor: it goes better, but lacks less than a millimeter so that it fits without forcing
step 3: the small millimeter solves all the problems, but the holes are too far back by 0.5mm: we start again
step 4: w it goes like a letter in the post office
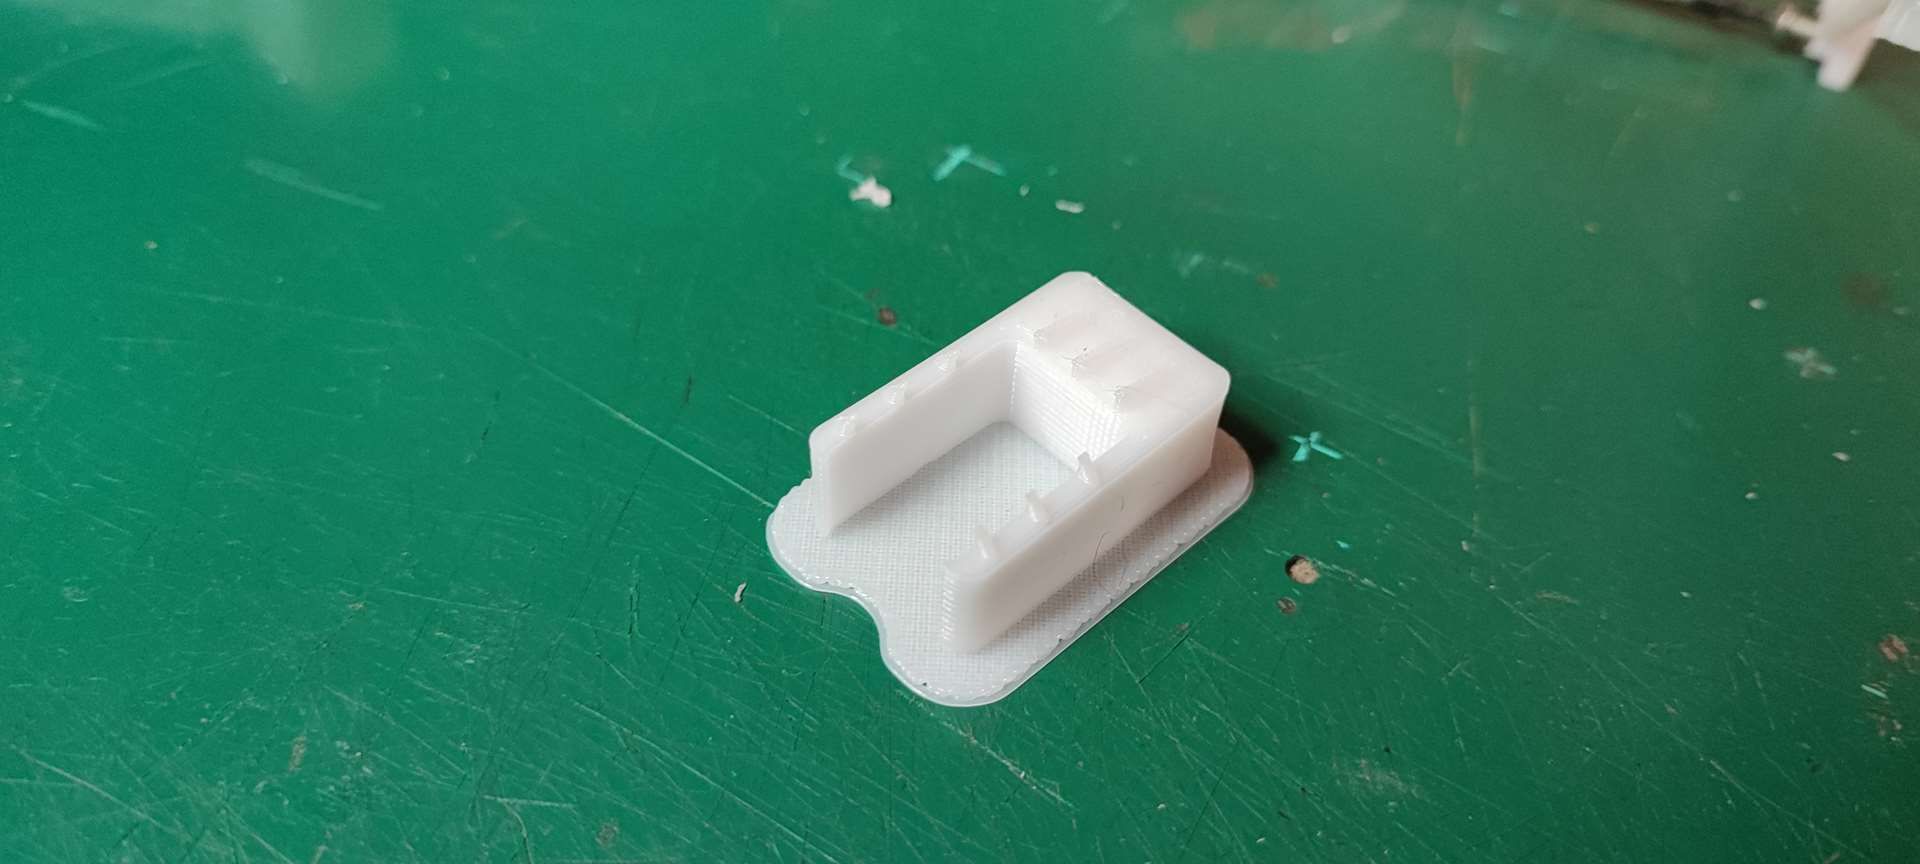
Test of a first version of the front bumper base:
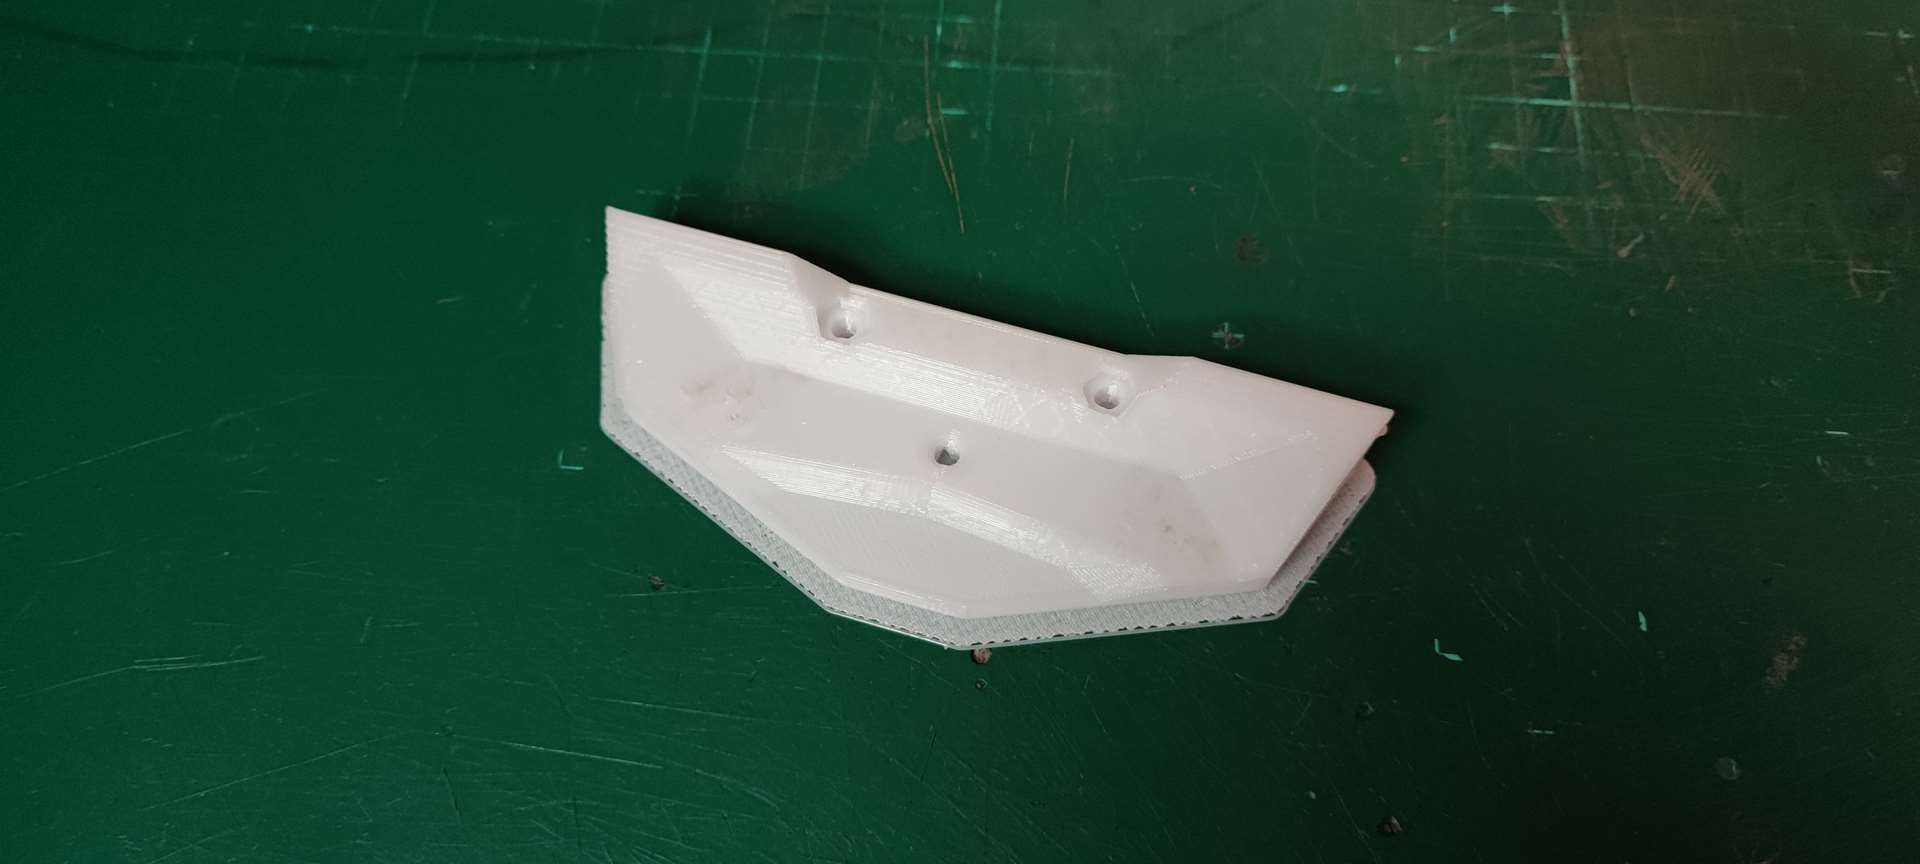
Improved bumper test version to come when I have the new printer parts. (the first one who laughs didn't win )
)
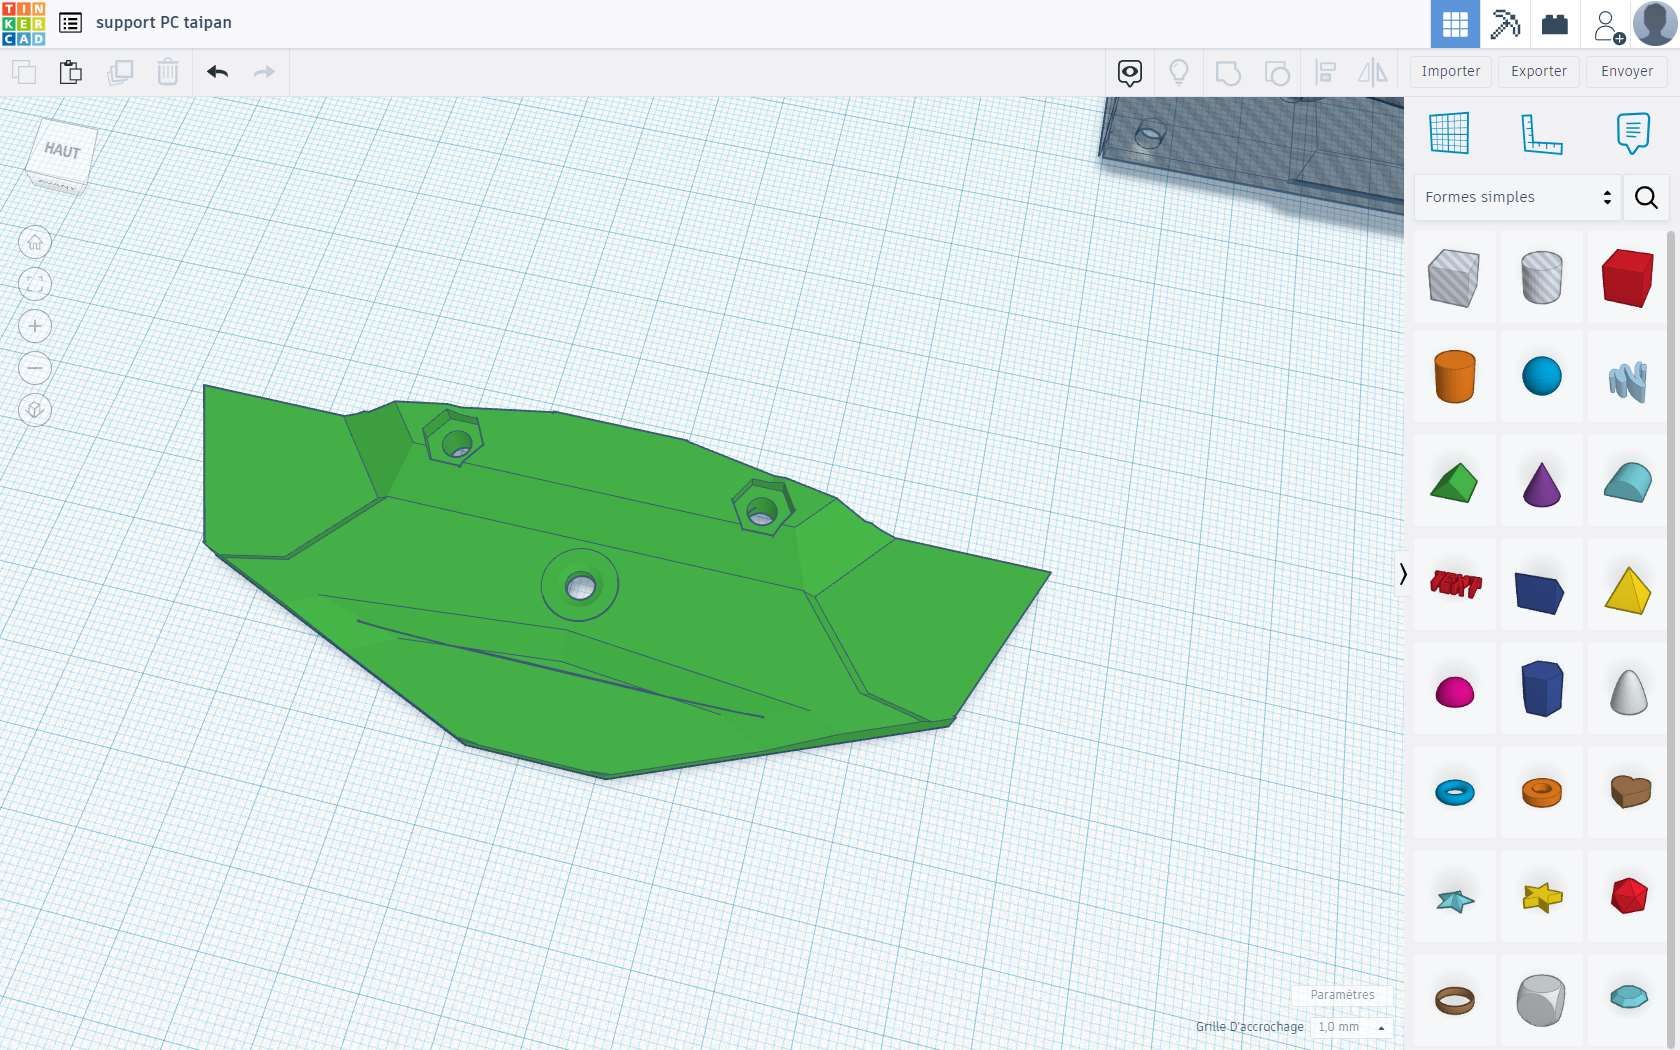
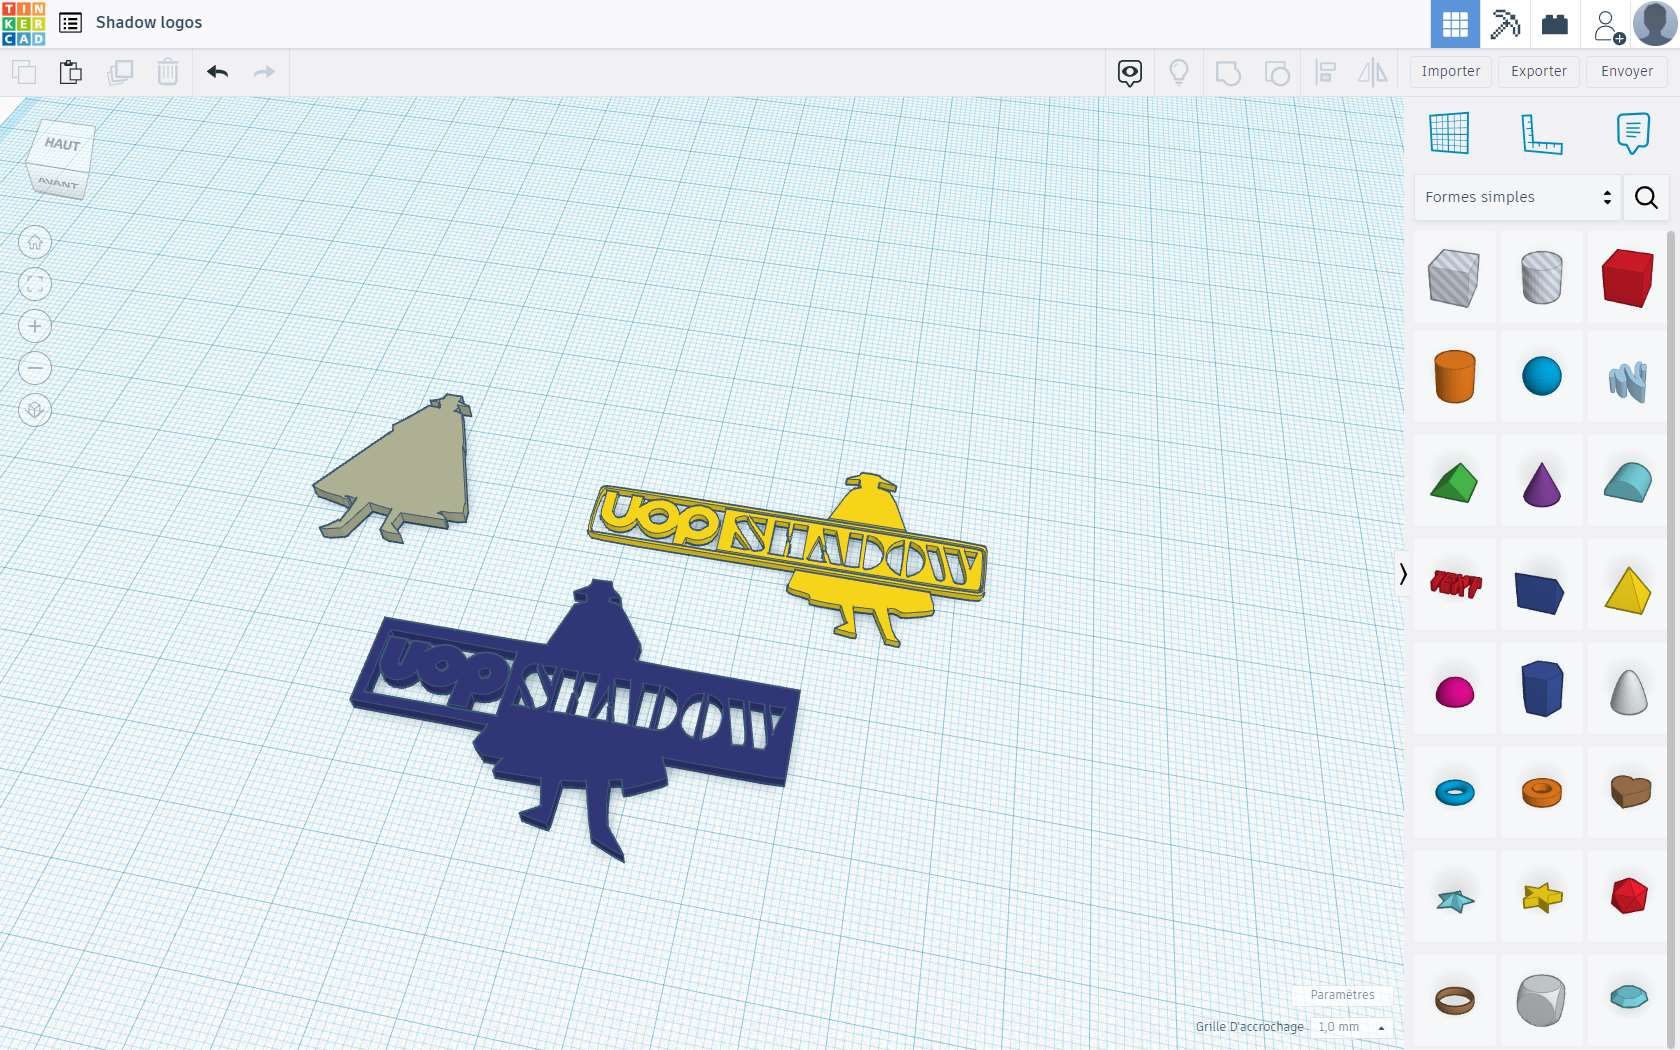
I started to discover "BLENDER" to transform a 2D into 3D, it's cooooooooooolllllll
Here is this weekend's work, I received my new heater set with new nozzle and it's going much better!
This weekend (this Sunday) was mainly oriented towards modeling and my first steps on "fusion 360"... I gave up, because I was in a hurry and I came back to Tinkercad which crashed a lot occasions.
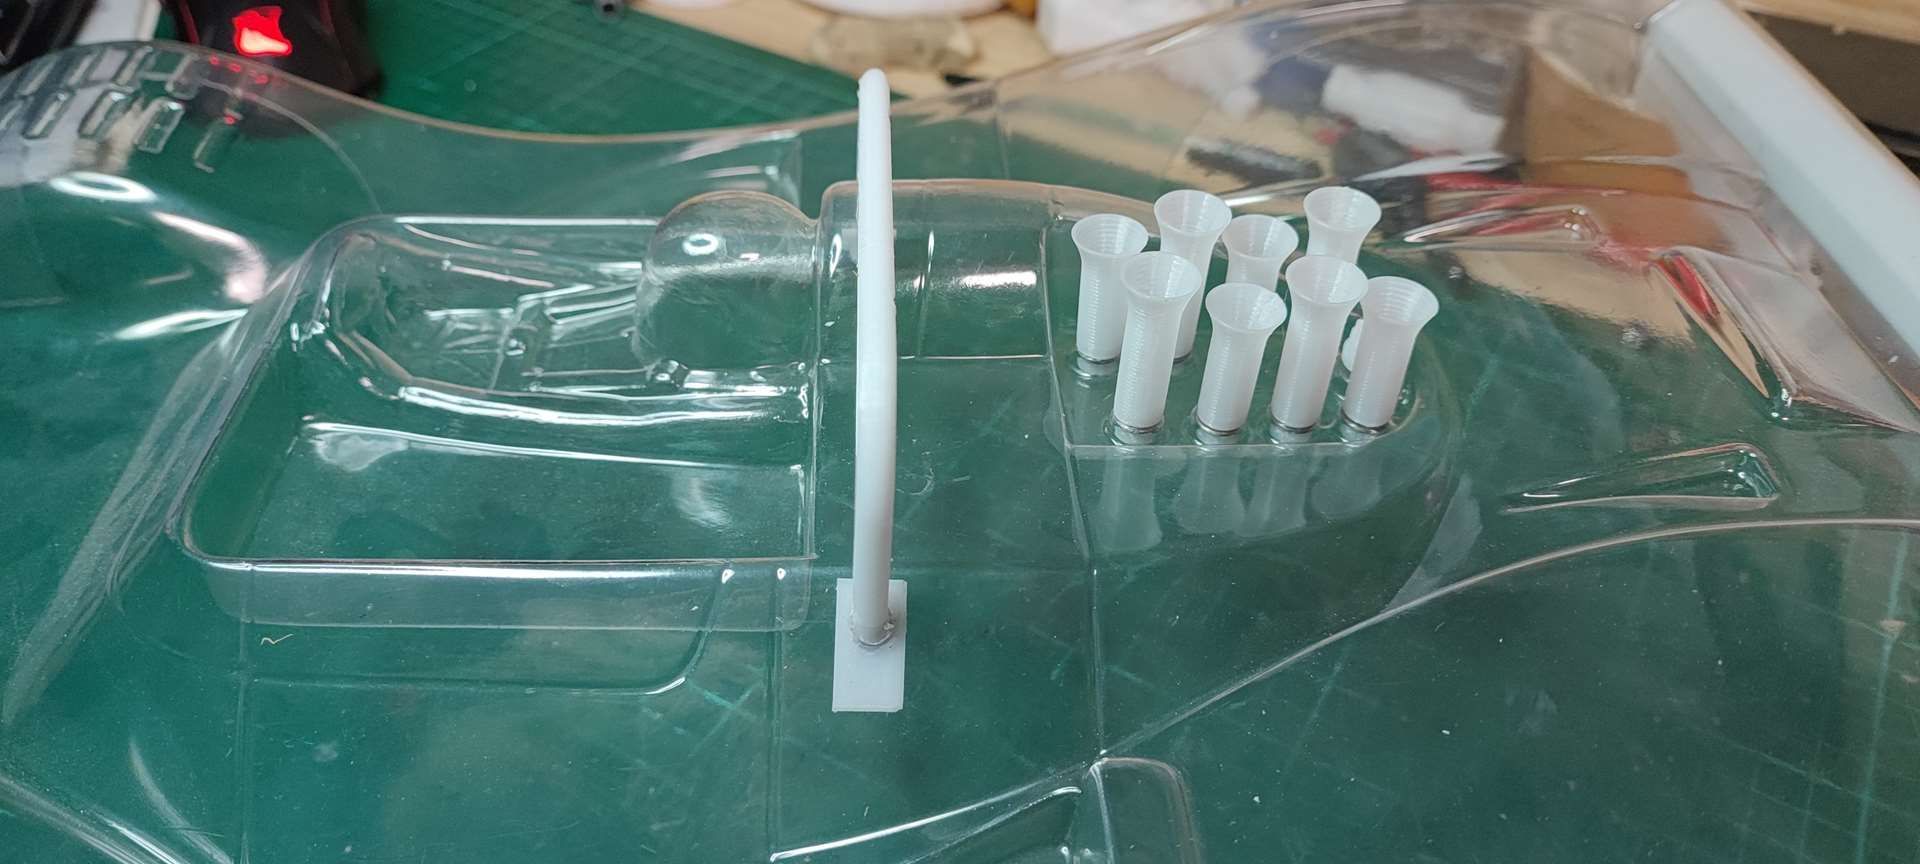
Otherwise on this chassis, I took the time to fix the roll bar, to make a bumper that looks good, wheel spacers for the brakes AND FINALLY, the fender cheeks rear that will come on the rear valance.
The simplest is the pictures
Bumper Base Test Validation:
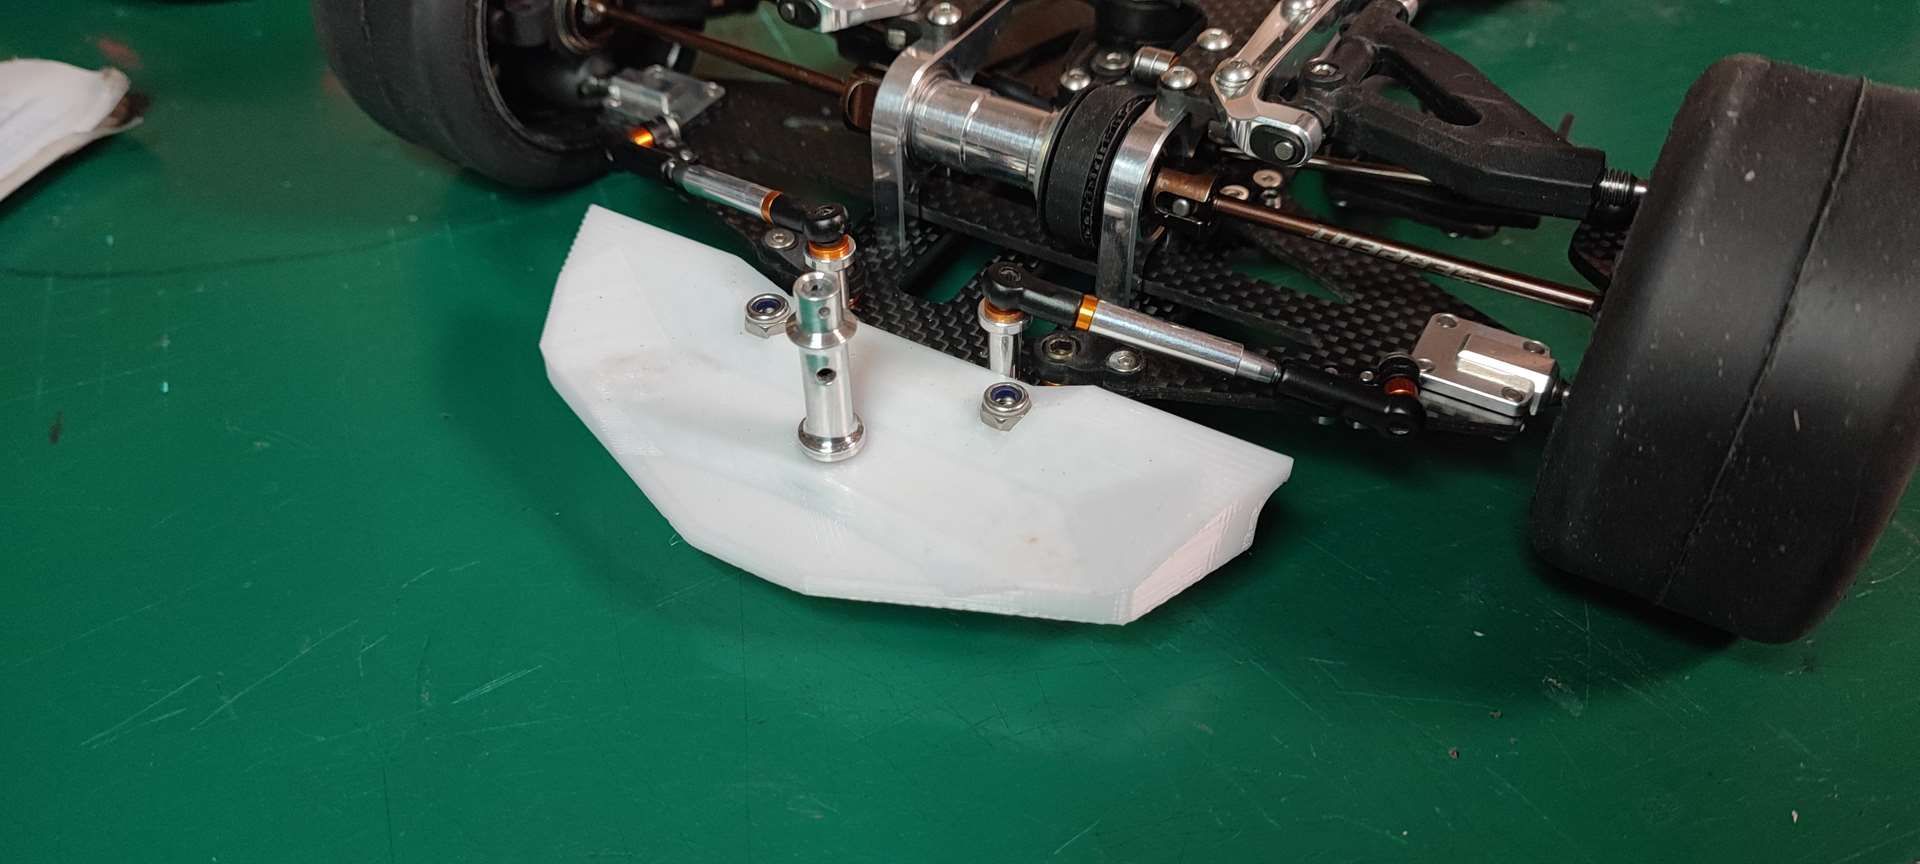
VALID !!!
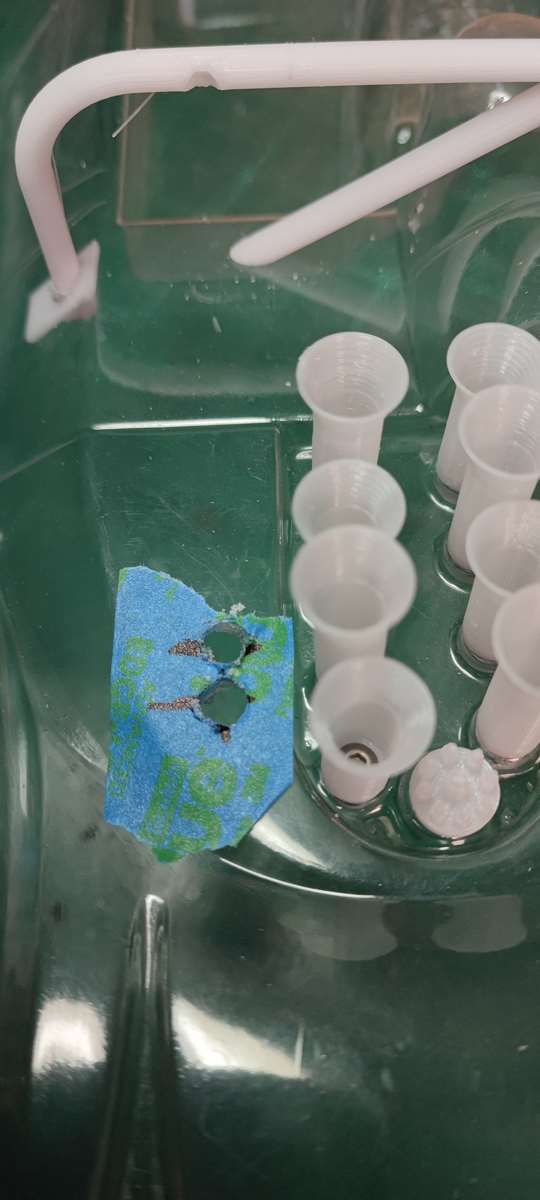
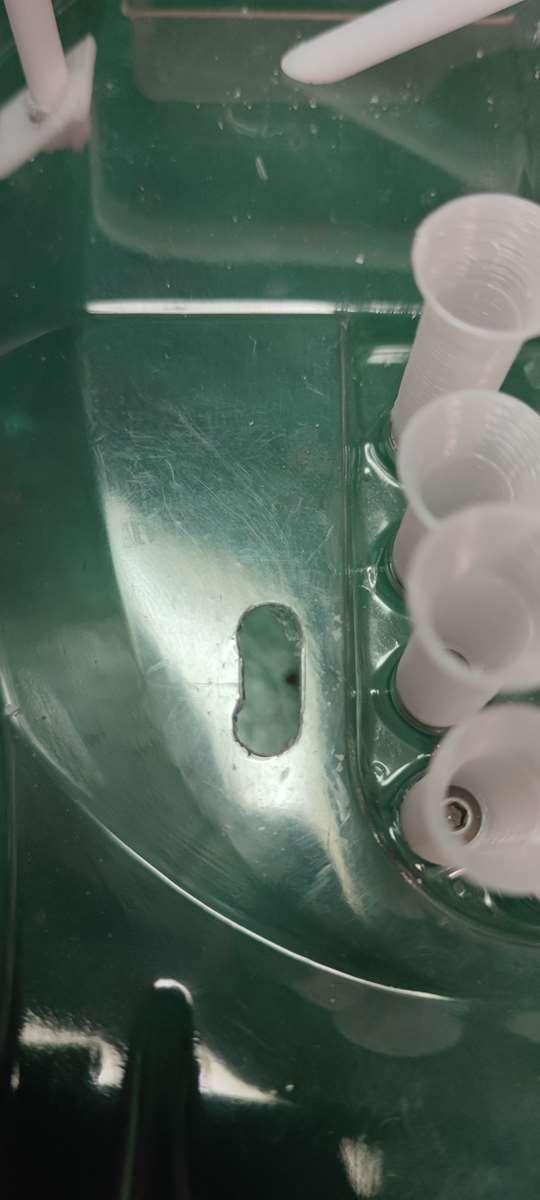
Pointing session to fix the rollbar :
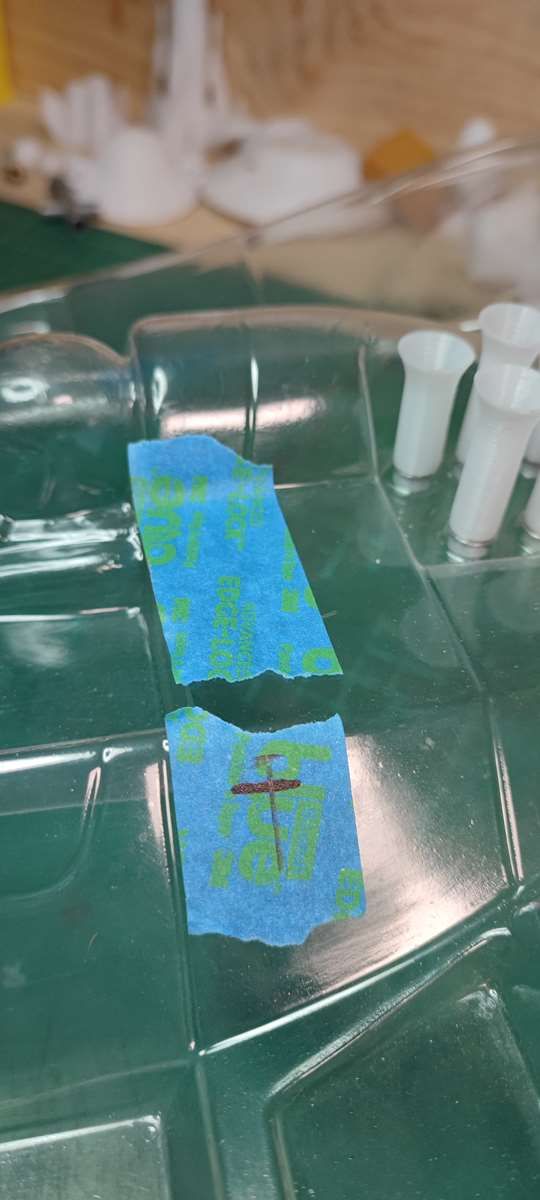
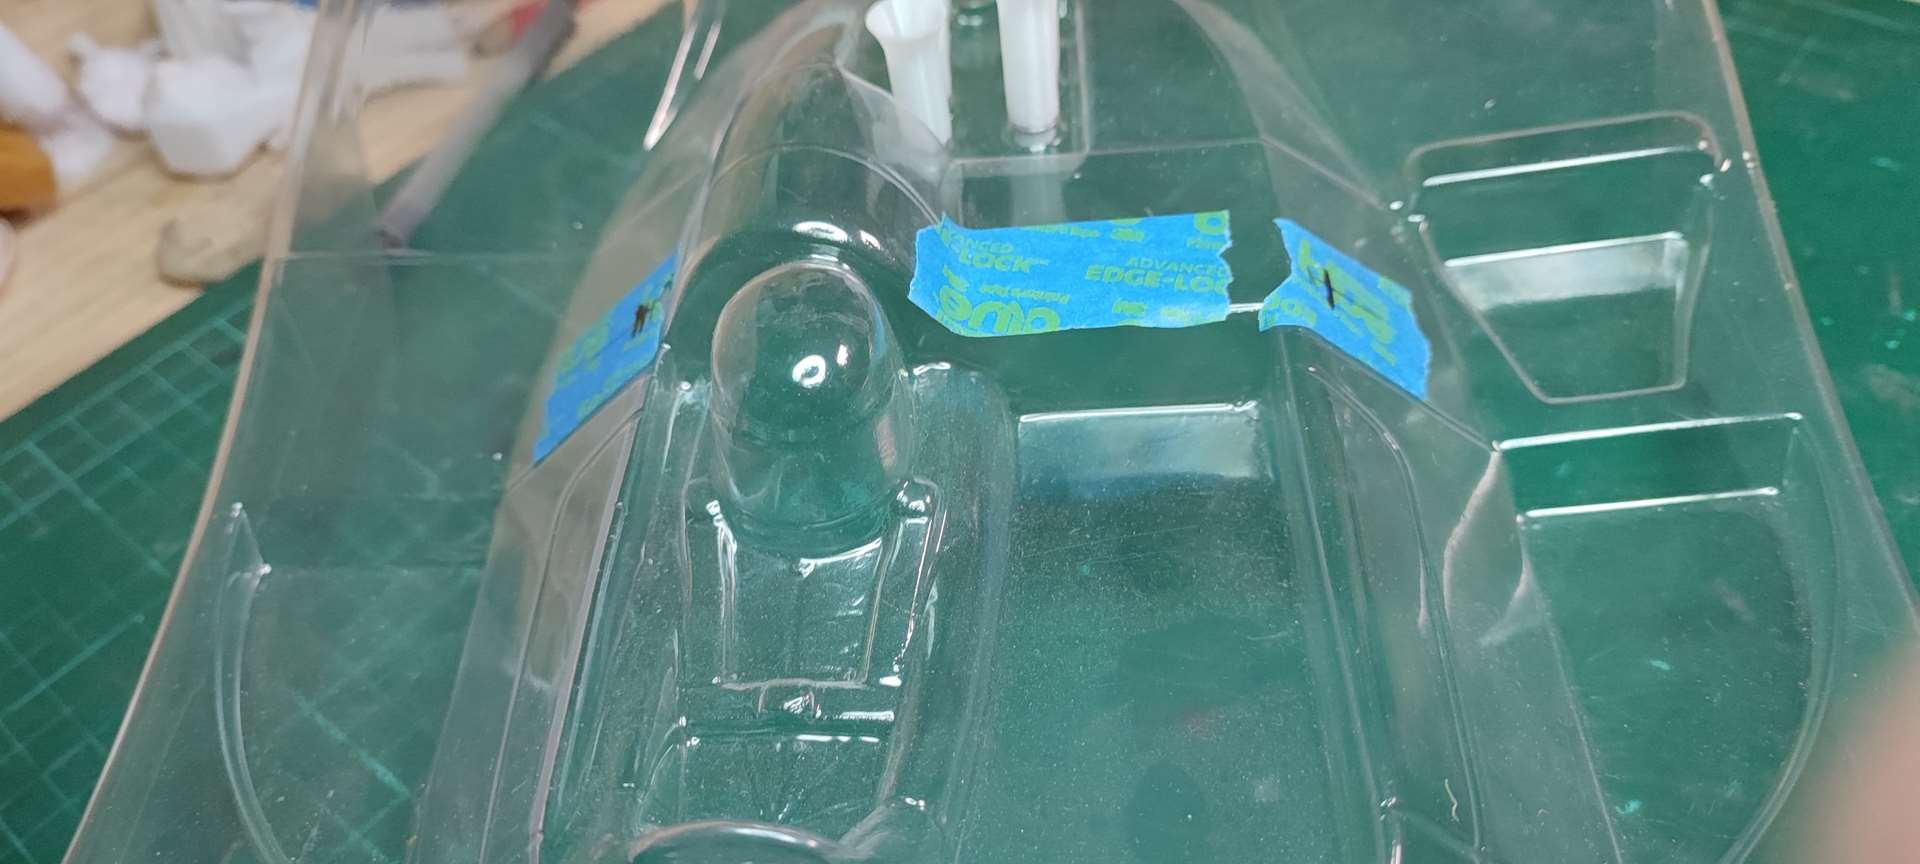
On it goes:
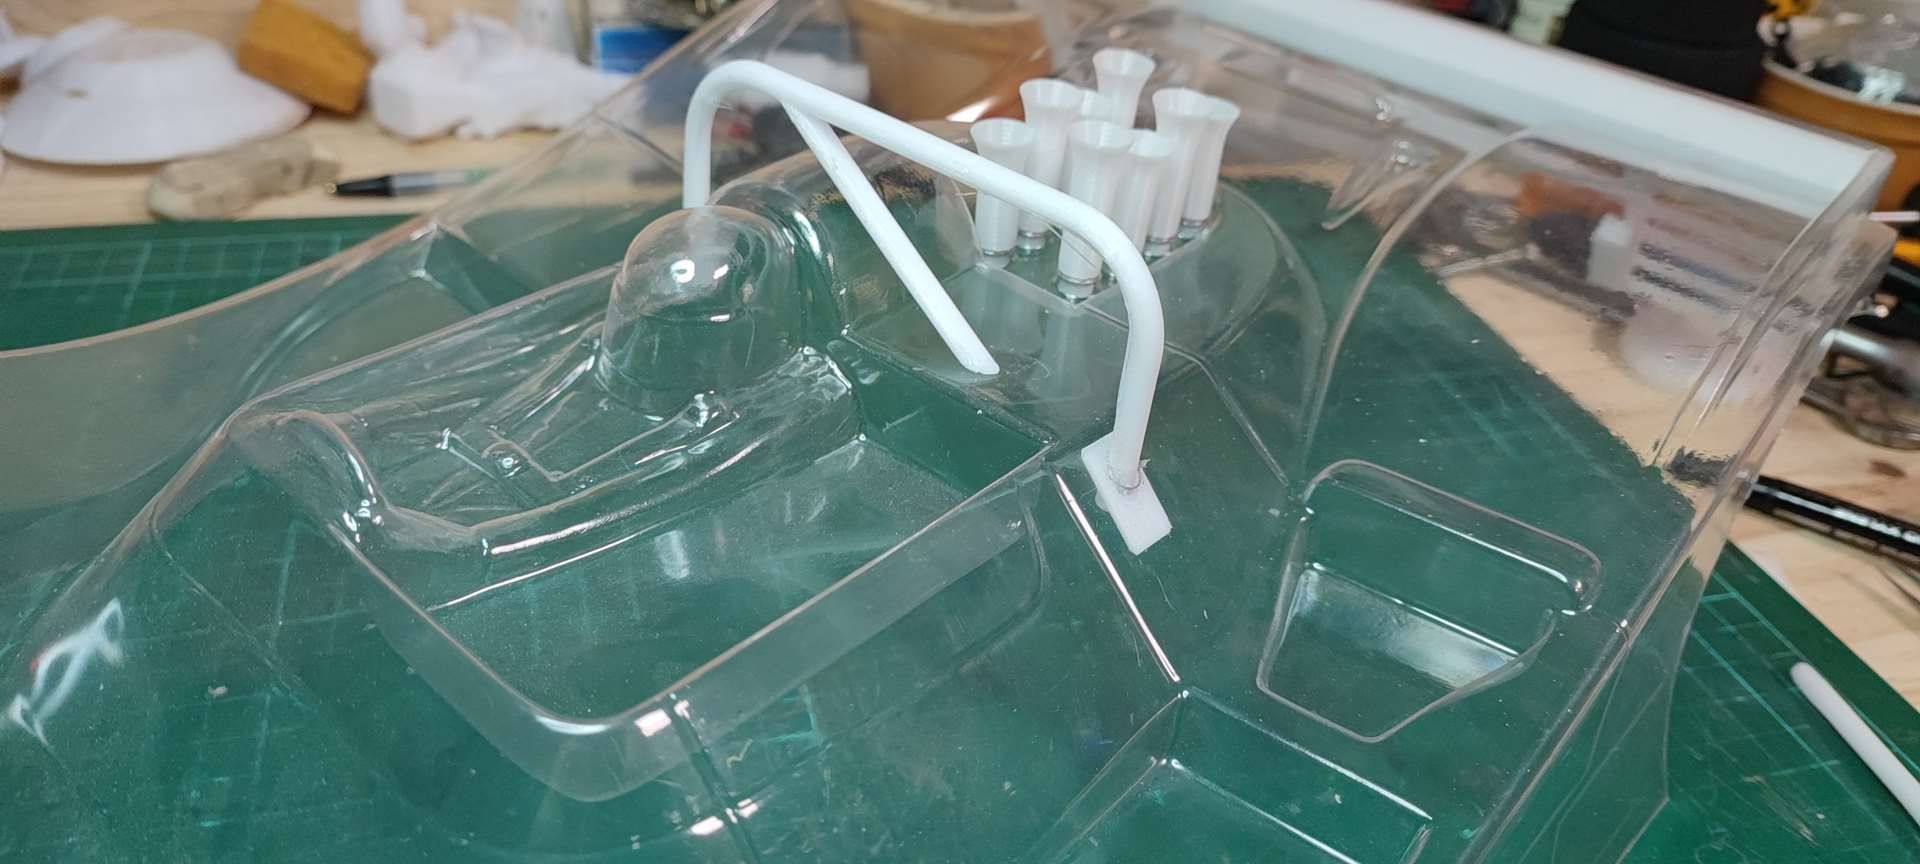
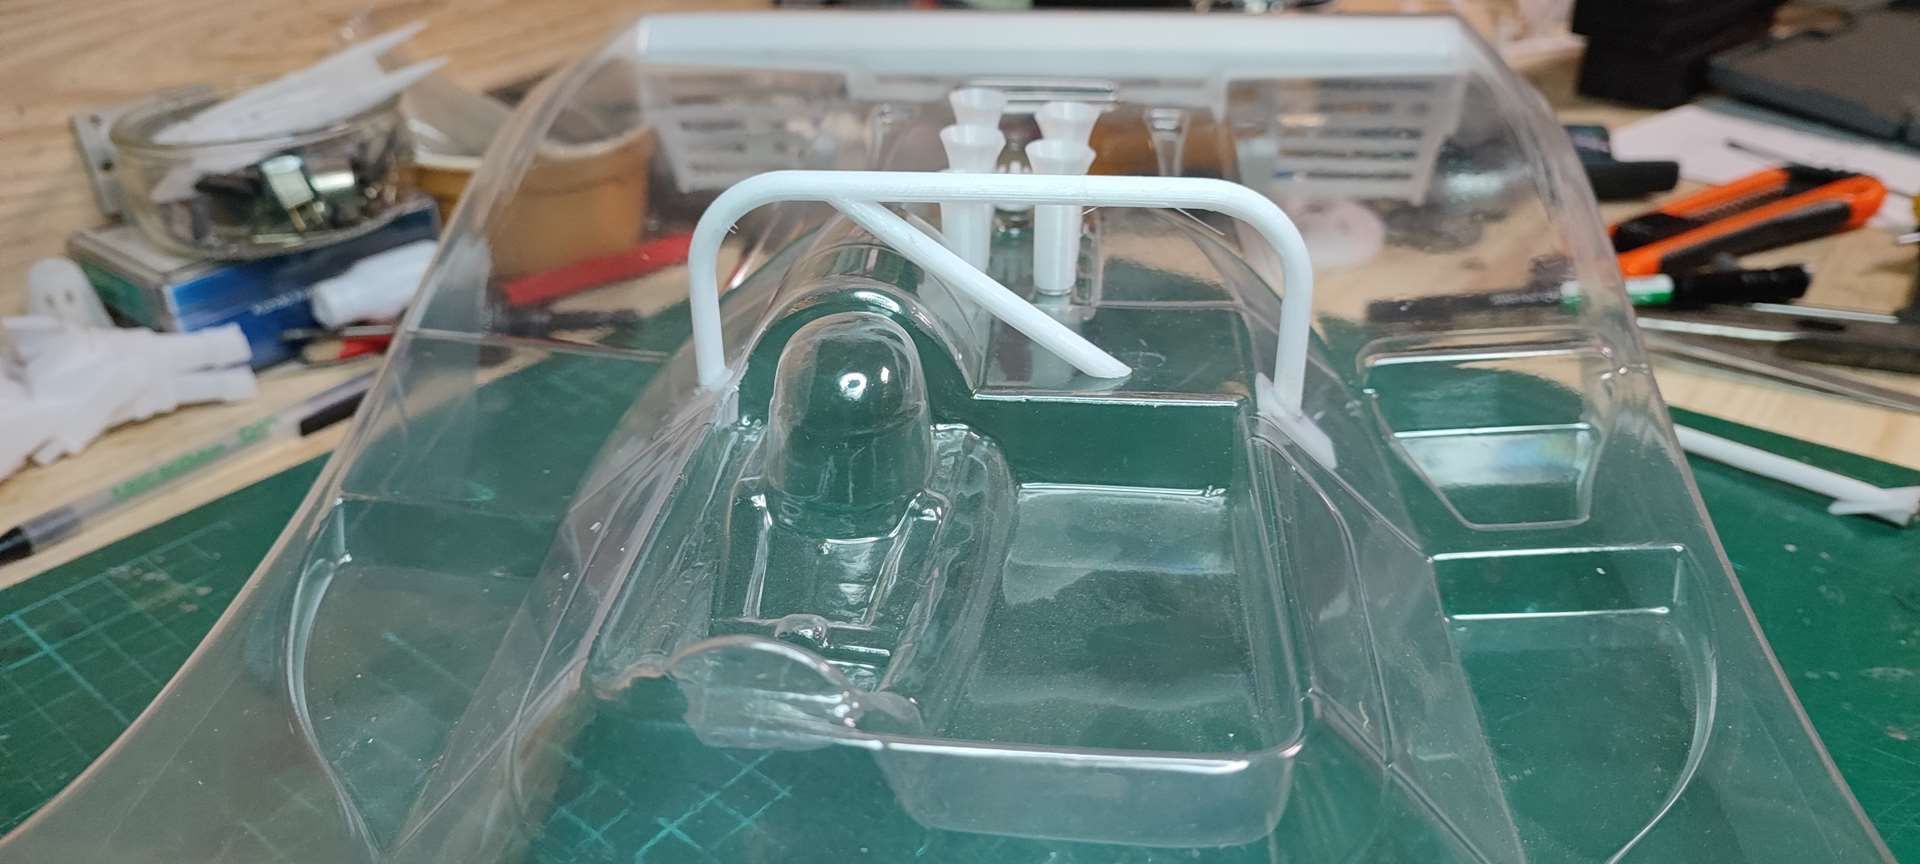
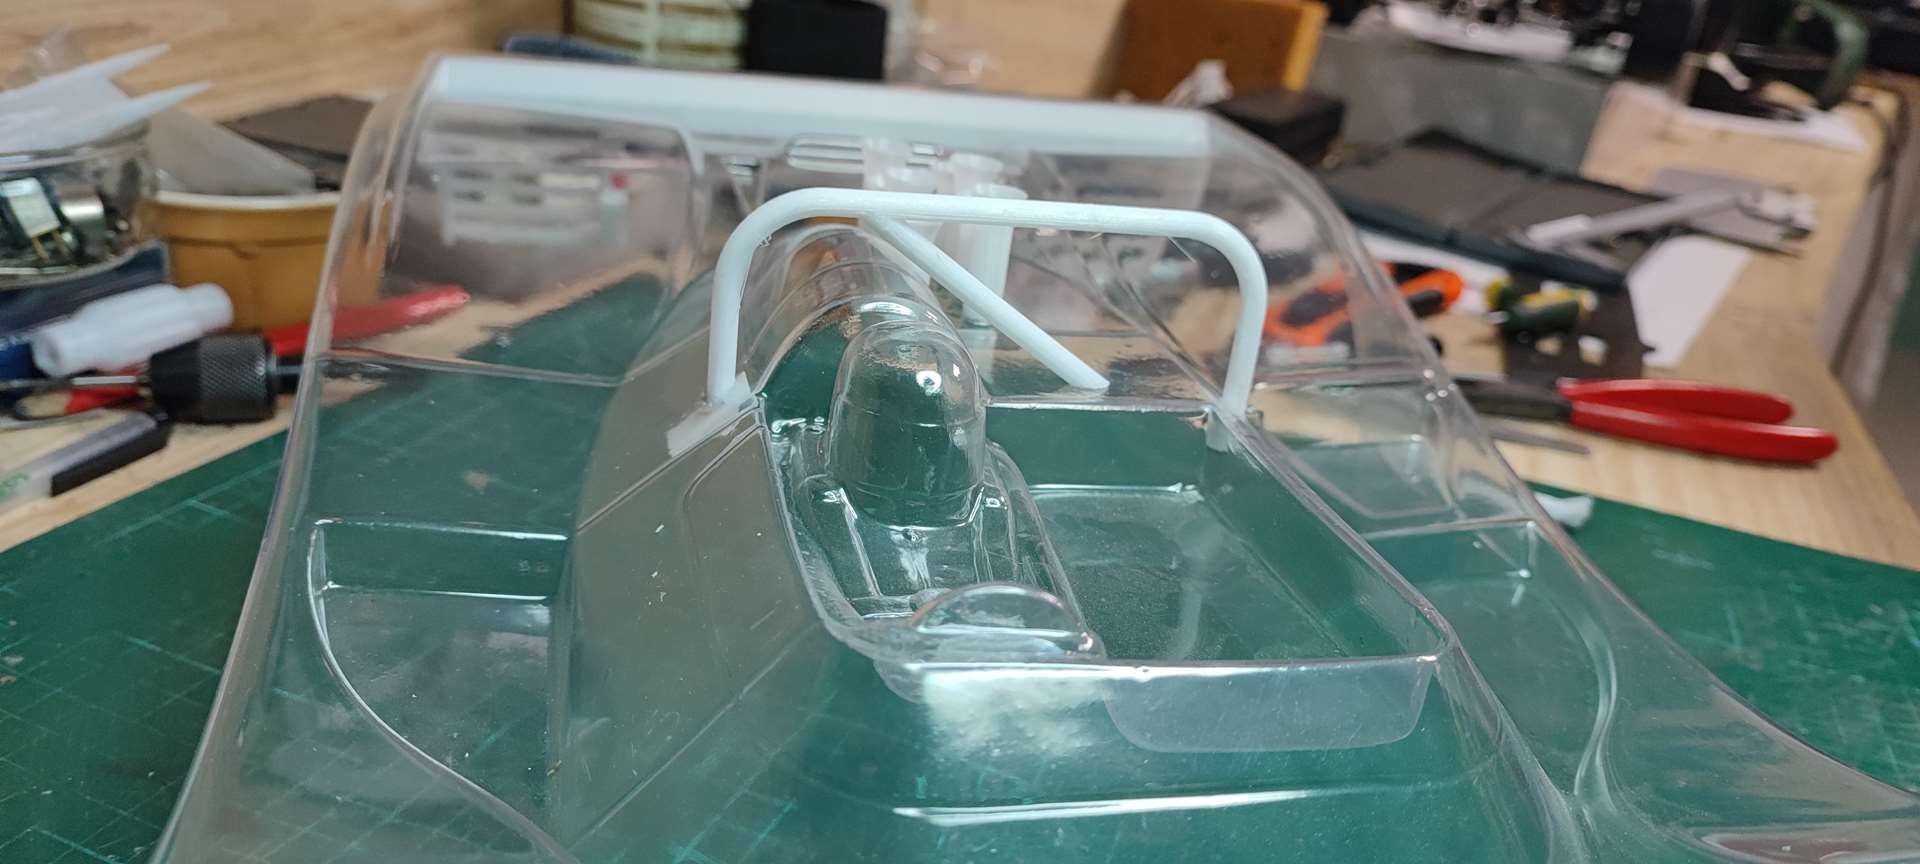
It's validated !!!
The left brace:
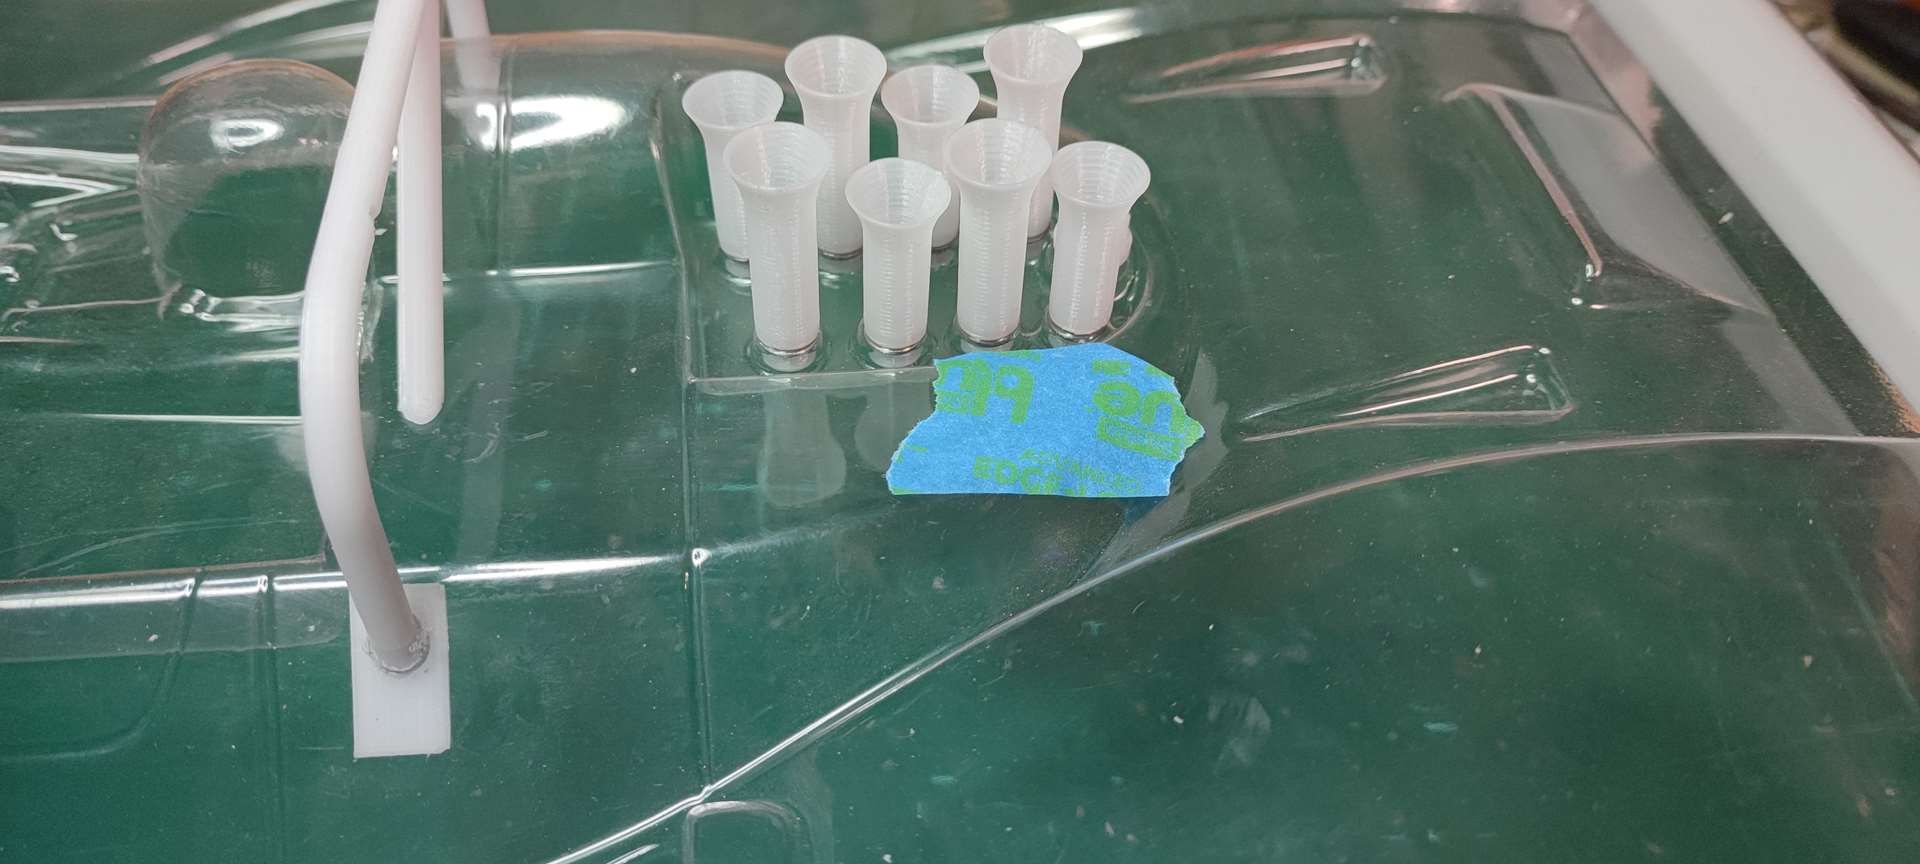
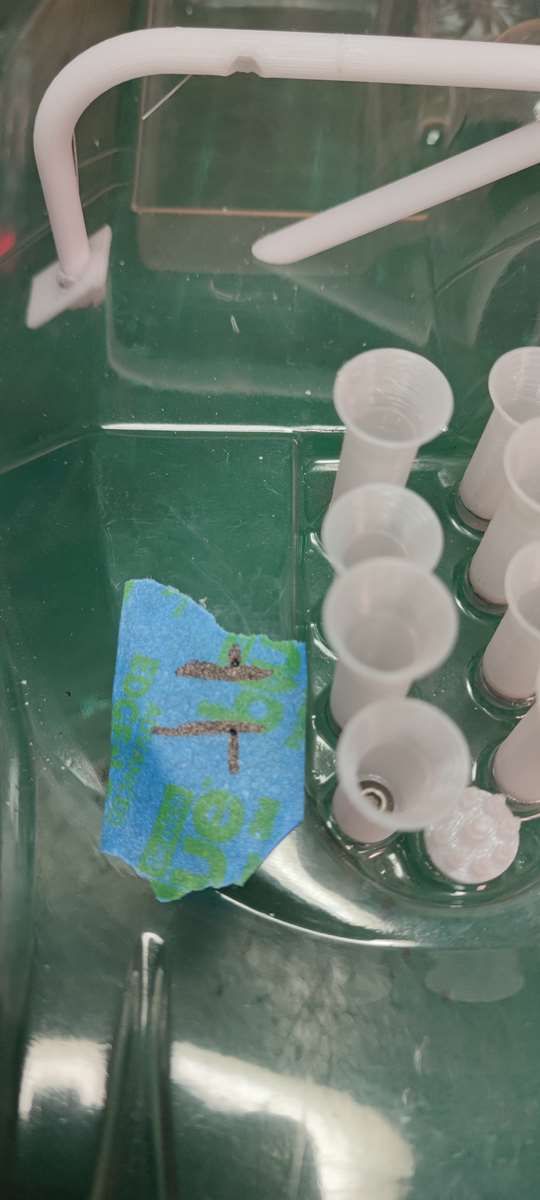
Here we go:
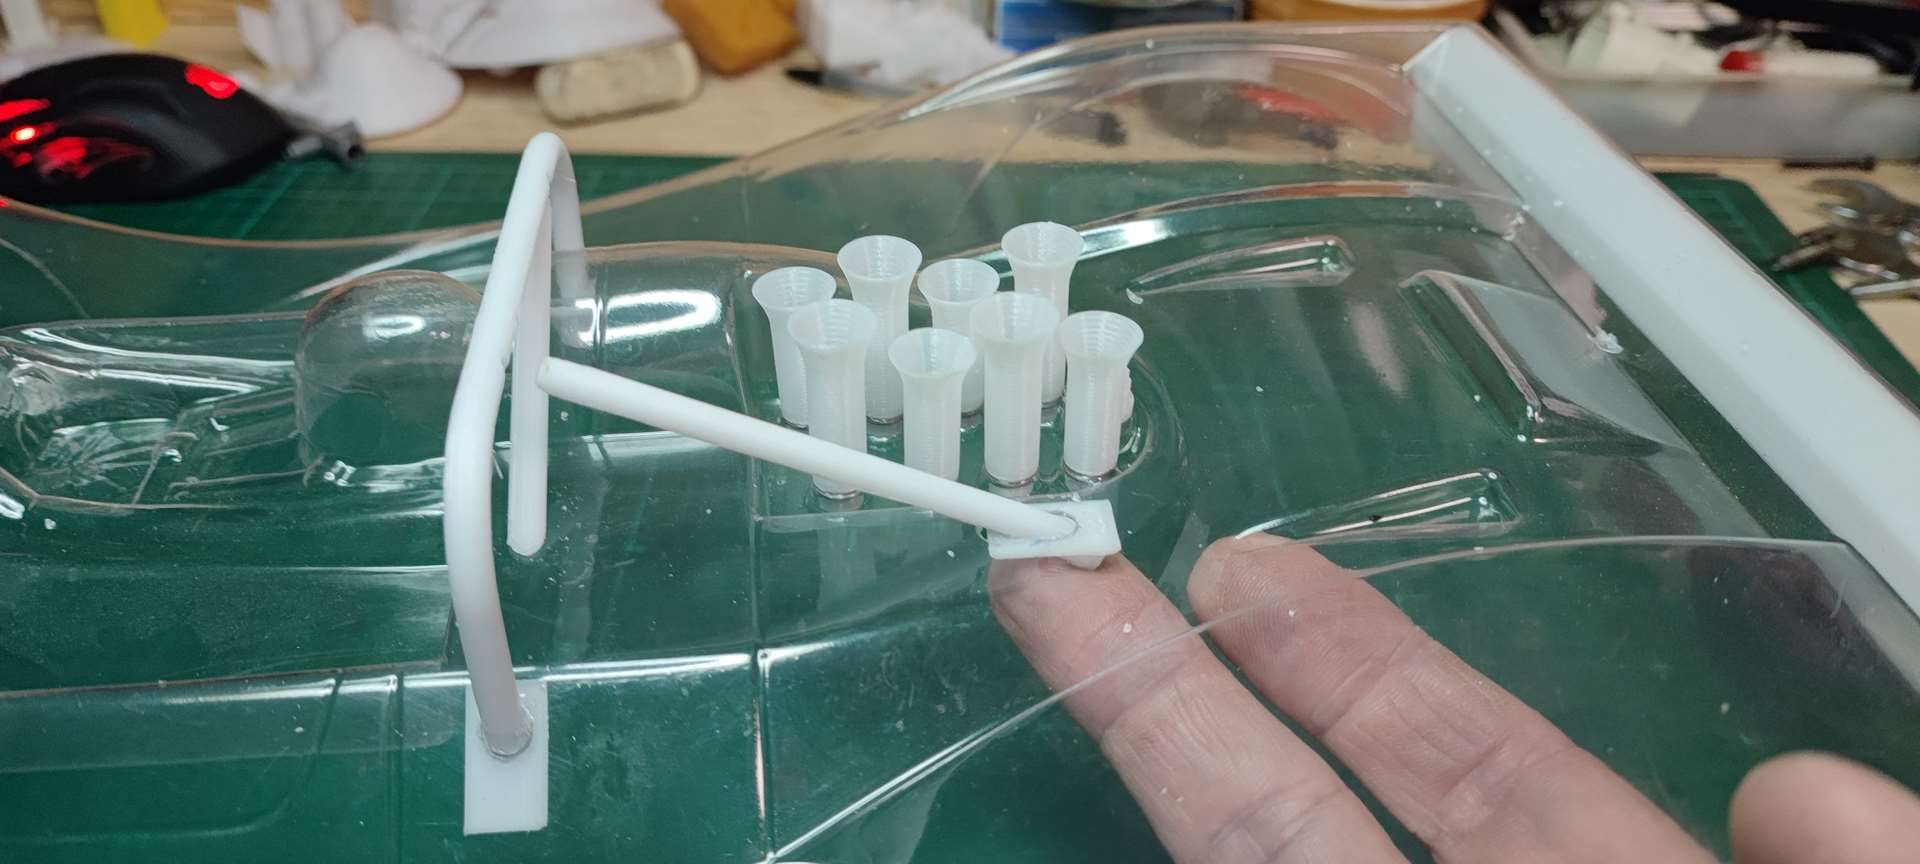
Damn, the stem is too short...
Small view with the new bumper:
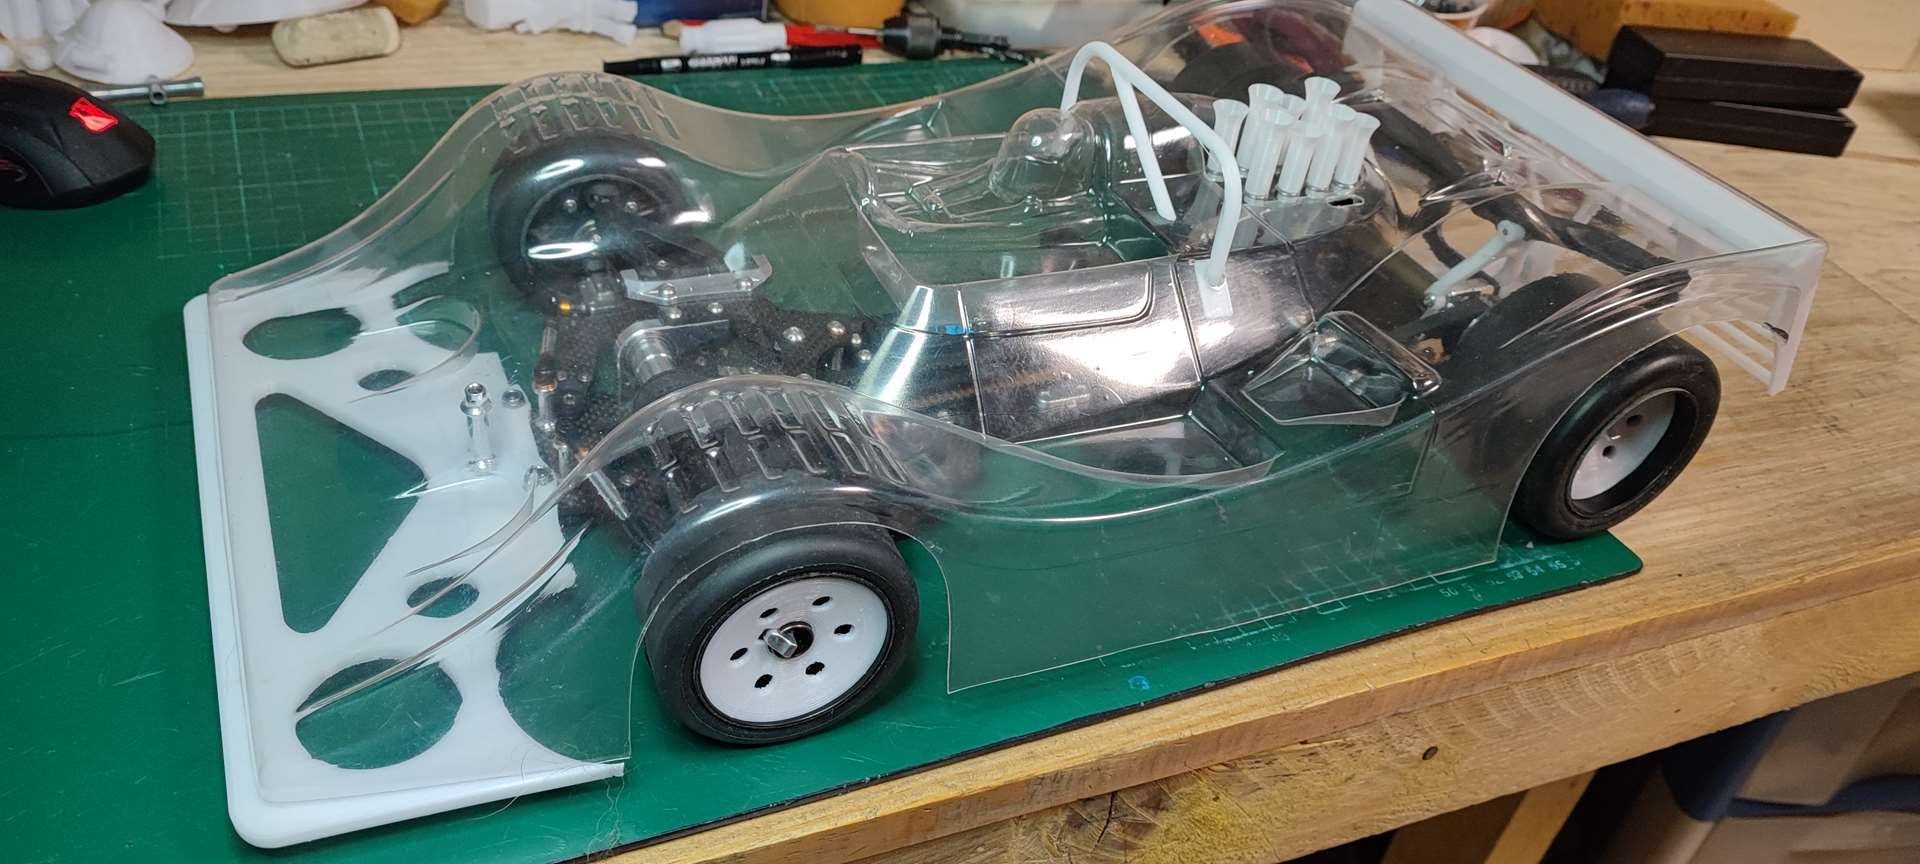
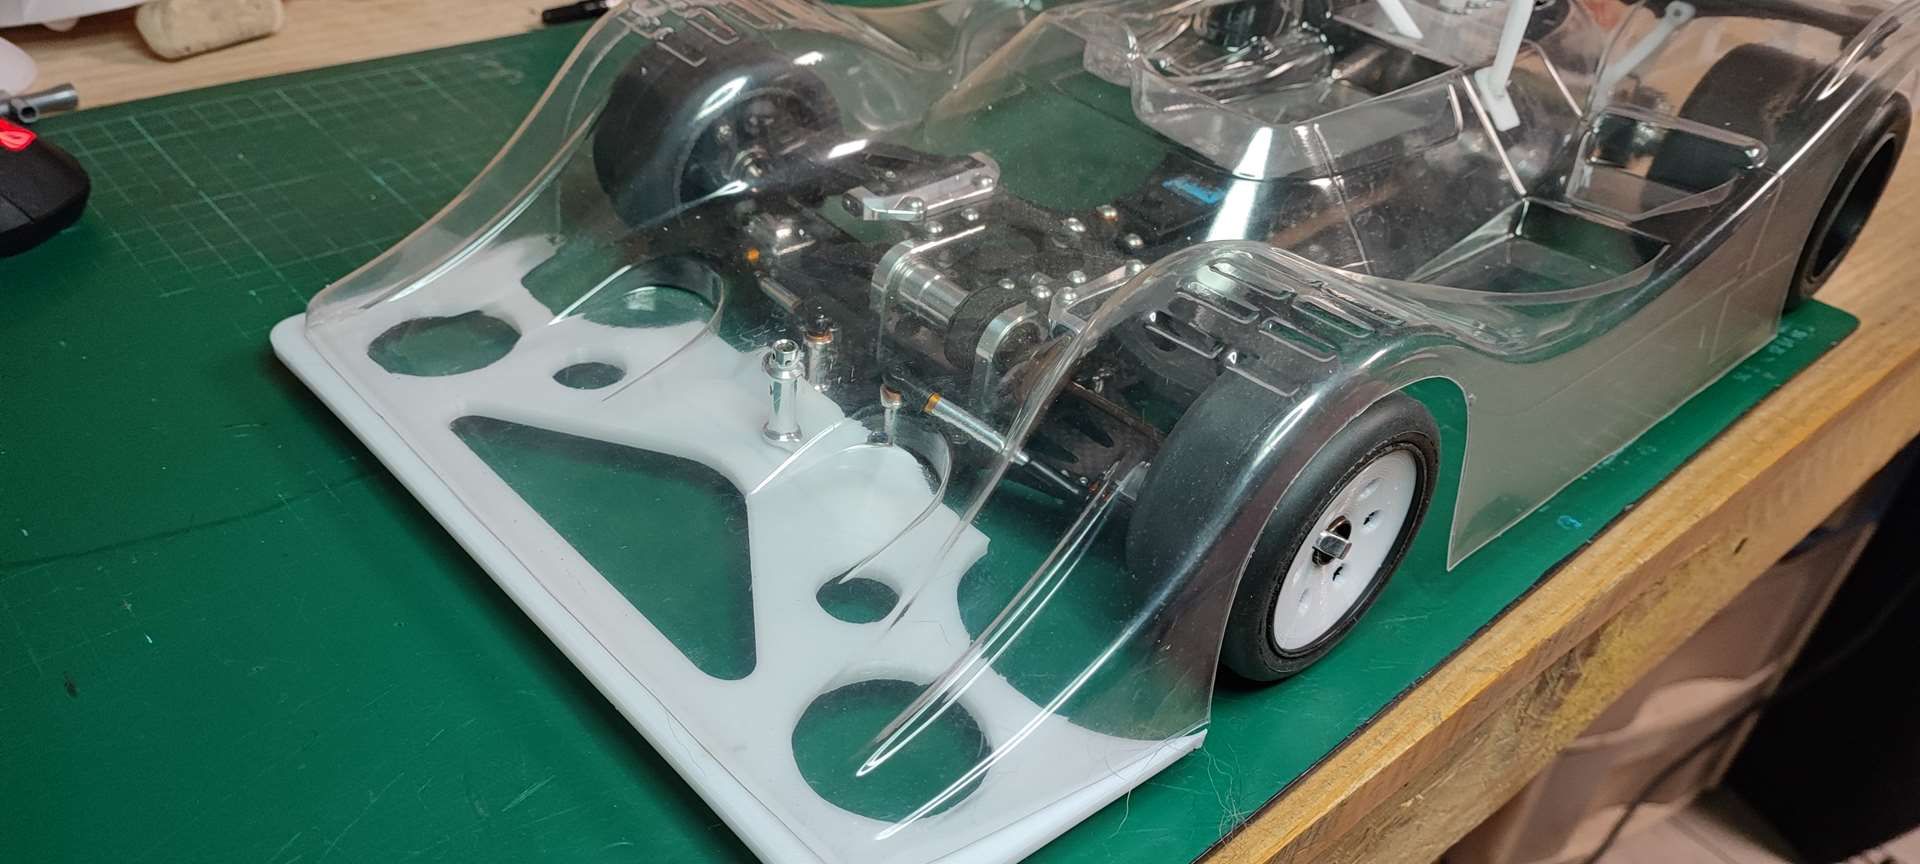
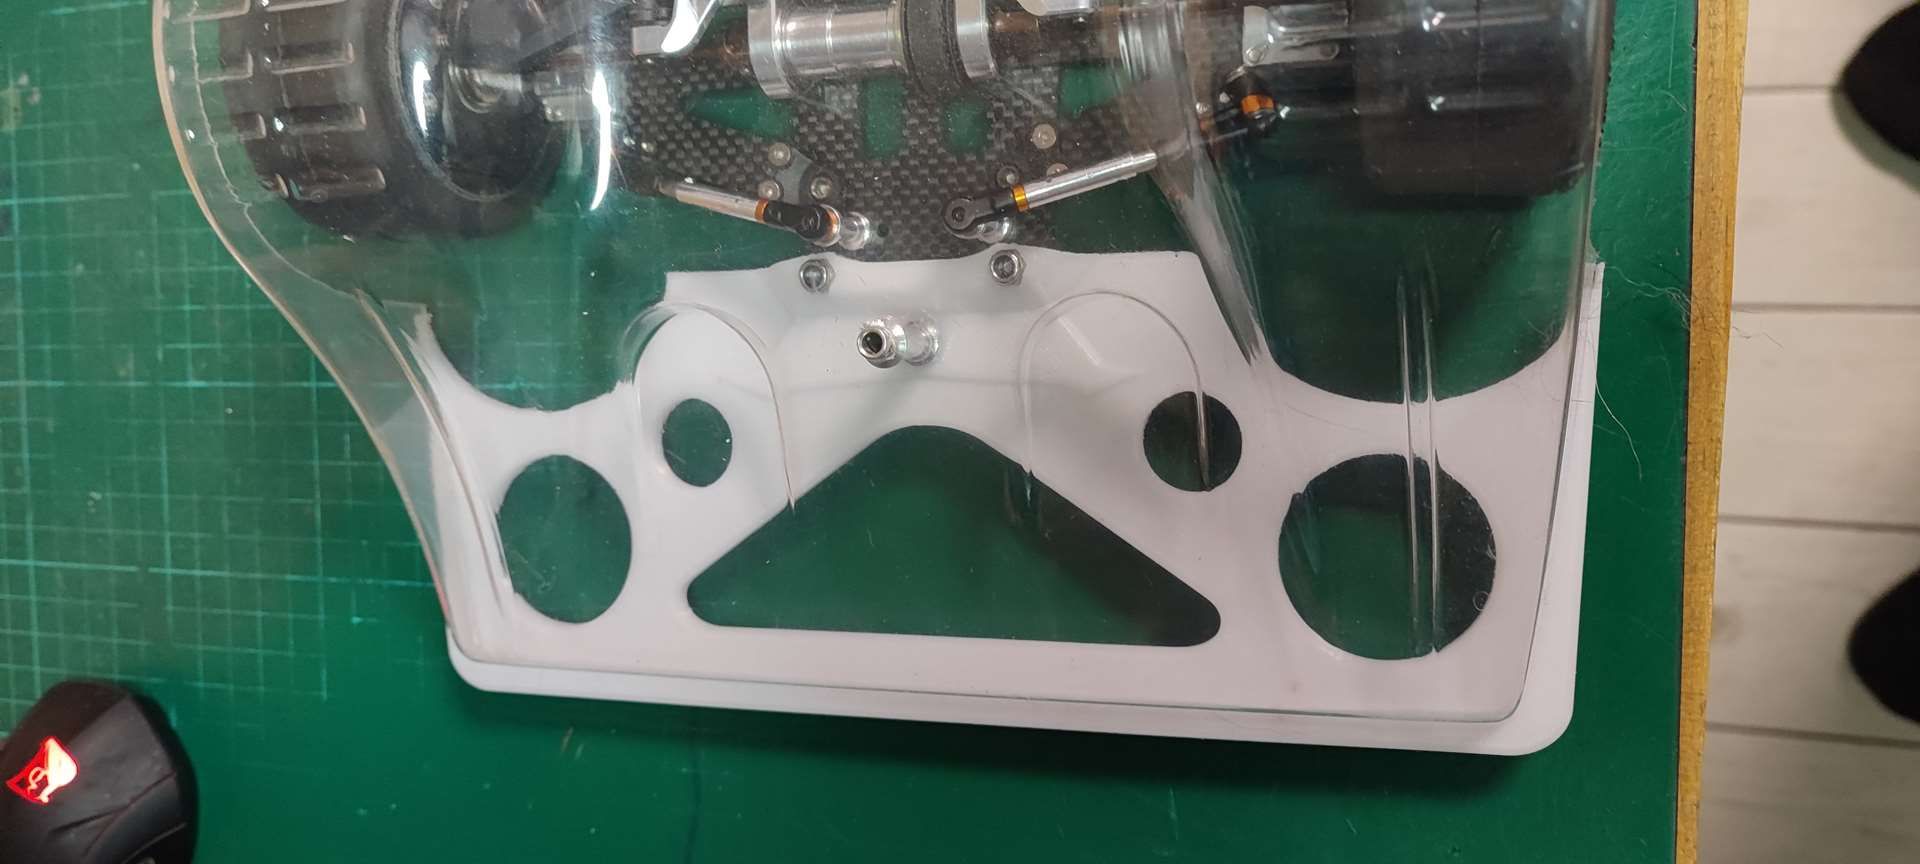
Once the "stems" are printed at the correct length, things are better:
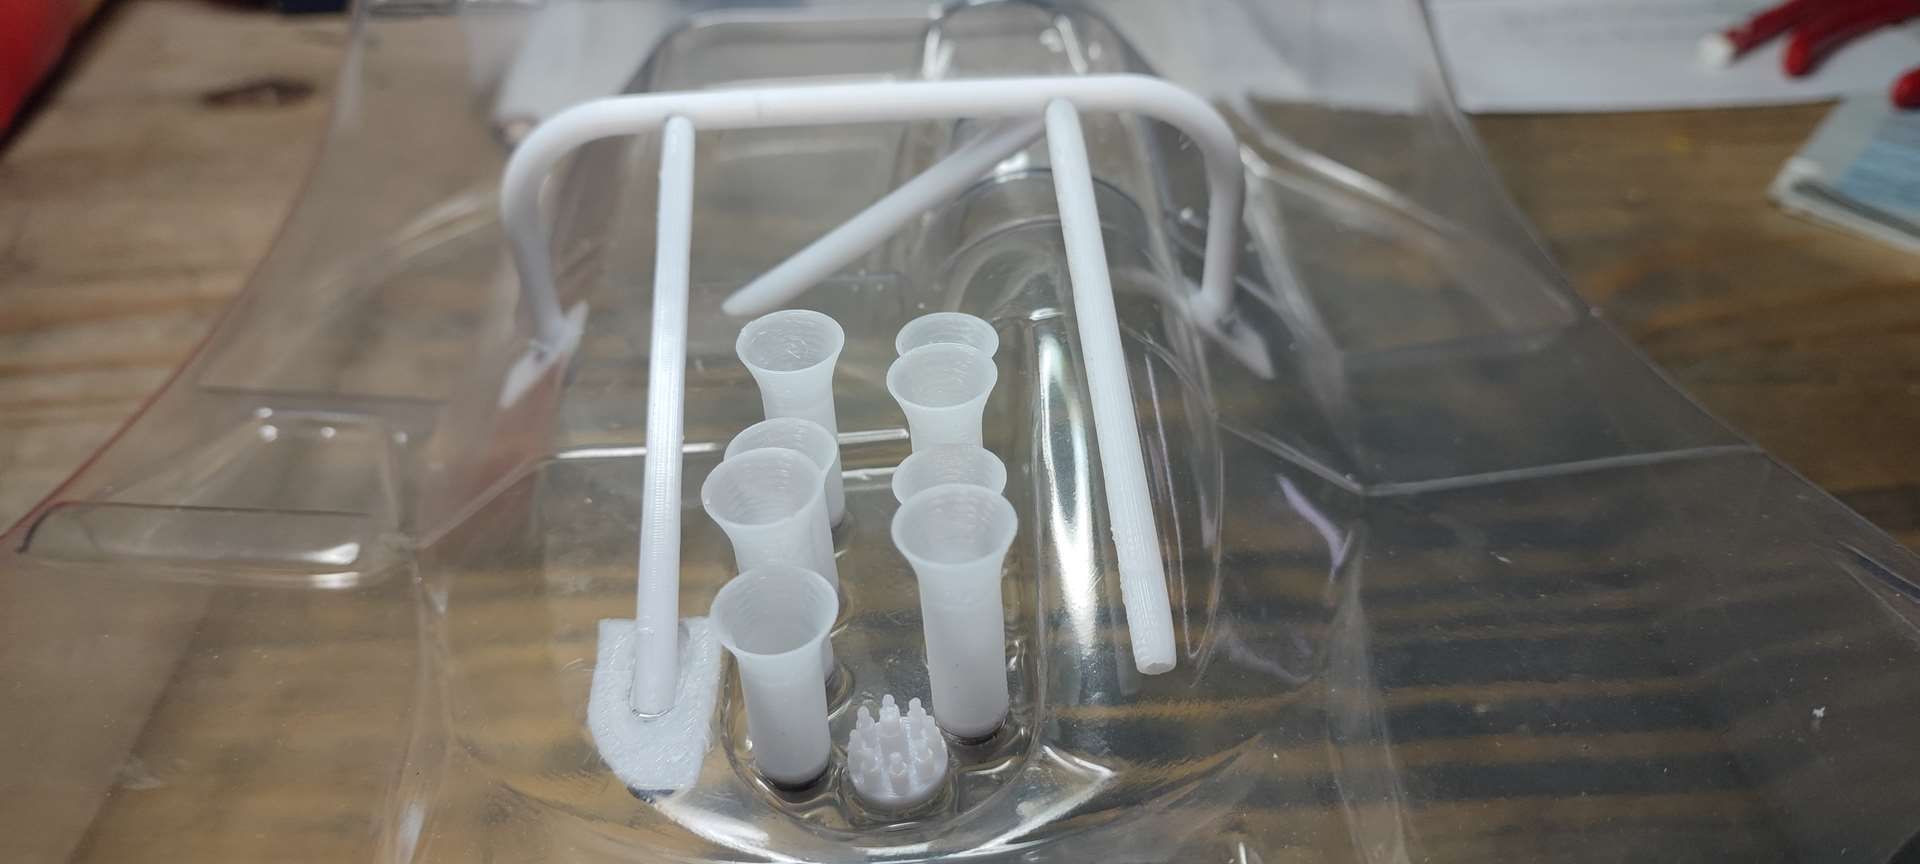
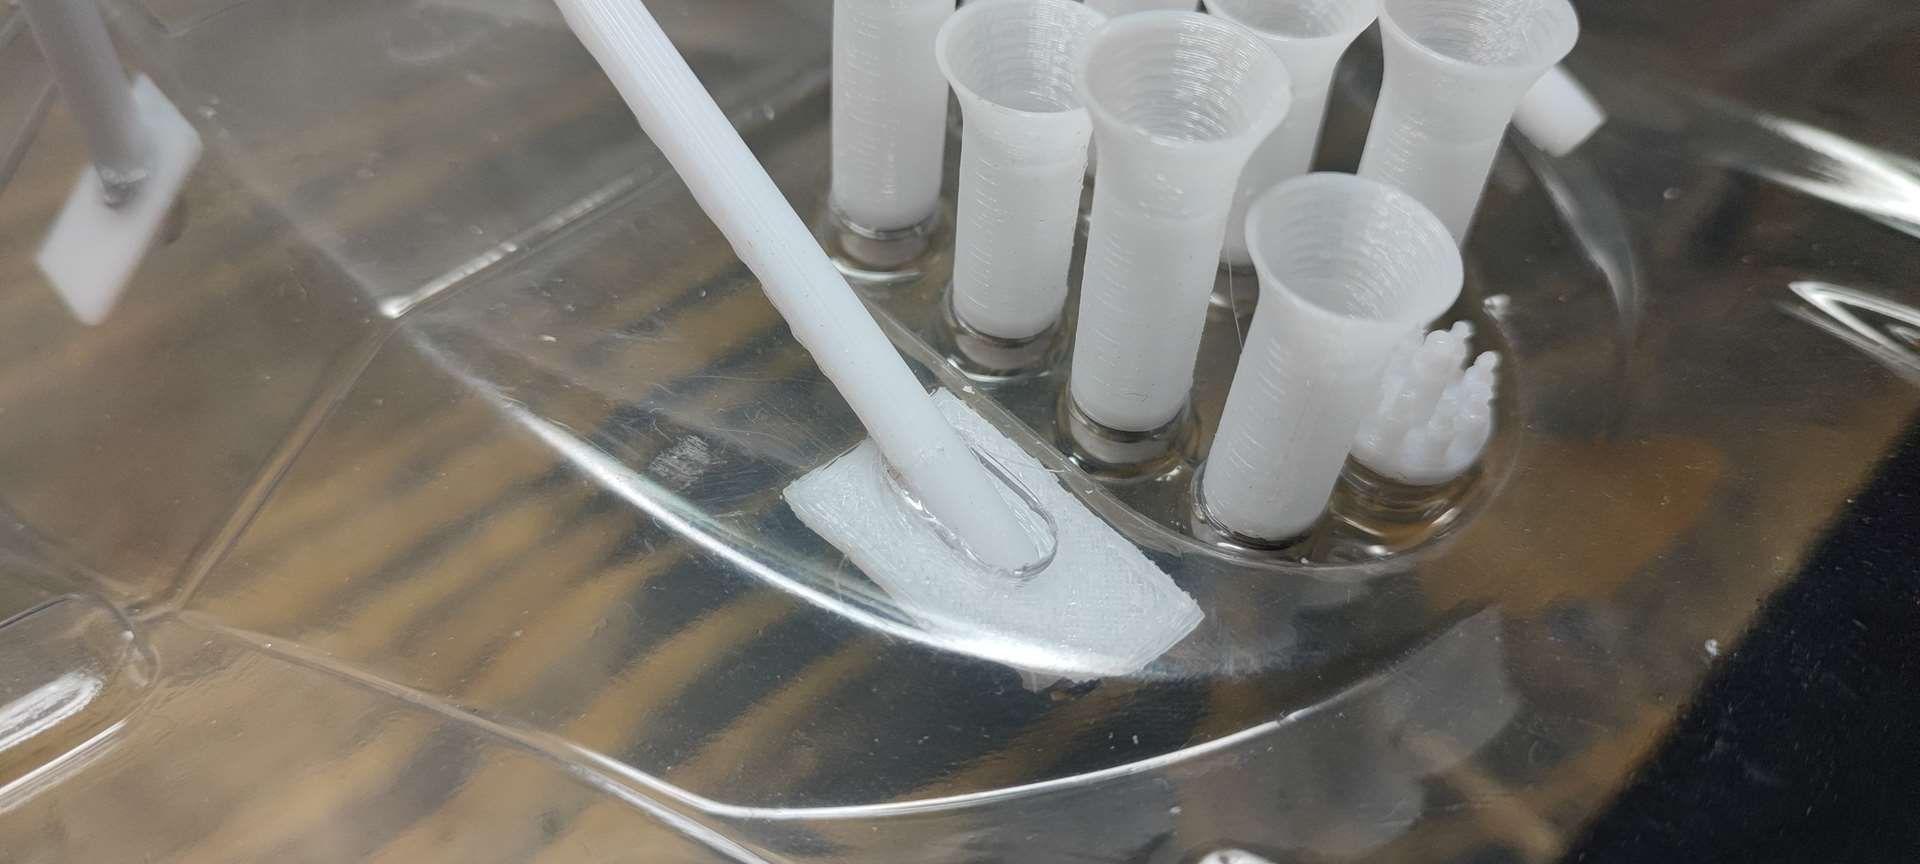
Drilling for the right brace:
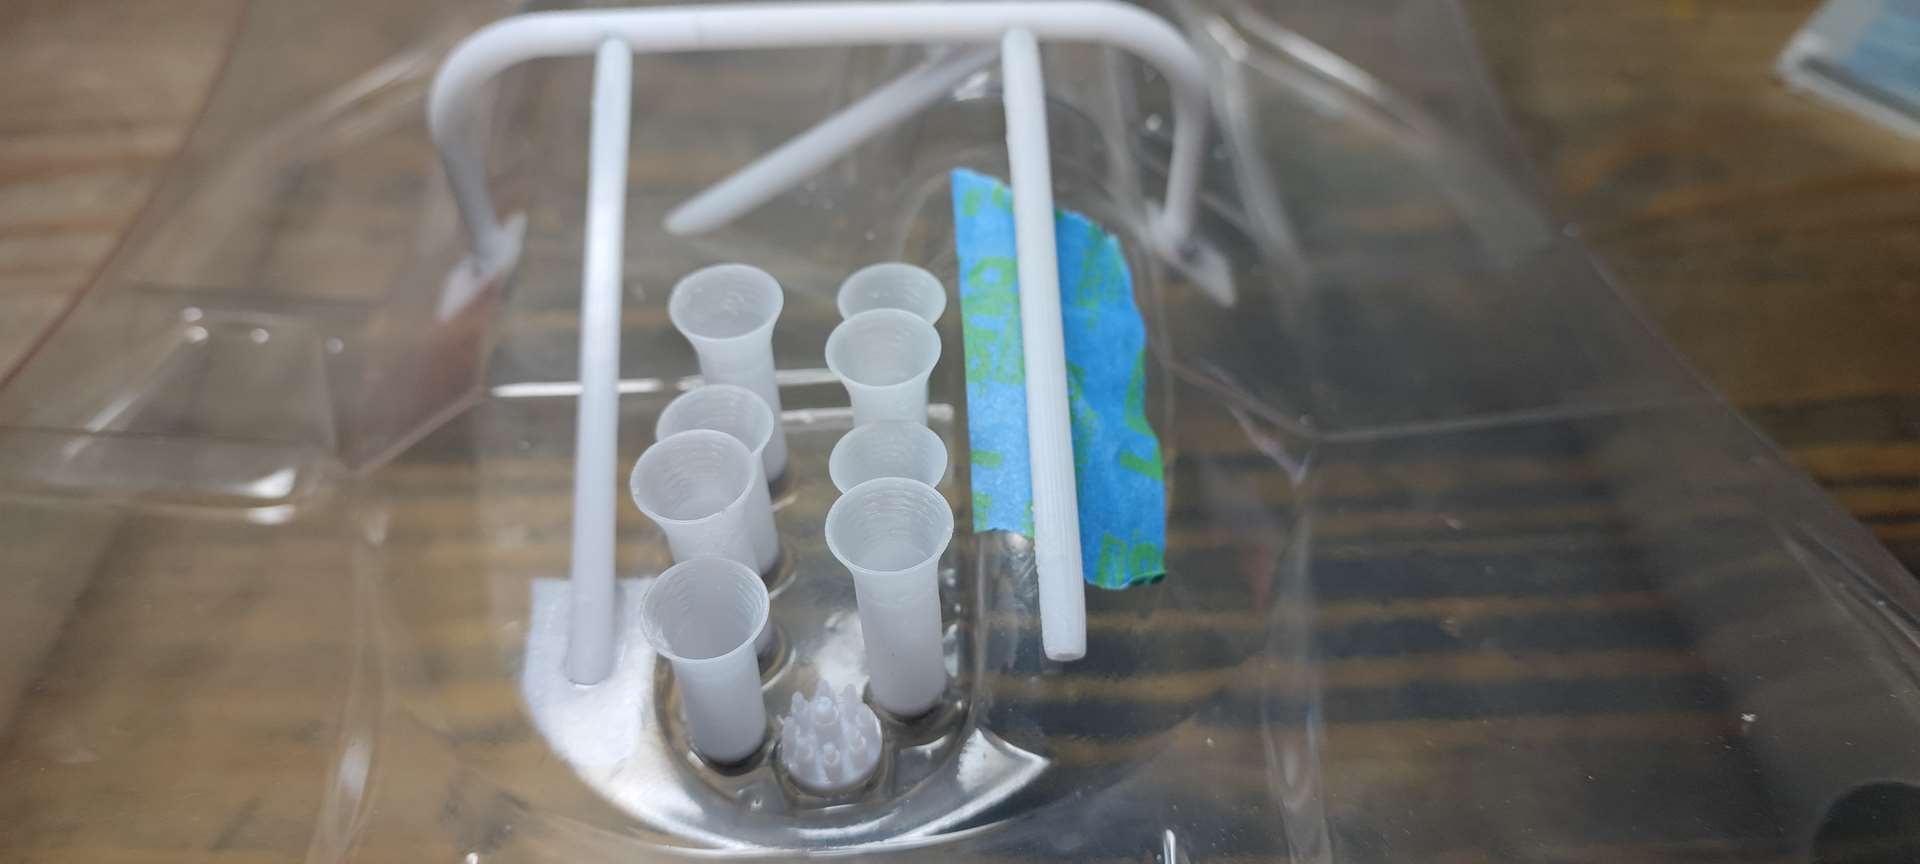
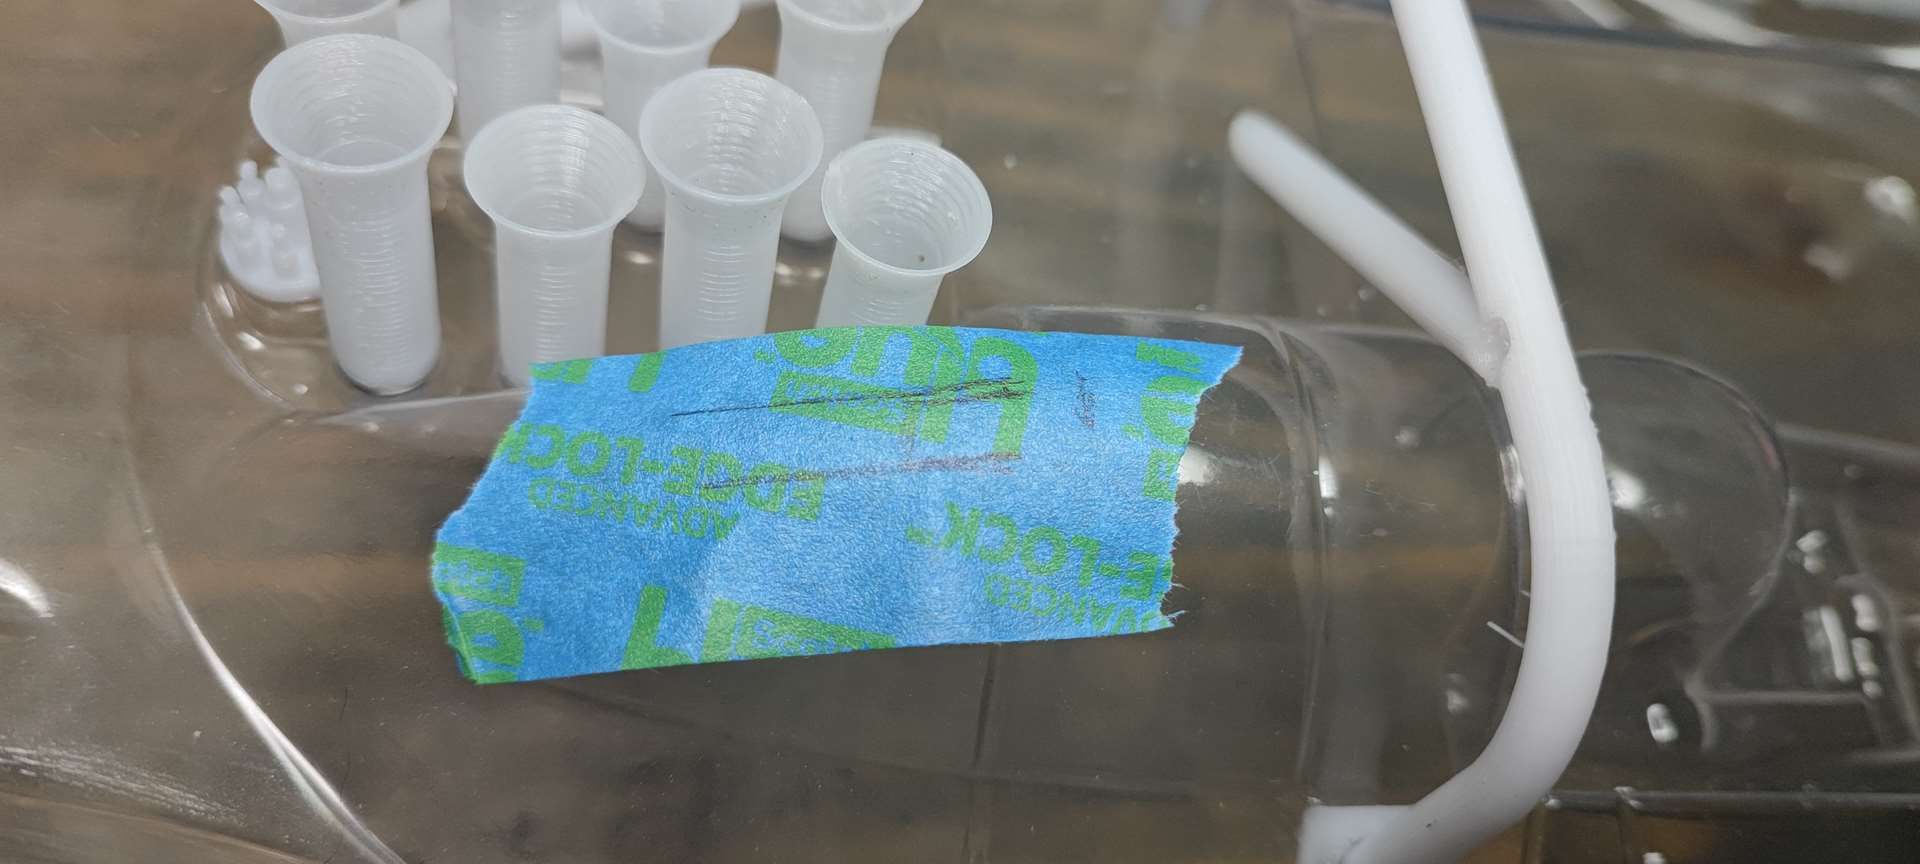
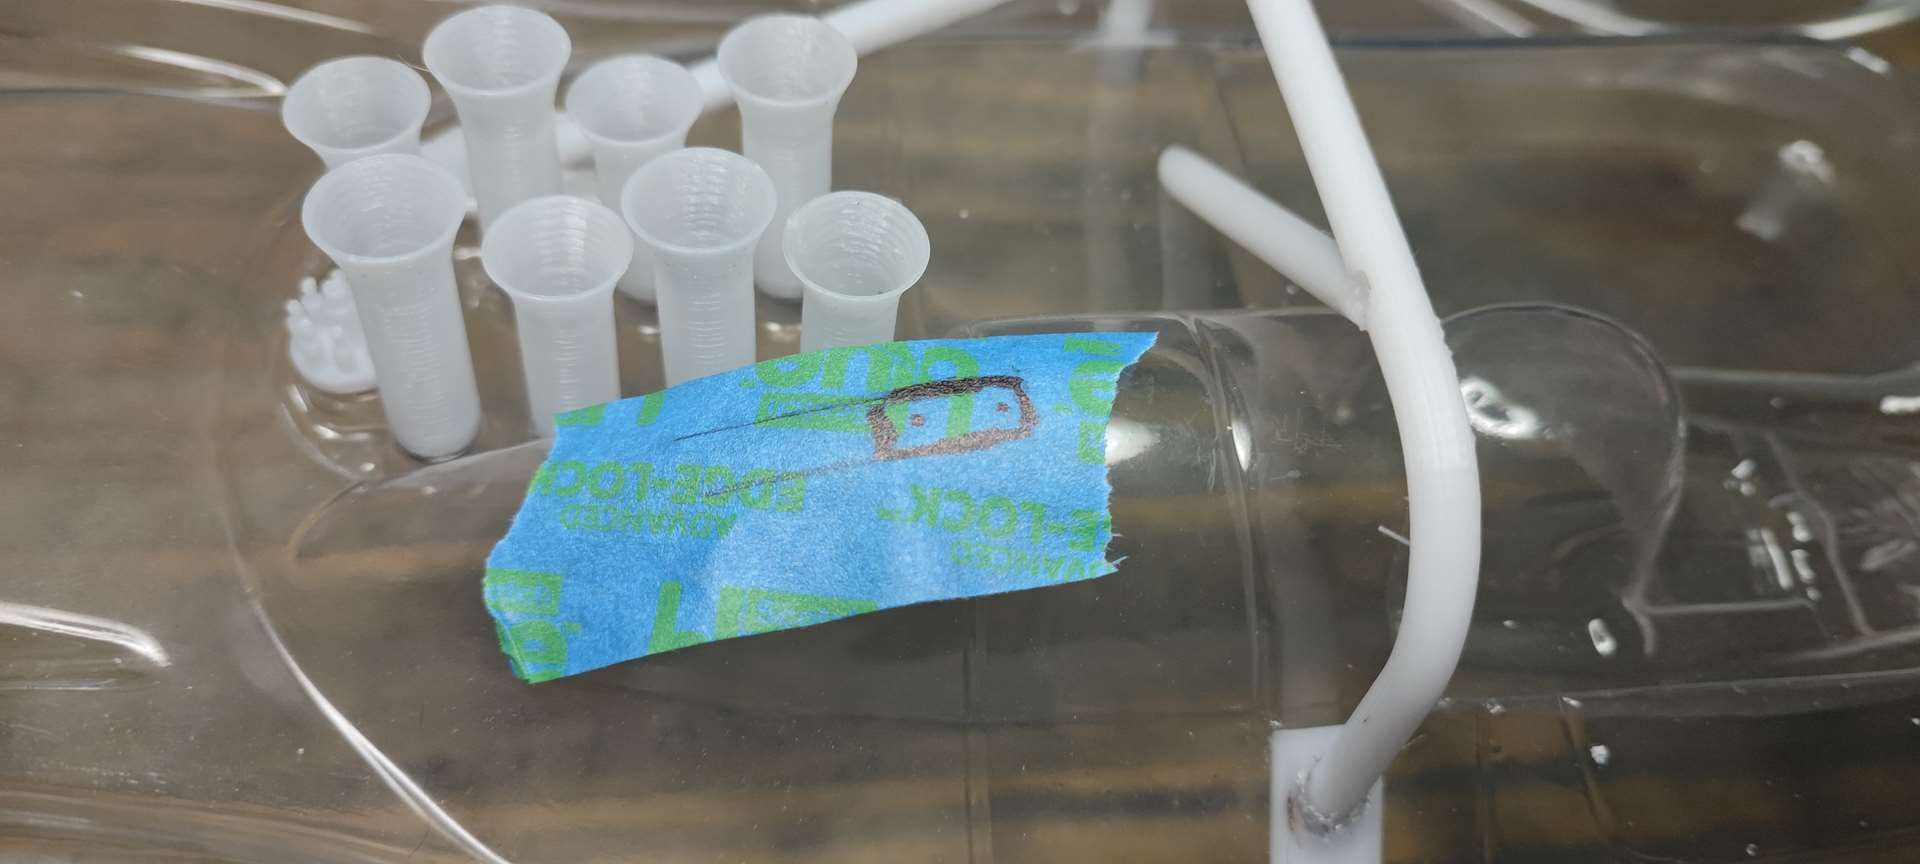
here we go:
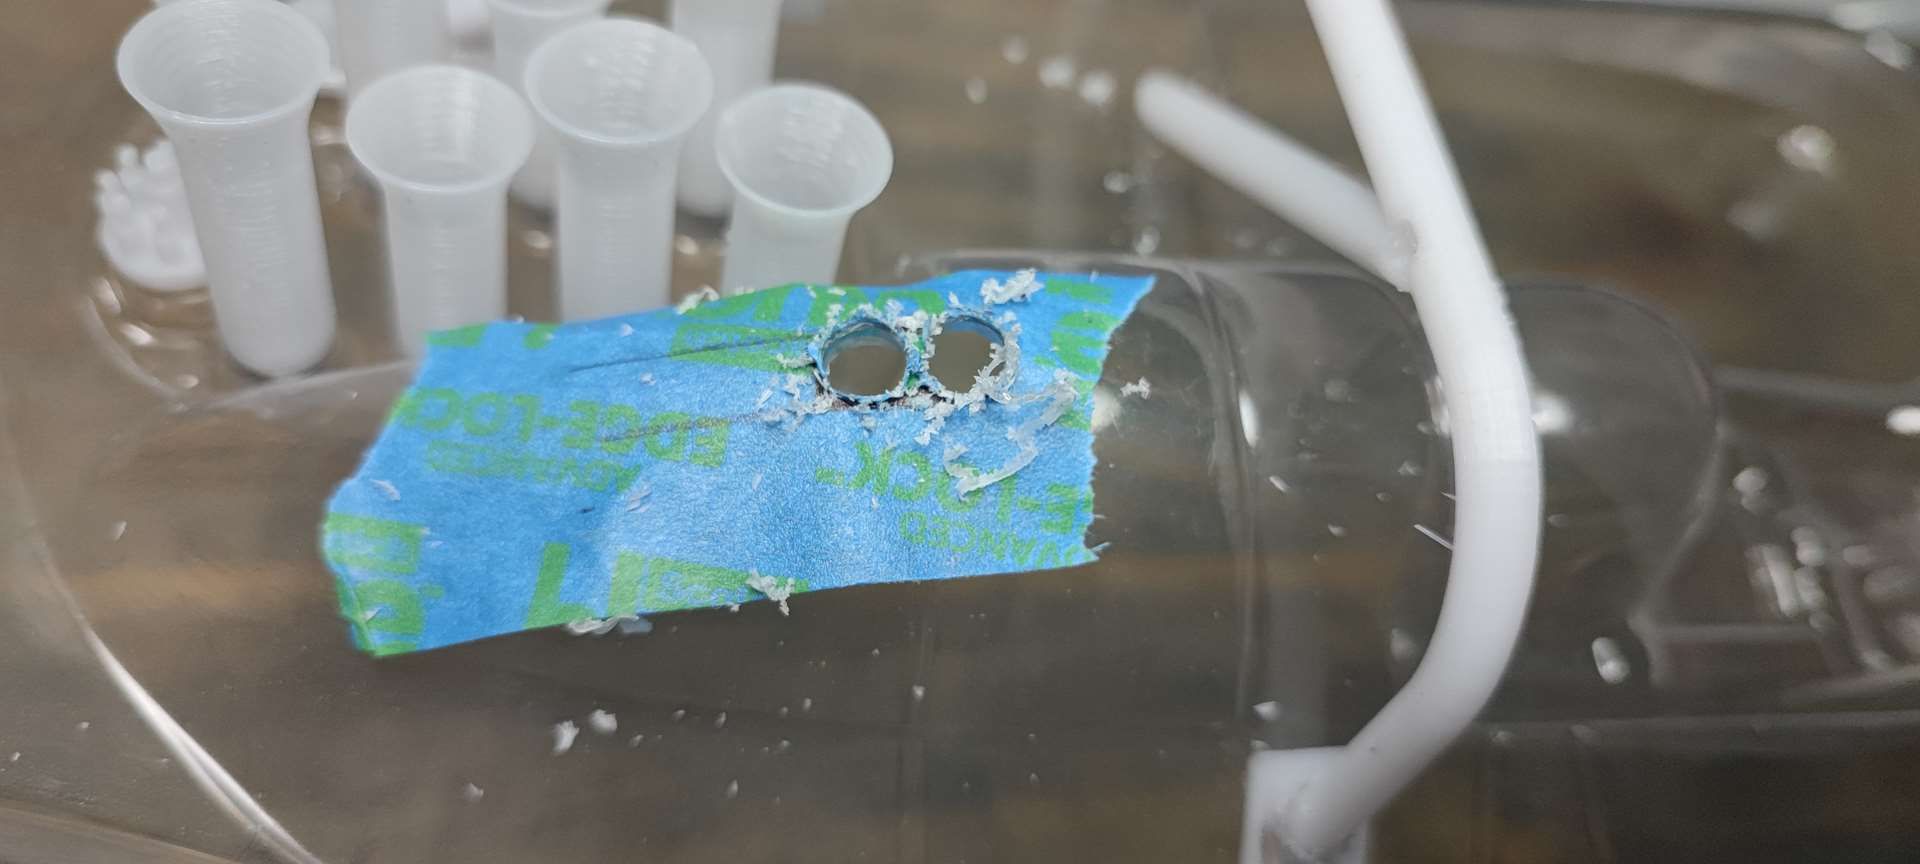
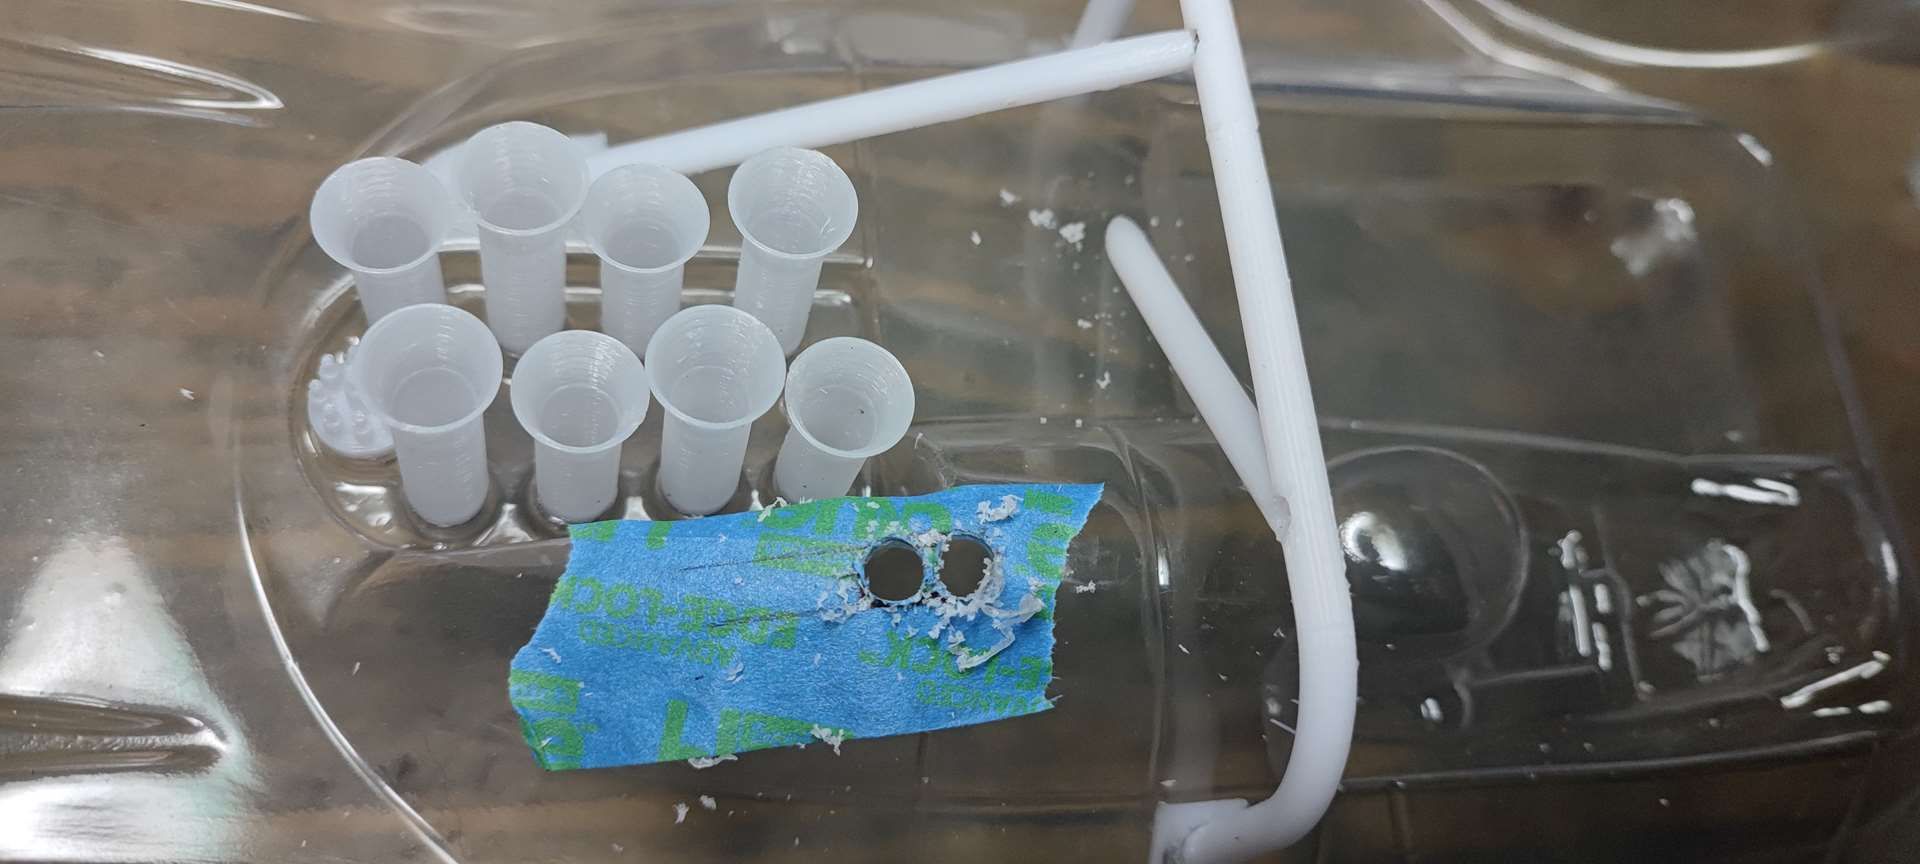
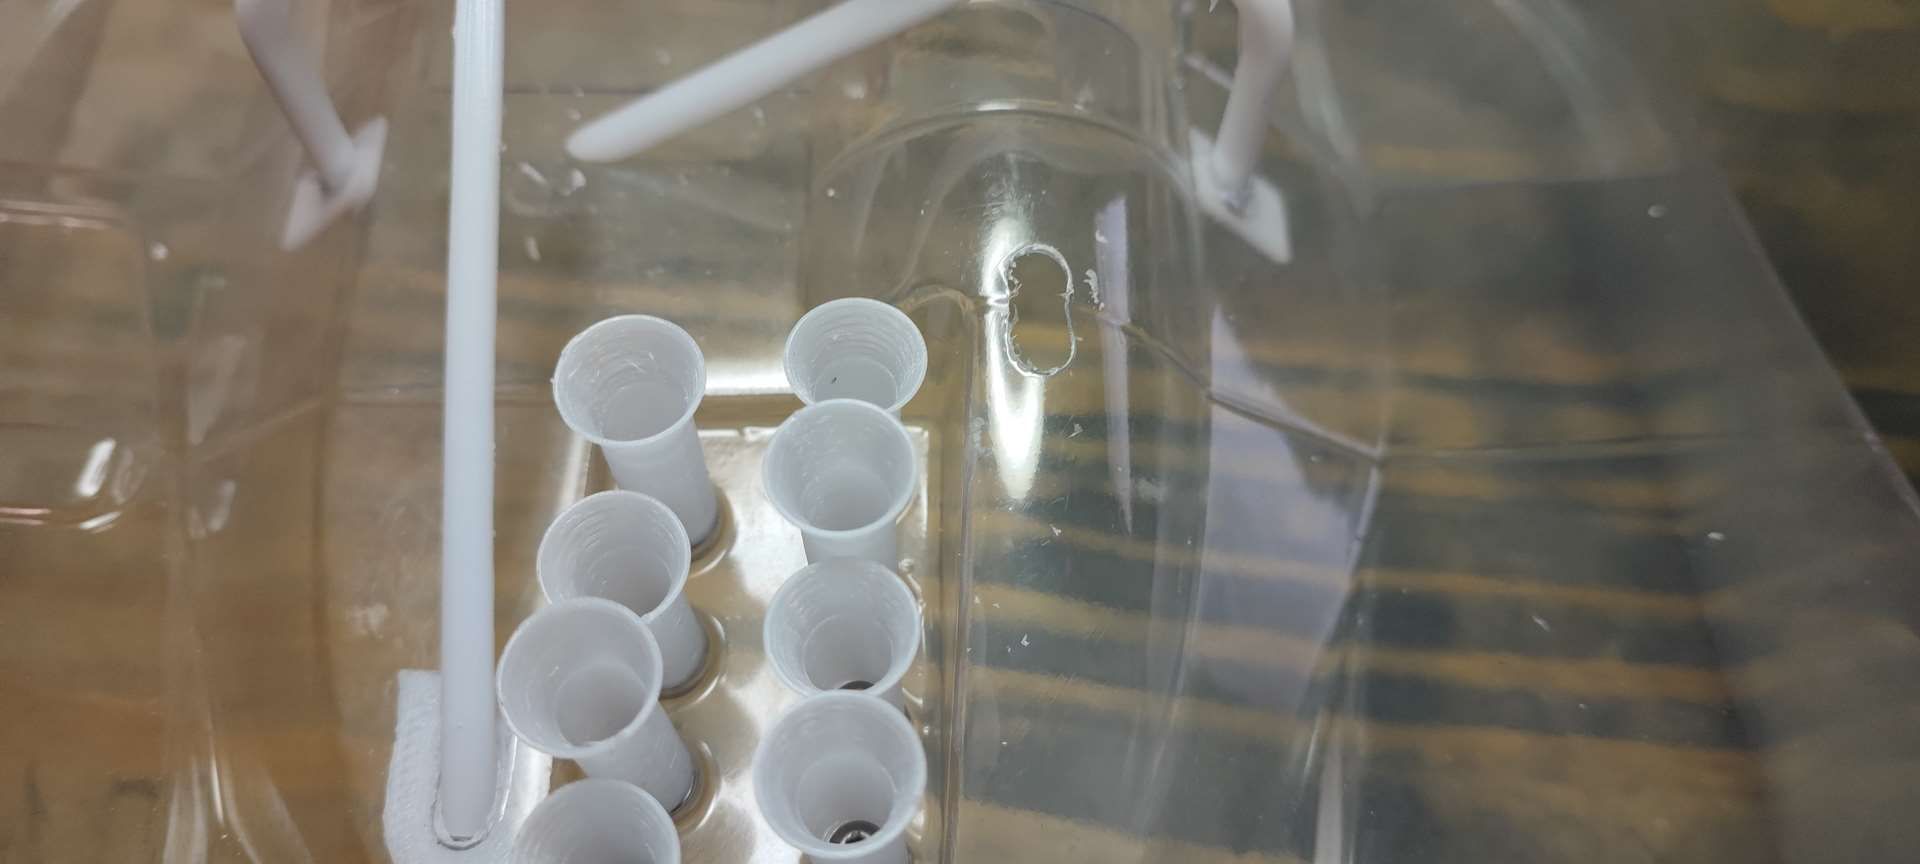
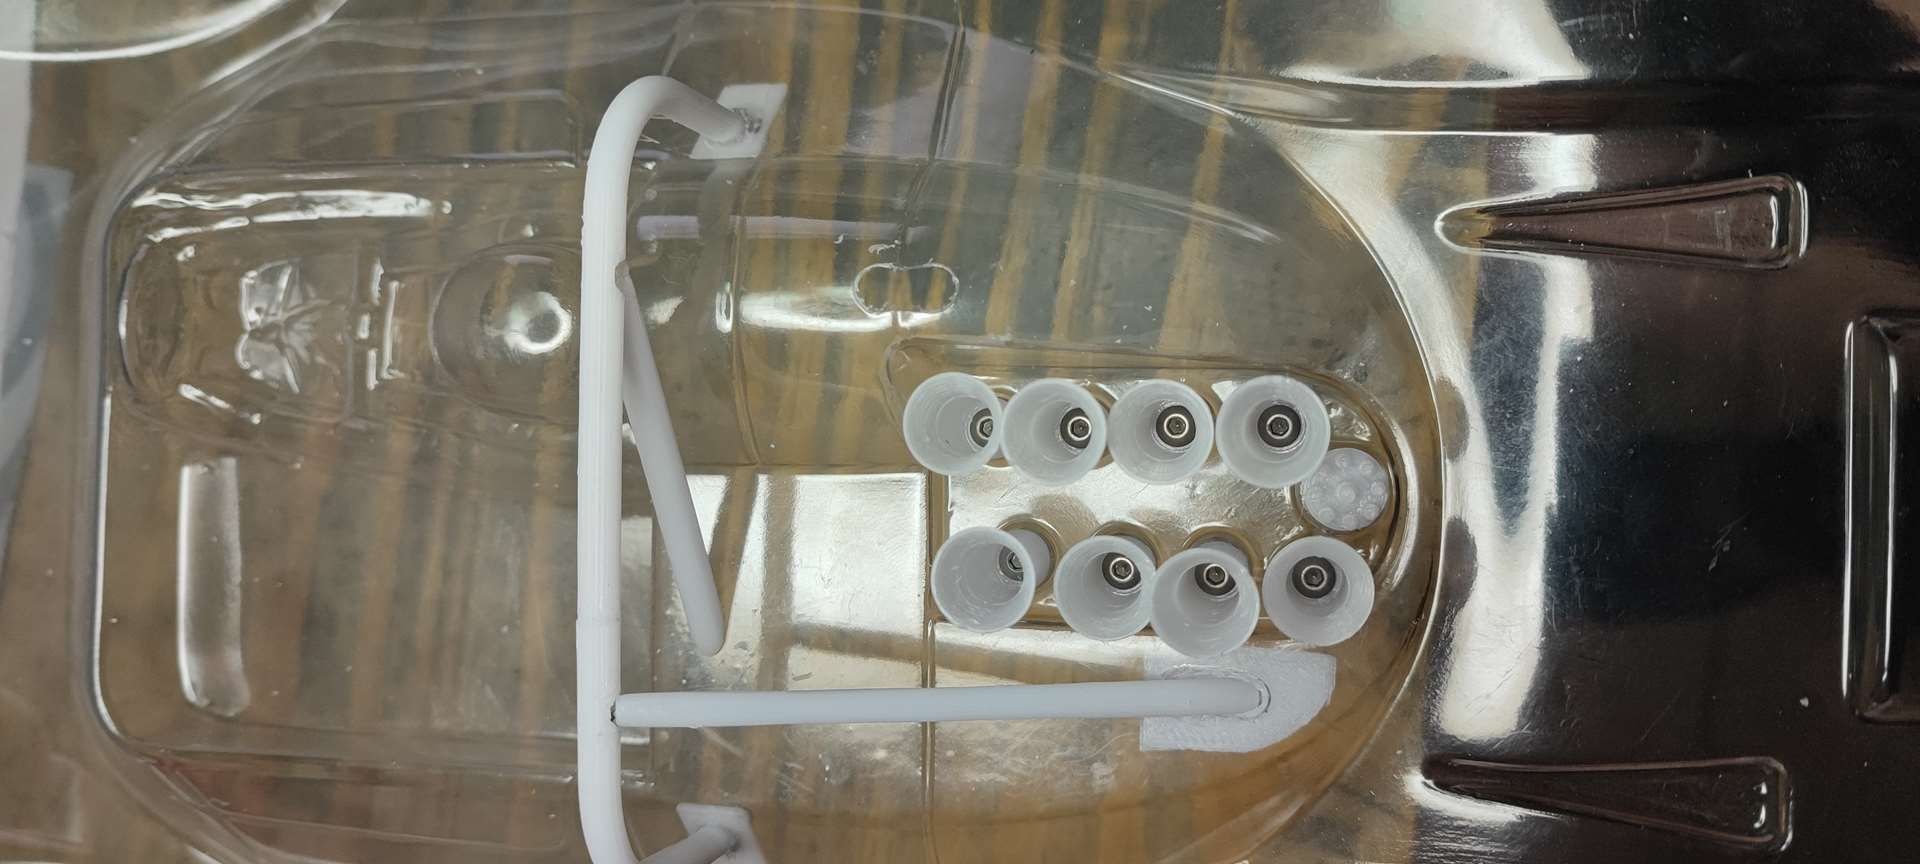
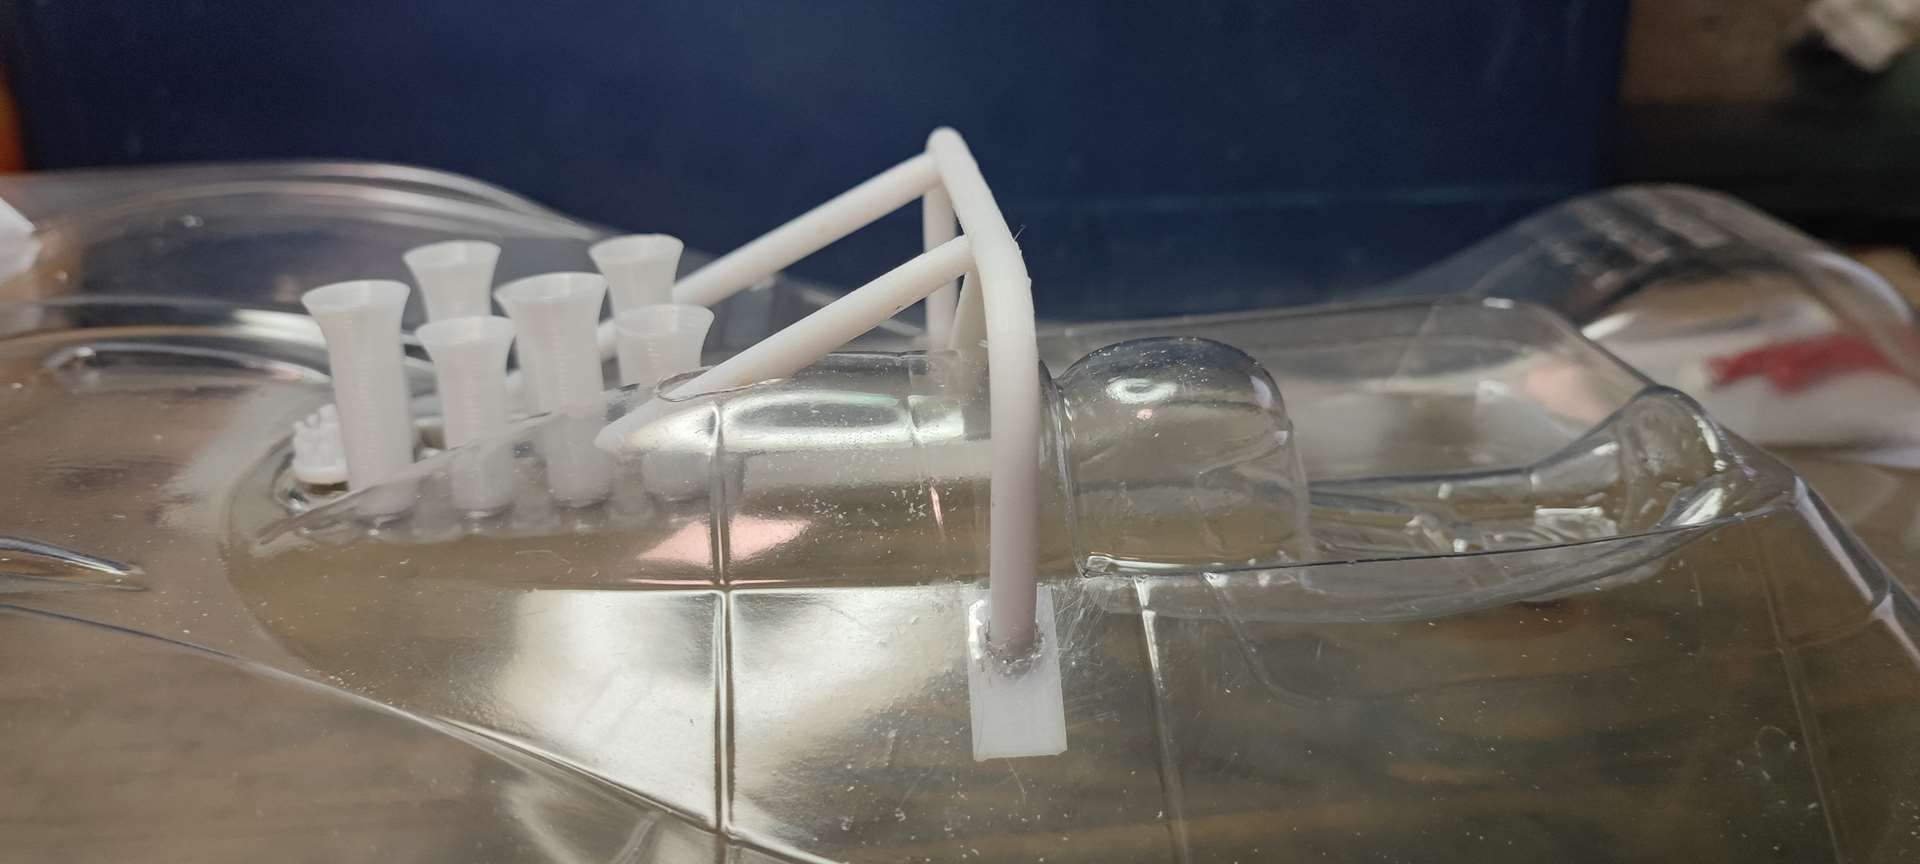
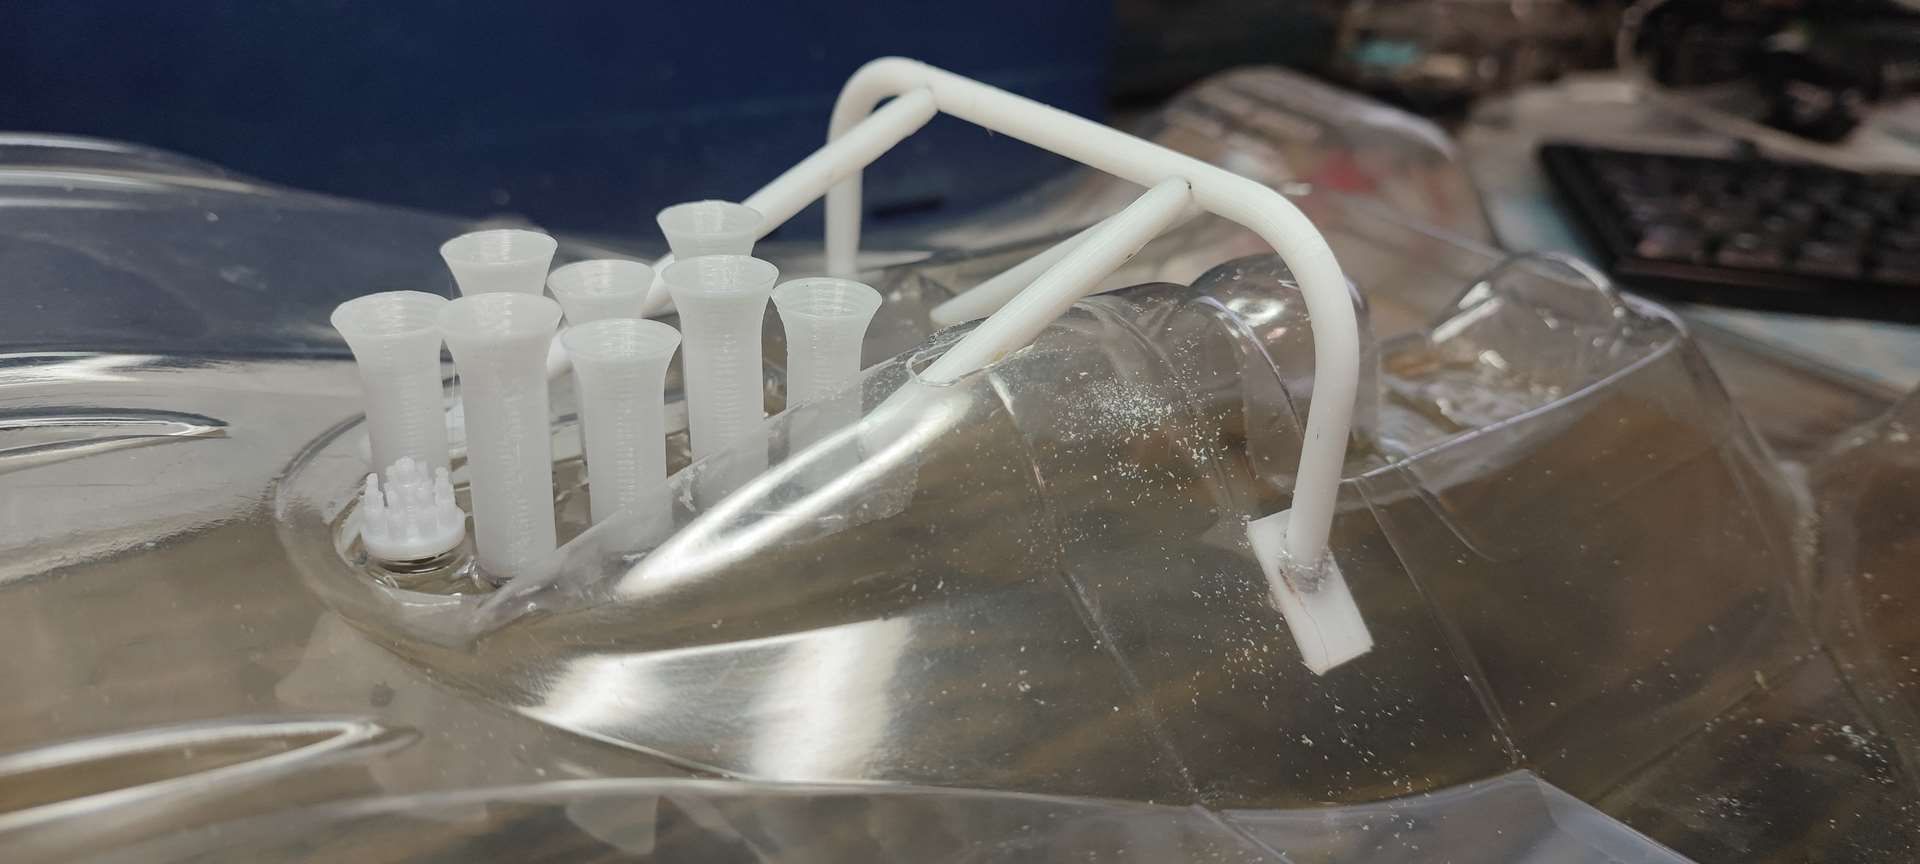
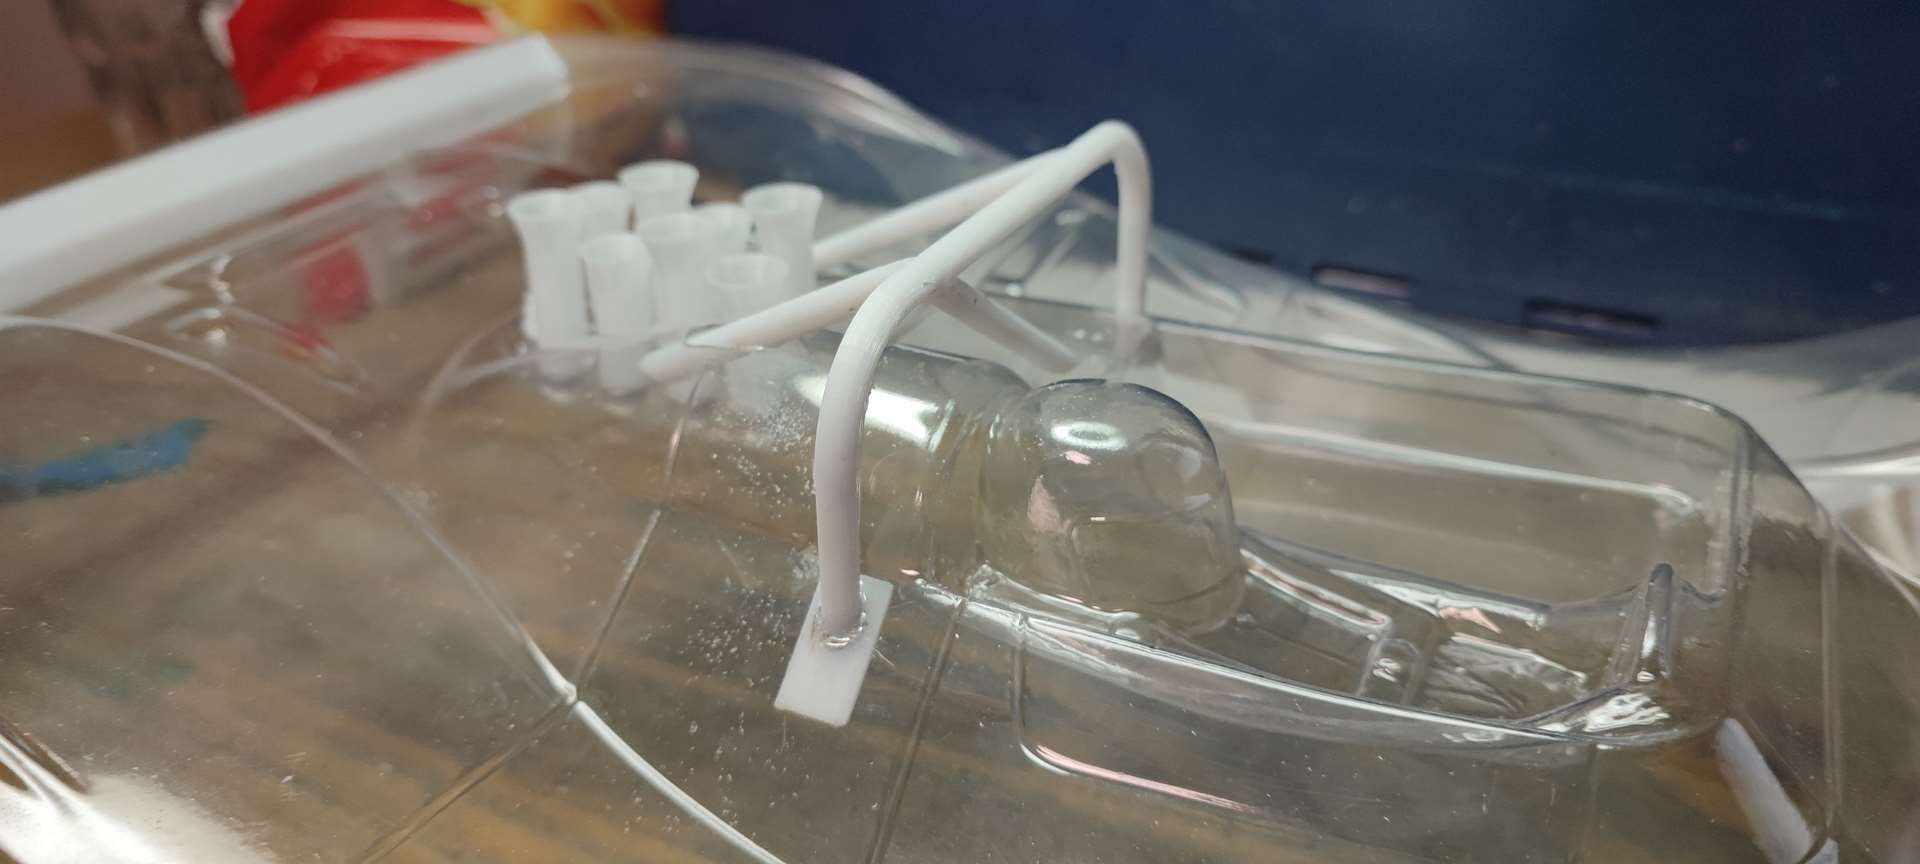
VALID !!!
The bumper fits the way I want!
The caches that will receive the fictitious brake scoops
AND THE BIG topic of this weekend: The rear side cheeks
several tests were necessary:
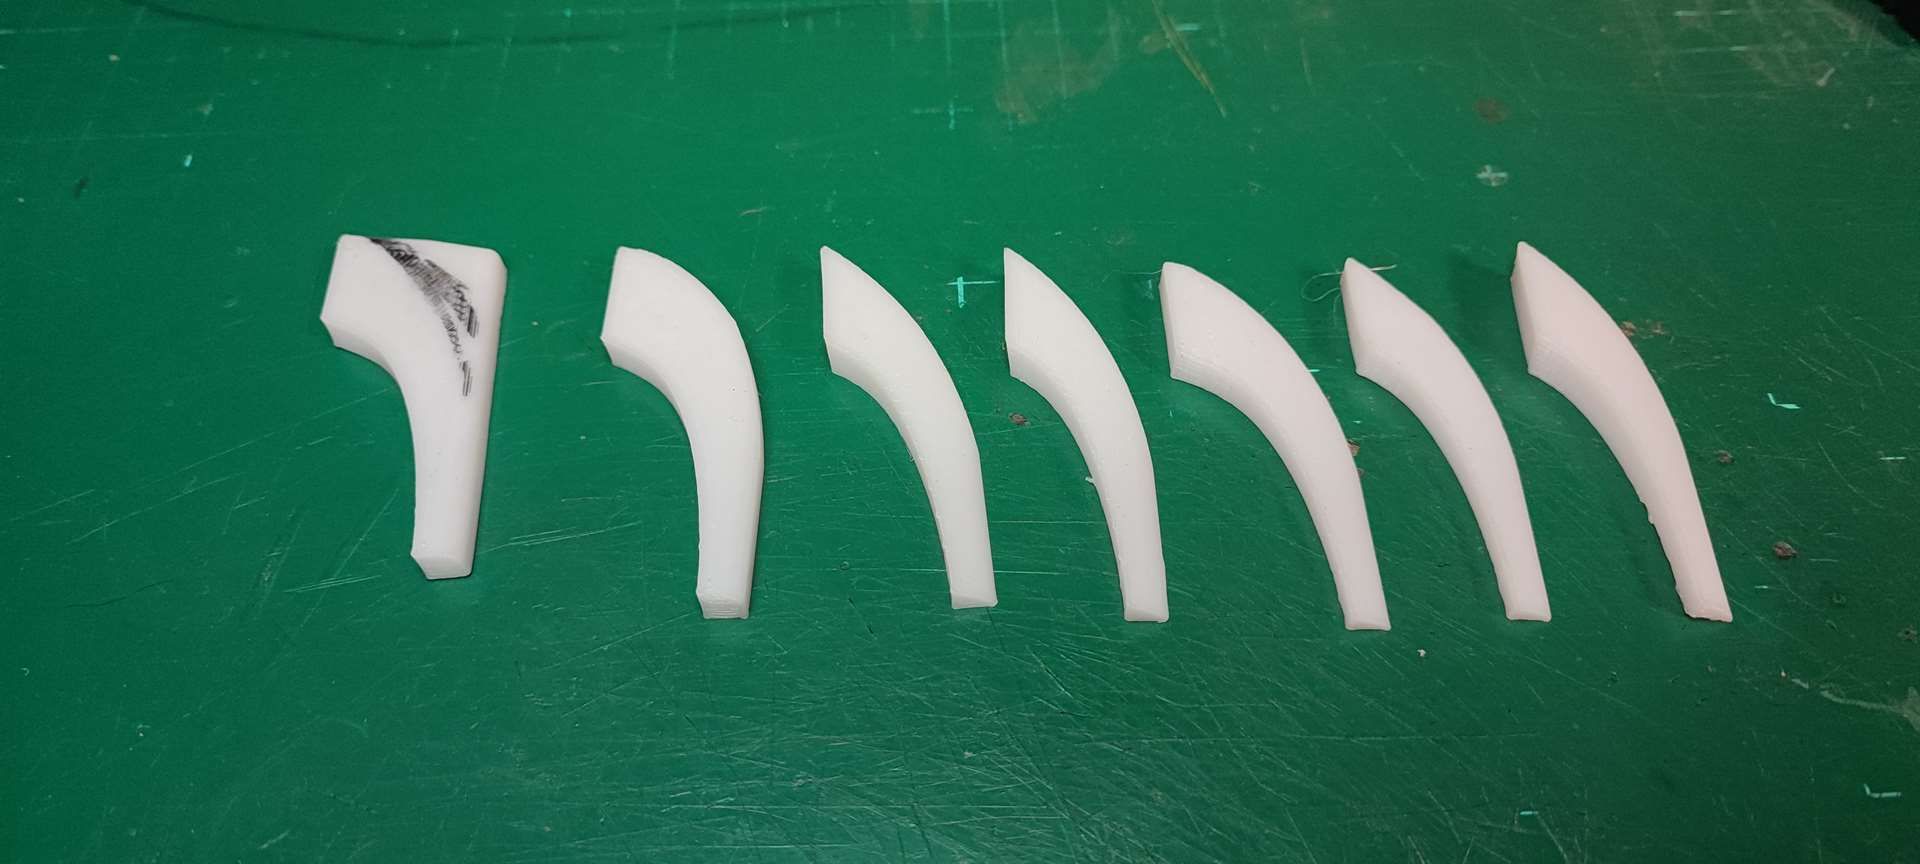
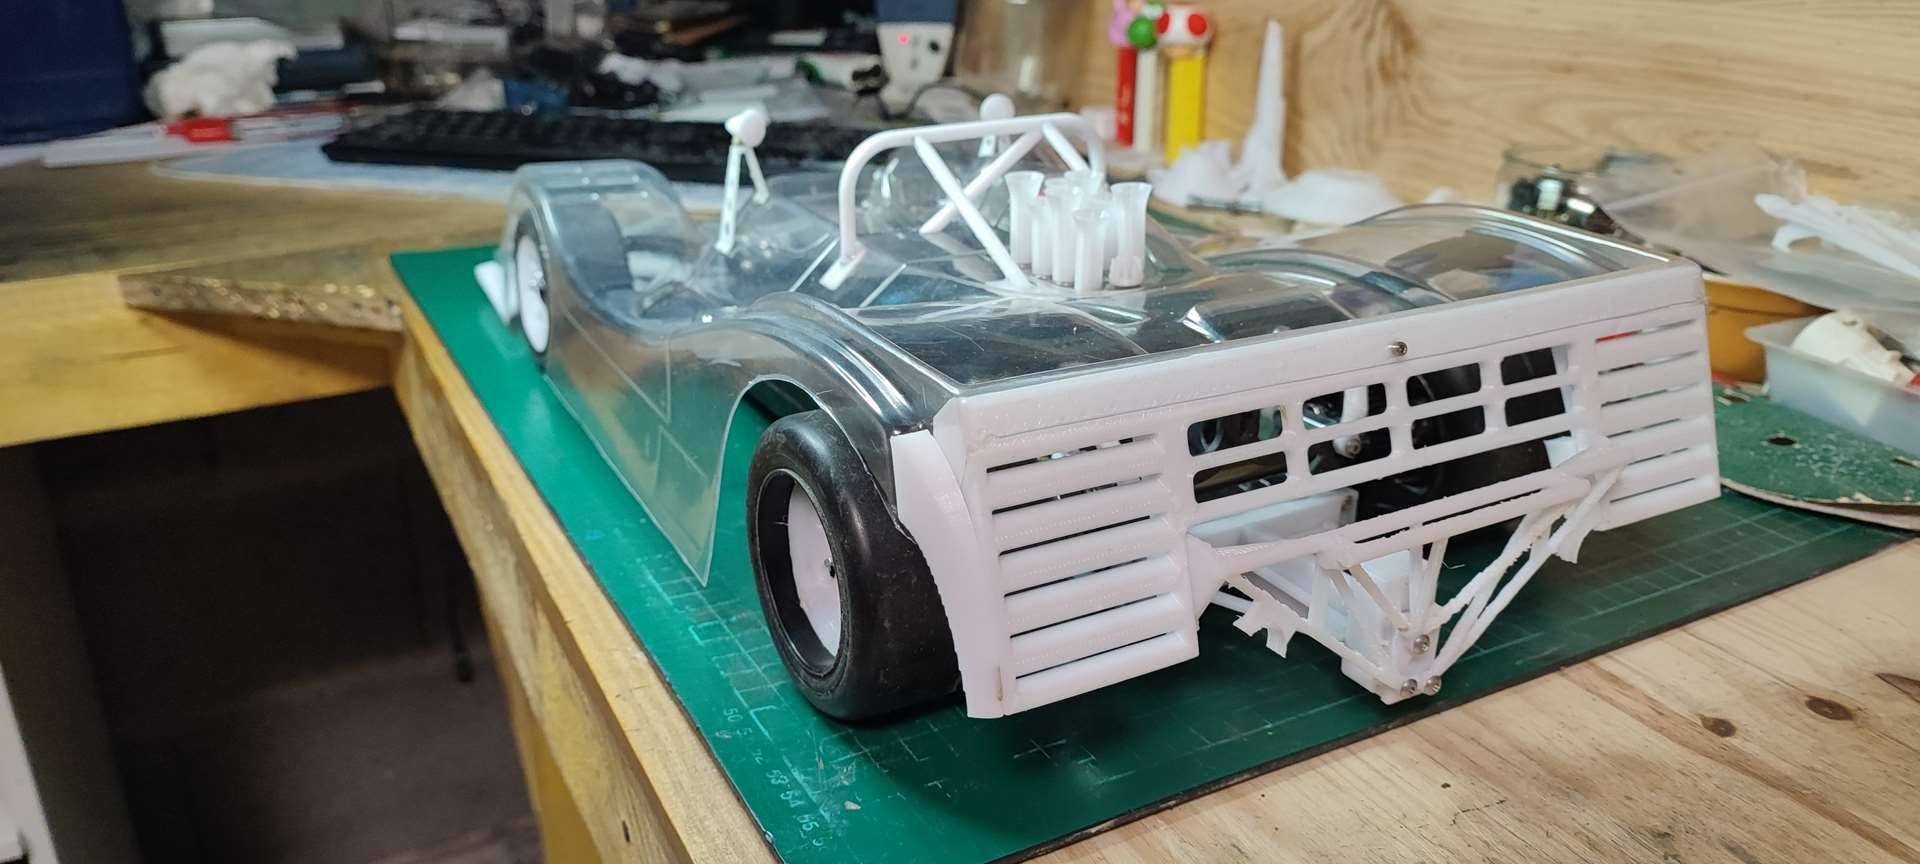
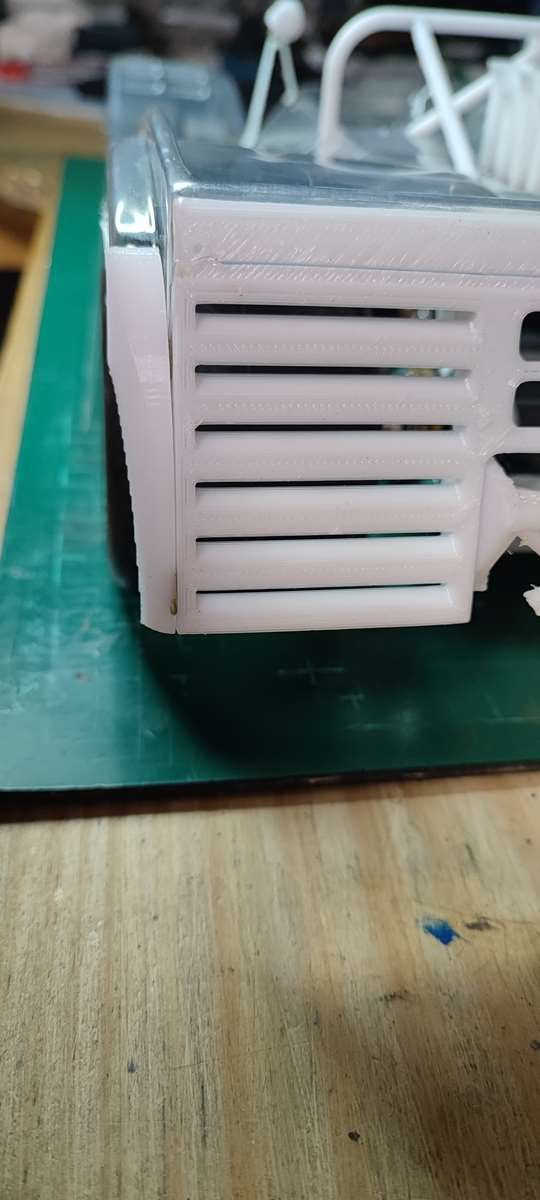
VALID !
Here is where I am with the retros installed:
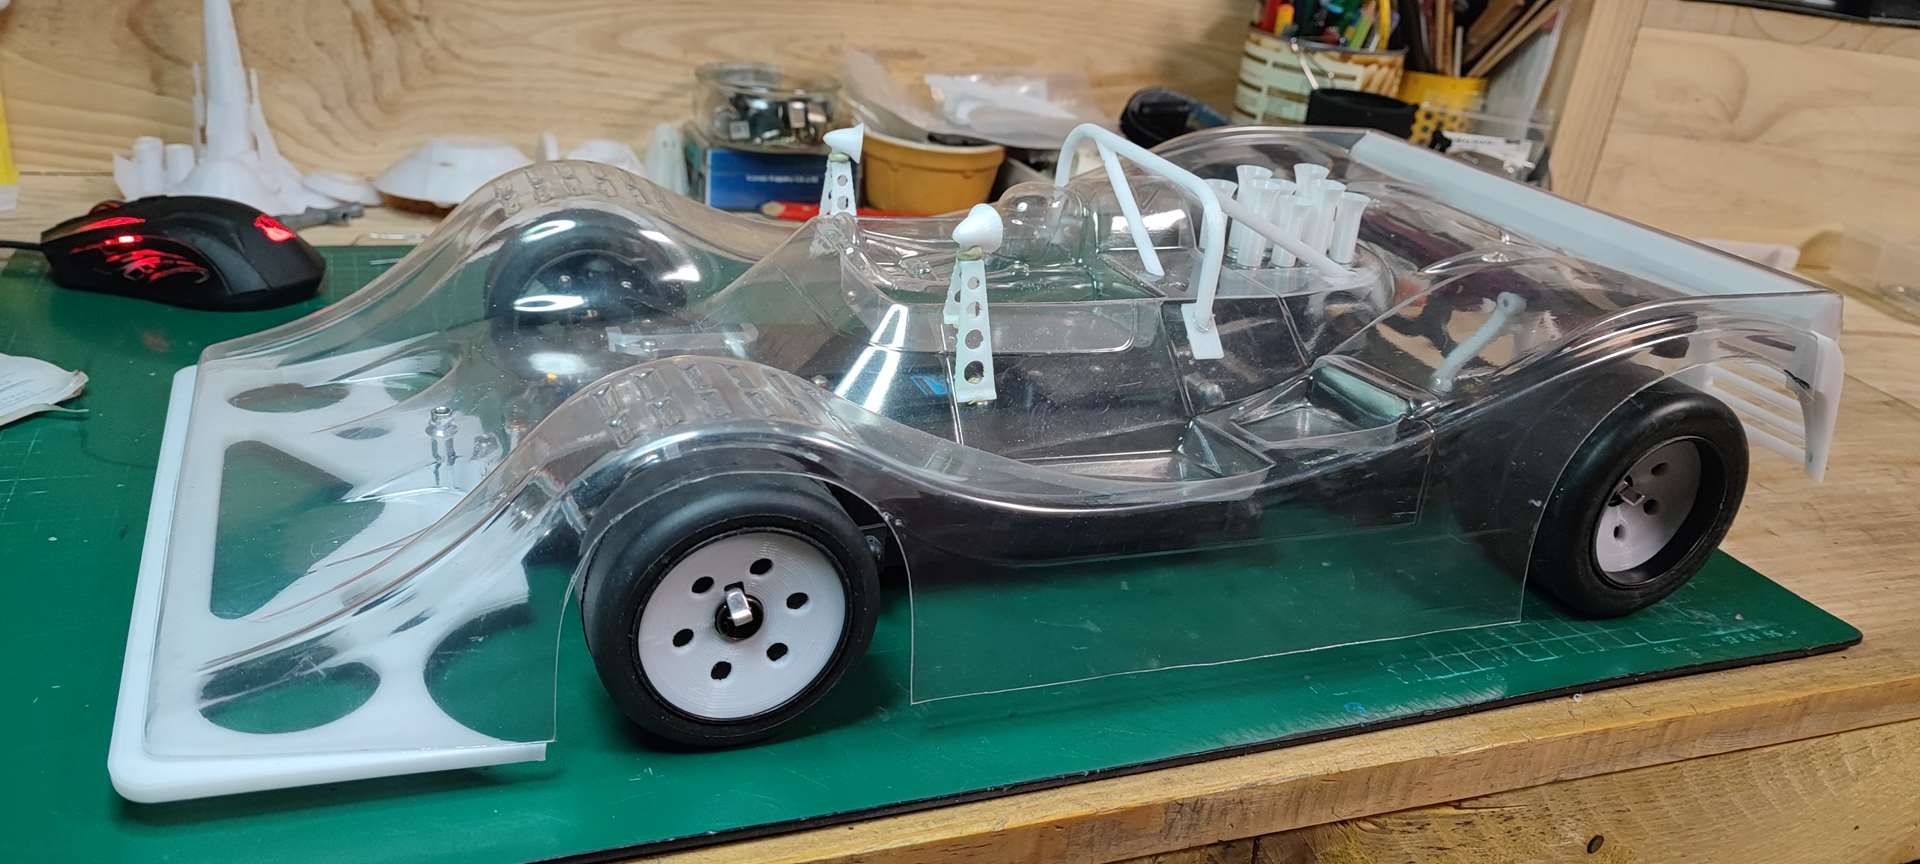
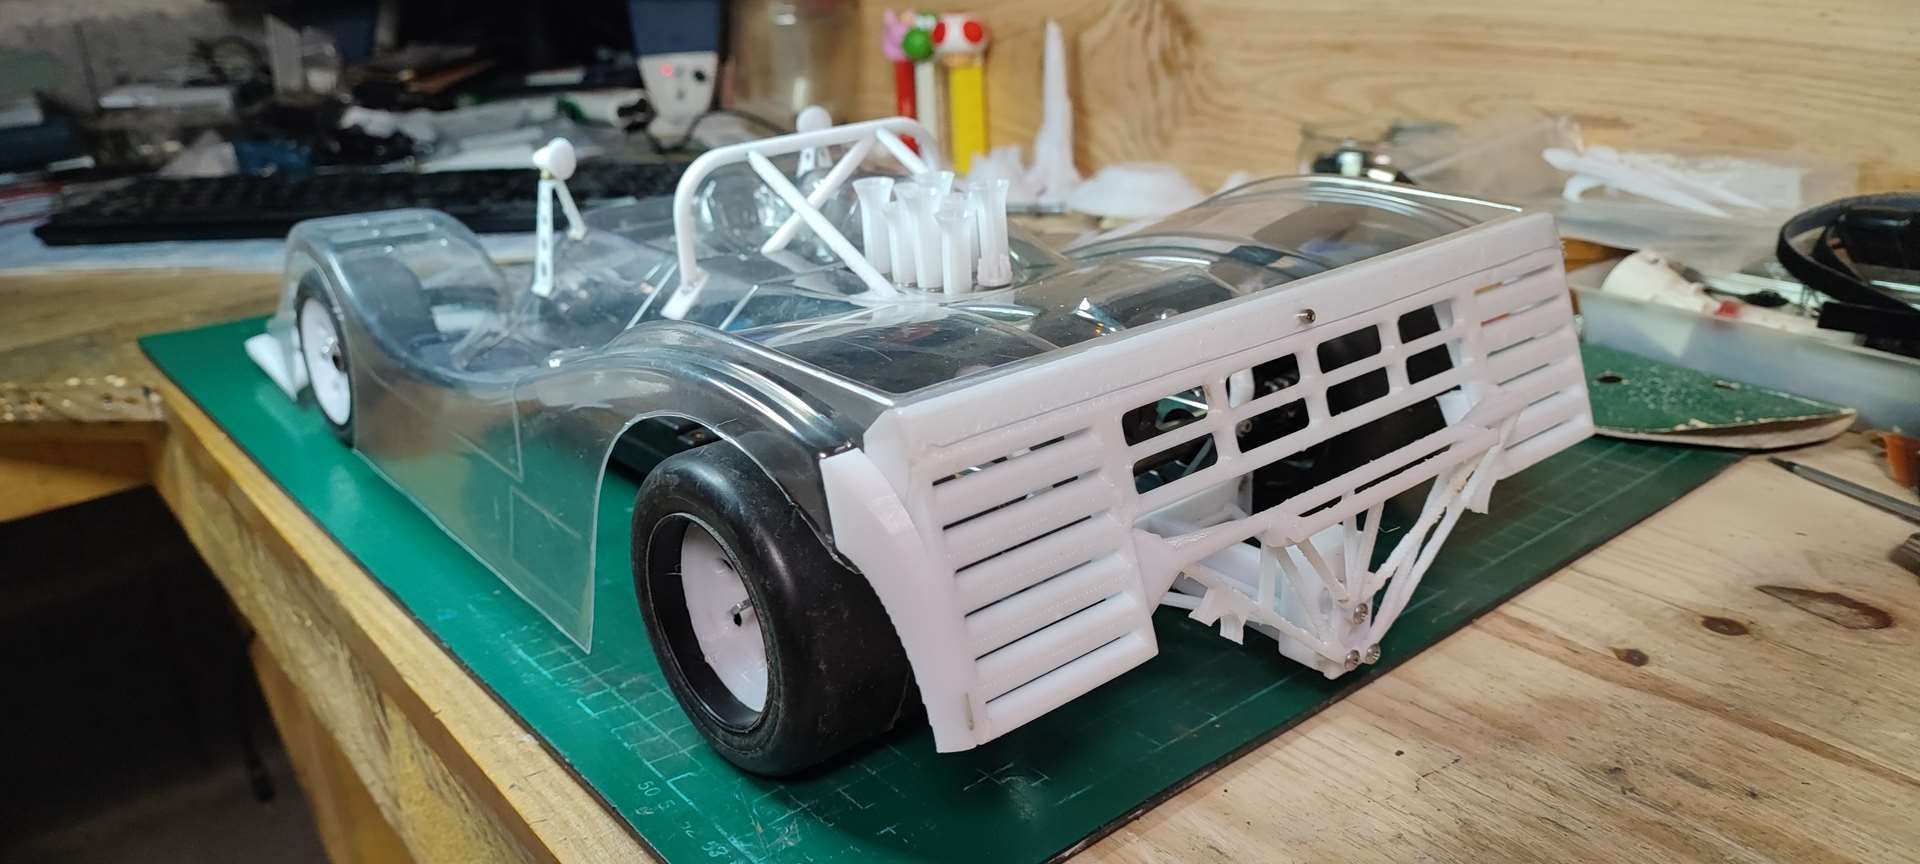
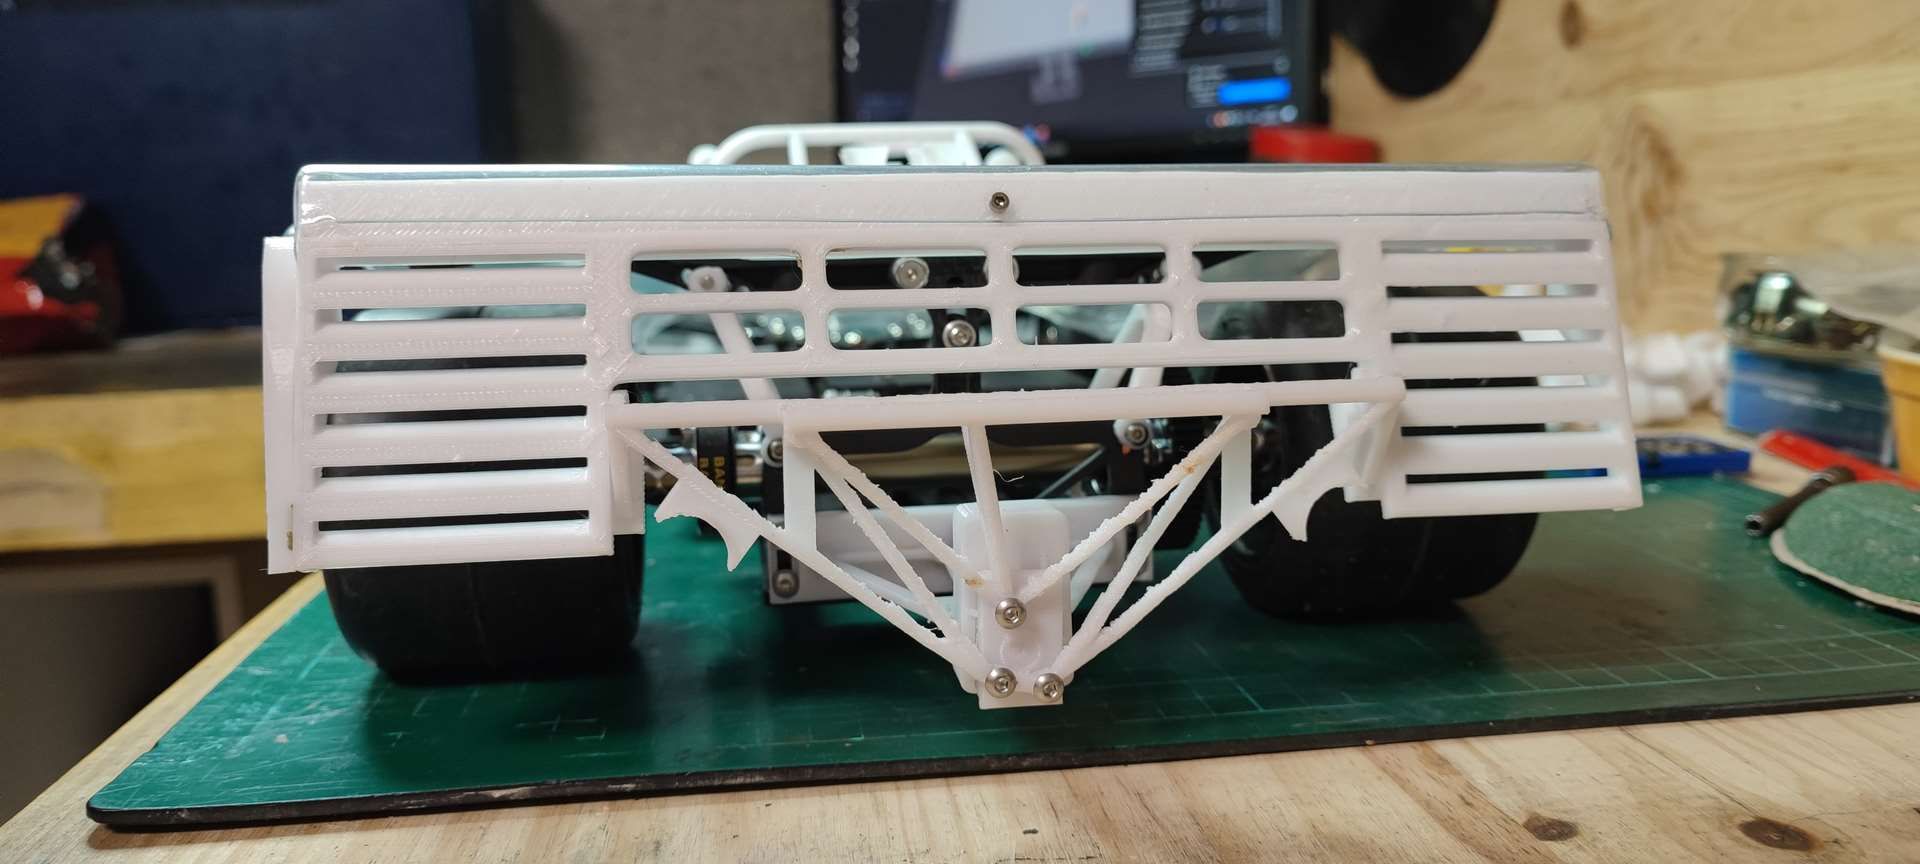
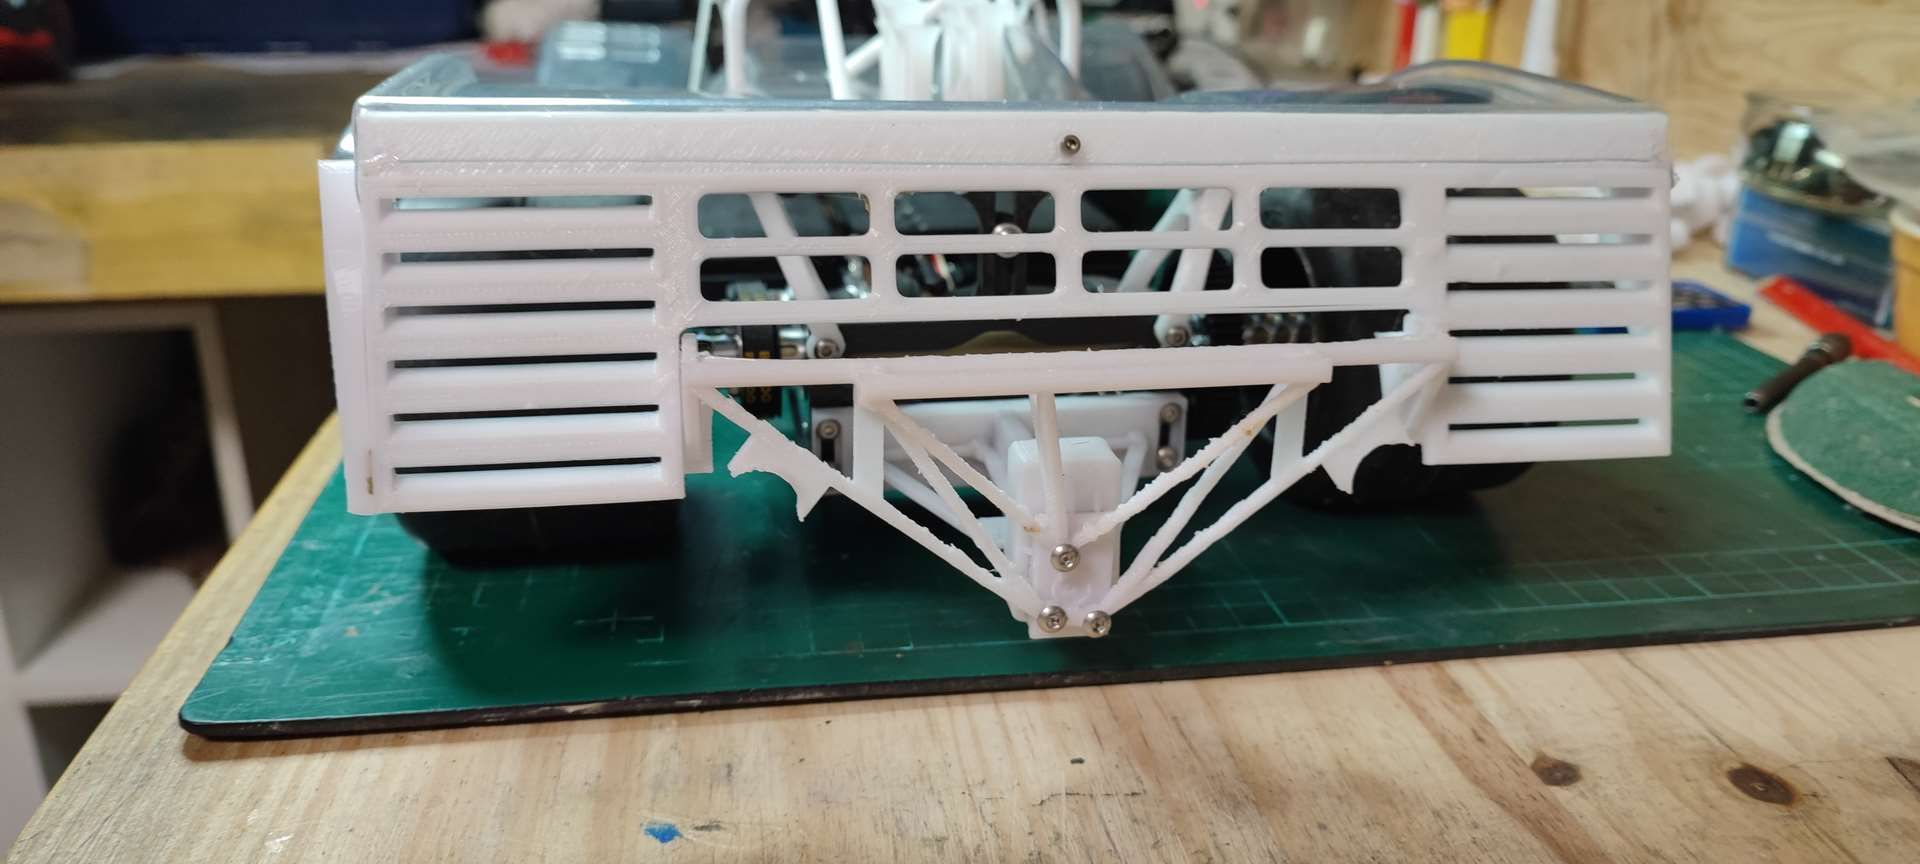
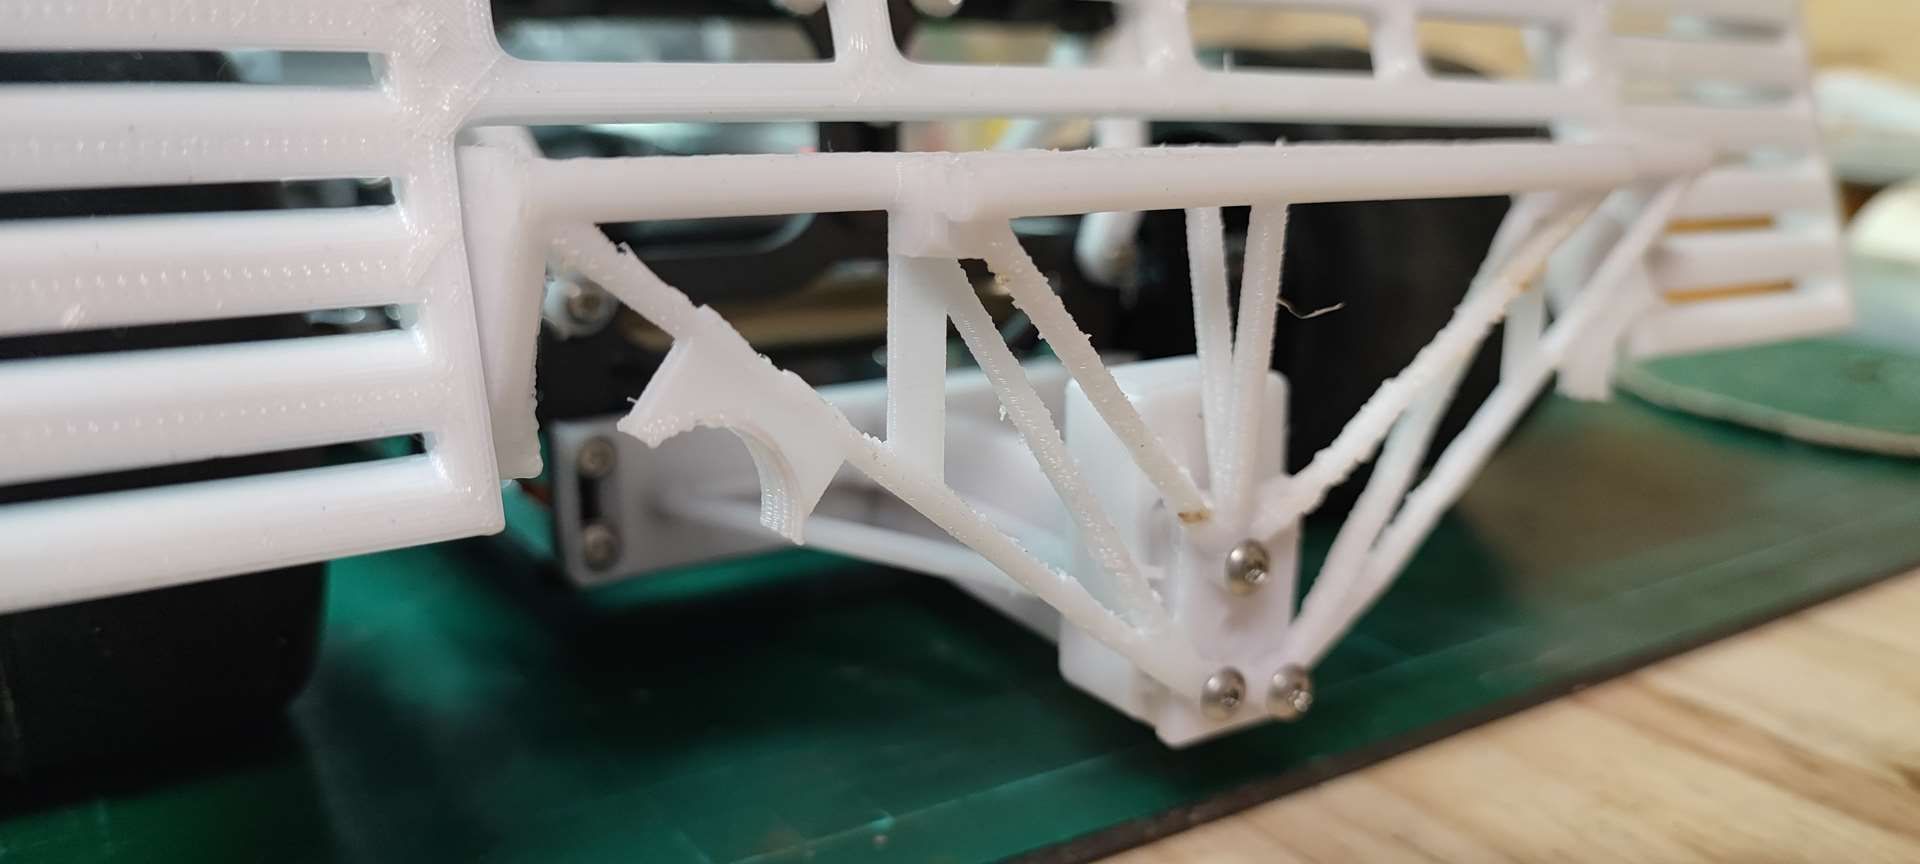
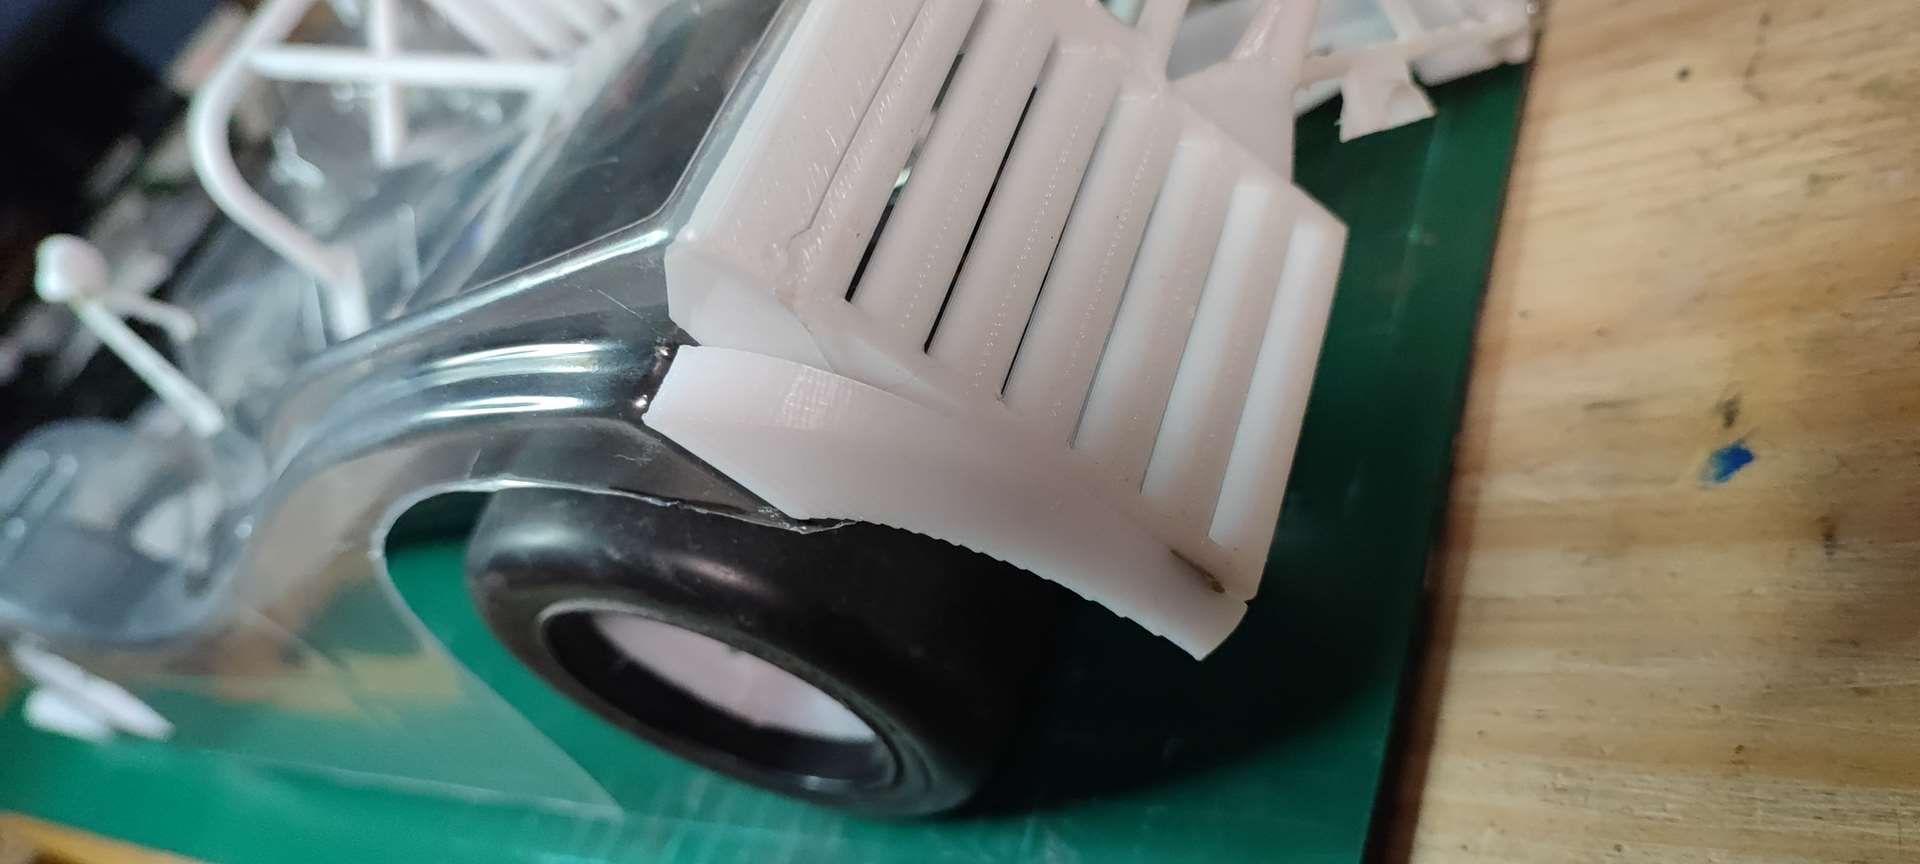
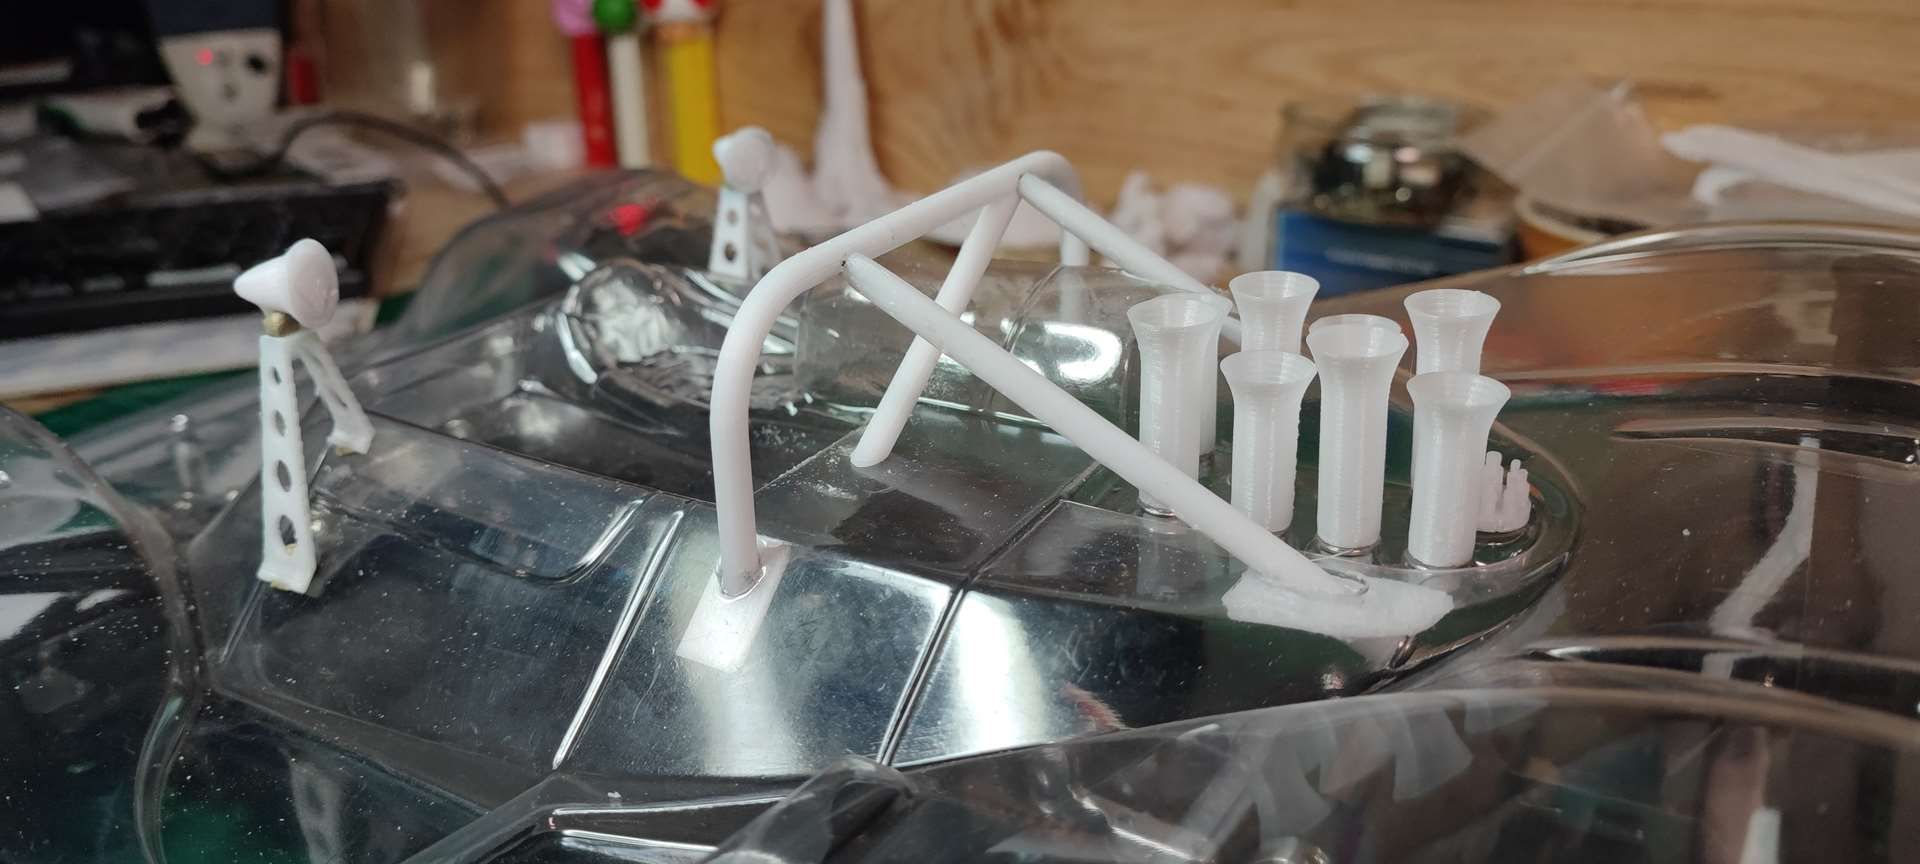
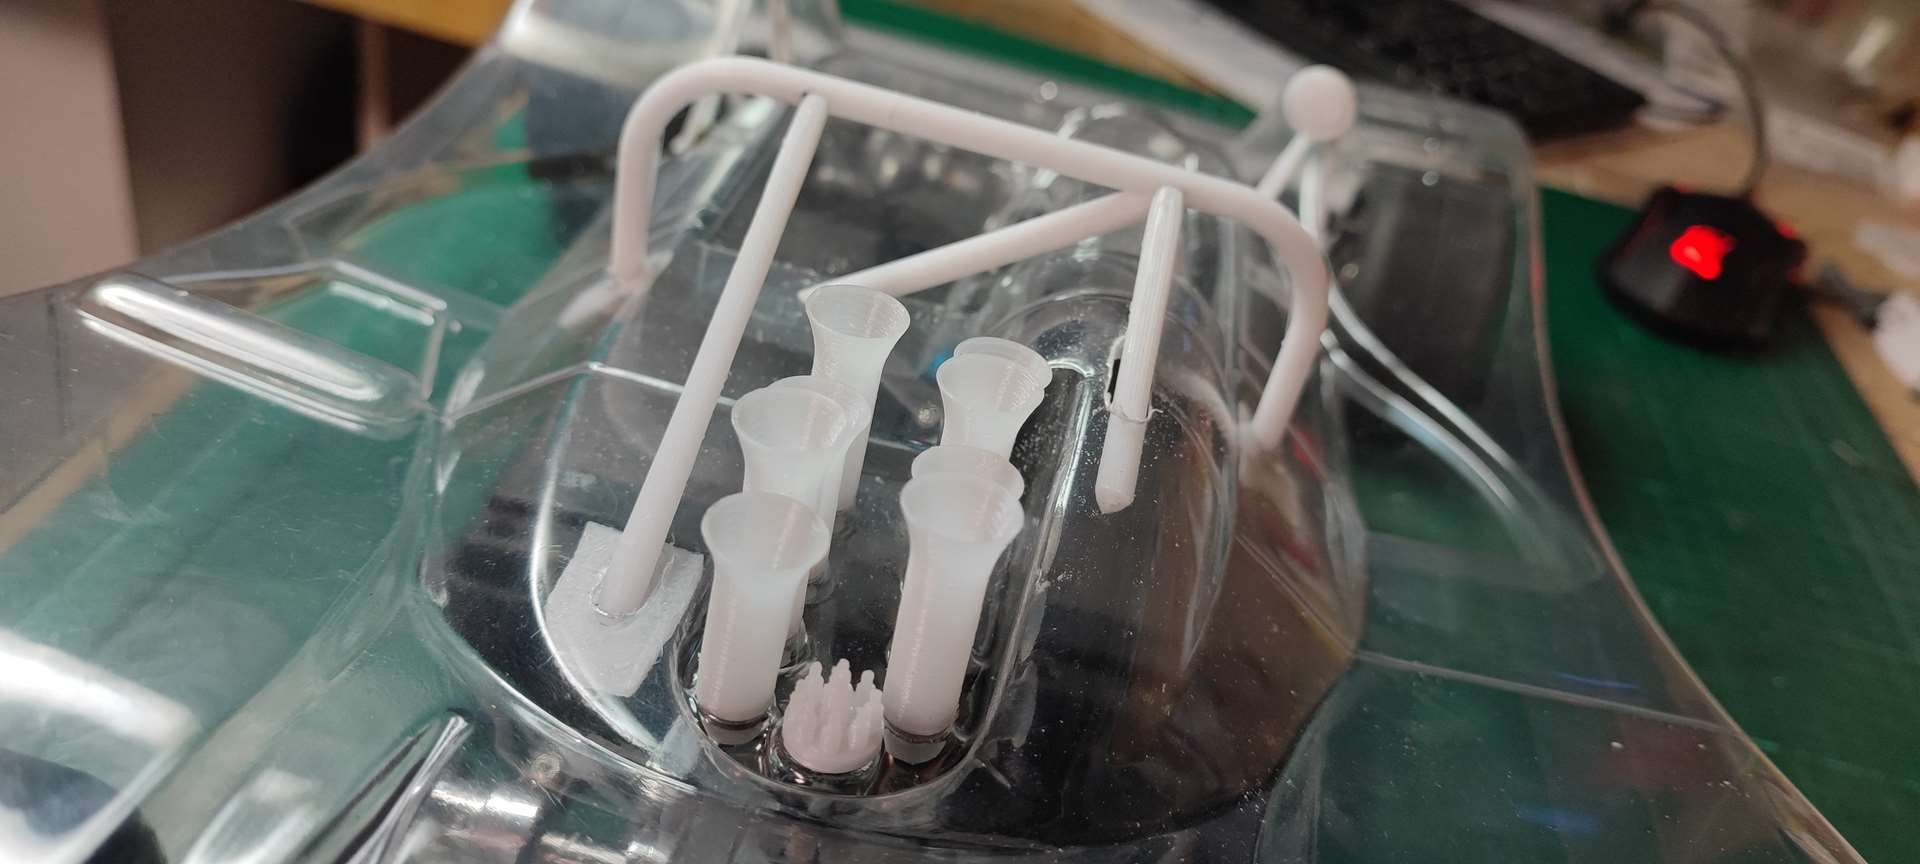
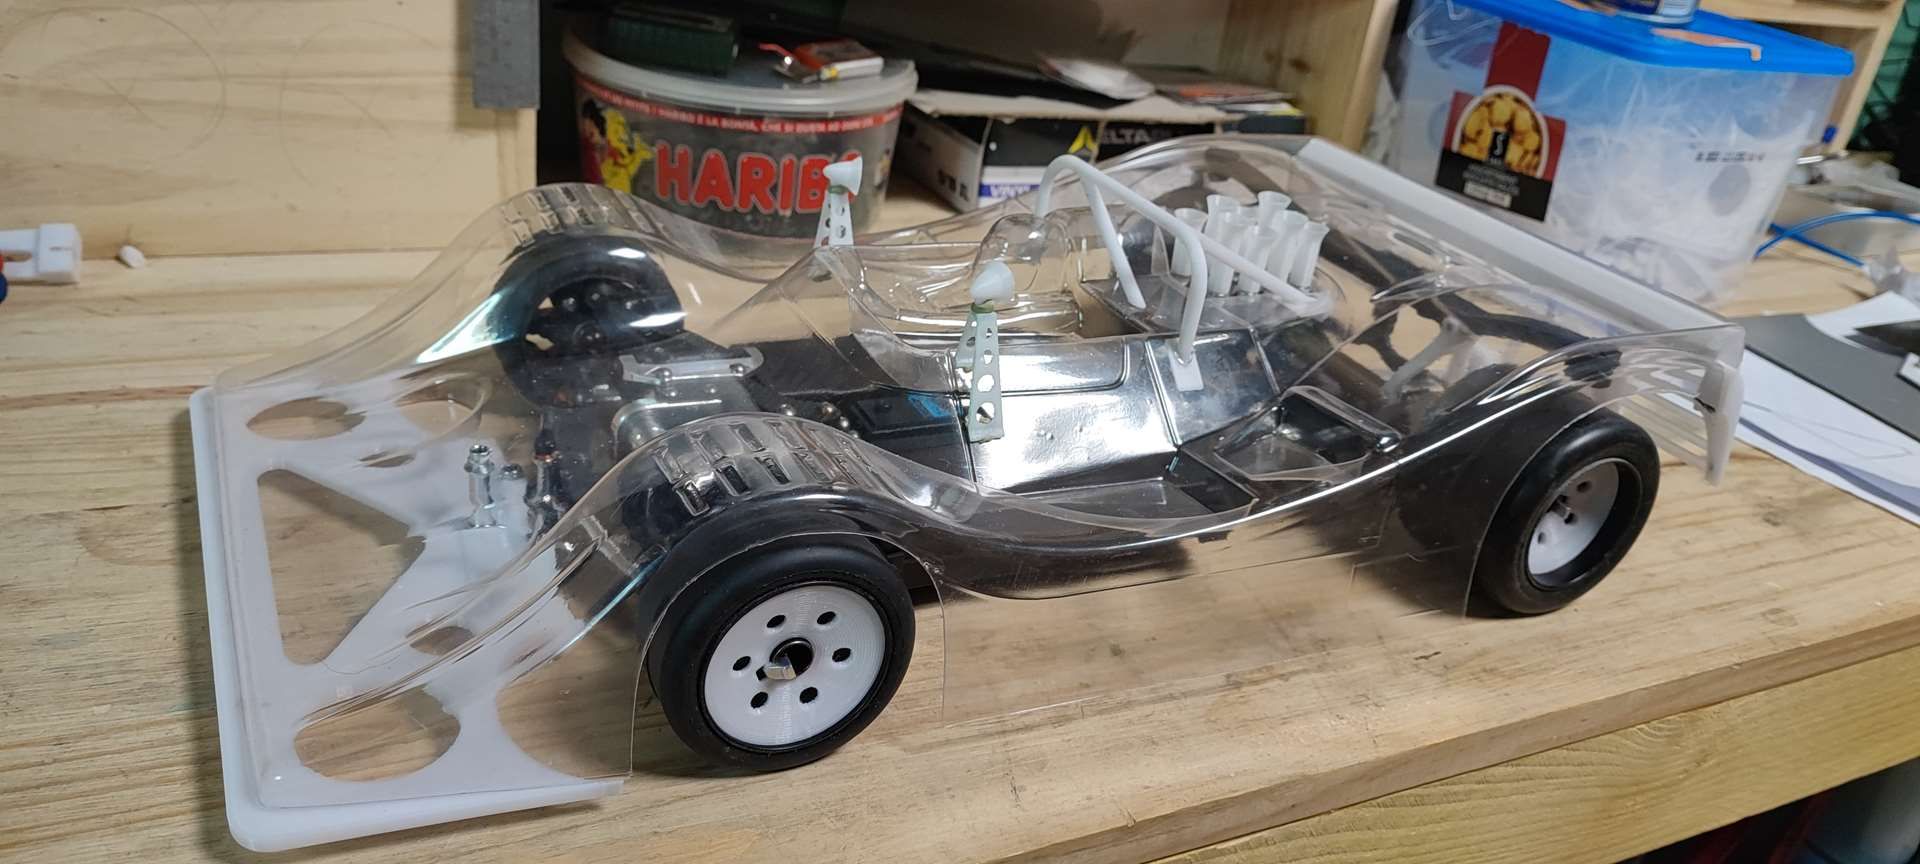
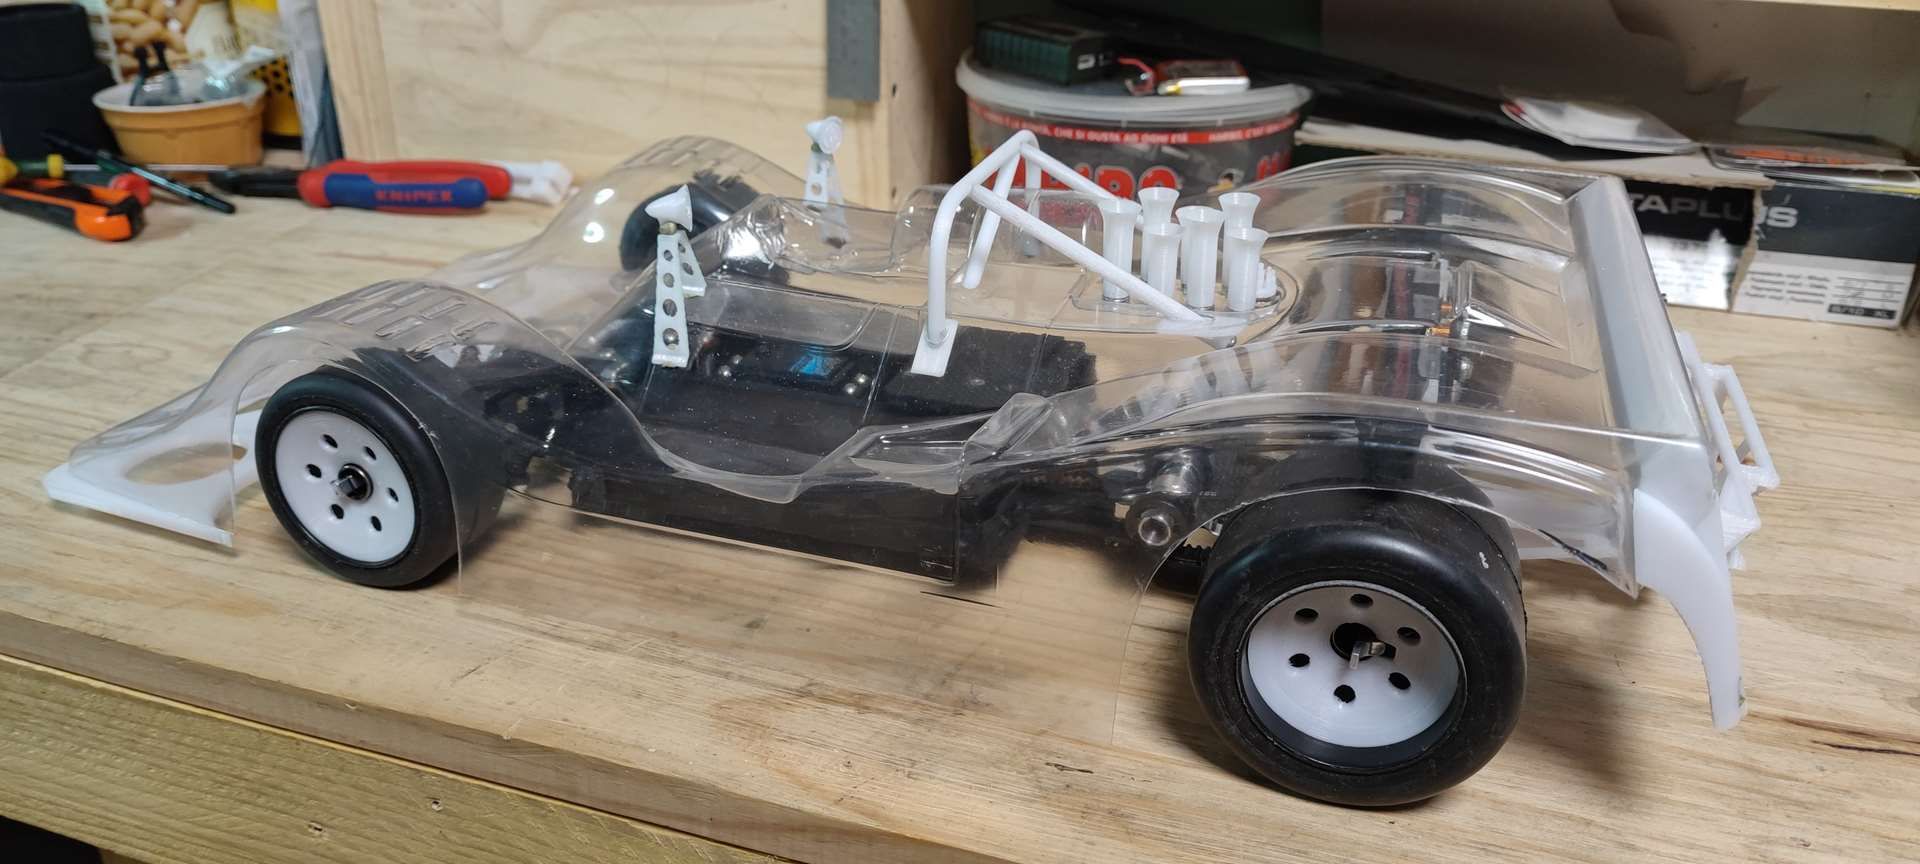
jerome
I had done a lot of stuff before trouble started.
Still haven't made the holes to fix the rollbar, it will be done within the week.
Printing of the wing stay ...it's better than last time, but I'll have to look at a multi-part version to get a cleaner print. I redesign the rear beam which supports the arch and which will serve as the basis for the semblance of (fictitious) transmission that I will try to model.


The difference between the two versions:


Once mounted


Test for front PC fit, in 4 steps (from left to right)
step 1: quick tracing with dimensions taken anyhow: it's not going the angles are not good
step 2: take measurements a little better taken with a protractor: it goes better, but lacks less than a millimeter so that it fits without forcing
step 3: the small millimeter solves all the problems, but the holes are too far back by 0.5mm: we start again
step 4: w it goes like a letter in the post office

Test of a first version of the front bumper base:

Improved bumper test version to come when I have the new printer parts. (the first one who laughs didn't win

I started to discover "BLENDER" to transform a 2D into 3D, it's cooooooooooolllllll

Here is this weekend's work, I received my new heater set with new nozzle and it's going much better!
This weekend (this Sunday) was mainly oriented towards modeling and my first steps on "fusion 360"... I gave up, because I was in a hurry
Otherwise on this chassis, I took the time to fix the roll bar, to make a bumper that looks good, wheel spacers for the brakes AND FINALLY, the fender cheeks rear that will come on the rear valance.
The simplest is the pictures
Bumper Base Test Validation:

VALID !!!
Pointing session to fix the rollbar :


On it goes:


It's validated !!!
The left brace:


Here we go:


Damn, the stem is too short...

Small view with the new bumper:


Once the "stems" are printed at the correct length, things are better:


Drilling for the right brace:


here we go:


VALID !!!


The bumper fits the way I want!

The caches that will receive the fictitious brake scoops

AND THE BIG topic of this weekend: The rear side cheeks
several tests were necessary:


VALID !
Here is where I am with the retros installed:


jerome
Sorry for my rusty english, i'm a kind of French farmer lost in his montain ...
- GeneralZod
- Approved Member
- Posts: 415
- Joined: Sun Dec 09, 2012 7:19 pm
- Location: Colorado
- Has thanked: 150 times
- Been thanked: 161 times
Re: SERPENT 988e Taipan
The level of work on this project is awesome! Can't wait to see the end result!
- XLR8
- Approved Member
- Posts: 3289
- Joined: Sun Feb 19, 2017 3:46 am
- Location: north/central Alabama
- Has thanked: 1626 times
- Been thanked: 1150 times
-
Trass
- Approved Member
- Posts: 340
- Joined: Sat Aug 08, 2015 12:02 pm
- Location: Near Limoges - France
- Has thanked: 398 times
- Been thanked: 202 times
Re: SERPENT 988e Taipan
Thank you !GeneralZod wrote: ↑Sun Jan 29, 2023 9:07 pm The level of work on this project is awesome! Can't wait to see the end result!
Me too
Thank you !
Jerome
Sorry for my rusty english, i'm a kind of French farmer lost in his montain ...
-
Trass
- Approved Member
- Posts: 340
- Joined: Sat Aug 08, 2015 12:02 pm
- Location: Near Limoges - France
- Has thanked: 398 times
- Been thanked: 202 times
Re: SERPENT 988e Taipan
Lot of tests since 3 week.
This is my last works
-----
3 weeks ago:
"This weekend, I looked at the wing and its supports.
First job: draw a wing that looks good... phew, it fits on the printer bed in one piece.
Second job: resume the design of the wing supports which I don't like ... I will have to redo everything and it will surely be better!
Third job: print all that... hell of a god of %#*@-# of the Wrapping... it all shifted me for the screwing of the blanks of the aileron.
That's what happens :
Fixing the wing supports on the rear frame
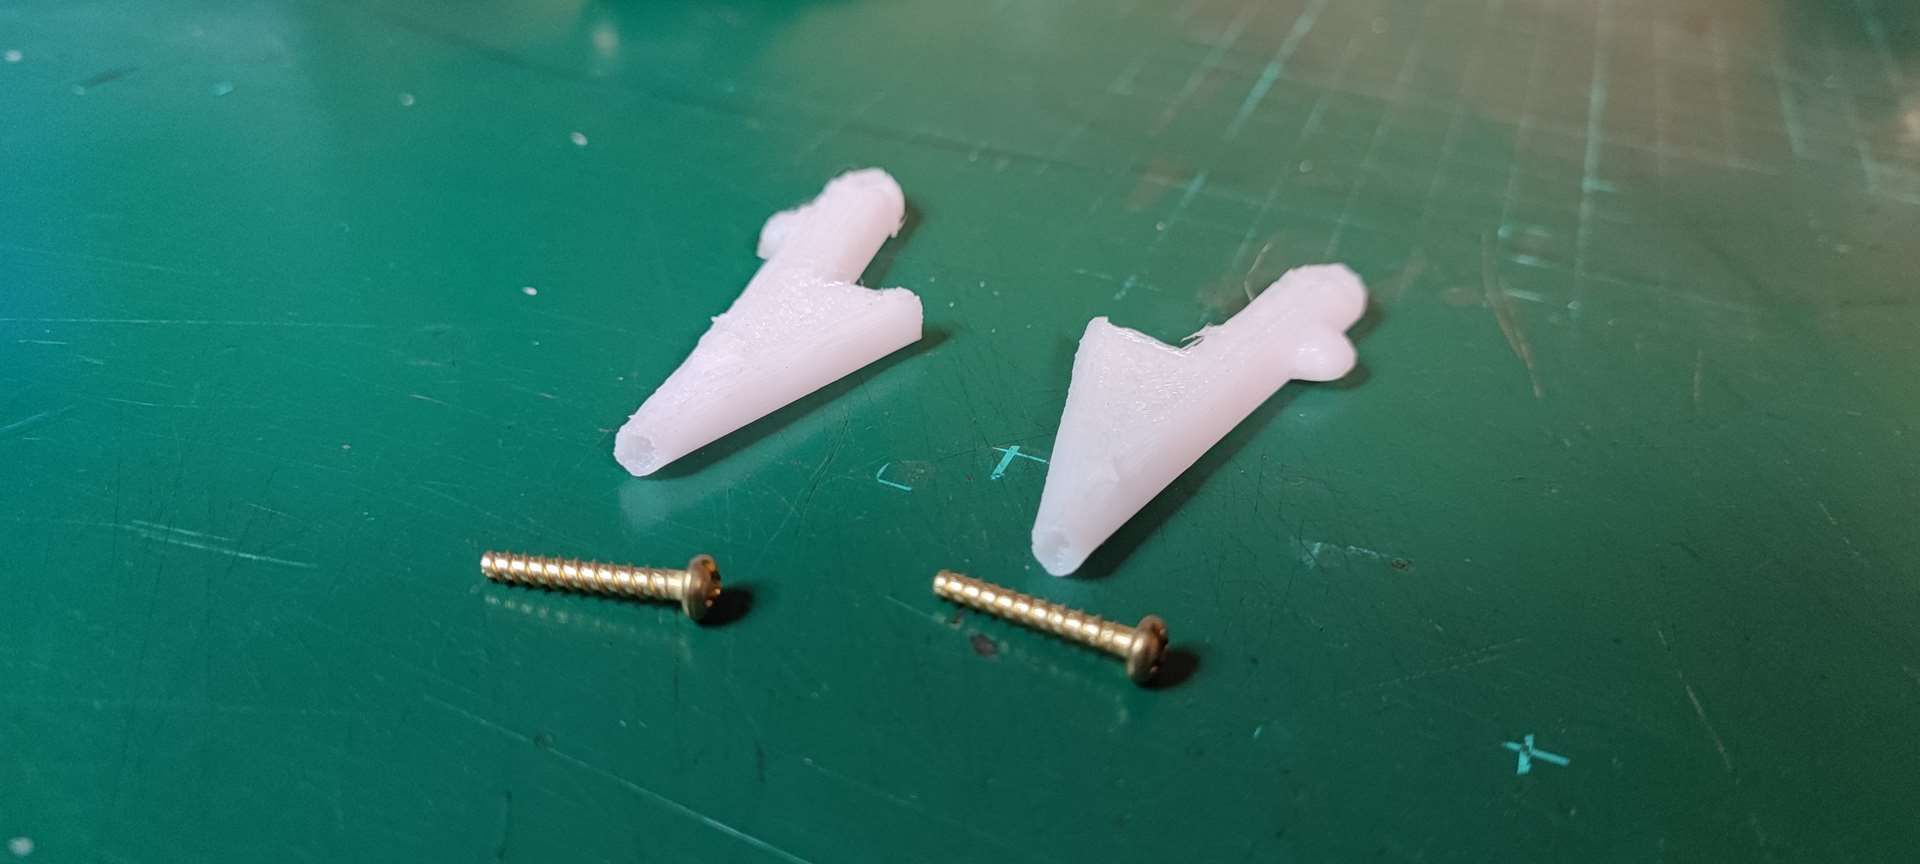
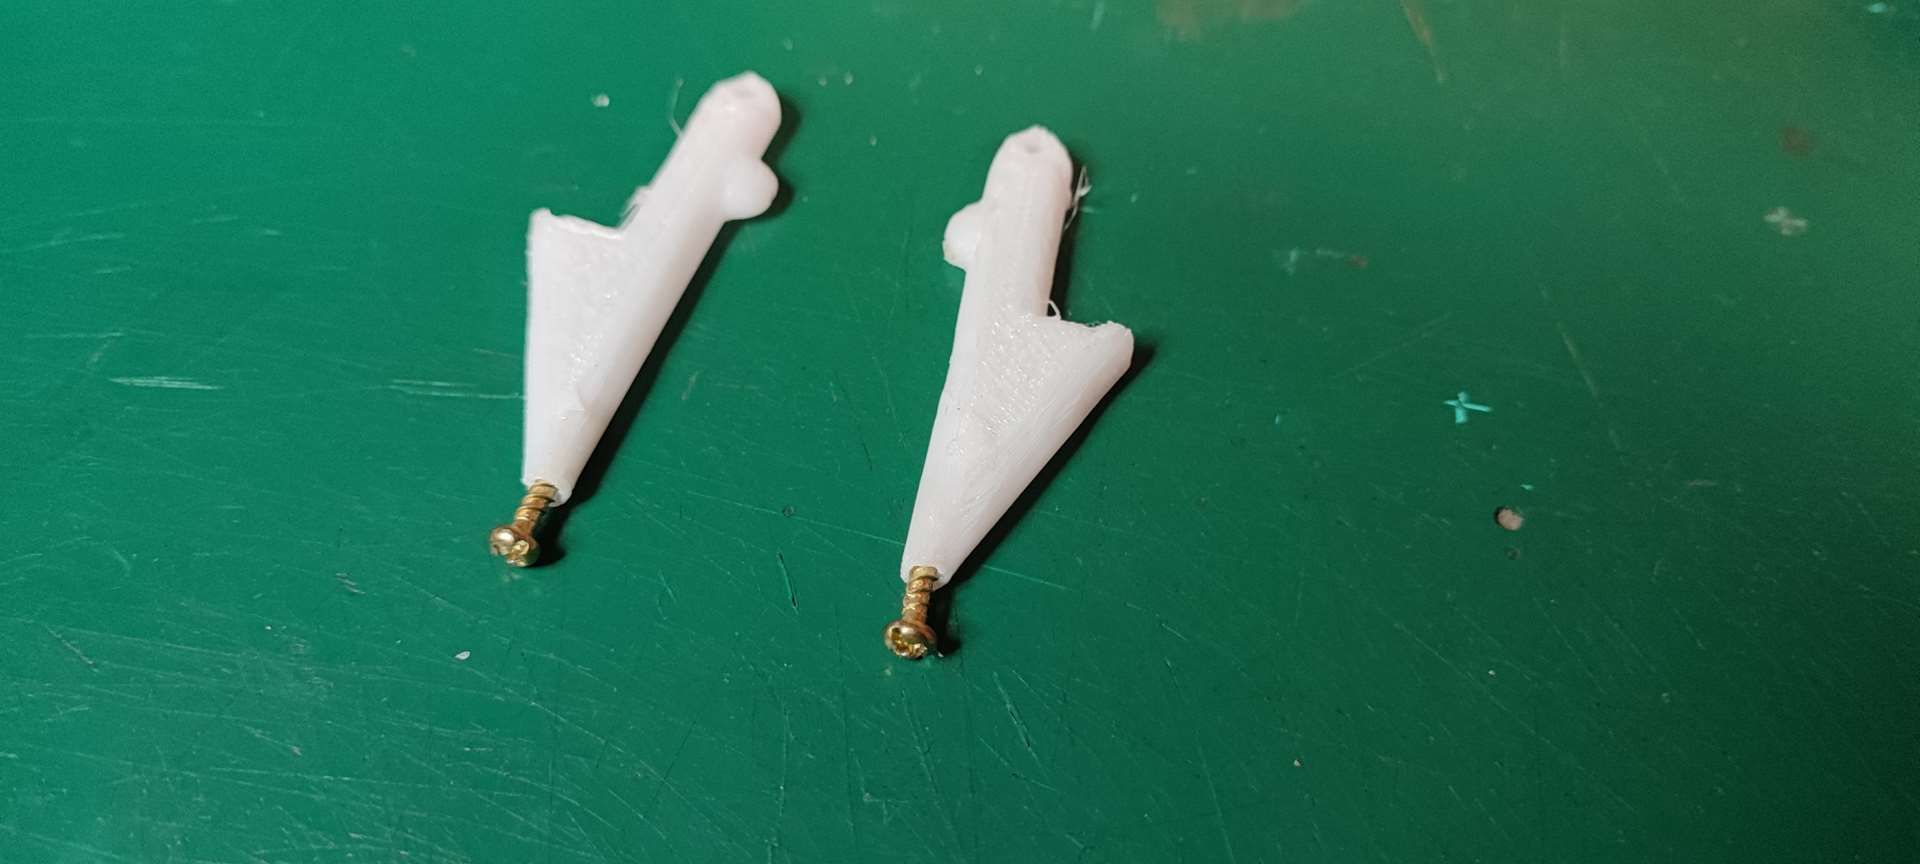
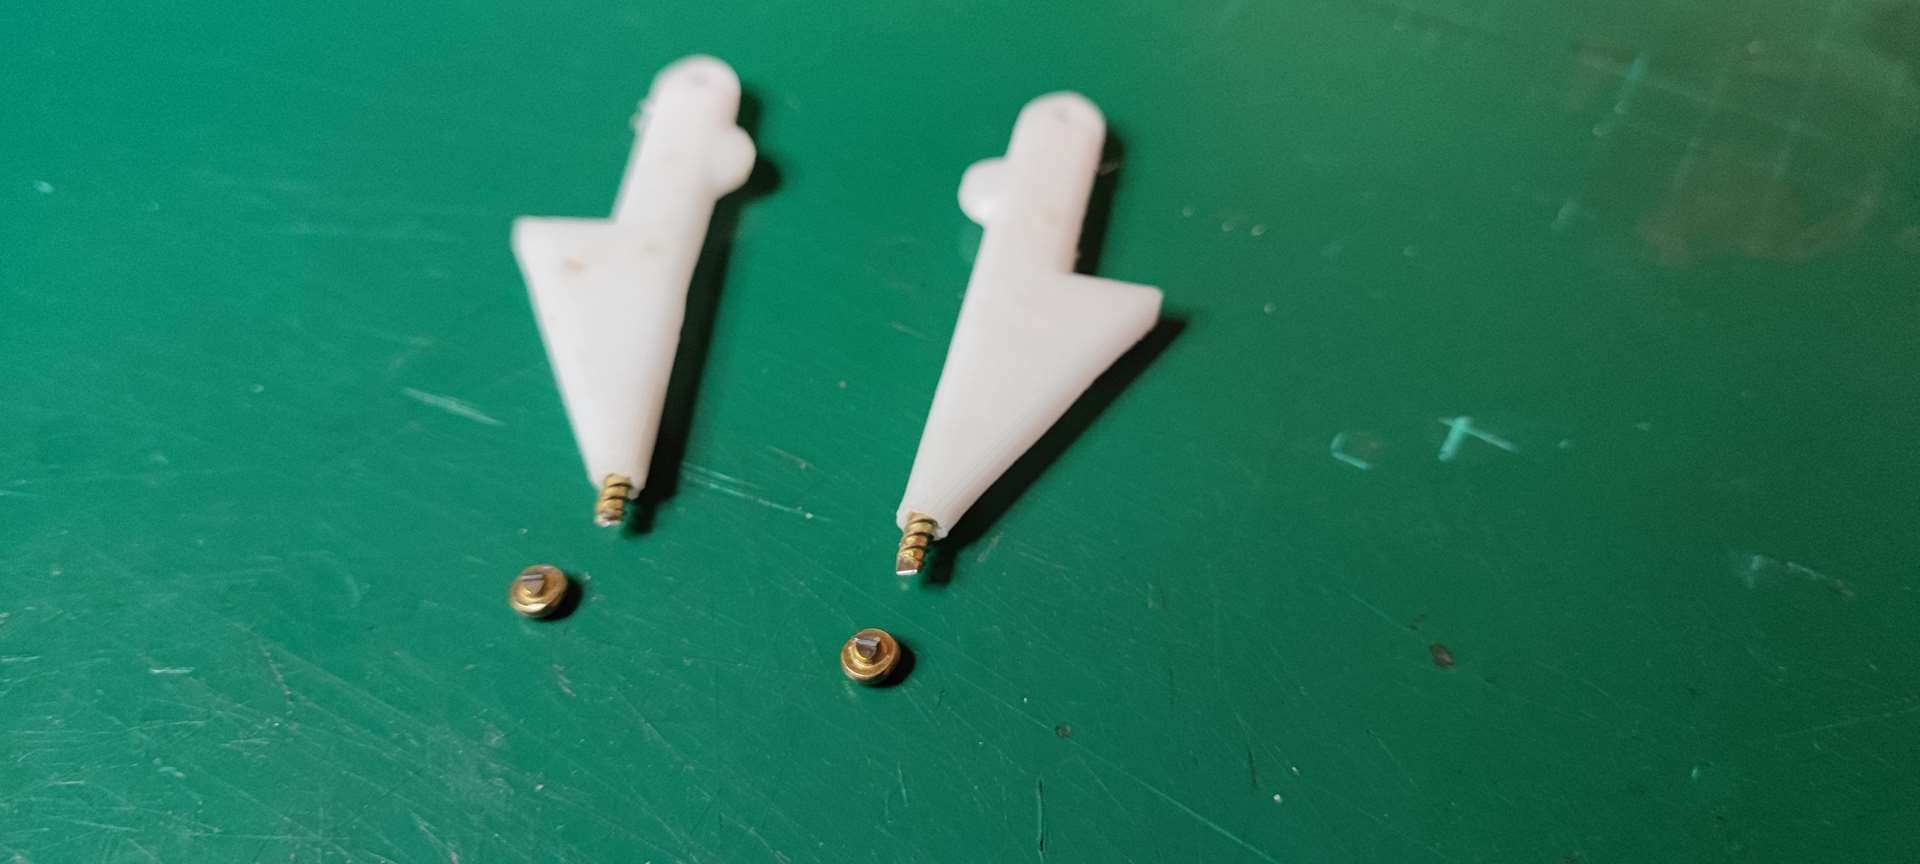
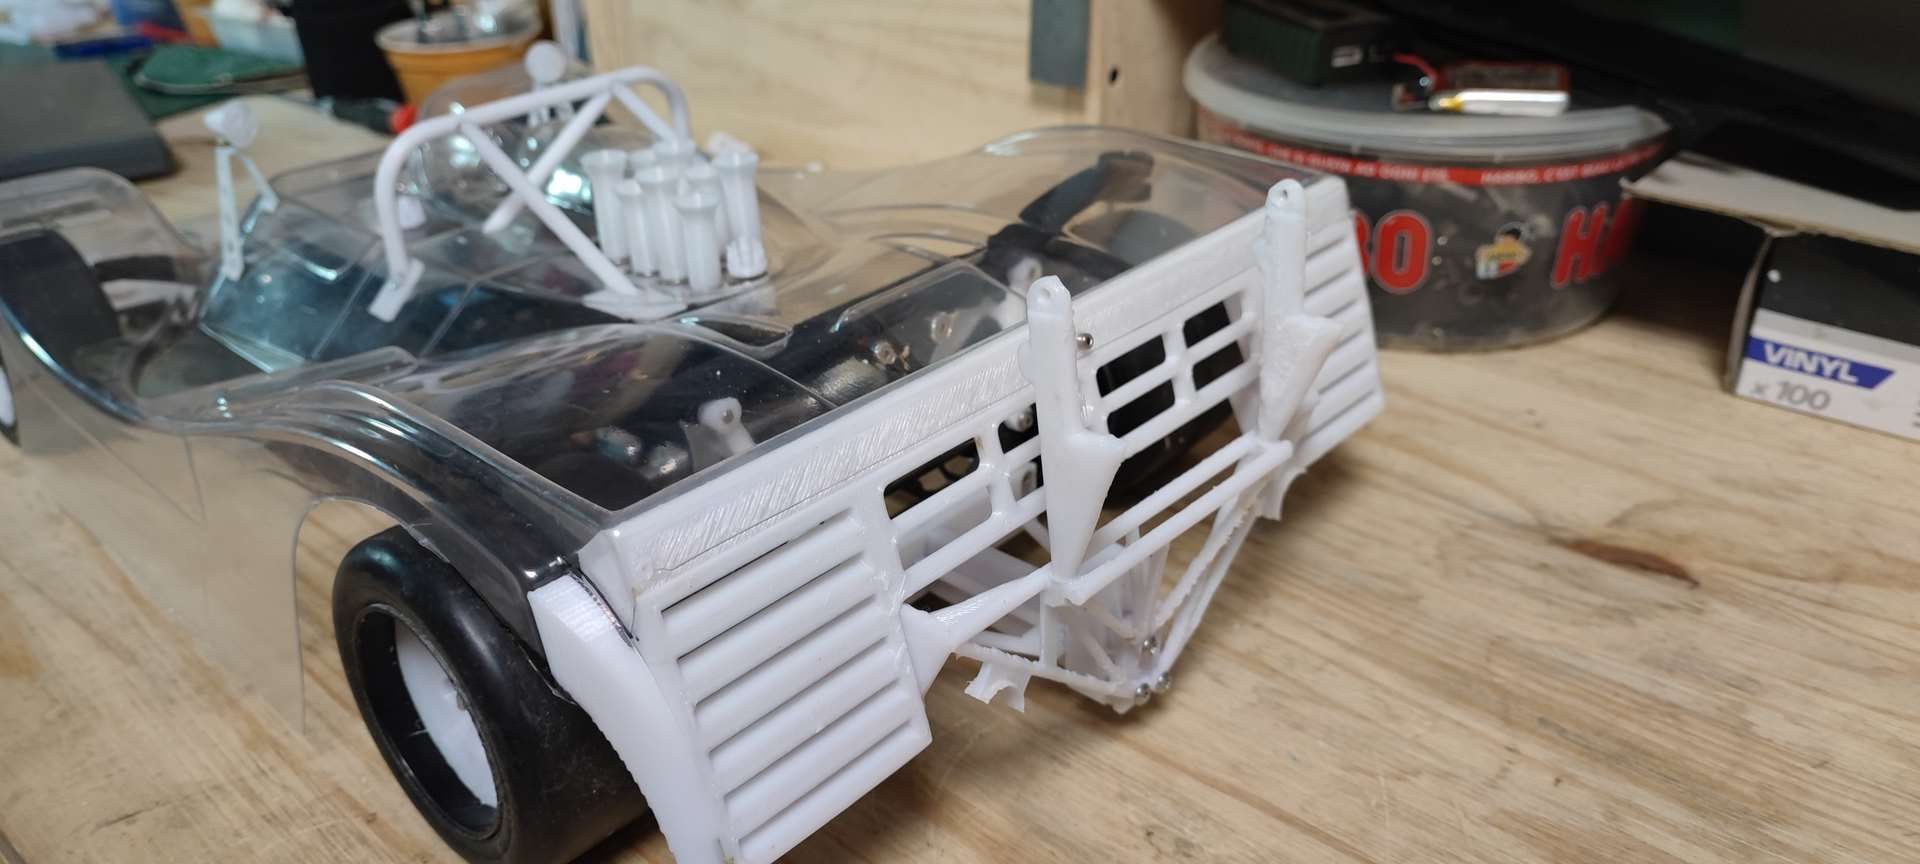
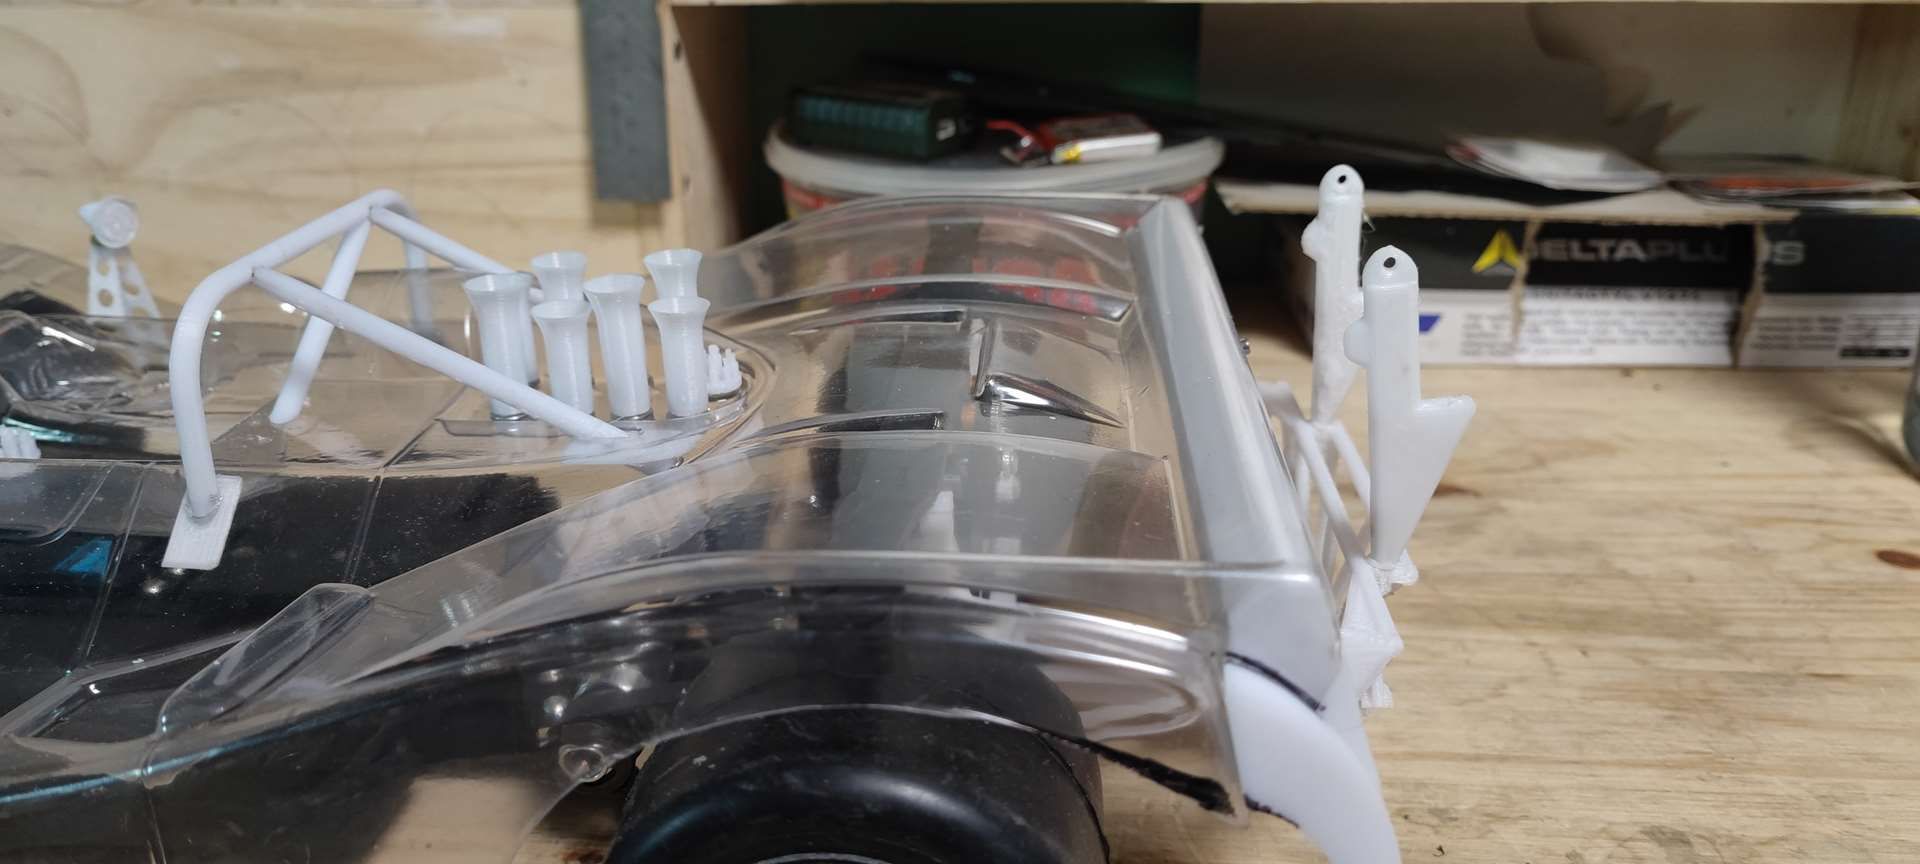
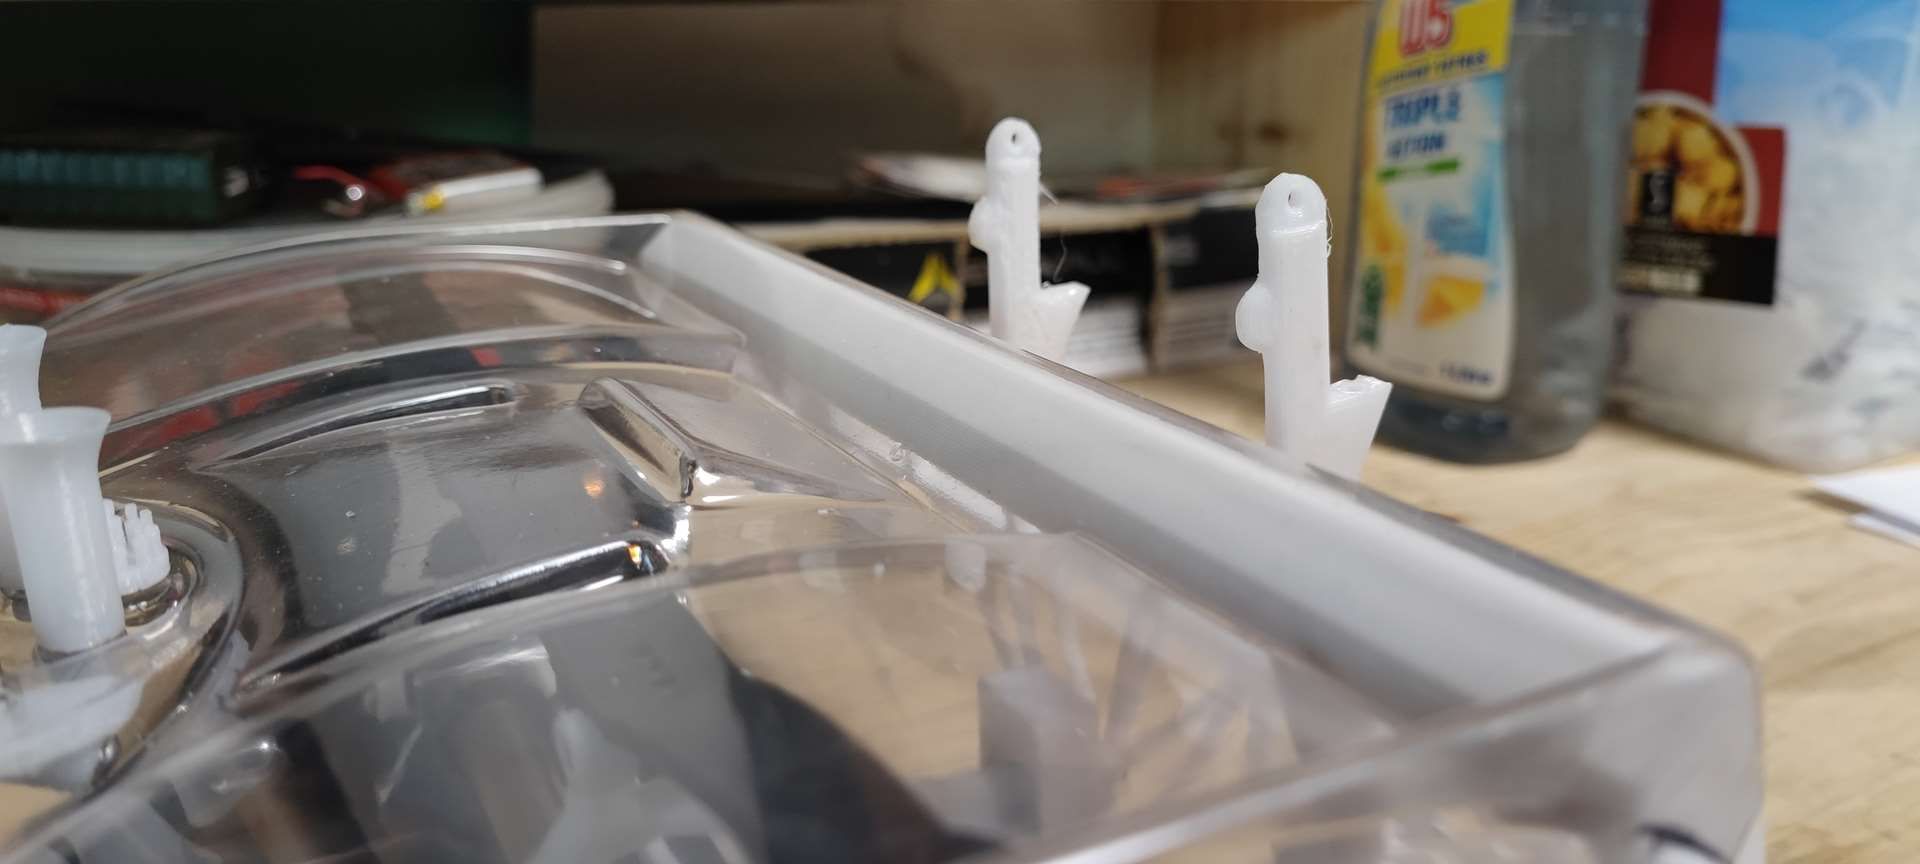
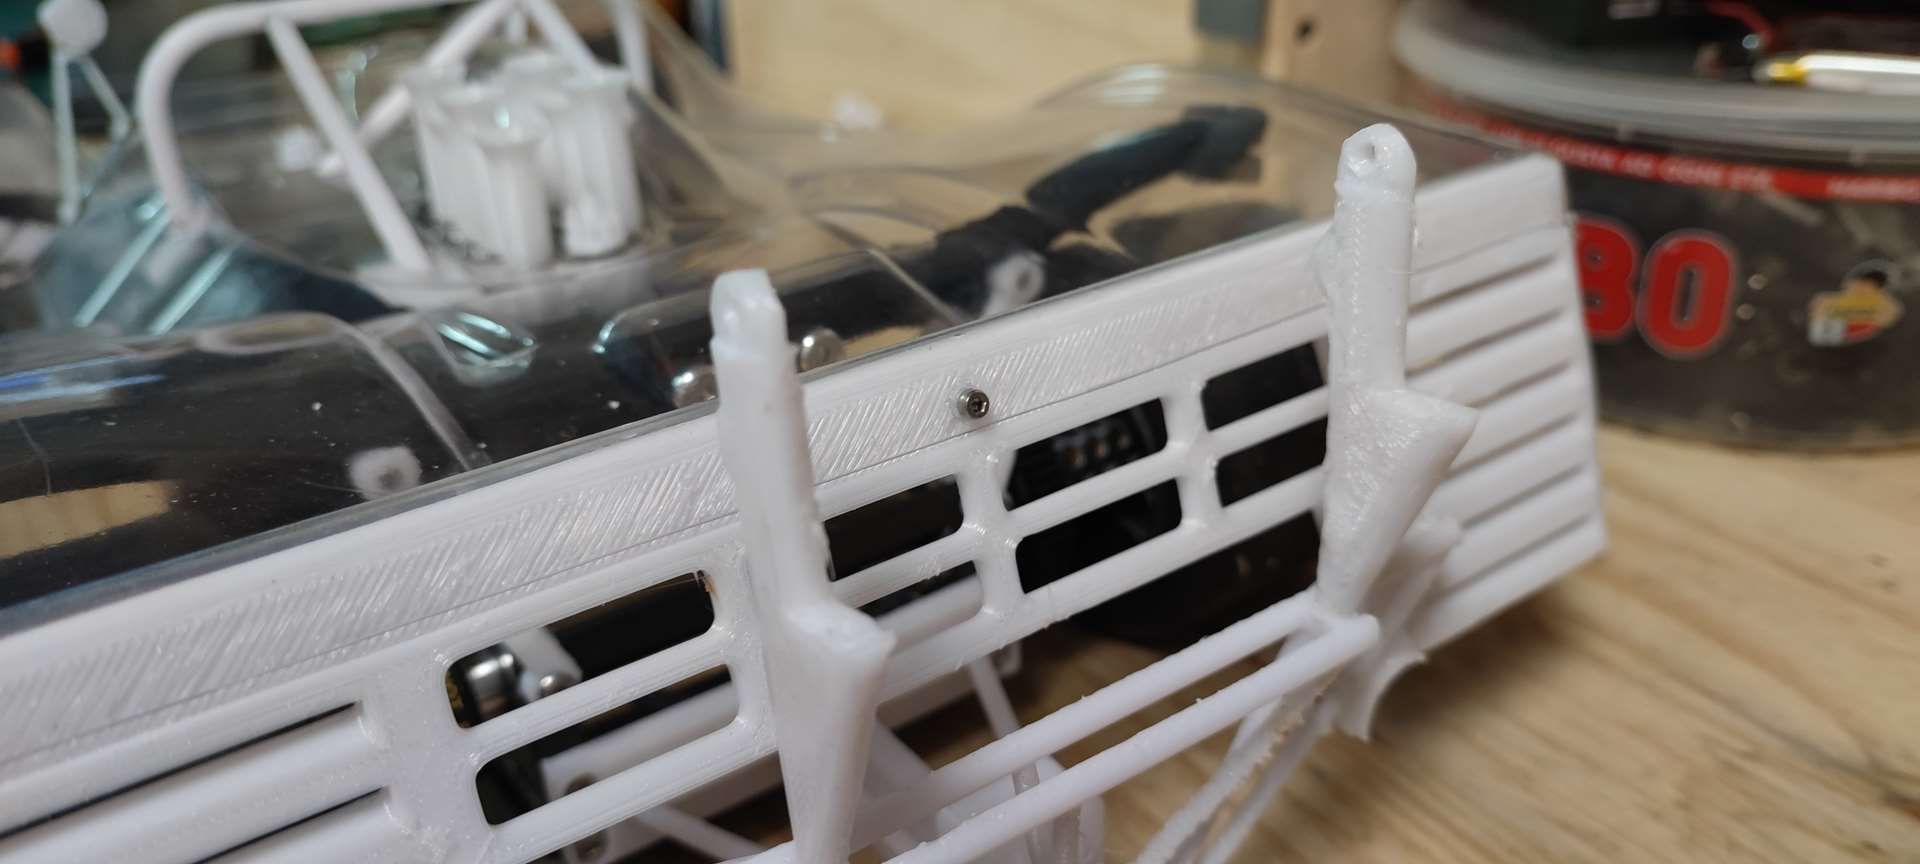
Print of the wing which was the subject of a "Wrapping" in order which deformed the aileron (in a uniform and symmetrical way), but which still messed up my fixing of the wing blanks .
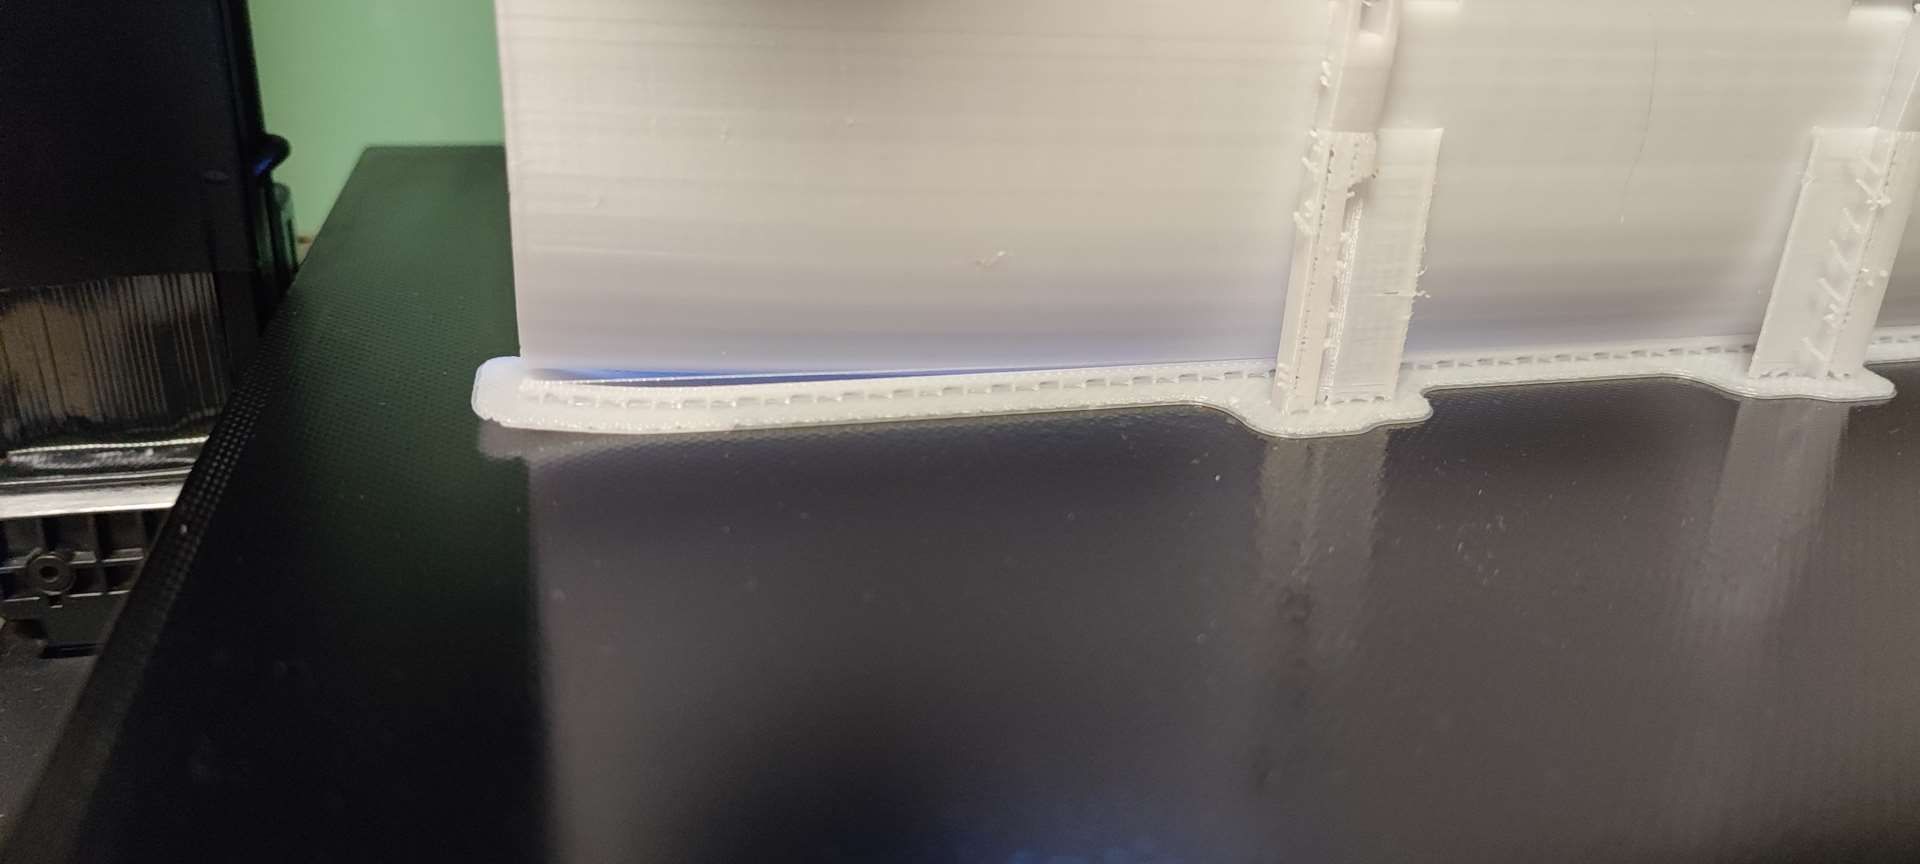
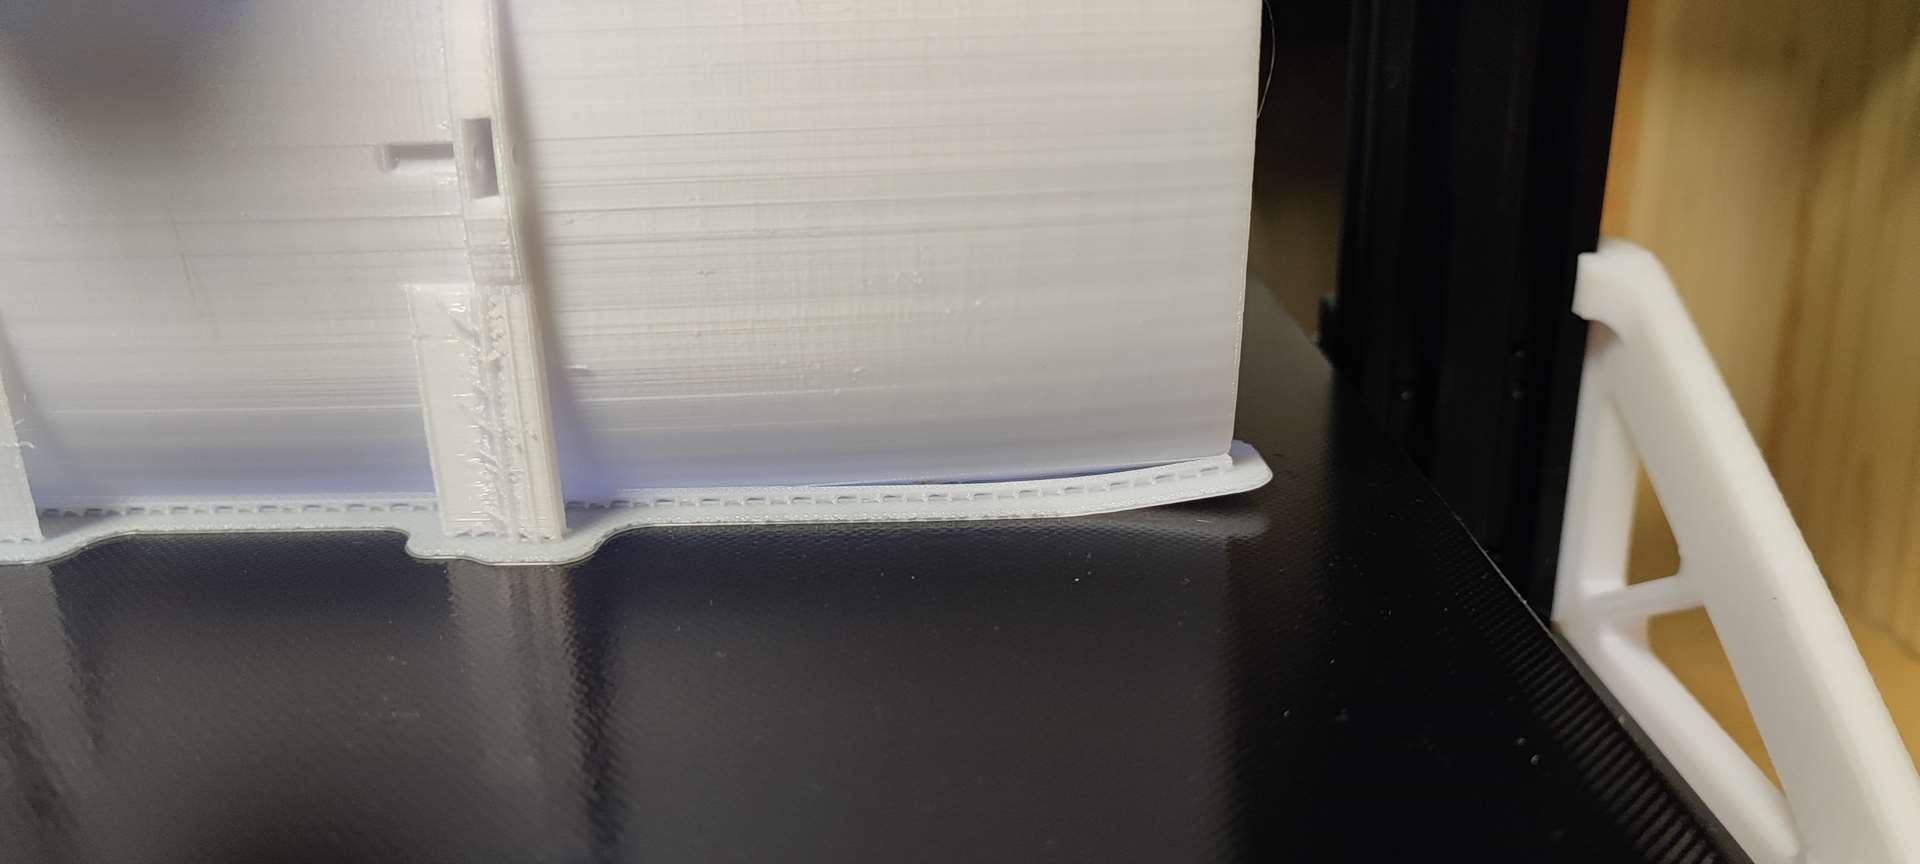
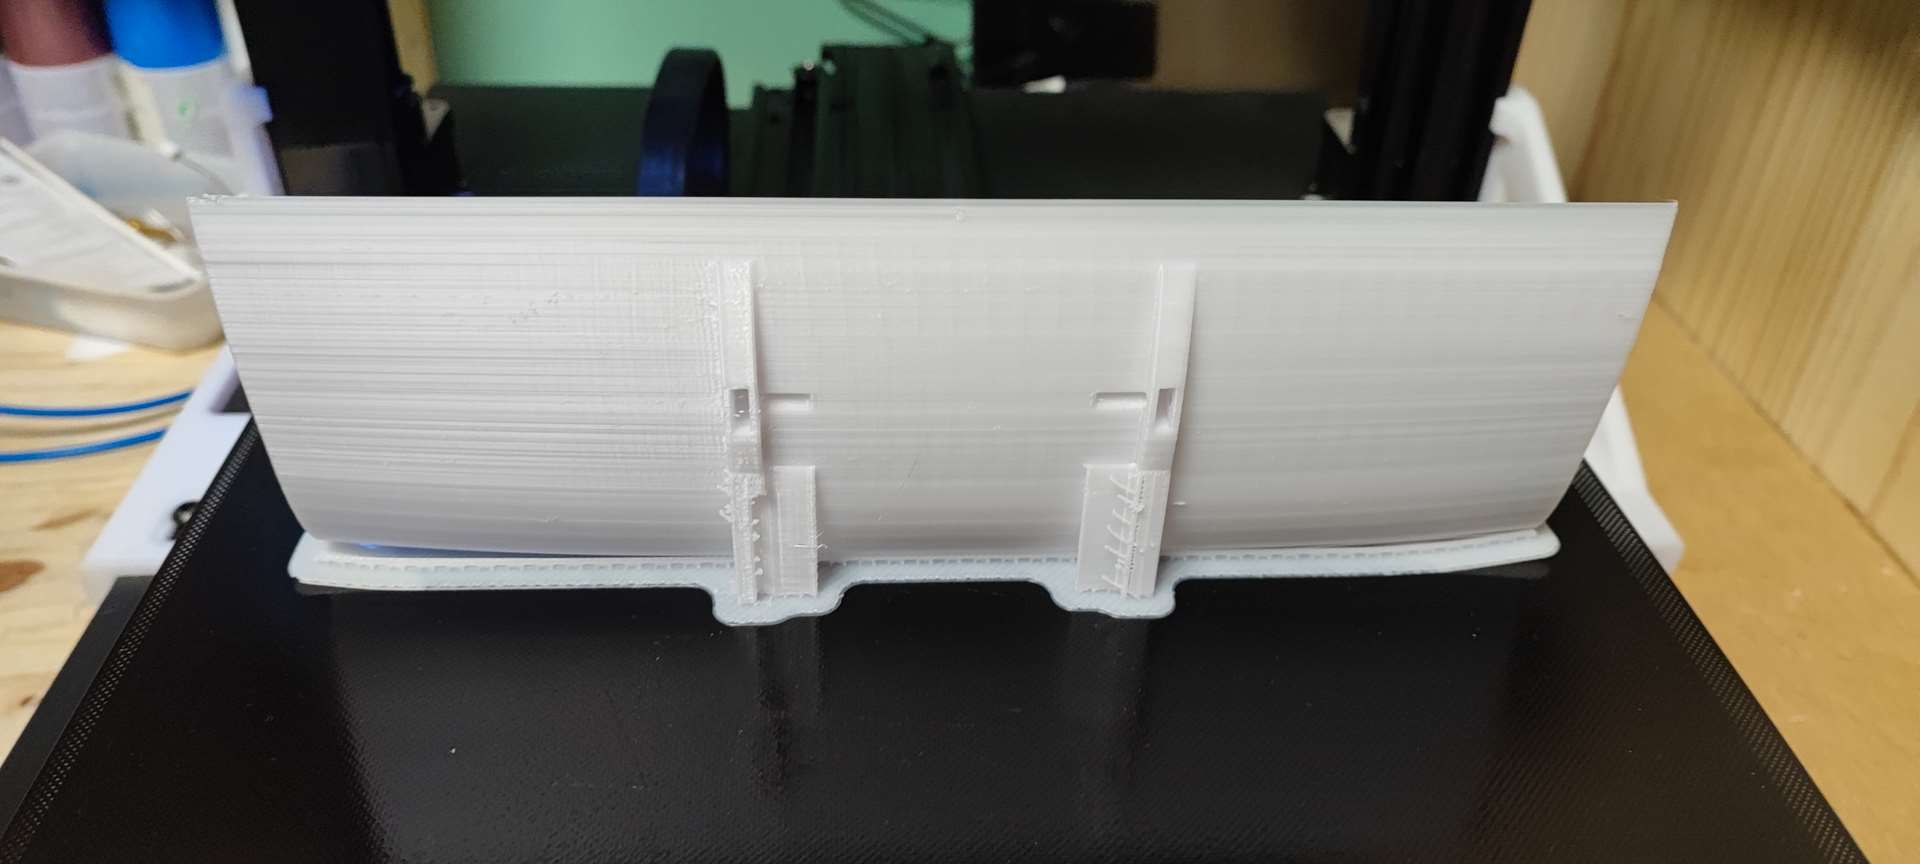
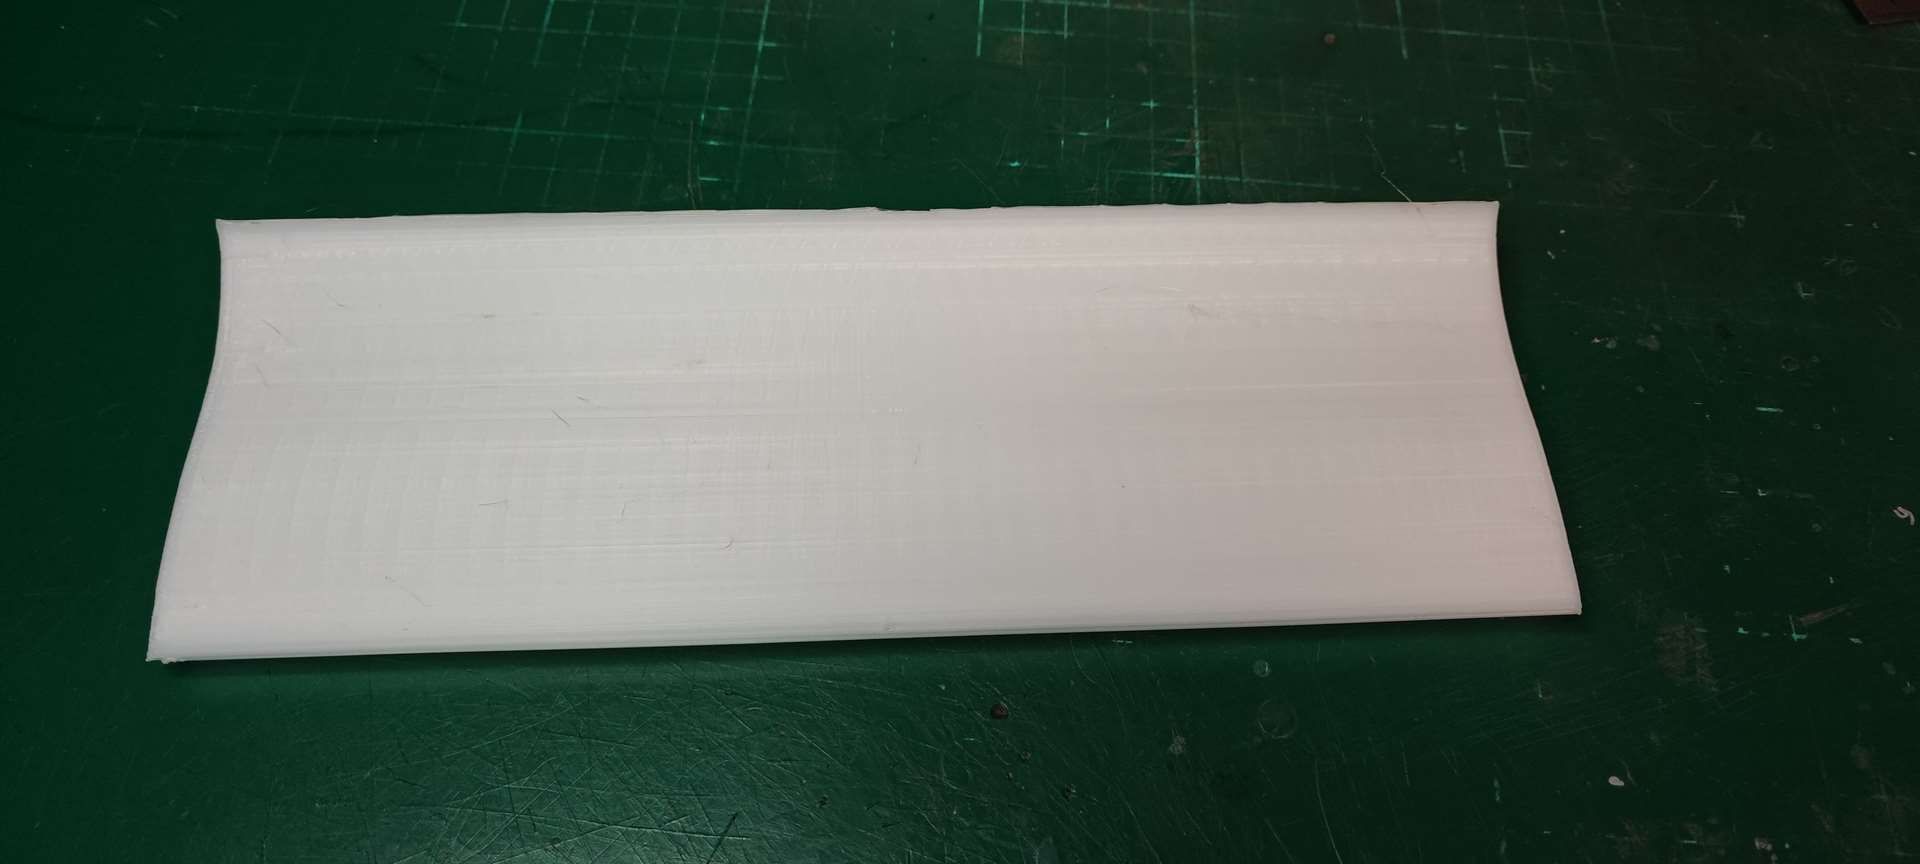
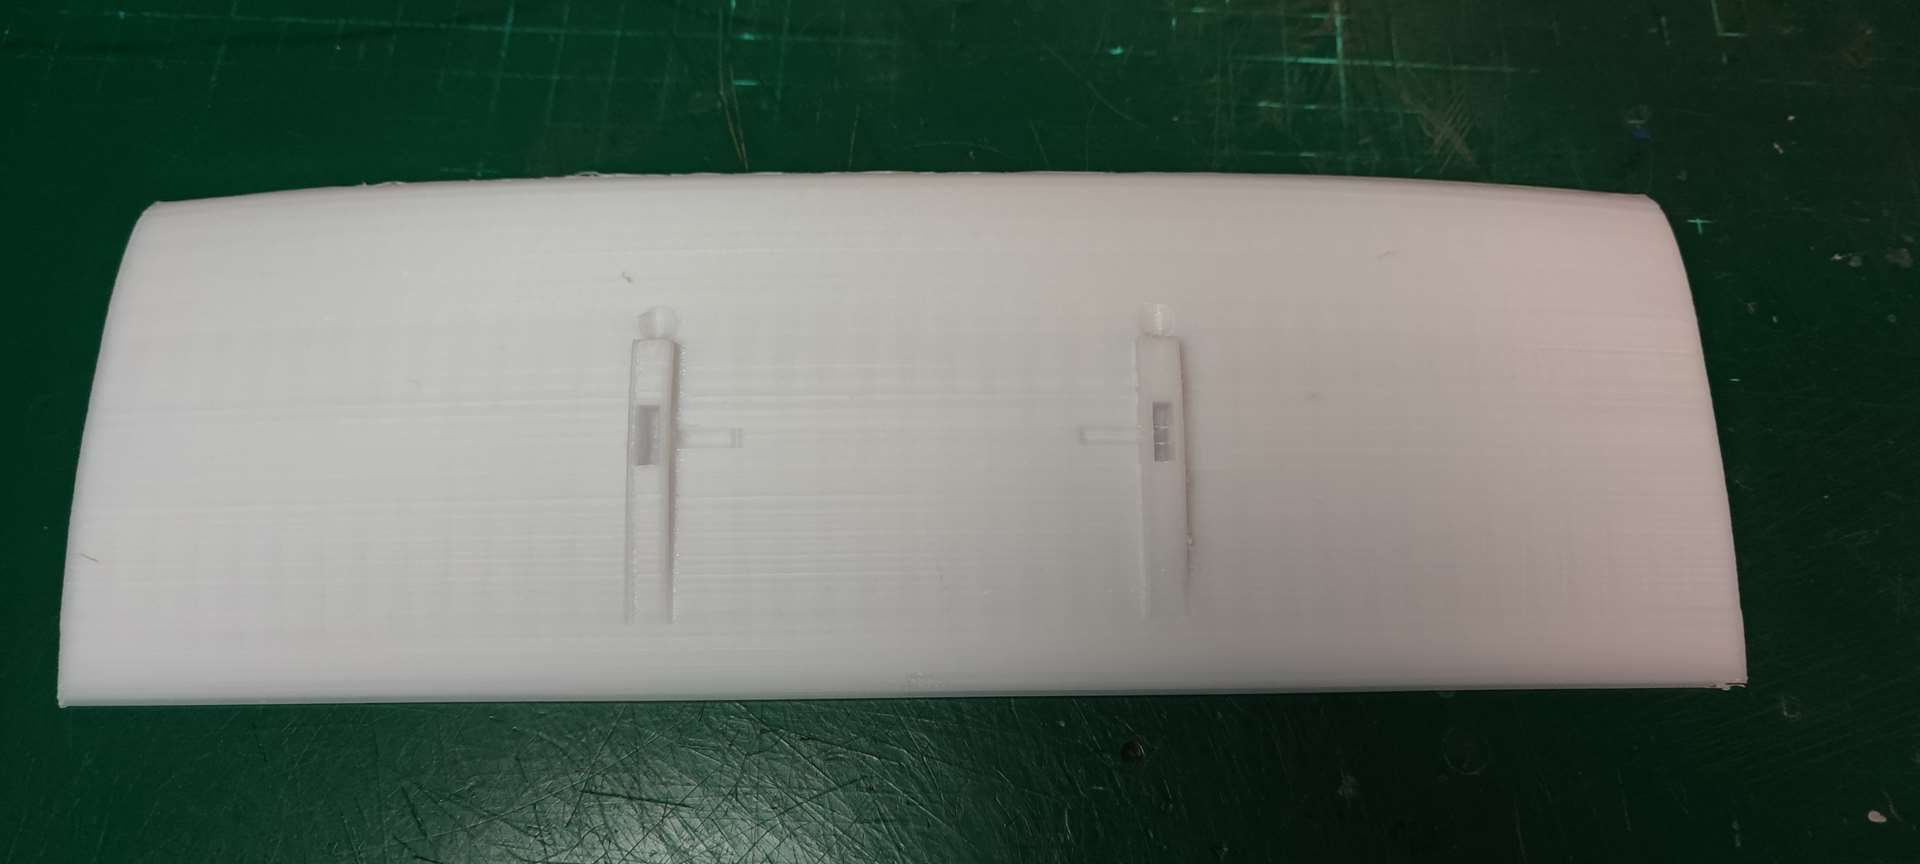
Here is the result: it's quite promising
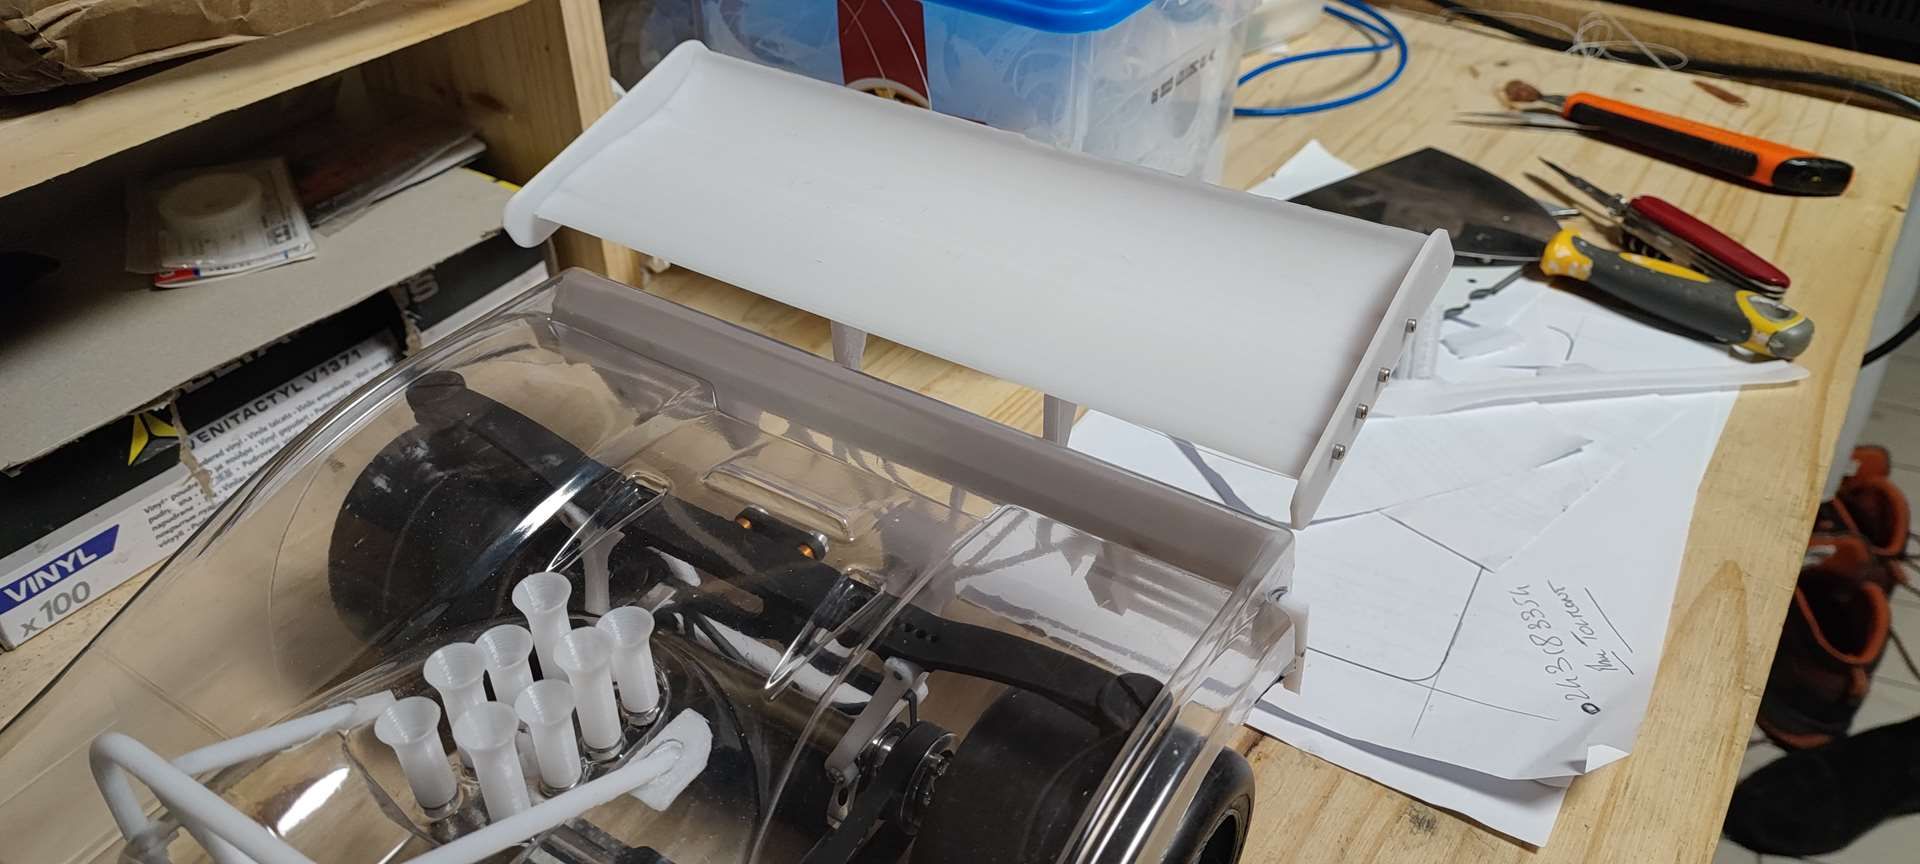
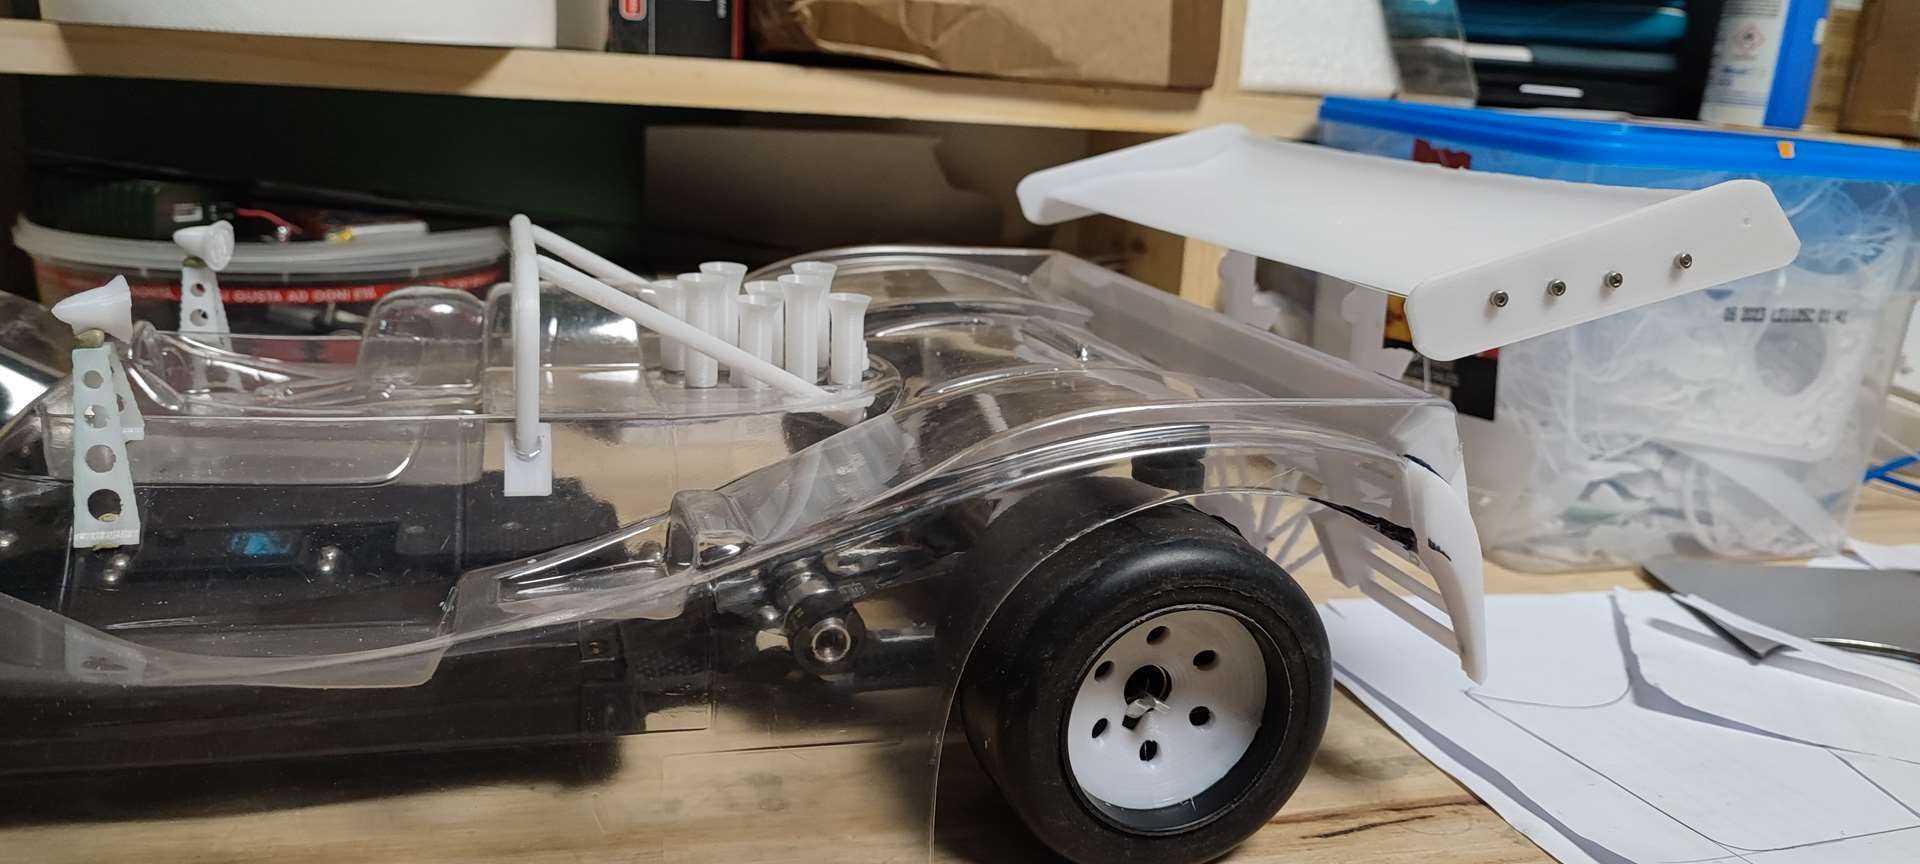
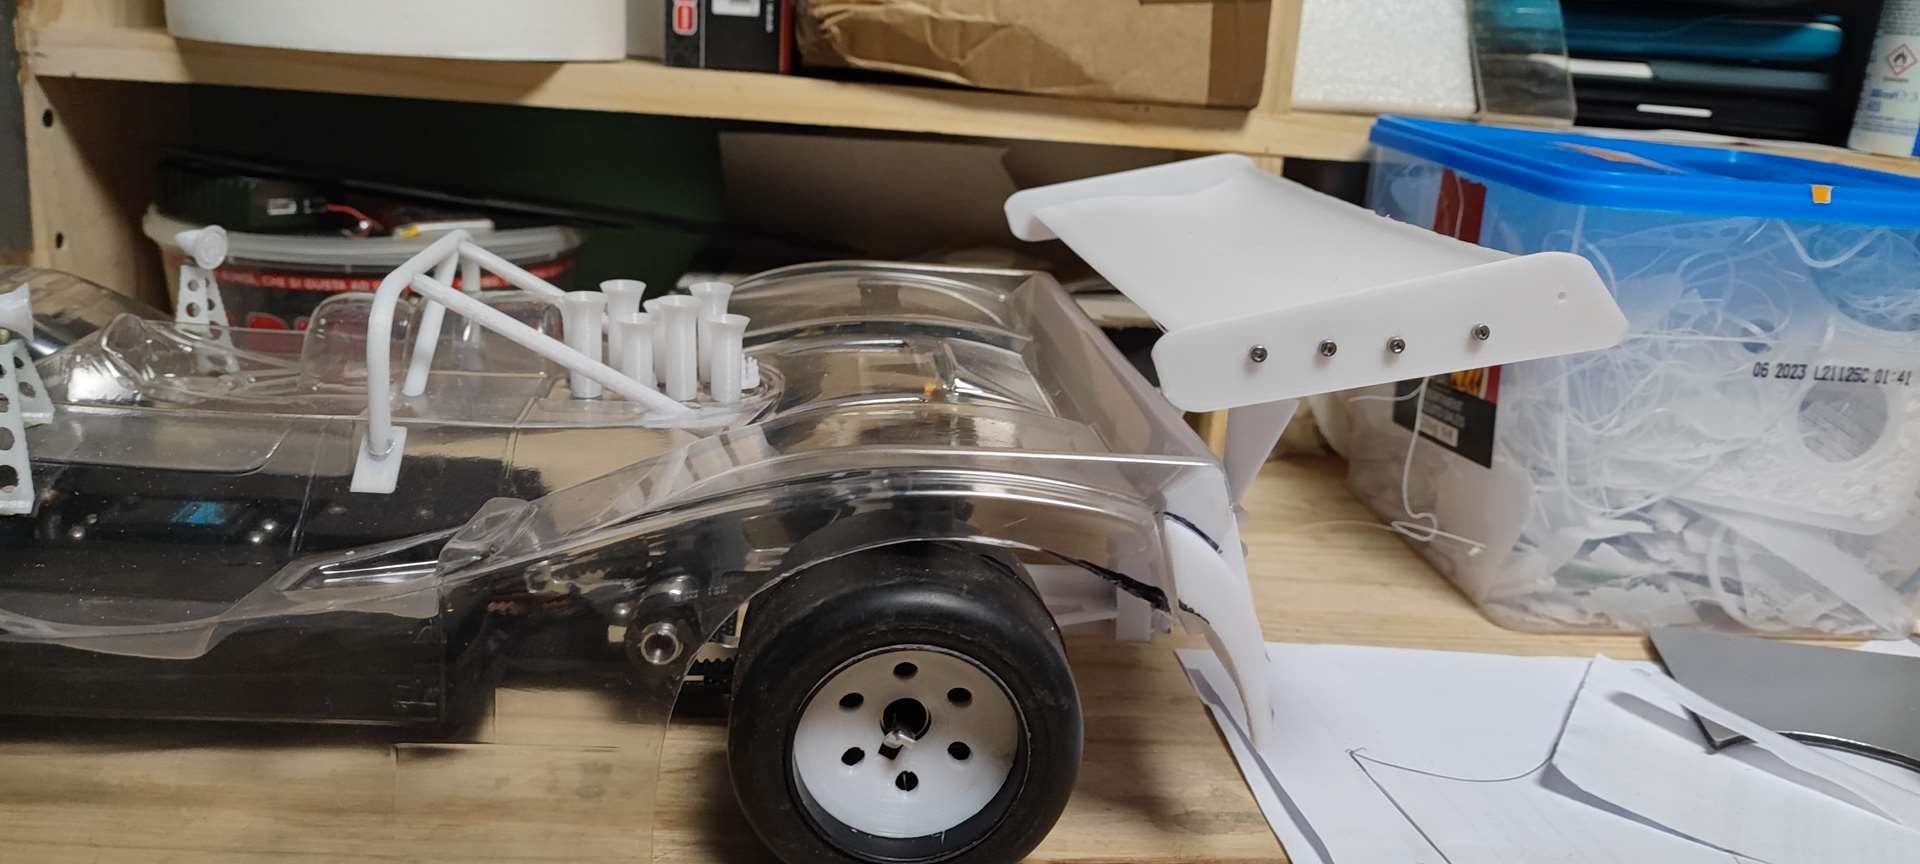
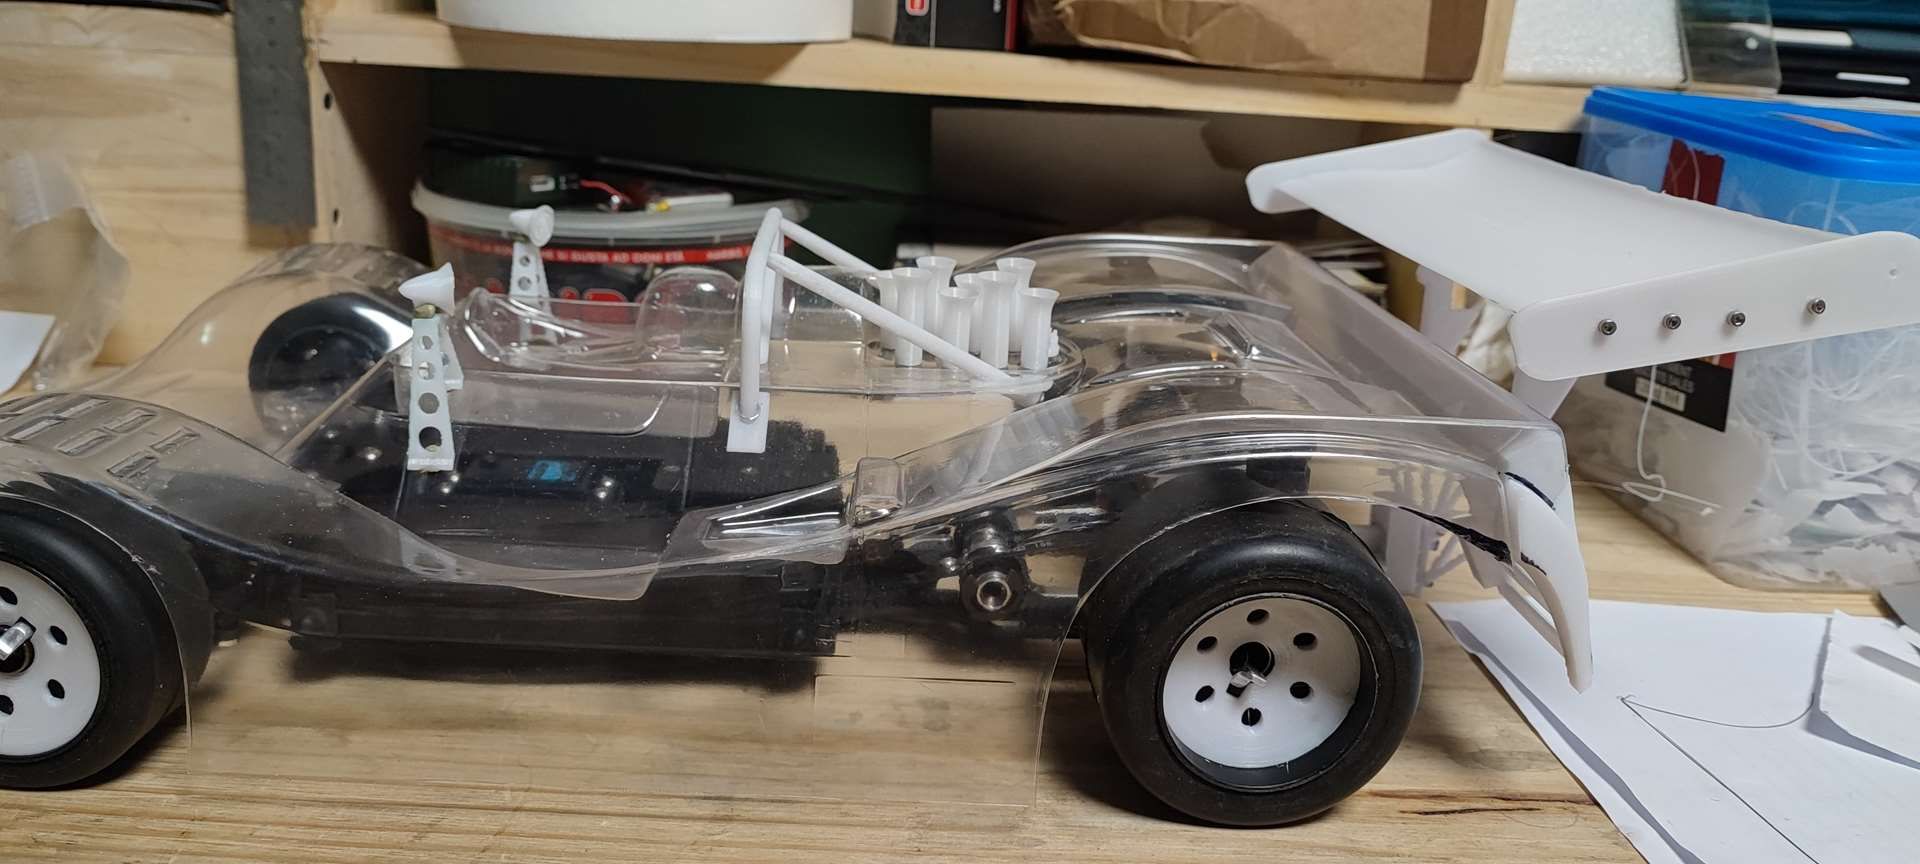
On the other hand, for the past few days when I have been looking at the 1/1 scale car and mine, I tell myself that something is wrong. Since the spoiler is in place, I have found...the rear apron is too far back from the wheel arch.
As a result ; I am in the middle of thinking about a RADICAL cut of the body in order to shorten it and move the rear apron forward and have consistent wheel arches."
--------
2 weeks ago :
"I've seen a lot of things lately about the rear apron, the frame, the wing support arch and its assembly. All this because I revealed butchered the bodywork so that the proportions with the wheels and the rear skirt are more coherent.
Pictures :
Cutting of the bodywork:
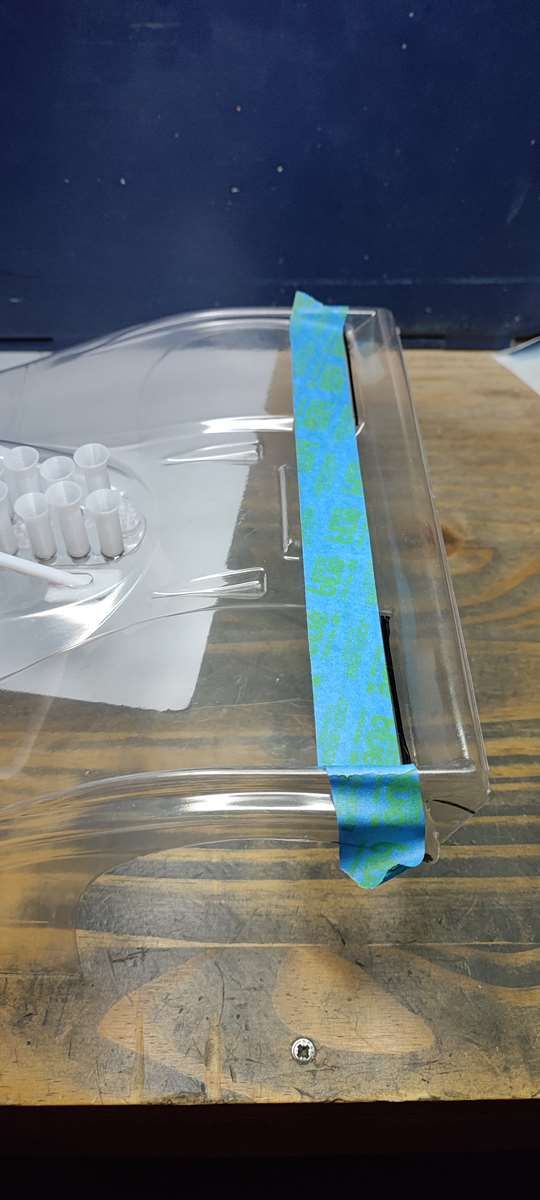
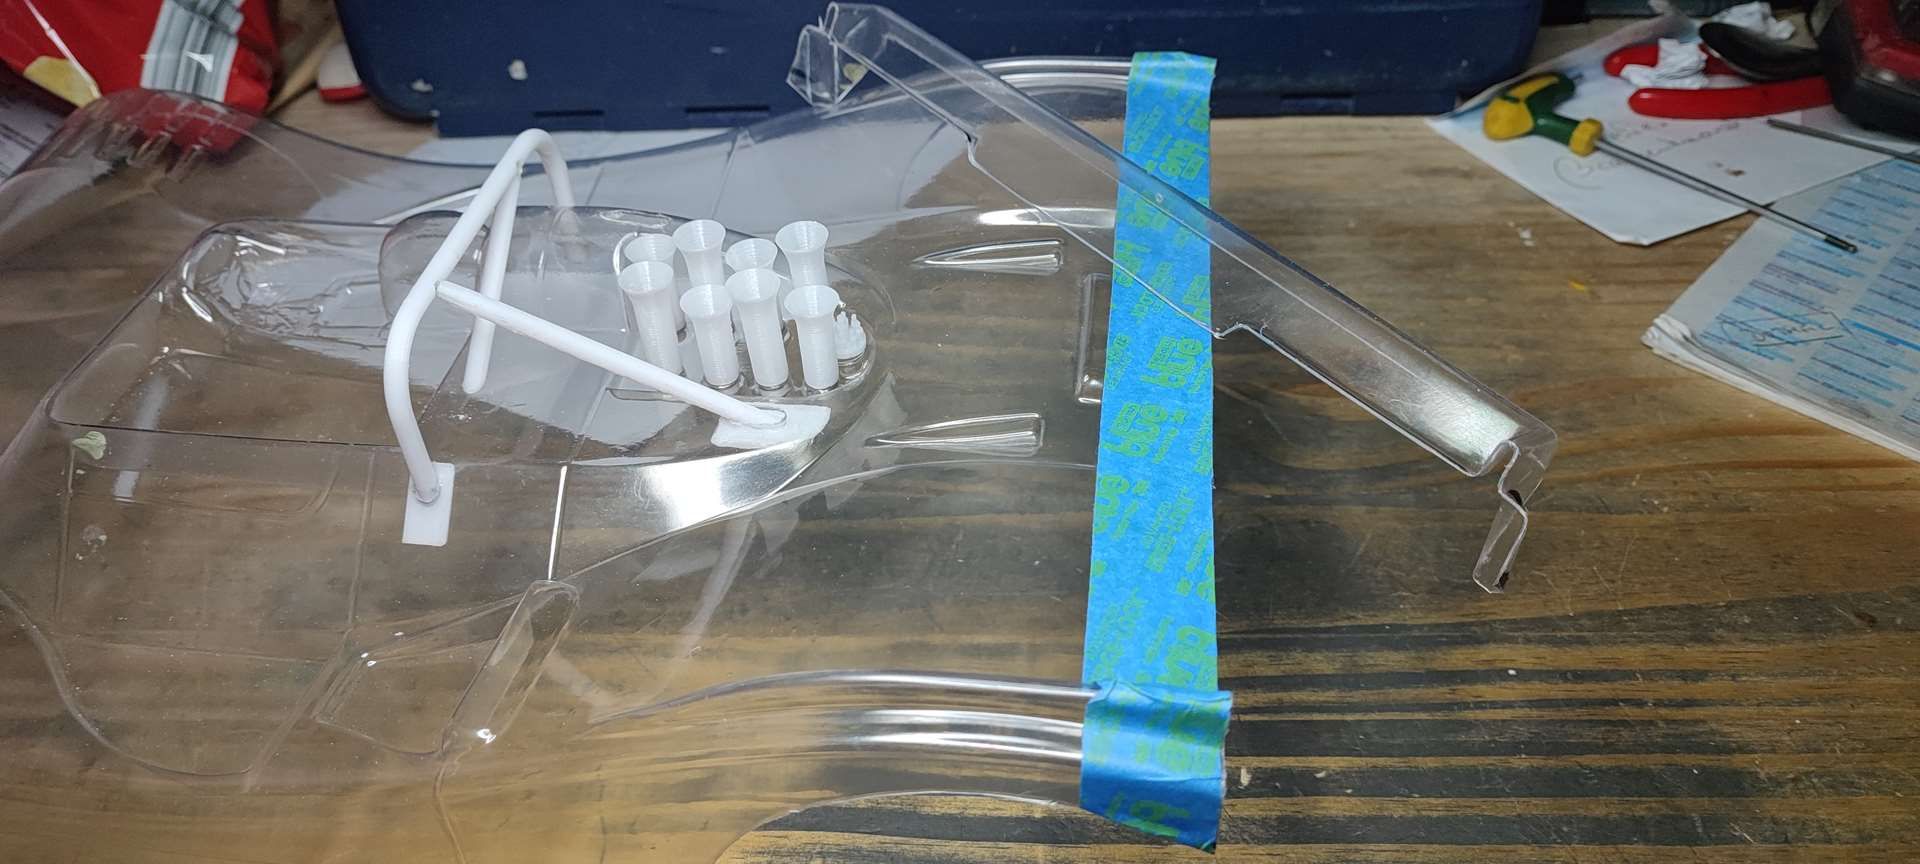
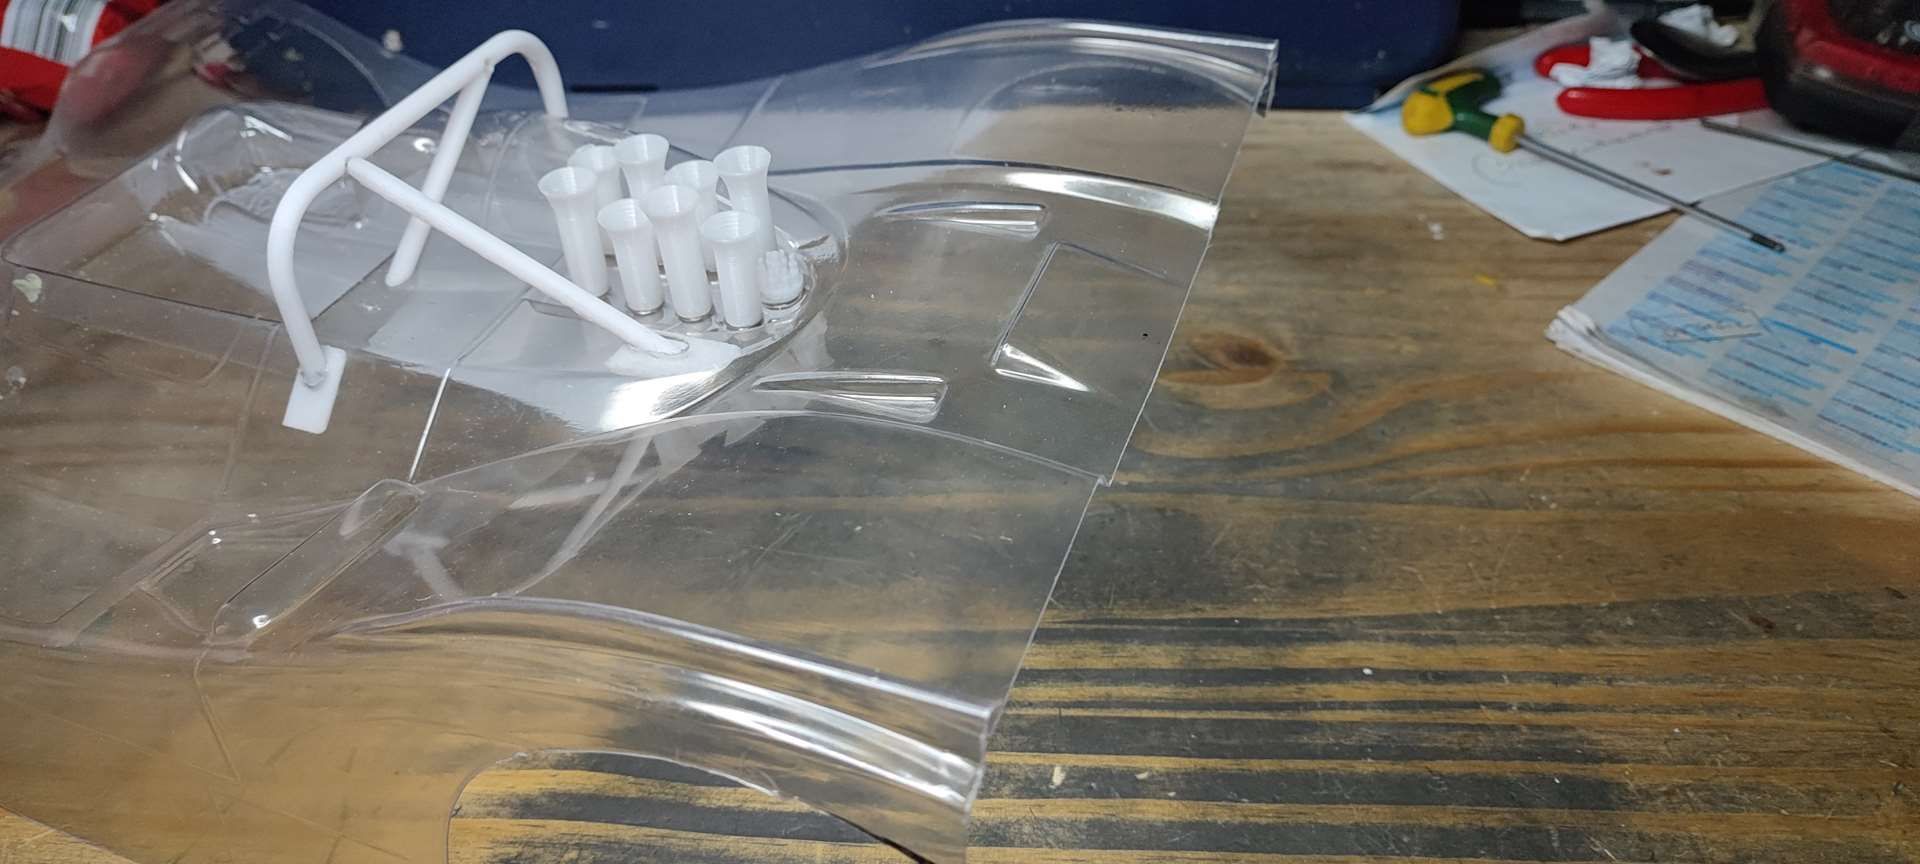
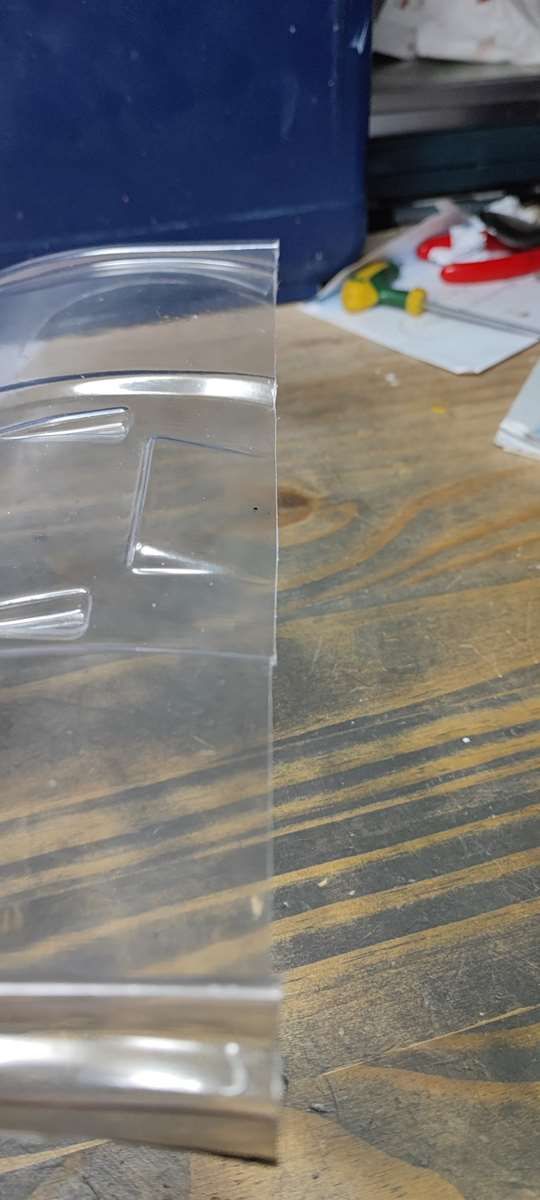
Test of another version of the rear apron, then another... in order to review the frame and the rear arch
V2
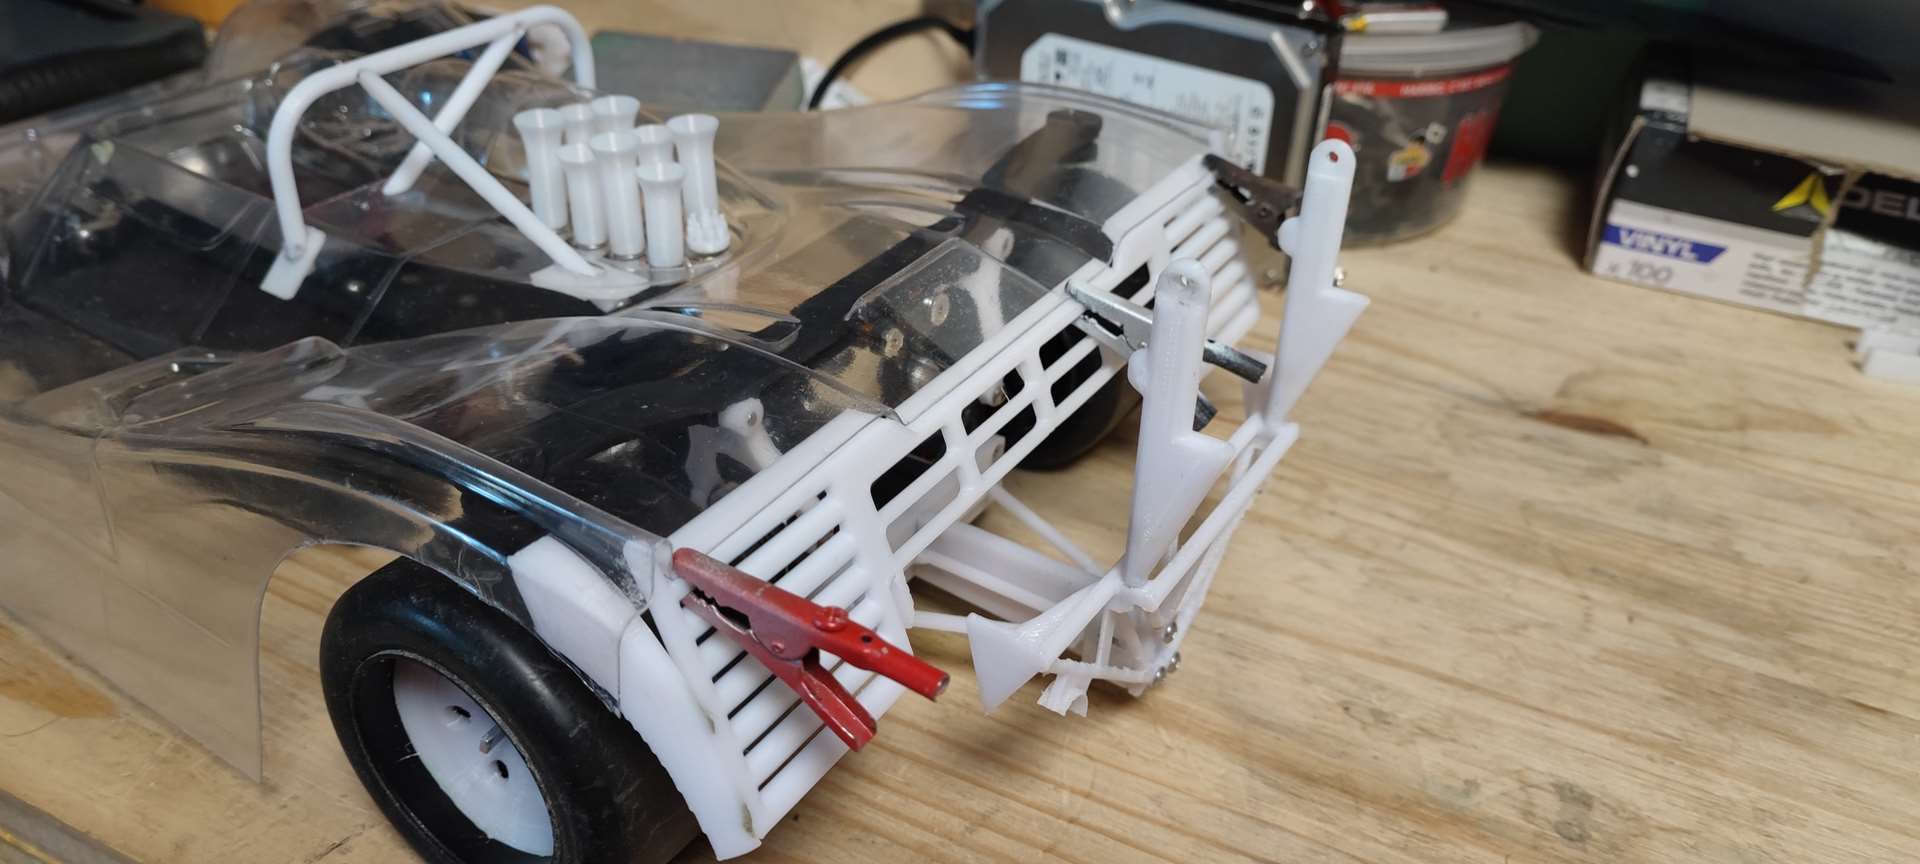
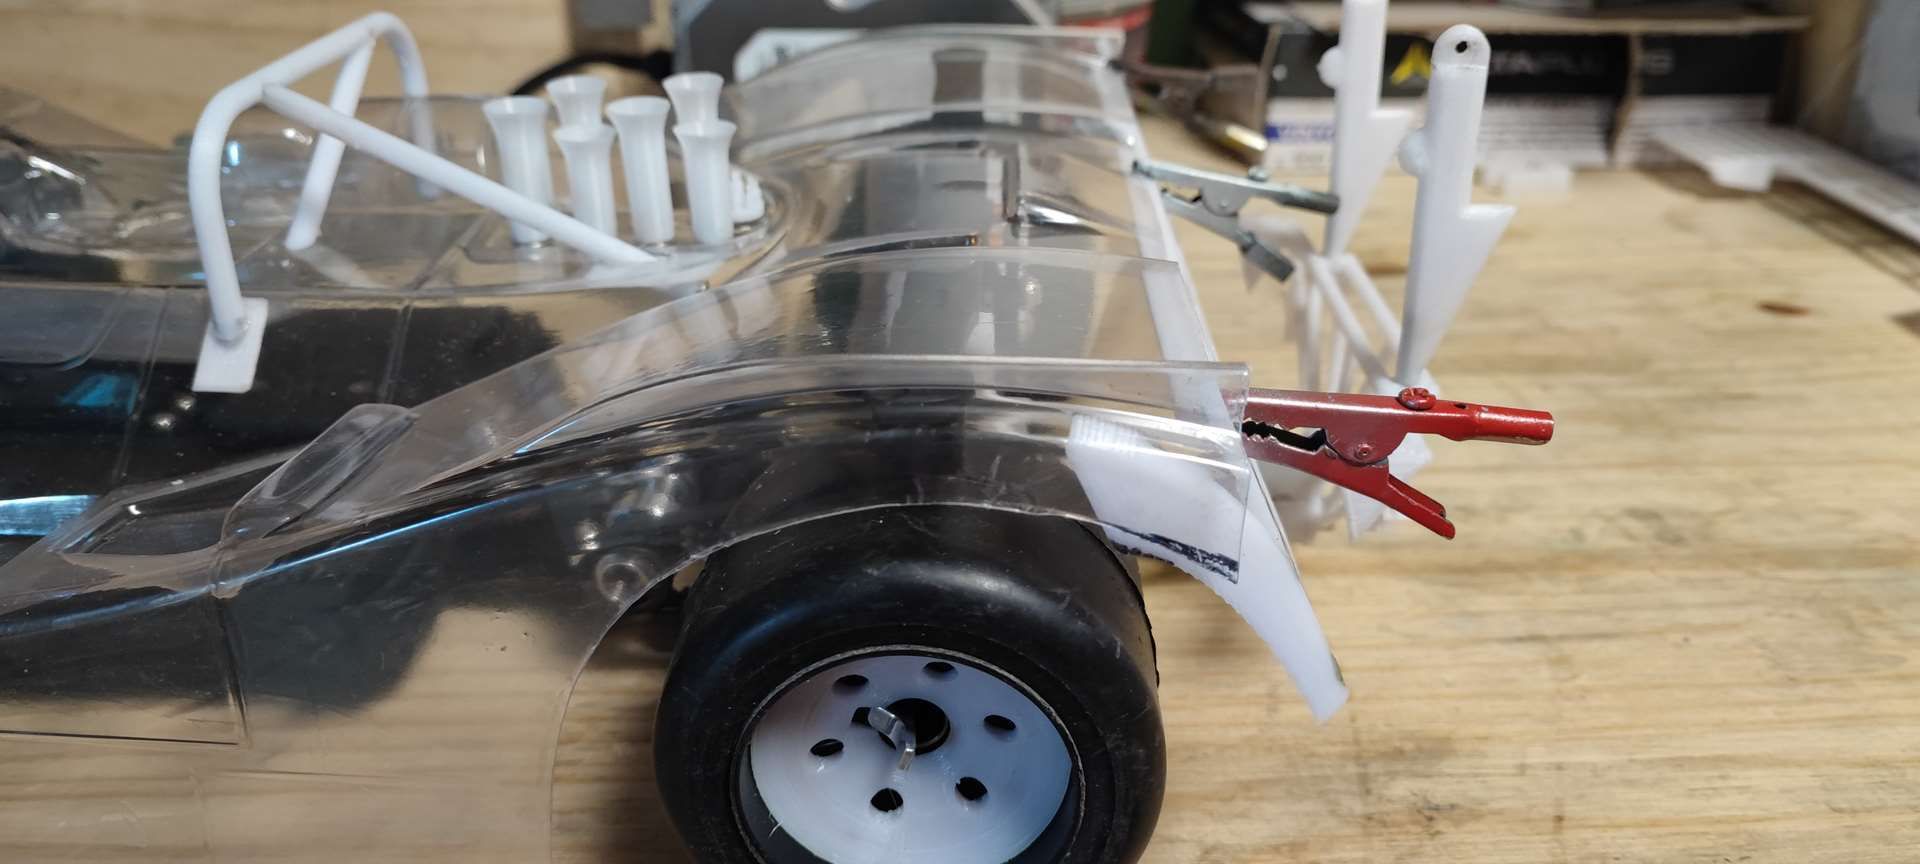
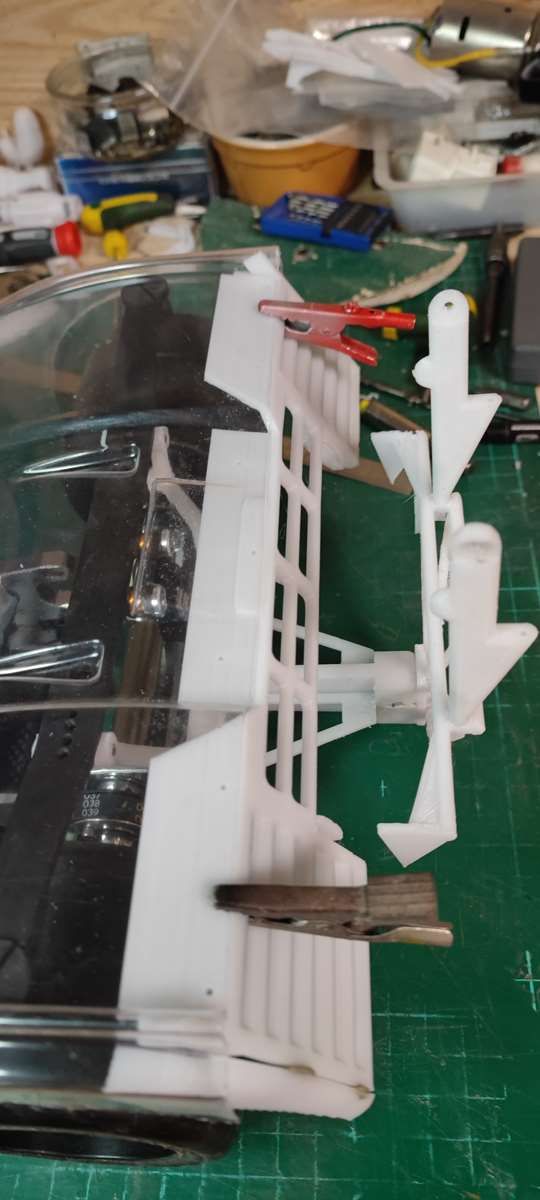
V3

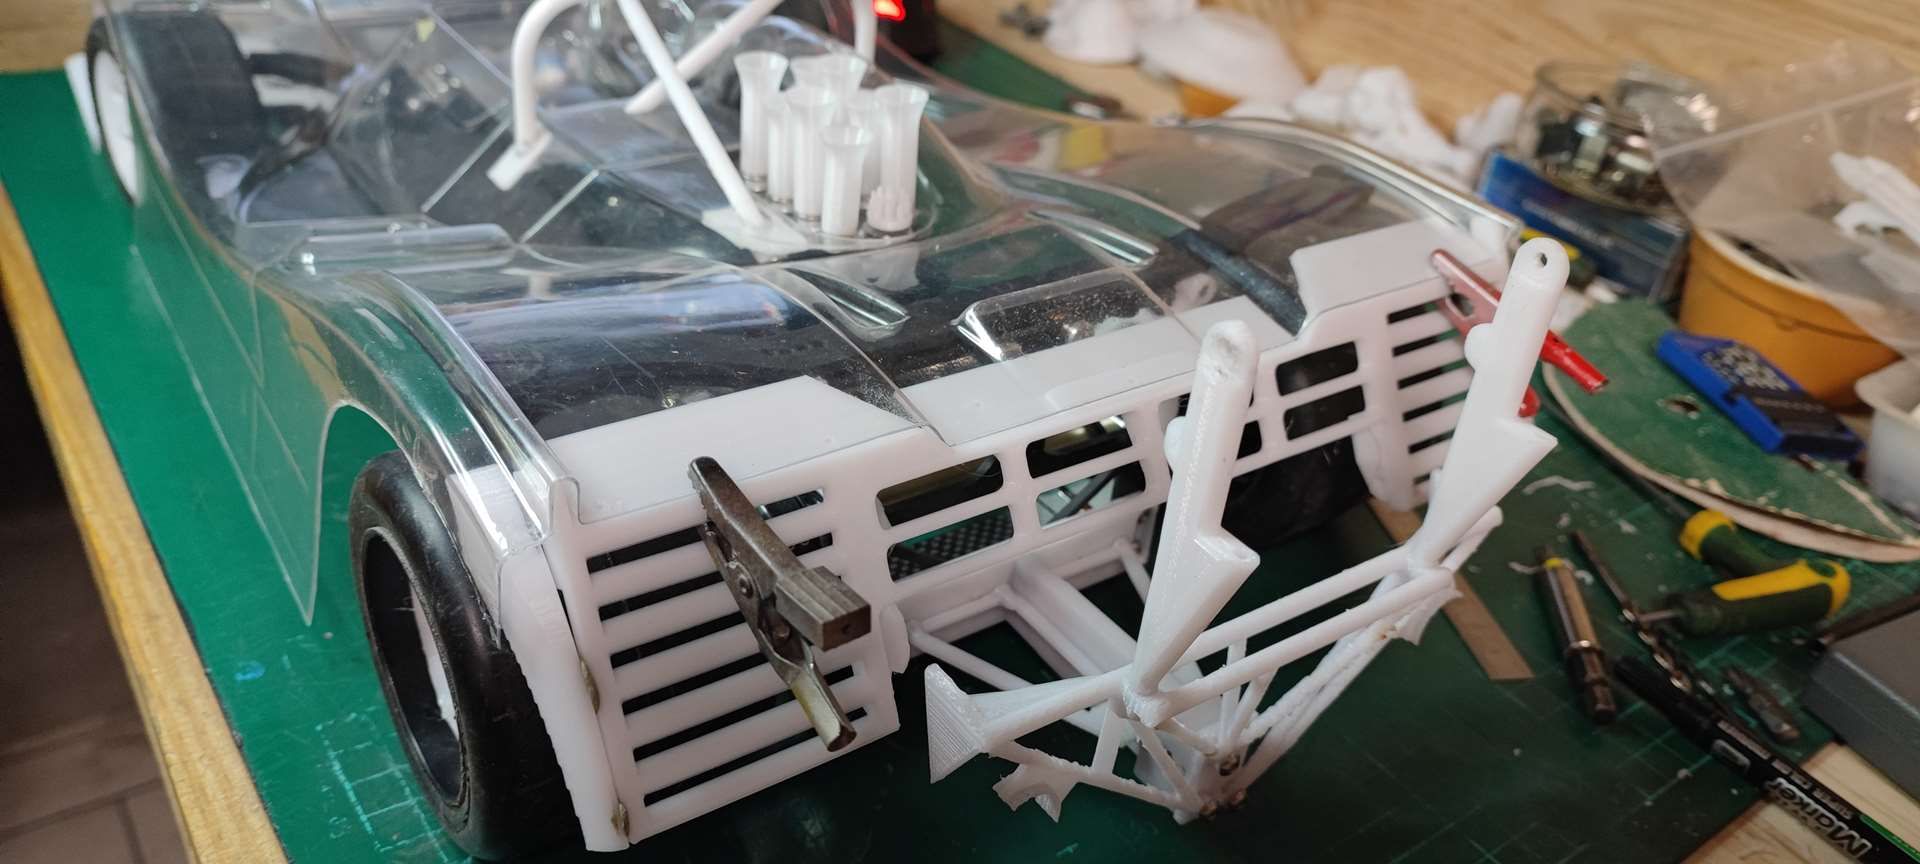
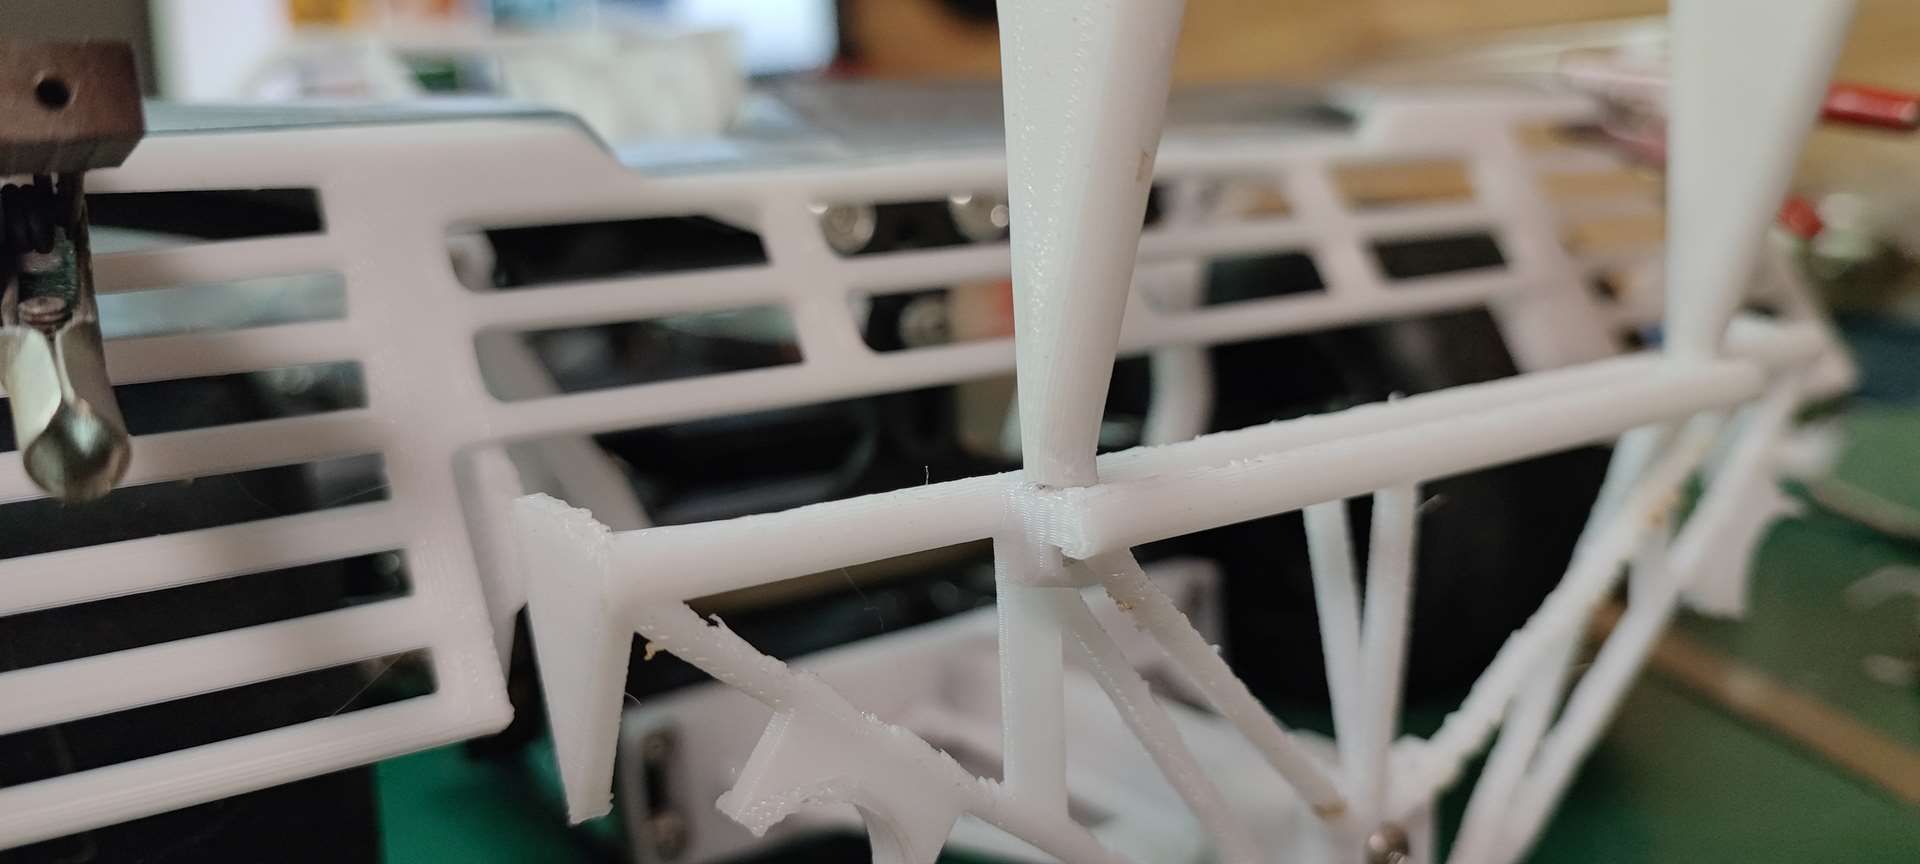
Then V3.1 which will surely be the final version:
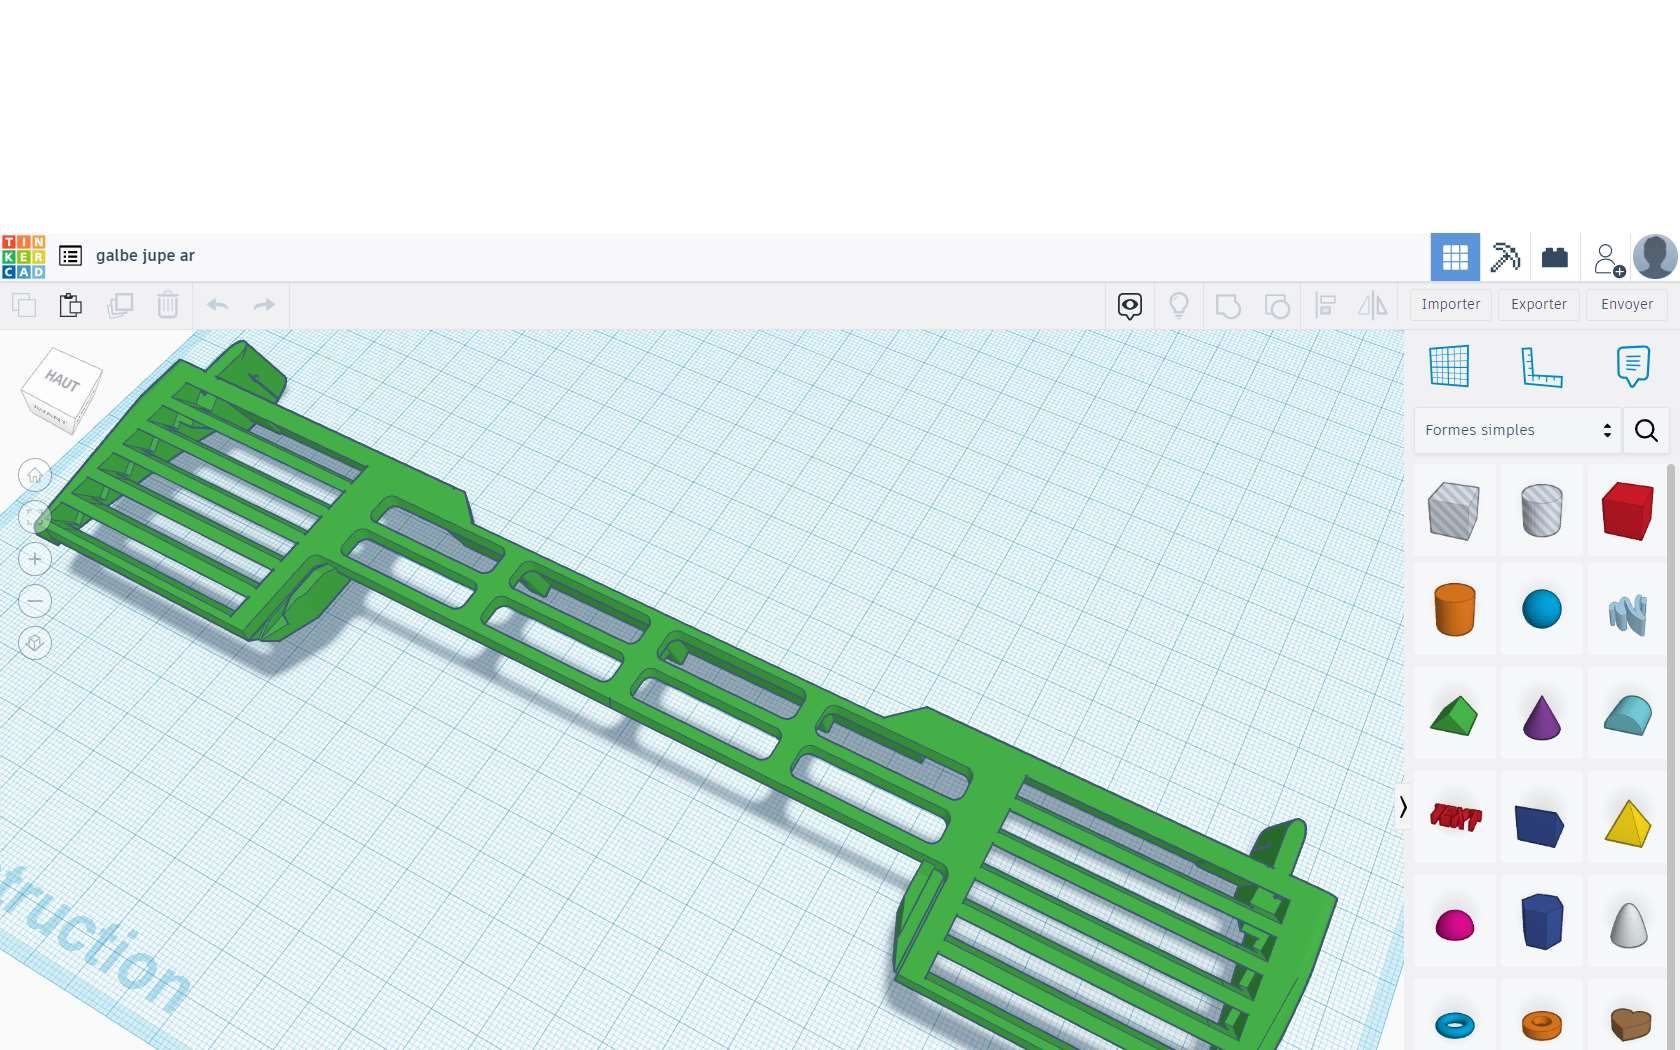
rear mount shortcut, it's better:
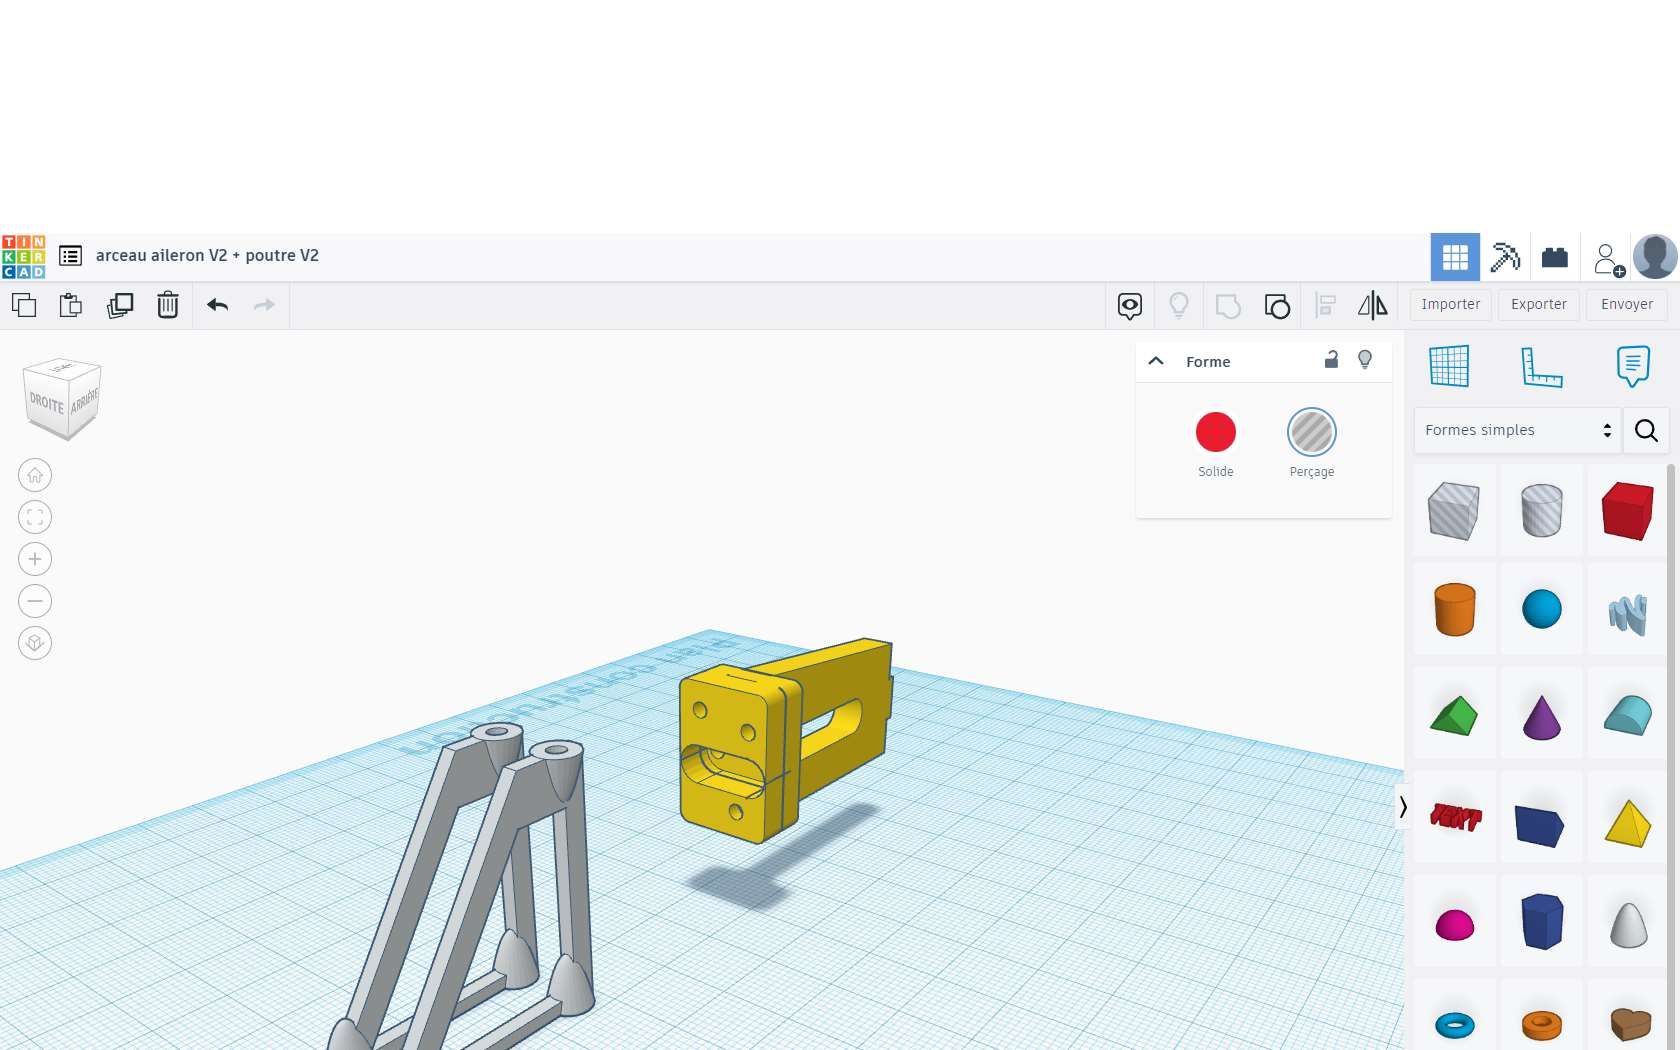
Wing test...it's too high
New version of the wing support arch in 3 parts:
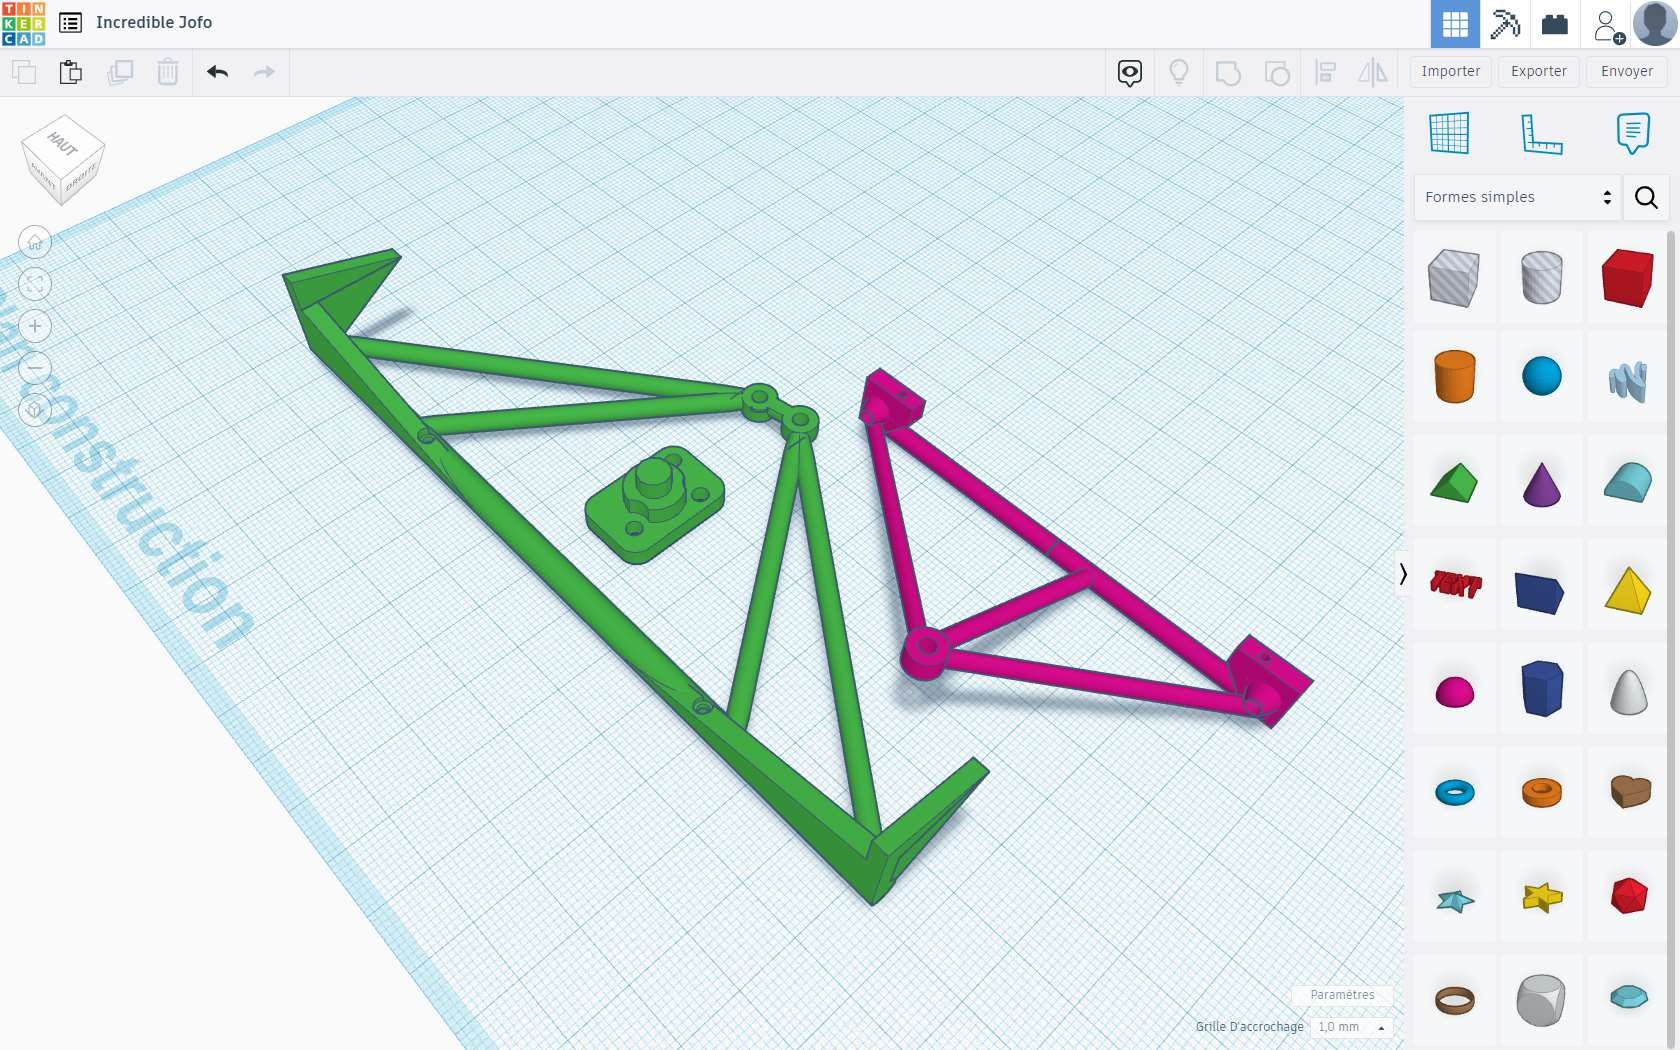
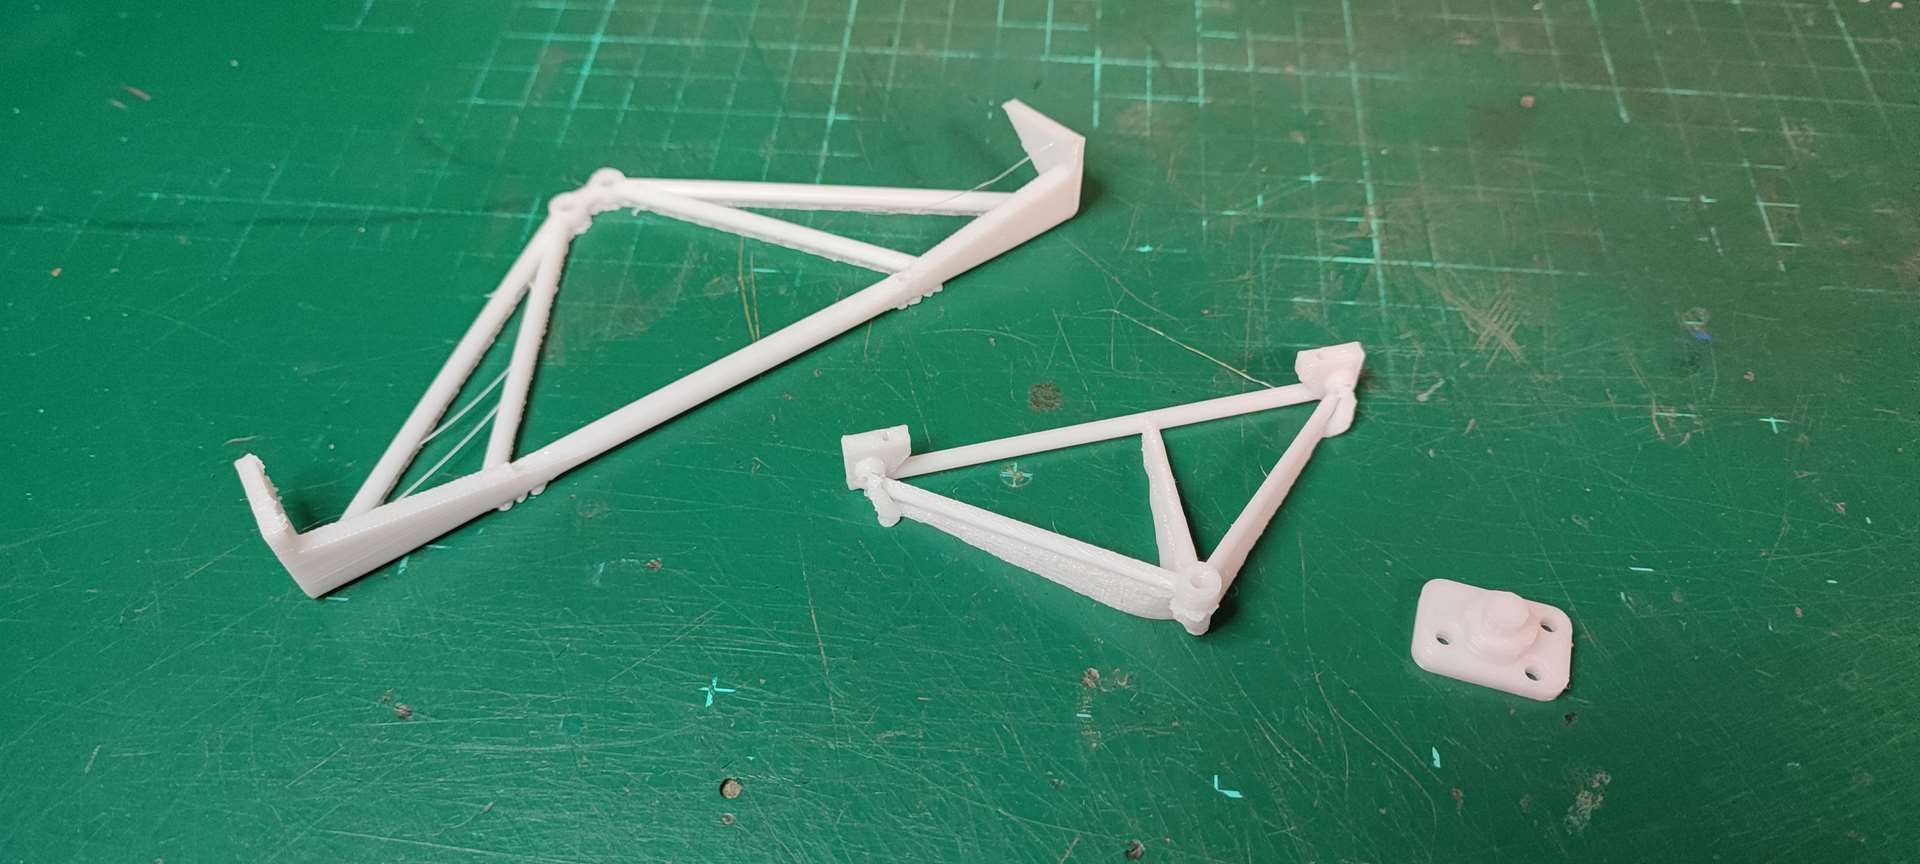
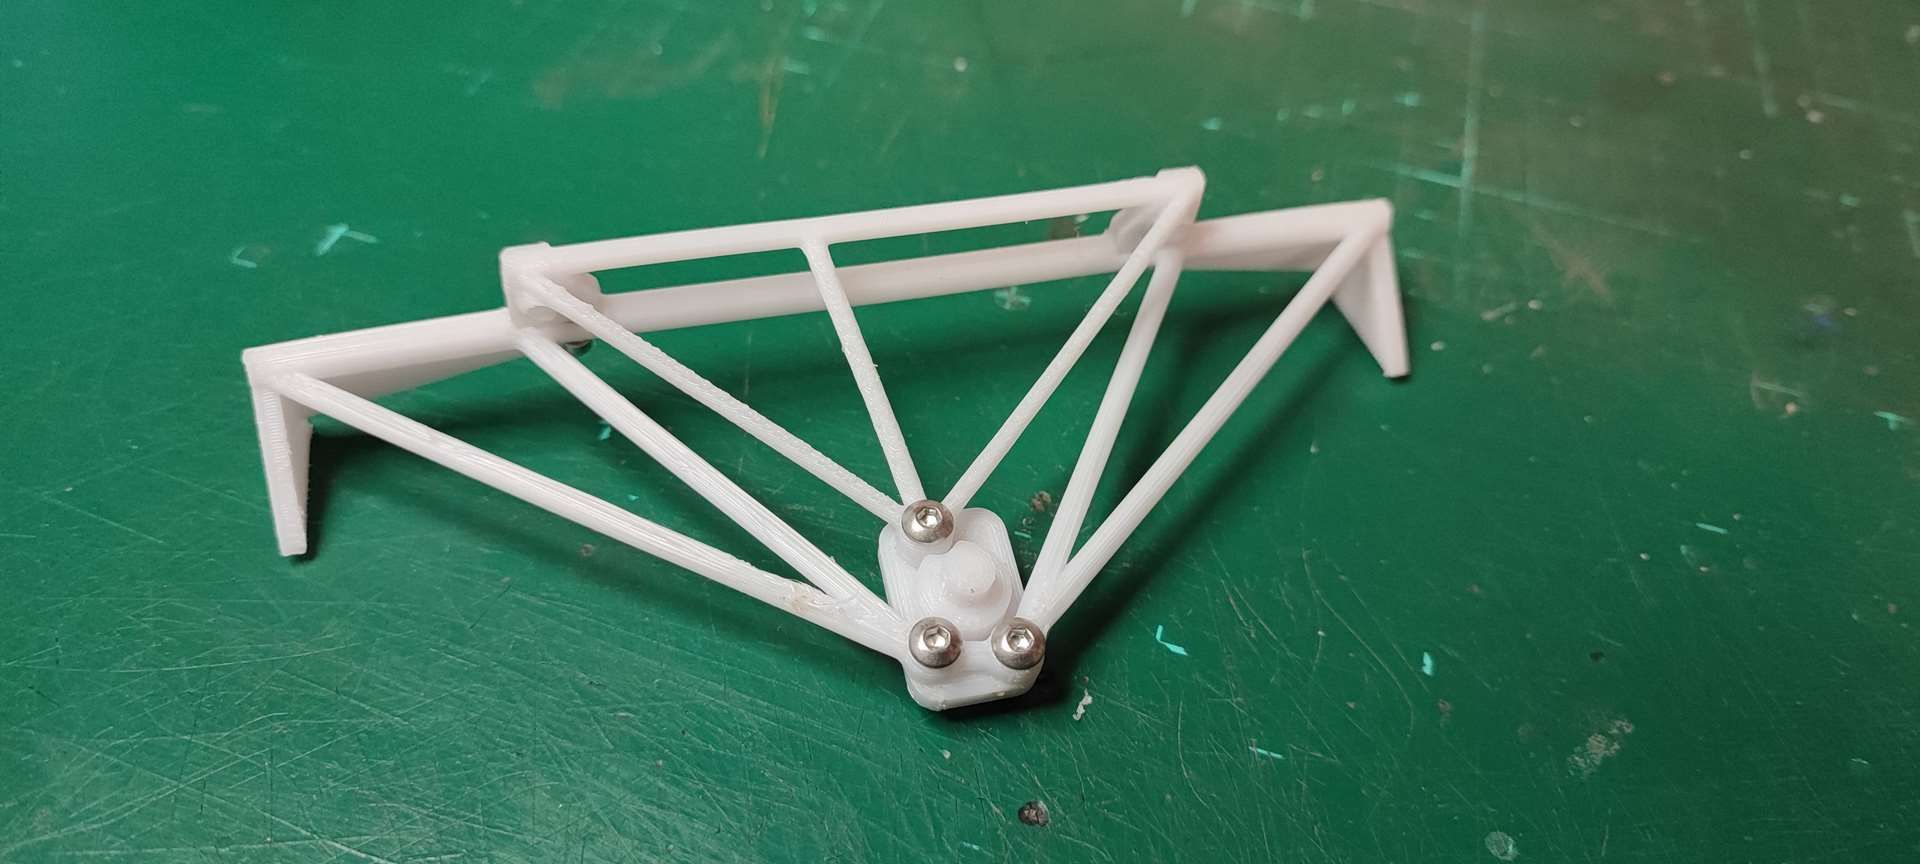
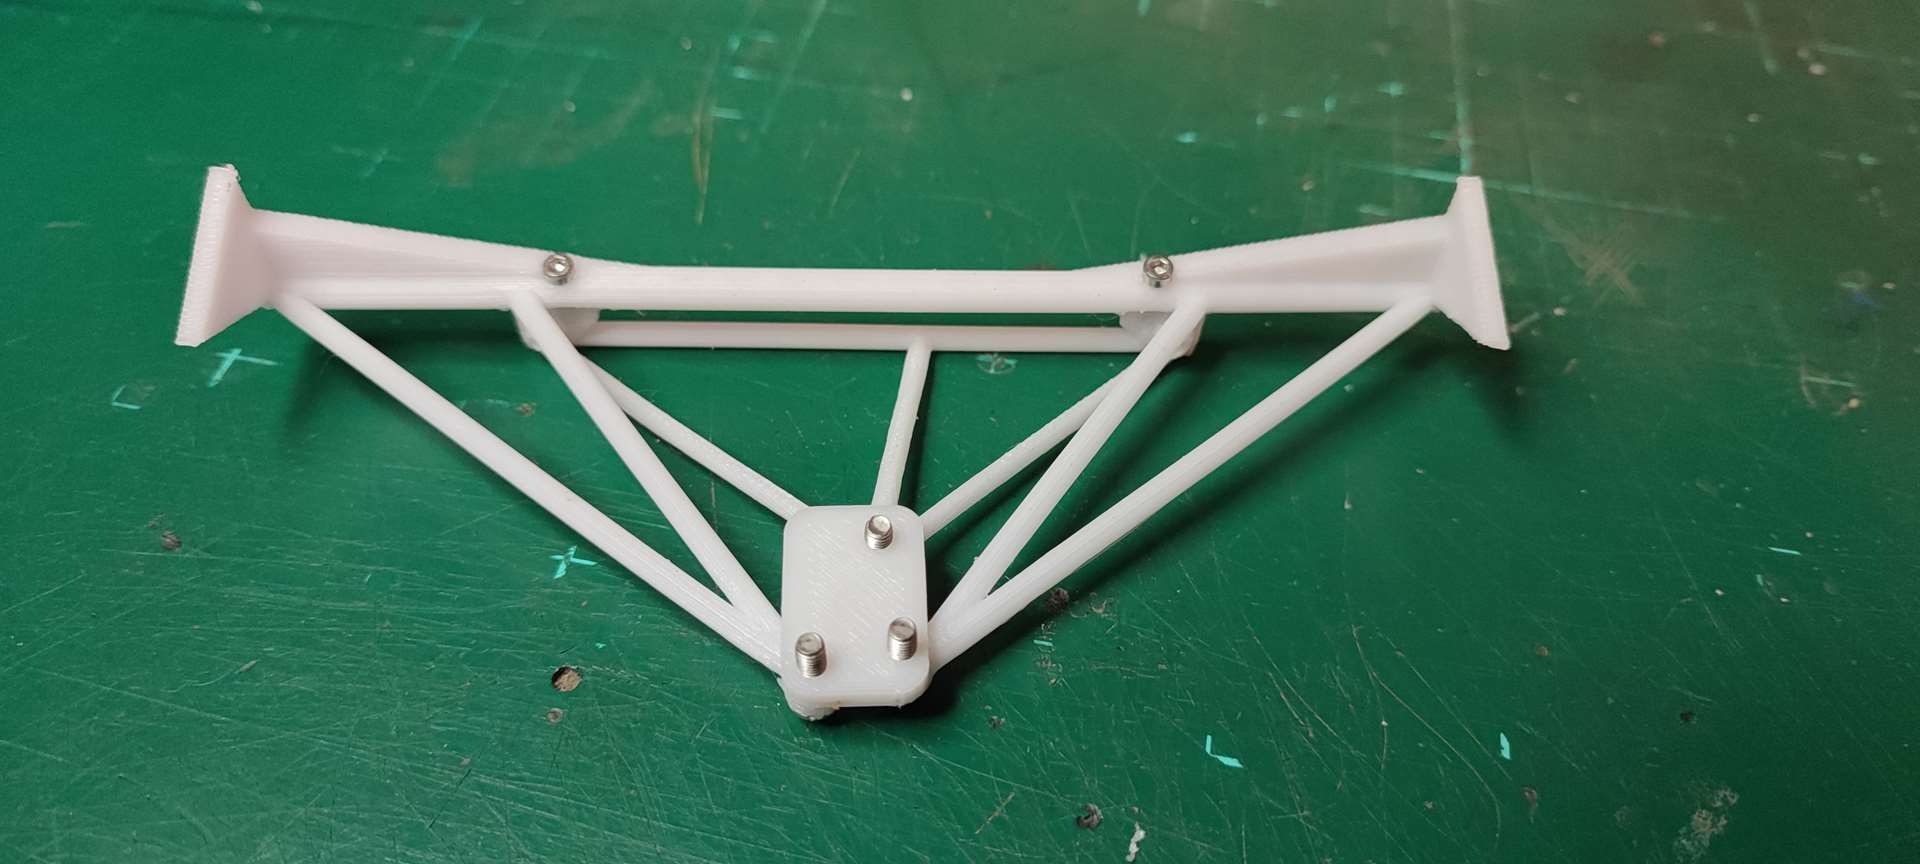
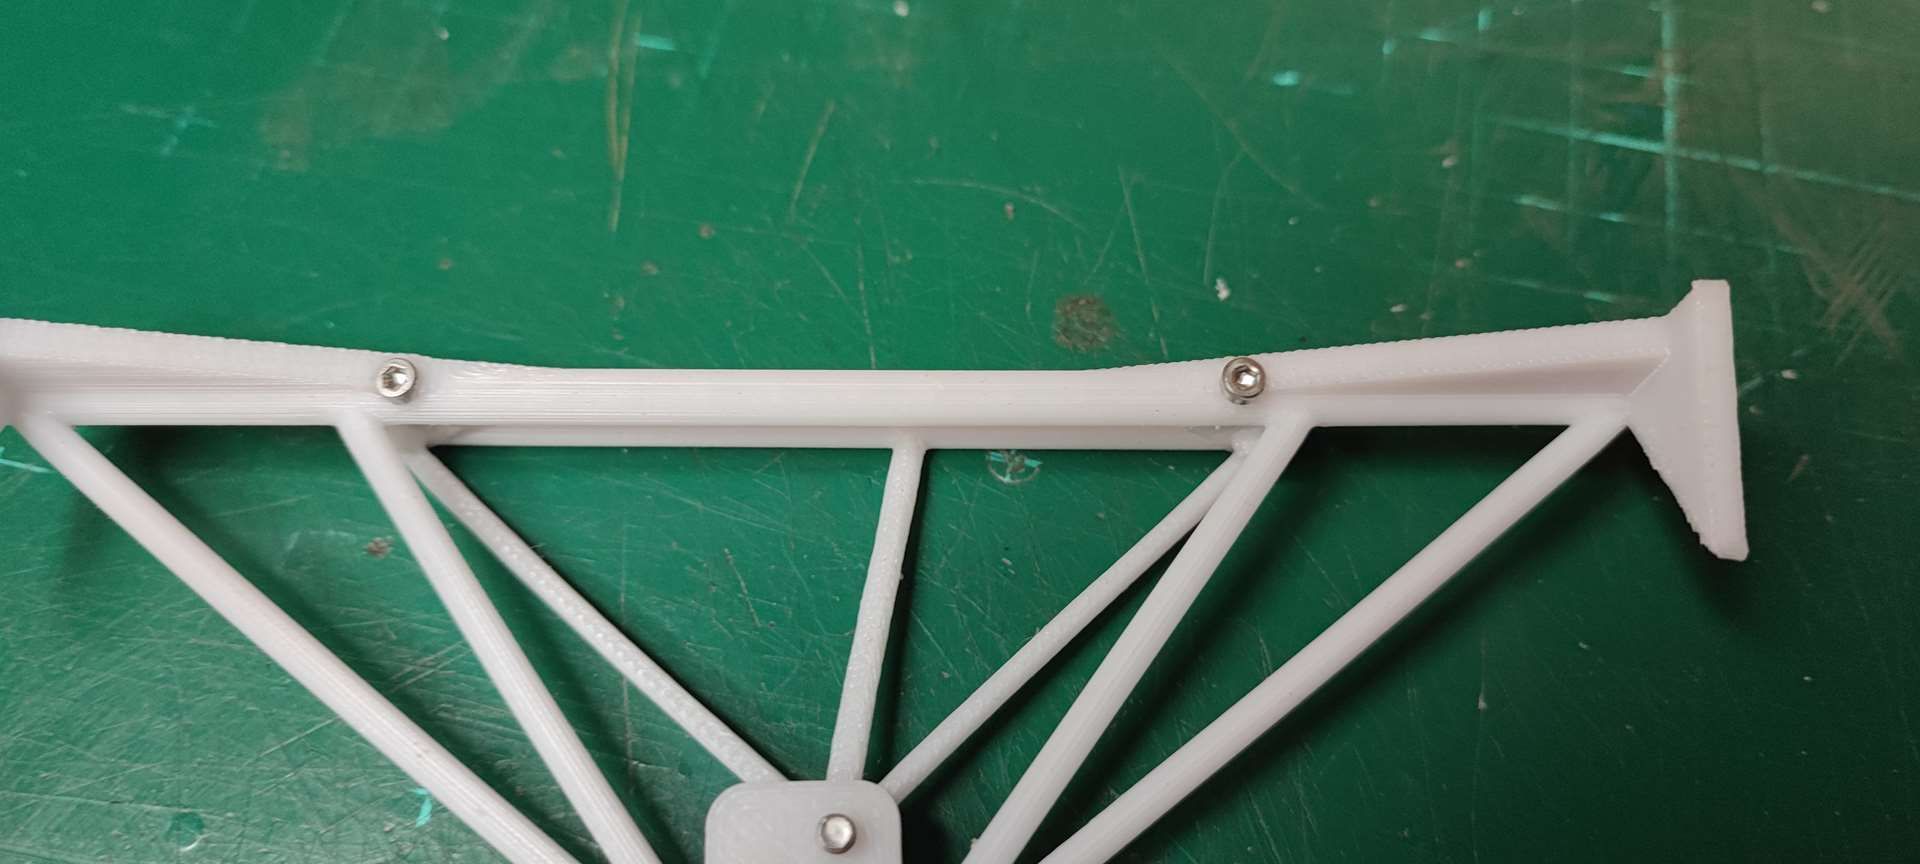
It's better :
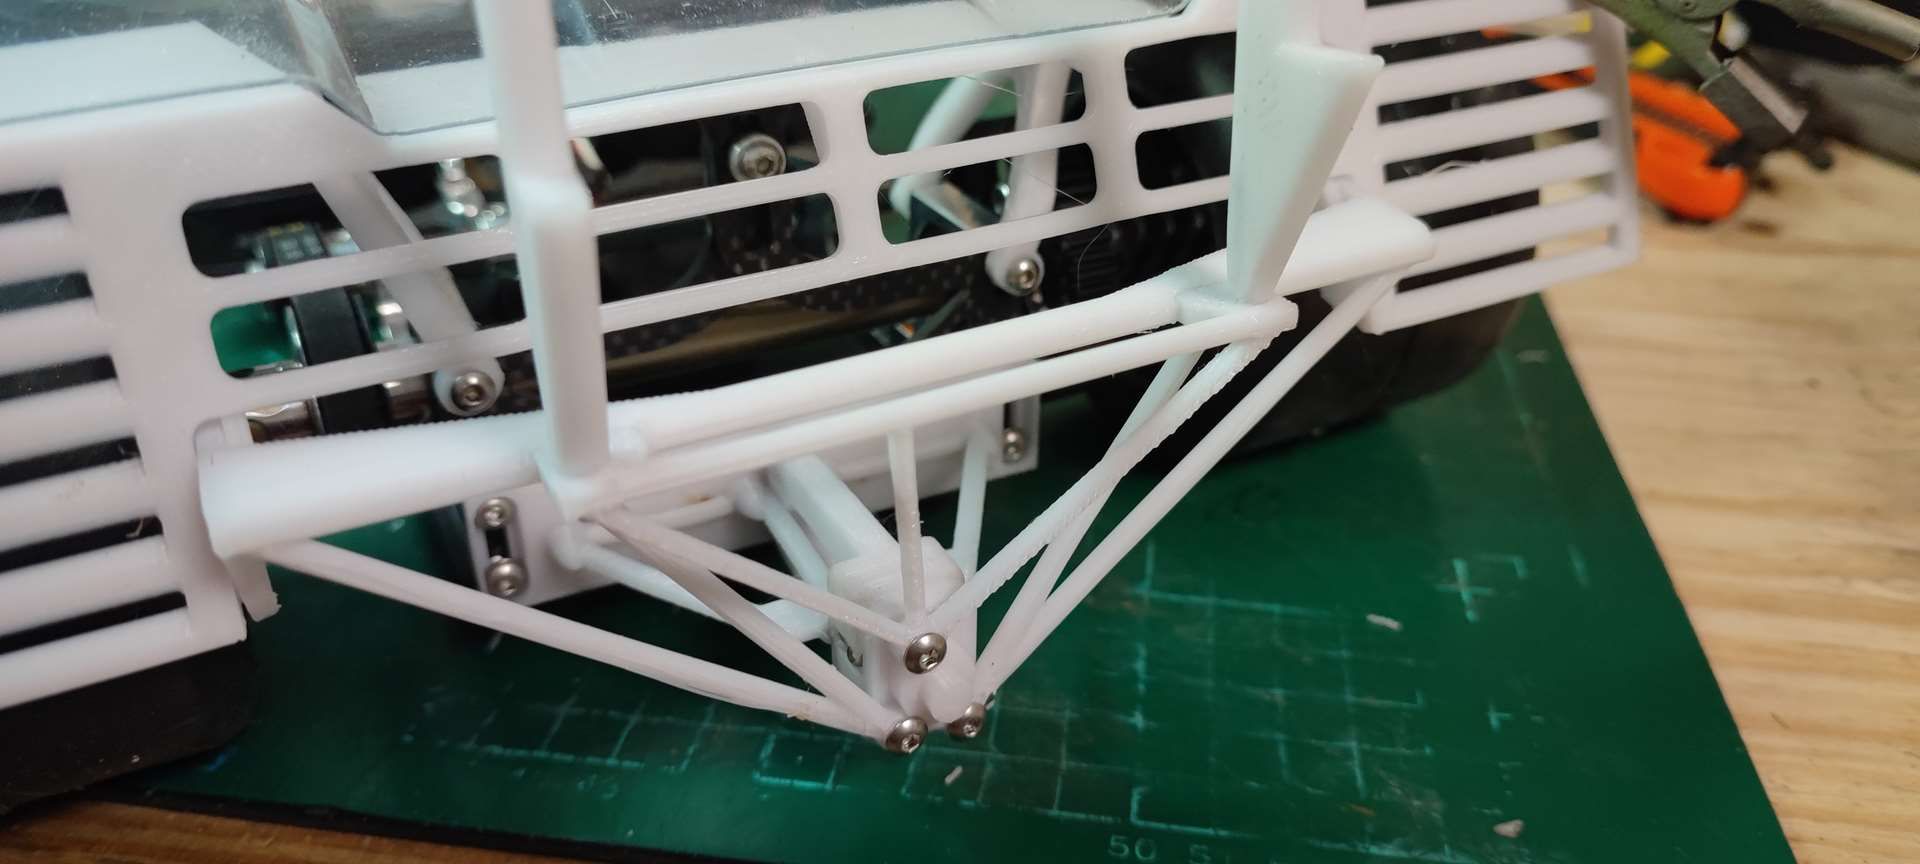
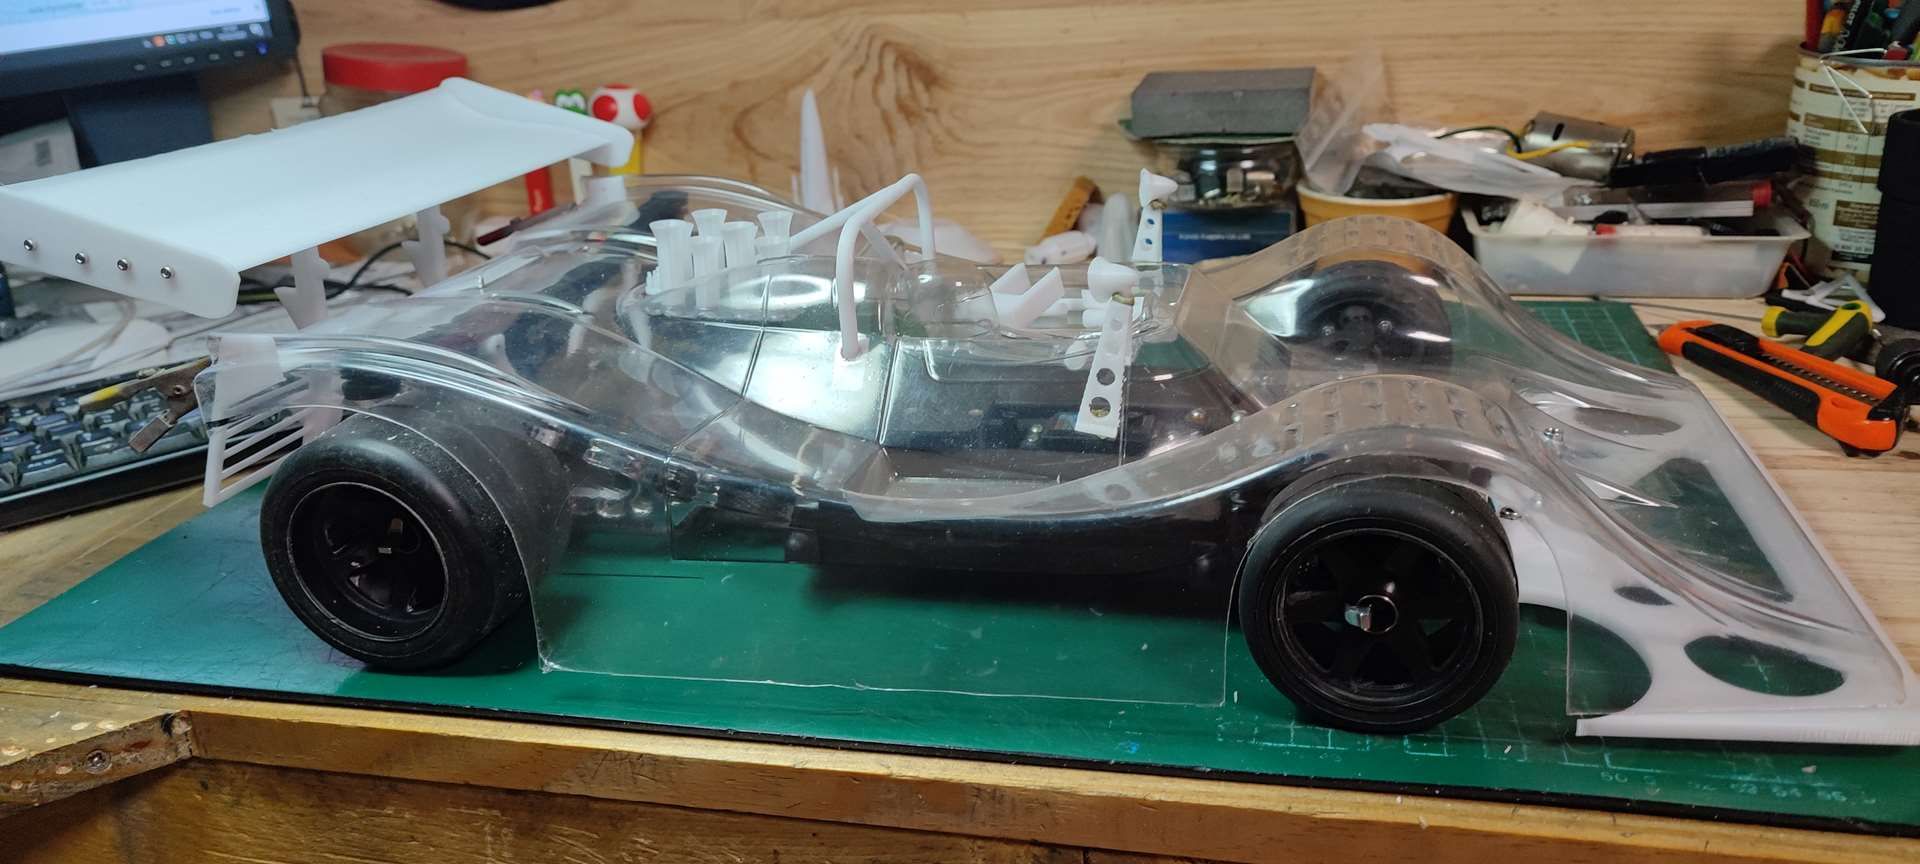
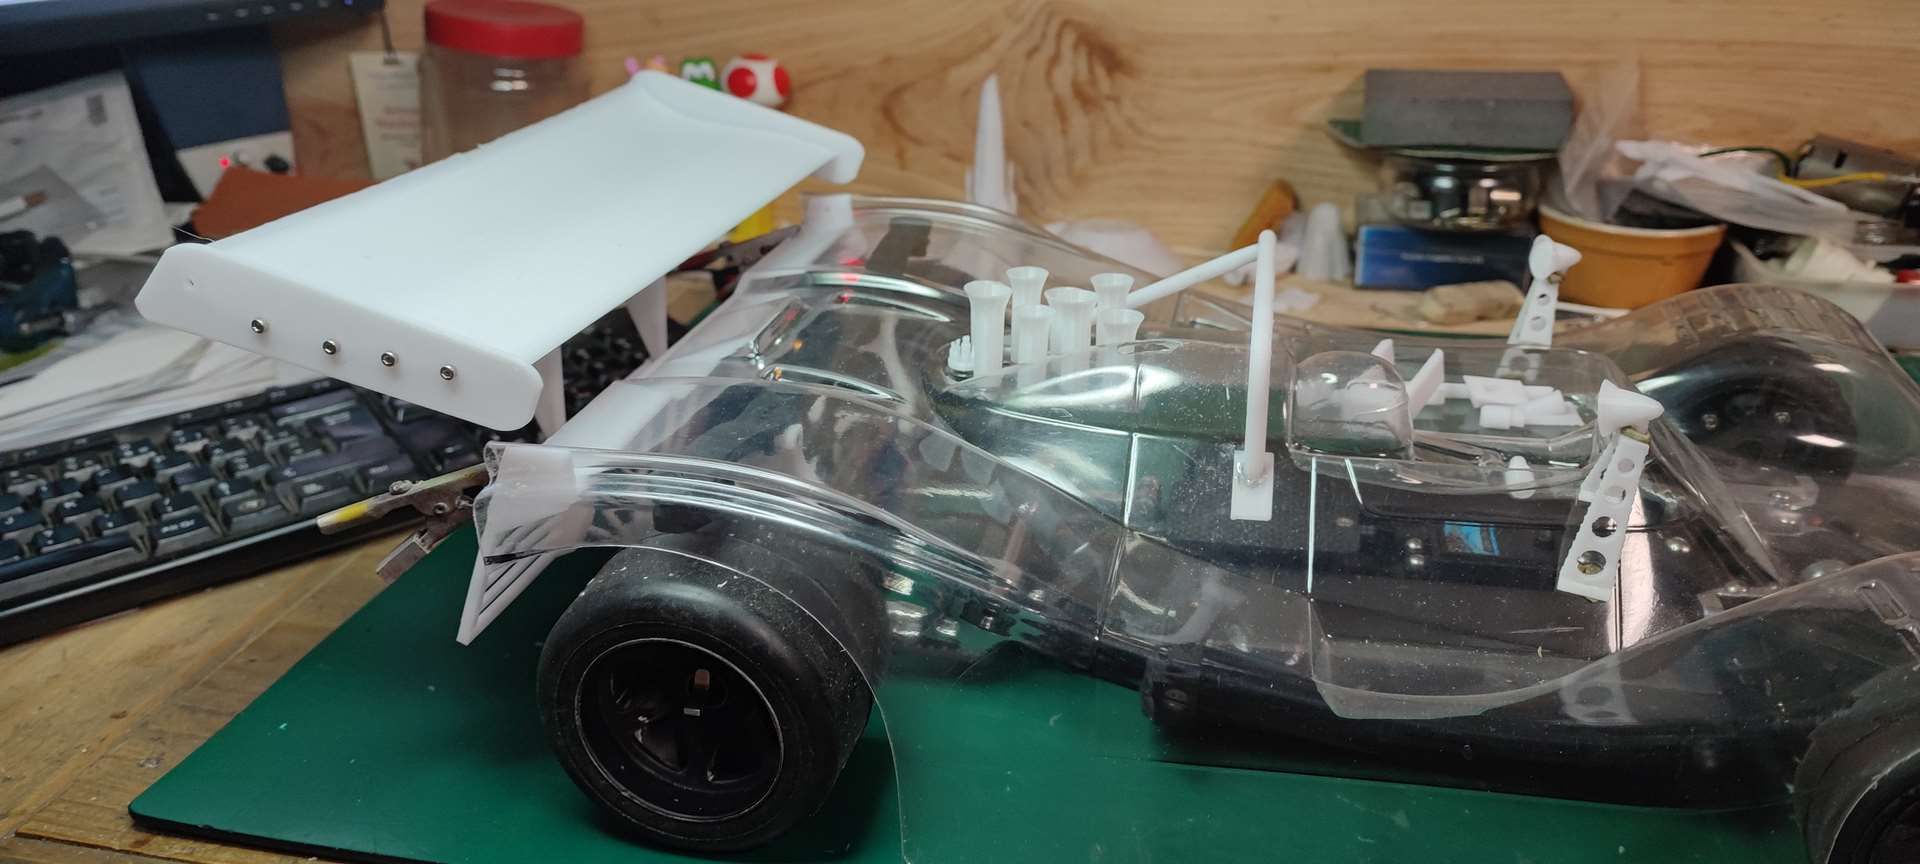
Re-test of the wing, it's even BETTER!!!
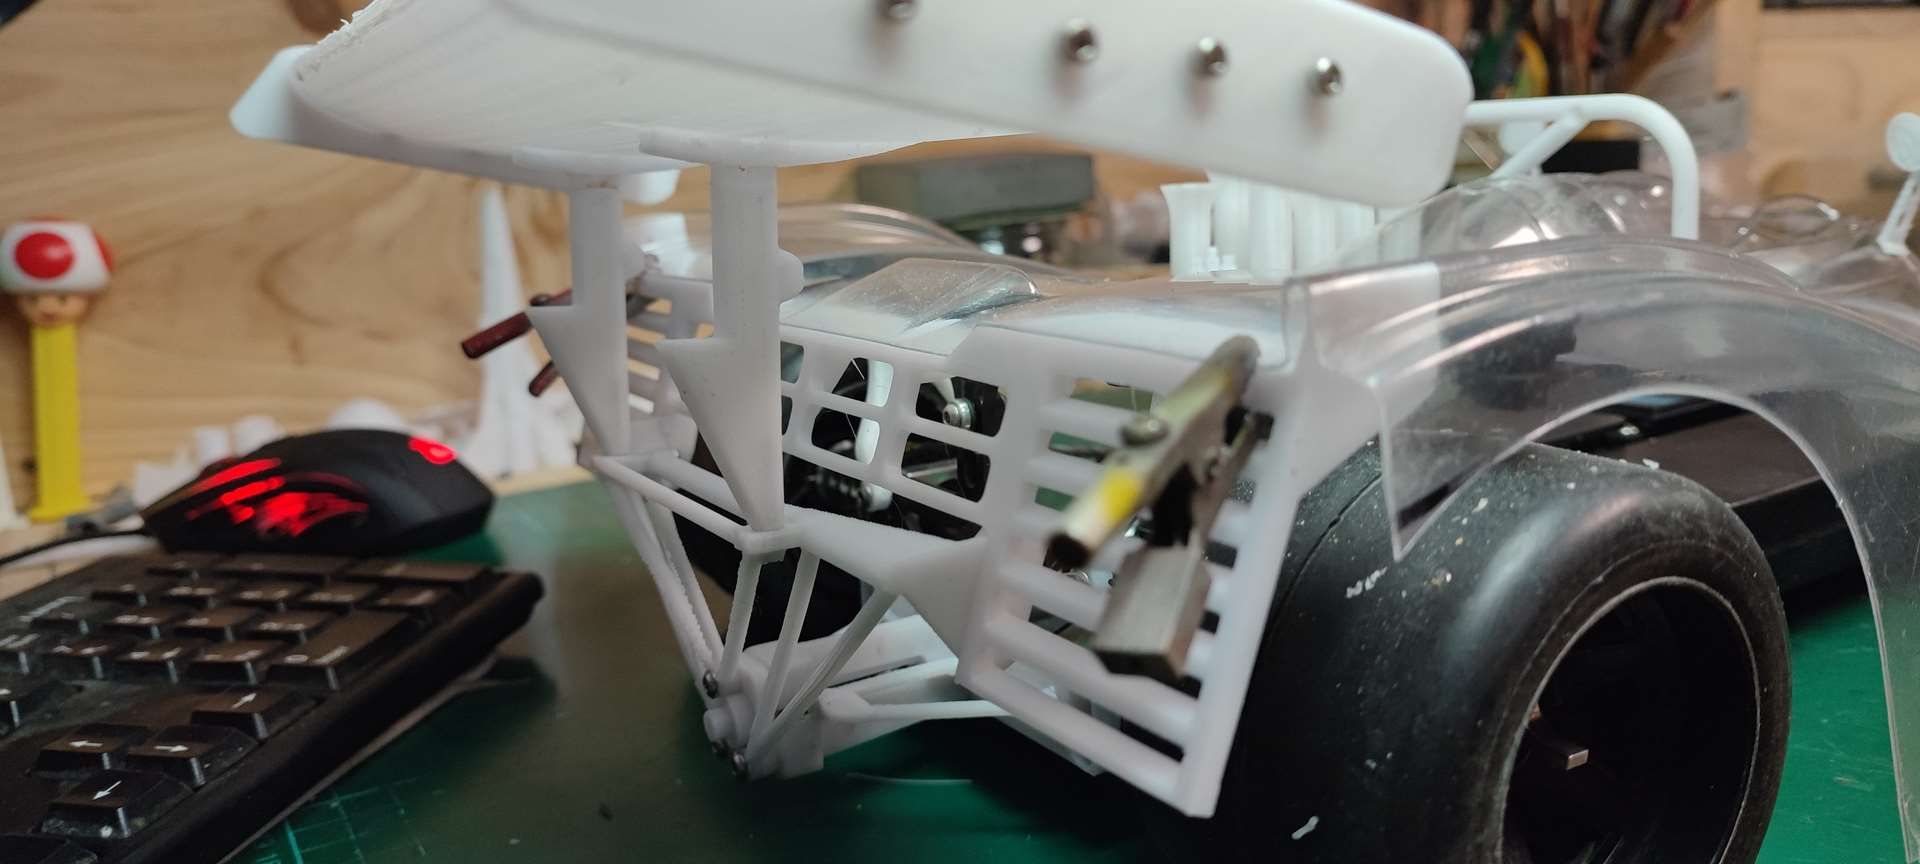
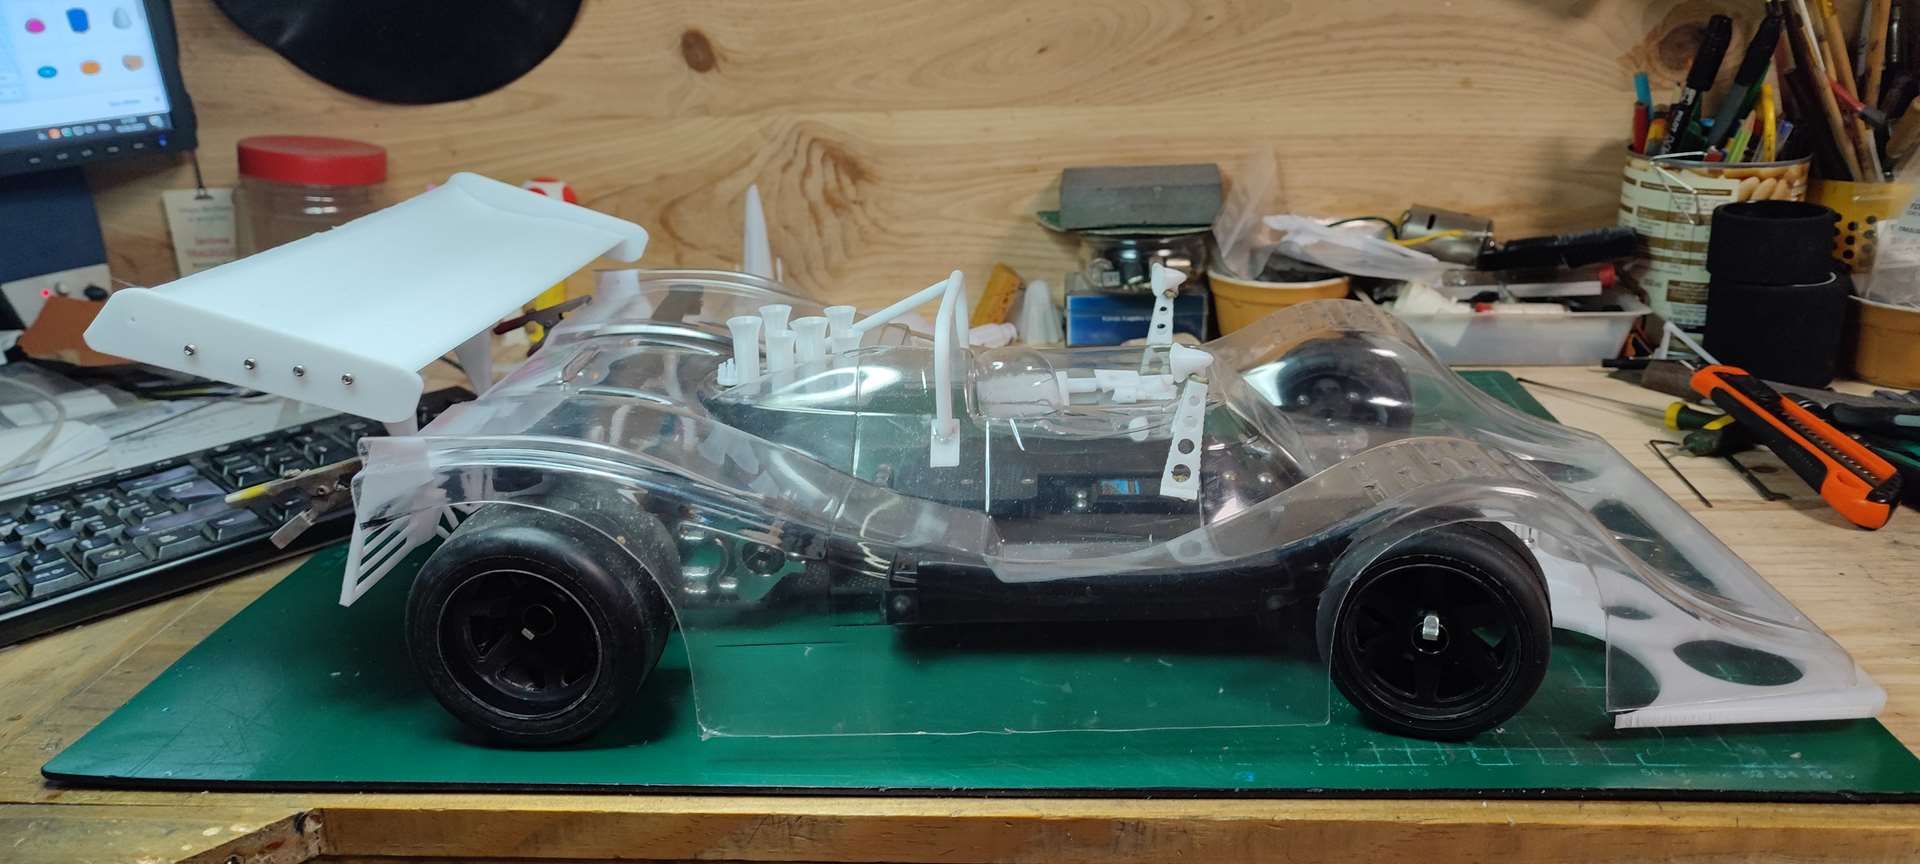 "
"
------
1 week ago
New part and body cutting
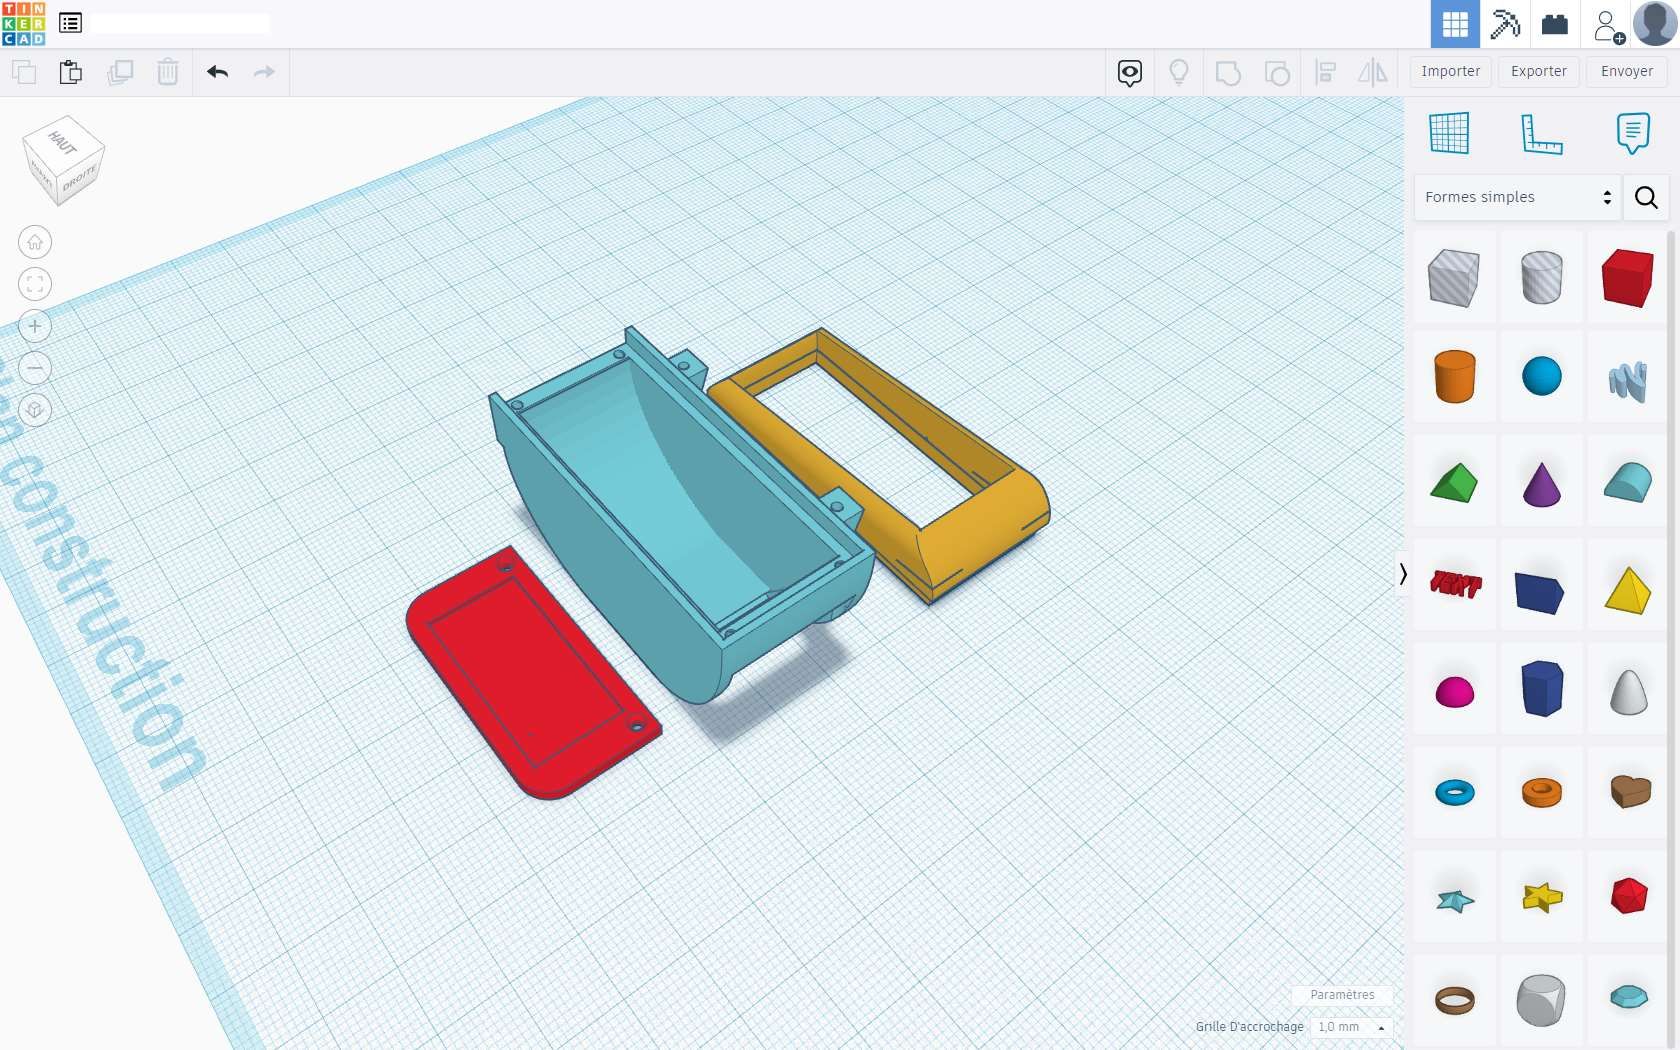
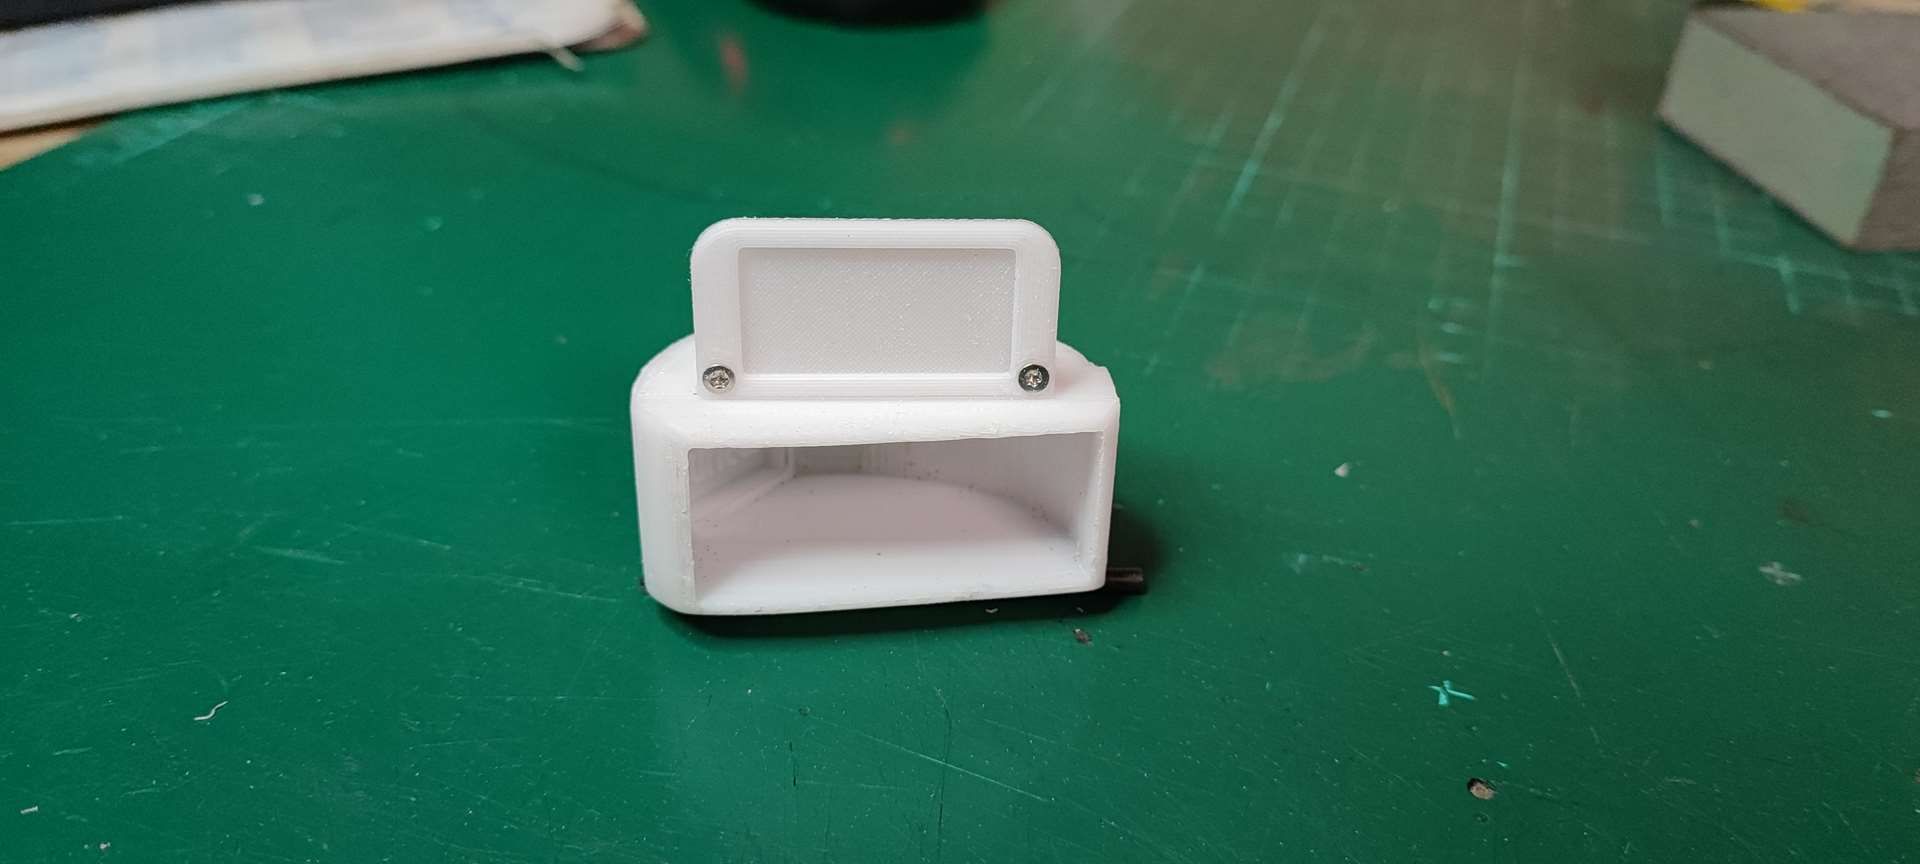
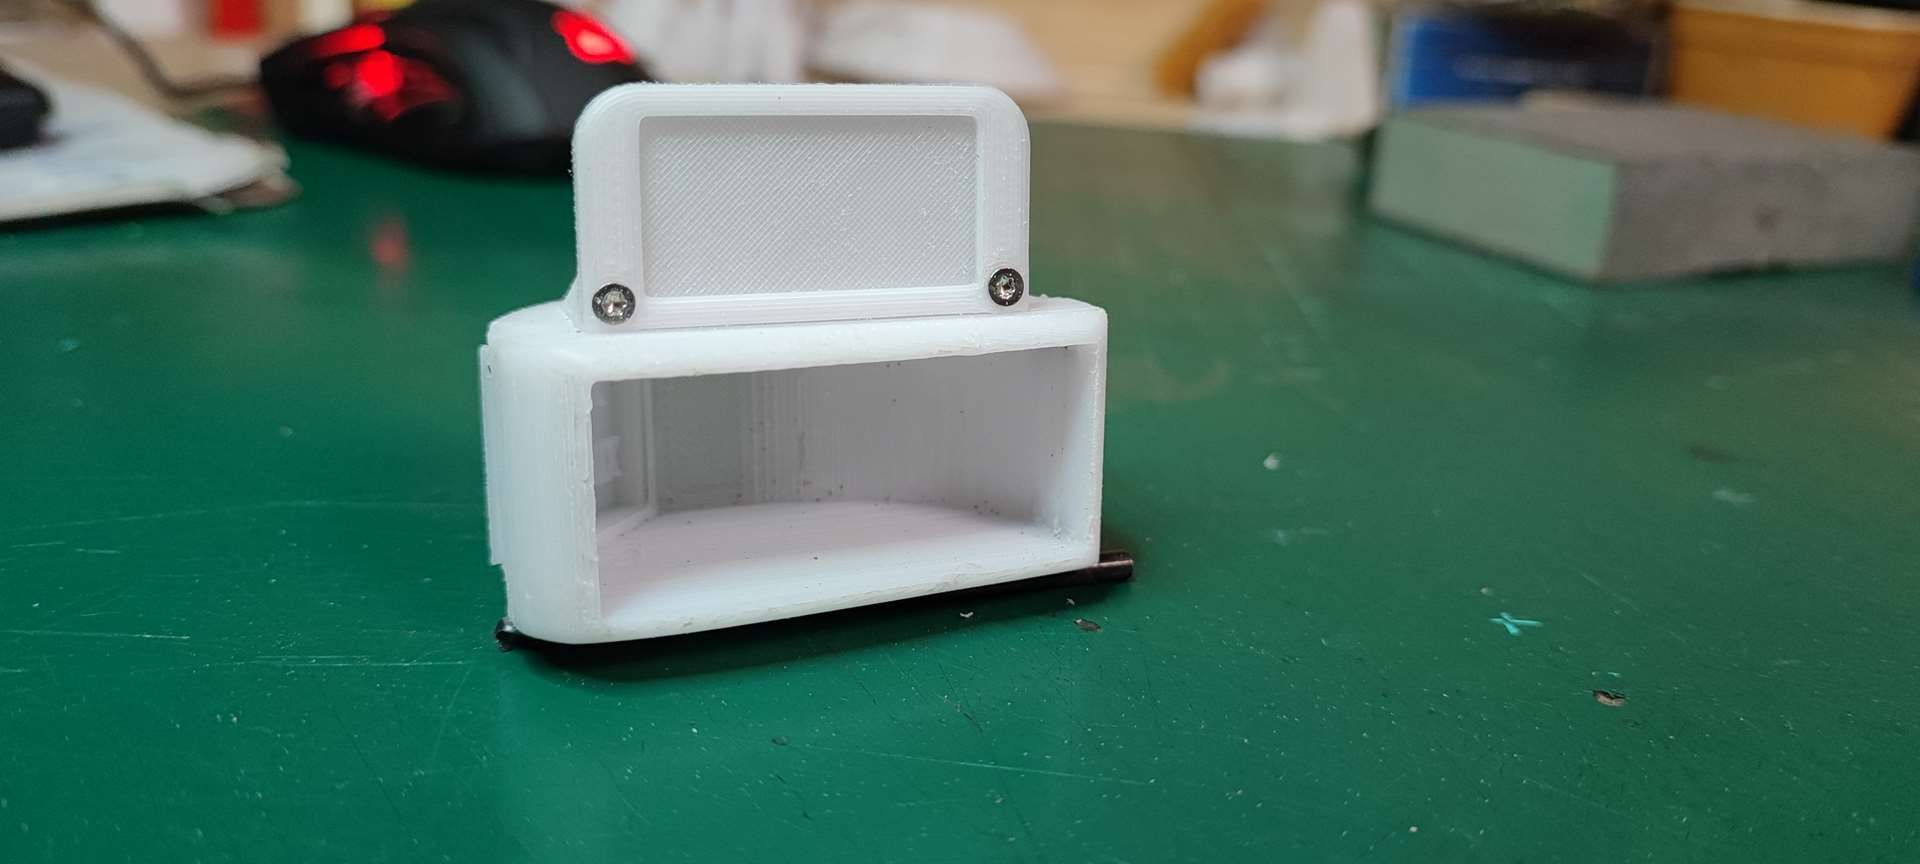
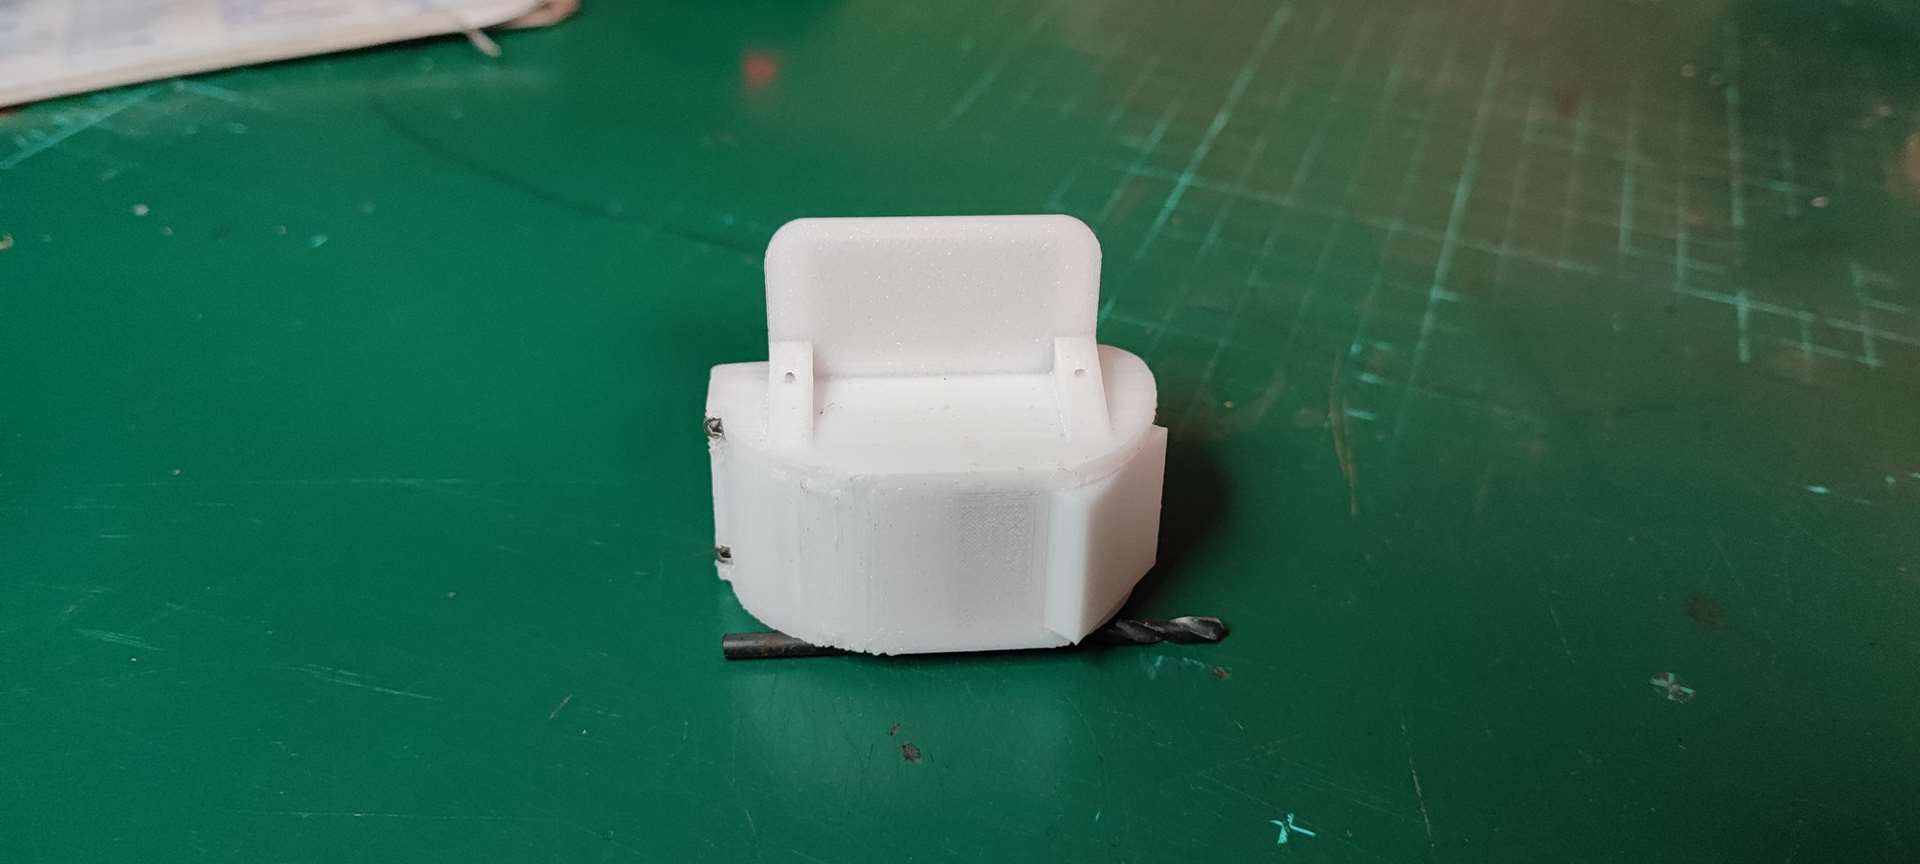
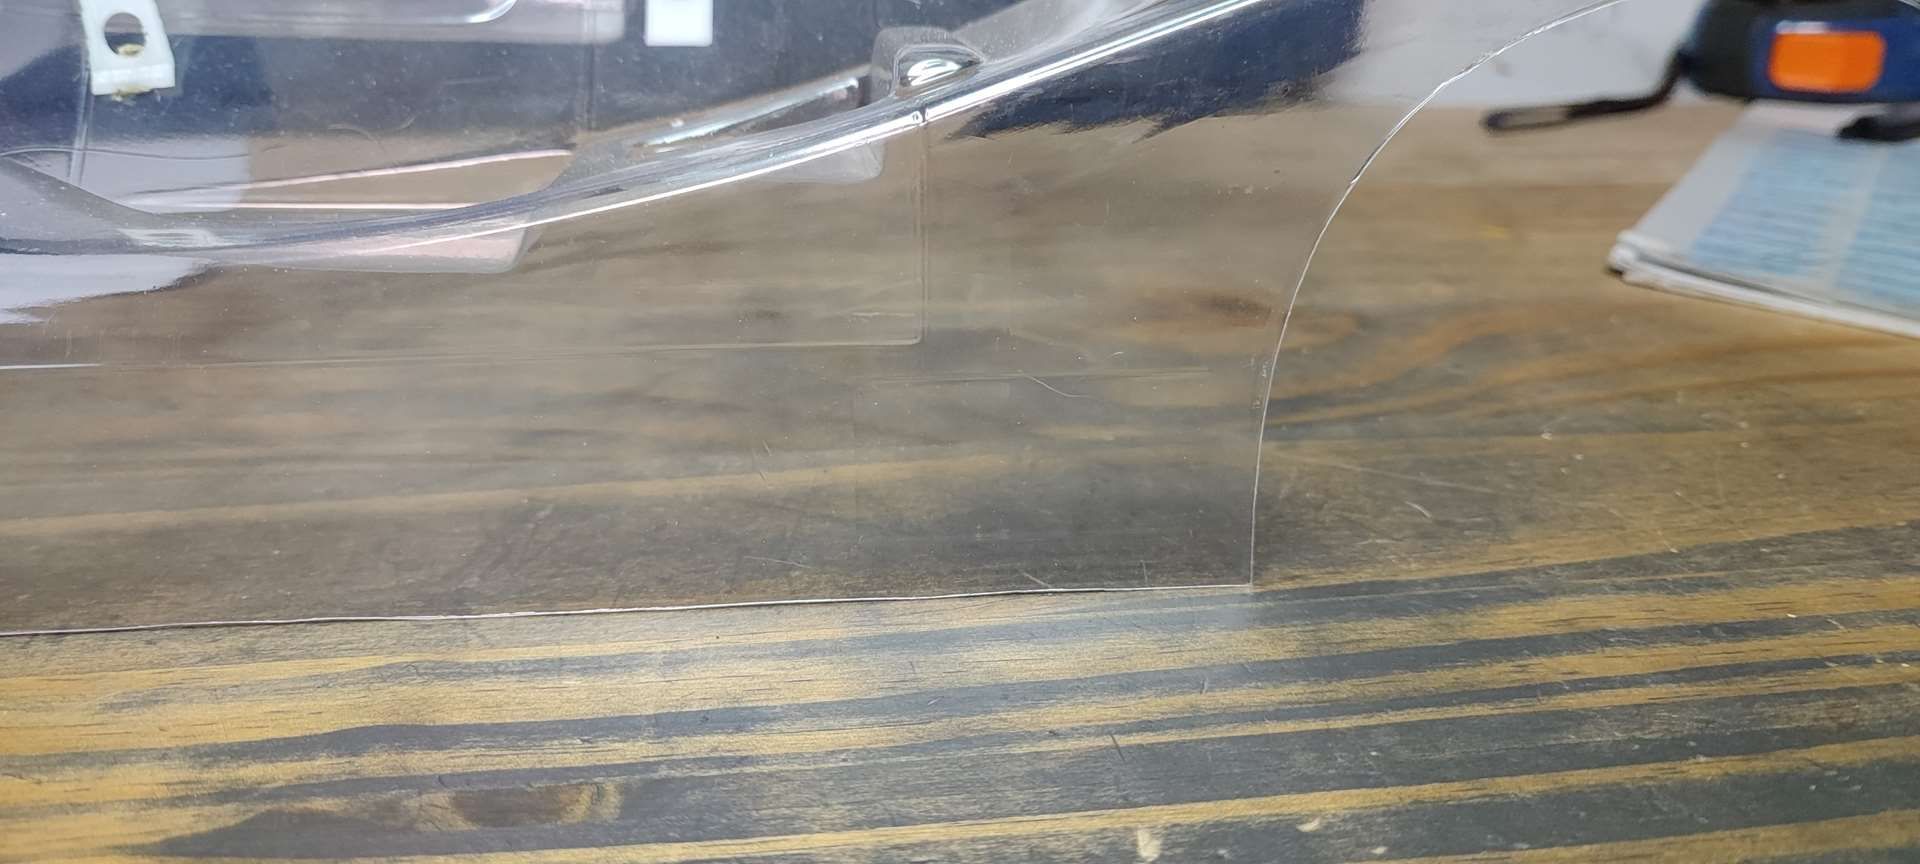
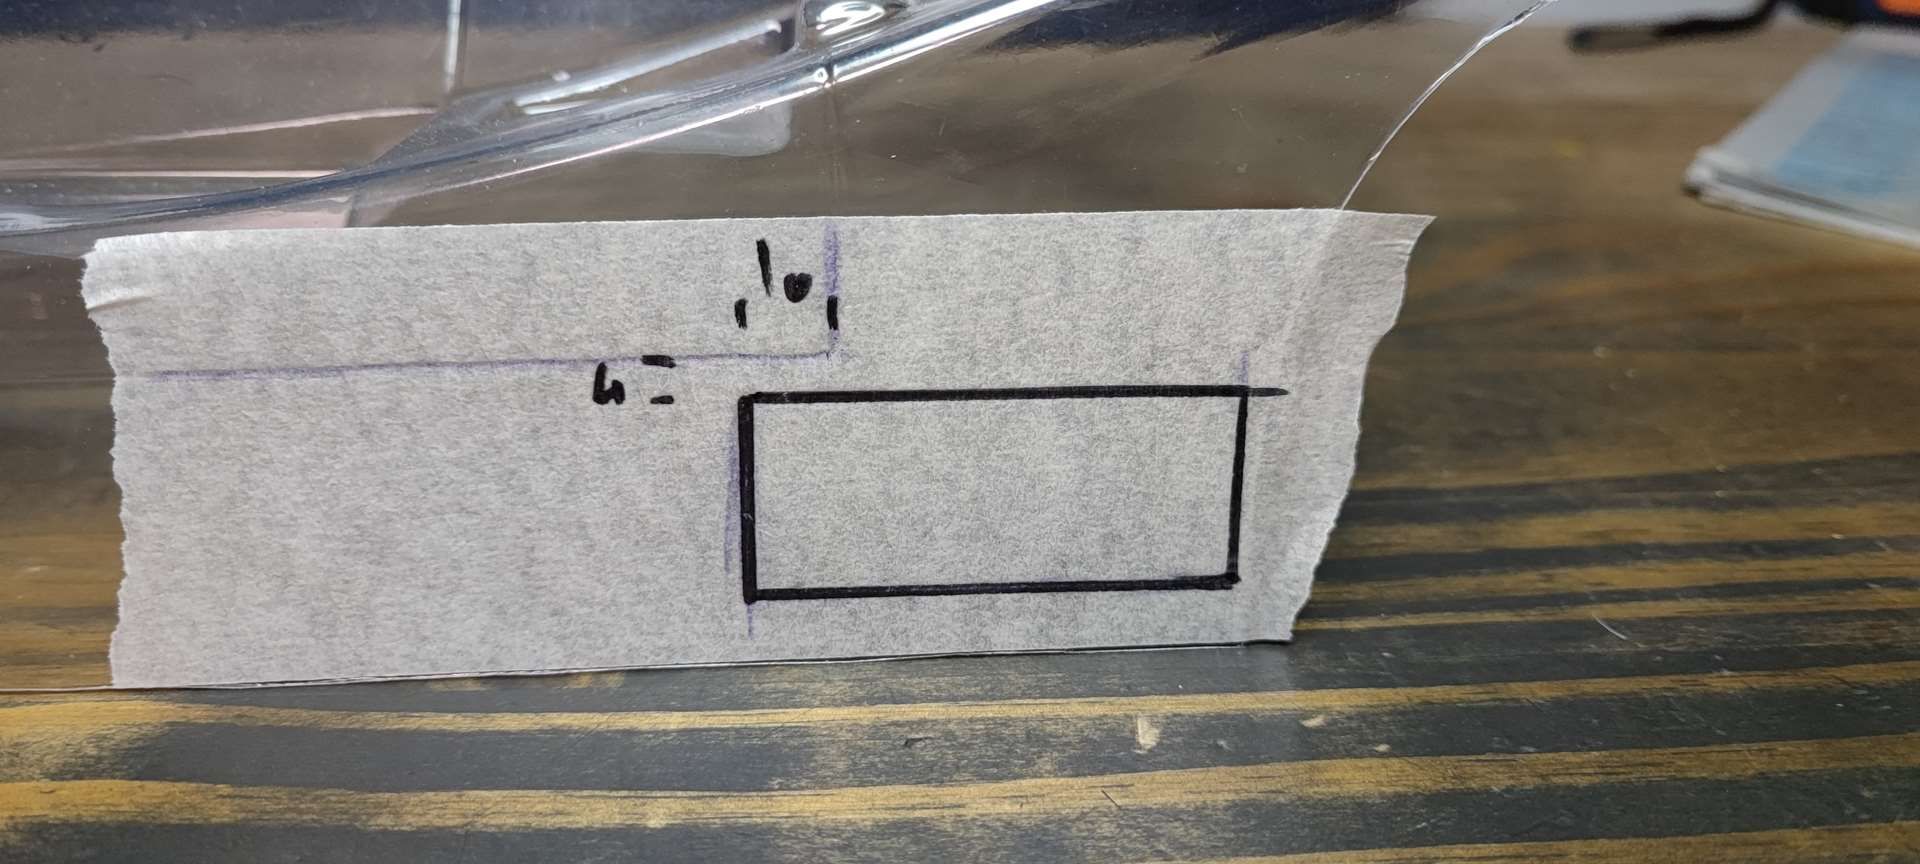
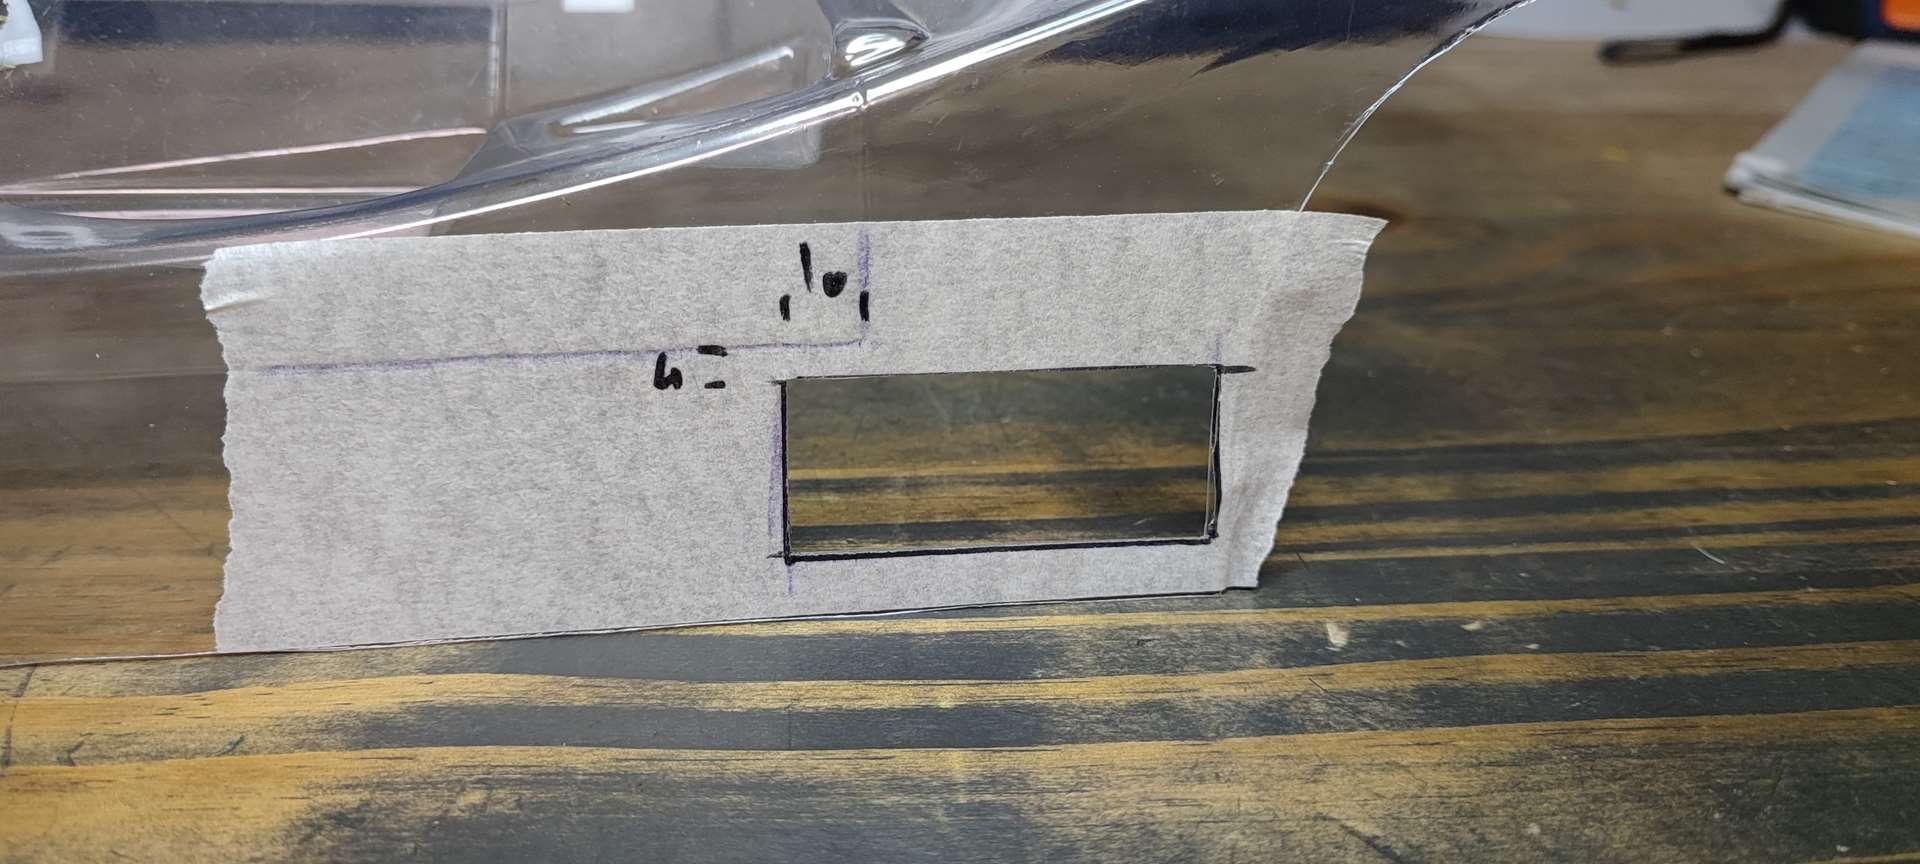
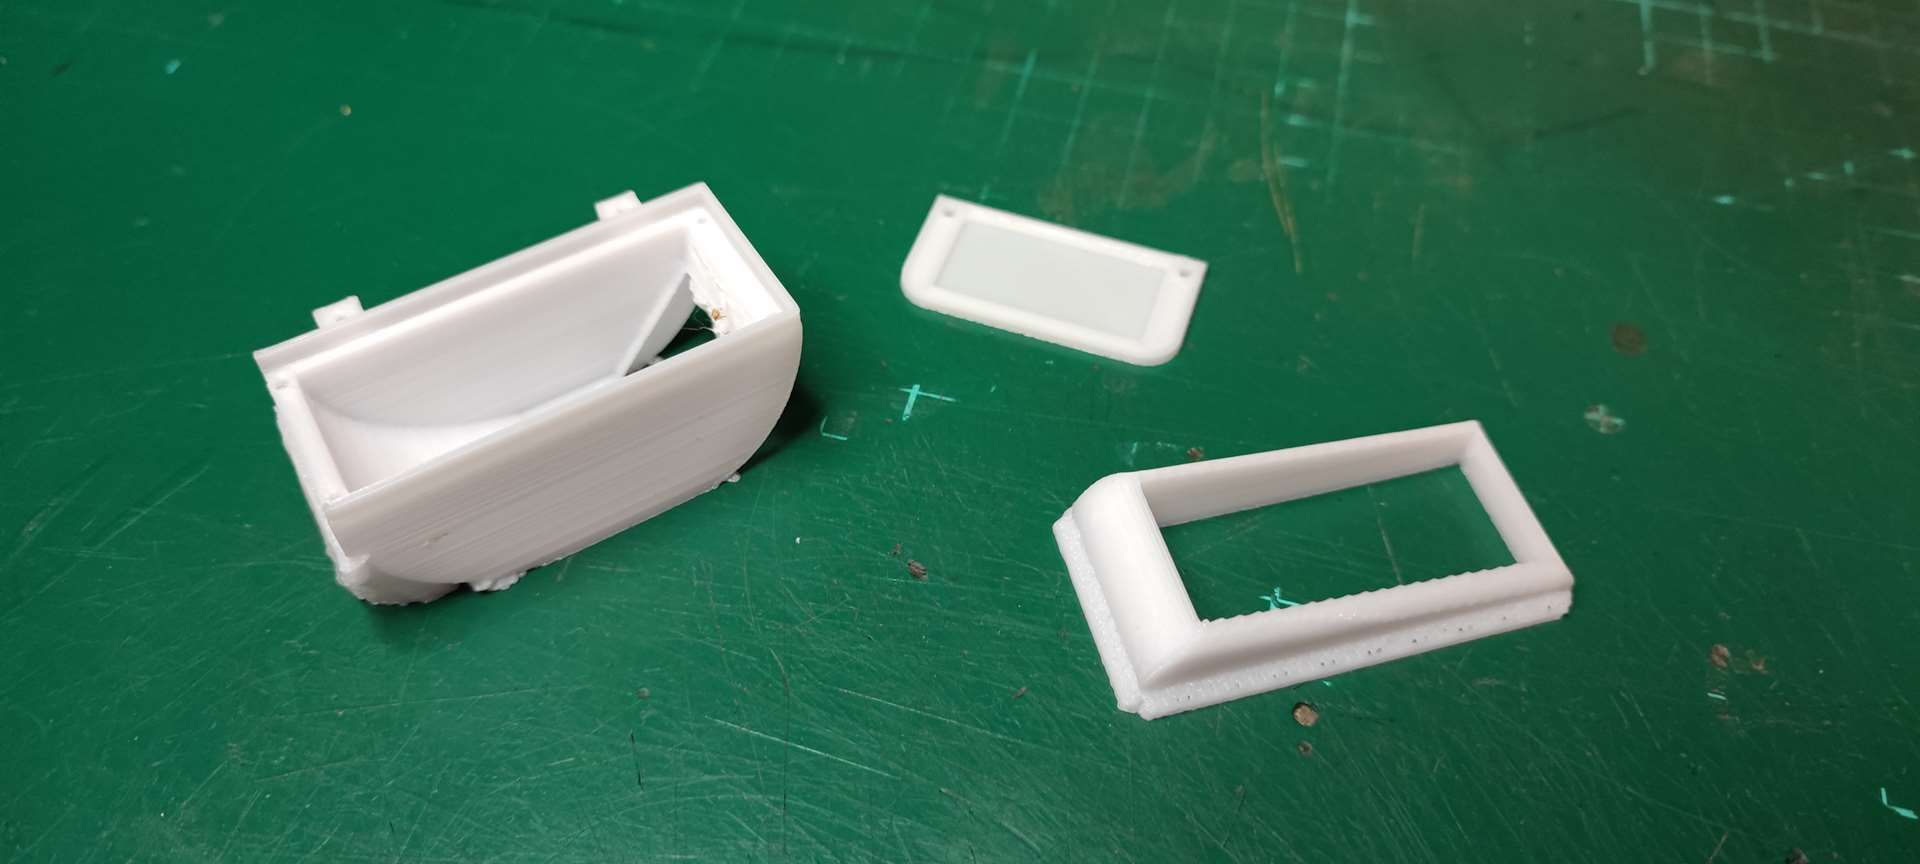
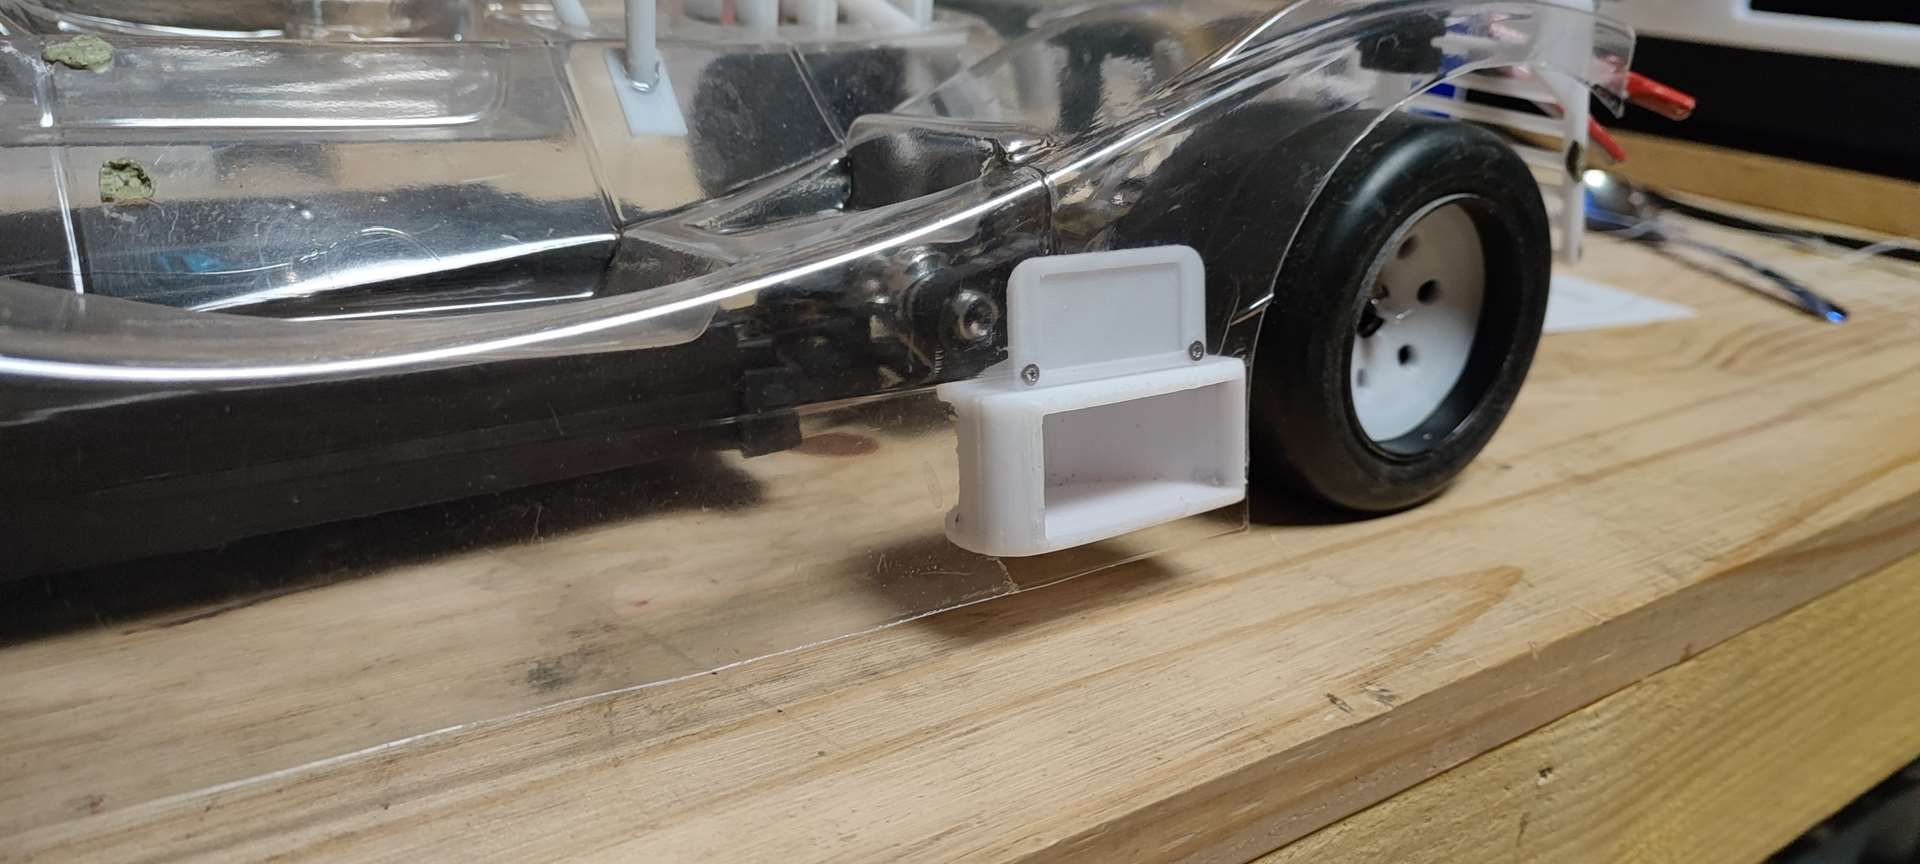
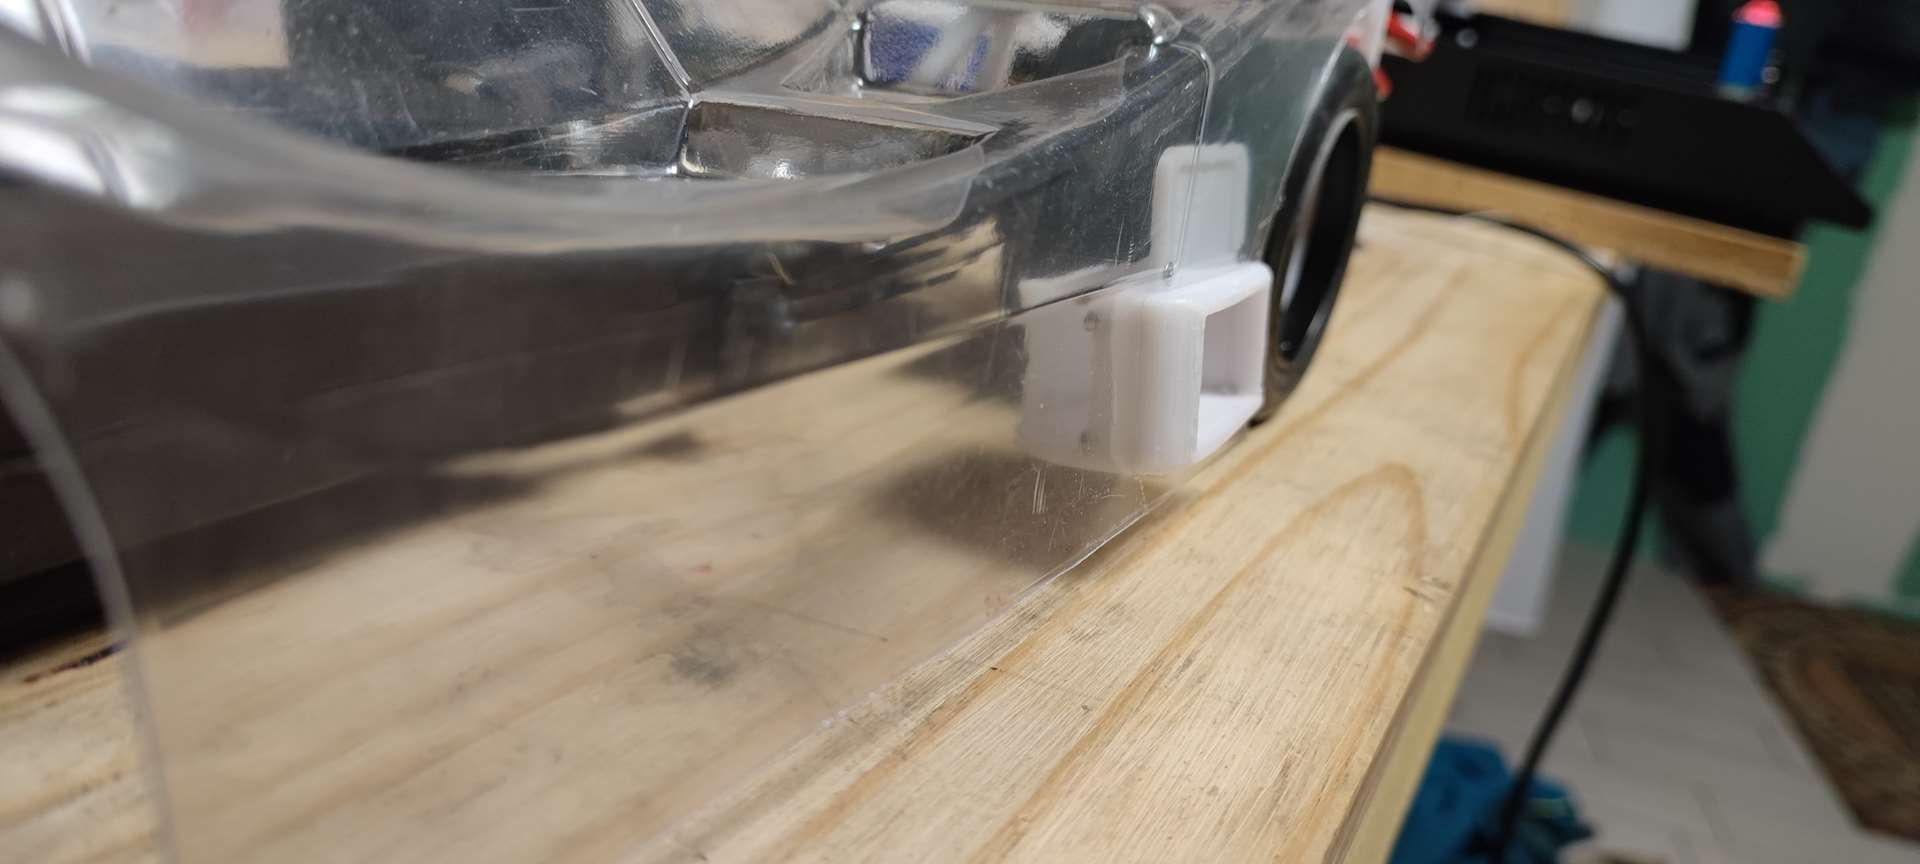
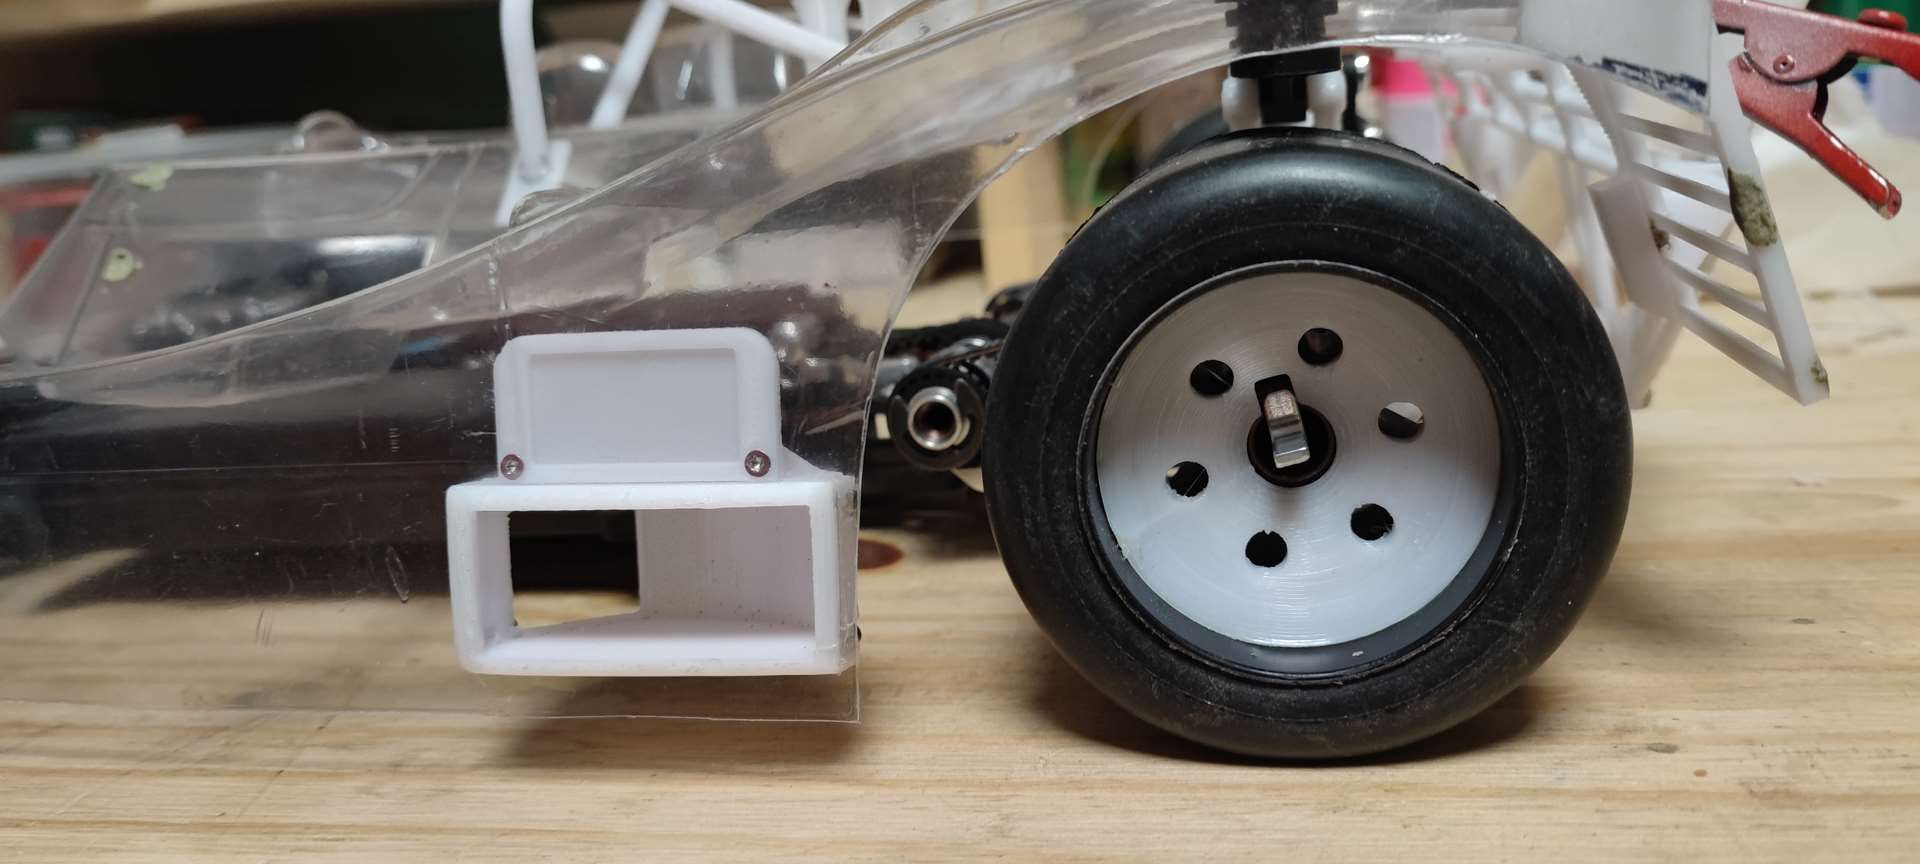
FYI, the sort of sign above the air intake on the inside of the bodywork is designed to receive double-sided tape in order to relieve the weight of the lexan and therefore the constraint of the air intake in order to align everything as well as possible.
I'm quite happy, I'll be able to move on to the front part of the sides behind the front wheels.
Otherwise, I made my first impressions in a color other than white.
First tests on the rear apron in its final version and the wing supports with their attachment to the chassis, I also reviewed other parts that were too fragile and/or too big.
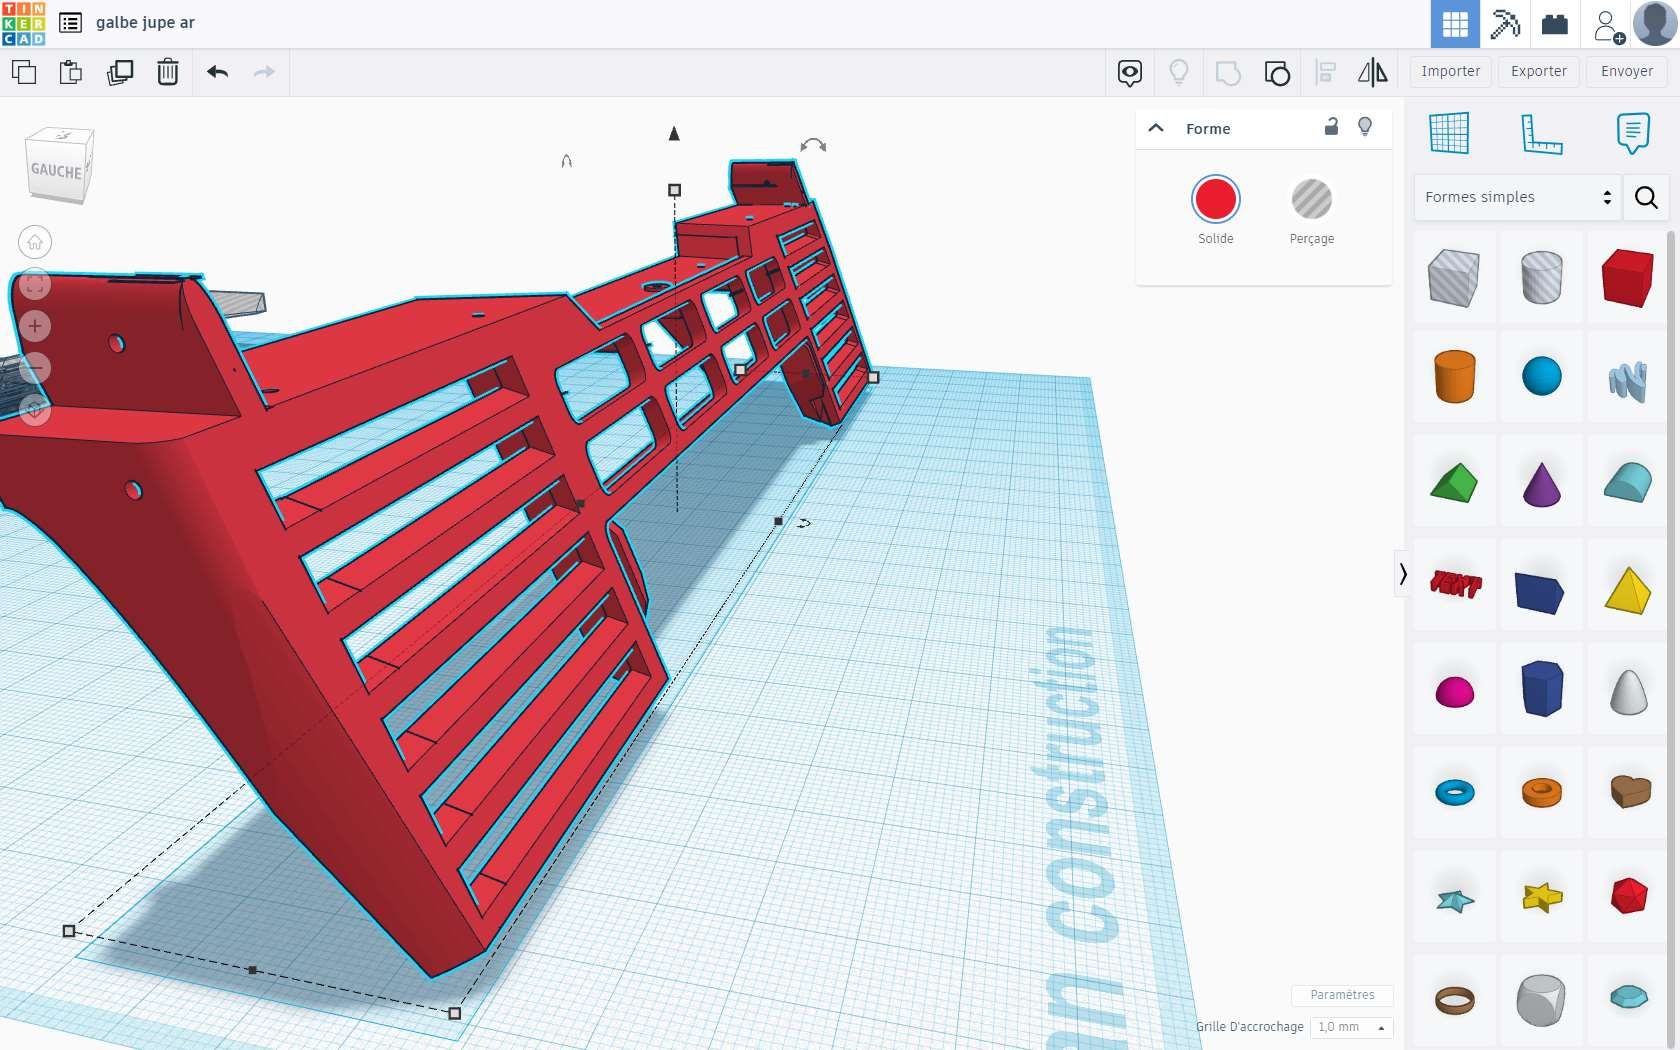
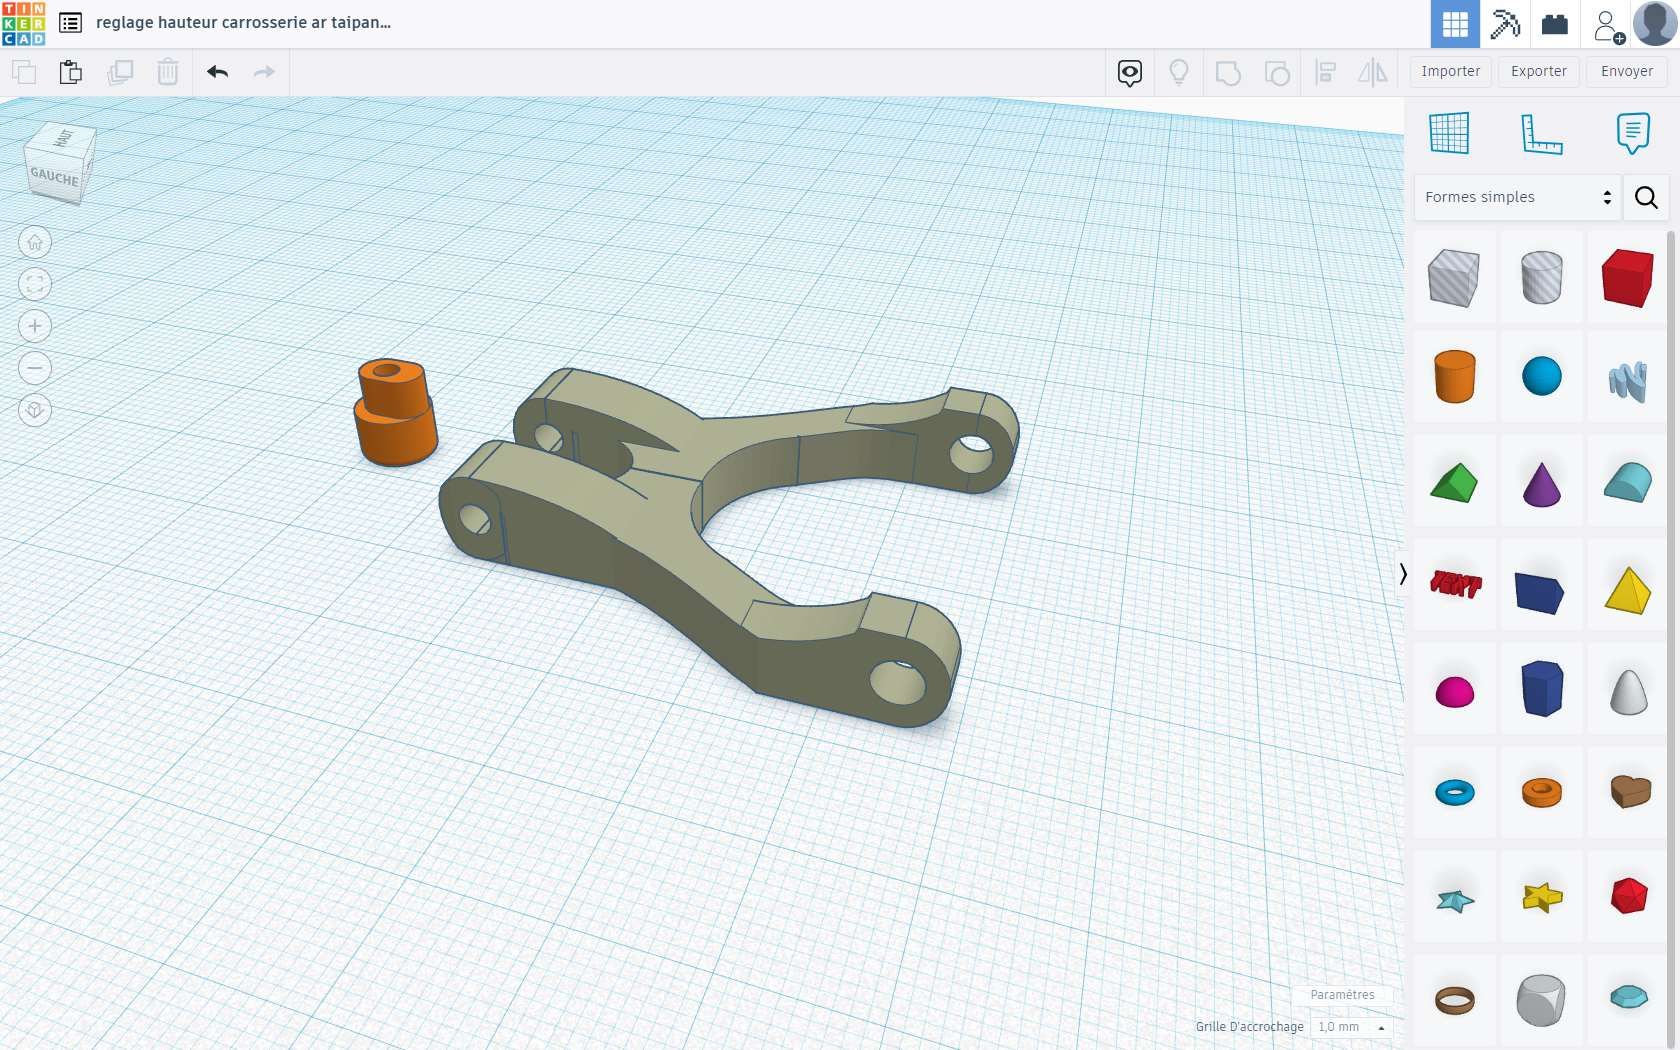
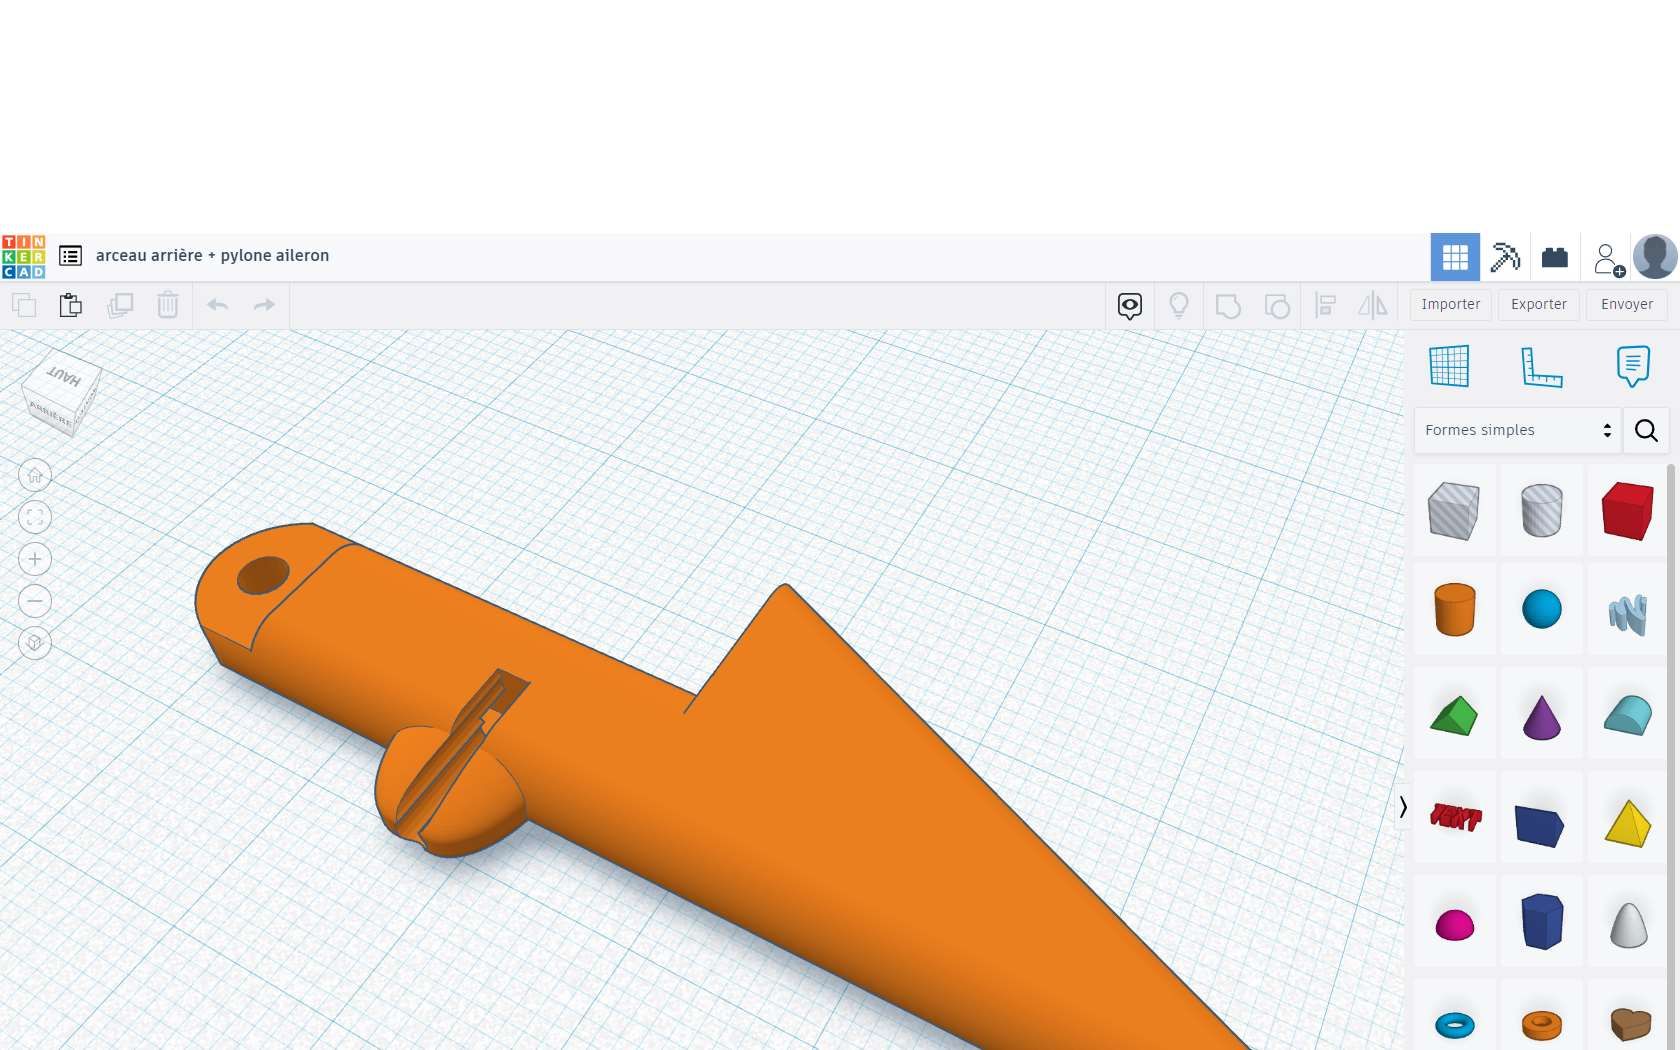
That's what happens :
Body lower at the rear by 3 mm, skirt that adjusts right and left and wing support that I'm starting to like
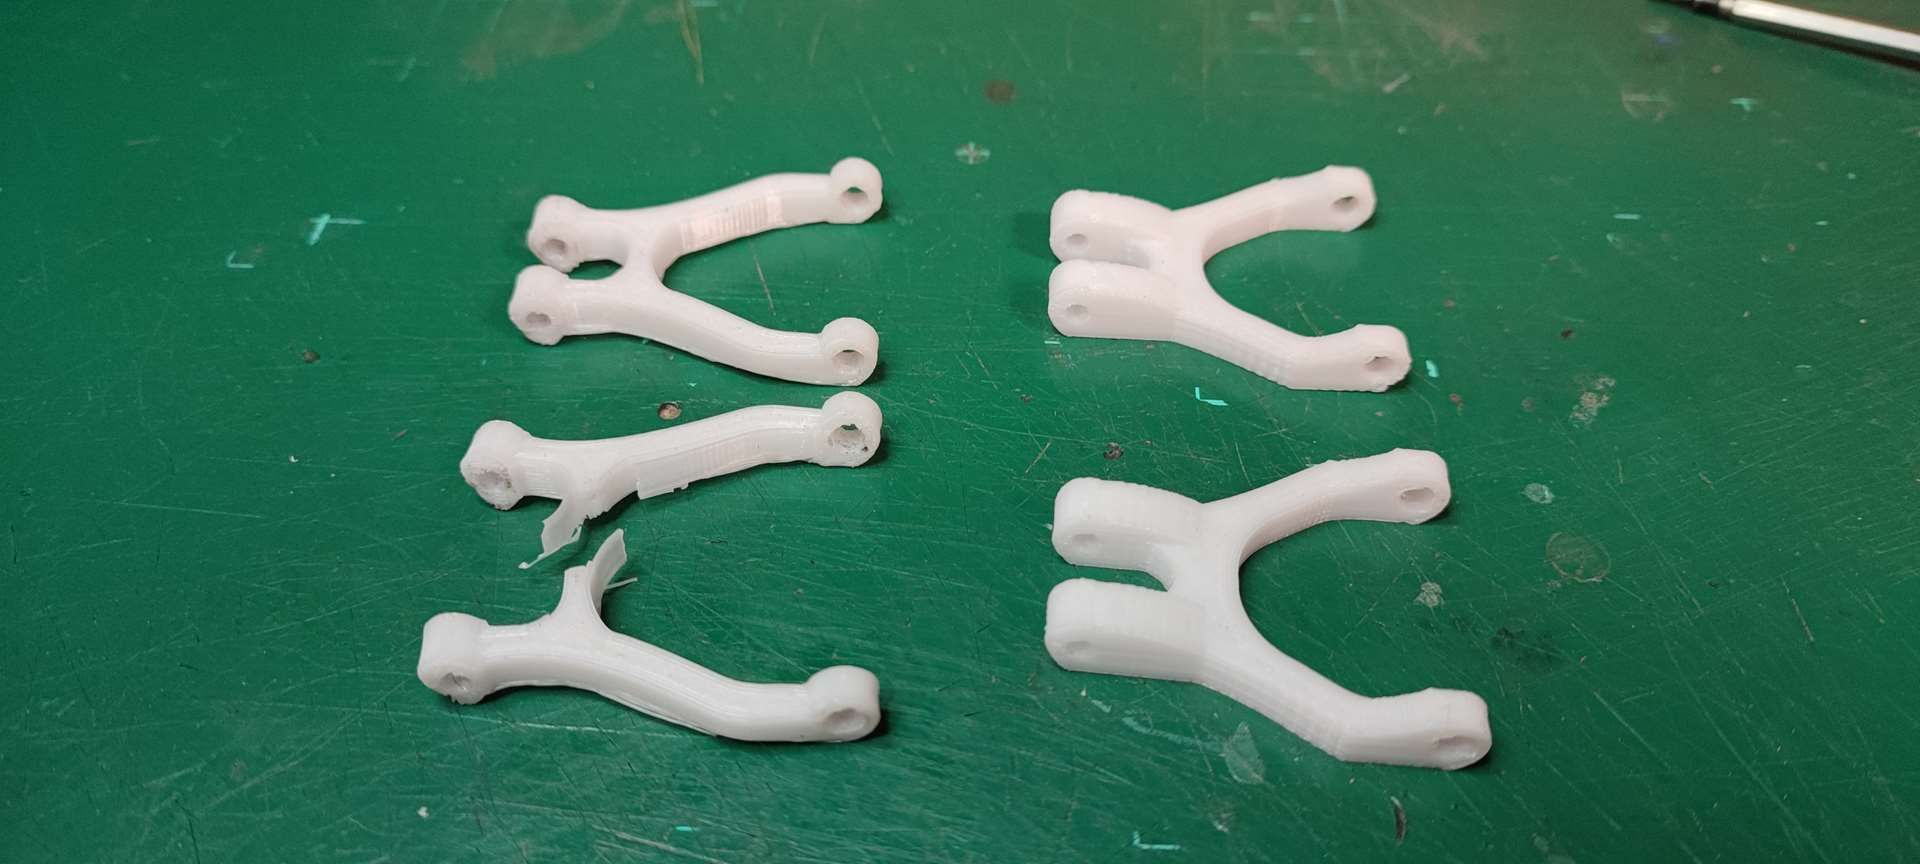
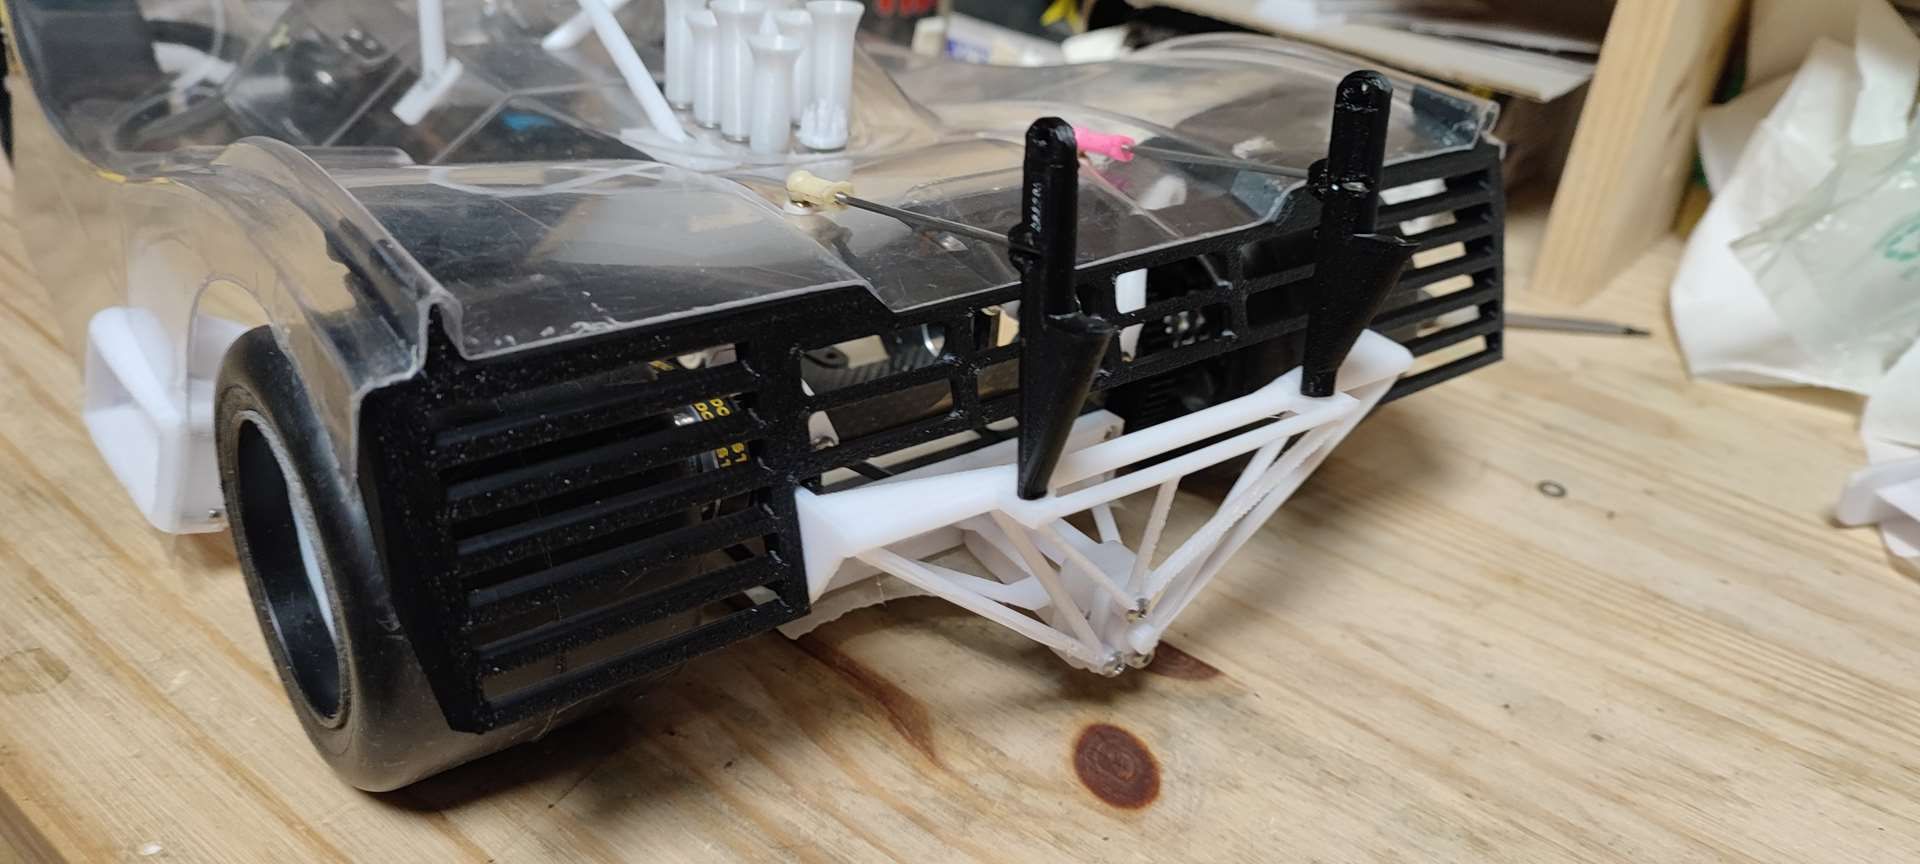
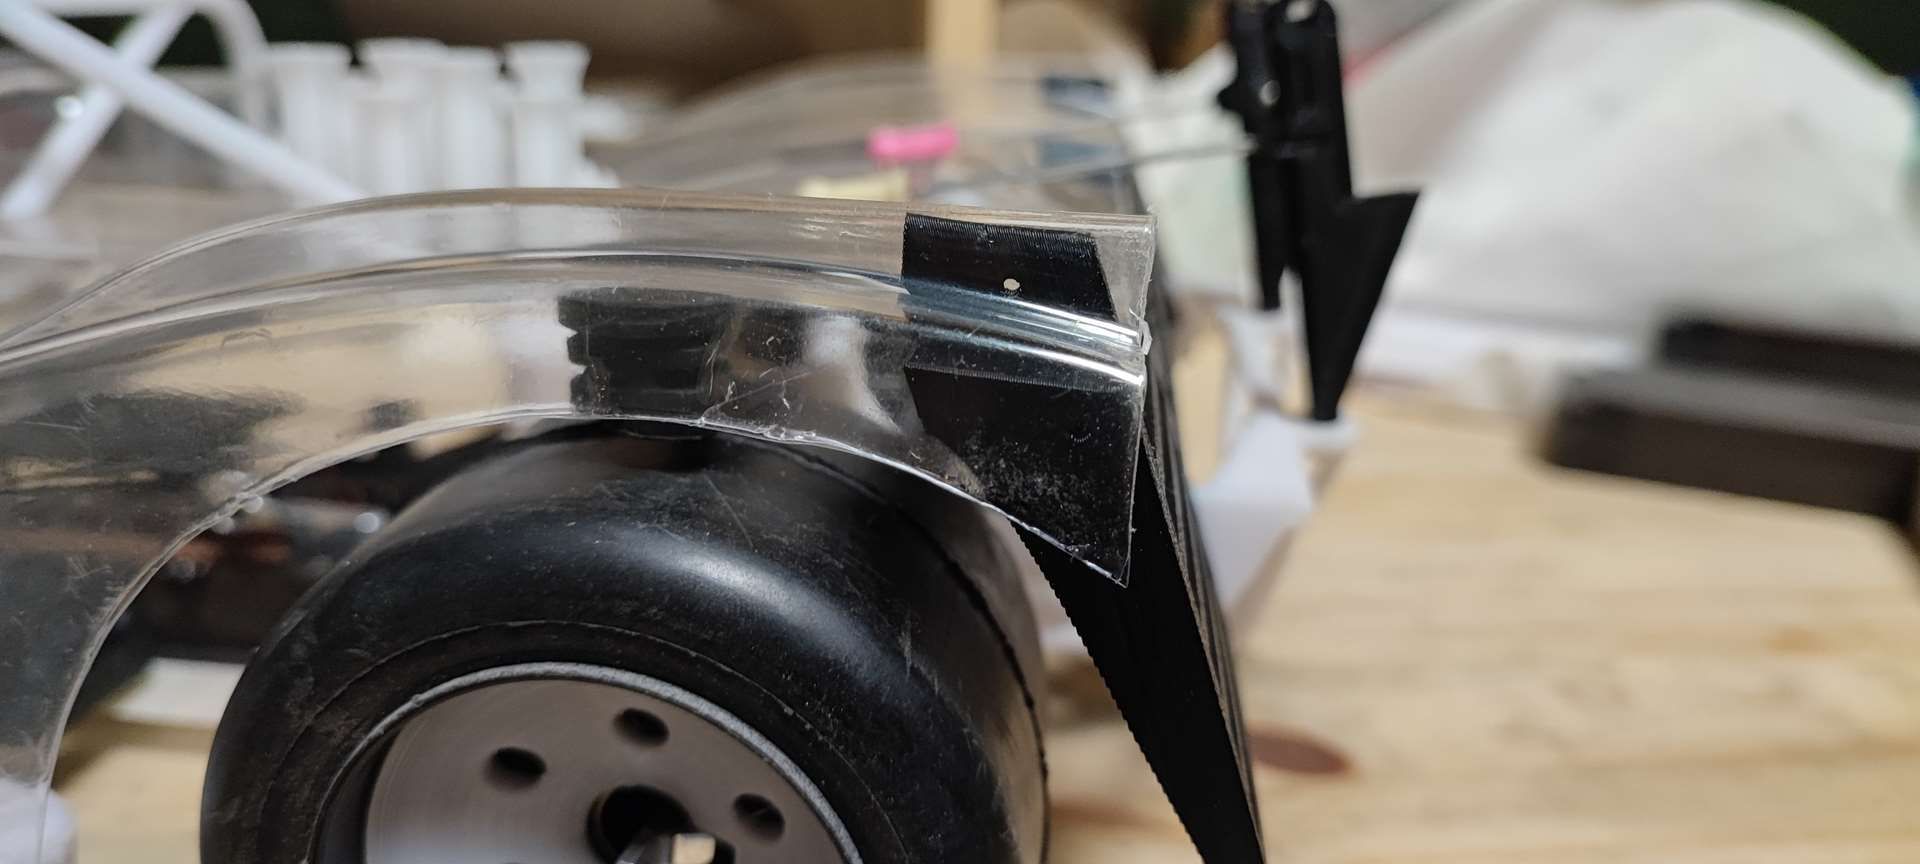
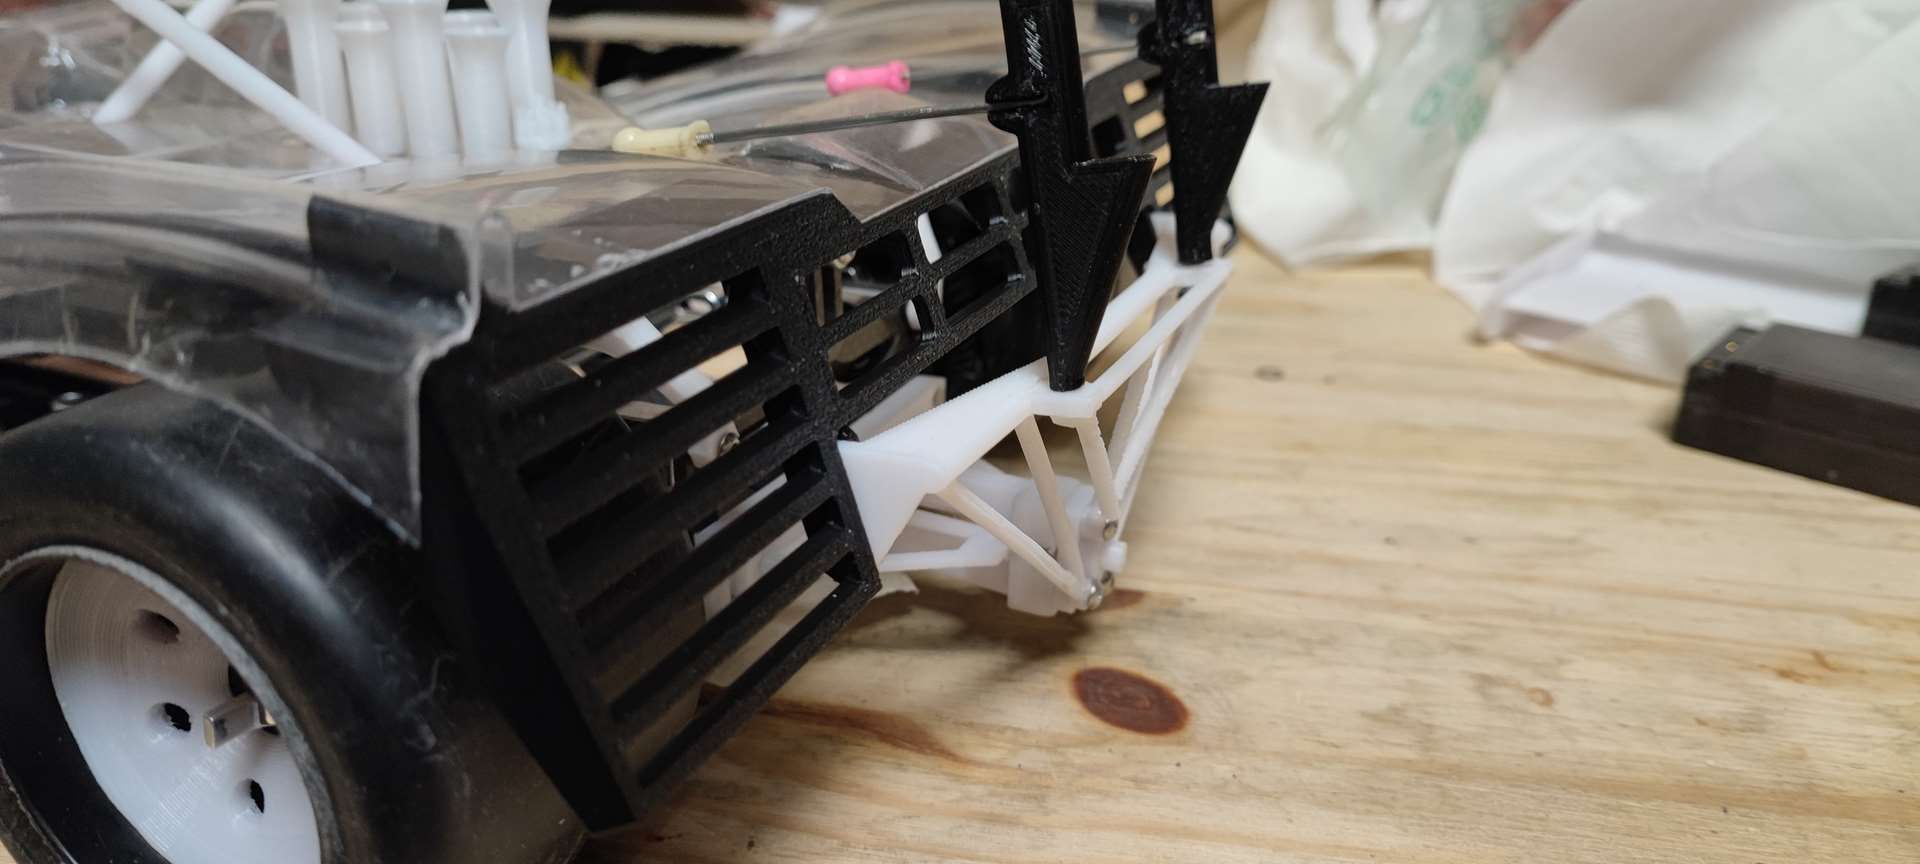
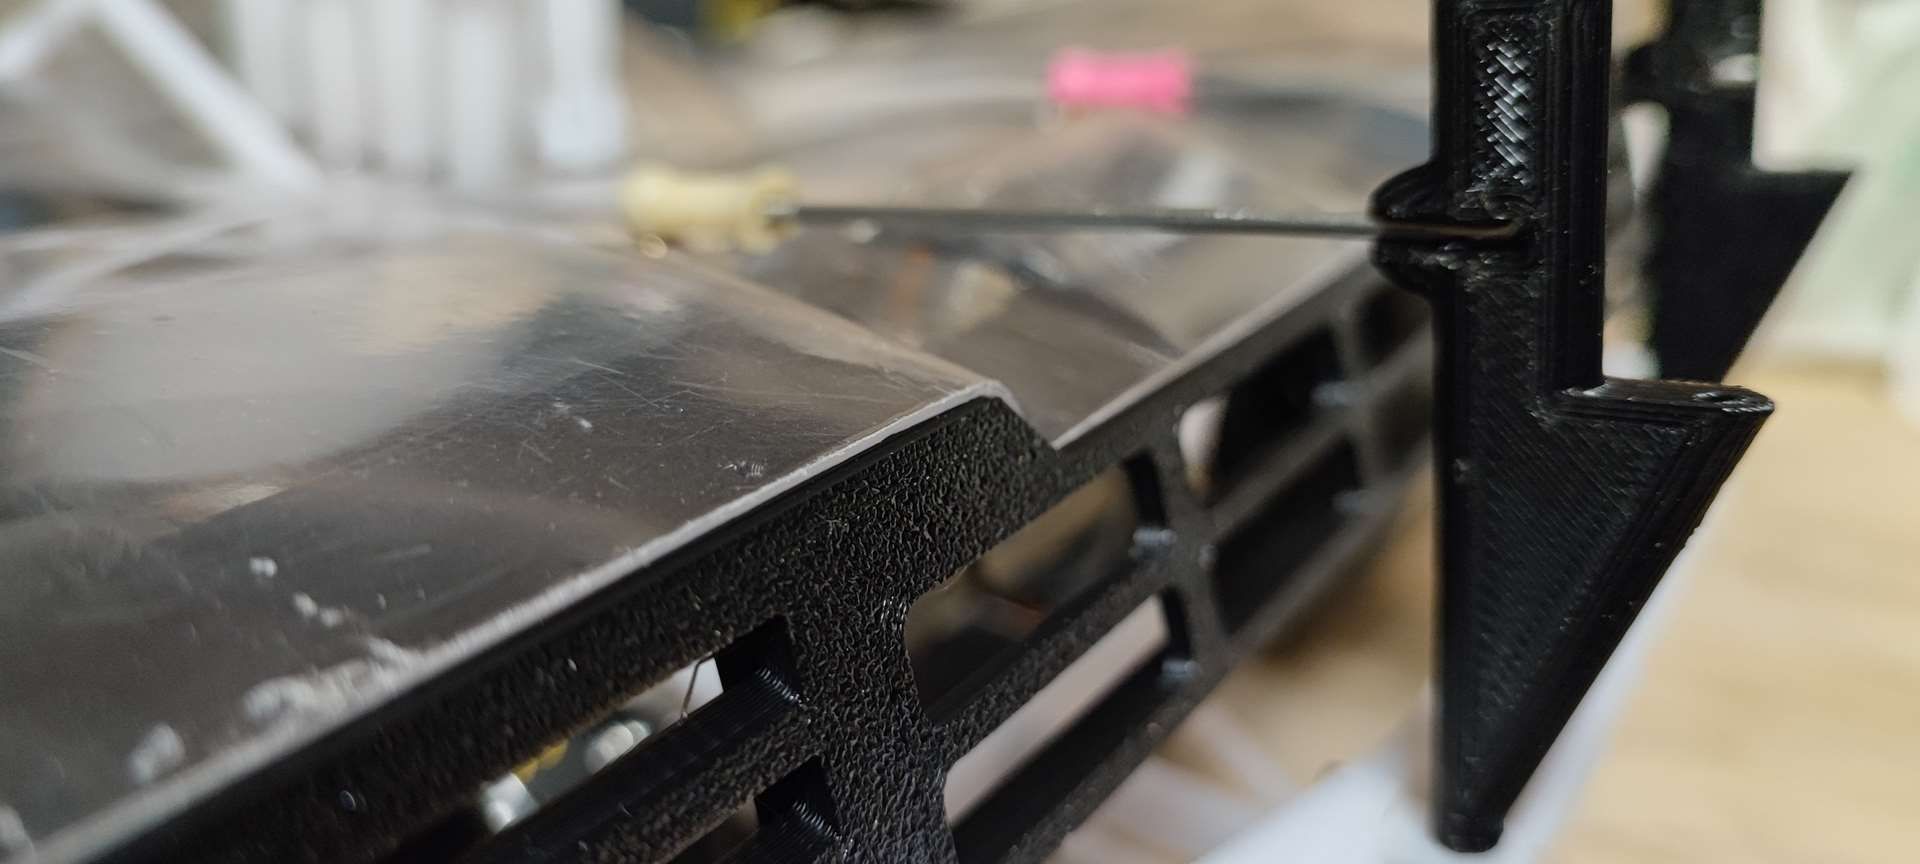
Latest version of wing mounts:
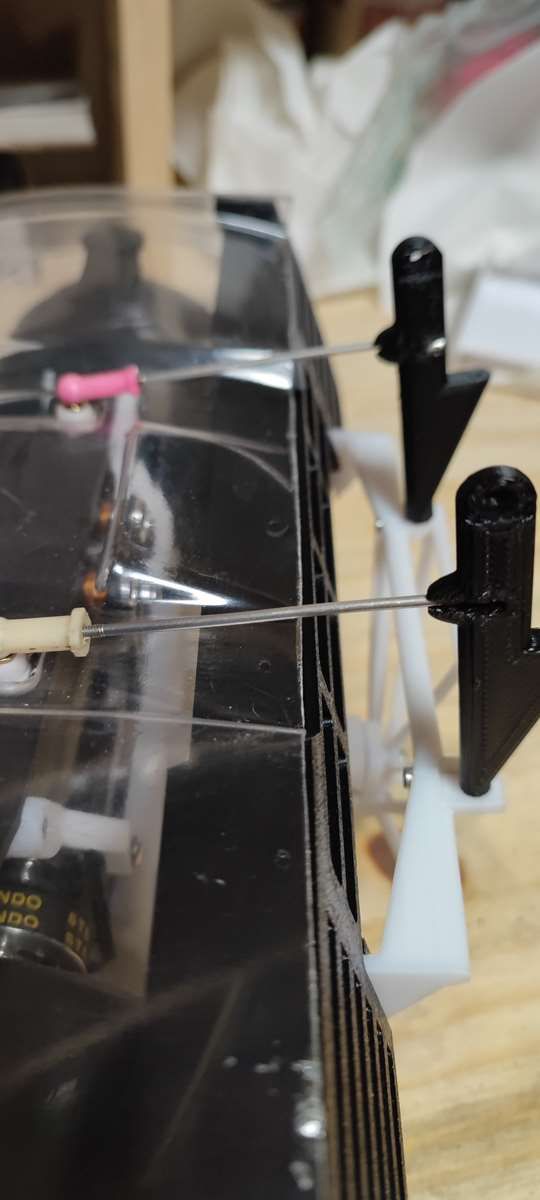
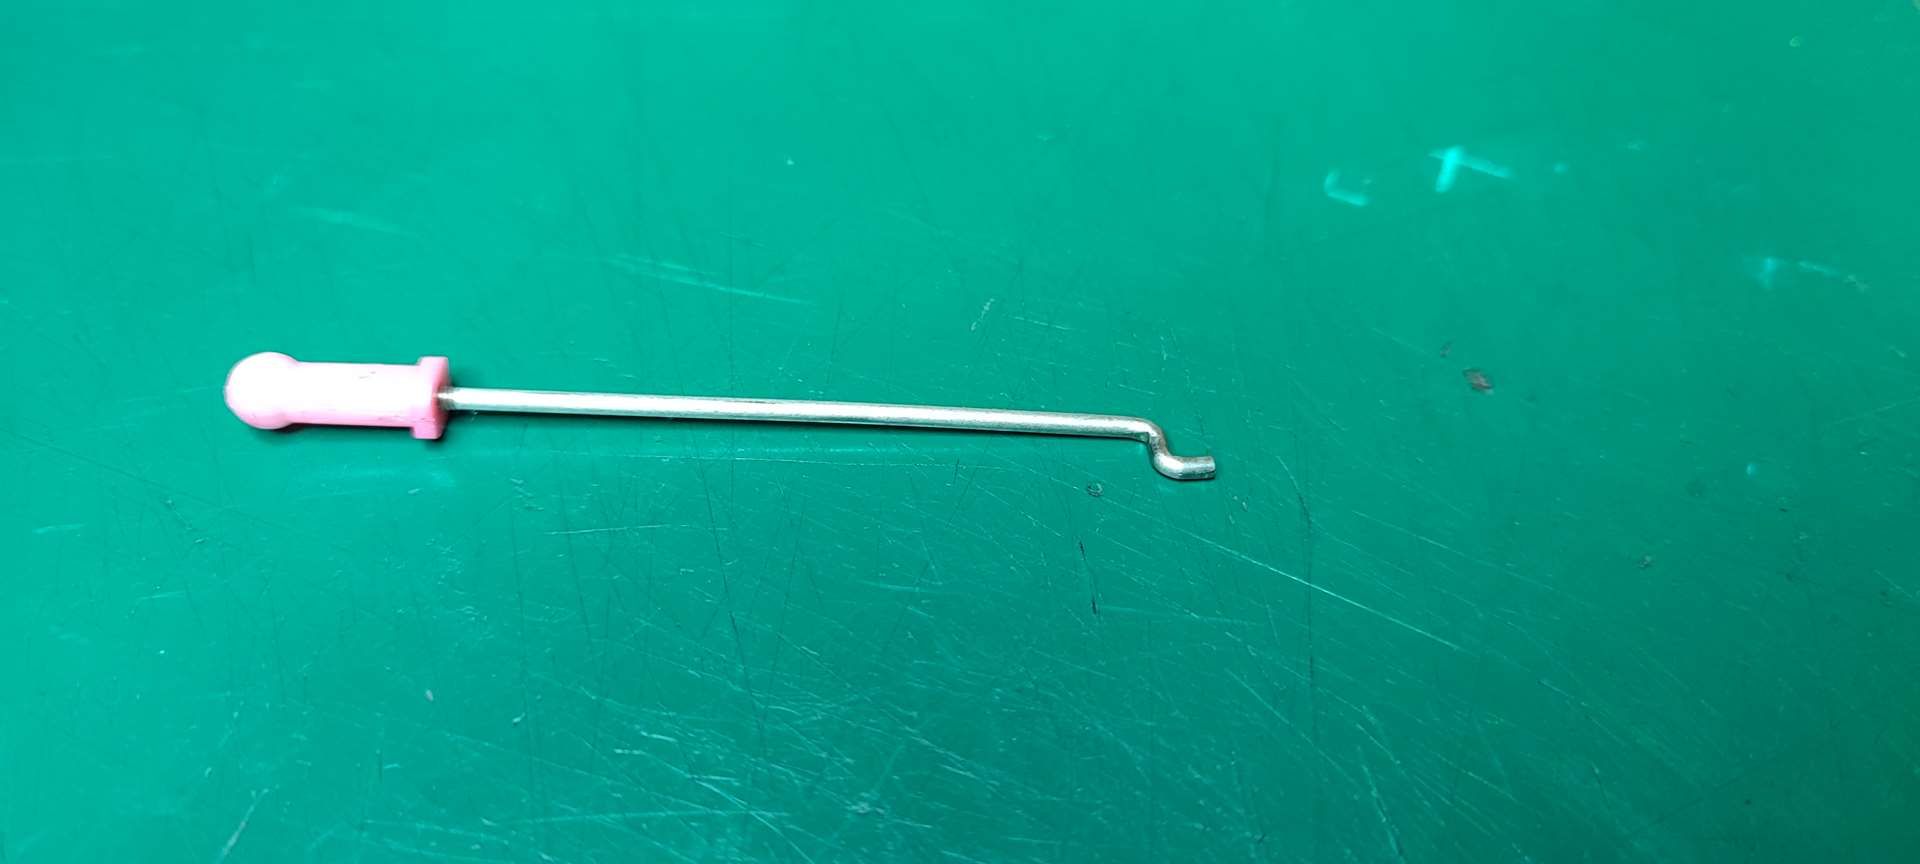
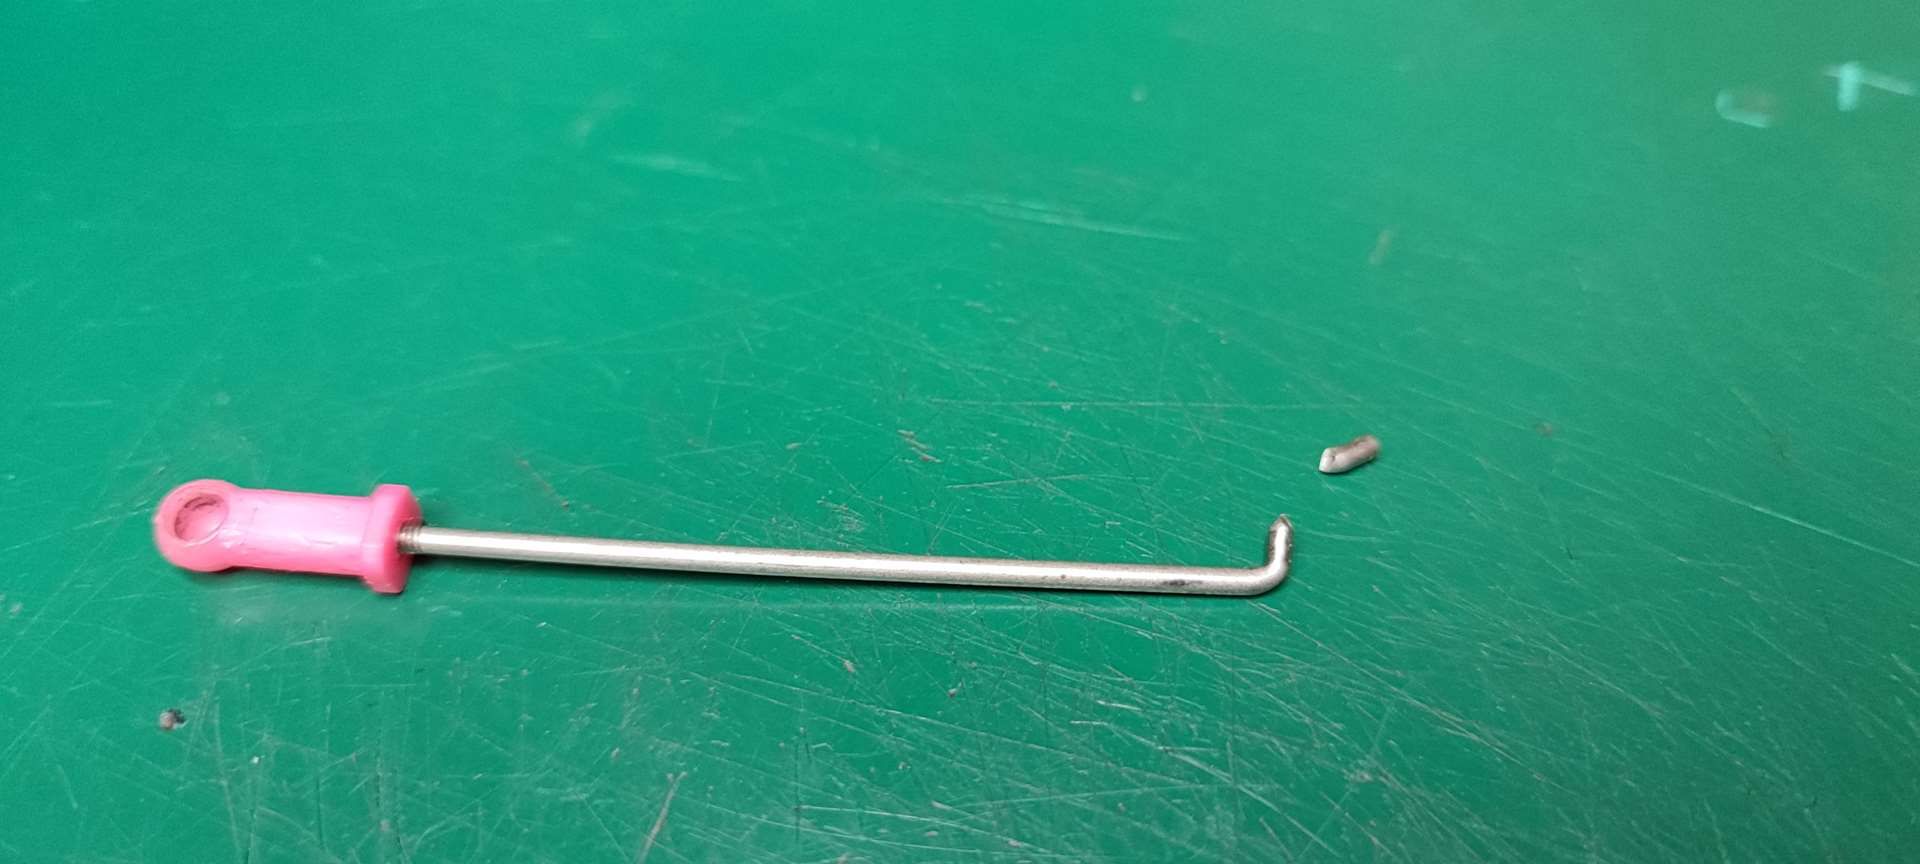
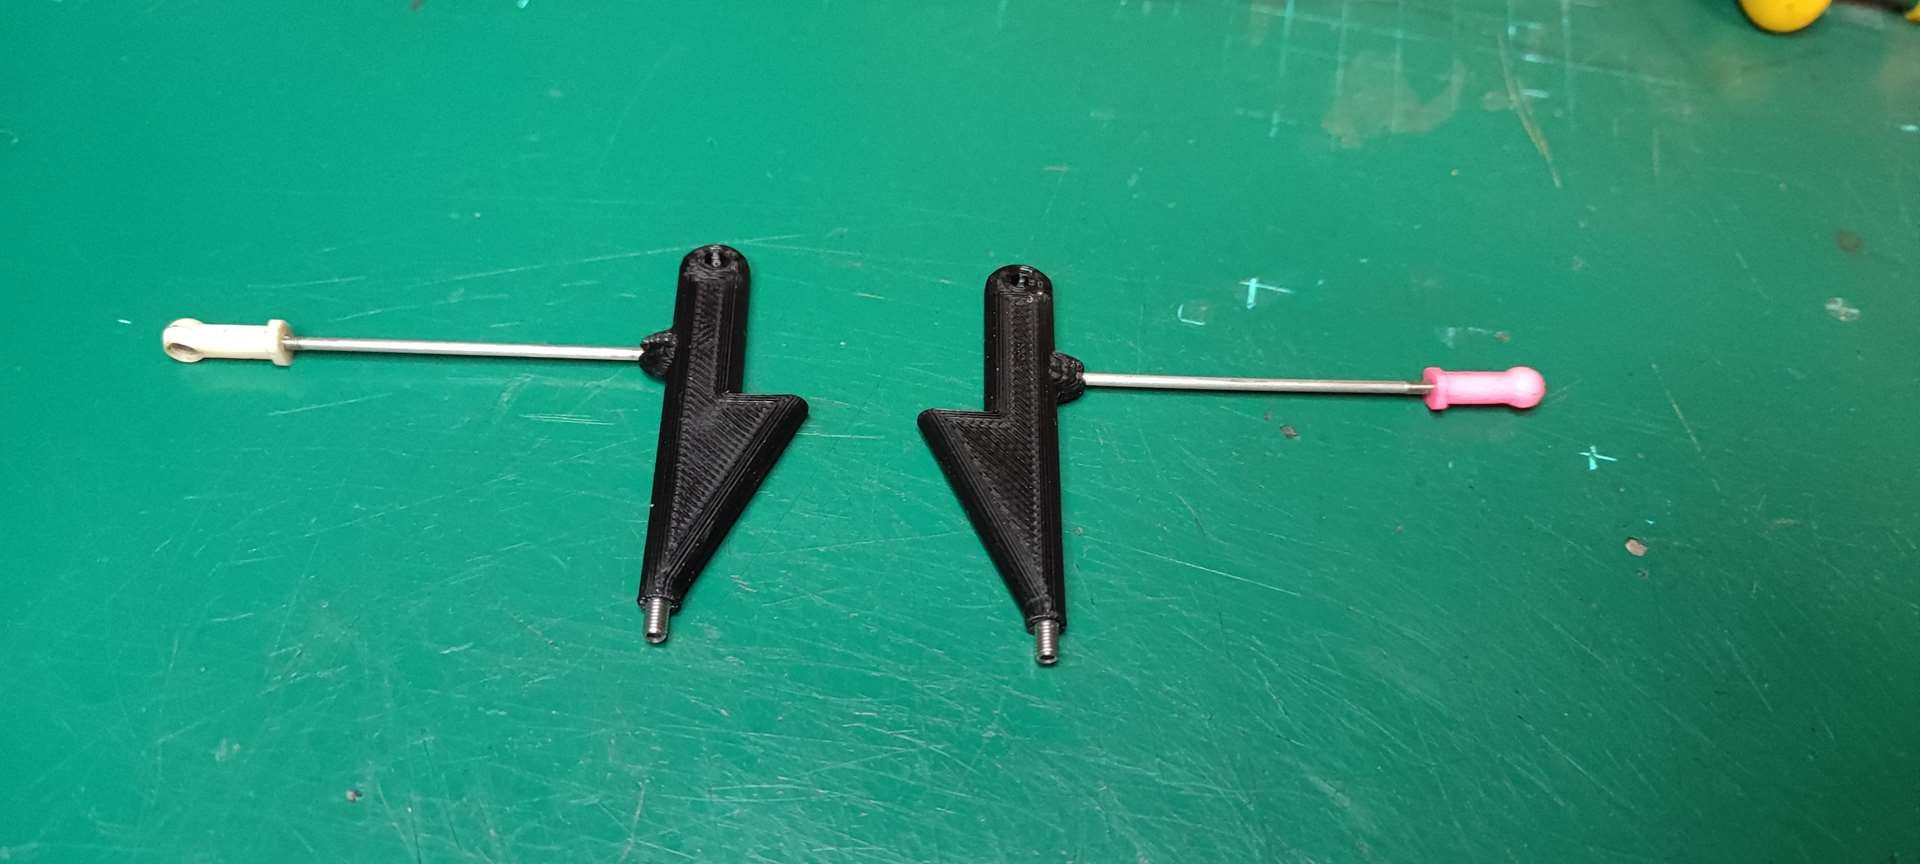
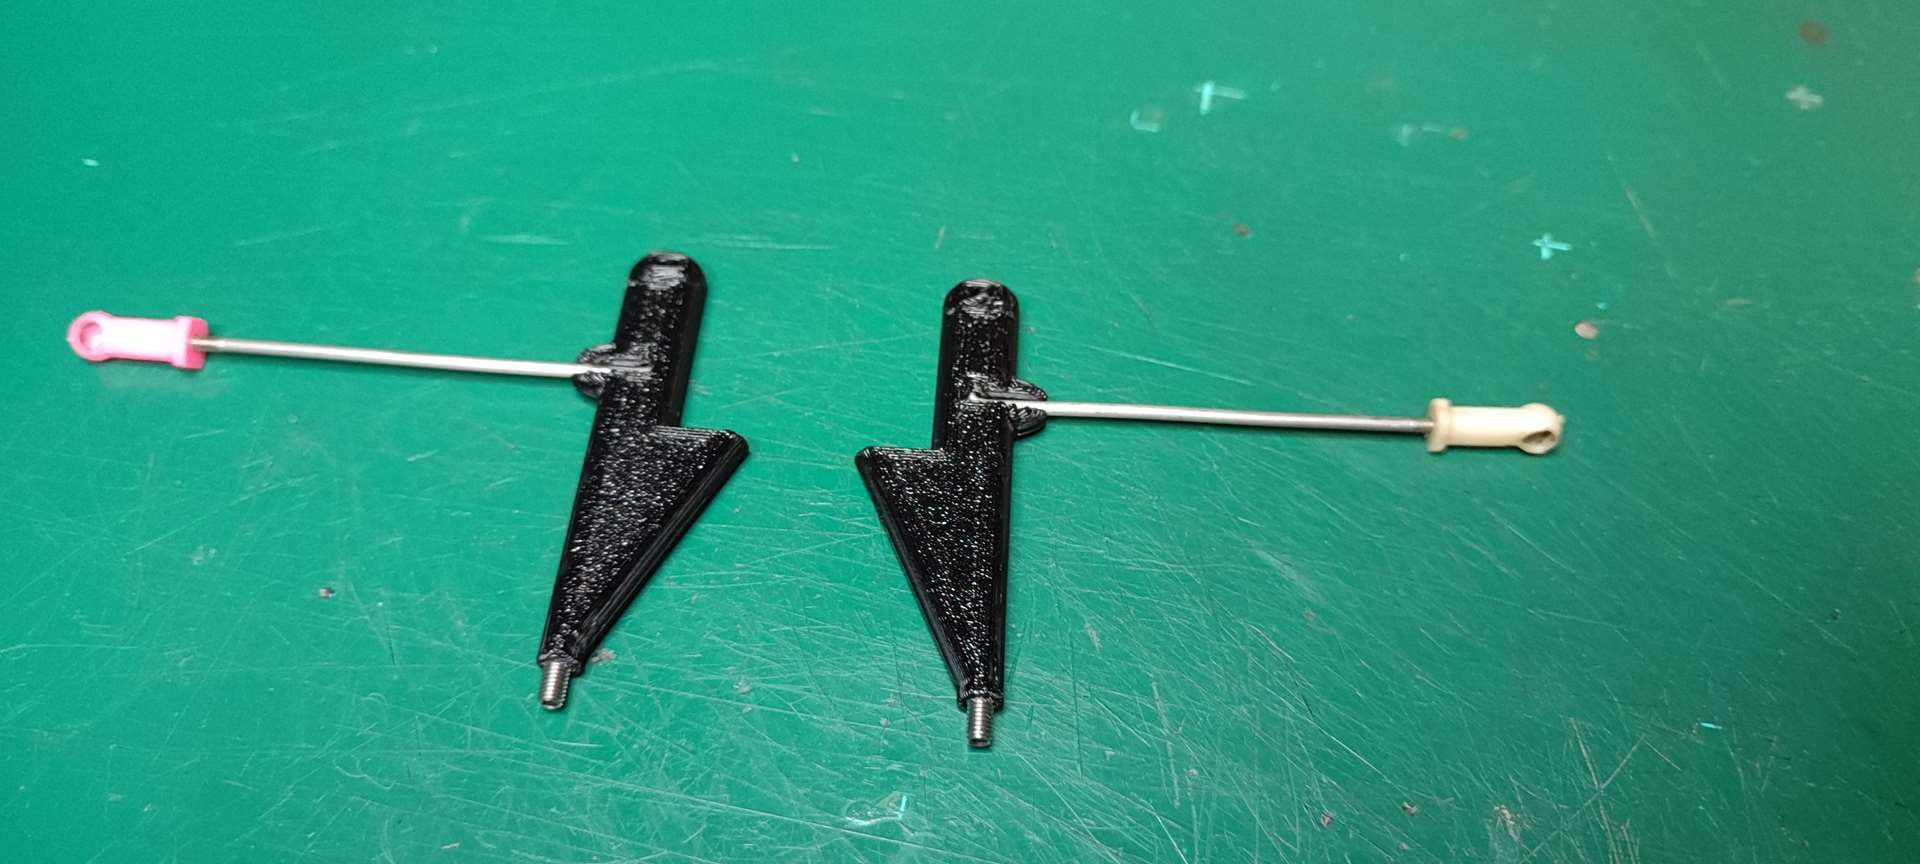
This weekend I will be tackling:
- review the front PC to include an aluminum blade and reduce the front body by 3mm
- tweak the rear arch
- work on the sides behind the front wheels
- sleep
---------
Yesterday
Works on the rear hoop, the rear mount and the front bumper:
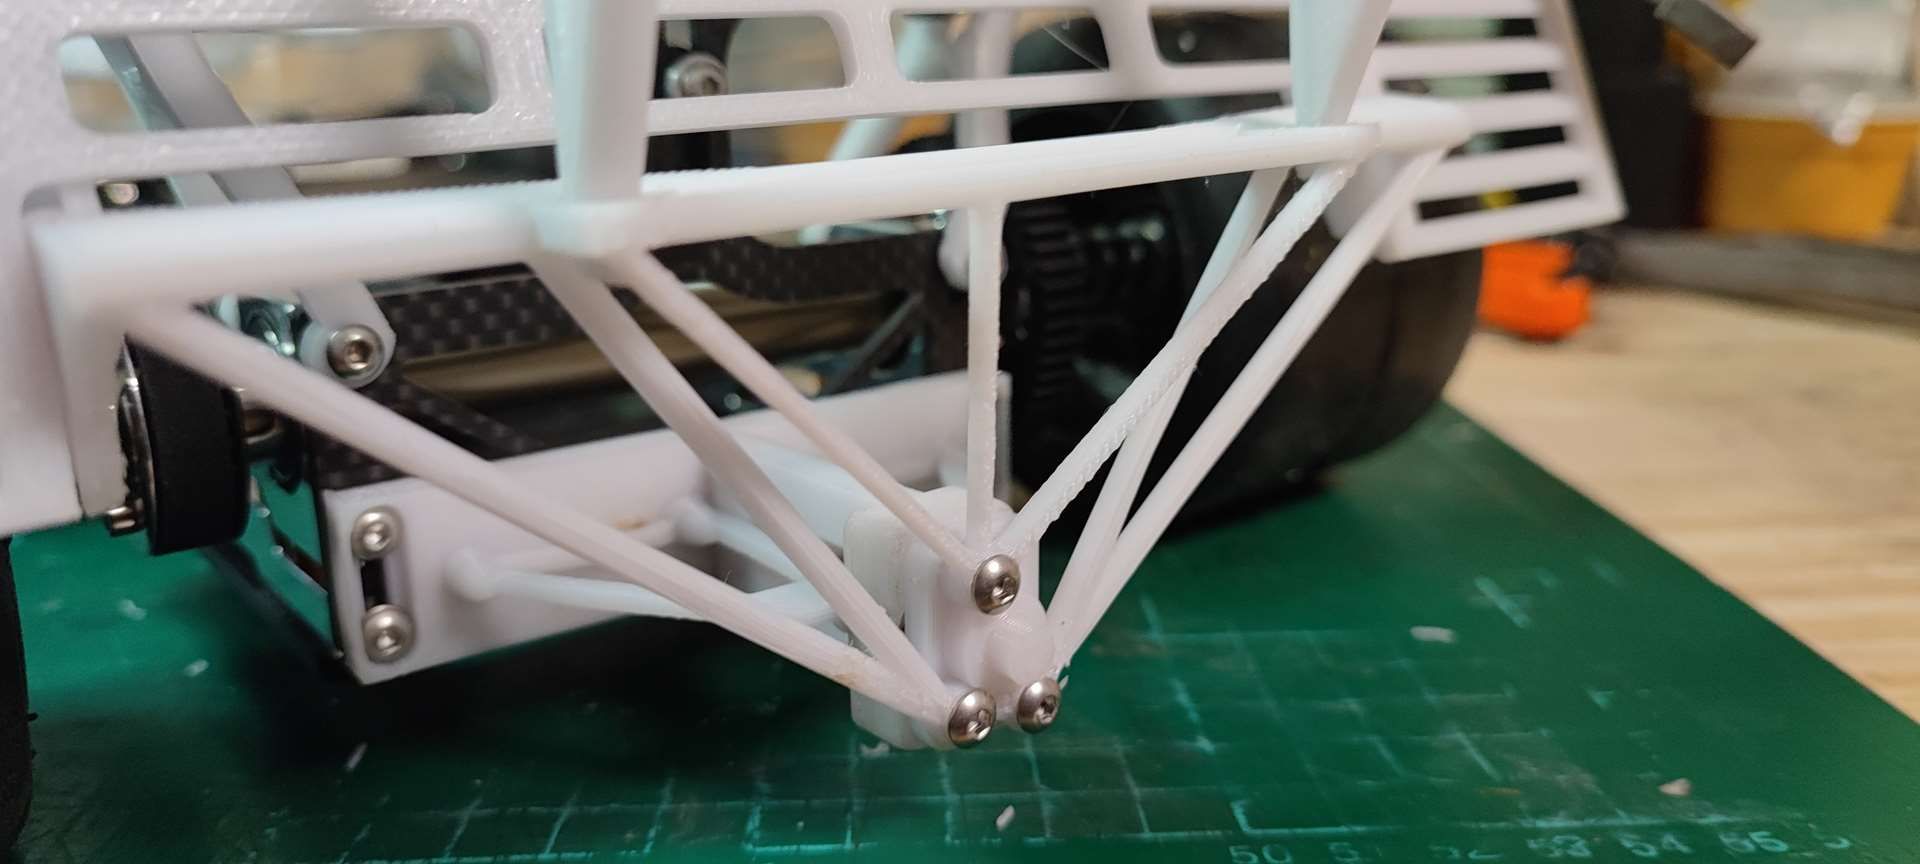
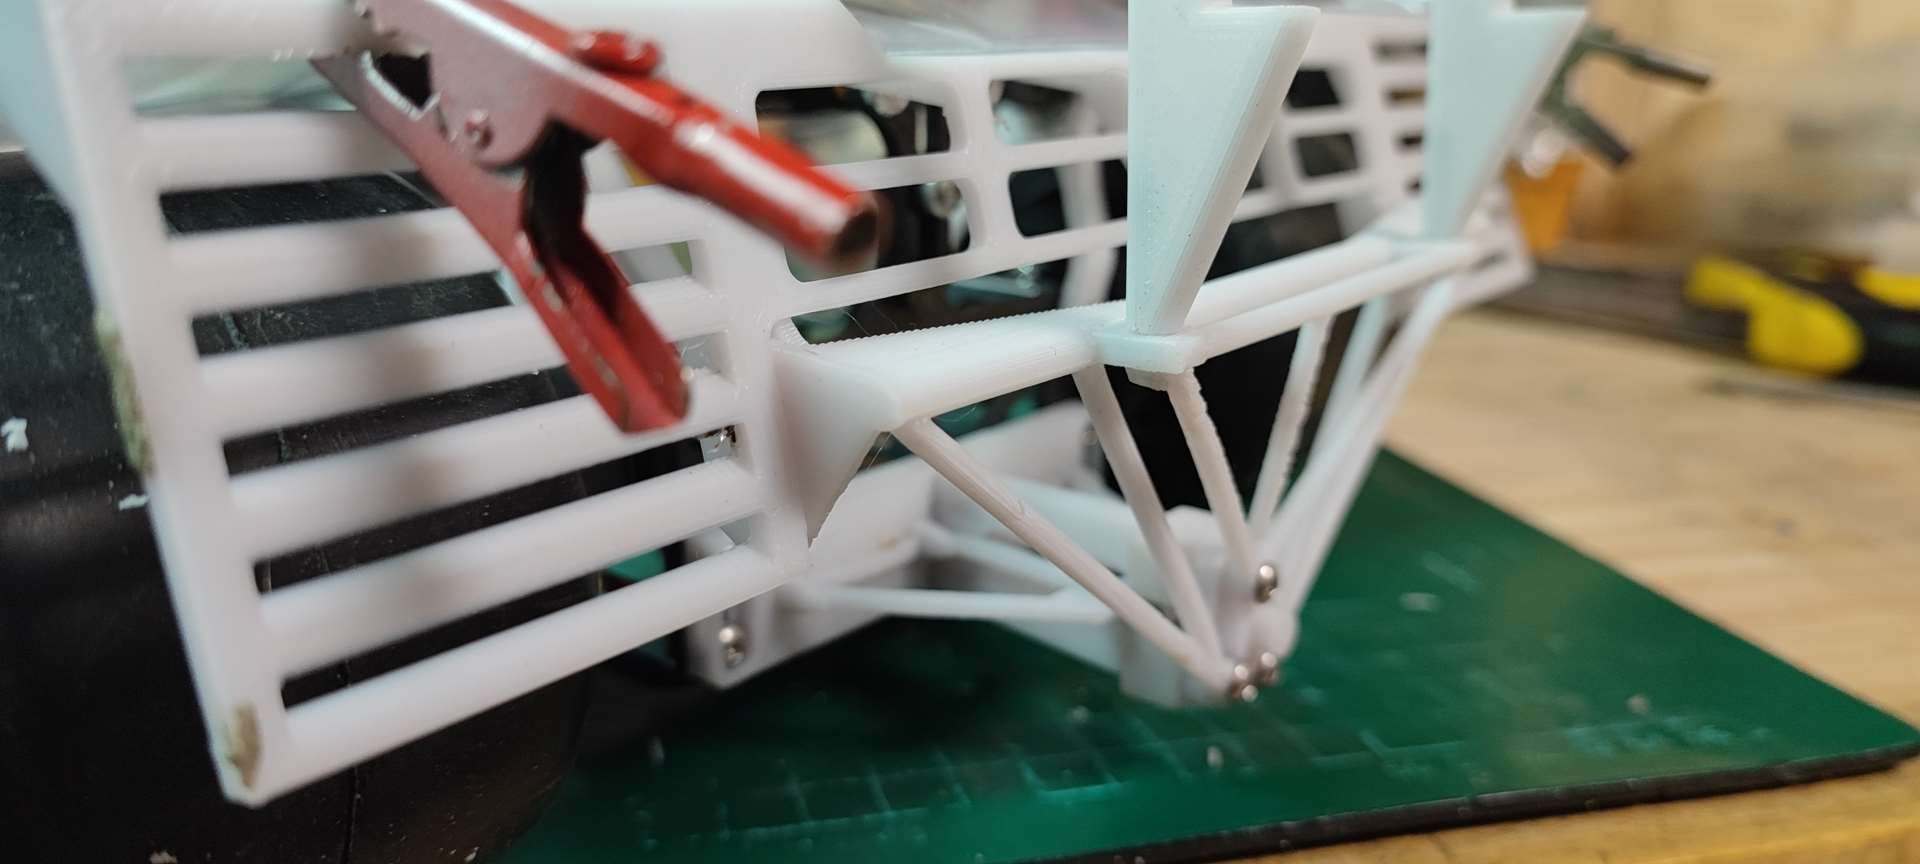
The bumper with the space provided to receive an aluminum blade as on the 1/1 car
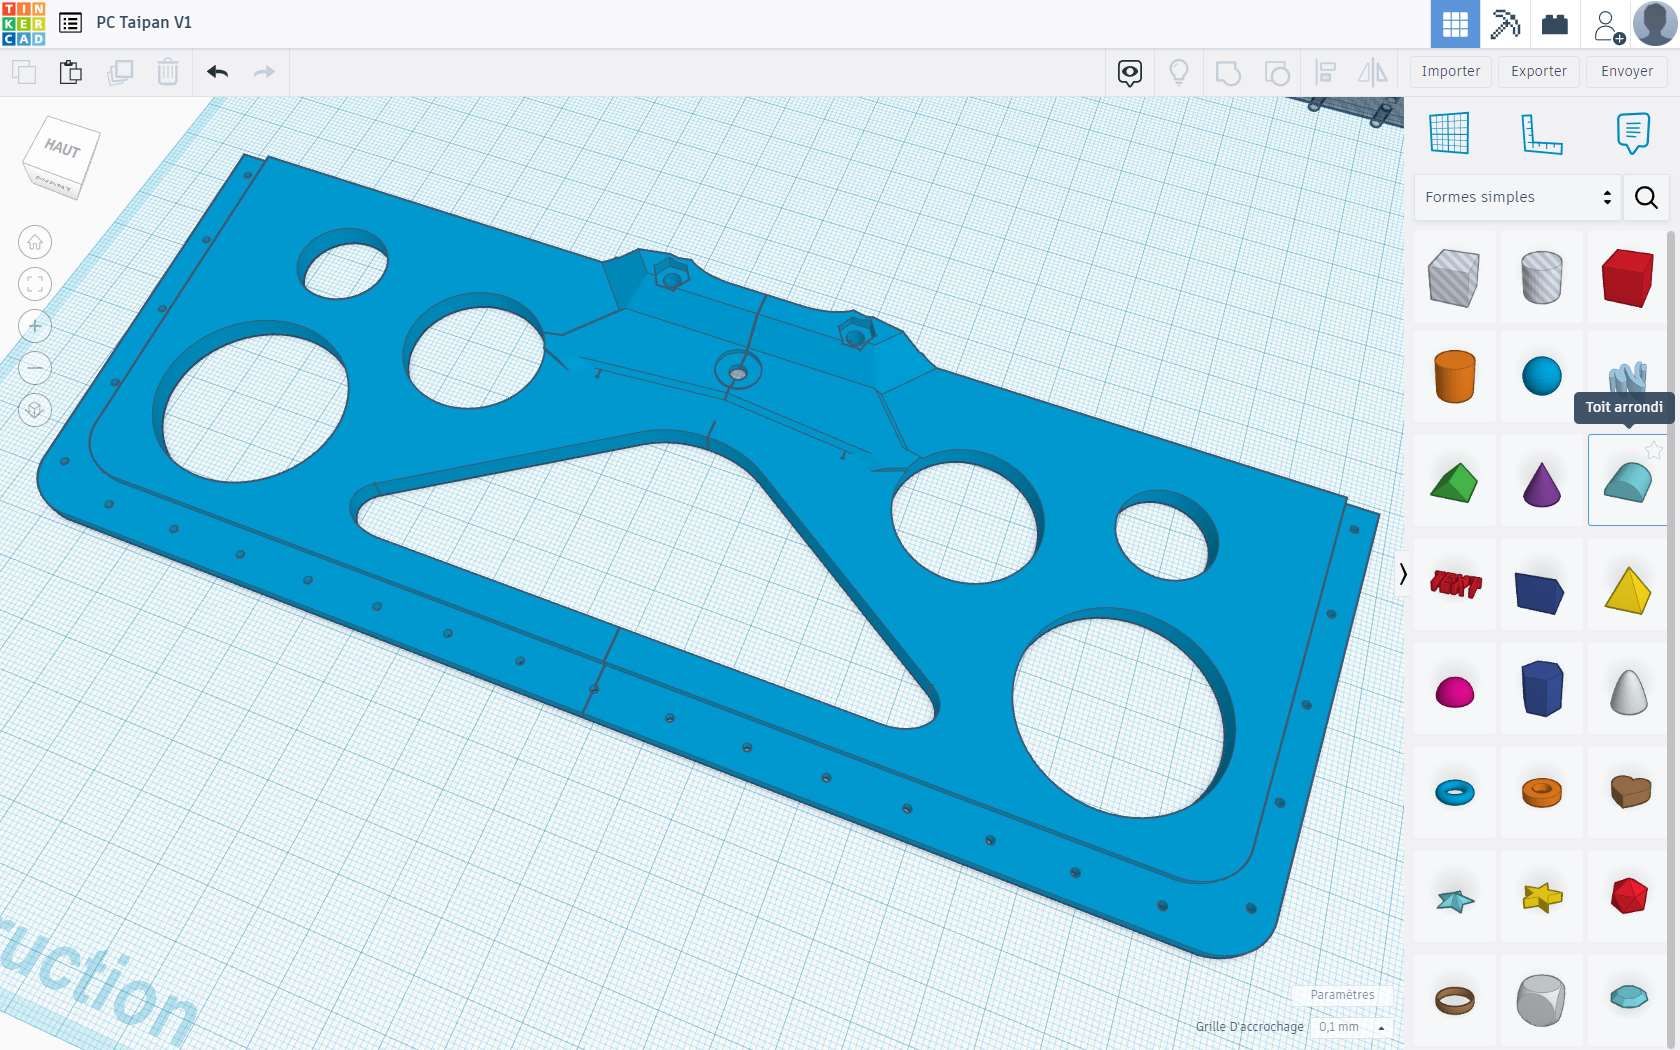
the rear arch which had to be a bit smaller in terms of height to fit with the rear apron of the bodywork
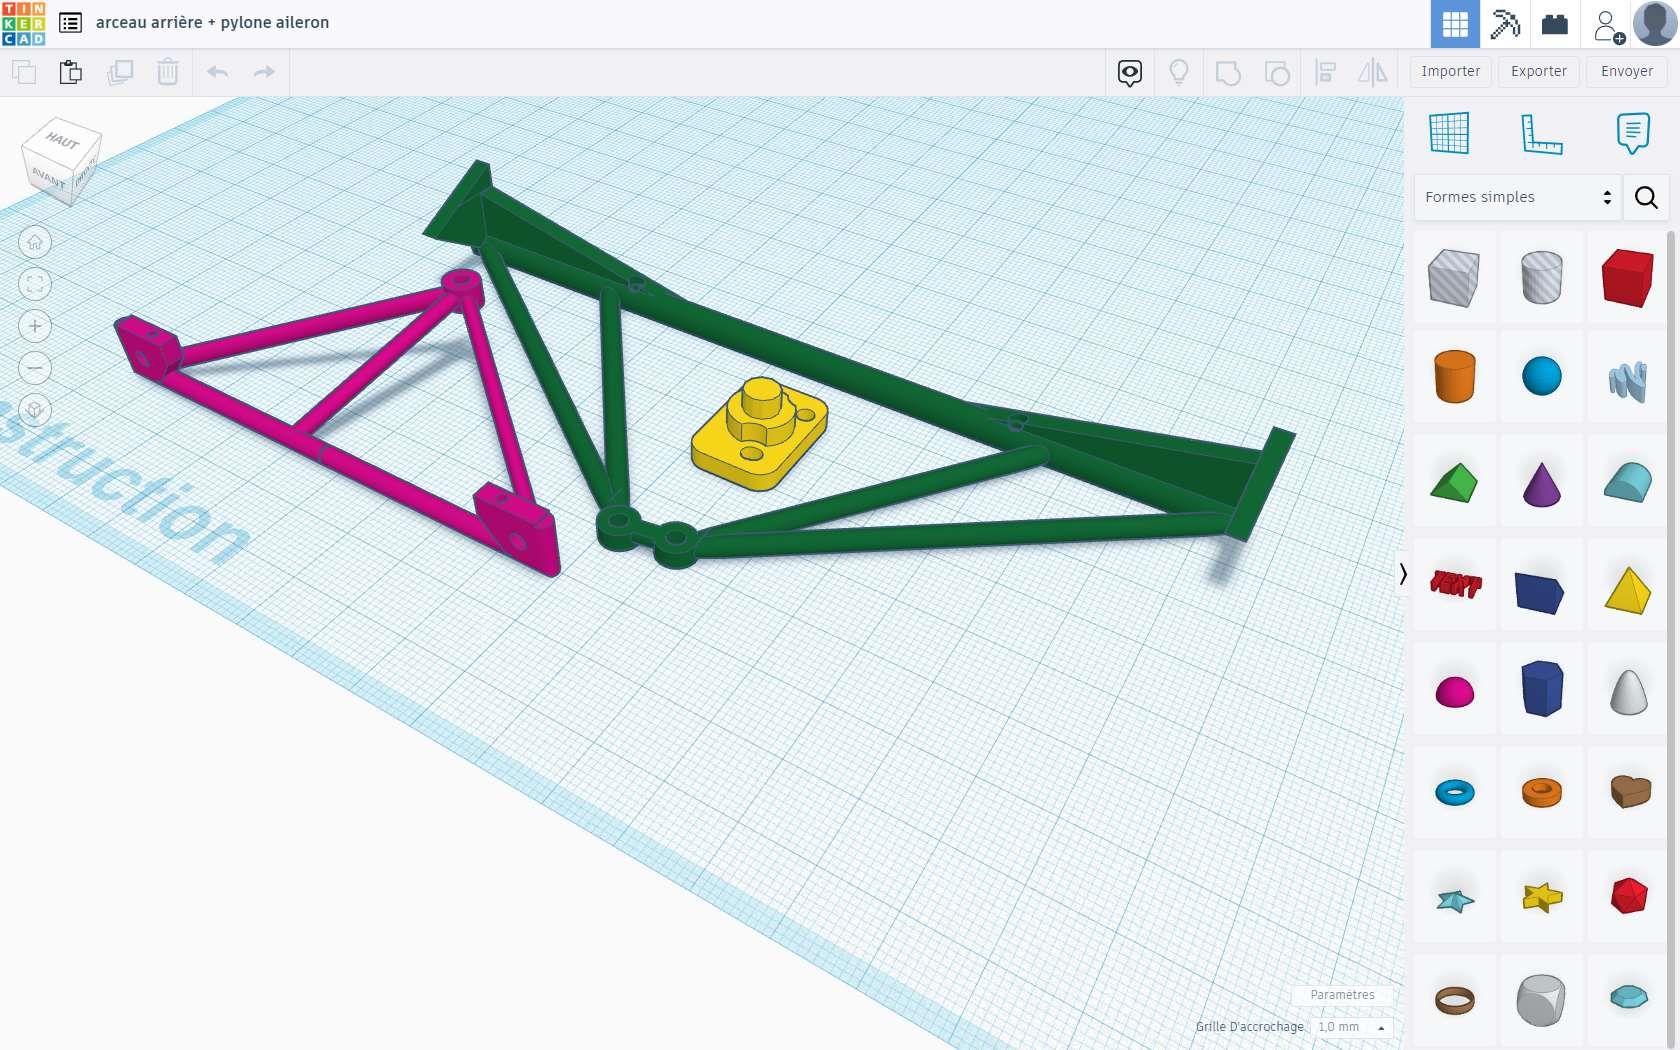
The rear mount that tends to be flimsy:
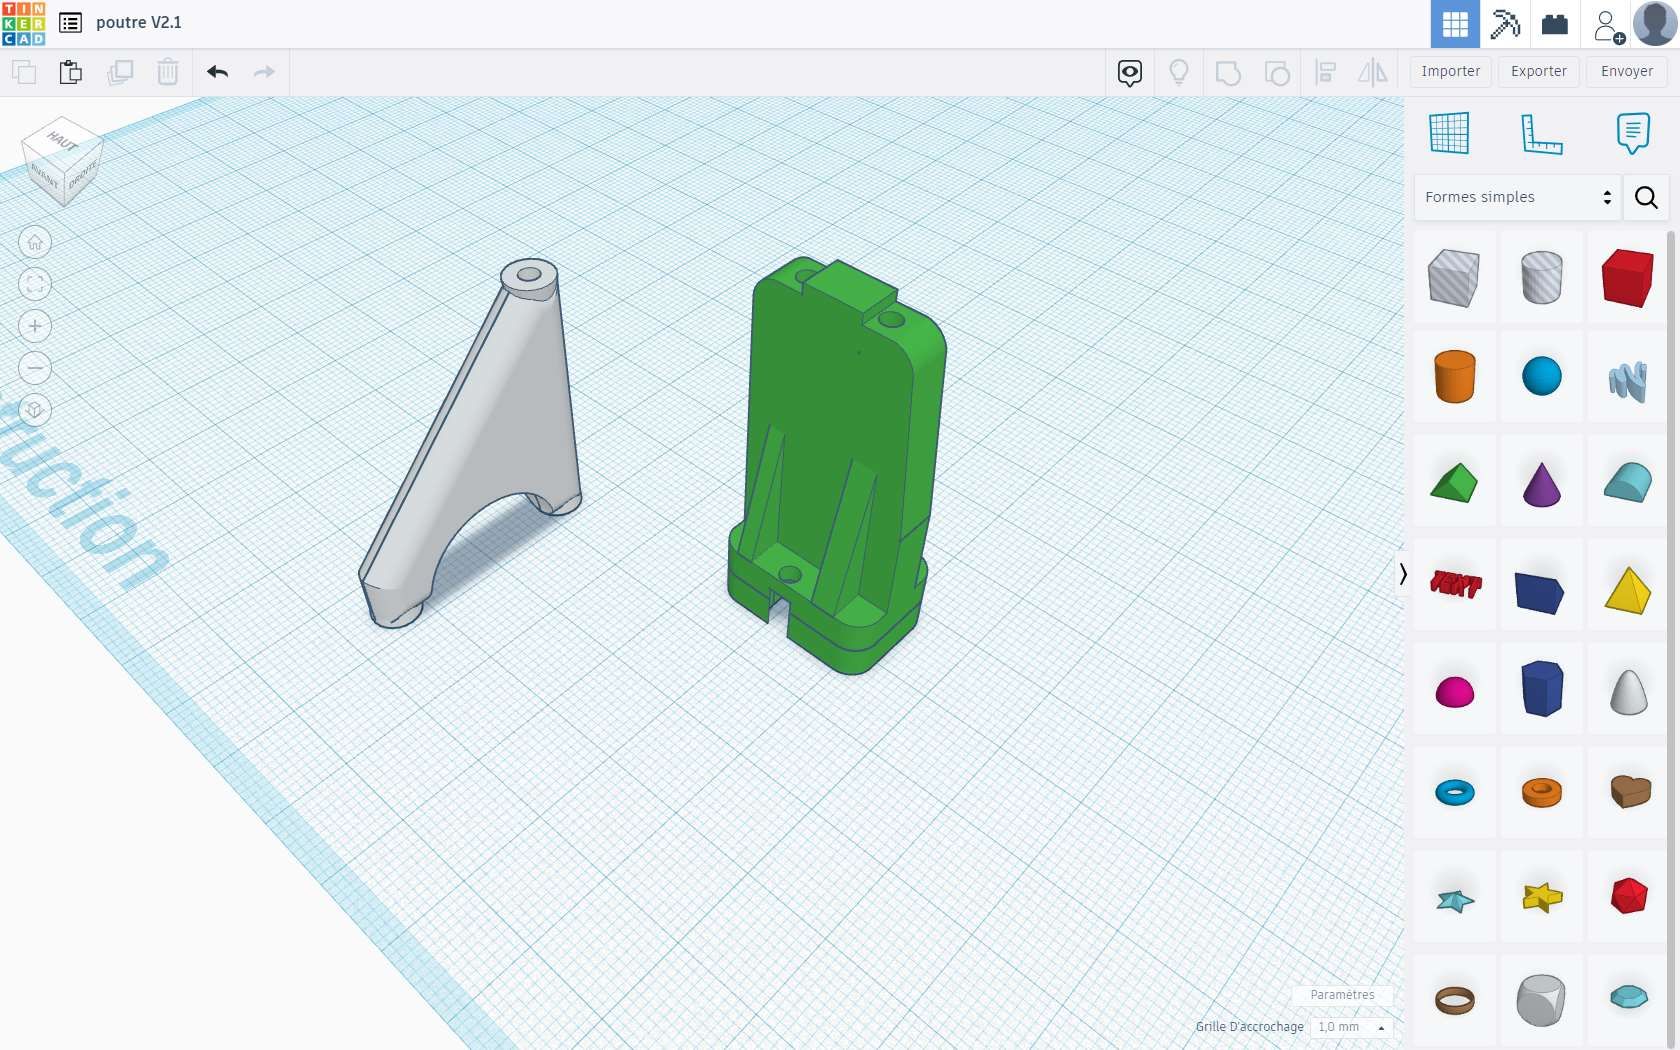
printing result... soon
jerome
This is my last works
-----
3 weeks ago:
"This weekend, I looked at the wing and its supports.
First job: draw a wing that looks good... phew, it fits on the printer bed in one piece.
Second job: resume the design of the wing supports which I don't like ... I will have to redo everything and it will surely be better!
Third job: print all that... hell of a god of %#*@-# of the Wrapping... it all shifted me for the screwing of the blanks of the aileron.
That's what happens :
Fixing the wing supports on the rear frame


Print of the wing which was the subject of a "Wrapping" in order which deformed the aileron (in a uniform and symmetrical way), but which still messed up my fixing of the wing blanks .


Here is the result: it's quite promising


On the other hand, for the past few days when I have been looking at the 1/1 scale car and mine, I tell myself that something is wrong. Since the spoiler is in place, I have found...the rear apron is too far back from the wheel arch.
As a result ; I am in the middle of thinking about a RADICAL cut of the body in order to shorten it and move the rear apron forward and have consistent wheel arches."
--------
2 weeks ago :
"I've seen a lot of things lately about the rear apron, the frame, the wing support arch and its assembly. All this because I revealed butchered the bodywork so that the proportions with the wheels and the rear skirt are more coherent.
Pictures :
Cutting of the bodywork:


Test of another version of the rear apron, then another... in order to review the frame and the rear arch
V2


V3


Then V3.1 which will surely be the final version:

rear mount shortcut, it's better:


Wing test...it's too high


New version of the wing support arch in 3 parts:


It's better :


Re-test of the wing, it's even BETTER!!!


 "
"------
1 week ago
New part and body cutting


FYI, the sort of sign above the air intake on the inside of the bodywork is designed to receive double-sided tape in order to relieve the weight of the lexan and therefore the constraint of the air intake in order to align everything as well as possible.
I'm quite happy, I'll be able to move on to the front part of the sides behind the front wheels.
Otherwise, I made my first impressions in a color other than white.
First tests on the rear apron in its final version and the wing supports with their attachment to the chassis, I also reviewed other parts that were too fragile and/or too big.


That's what happens :
Body lower at the rear by 3 mm, skirt that adjusts right and left and wing support that I'm starting to like


Latest version of wing mounts:


This weekend I will be tackling:
- review the front PC to include an aluminum blade and reduce the front body by 3mm
- tweak the rear arch
- work on the sides behind the front wheels
- sleep
---------
Yesterday
Works on the rear hoop, the rear mount and the front bumper:
The bumper with the space provided to receive an aluminum blade as on the 1/1 car

the rear arch which had to be a bit smaller in terms of height to fit with the rear apron of the bodywork

The rear mount that tends to be flimsy:

printing result... soon
jerome
Sorry for my rusty english, i'm a kind of French farmer lost in his montain ...
-
Trass
- Approved Member
- Posts: 340
- Joined: Sat Aug 08, 2015 12:02 pm
- Location: Near Limoges - France
- Has thanked: 398 times
- Been thanked: 202 times
Re: SERPENT 988e Taipan
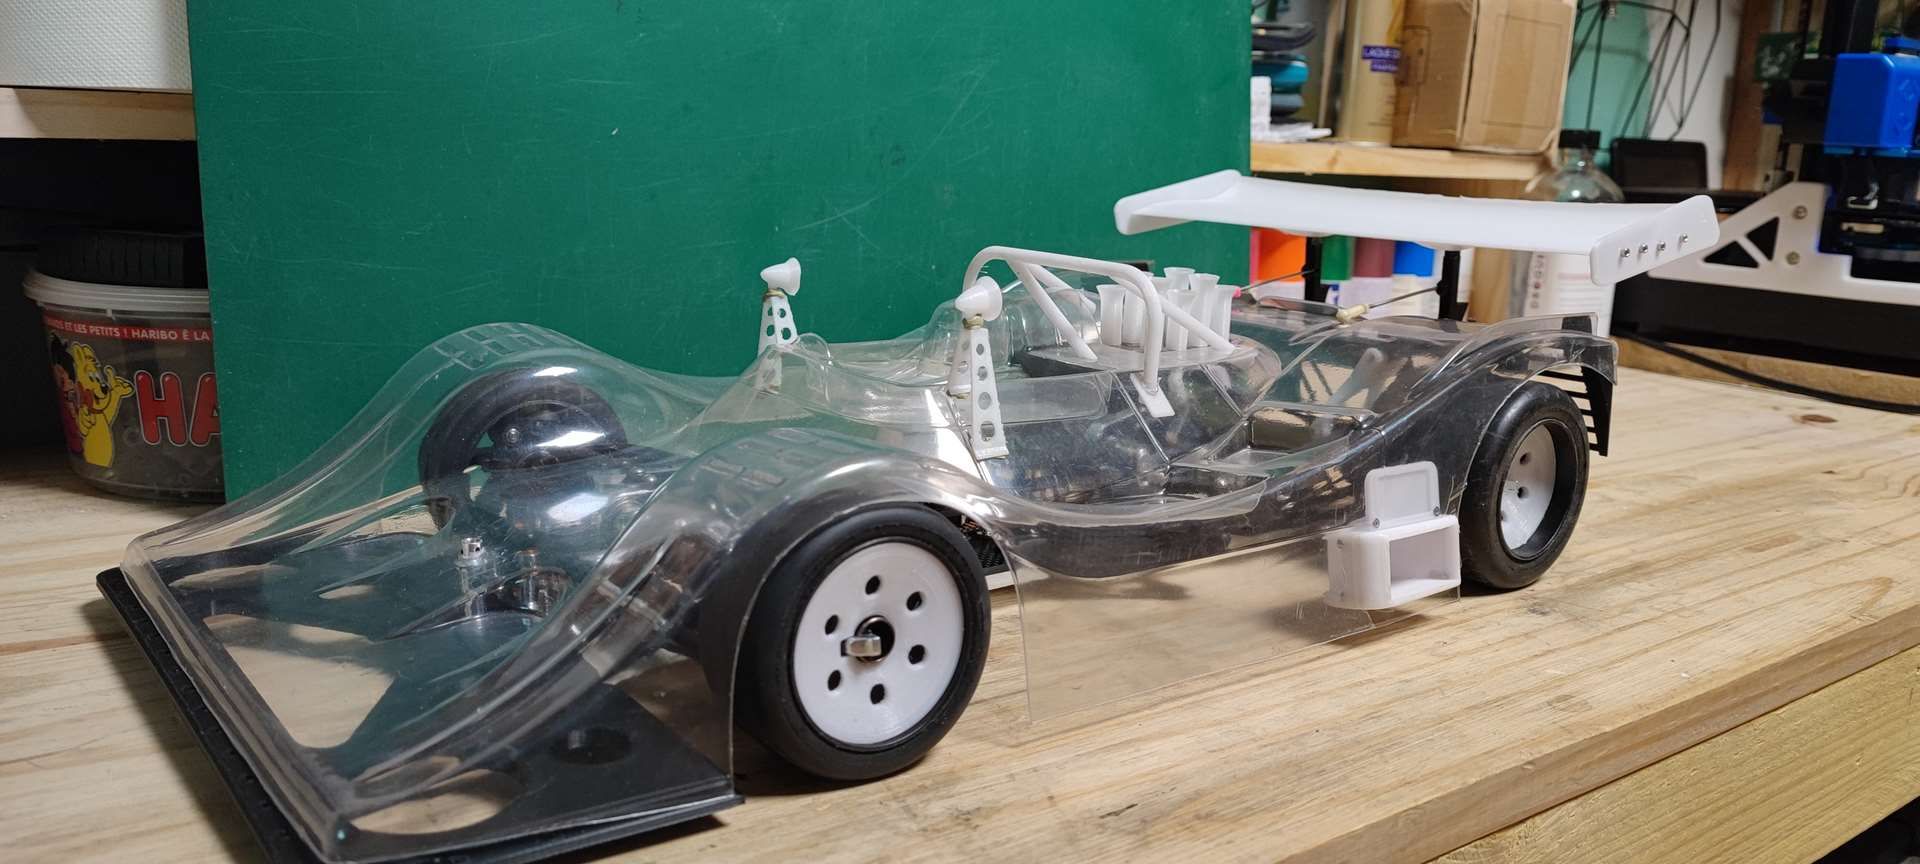
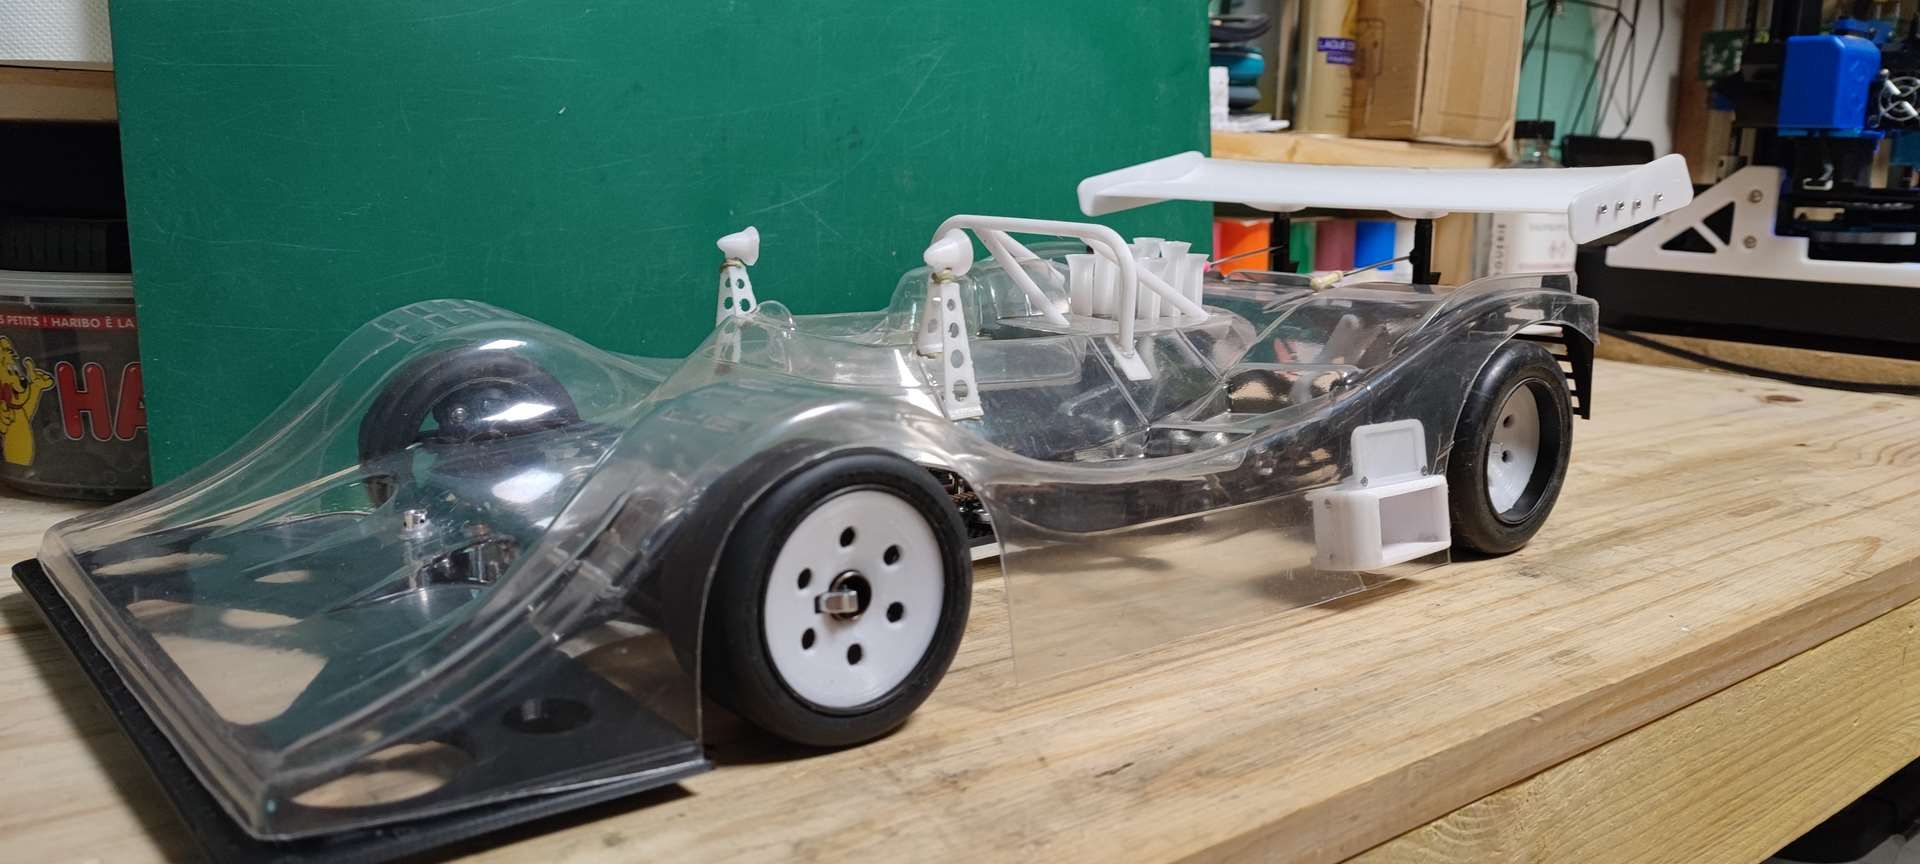
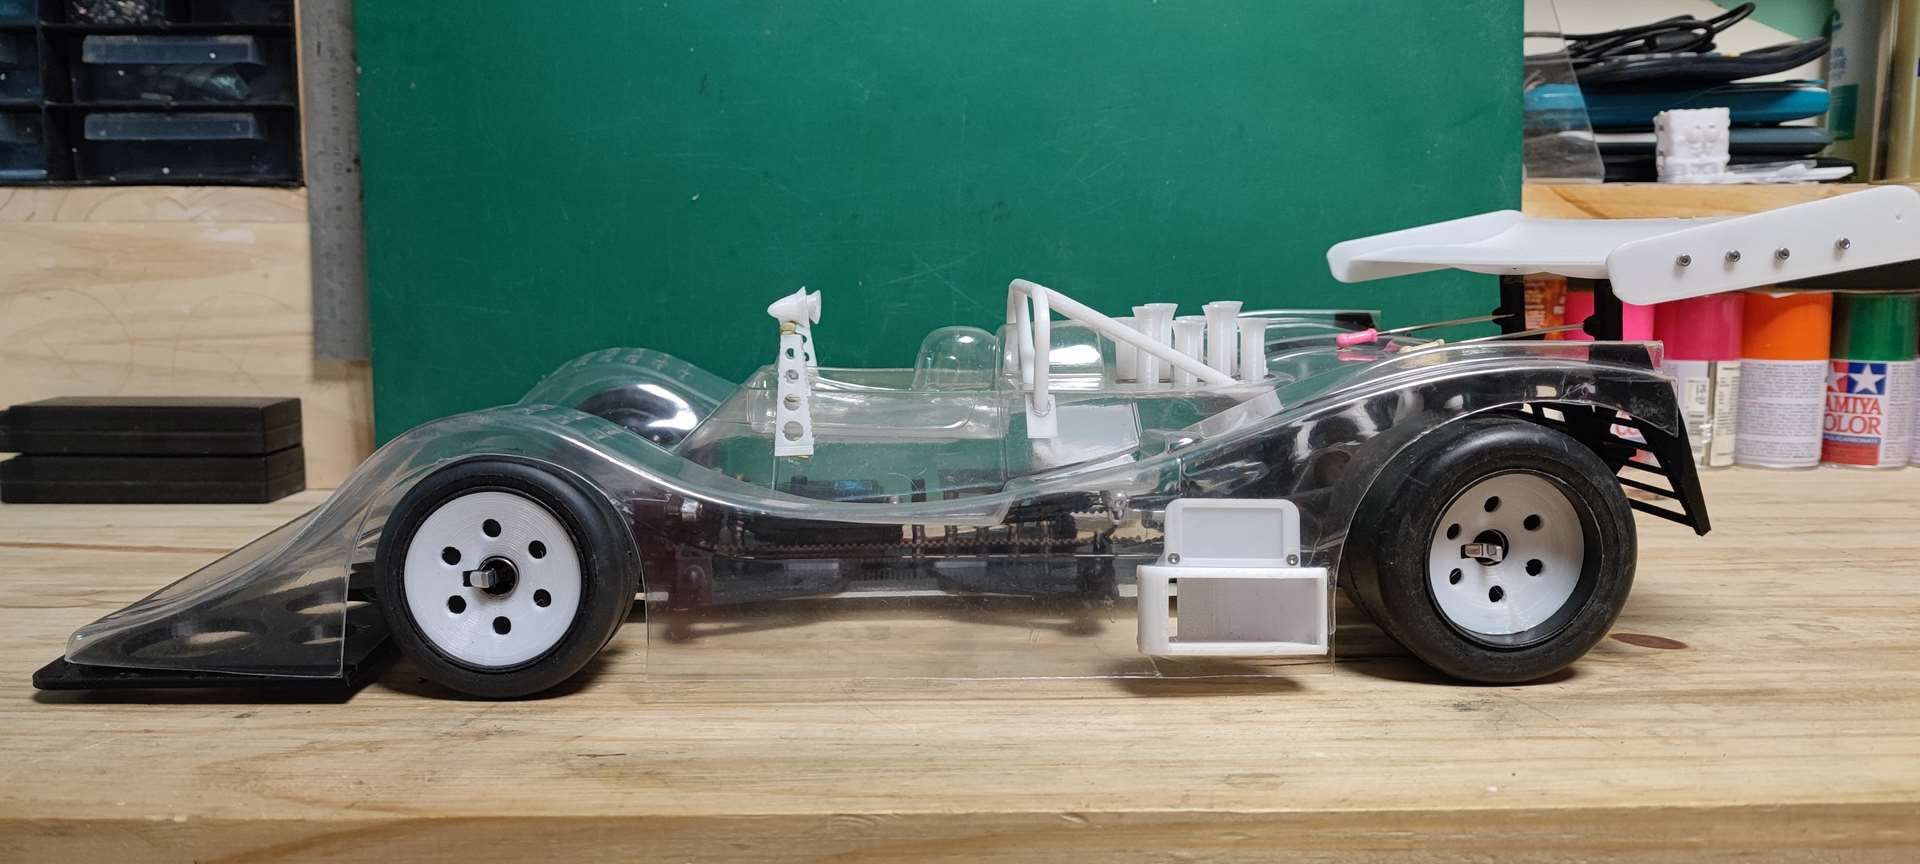
Good evening,
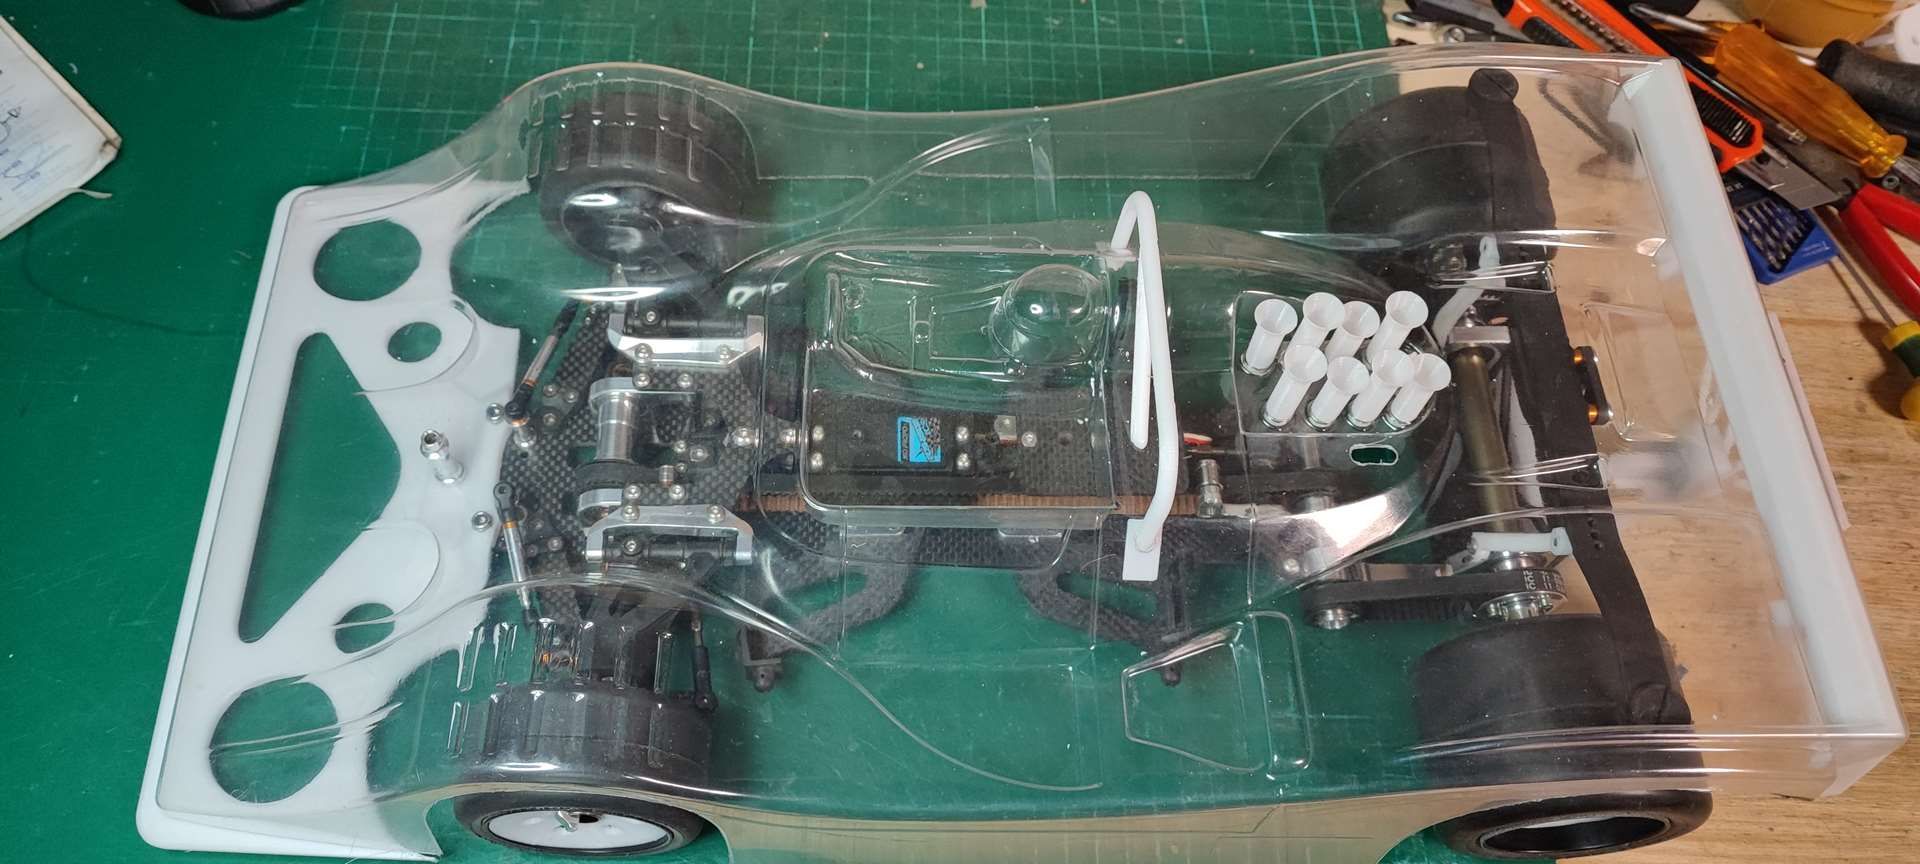
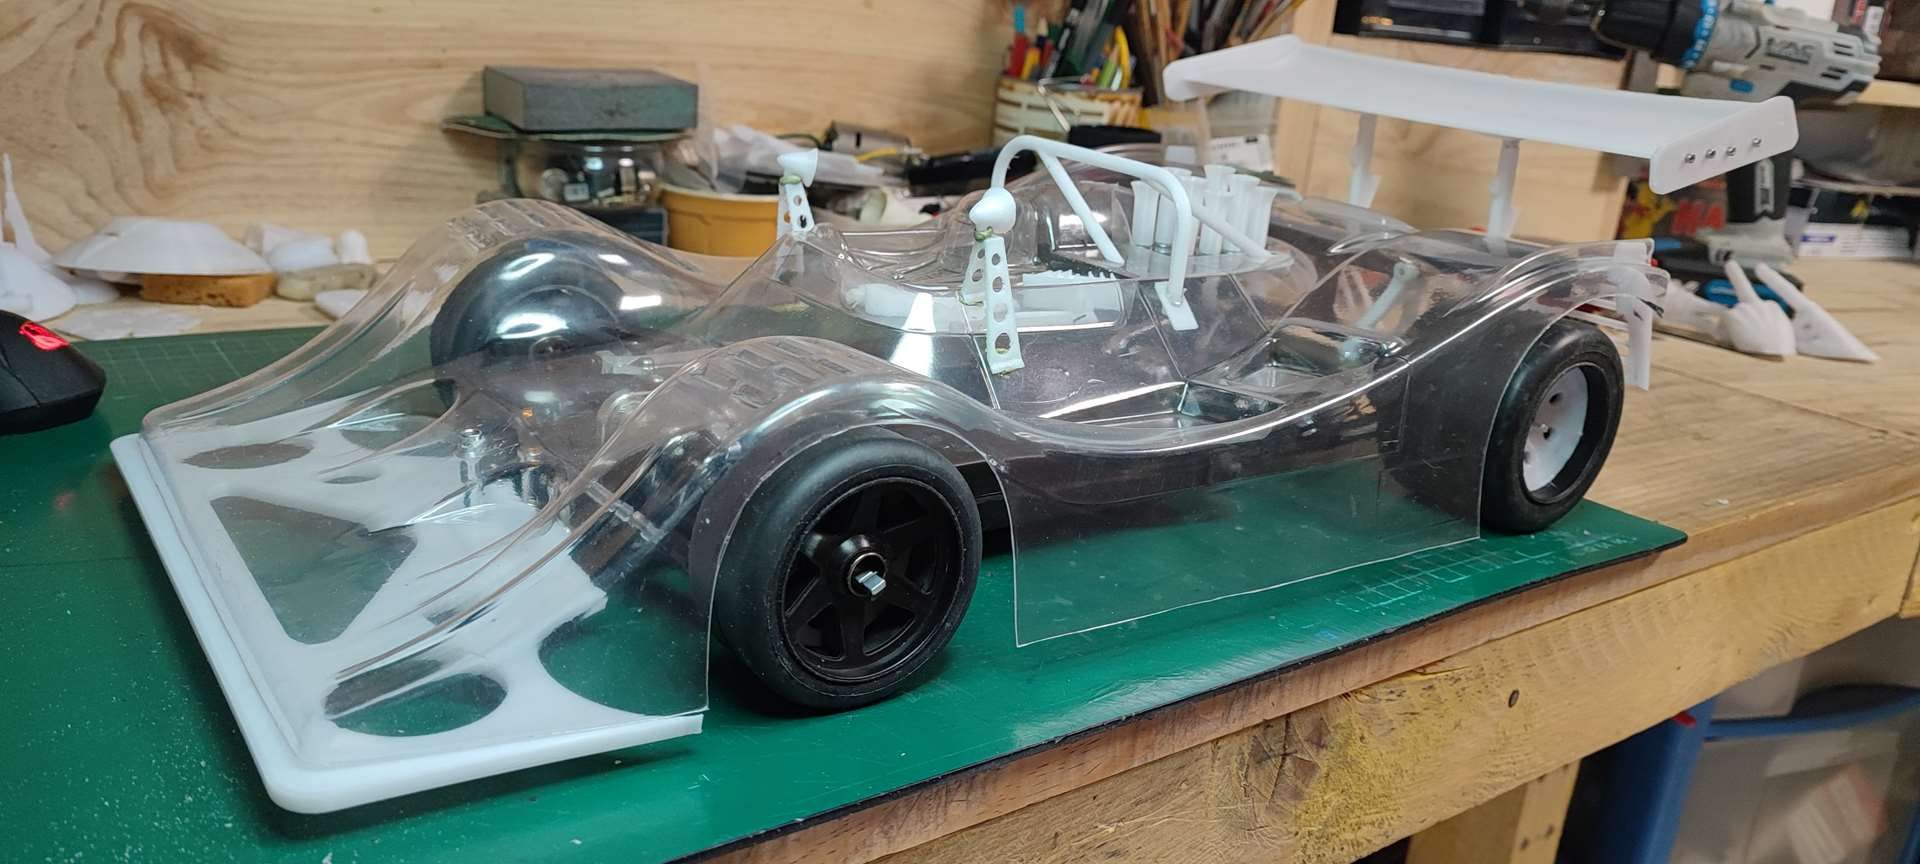
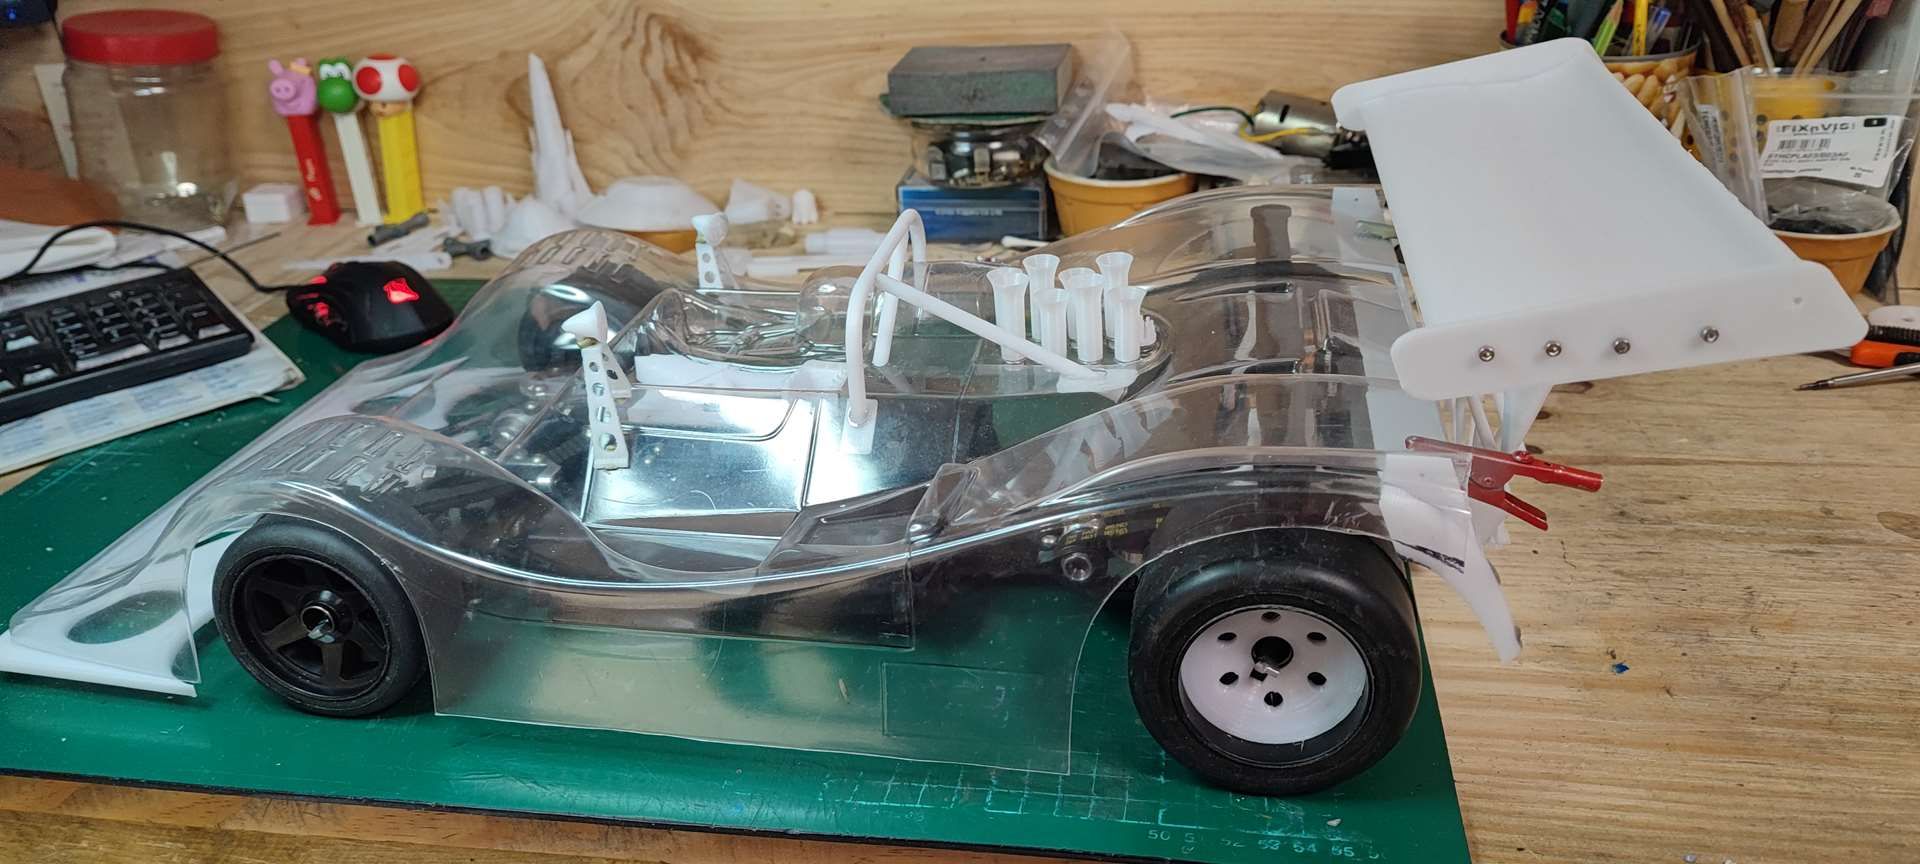
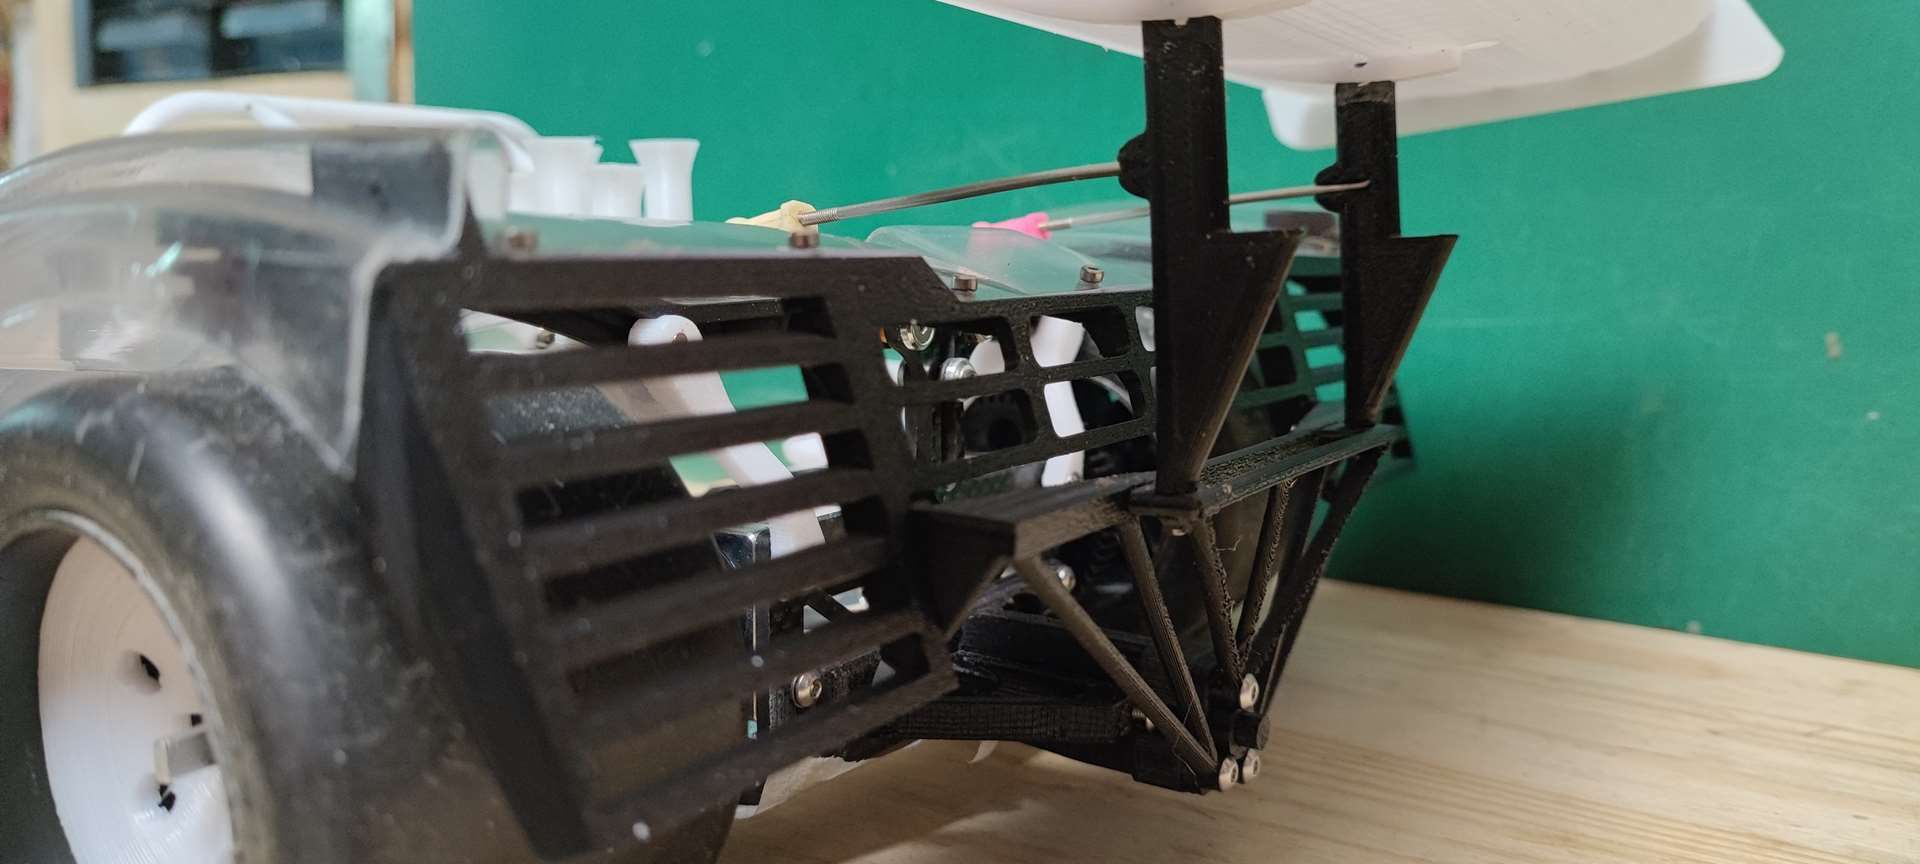
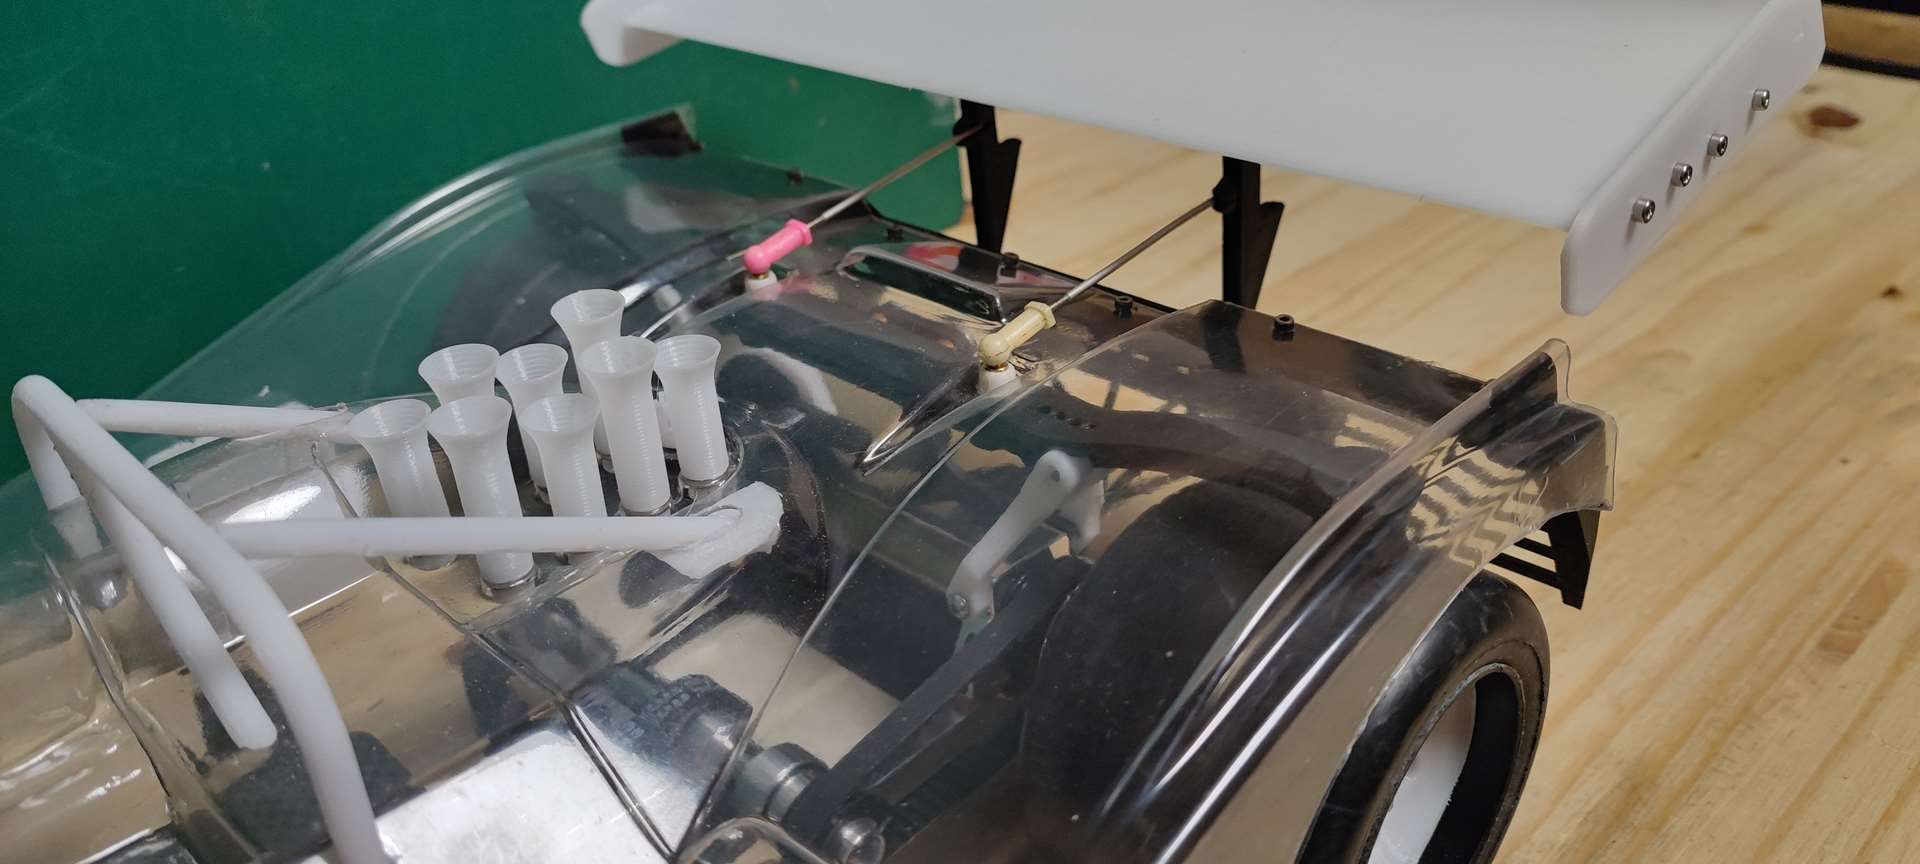
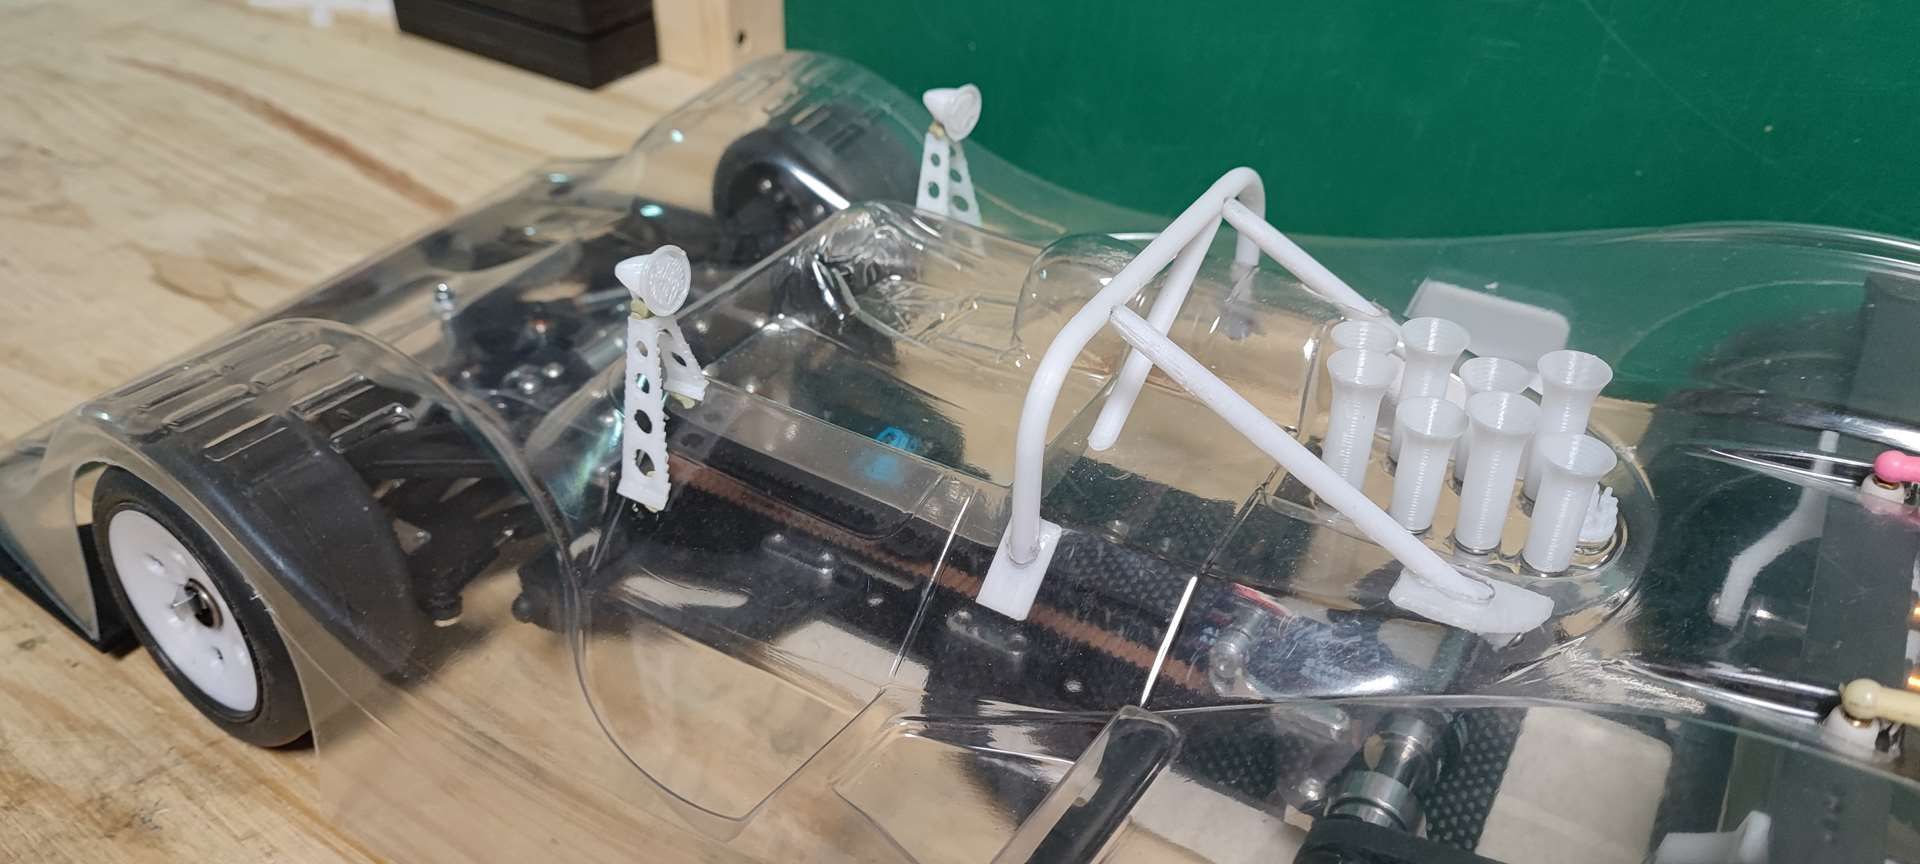
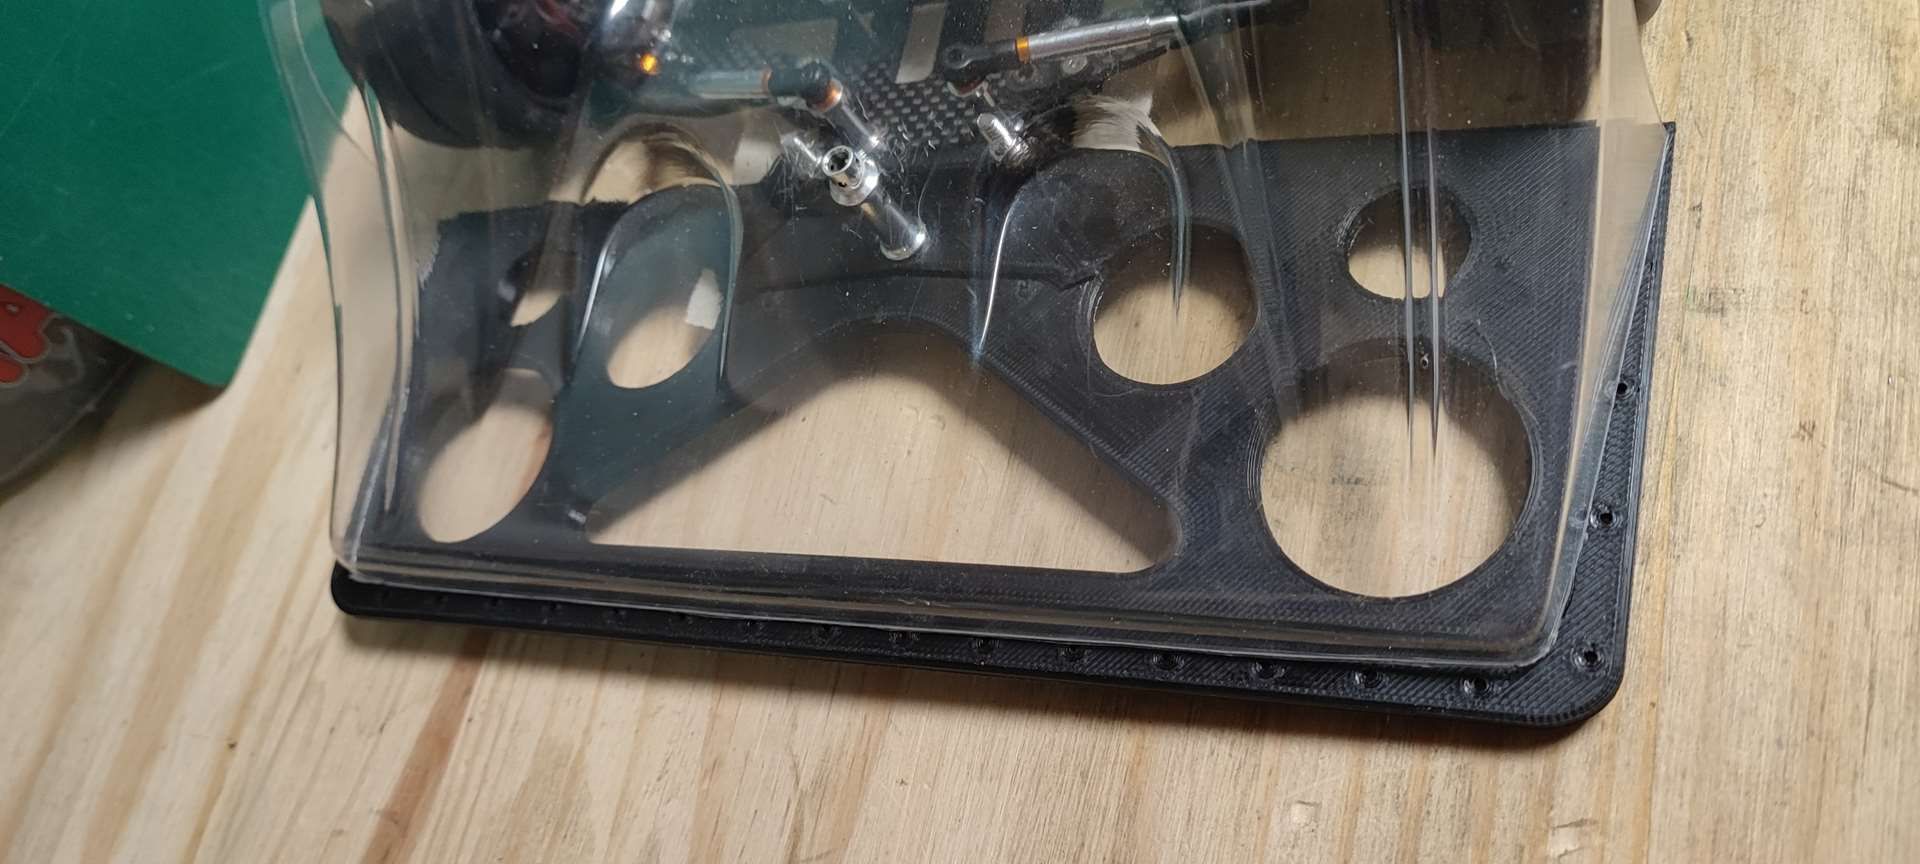
Here is the result that suits me enough to move on.
- Fixed rear apron
- Rear arch at the right size
- New rear mount in place
- Front bumper in place
Just needing the aluminium spoiler blade insert will sell in due time.
I will look into the scoops behind the front wheels in the week
Pictures :
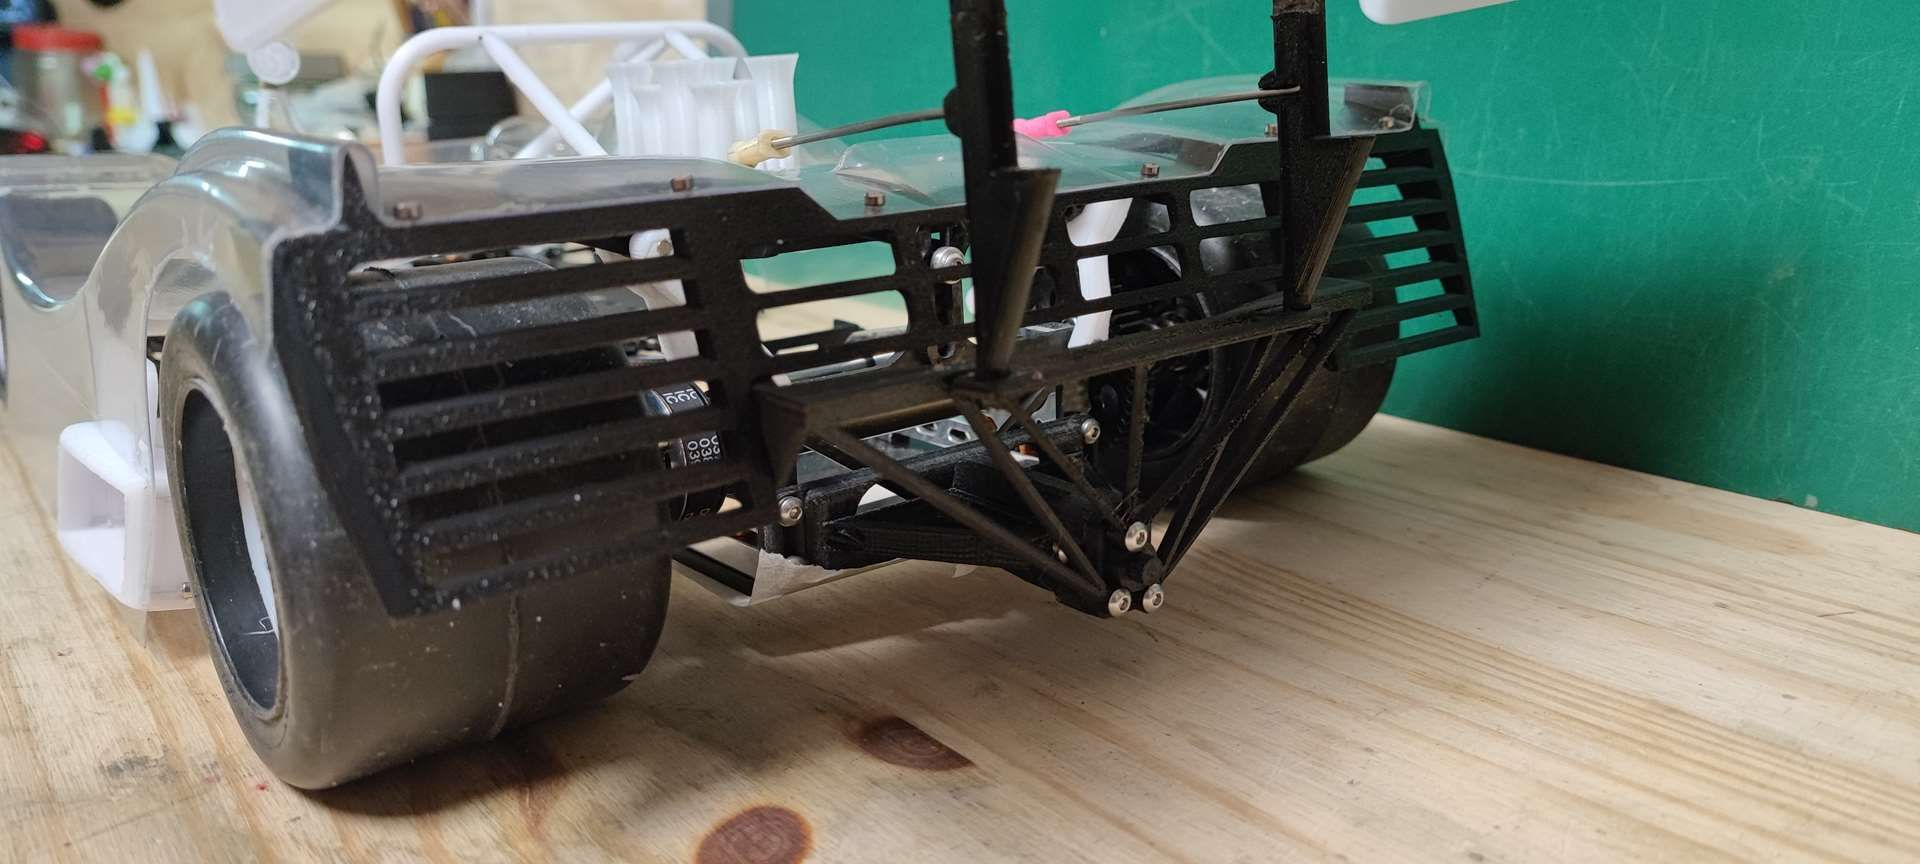
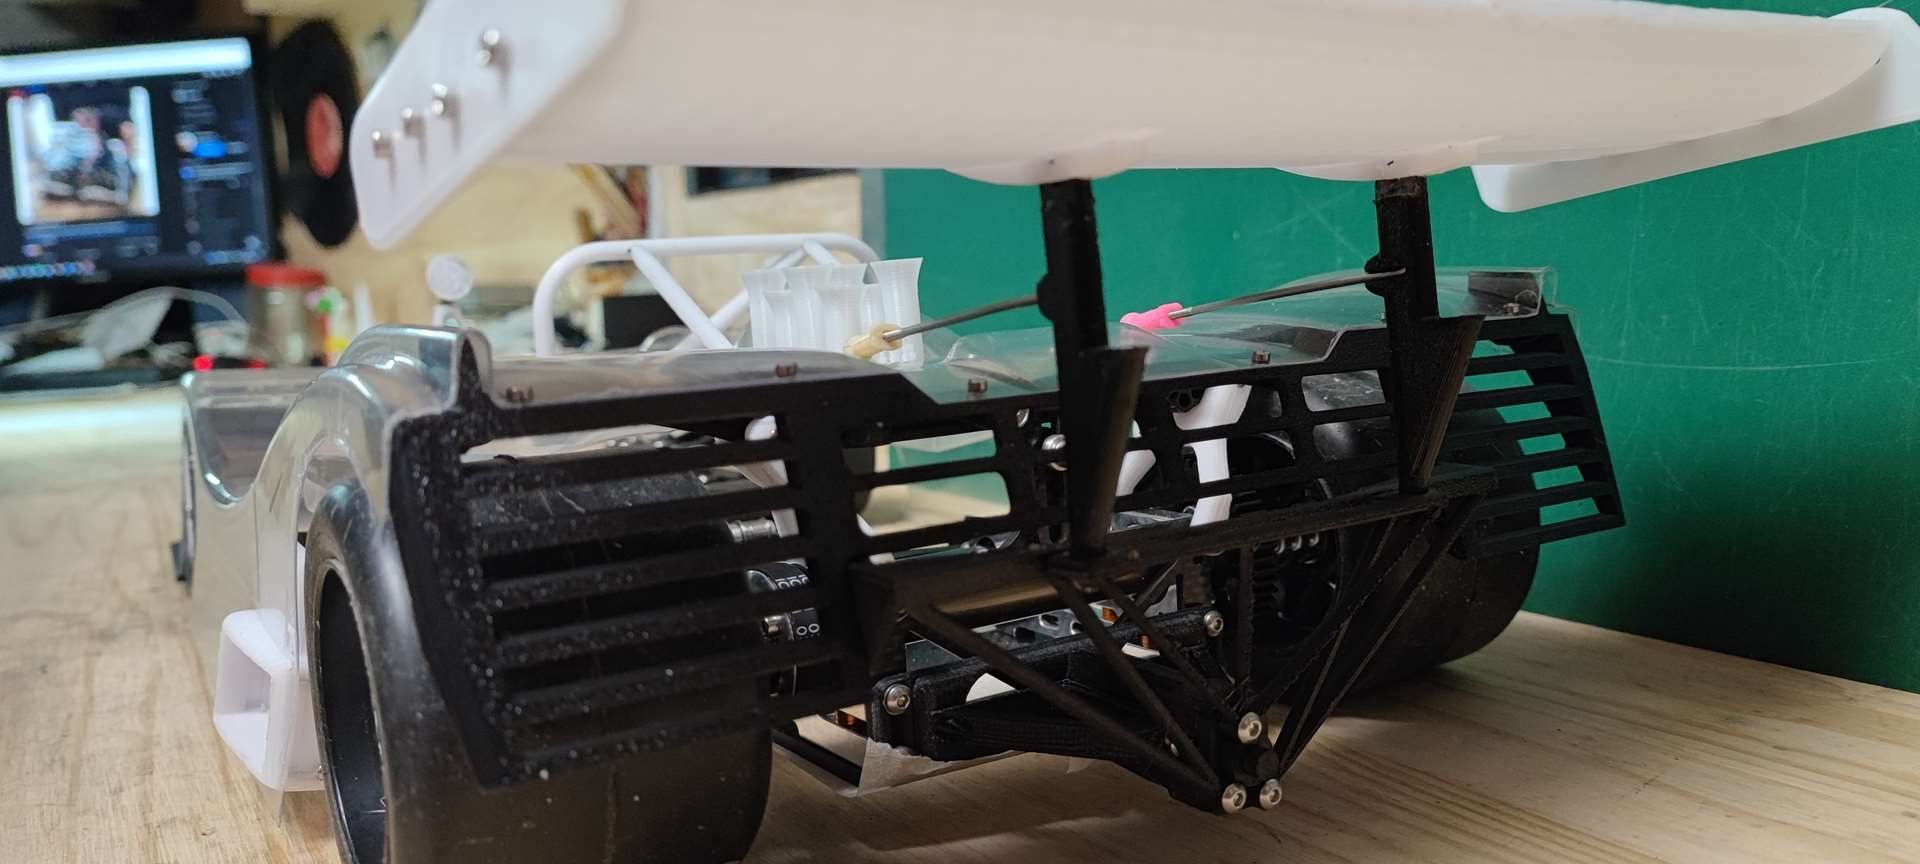
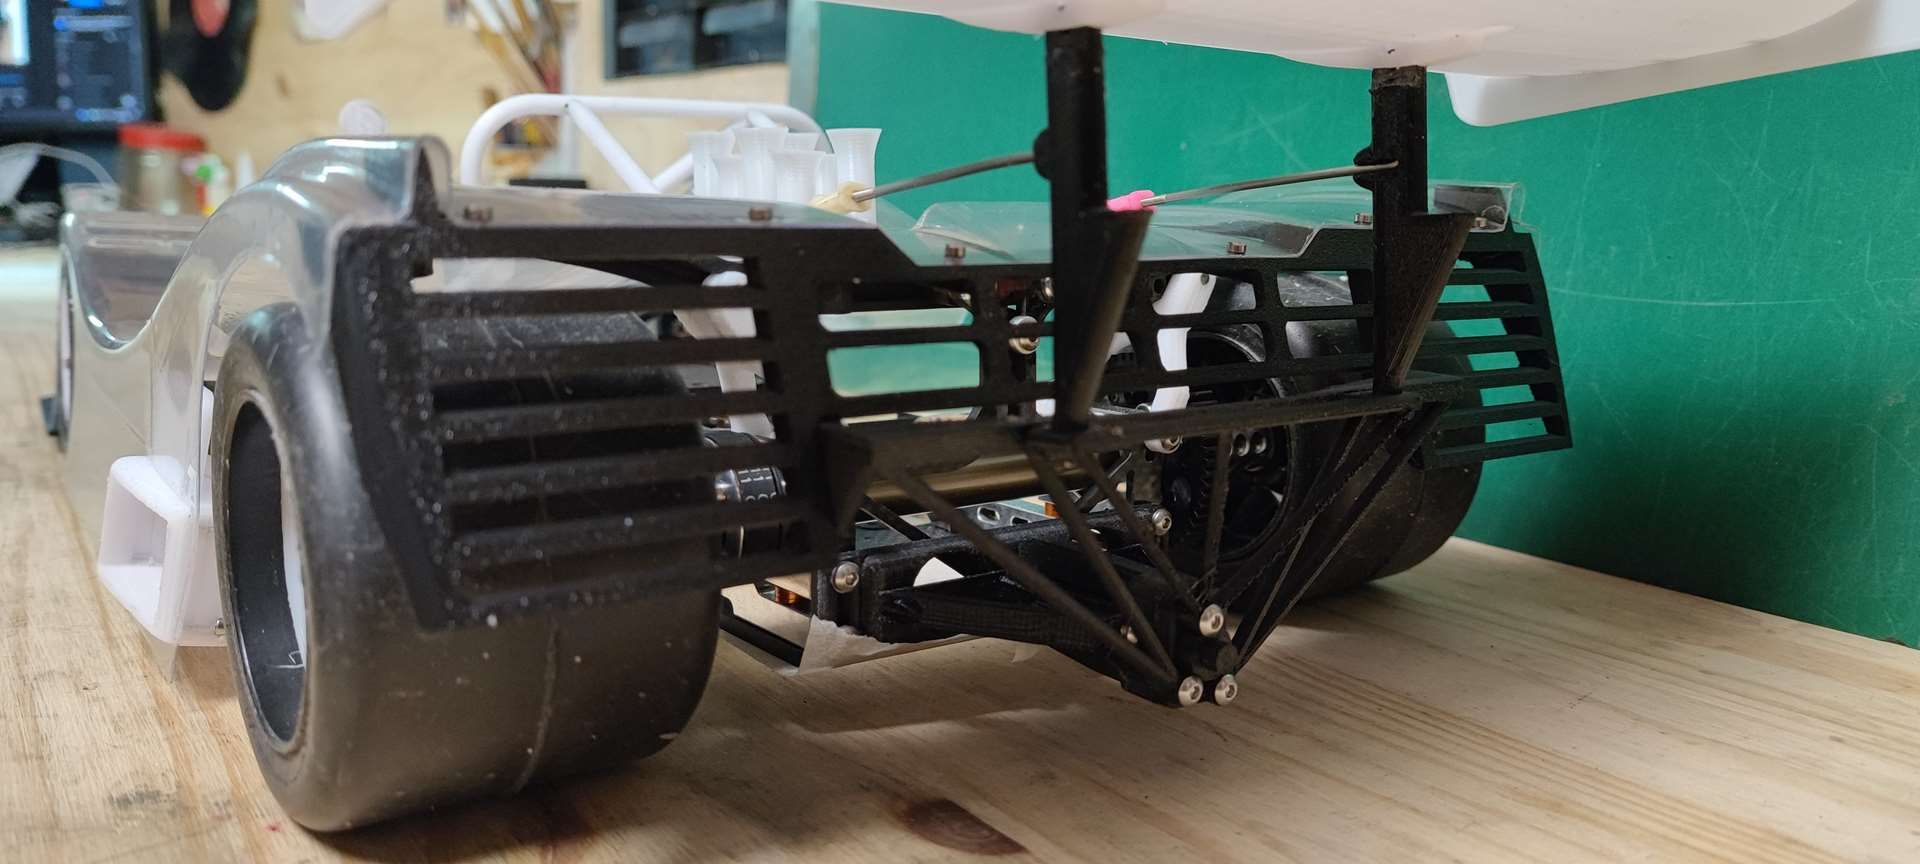
Jerome
Here is the result that suits me enough to move on.
- Fixed rear apron
- Rear arch at the right size
- New rear mount in place
- Front bumper in place
Just needing the aluminium spoiler blade insert will sell in due time.
I will look into the scoops behind the front wheels in the week
Pictures :


Jerome
Sorry for my rusty english, i'm a kind of French farmer lost in his montain ...
-
Trass
- Approved Member
- Posts: 340
- Joined: Sat Aug 08, 2015 12:02 pm
- Location: Near Limoges - France
- Has thanked: 398 times
- Been thanked: 202 times
Re: SERPENT 988e Taipan
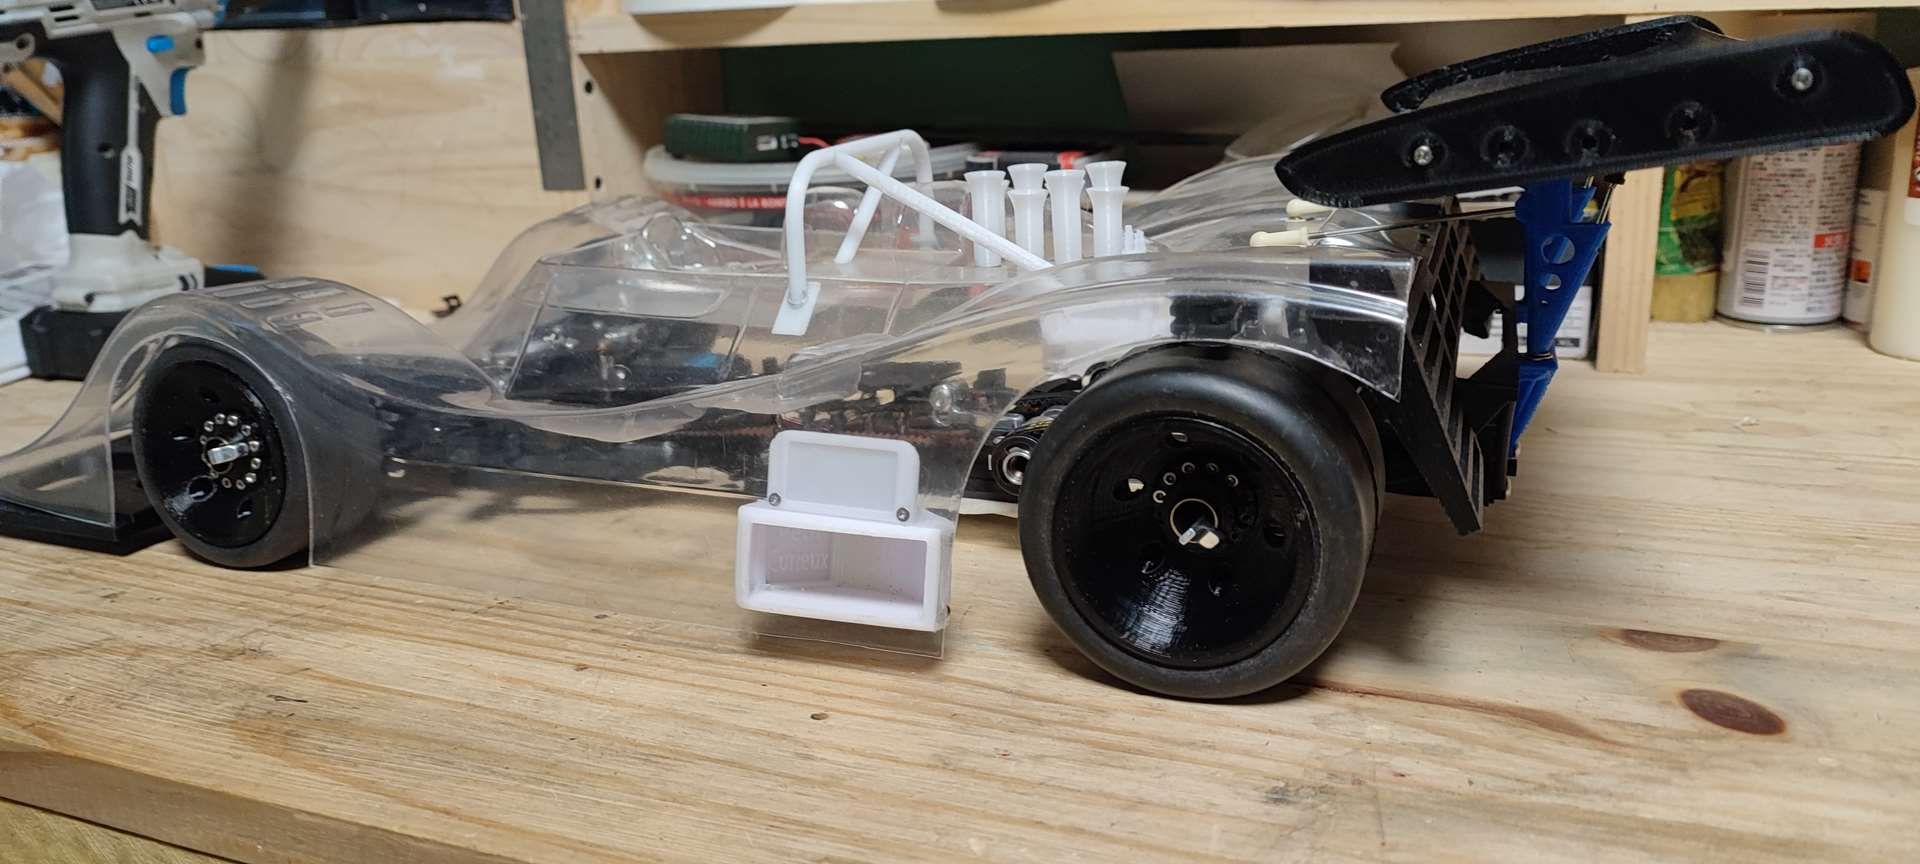
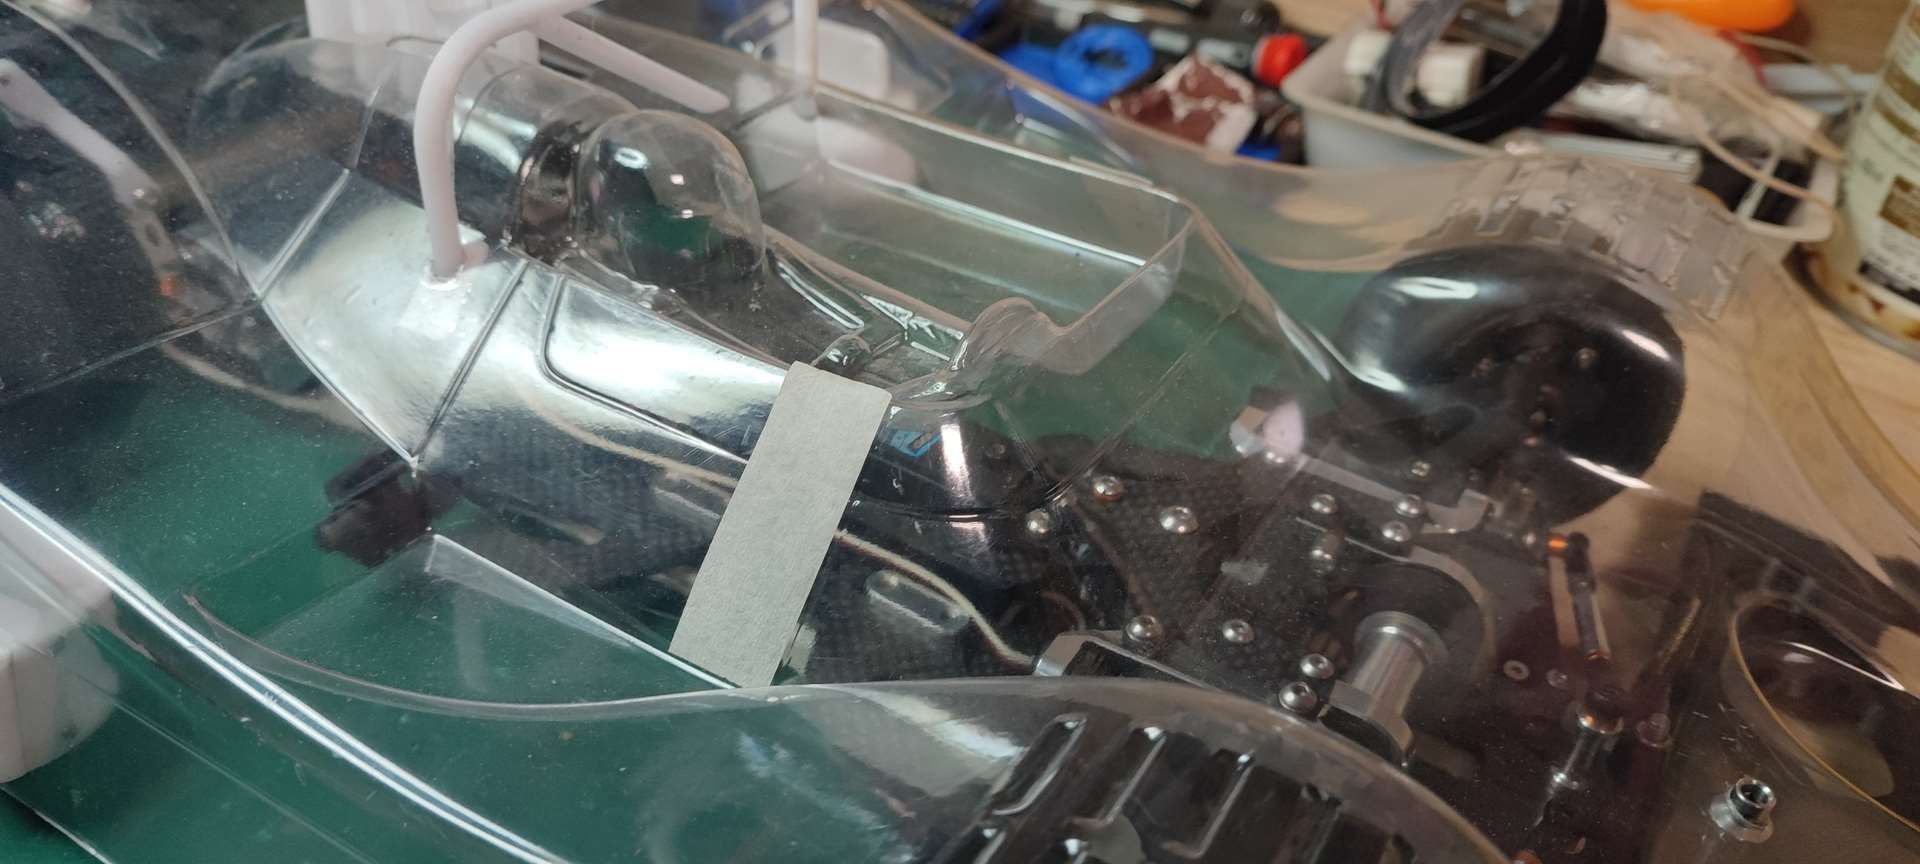
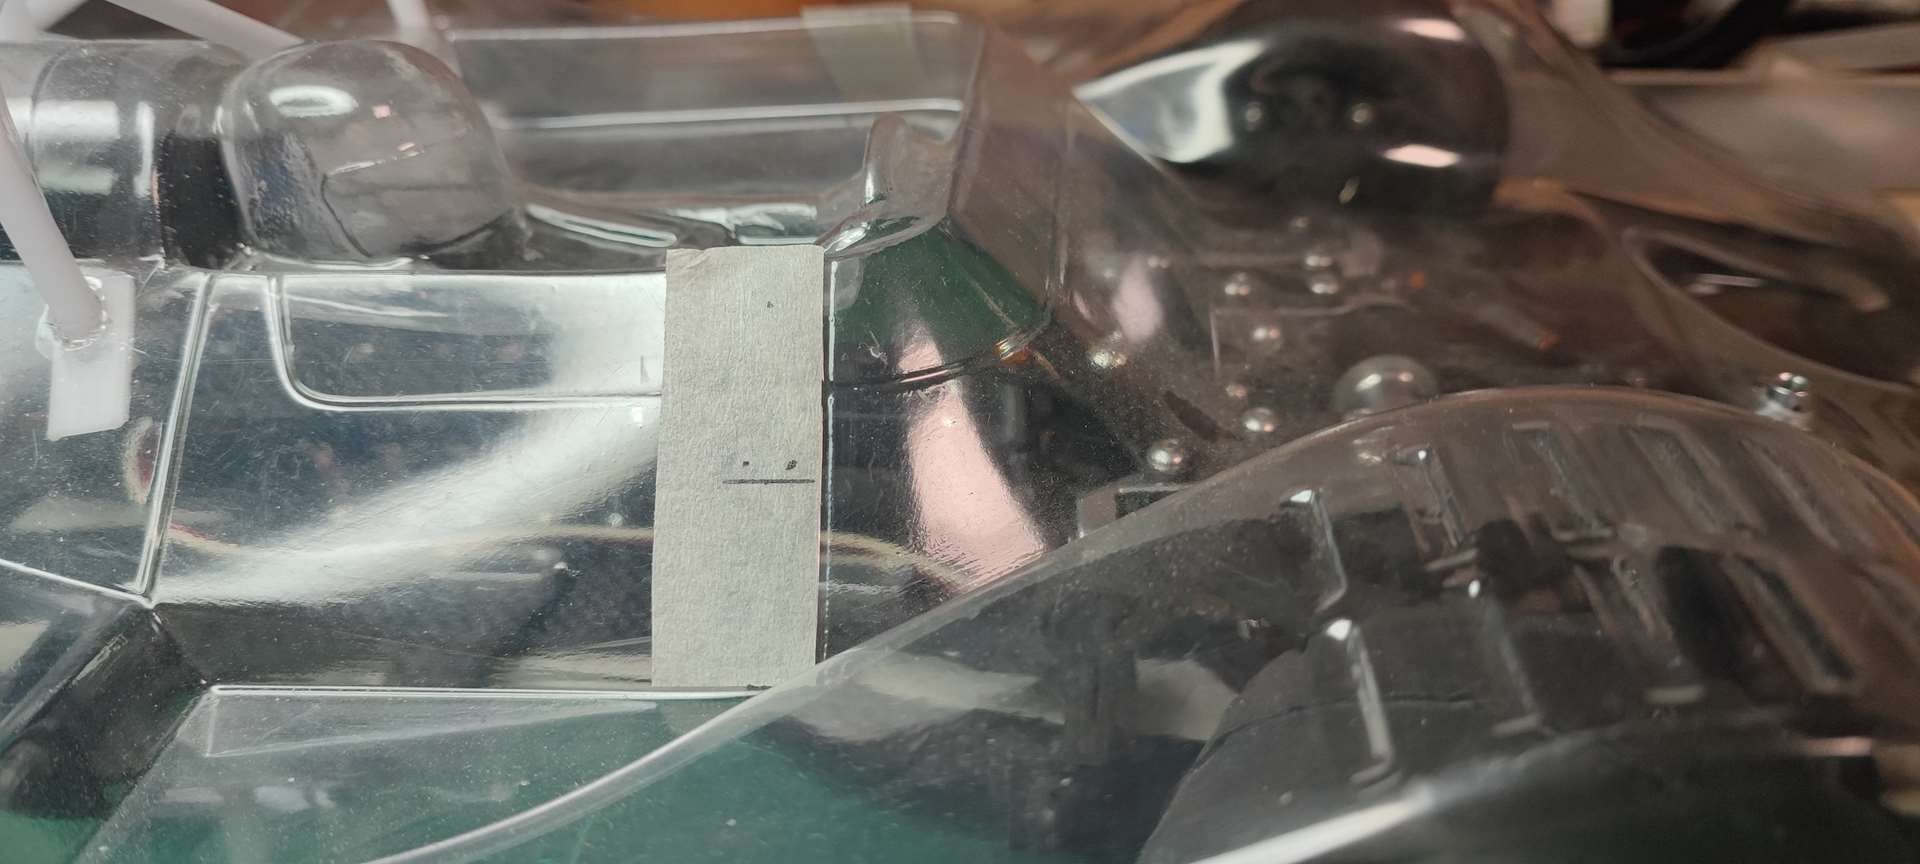
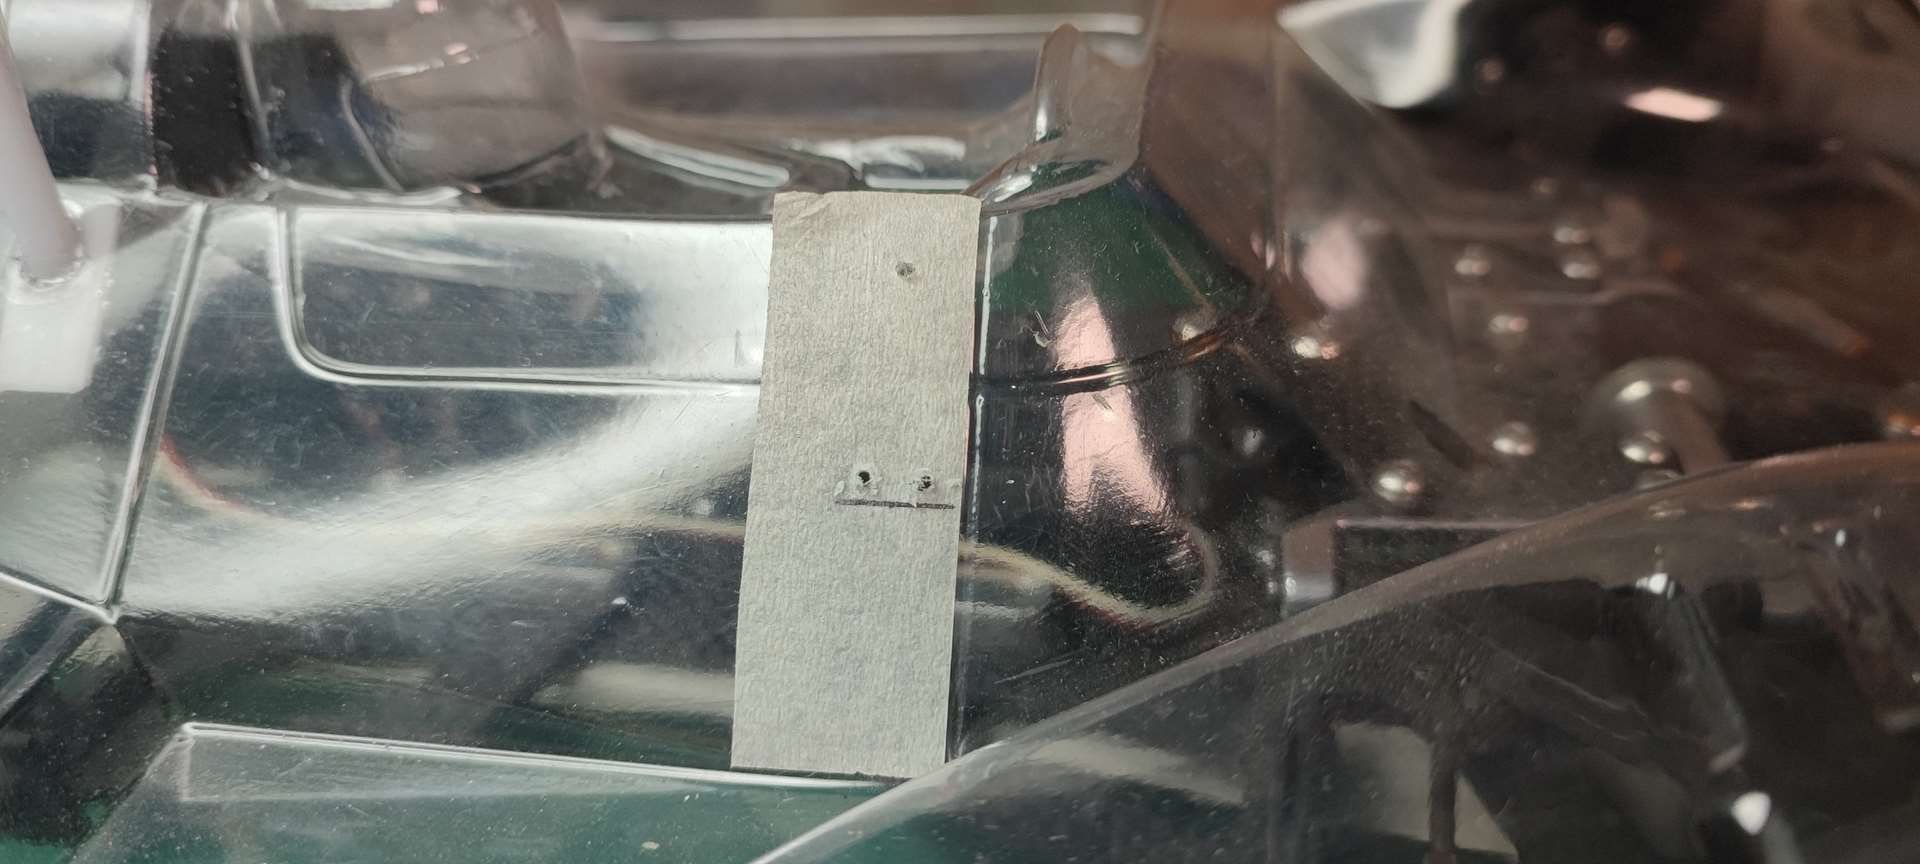
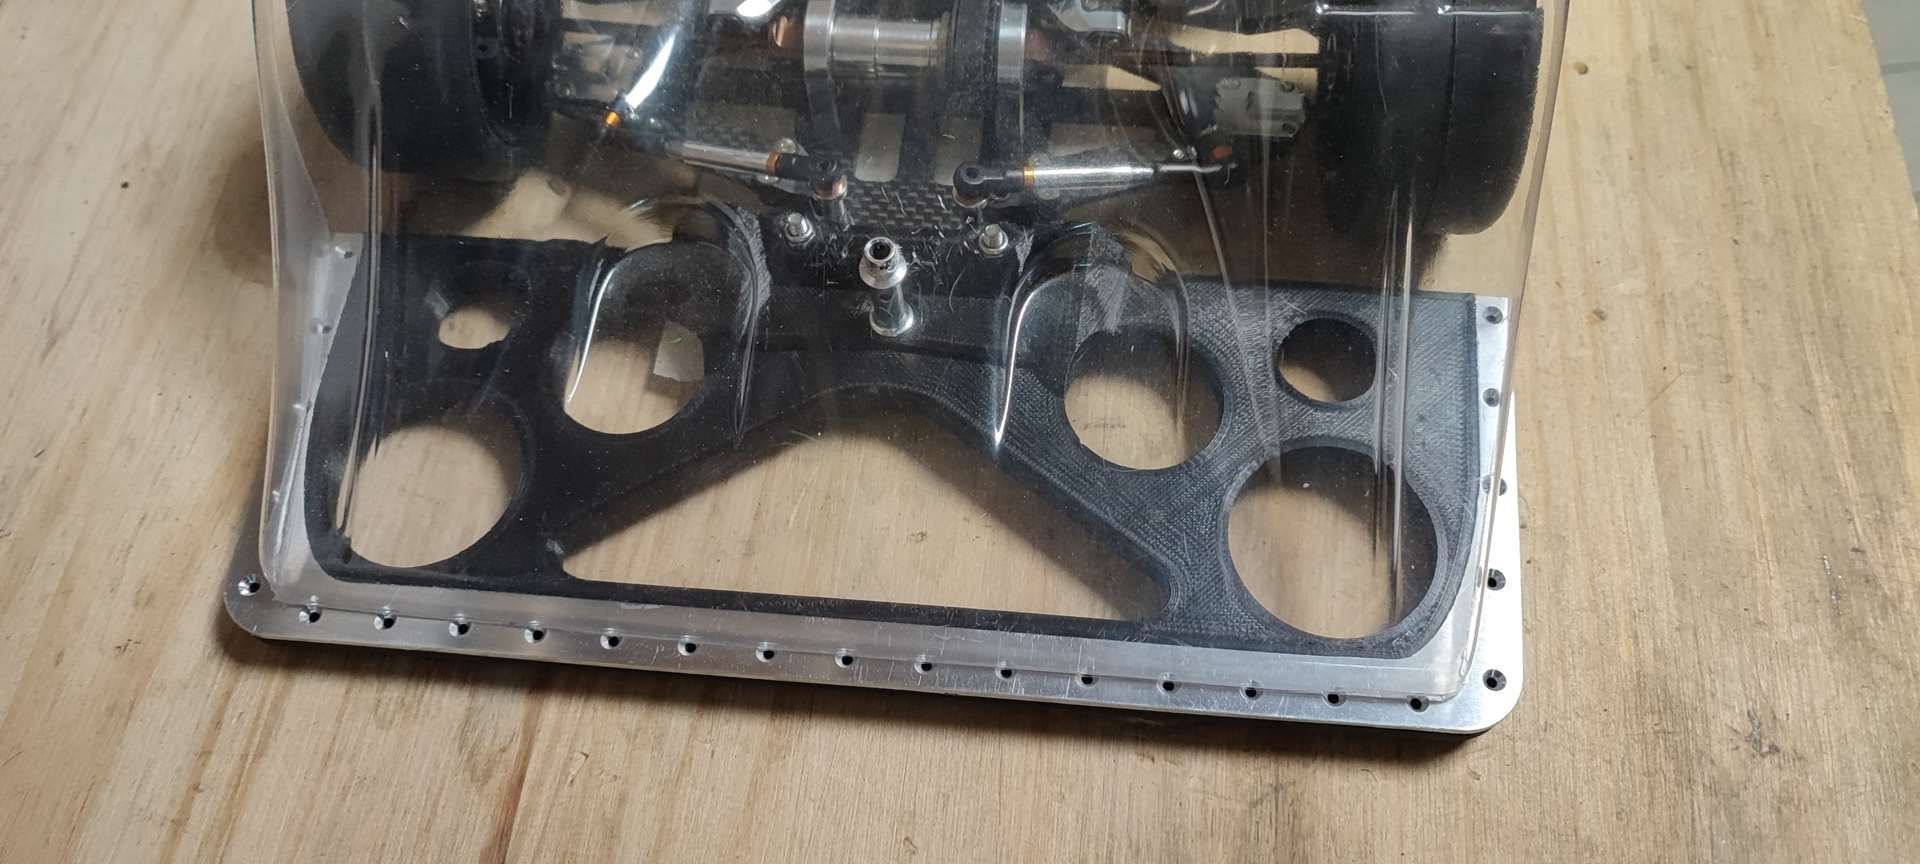
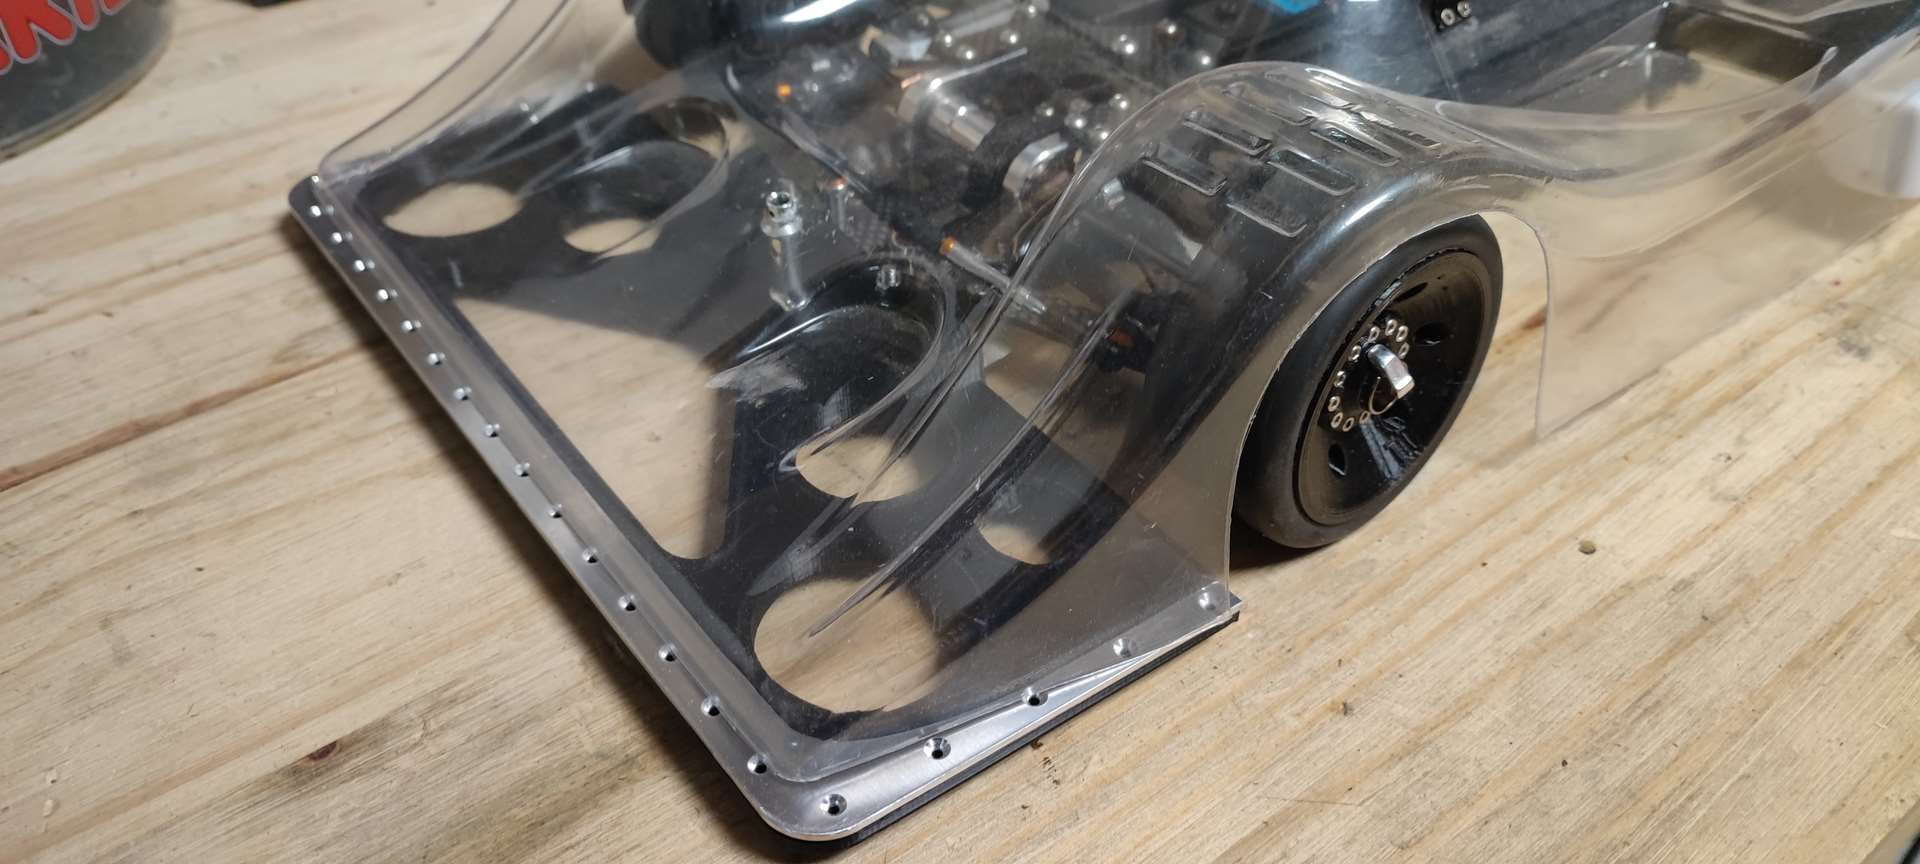
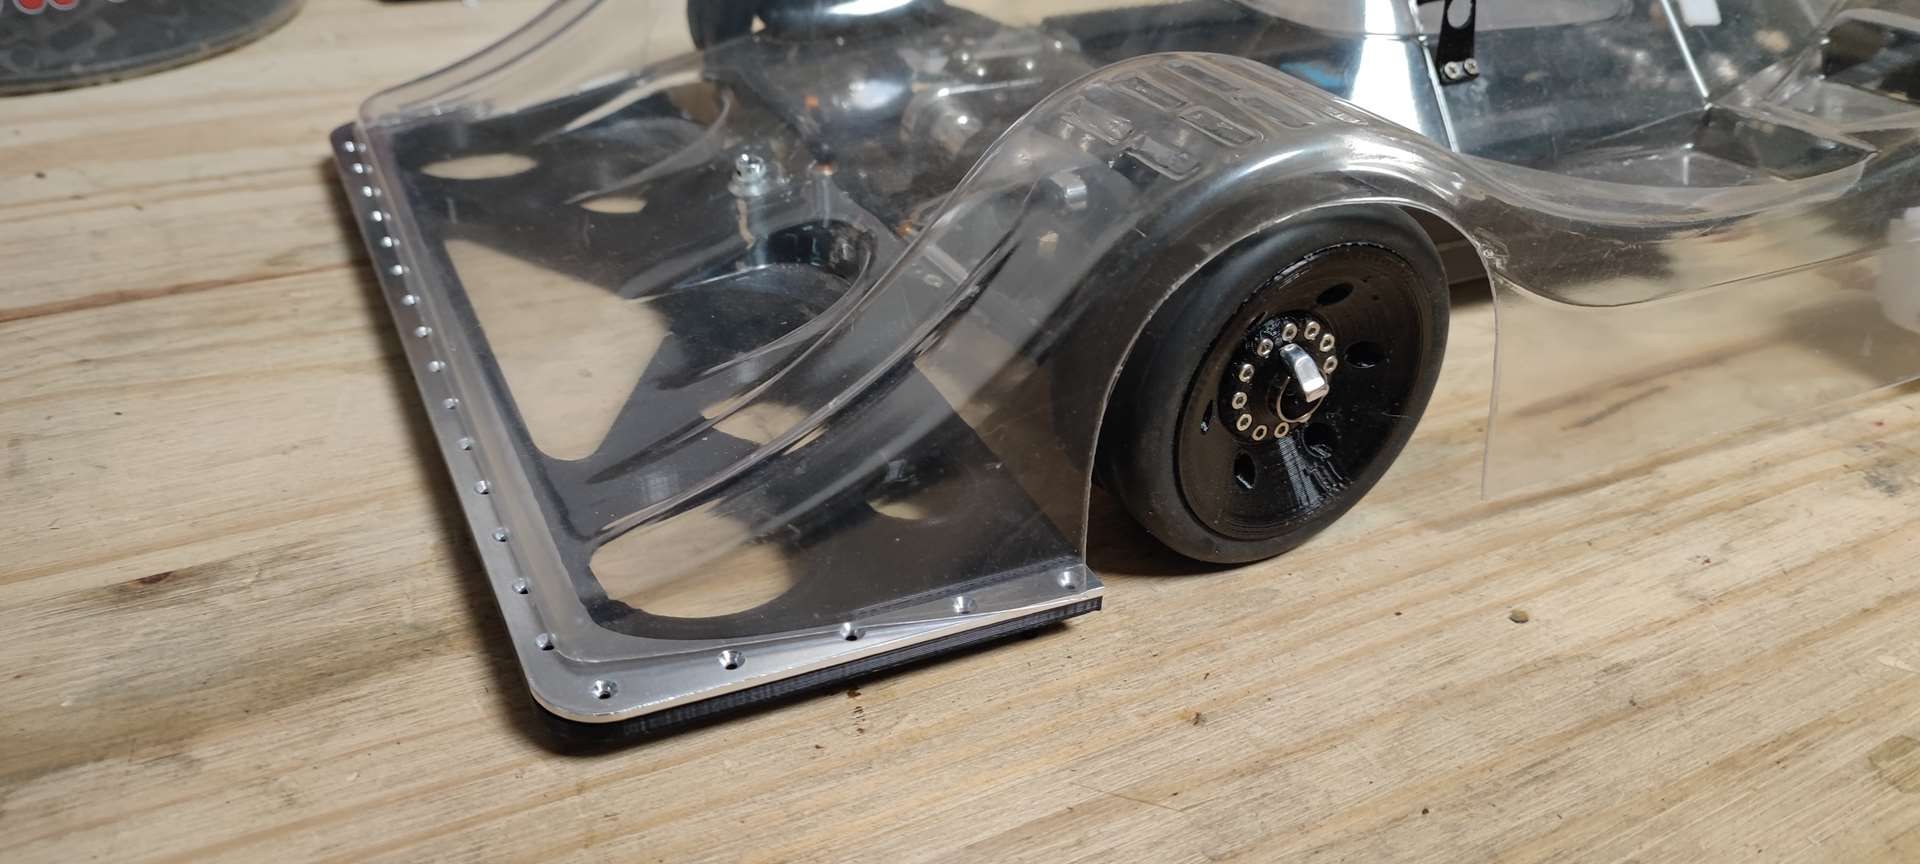
Hi!
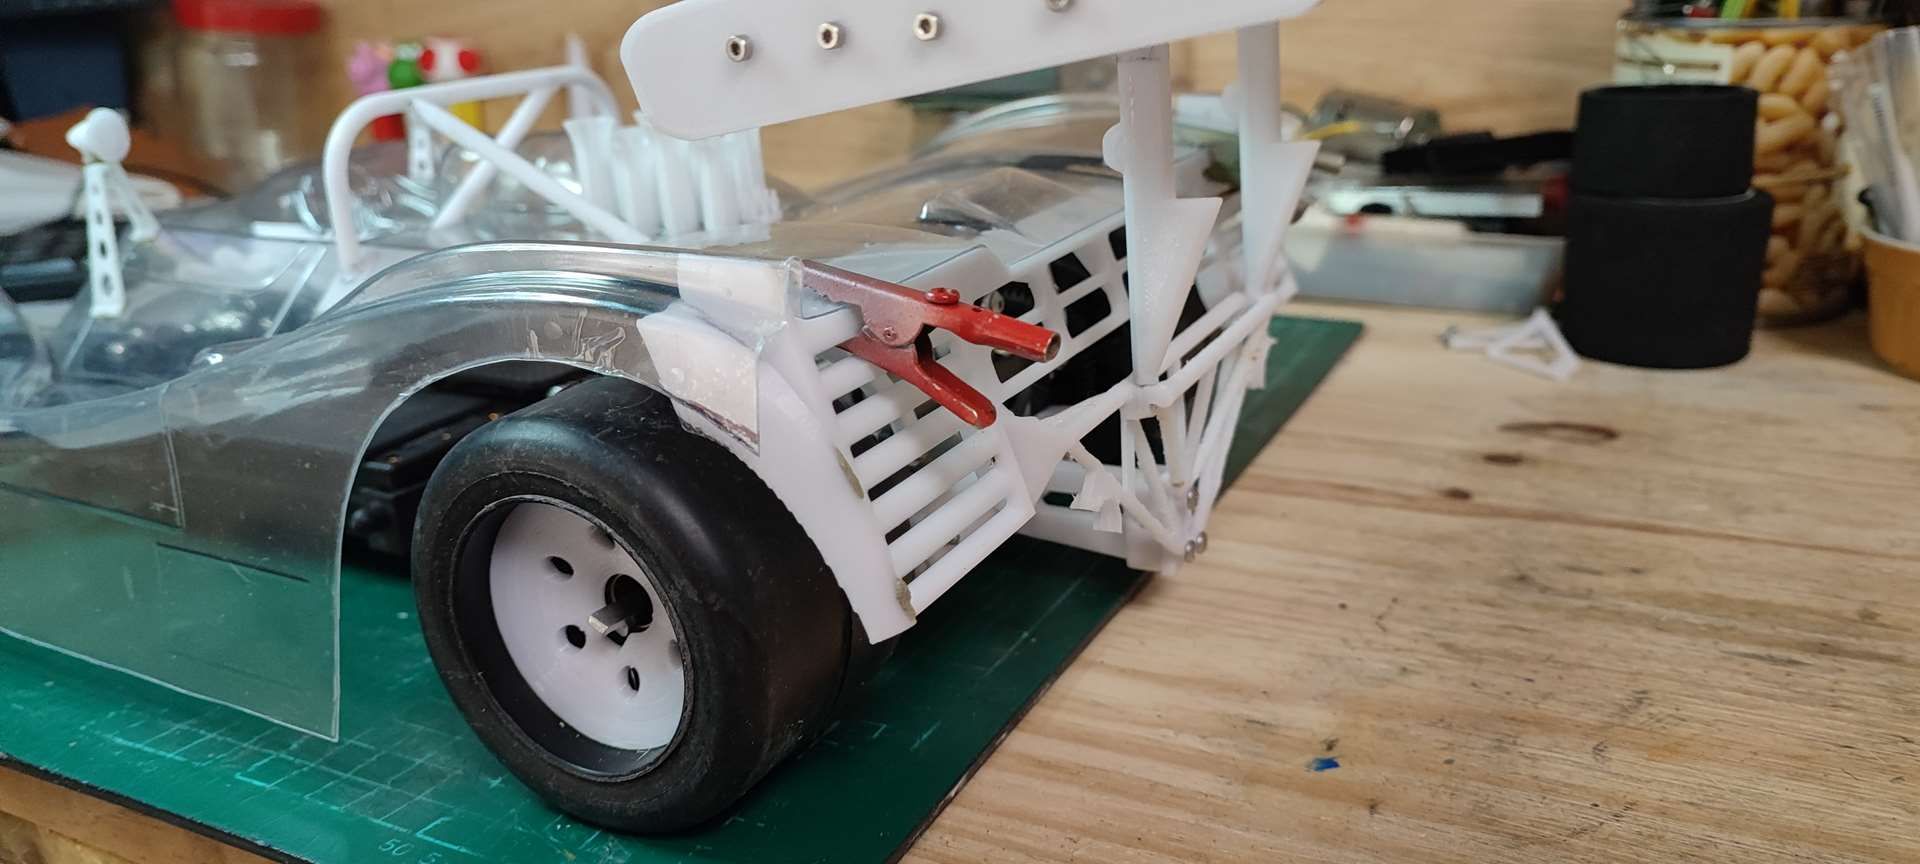
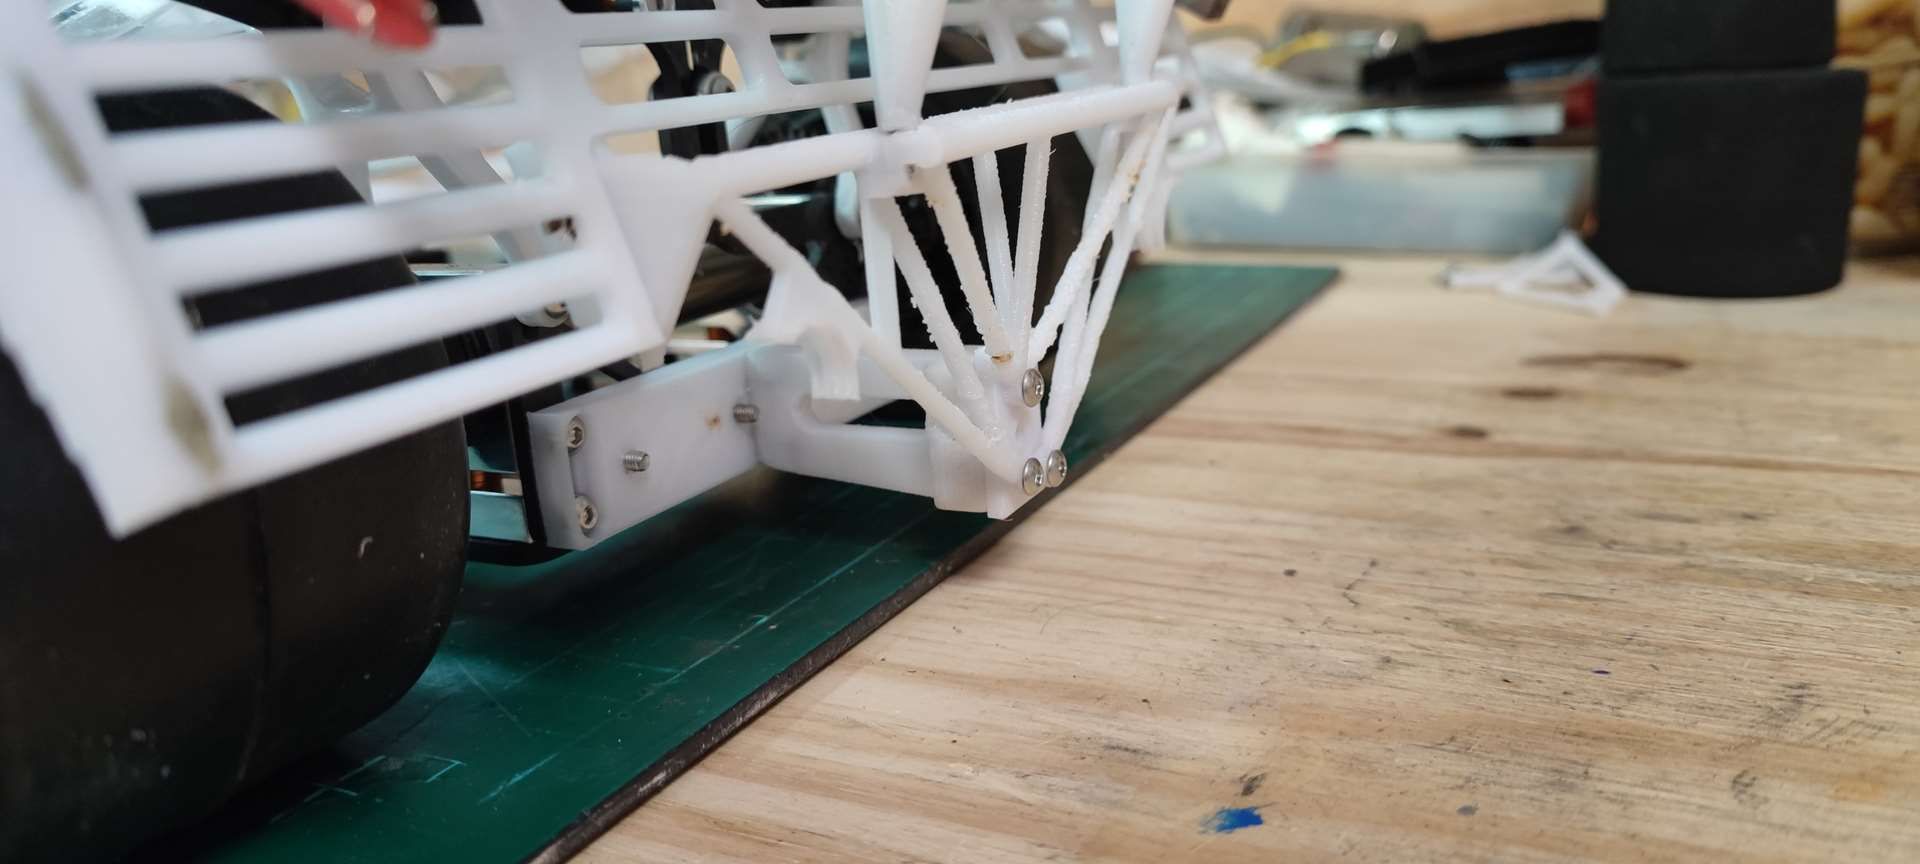
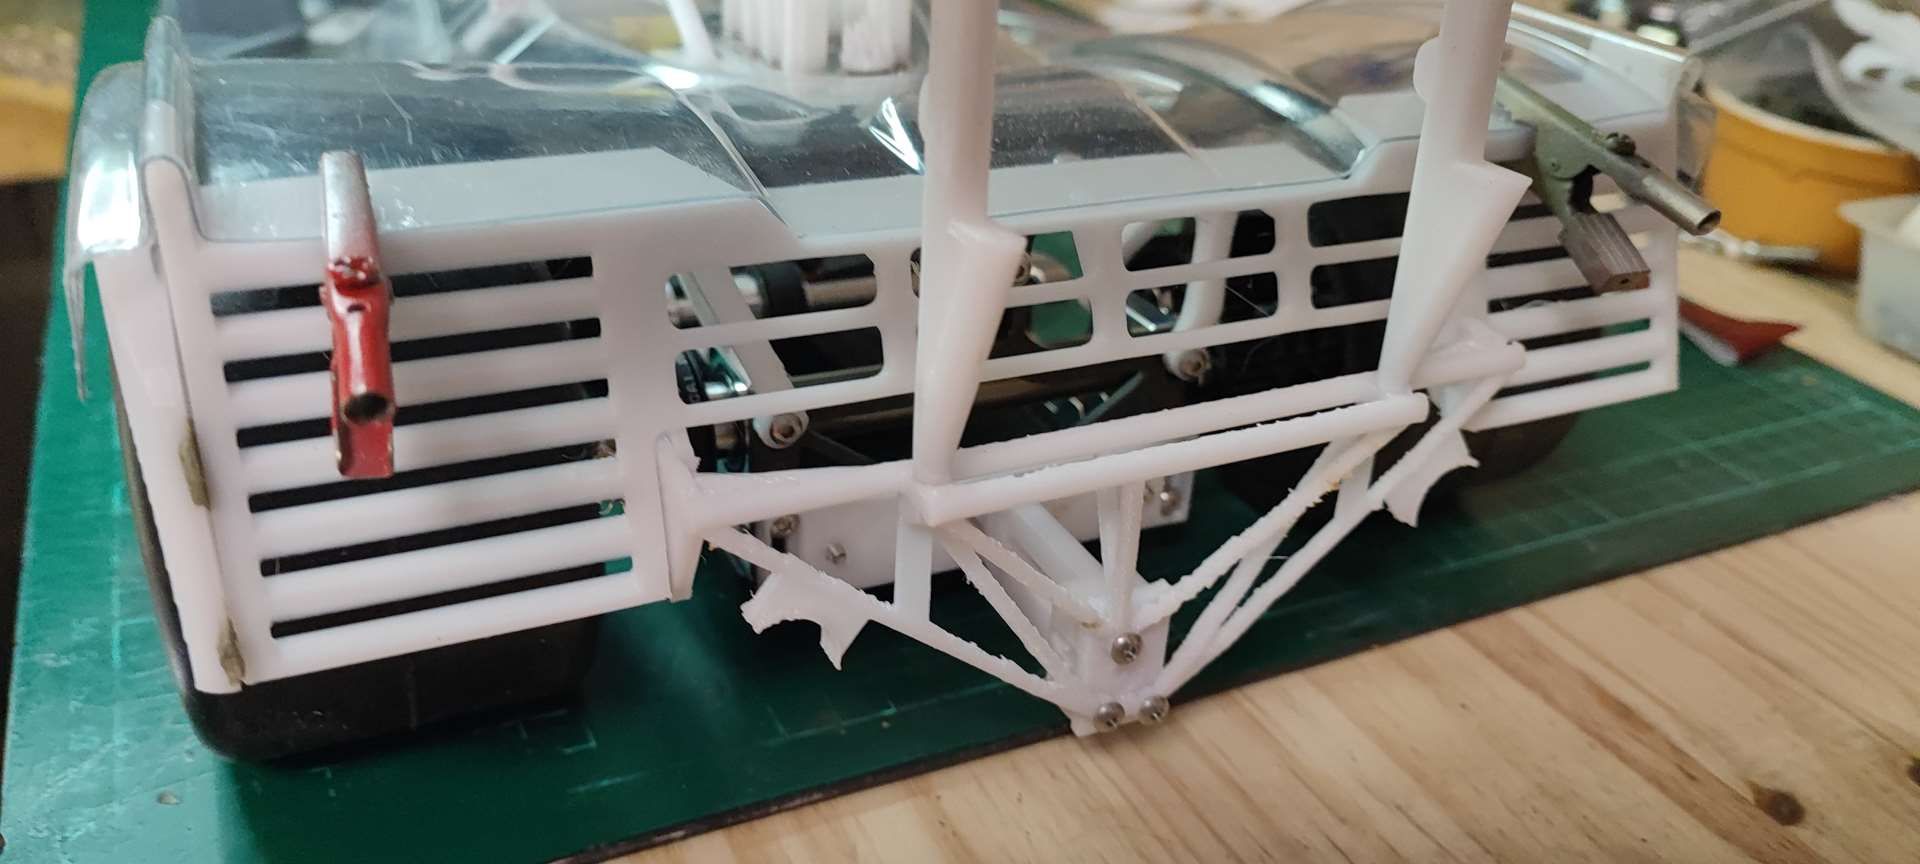
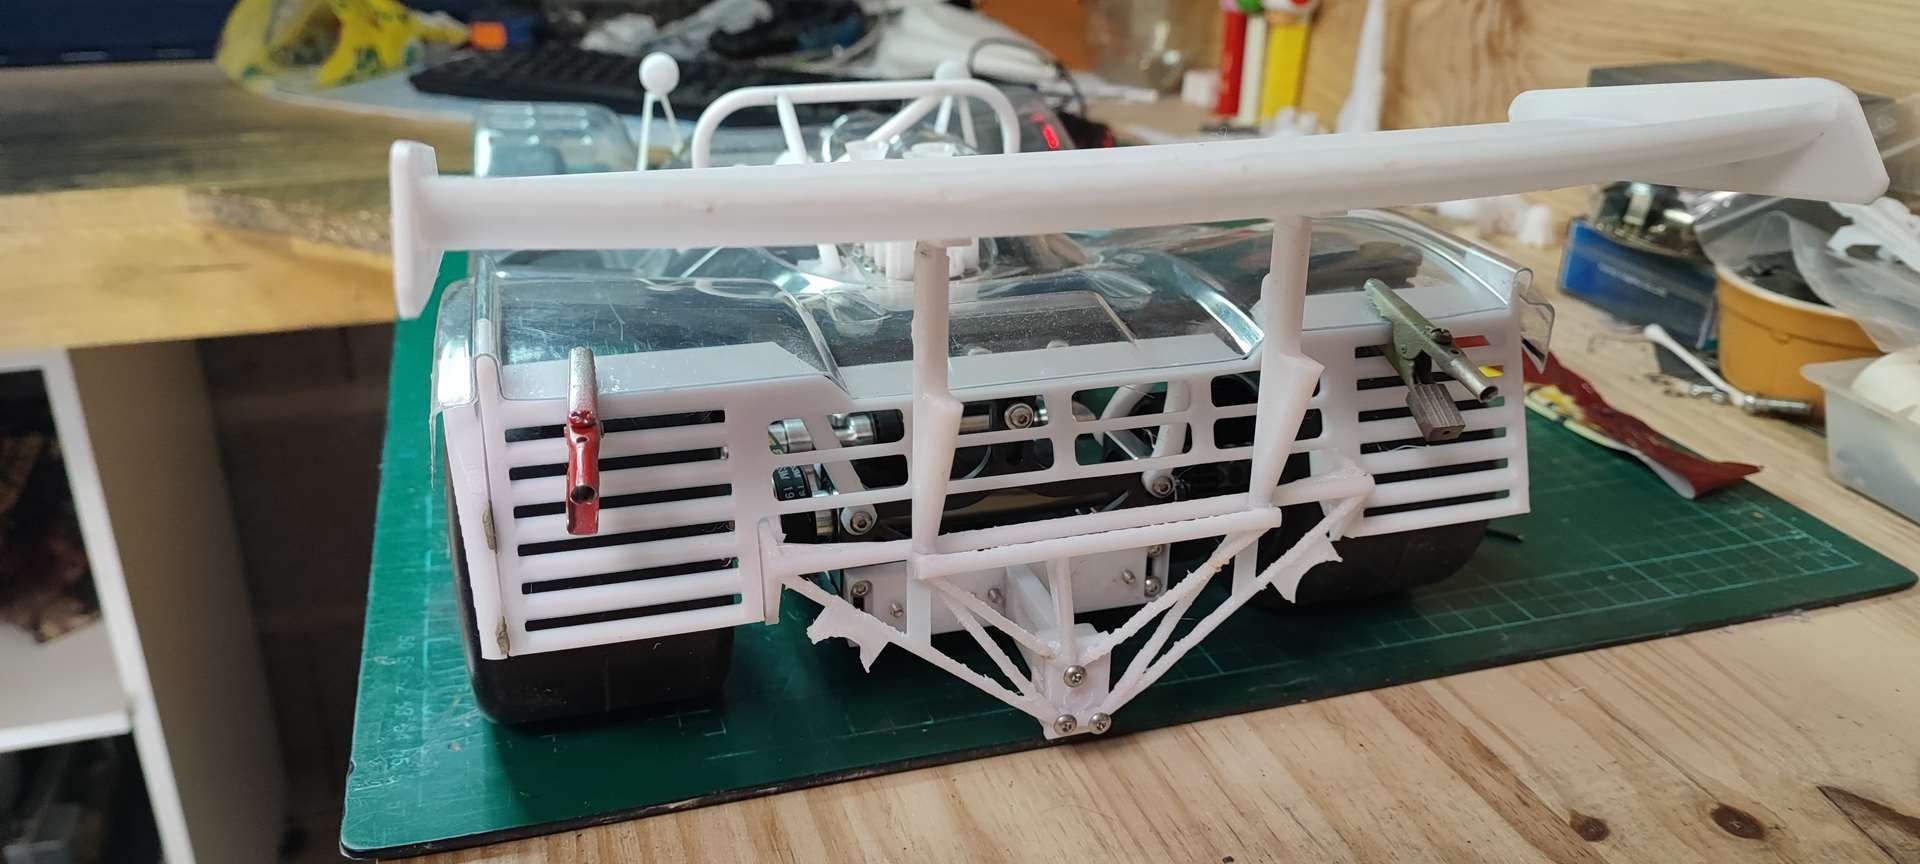
More update on this chassis
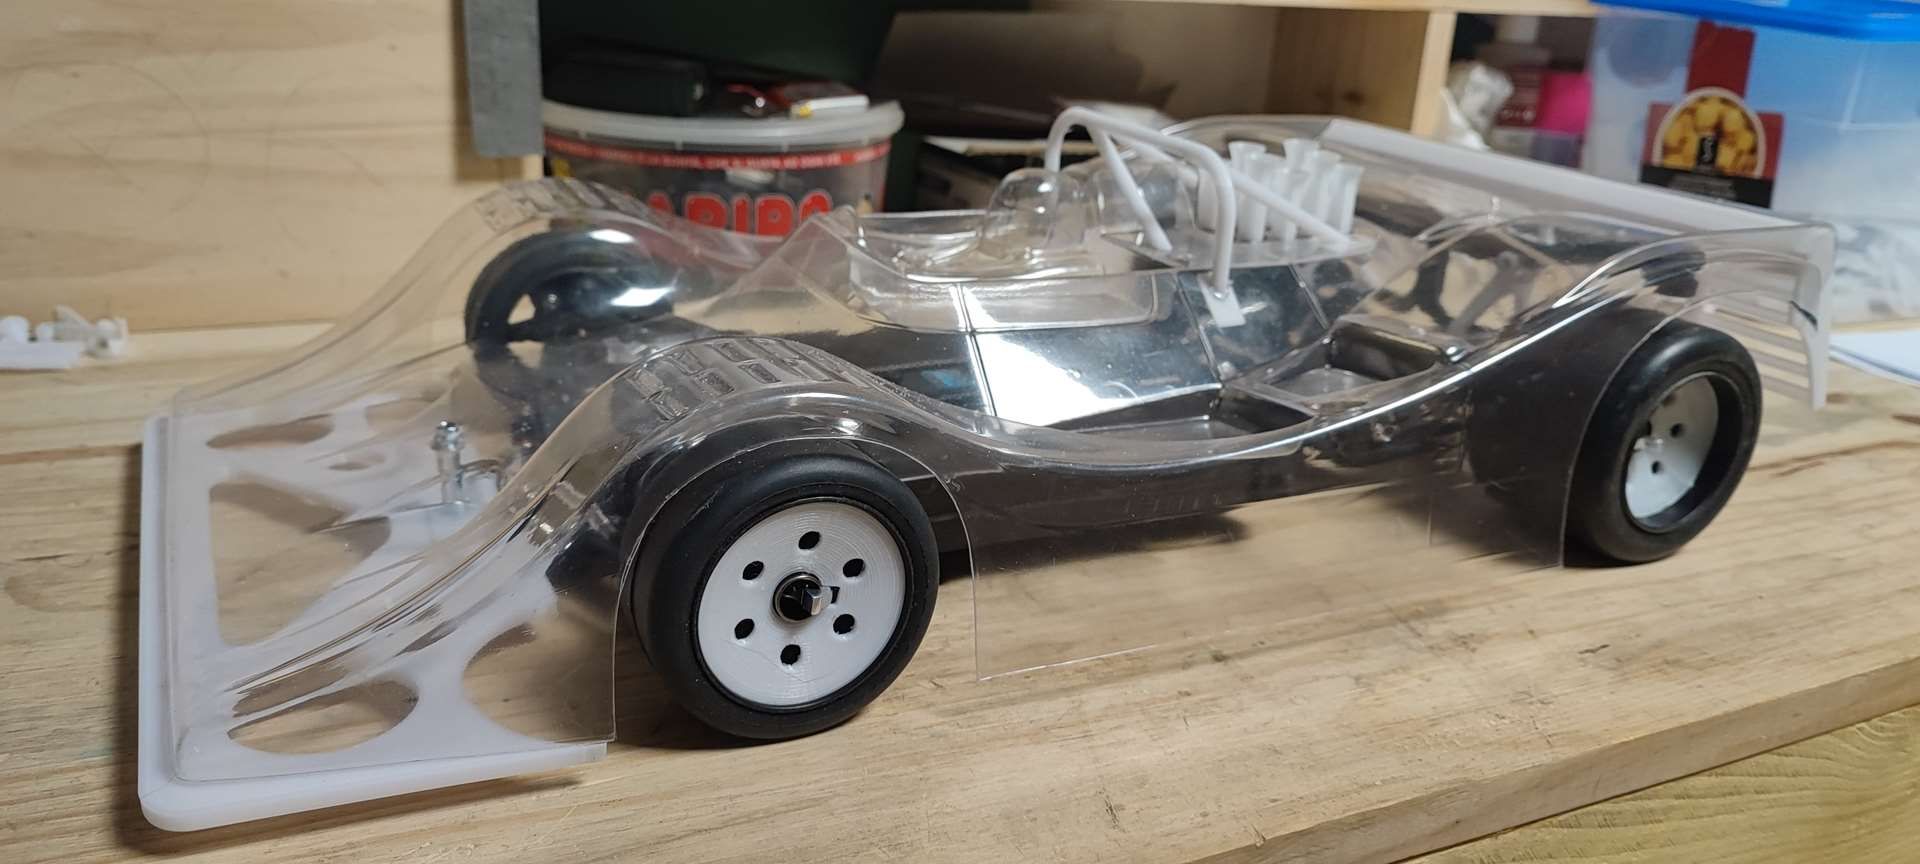
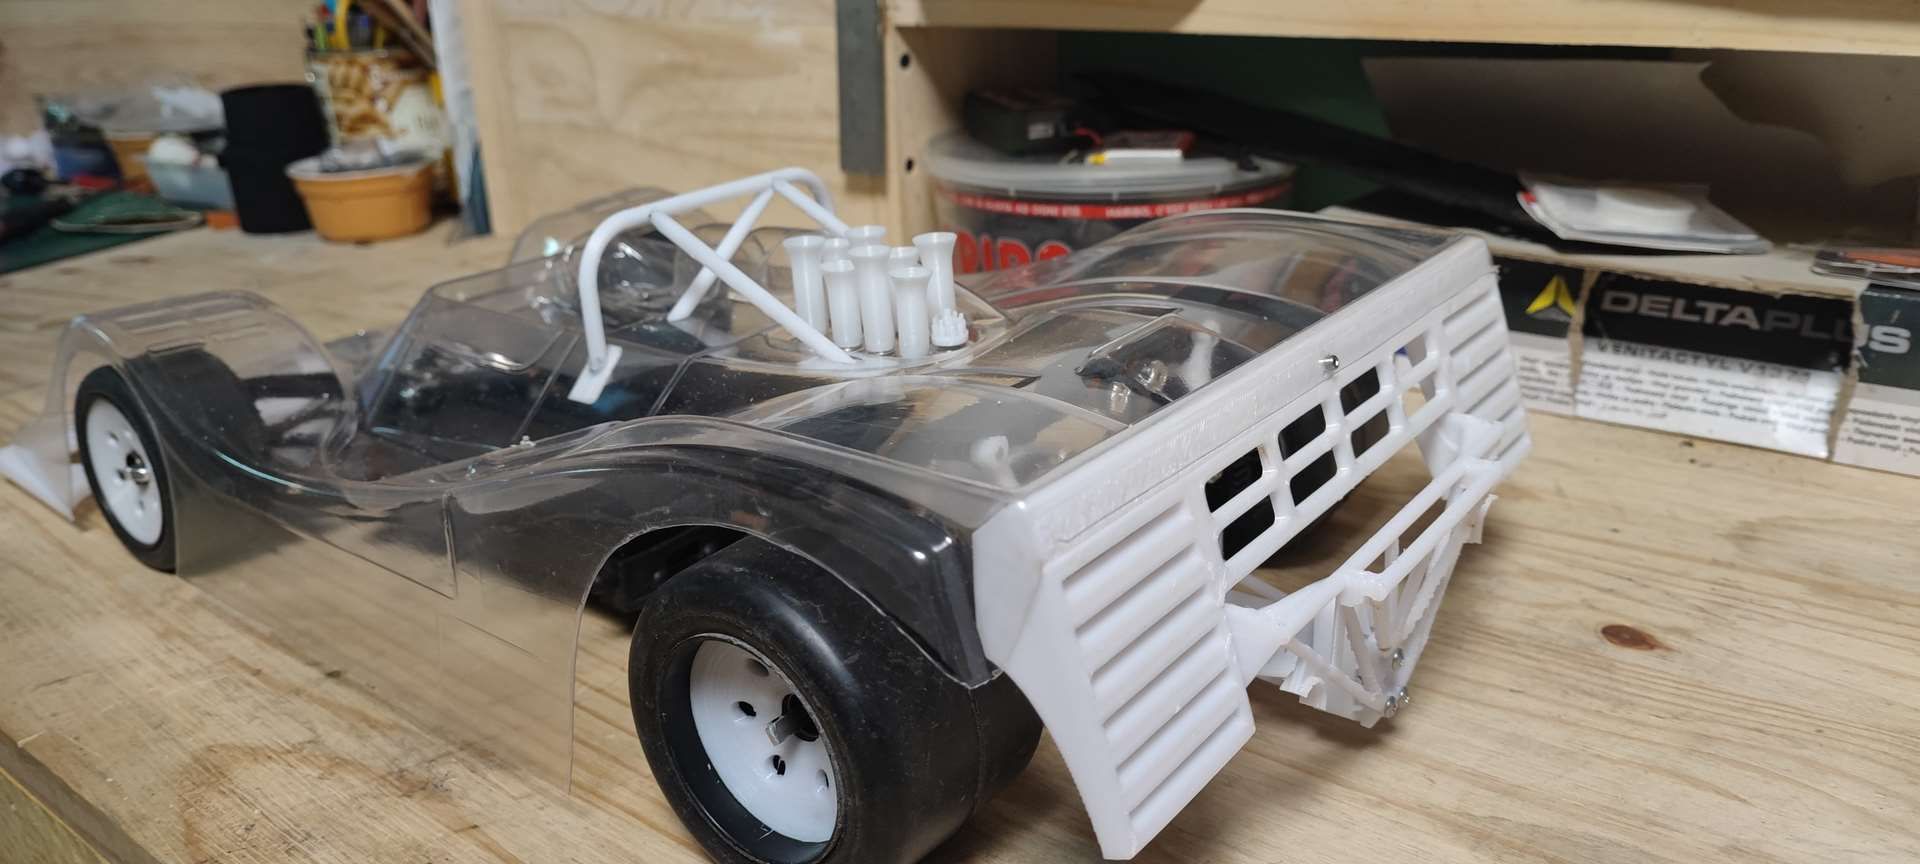
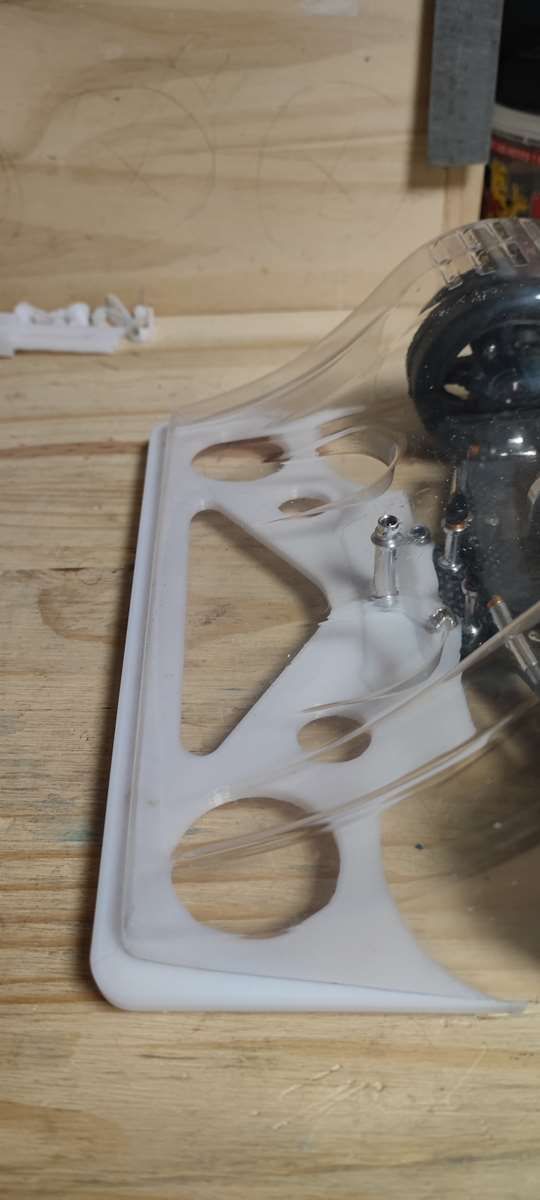
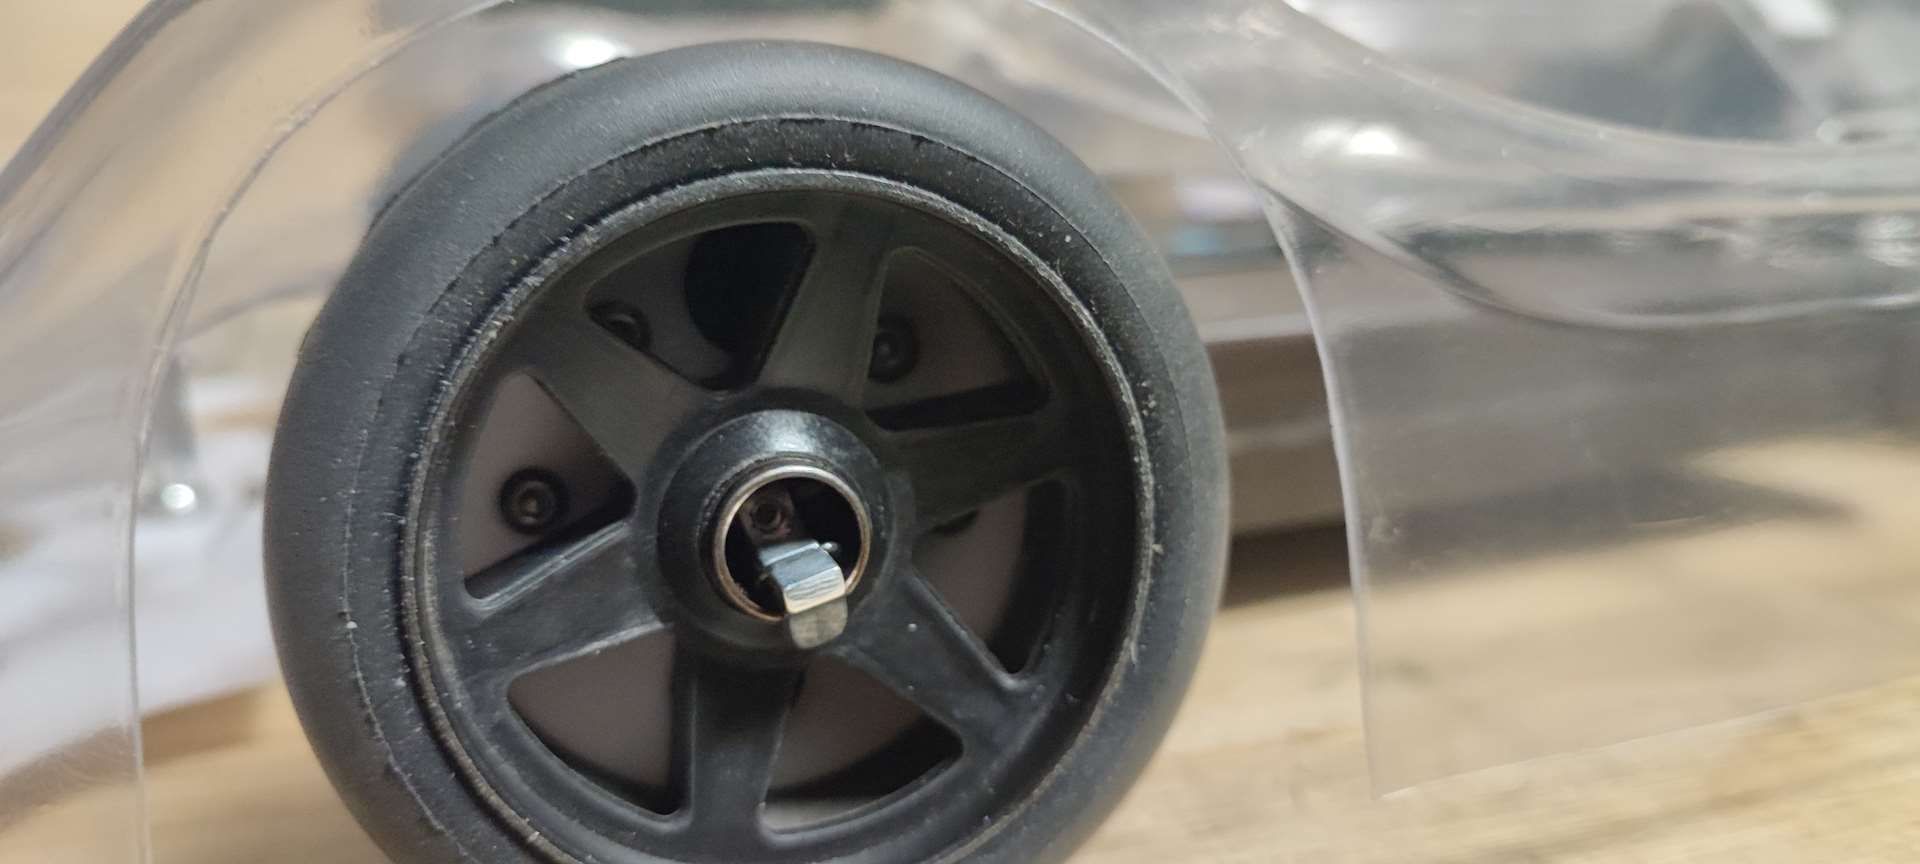
Here are the pictures ...
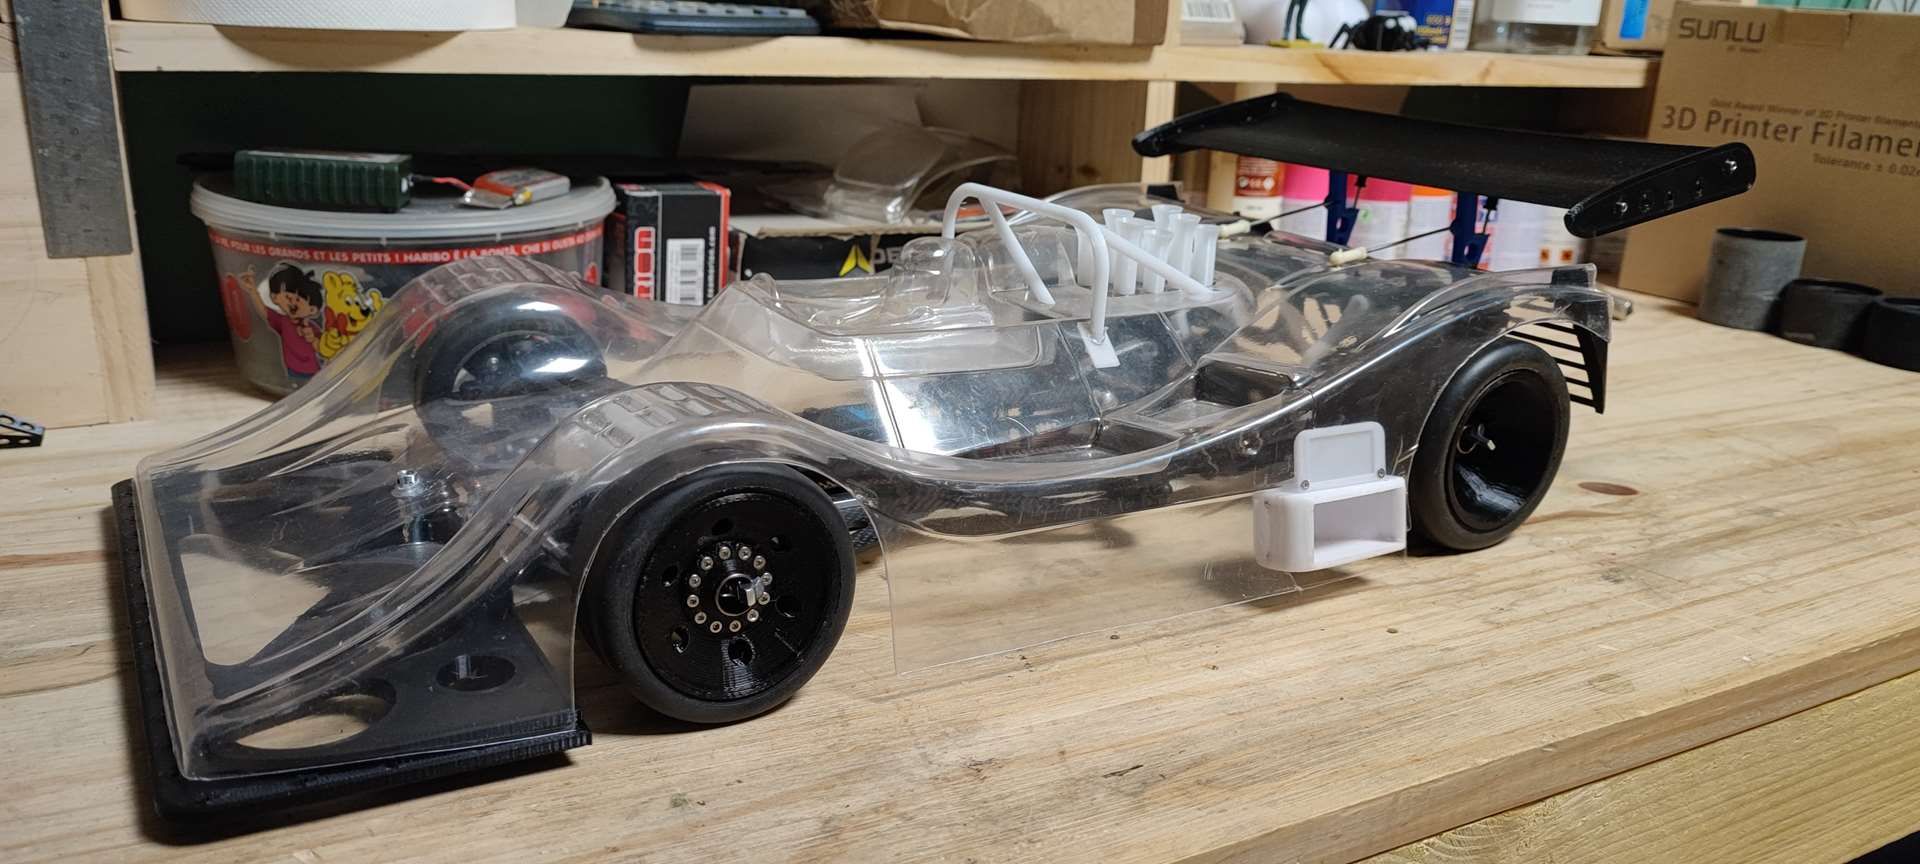
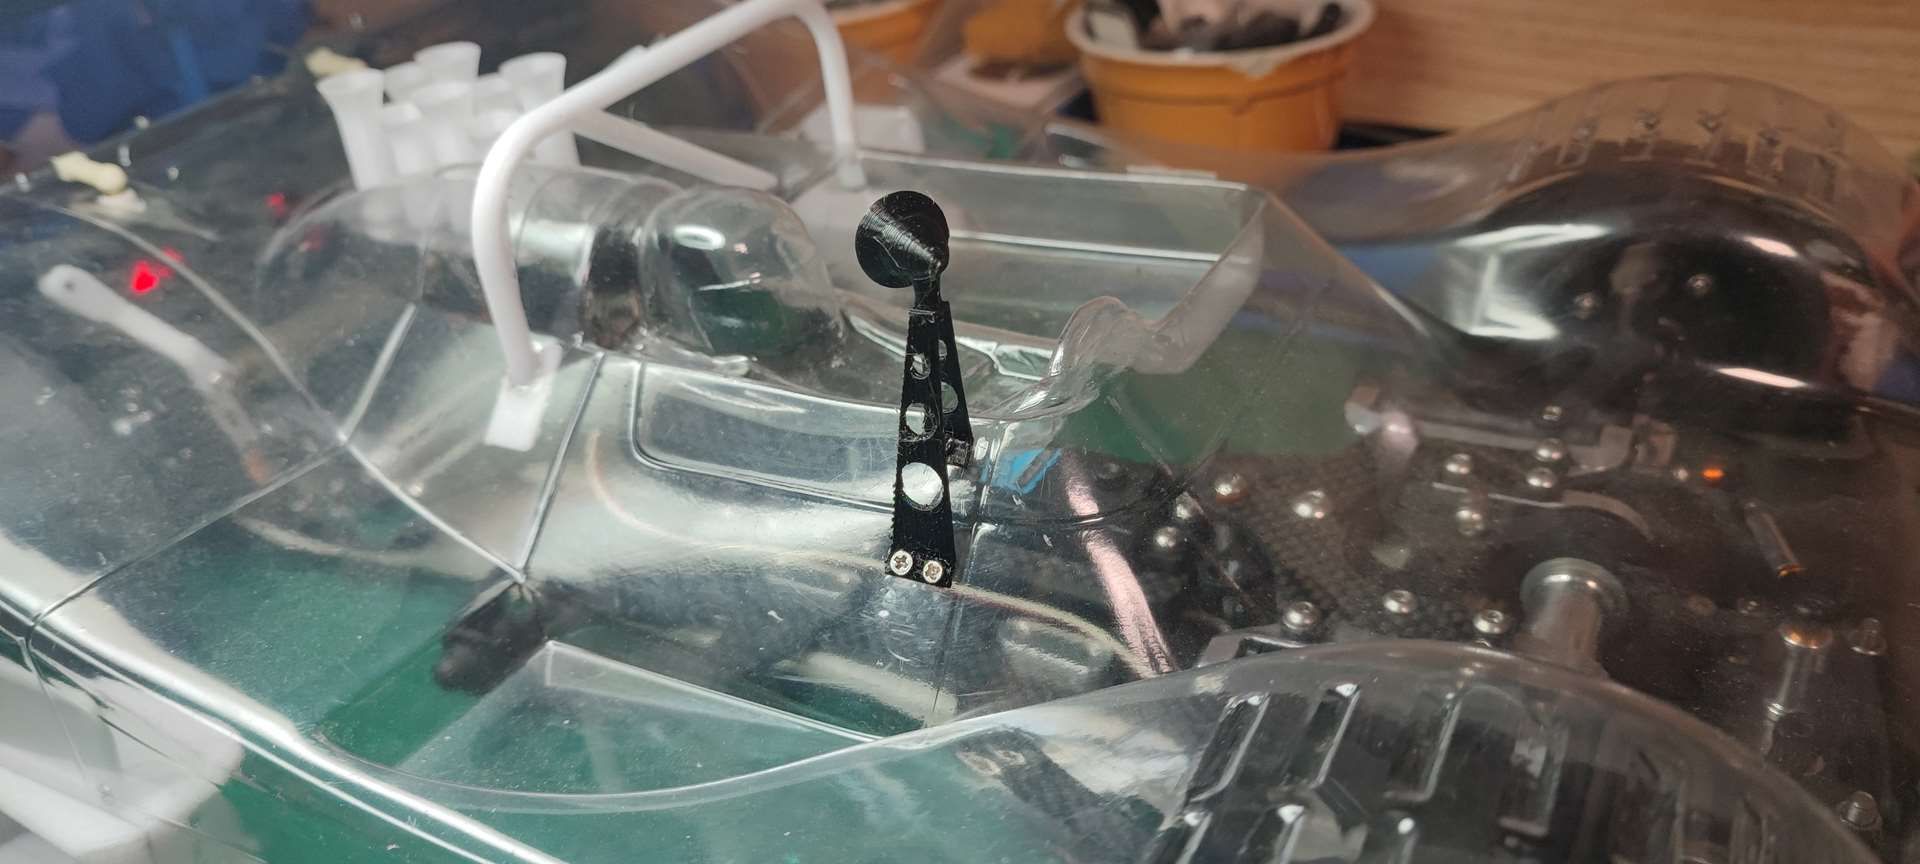
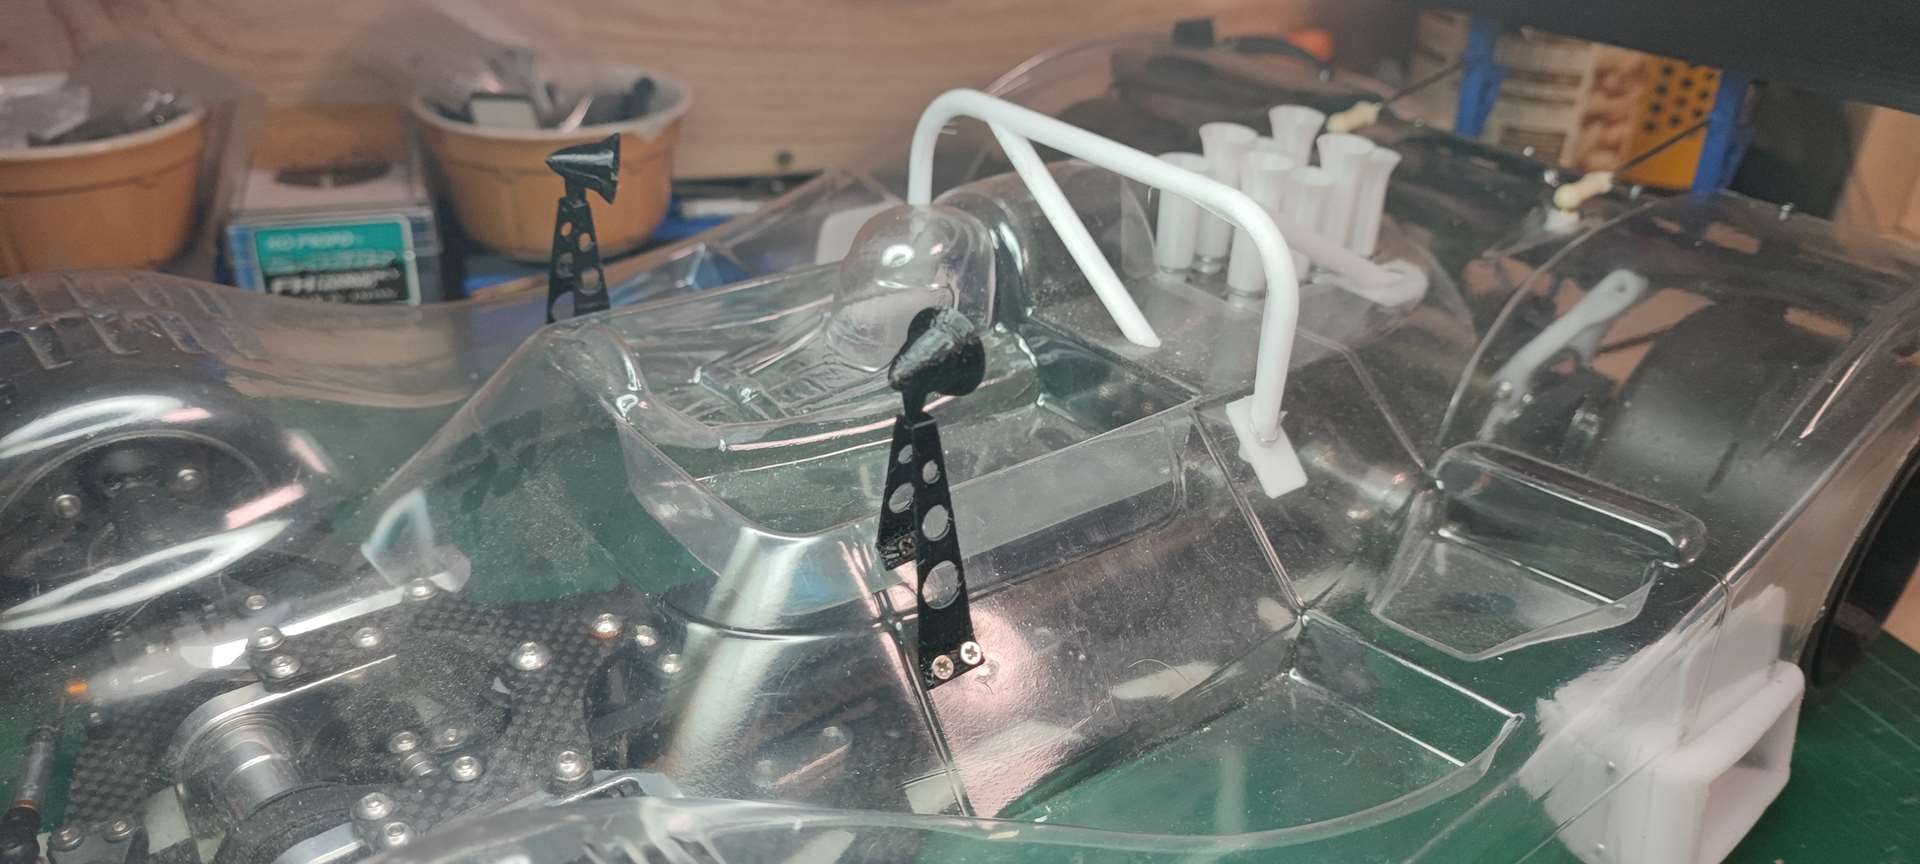
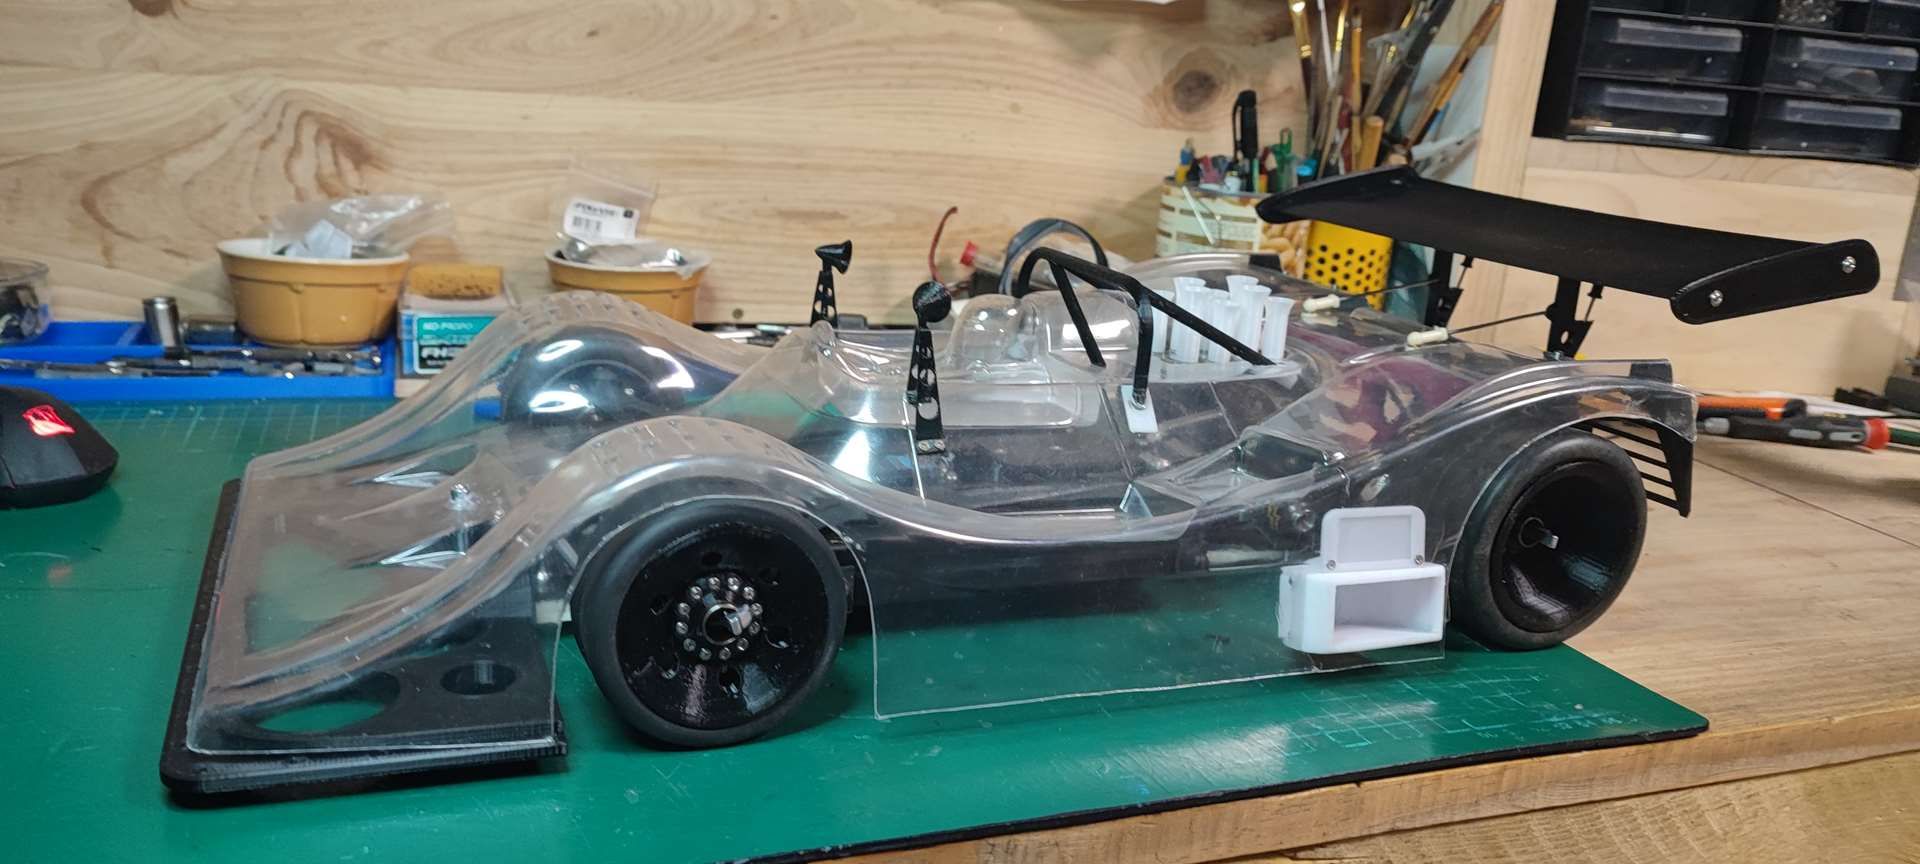
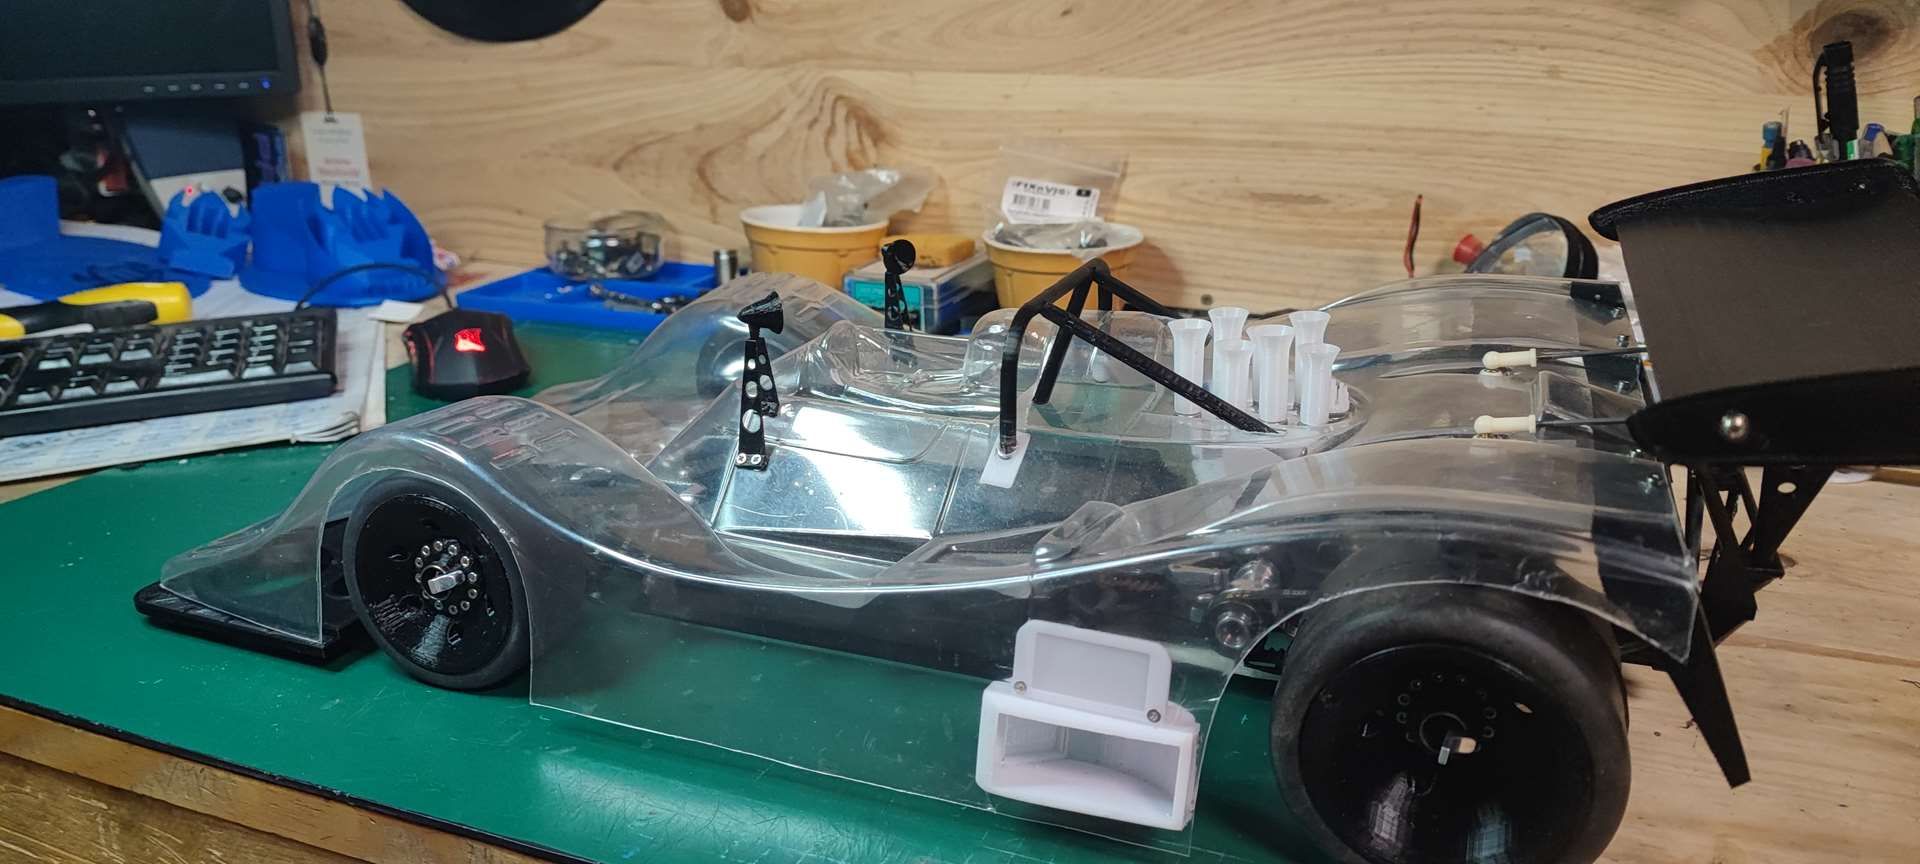
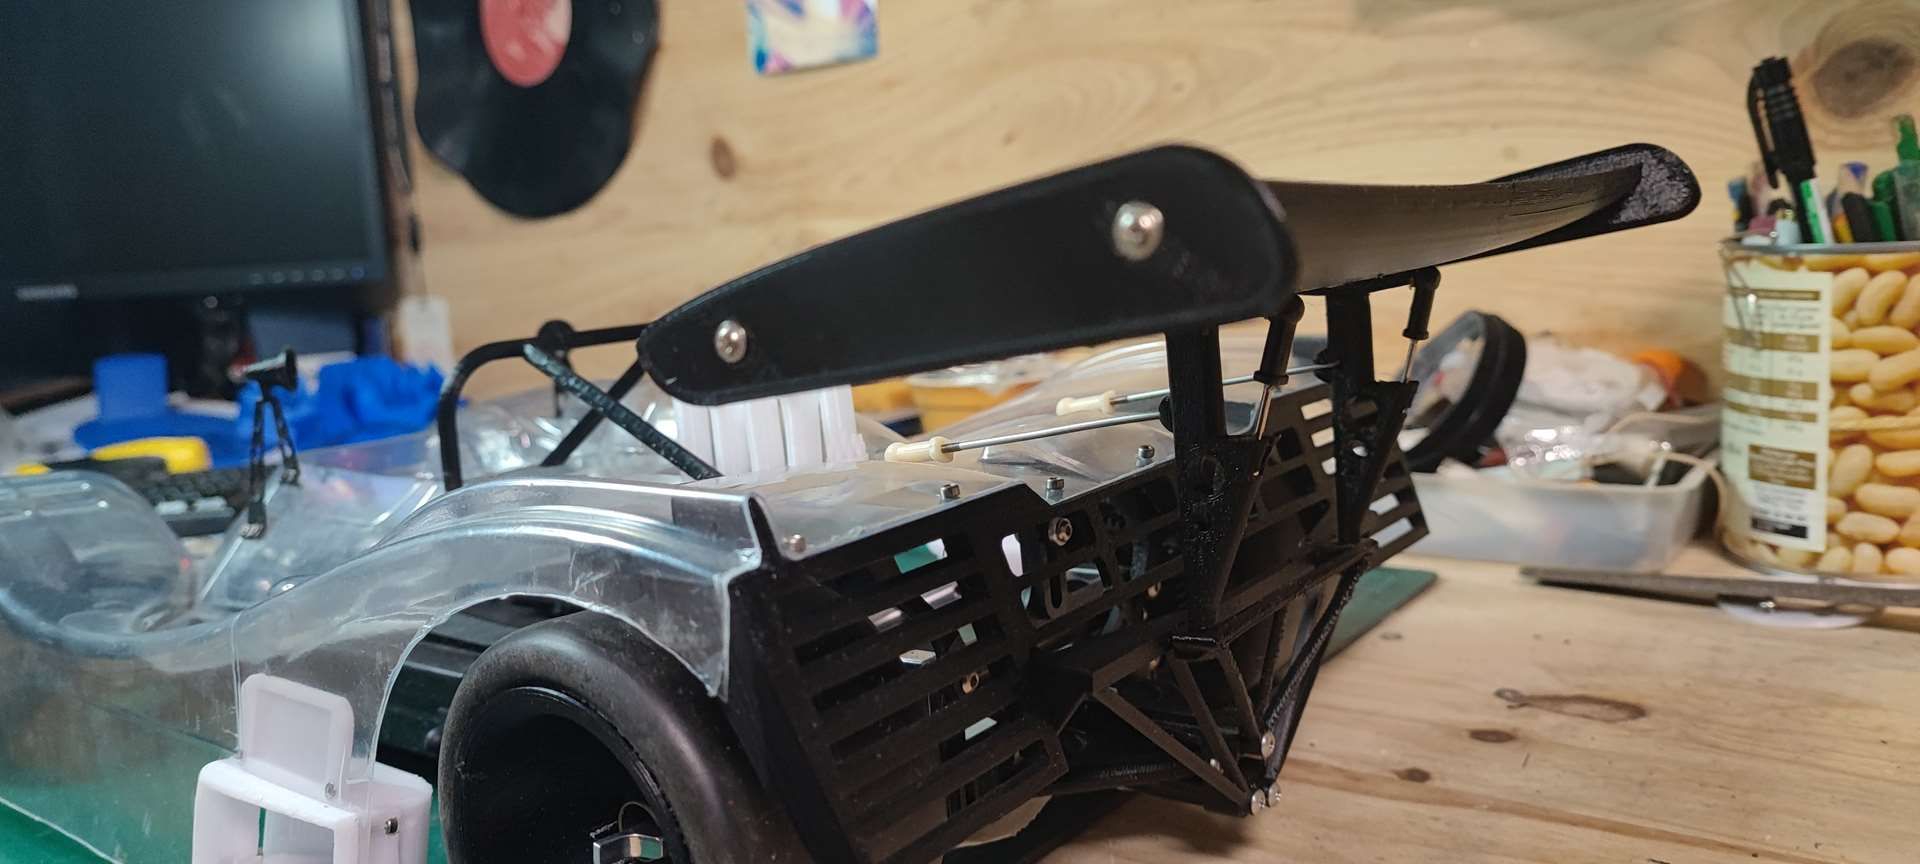
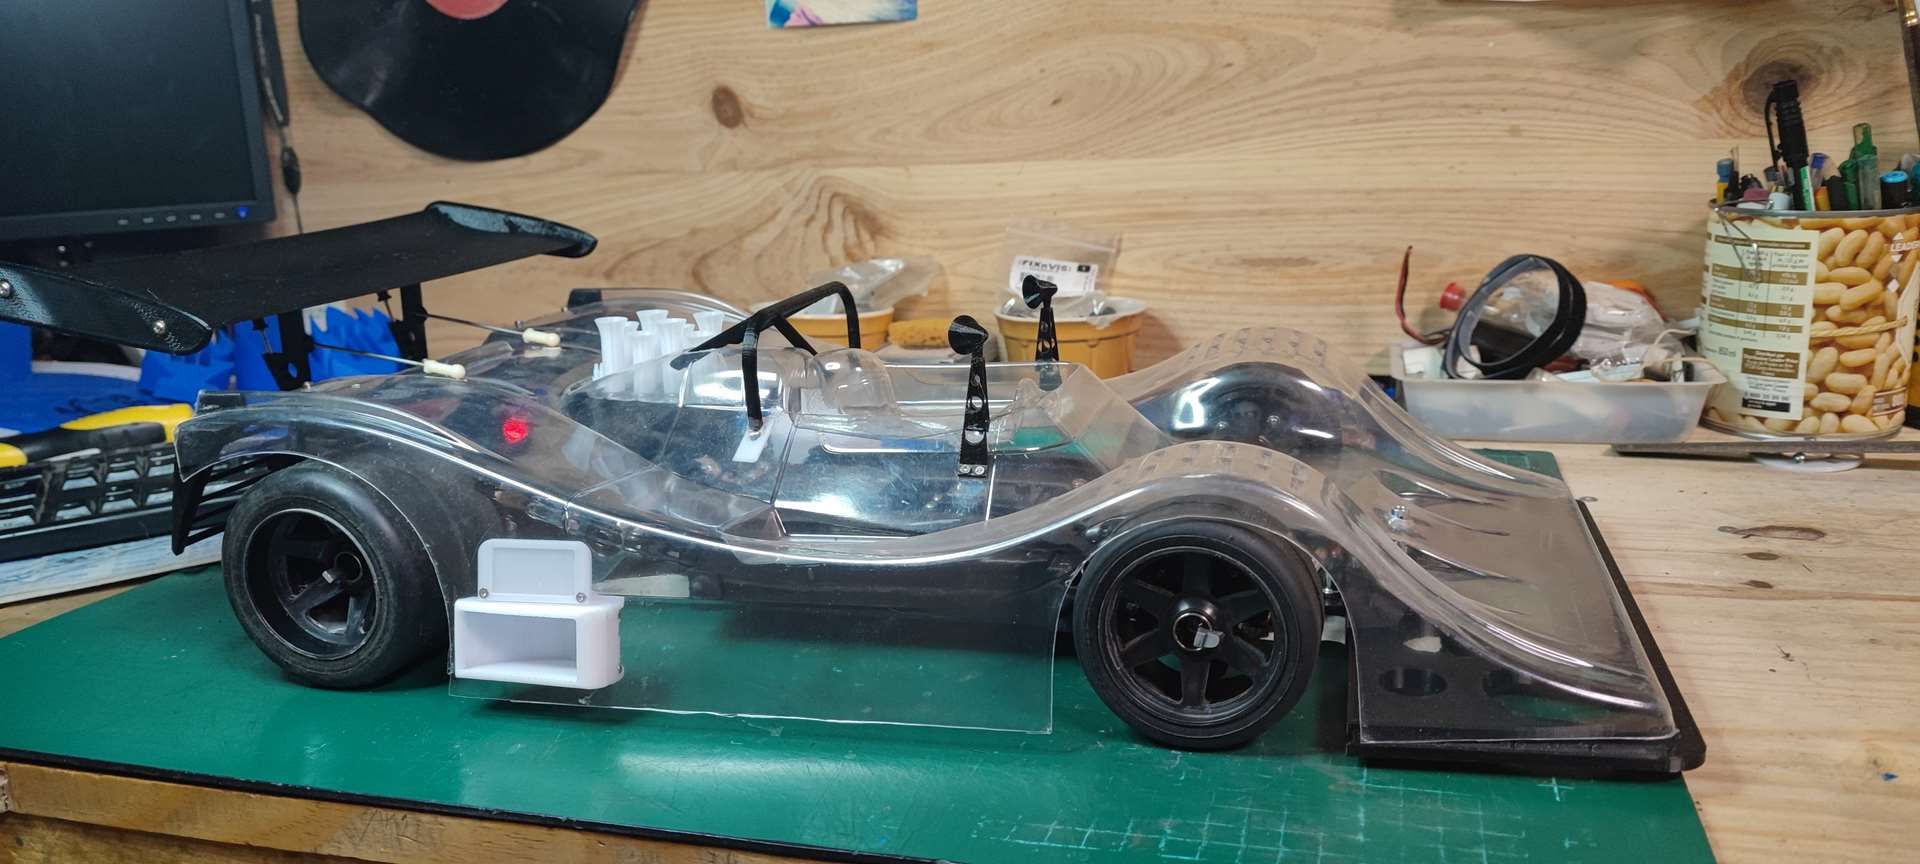
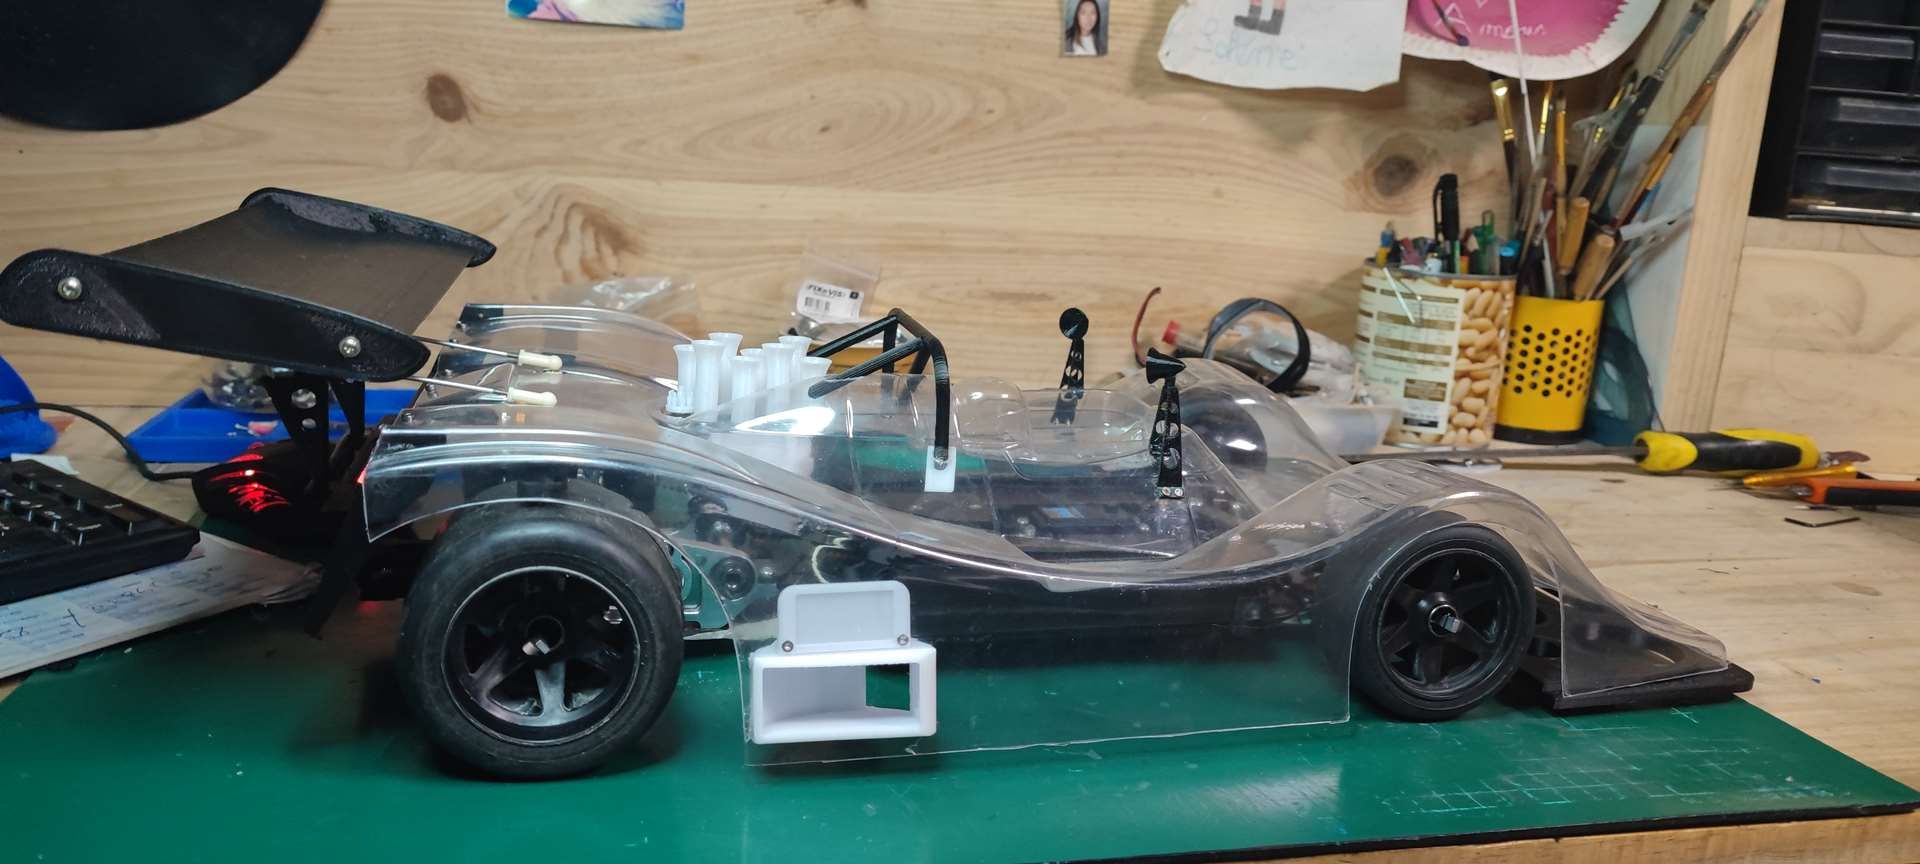
Today :
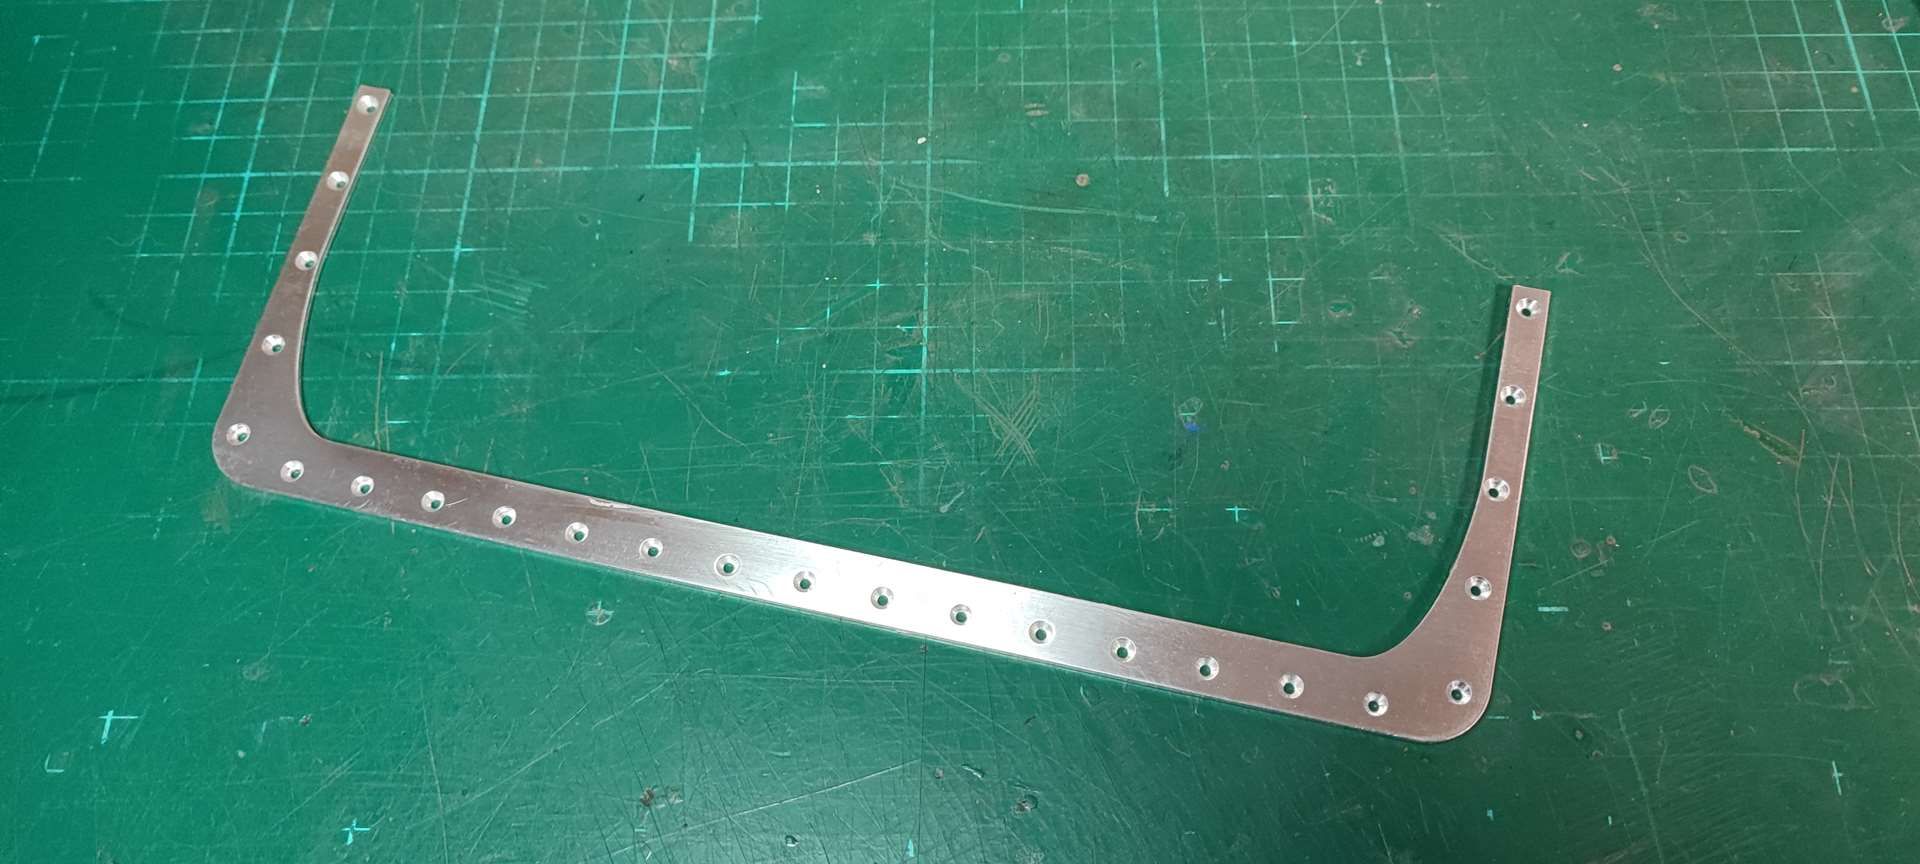
Jerome
More update on this chassis
Here are the pictures ...


Today :


Jerome
Sorry for my rusty english, i'm a kind of French farmer lost in his montain ...
Create an account or sign in to join the discussion
You need to be a member in order to post a reply
Create an account
Not a member? register to join our community
Members can start their own topics & subscribe to topics
It’s free and only takes a minute
Sign in
-
- Similar Topics
- Replies
- Views
- Last post
-
- 4 Replies
- 816 Views
-
Last post by Trass
-
- 12 Replies
- 2794 Views
-
Last post by 1300GT
-
- 1 Replies
- 860 Views
-
Last post by Fun41
-
- 13 Replies
- 1923 Views
-
Last post by tizeye
-
- 19 Replies
- 3730 Views
-
Last post by clinehobbies
-
- 5 Replies
- 1459 Views
-
Last post by Lonestar
-
- 2 Replies
- 1289 Views
-
Last post by kink
-
- 3 Replies
- 1352 Views
-
Last post by CAT3K
Who is online
Users browsing this forum: No registered users and 2 guests
