Keith
I measured the diff balls at slightly more than 3mm, so I am guessing 3mm is the magic number.
The thrust bearing balls measure right at 1.5mm.
The diff rings, which are what I am curious about, may be the same/similar to ZX5/ZX6 diff rings.
I sent off a couple messages to sellers asking about inner and outer diameters on Kyosho WBD4 Lazer ZX5ZX6 rings.
The image on Kyosho's site makes me think they may be close.
On Kyosho's site I took the size of the ring on my screen and compared it to the text on the header card. Then I compared that with the same style header card I have.
Rough approximation but it seems very close.
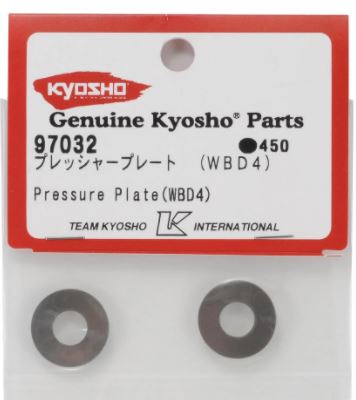
- pressureplate.1.JPG (25.92 KiB) Viewed 1583 times
- pressureplate.1.JPG (25.92 KiB) Viewed 1583 times
If no answer from sellers I will probably just go ahead and order some unless anyone else here has an answer.
My NIP rings measure an inside diameter slightly over 8mm, outside diameter 18.3mm.
Chuck